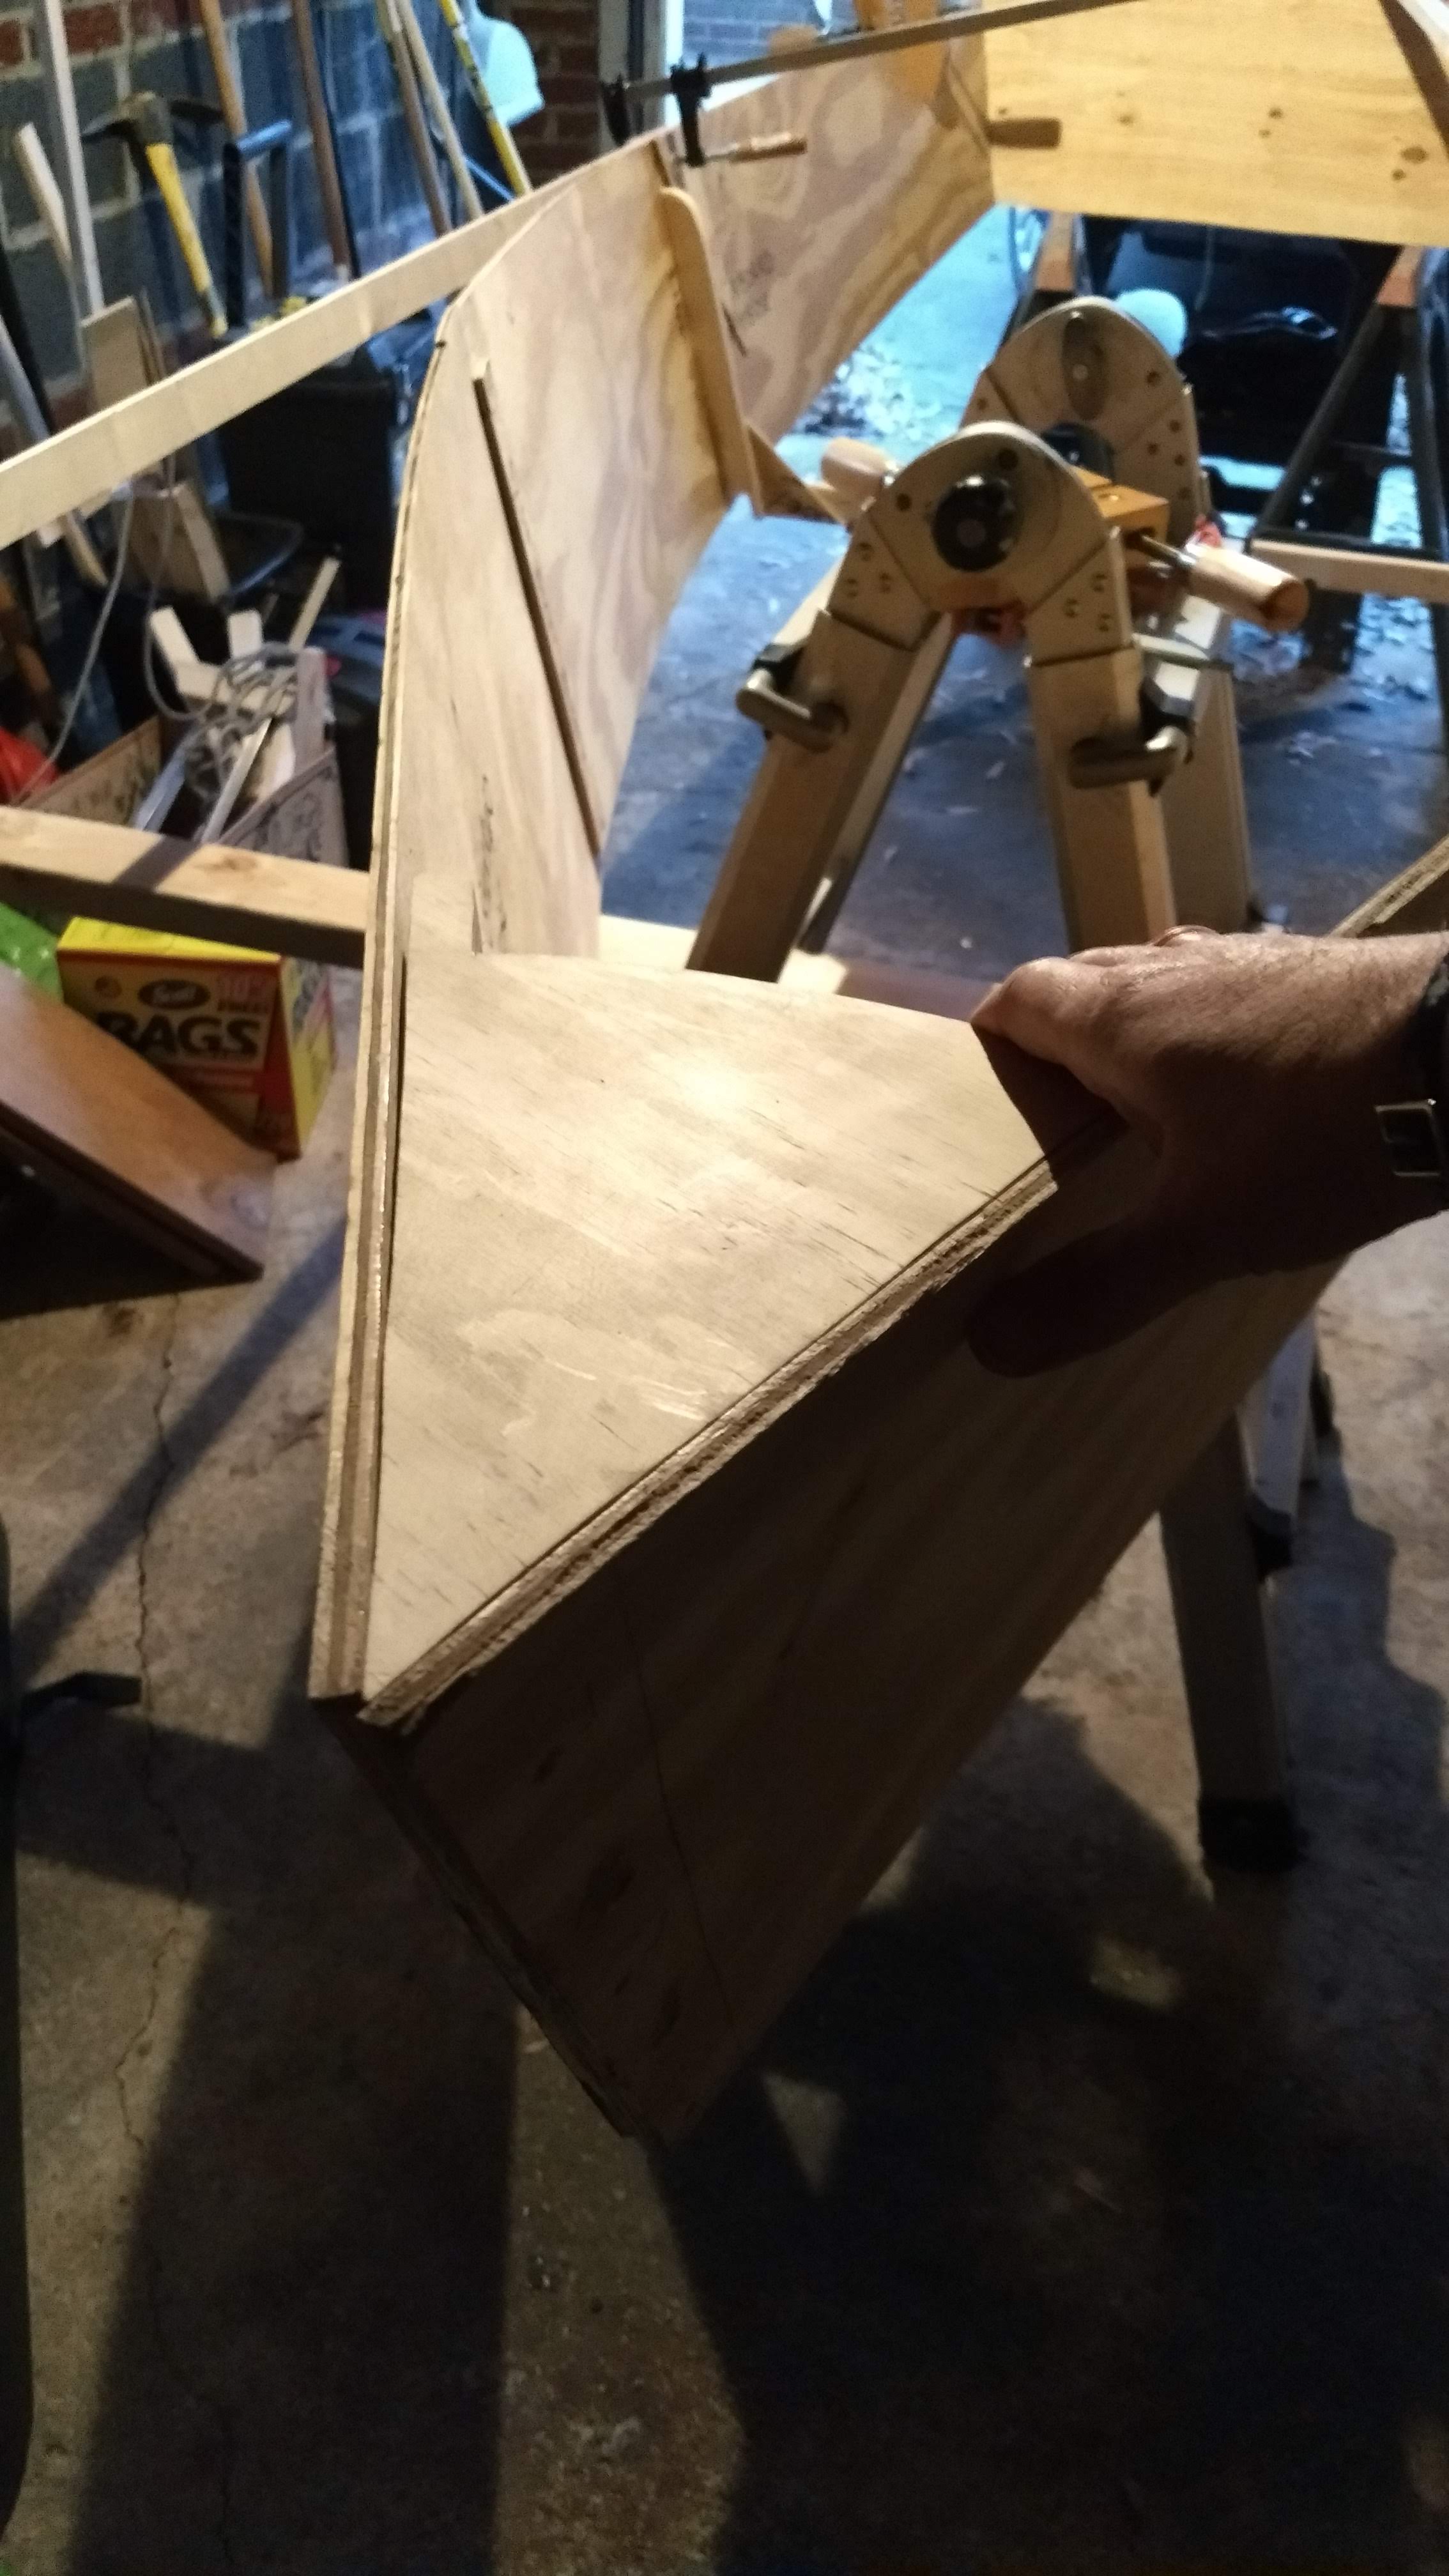
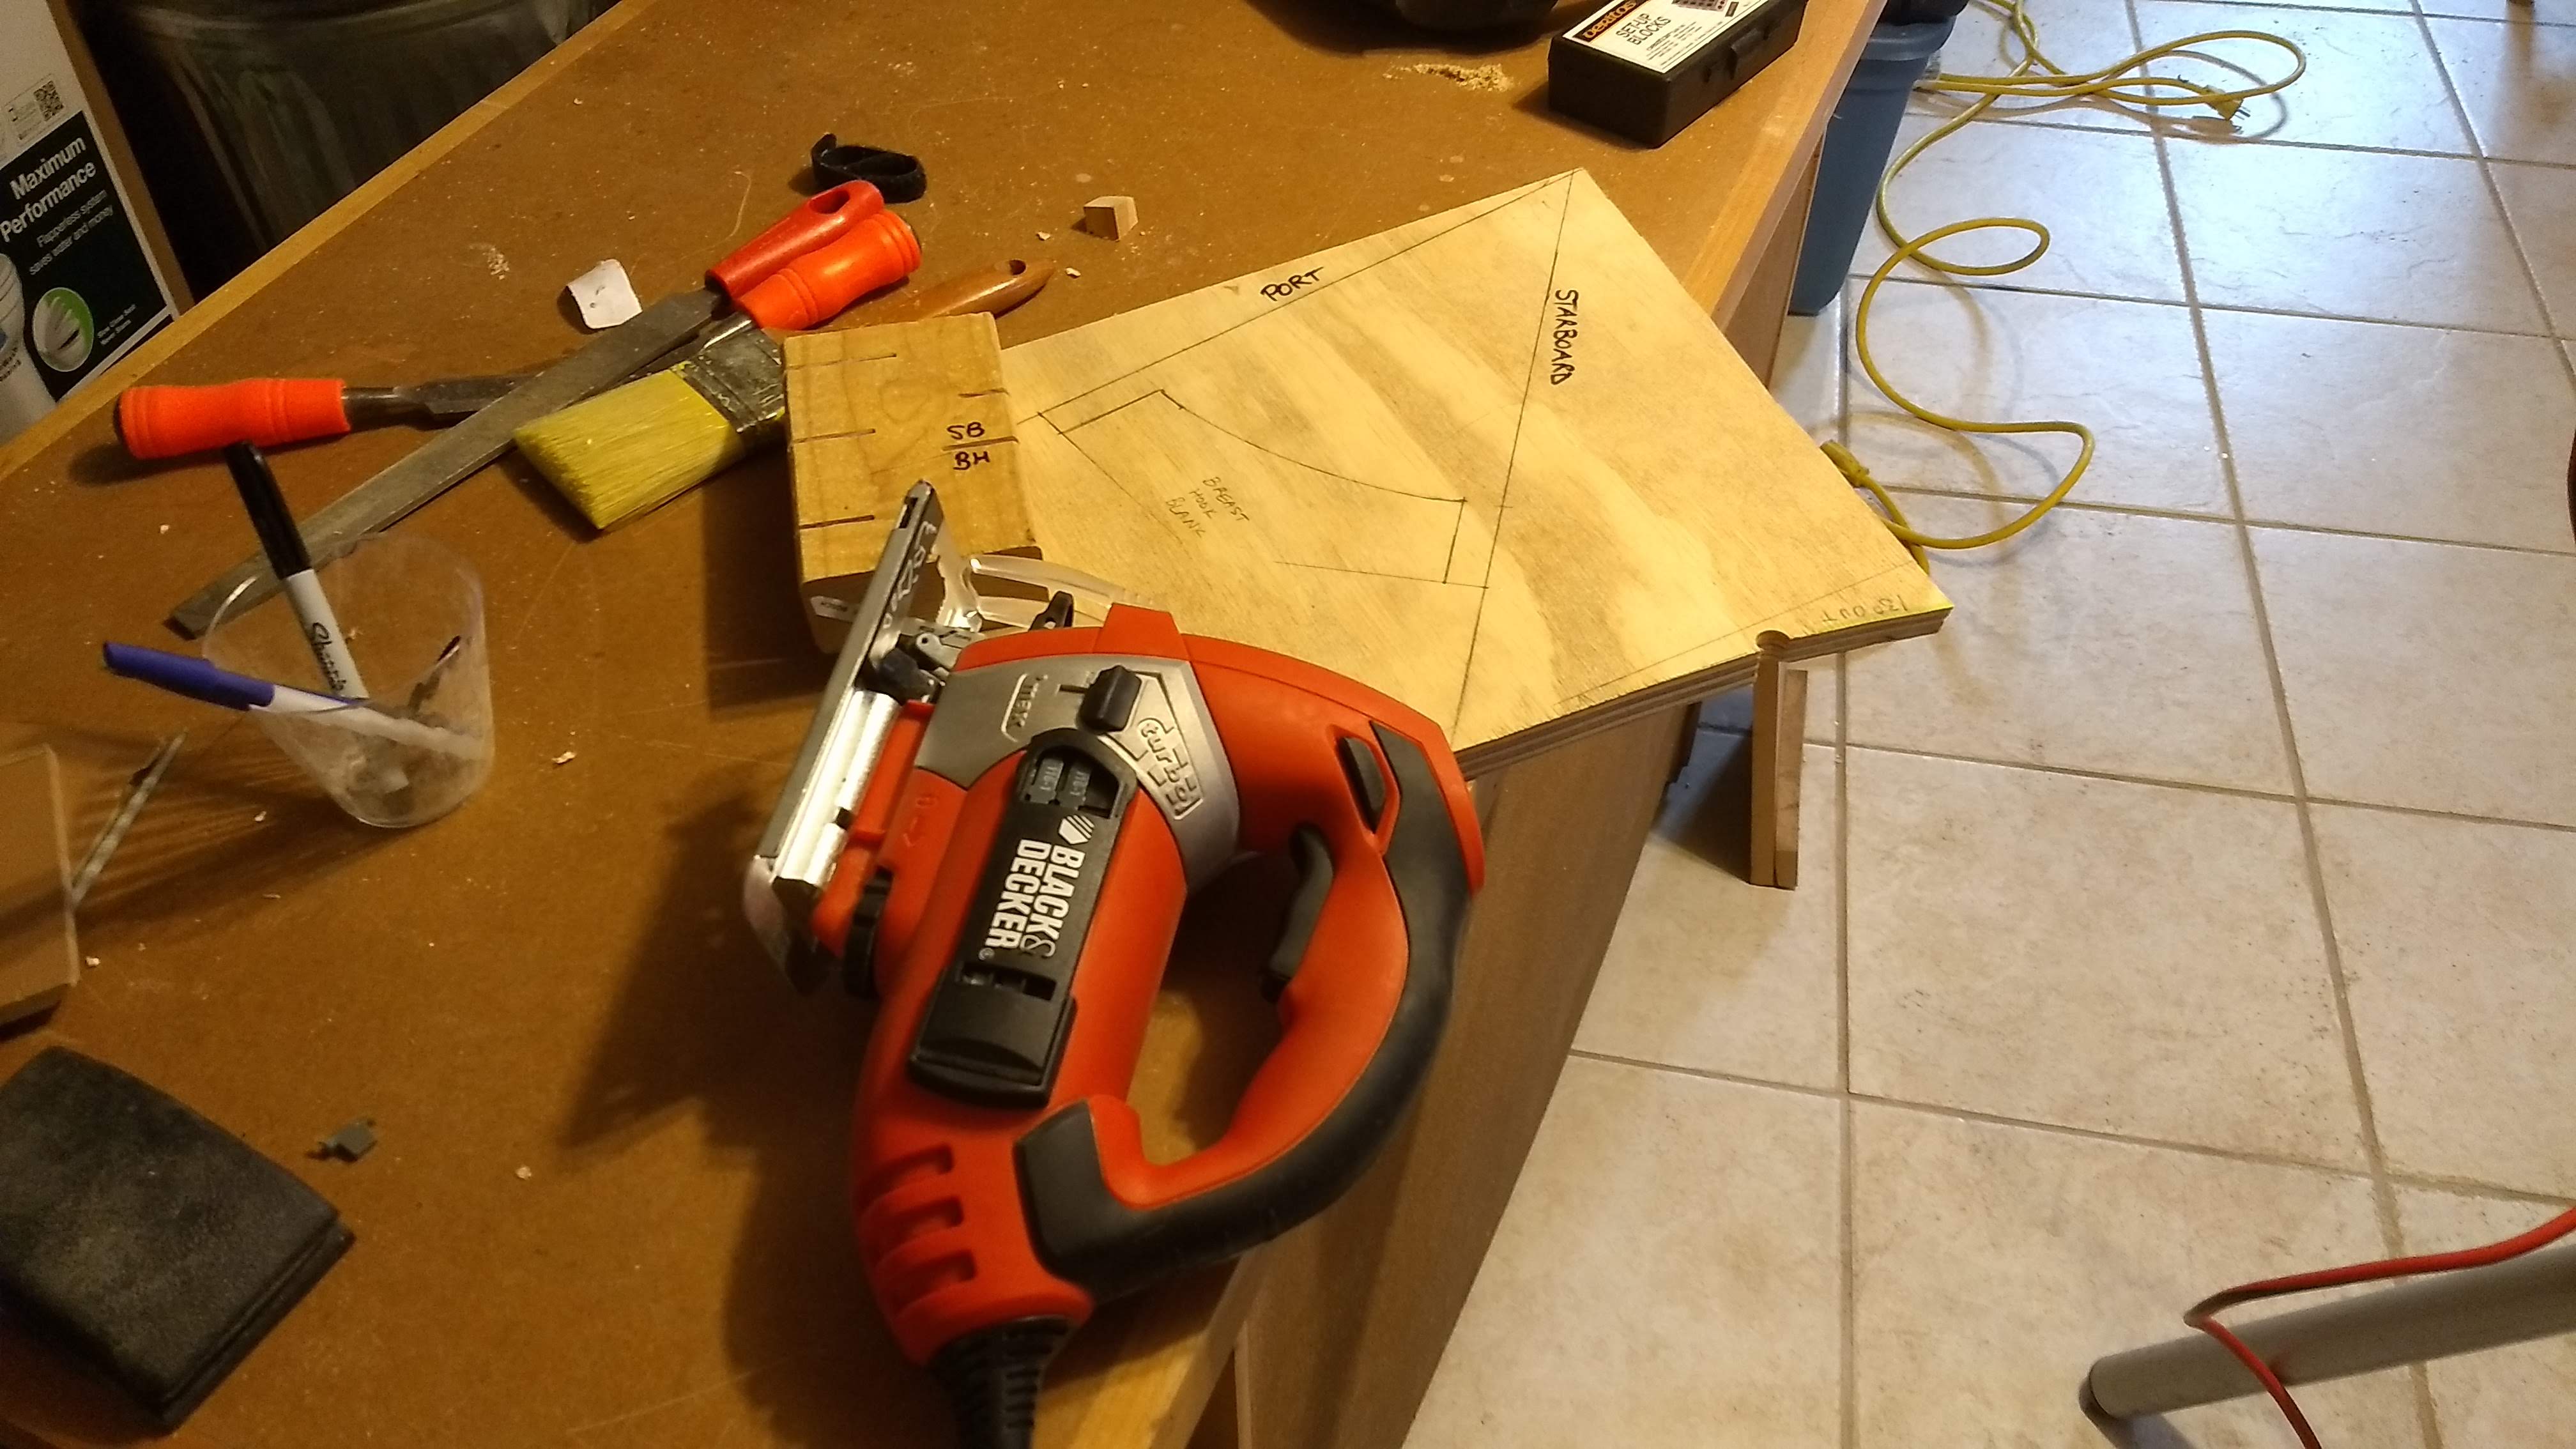
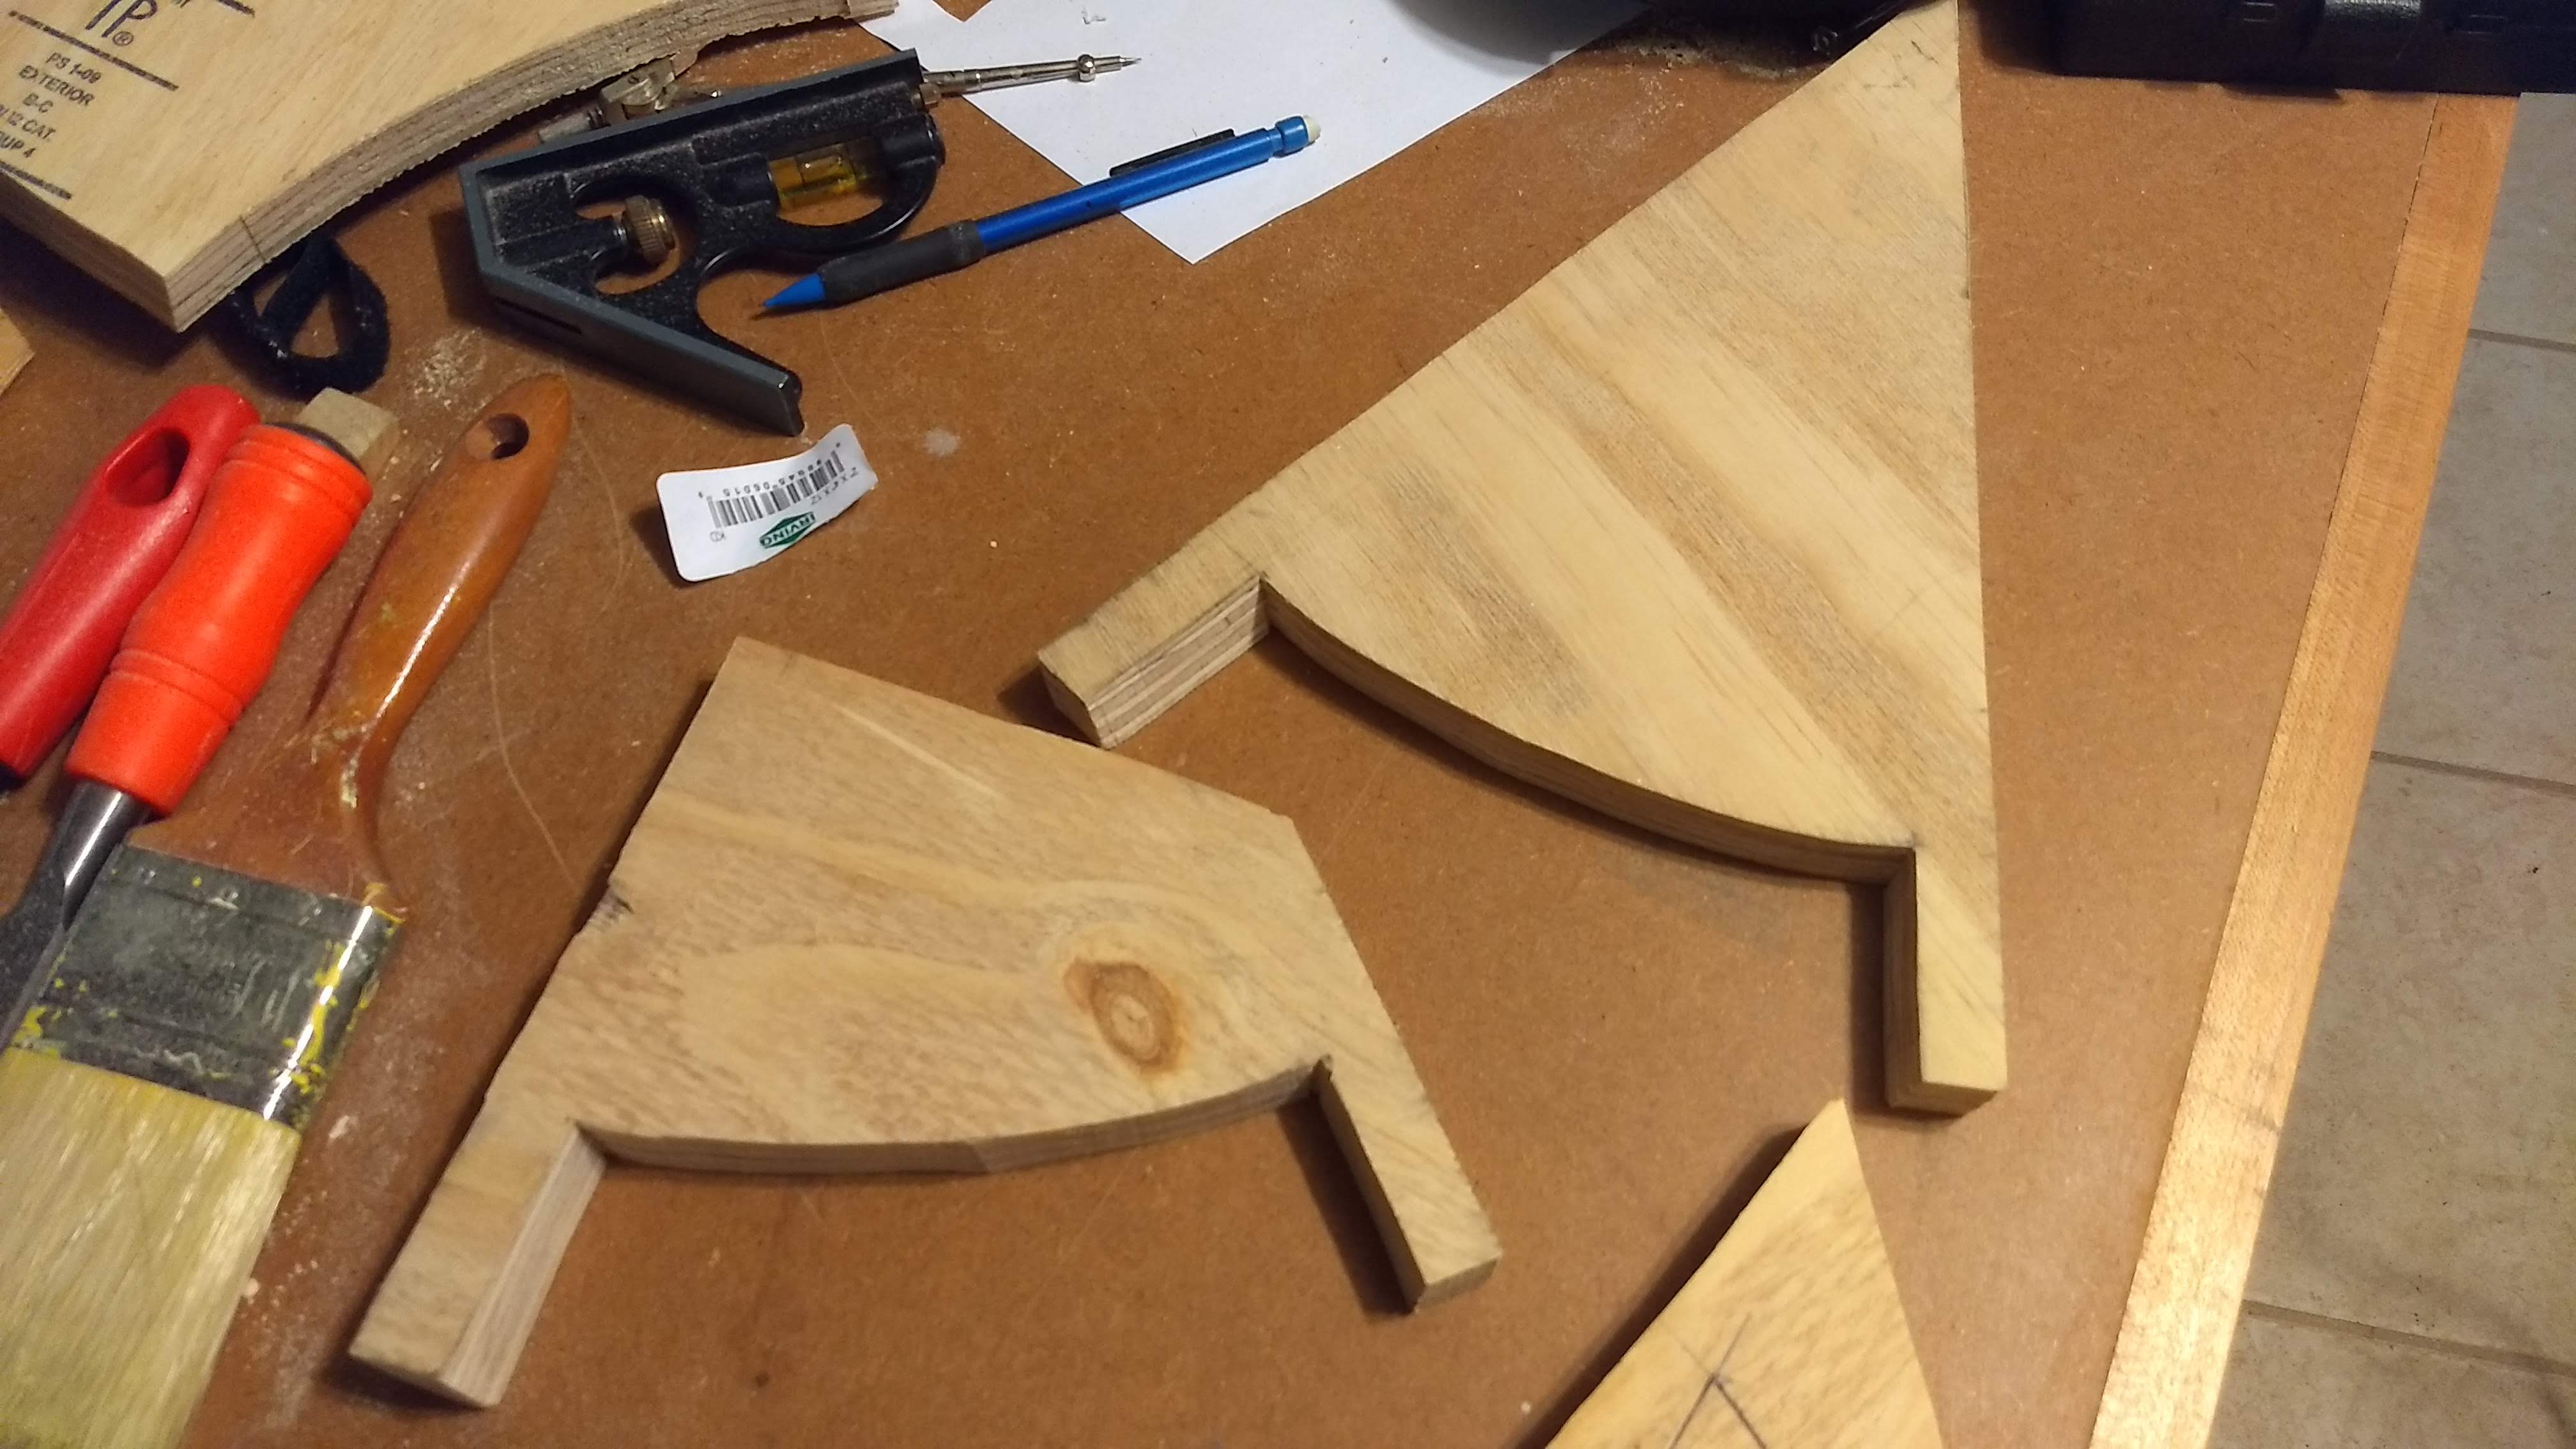
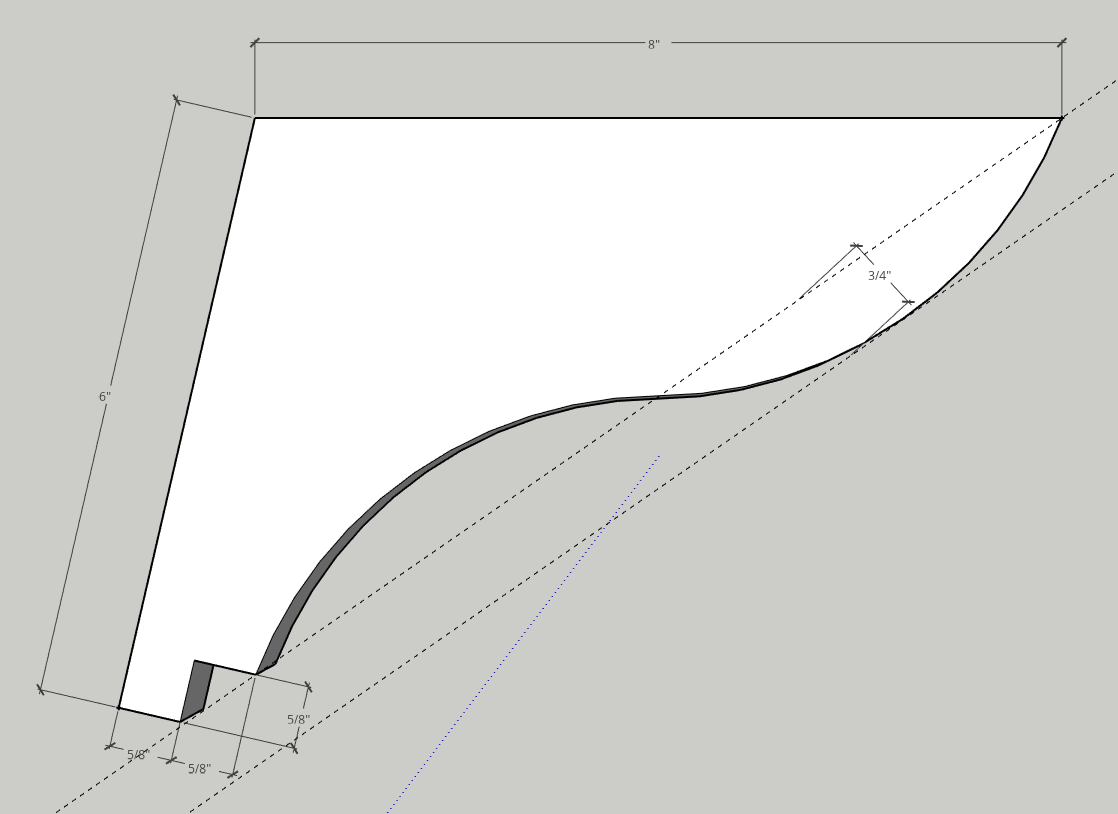
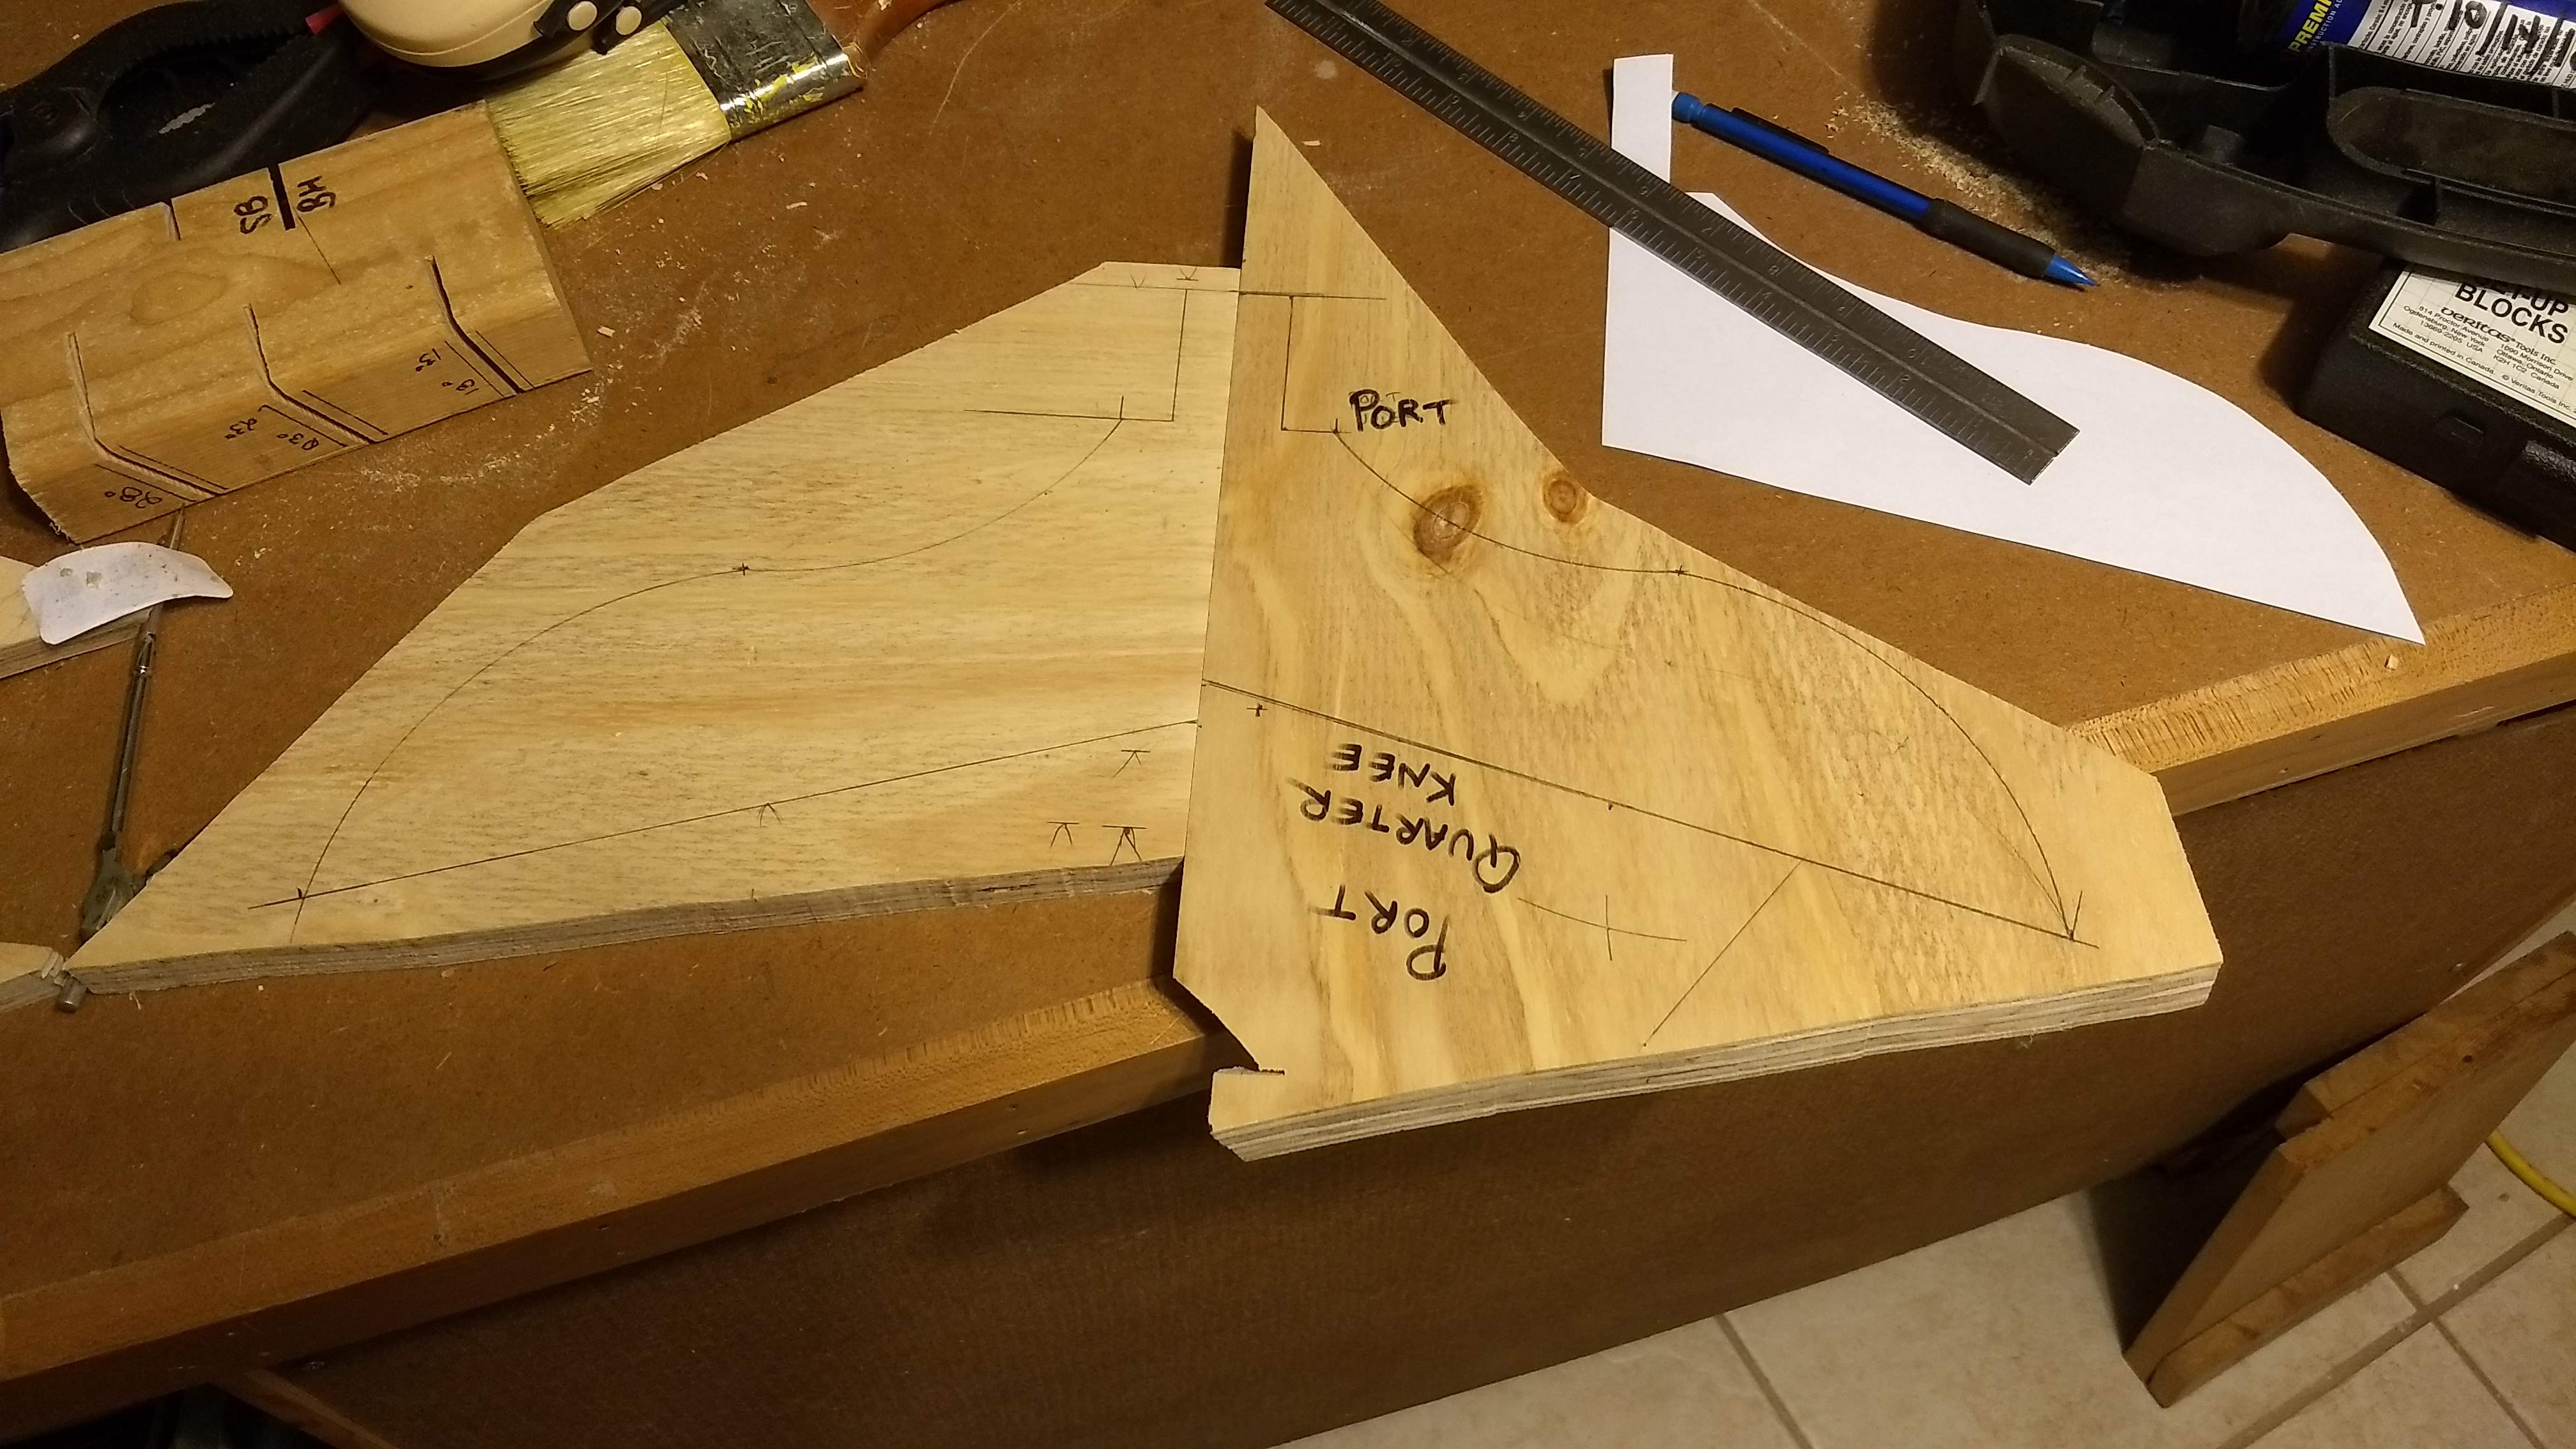
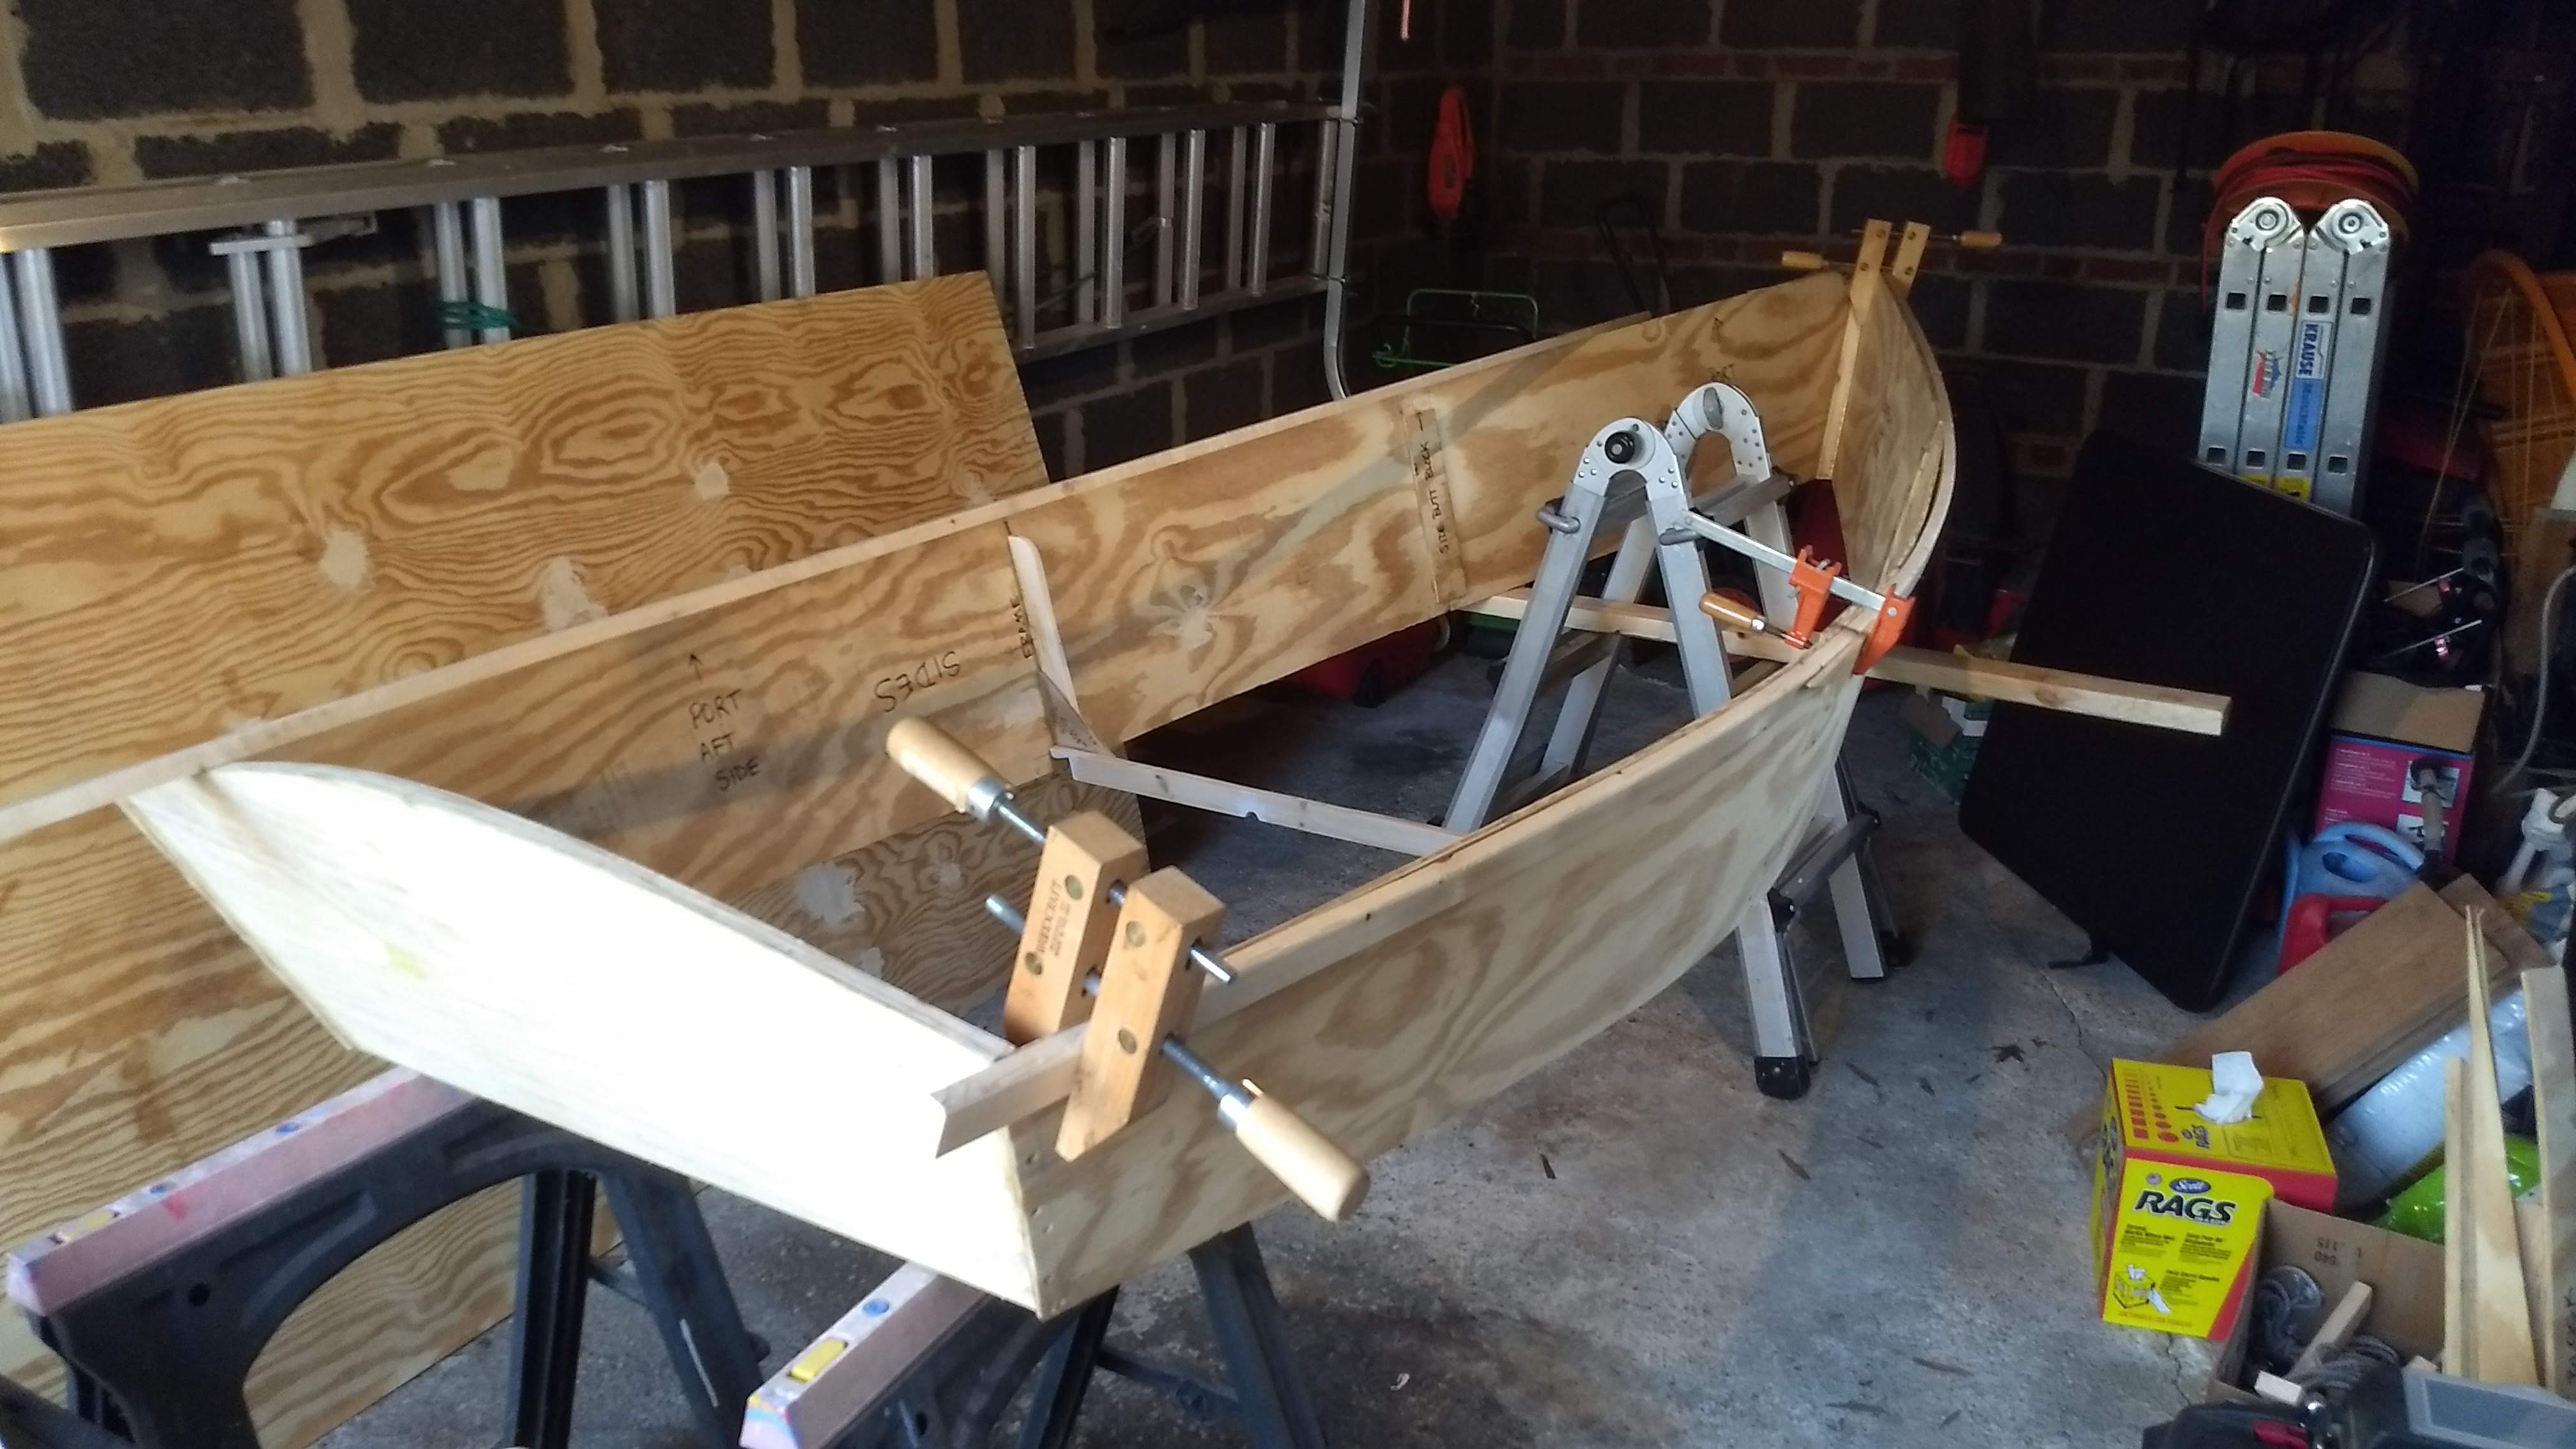
Great progress! I spent hours on Saturday and even more hours on Sunday. I was hoping to actually glue some parts, but I didn’t quite have enough time for that.
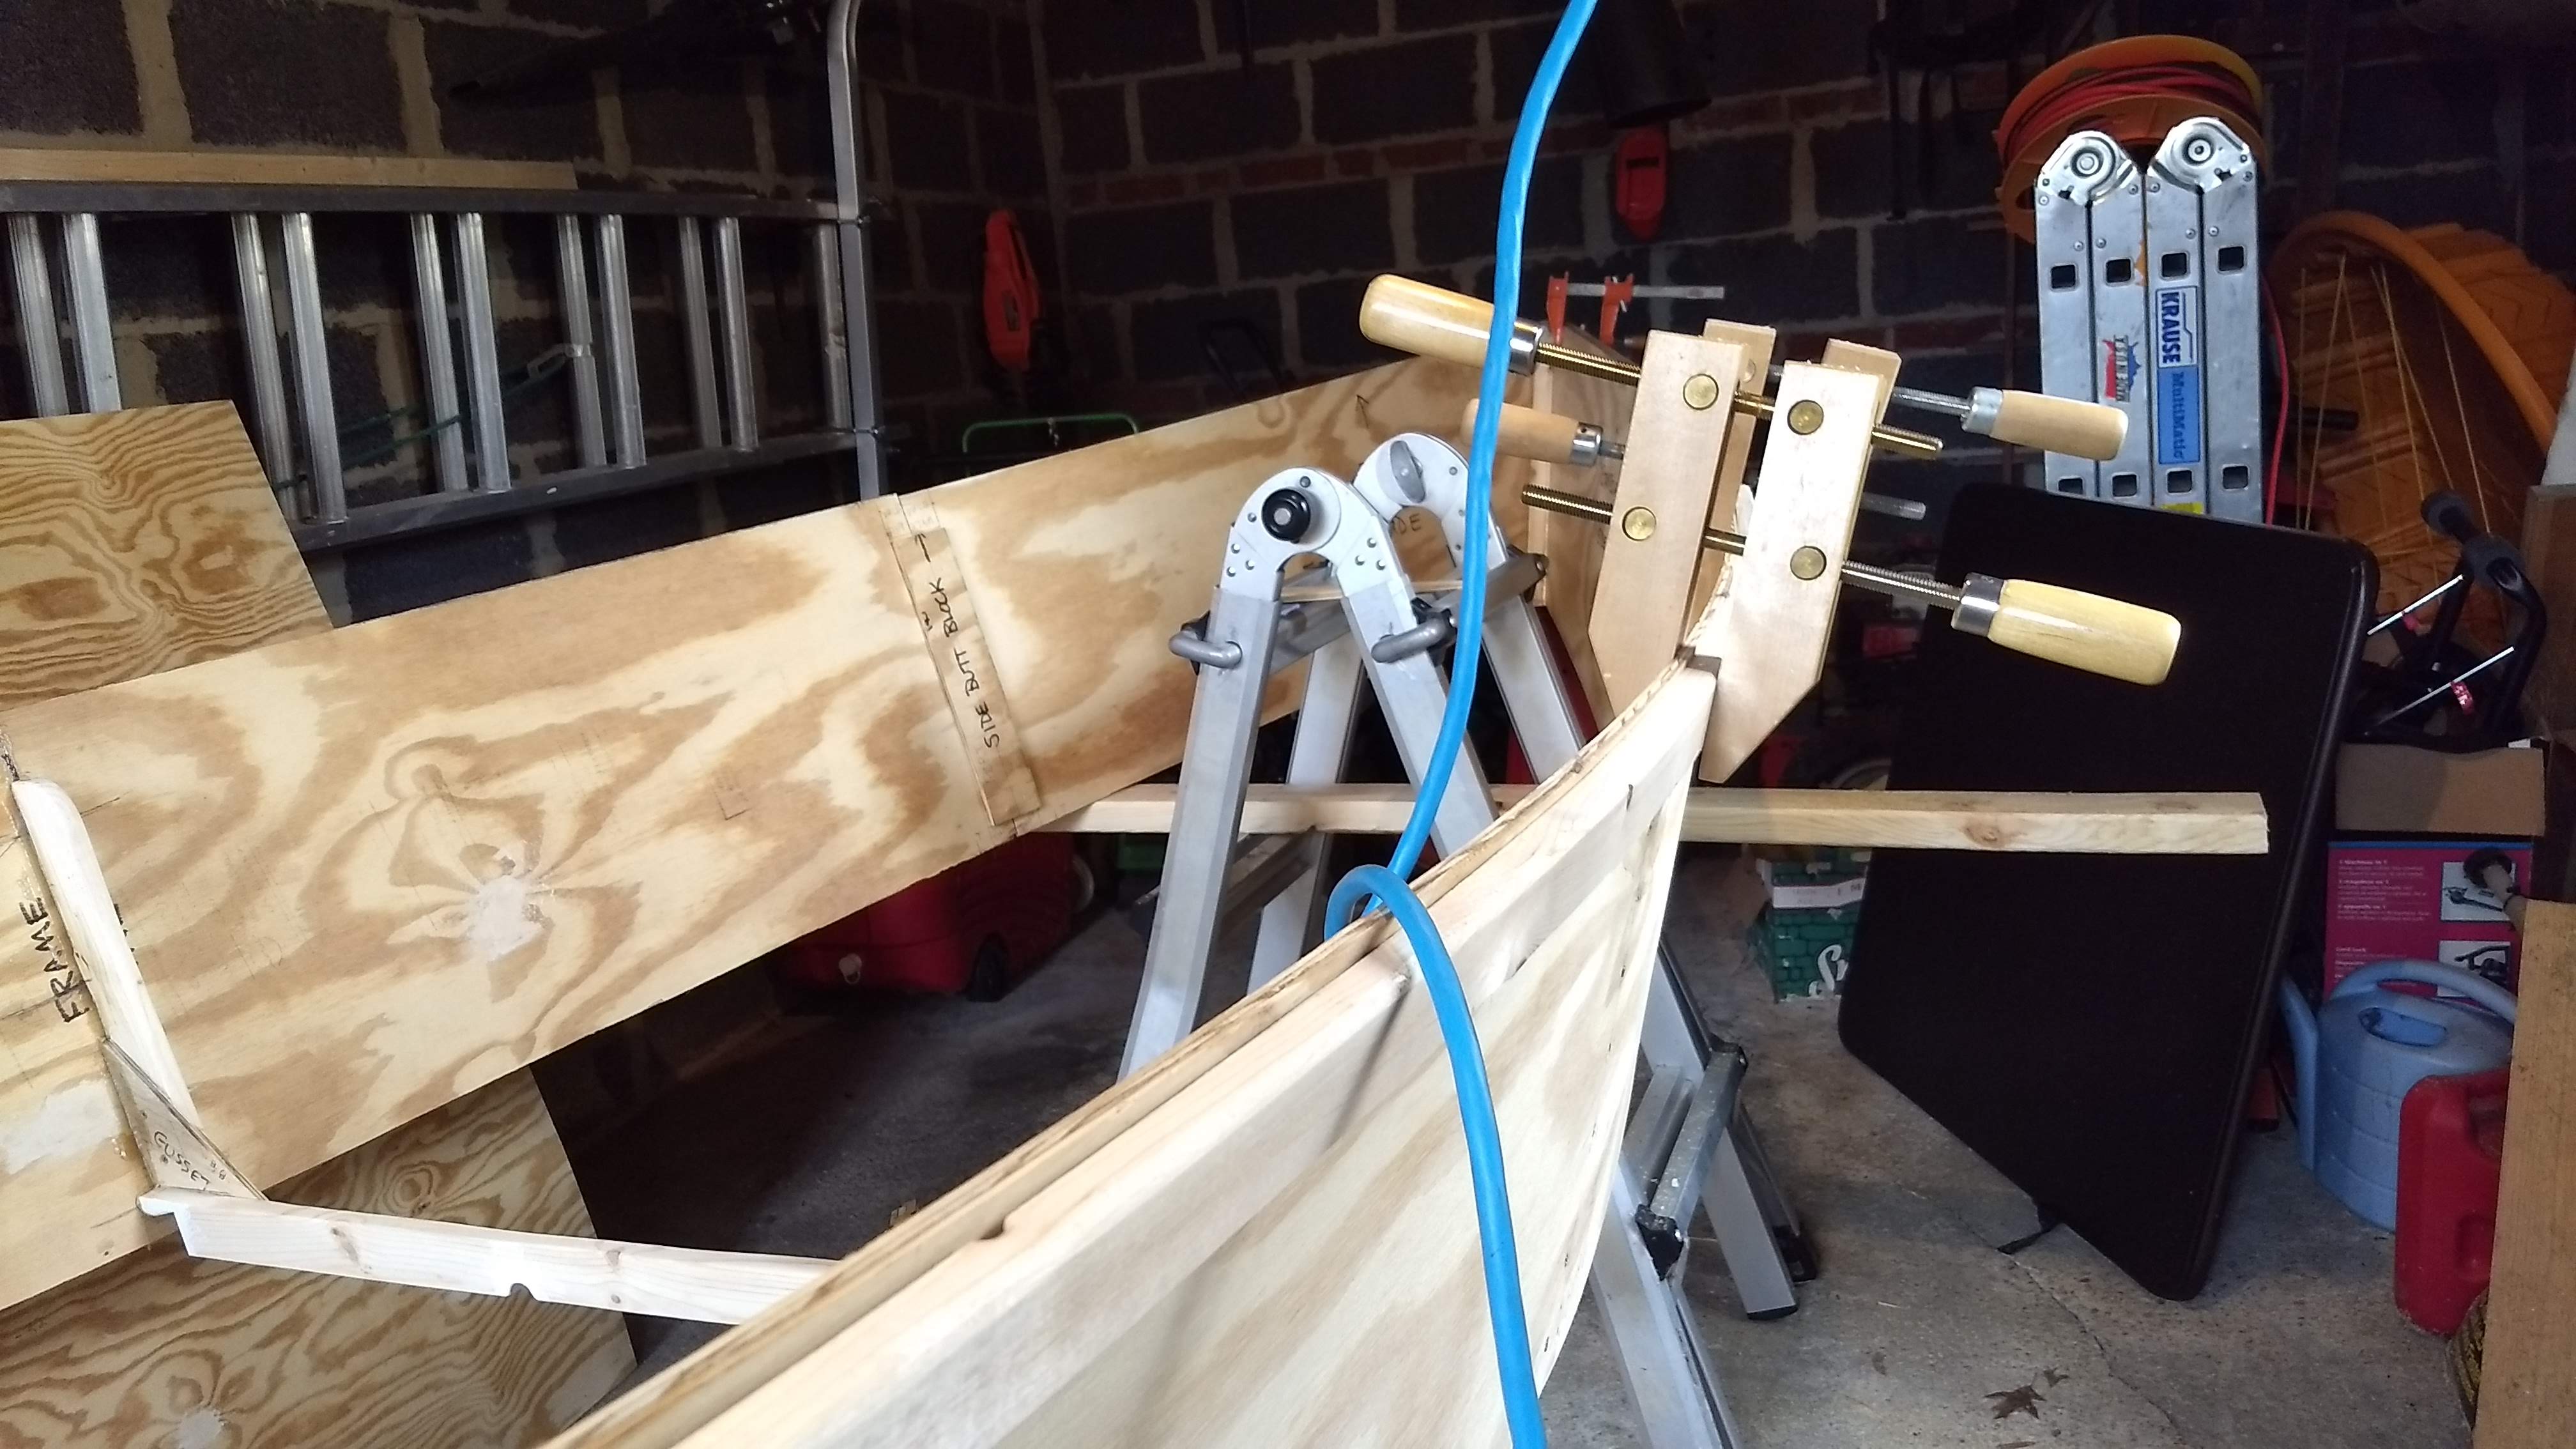
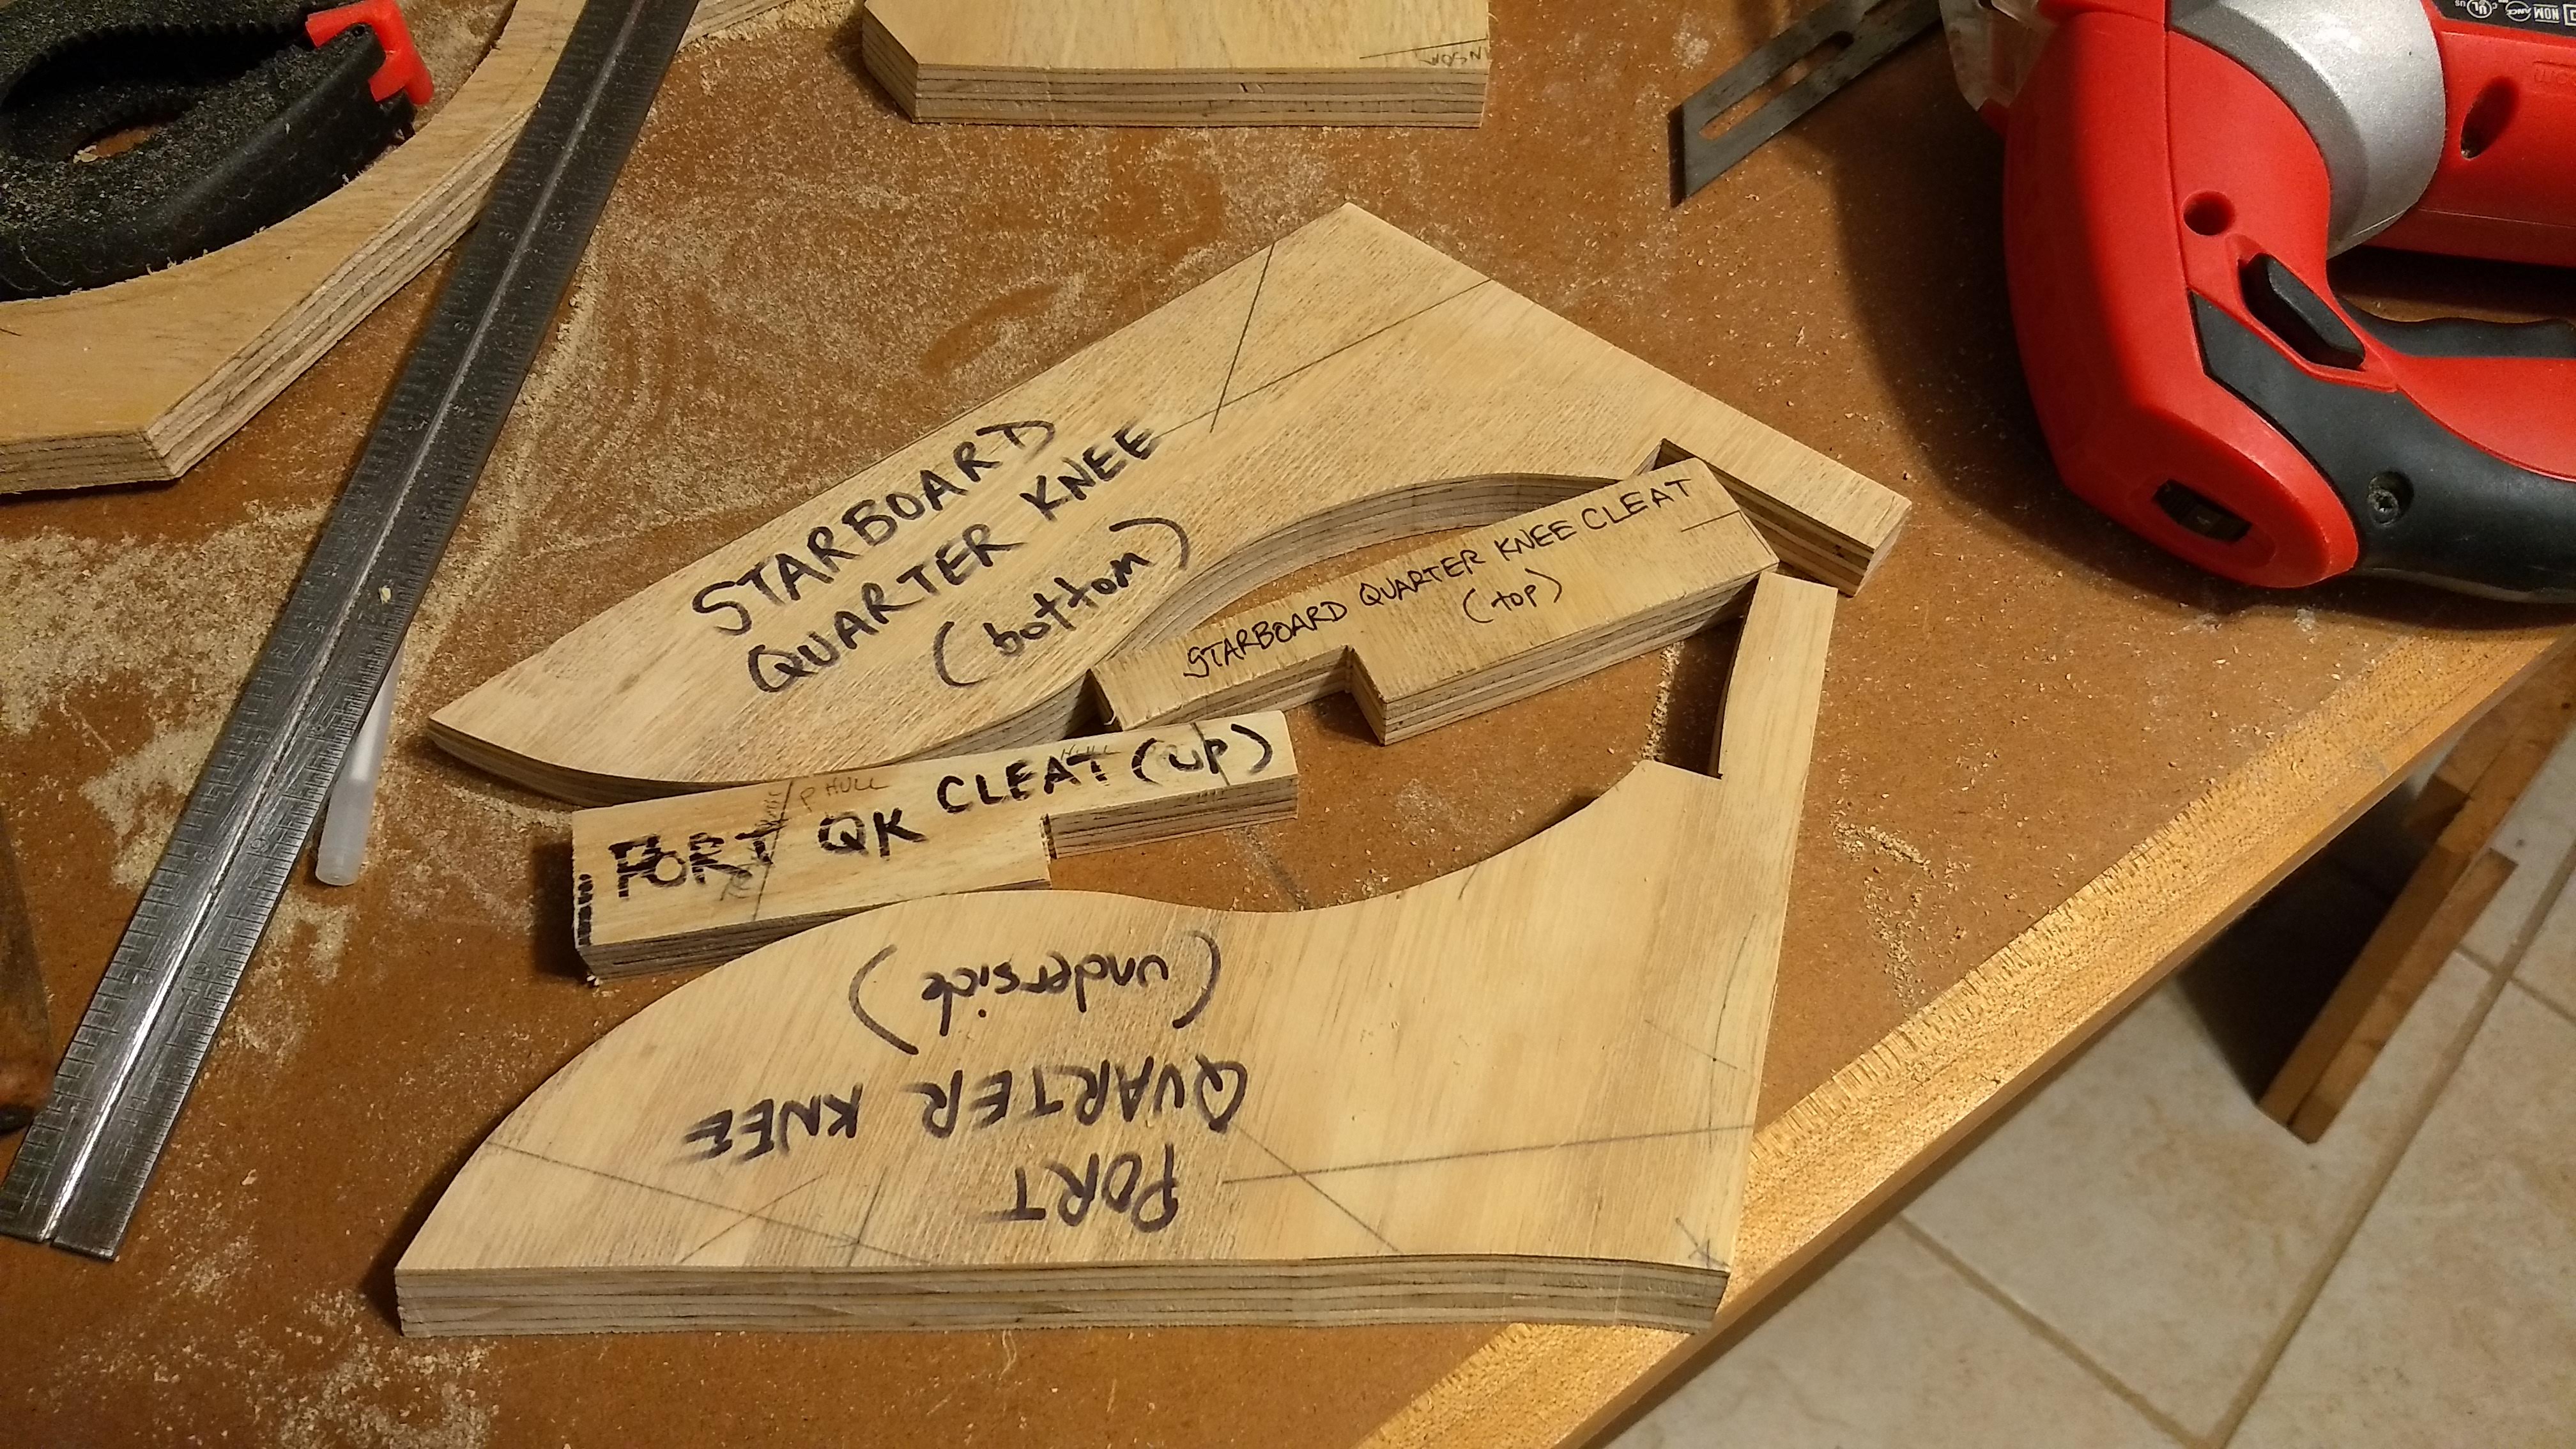
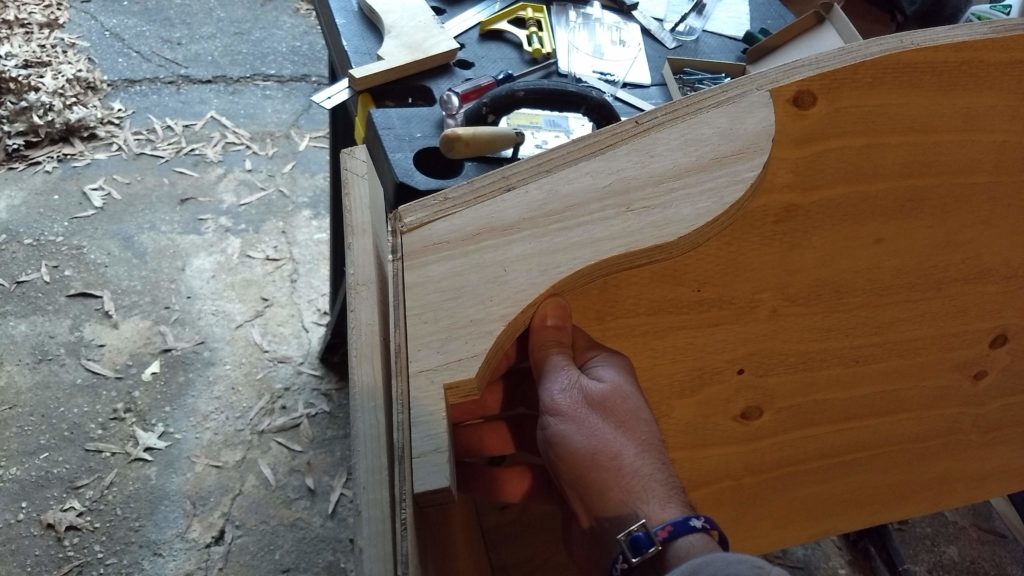
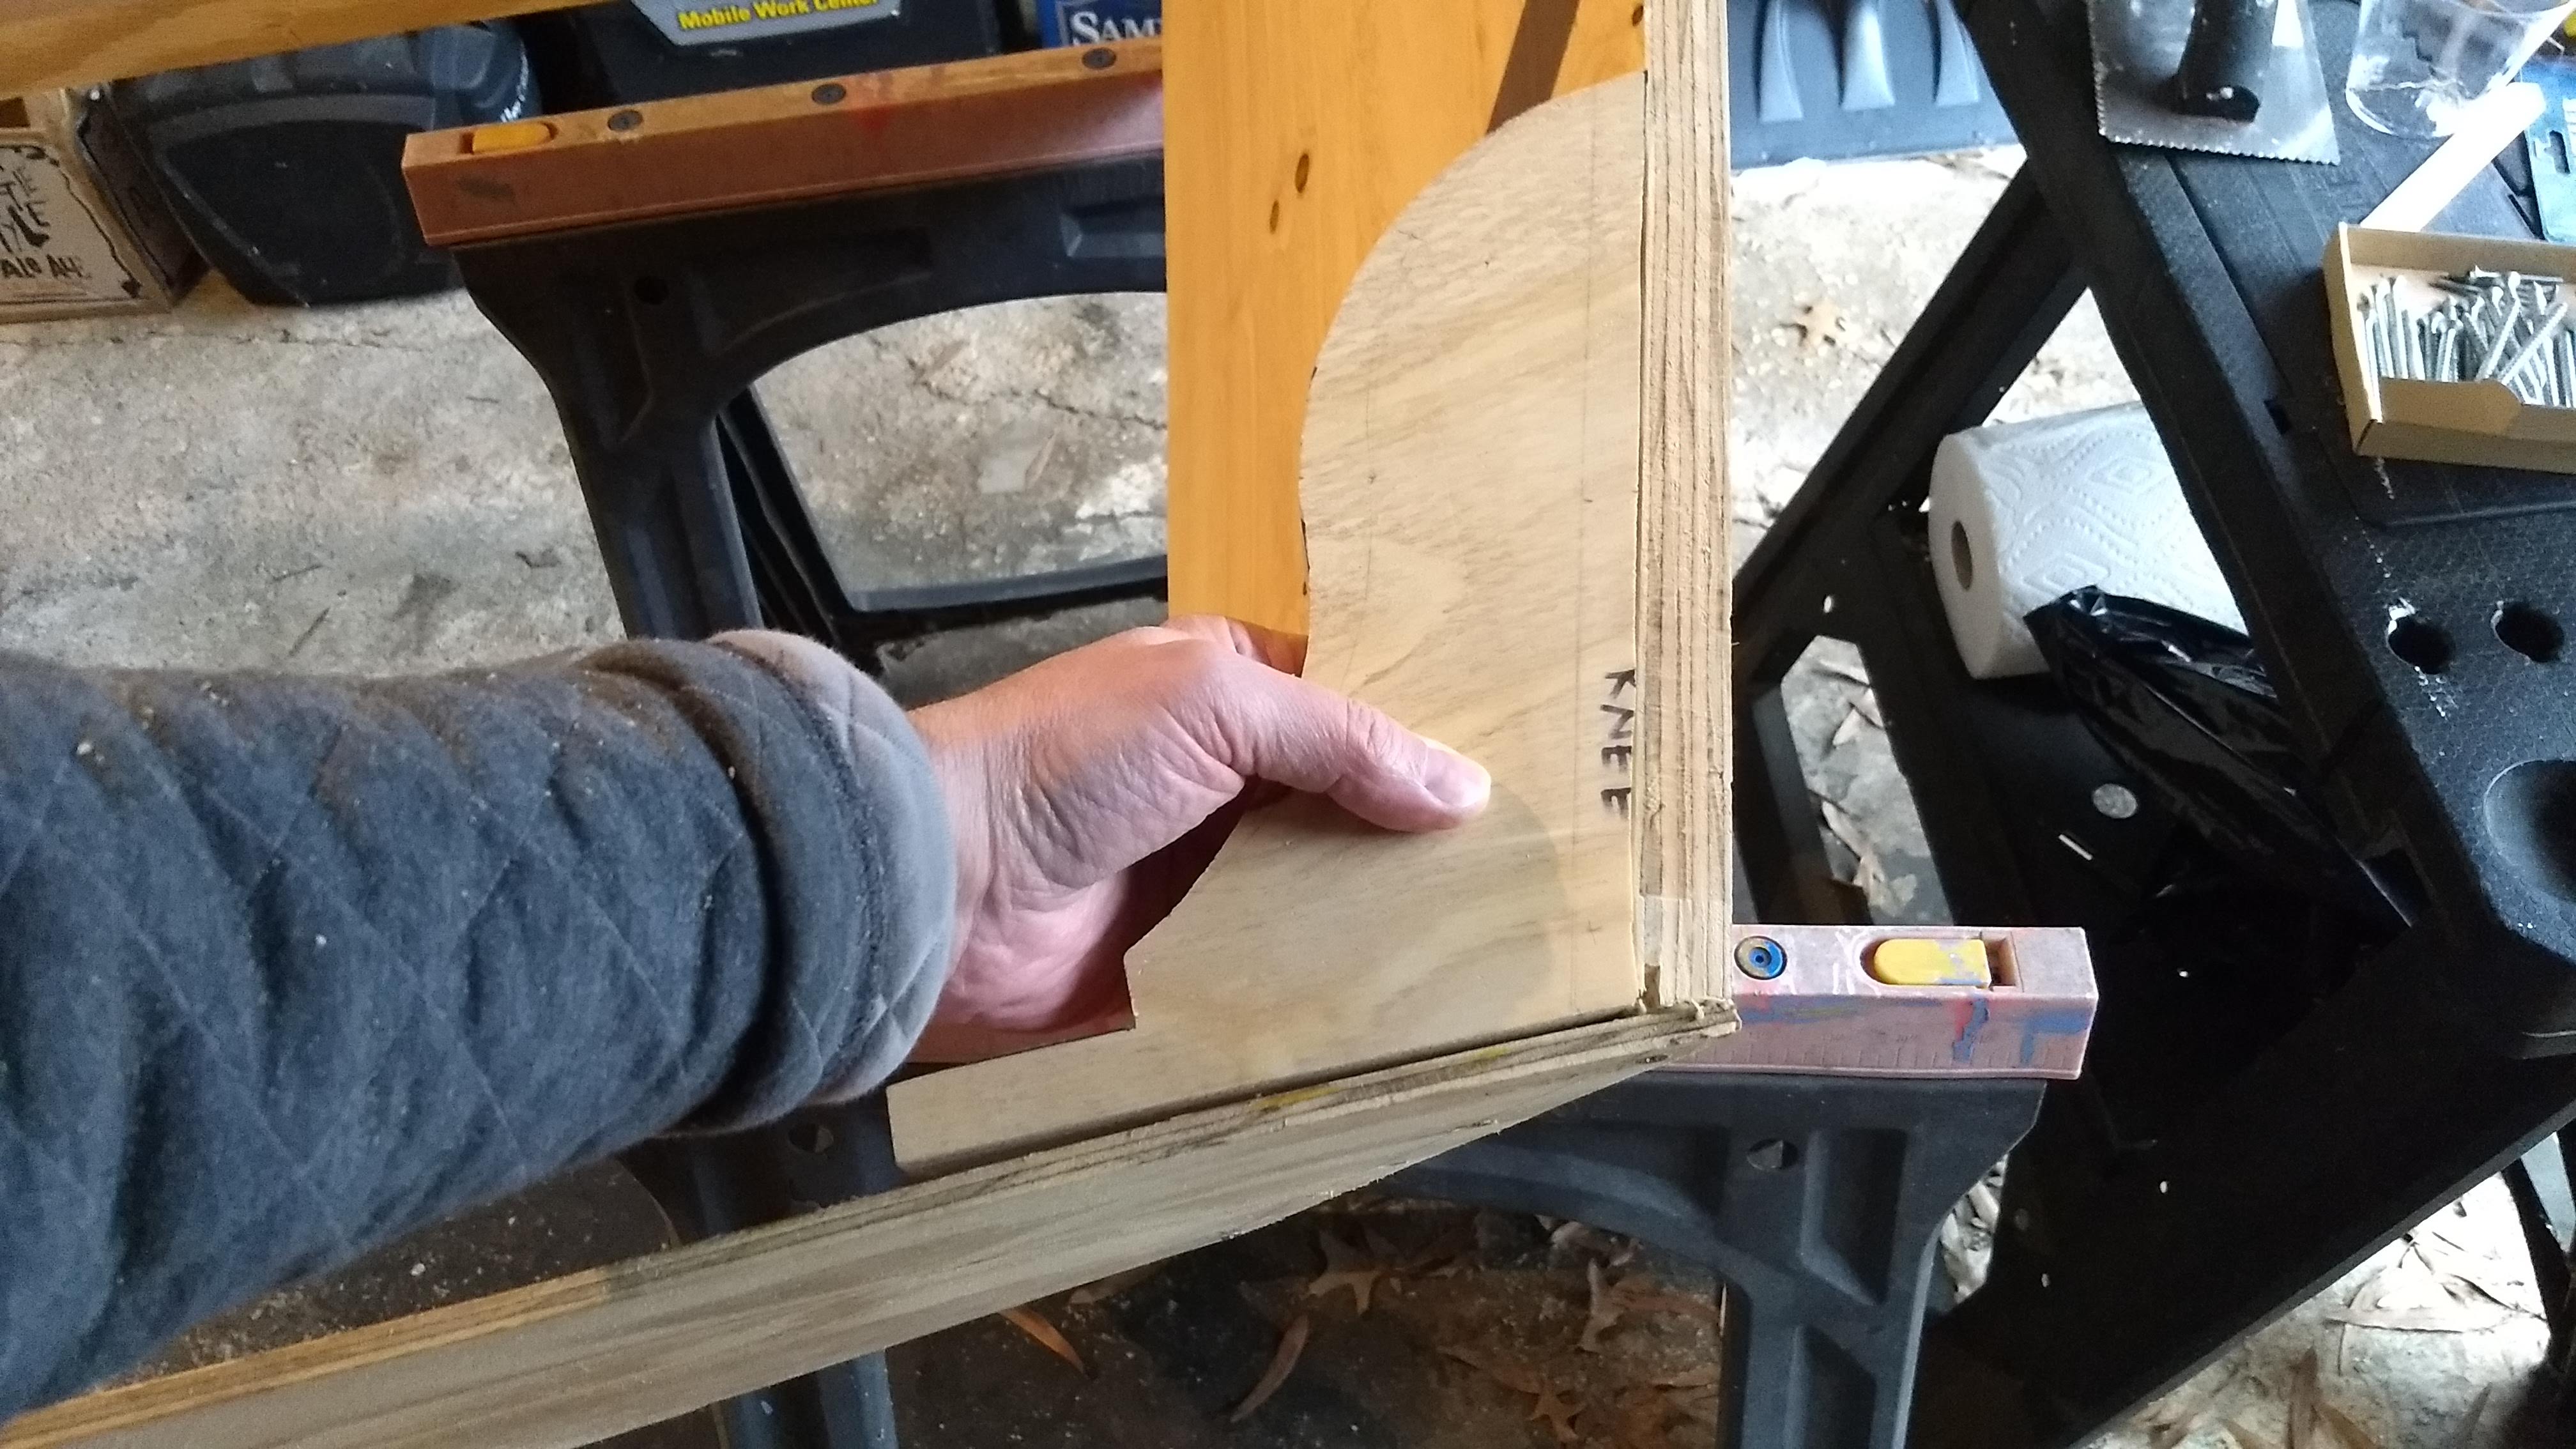
I clamped the breast hook and quarter knees in place, allowing me to attach, with screws for now, the cleats that will finally hold the breast hook and quarter knees. It’s something of a dance, deciding what gets attached to what, since some parts are on the inside and some the outside.
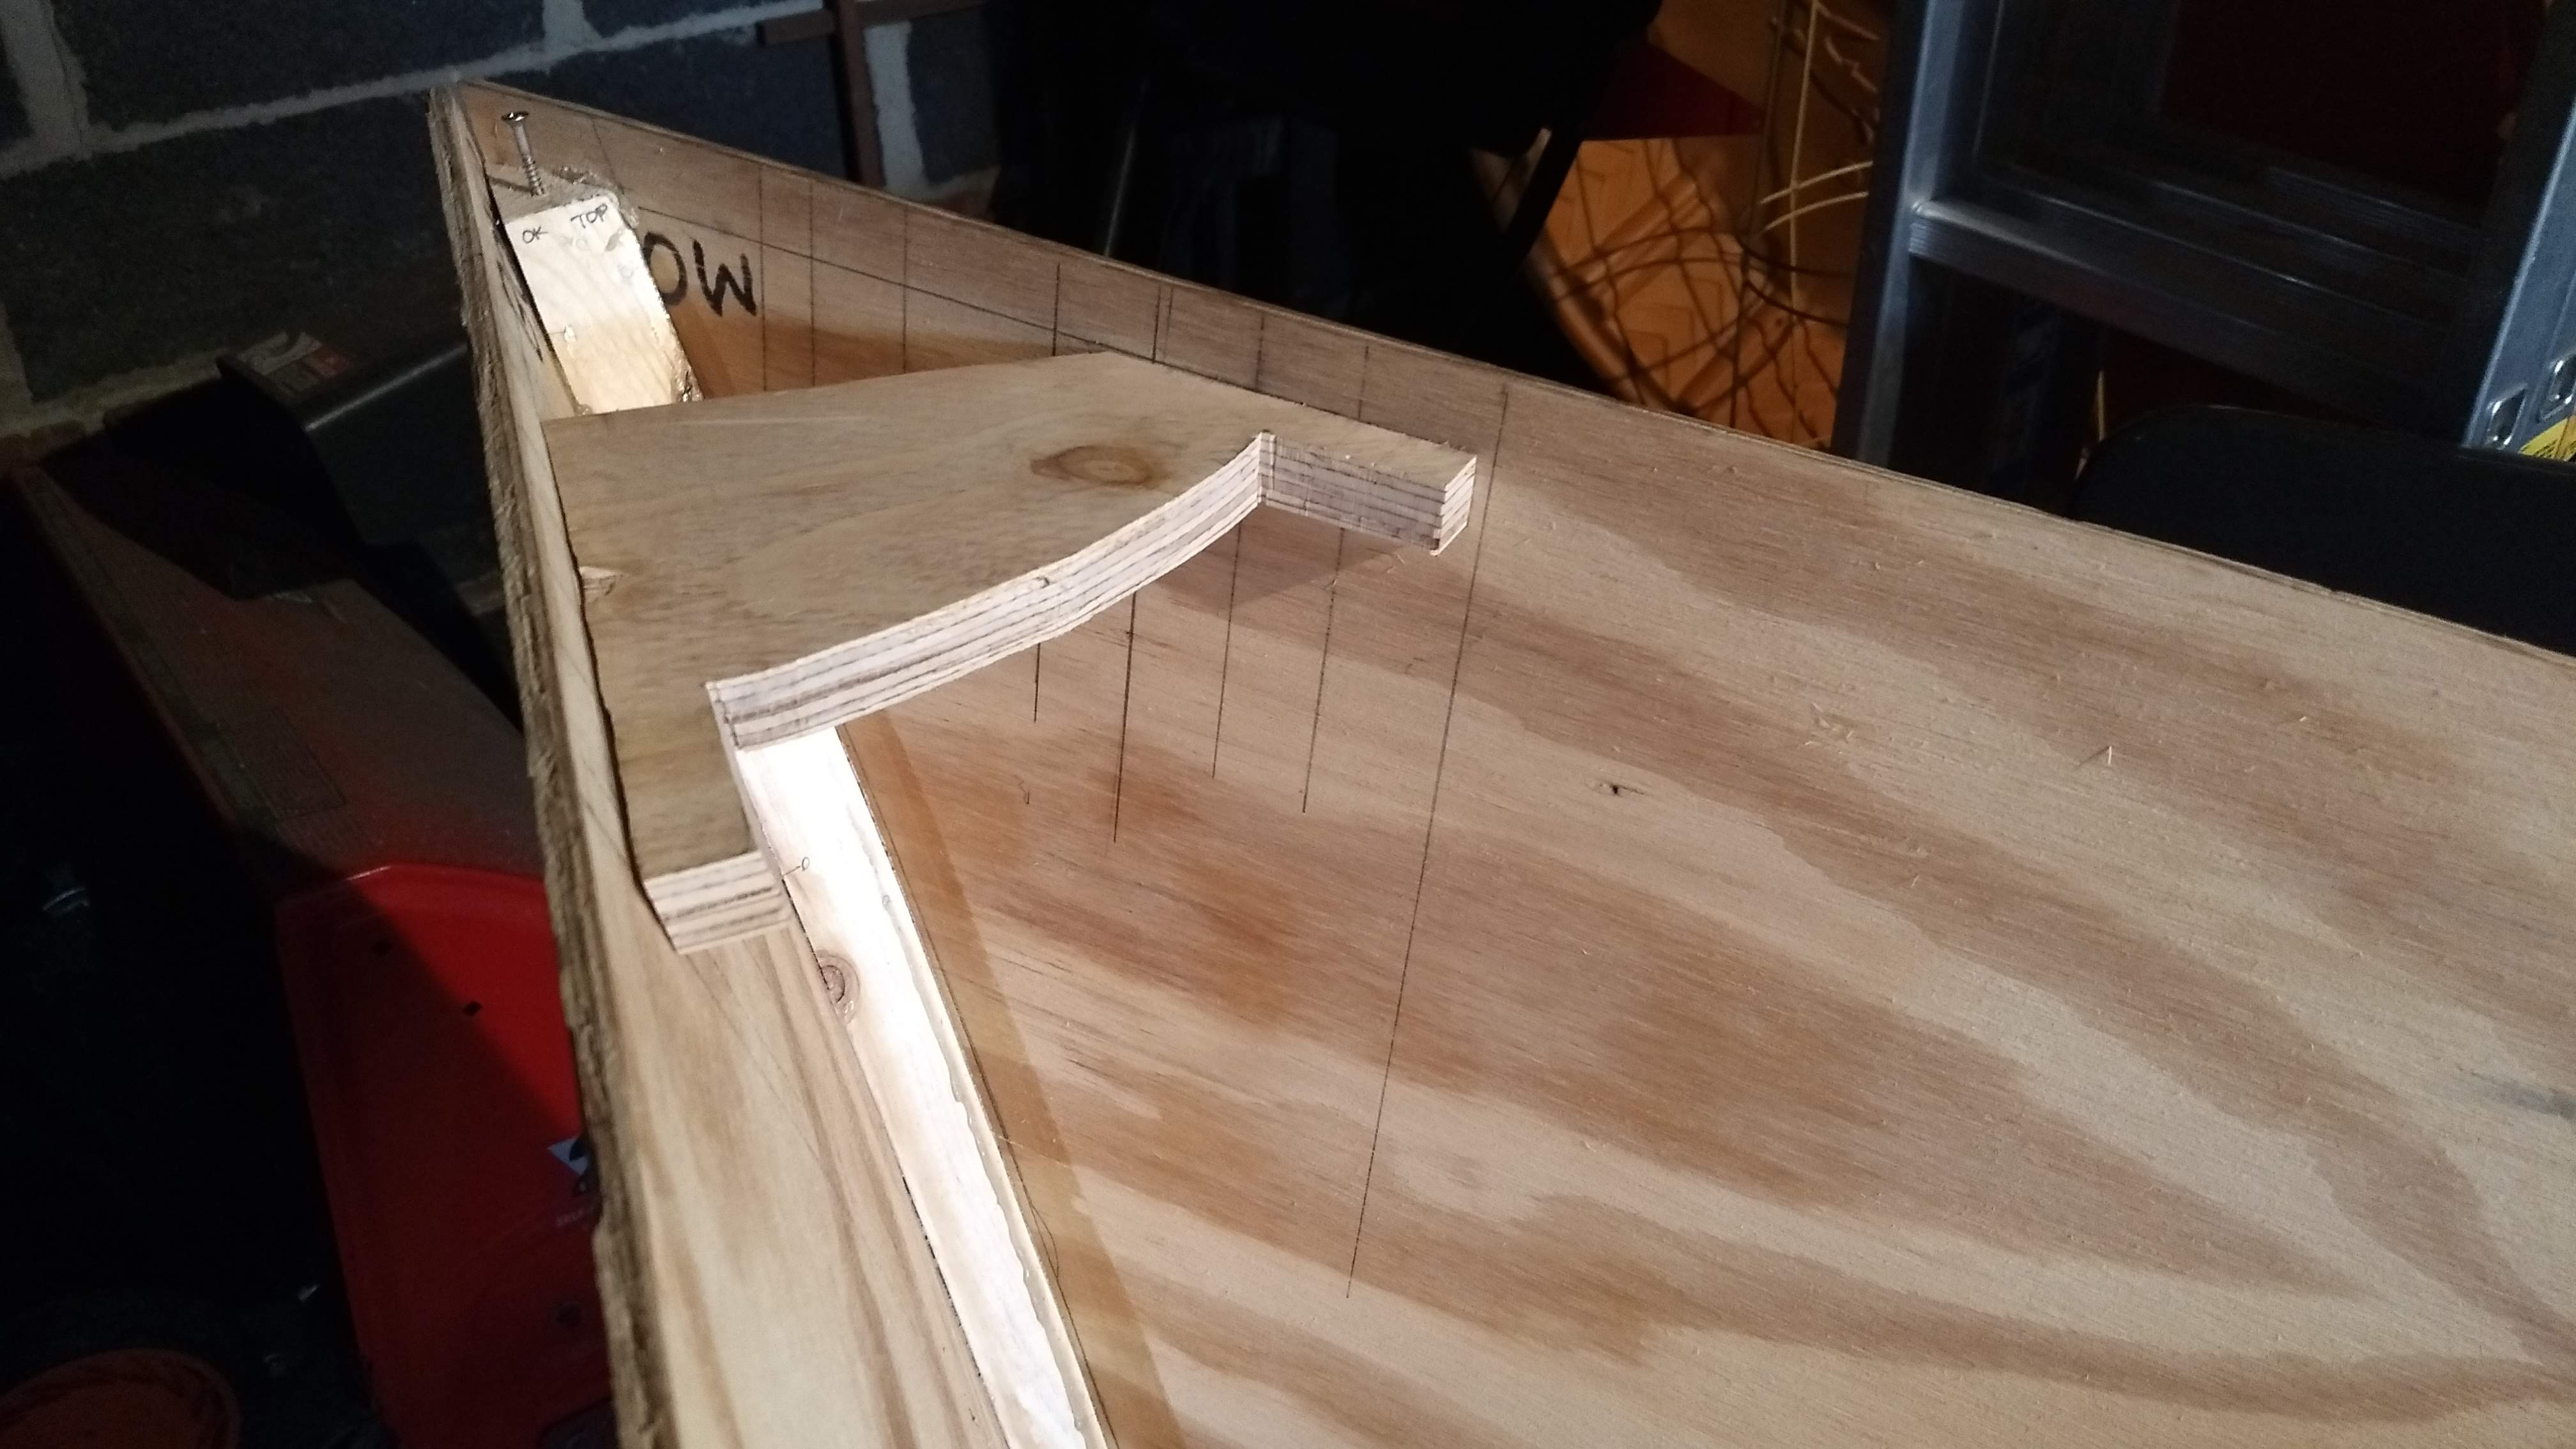
I can’t screw the gunwale to the hull at the bow and stern if there’s a breast hook or quarter knee in place in the way, but, similarly, I can’t screw the breast hook at the bow or a quarter knee at the stern if the gunwale is in place. So the sequence is to screw a cleat to the hull on the inside, then screw the gunwale to the outside, then screw the breast hook or quarter knee to its cleat on the inside.

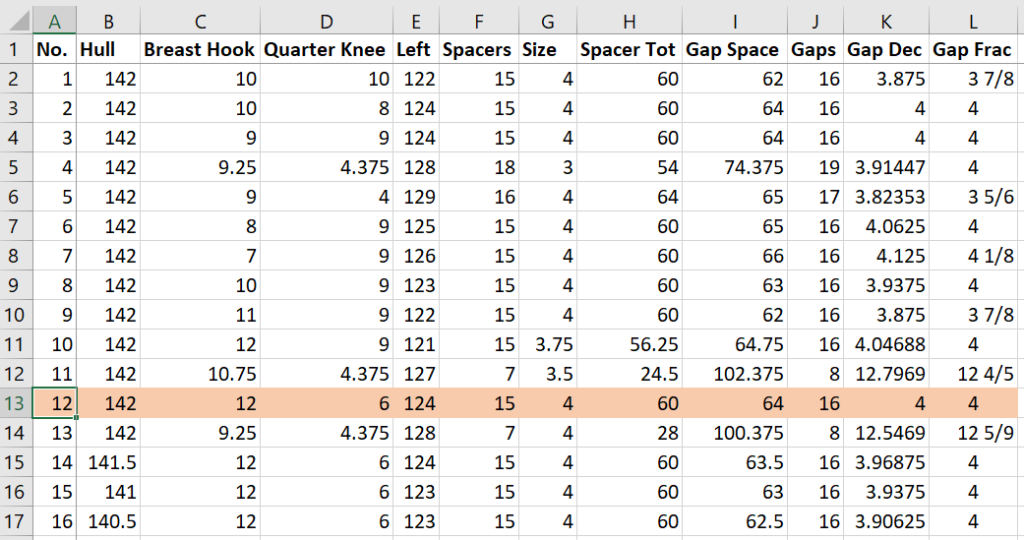
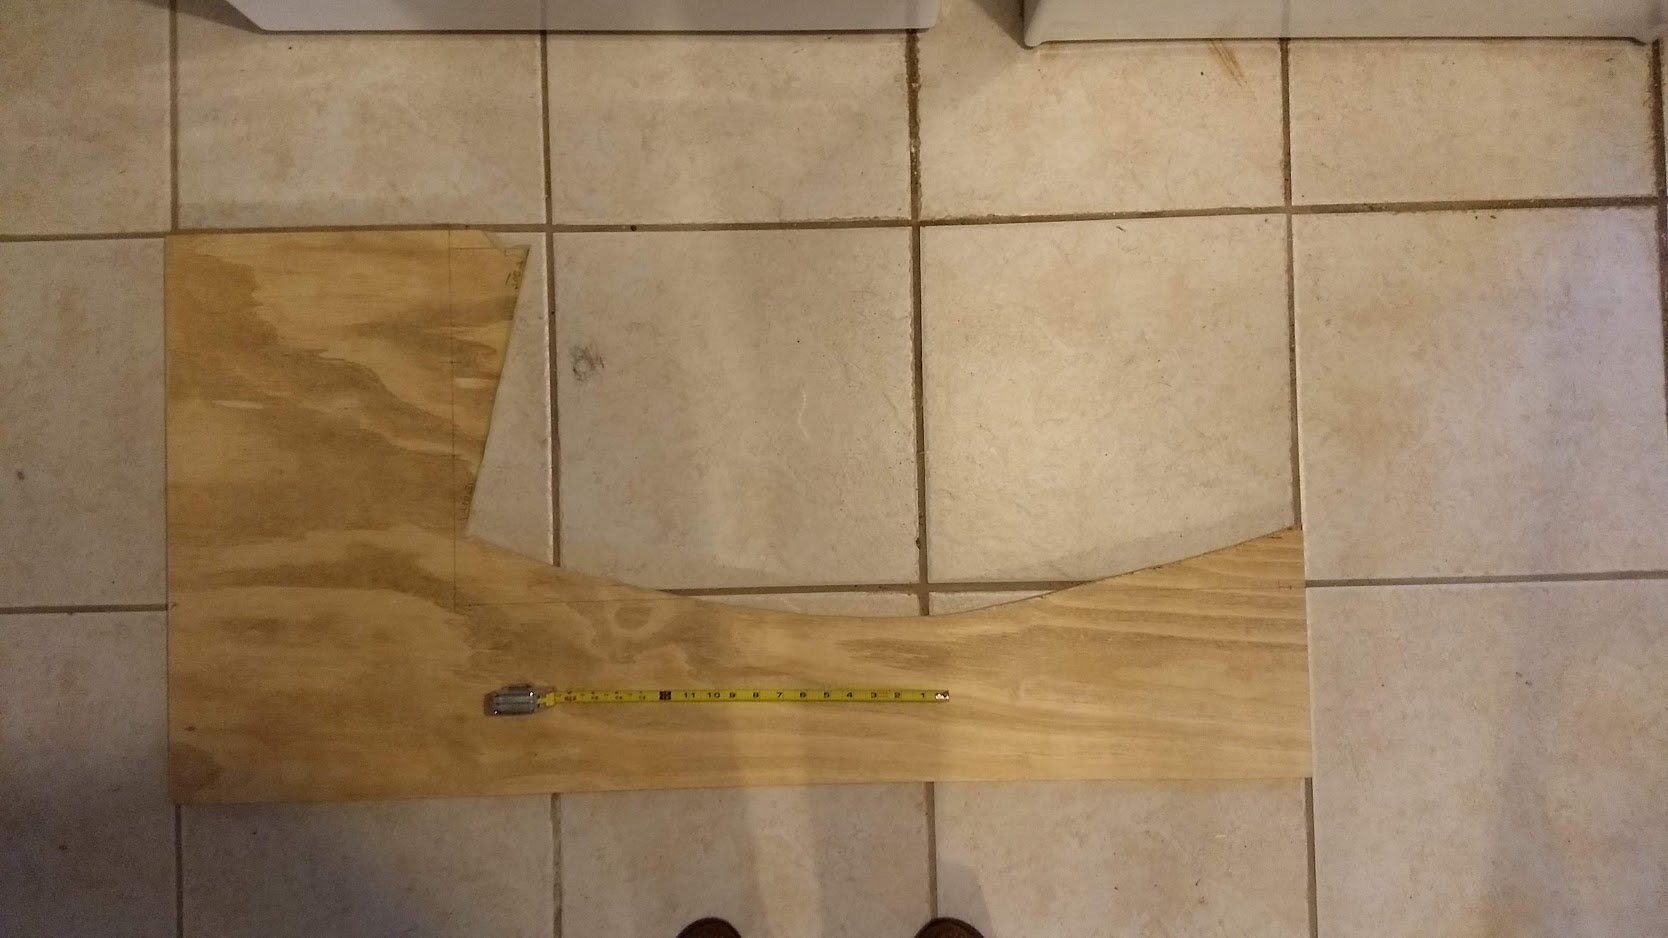
So, finally, with the cleats in place, I have the actual length of sheer line to which to attach inwale spacers. This is where the tape measure comes in.
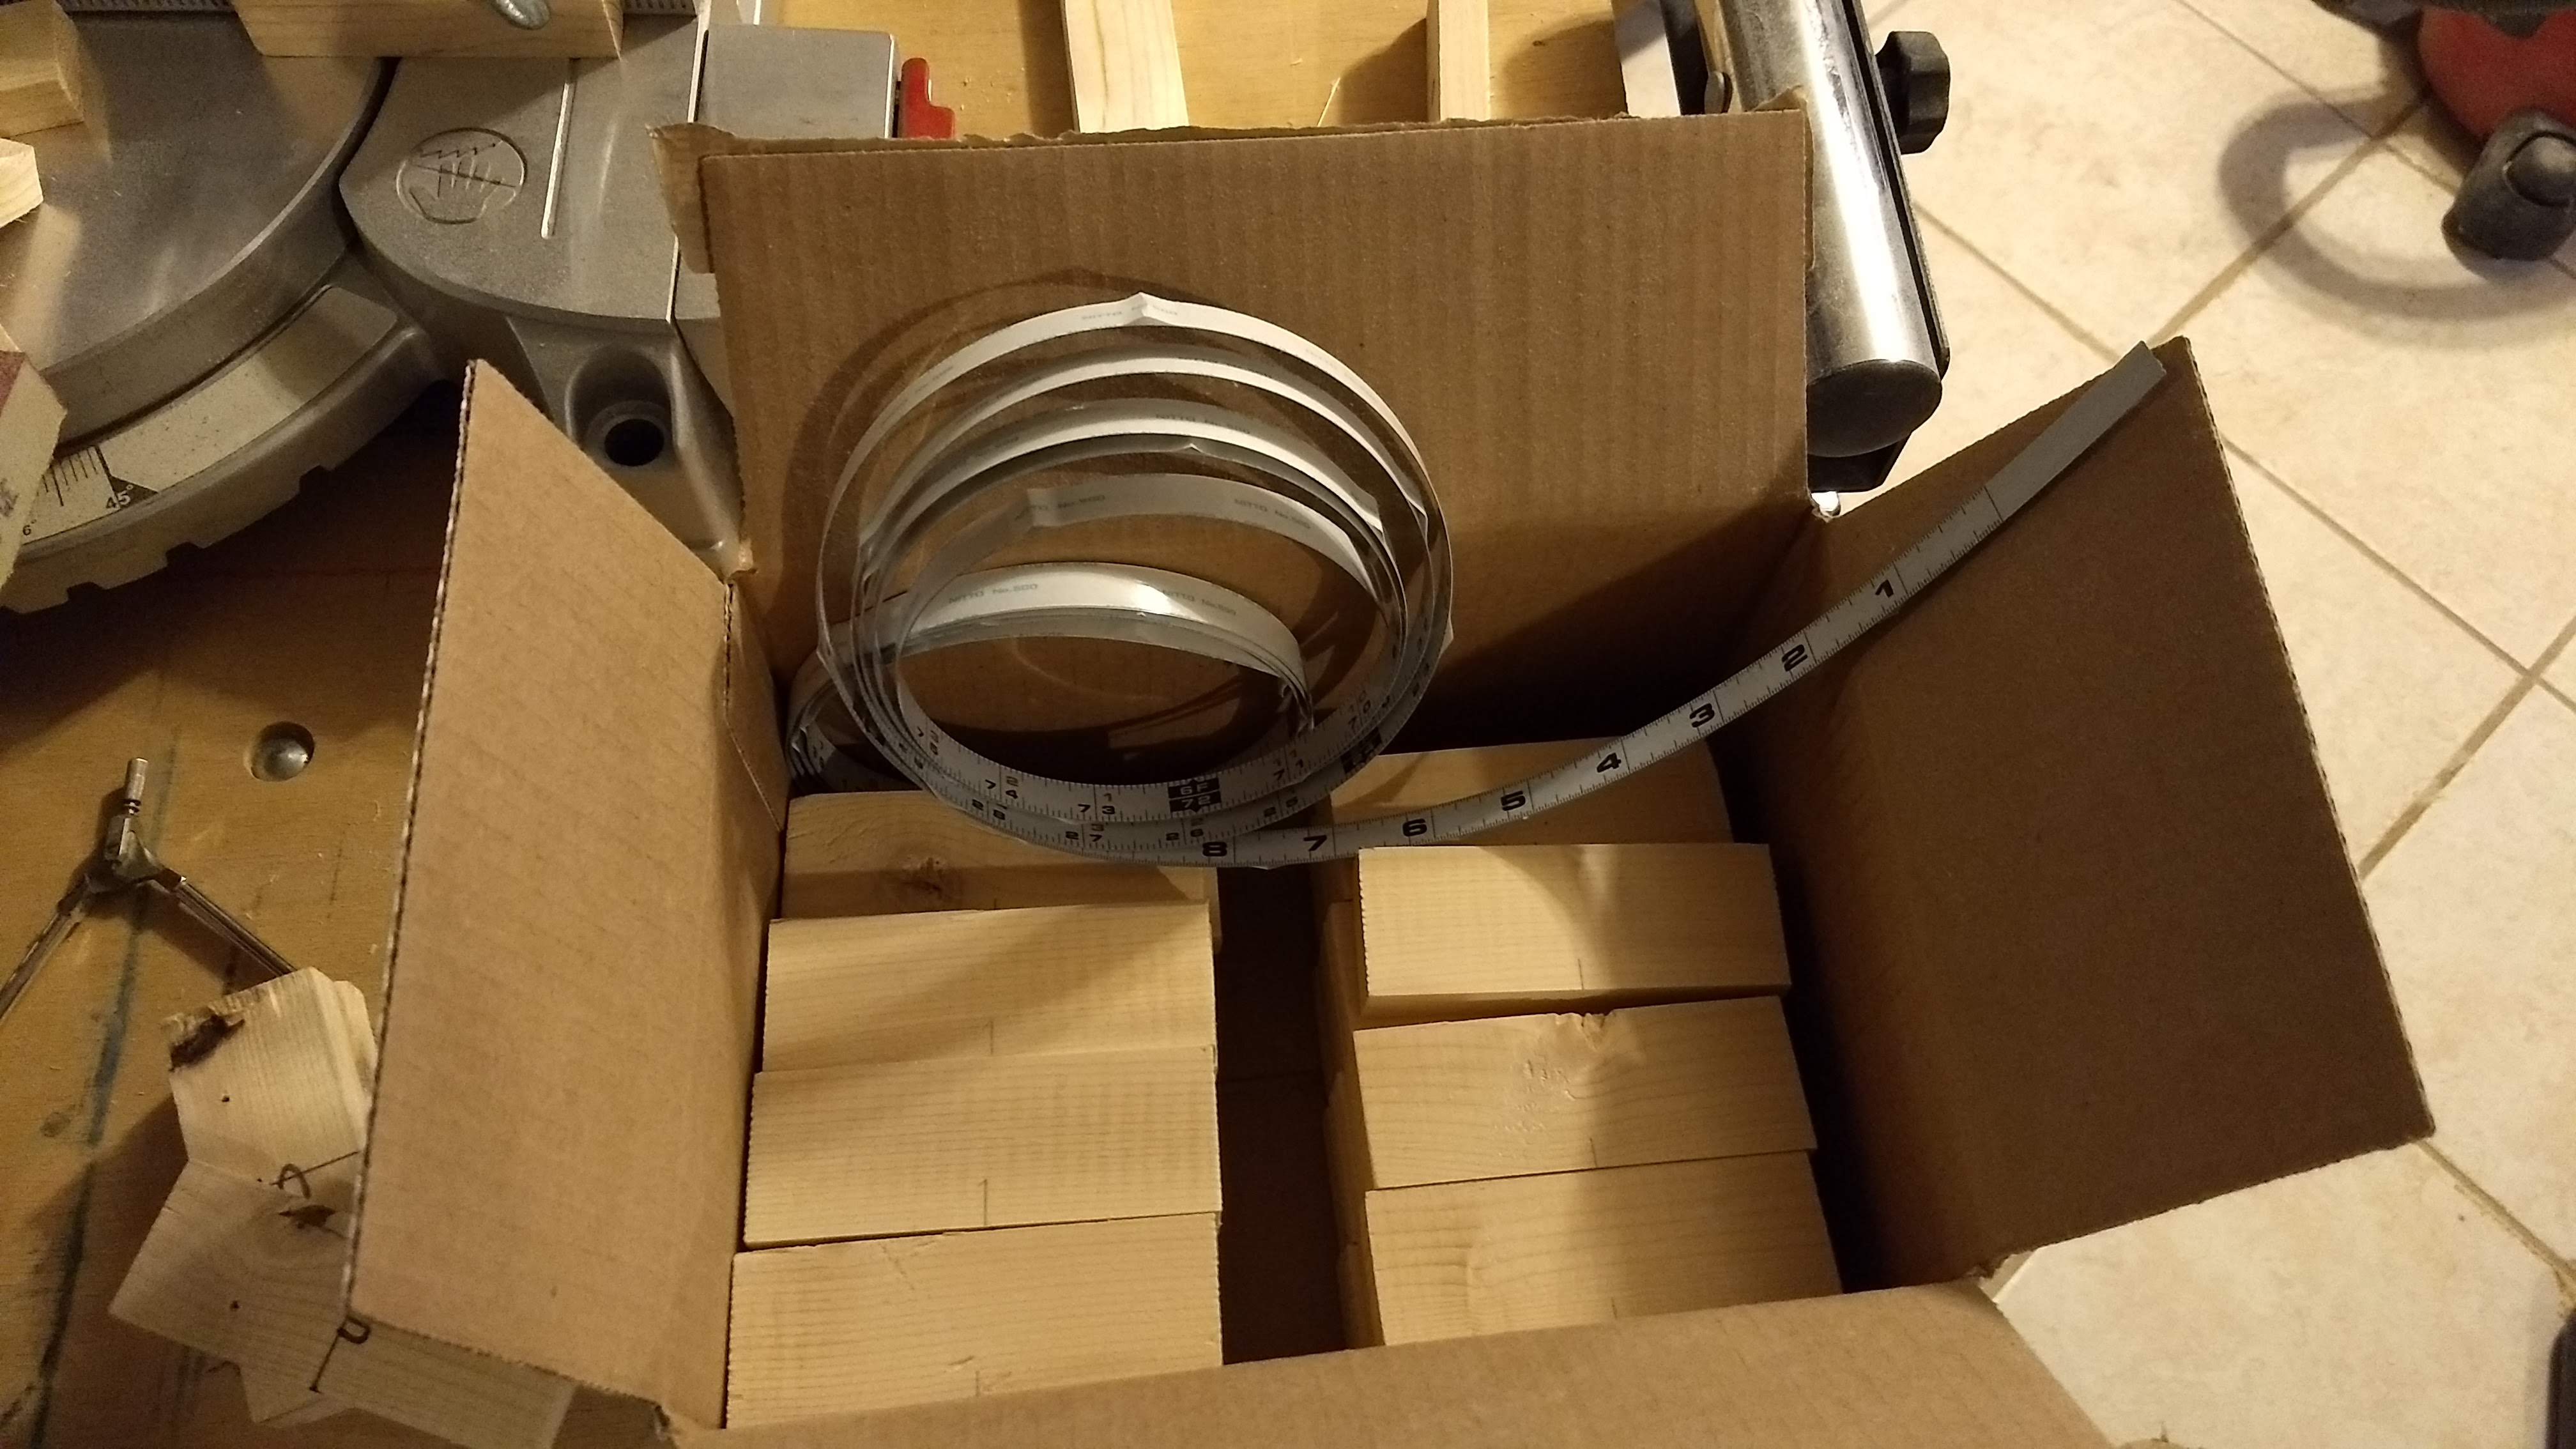
I first tried clamping the tape measure to the inside of the boat, since that’s where the spacers go. But I couldn’t get the tape to lie flat all along the sheer line, since the curve on the inside is concave. It worked much, much better putting the tape on the outside, along the convex curve, where the tape stretched taut and flat.
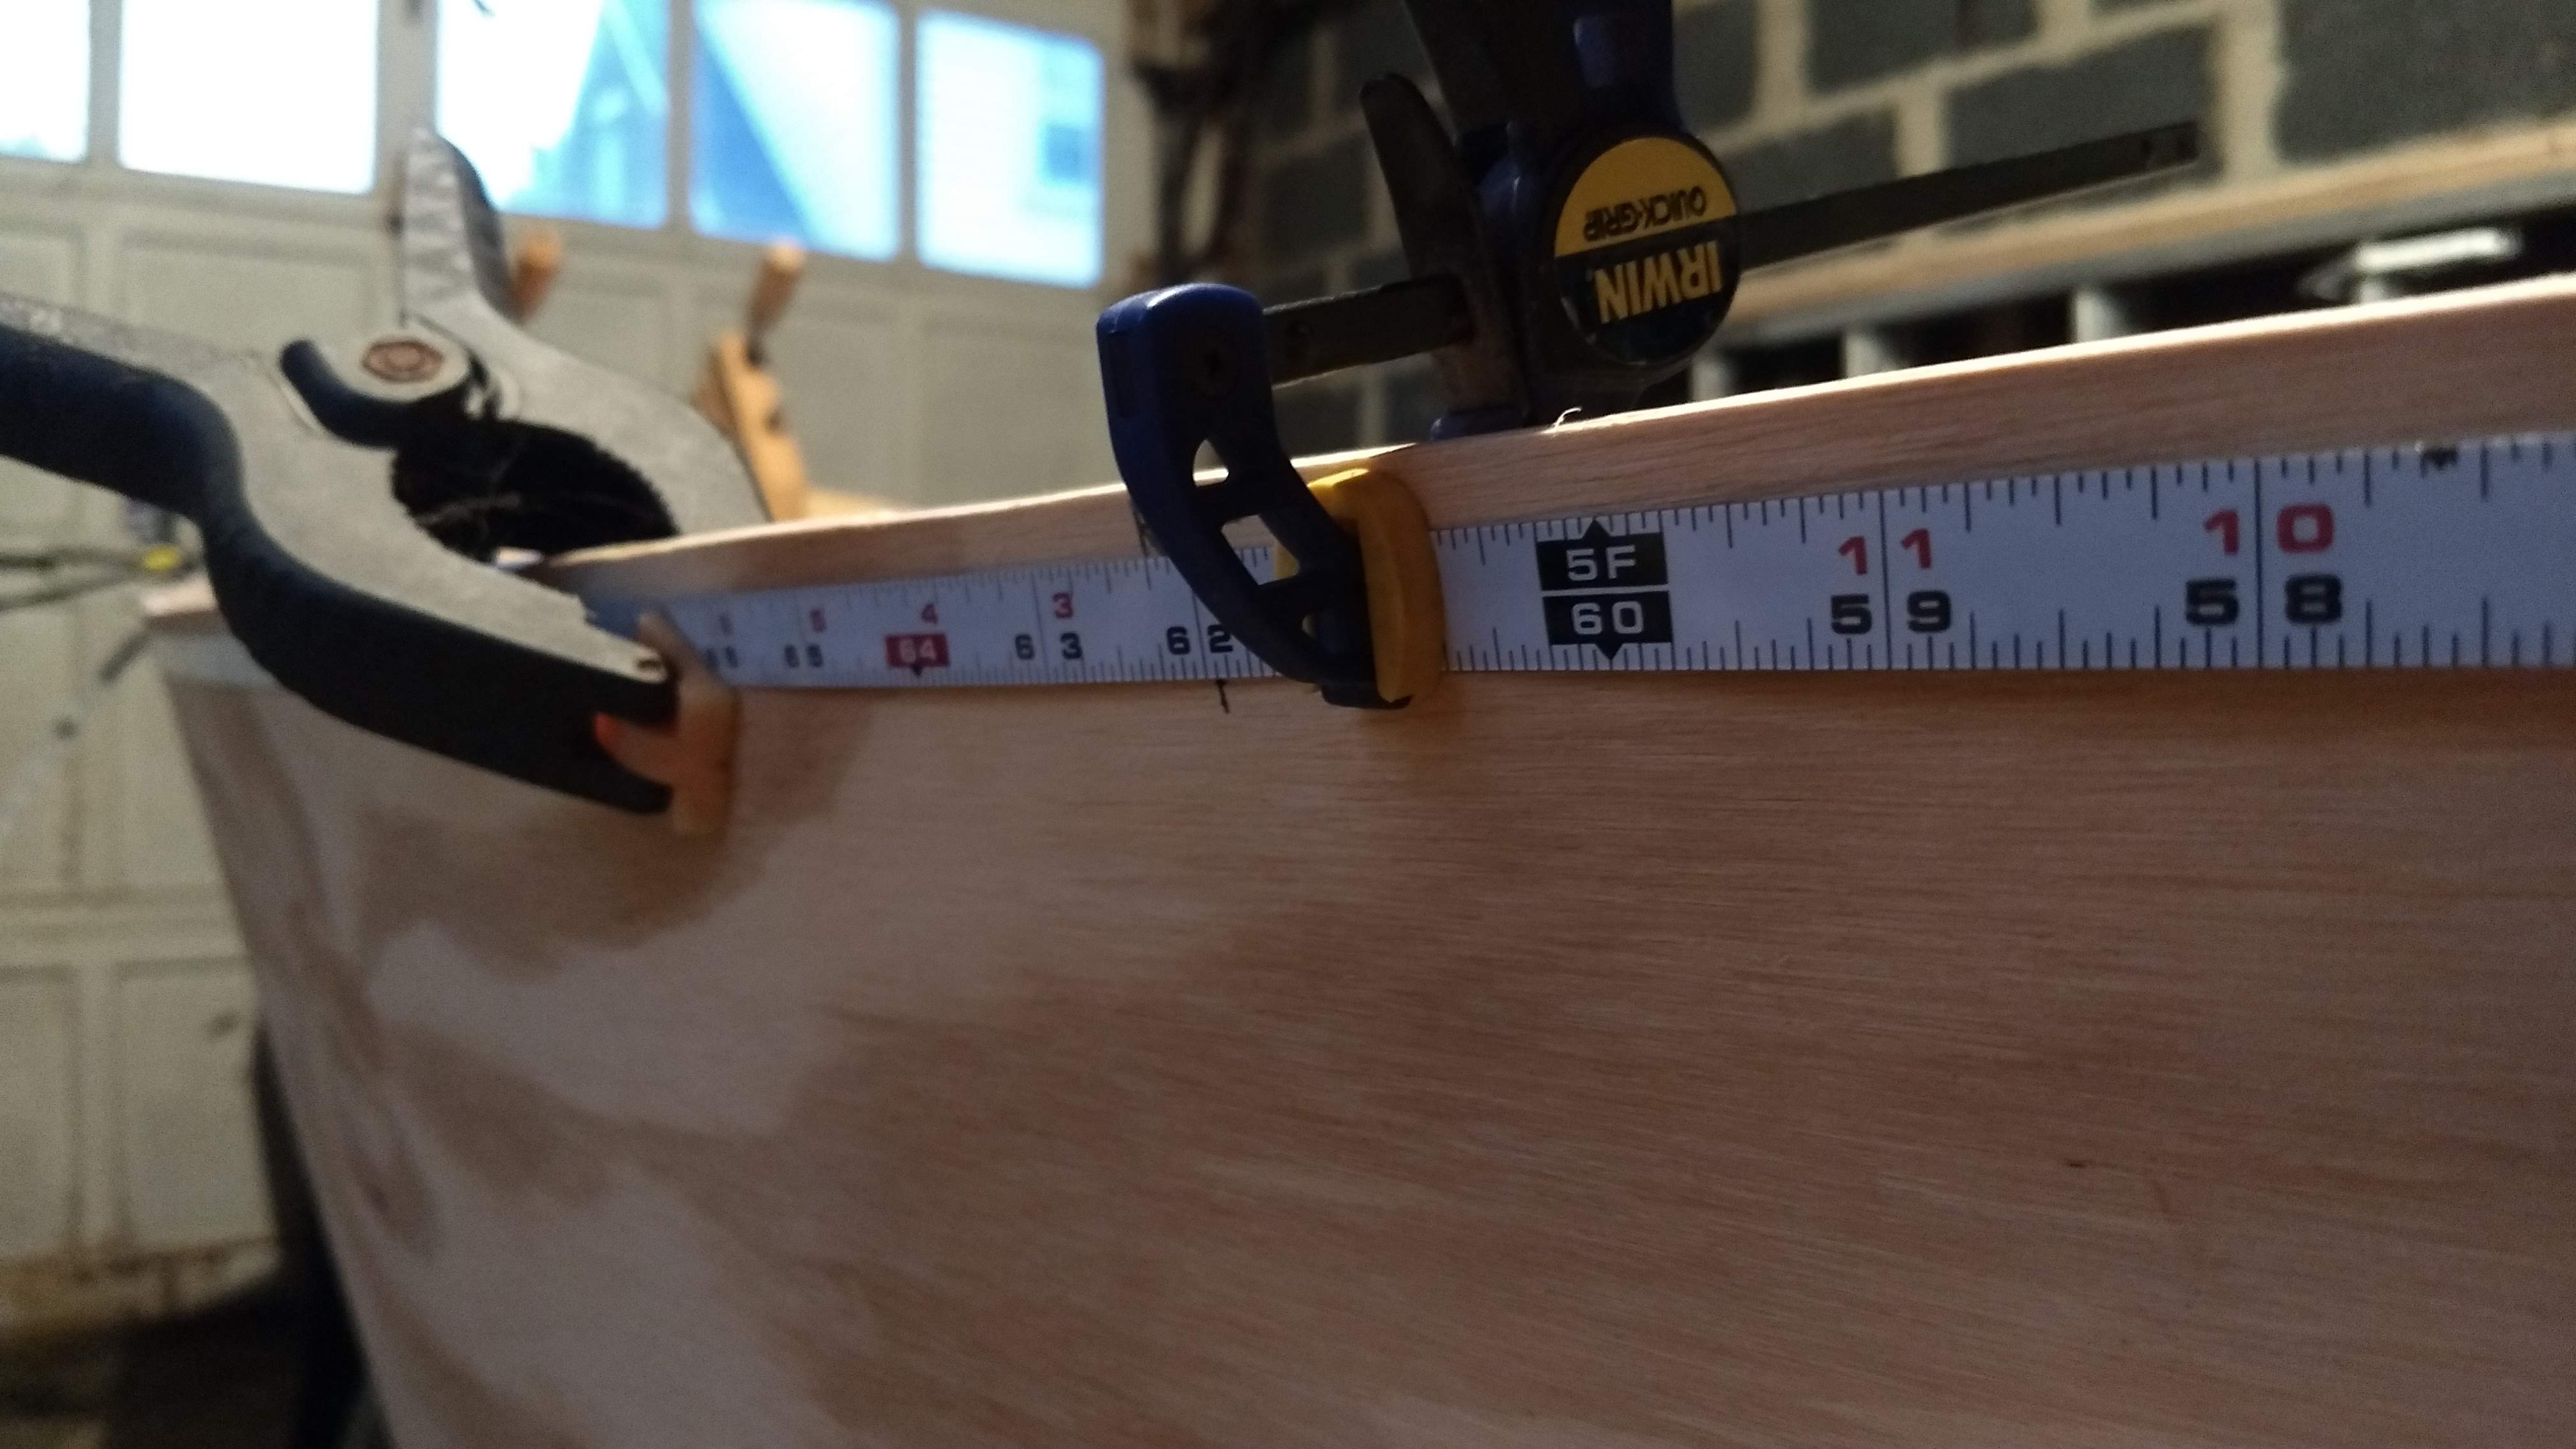
Then it was a simple matter of making marks 8″ apart, for the 4″ blocks to be 4″ apart. The next issue, though, was transferring the marks on the outside of the hull to the inside. I could’ve just eyeballed it, probably, but, as usual, I worked out an overly exacting method.
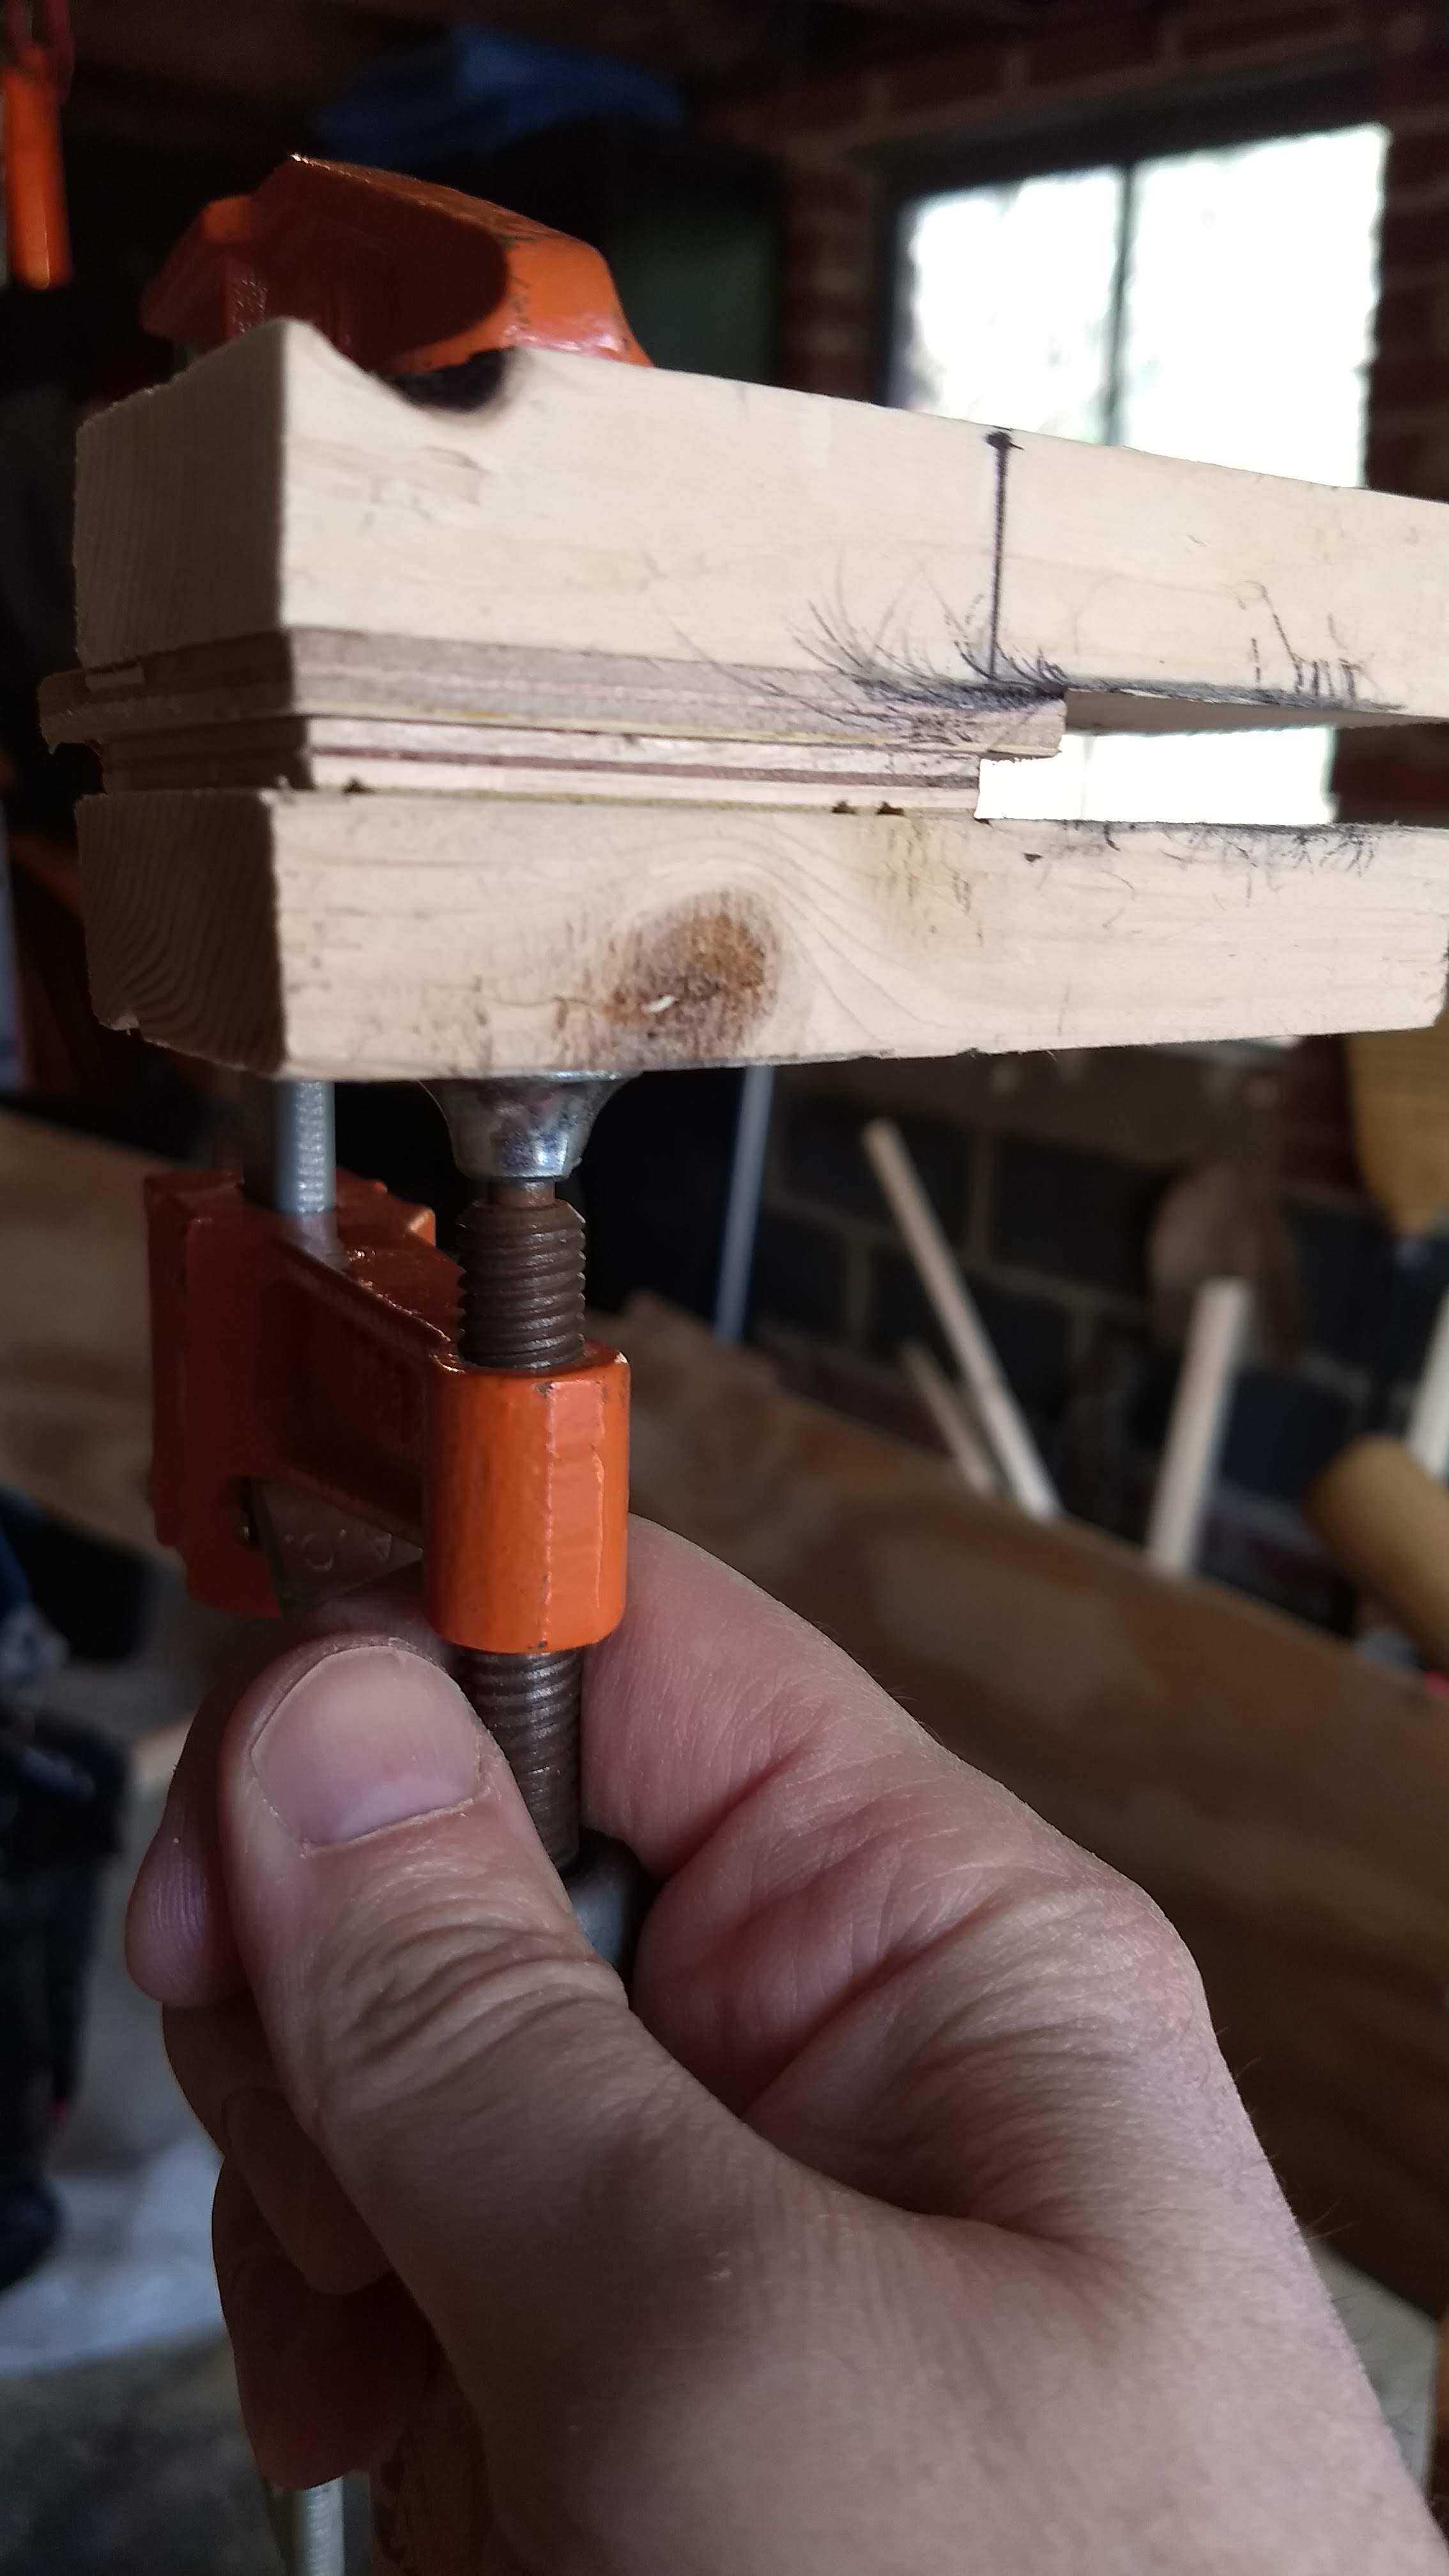
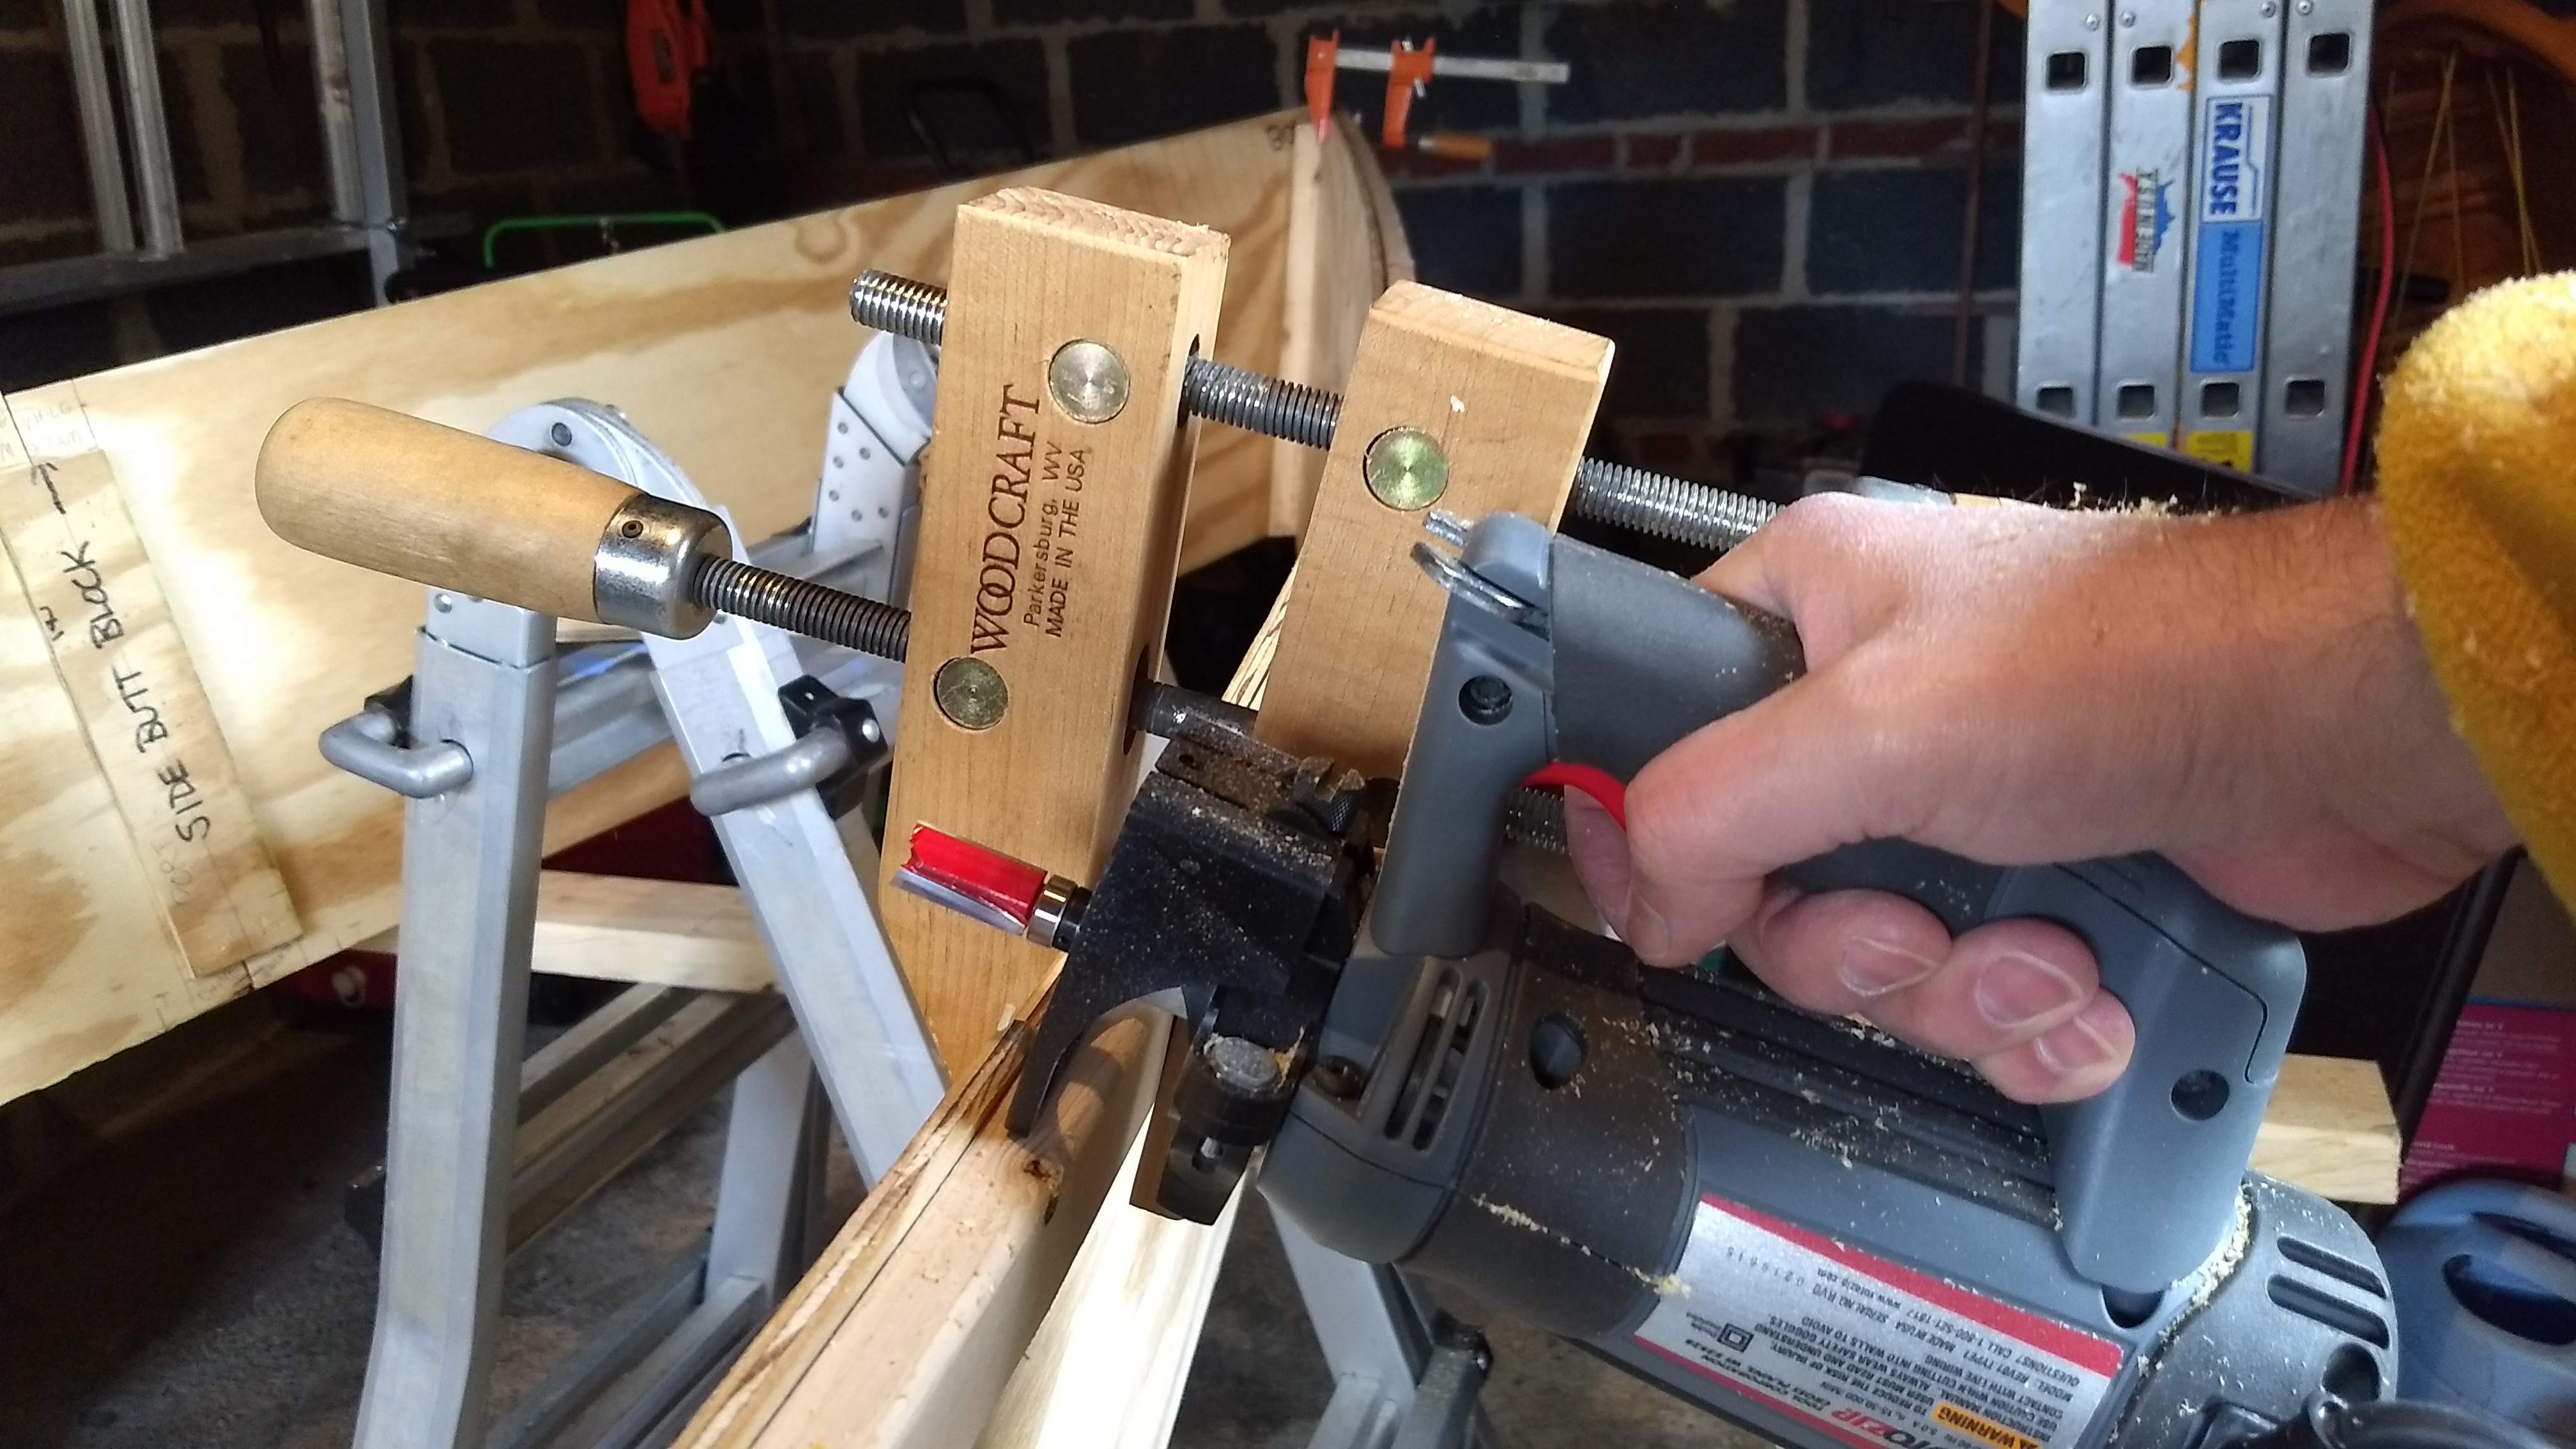
I used two extra scrap spacer blocks, clamped together with some thinner scraps, to make a gauge to transfer the marks from outside to inside.
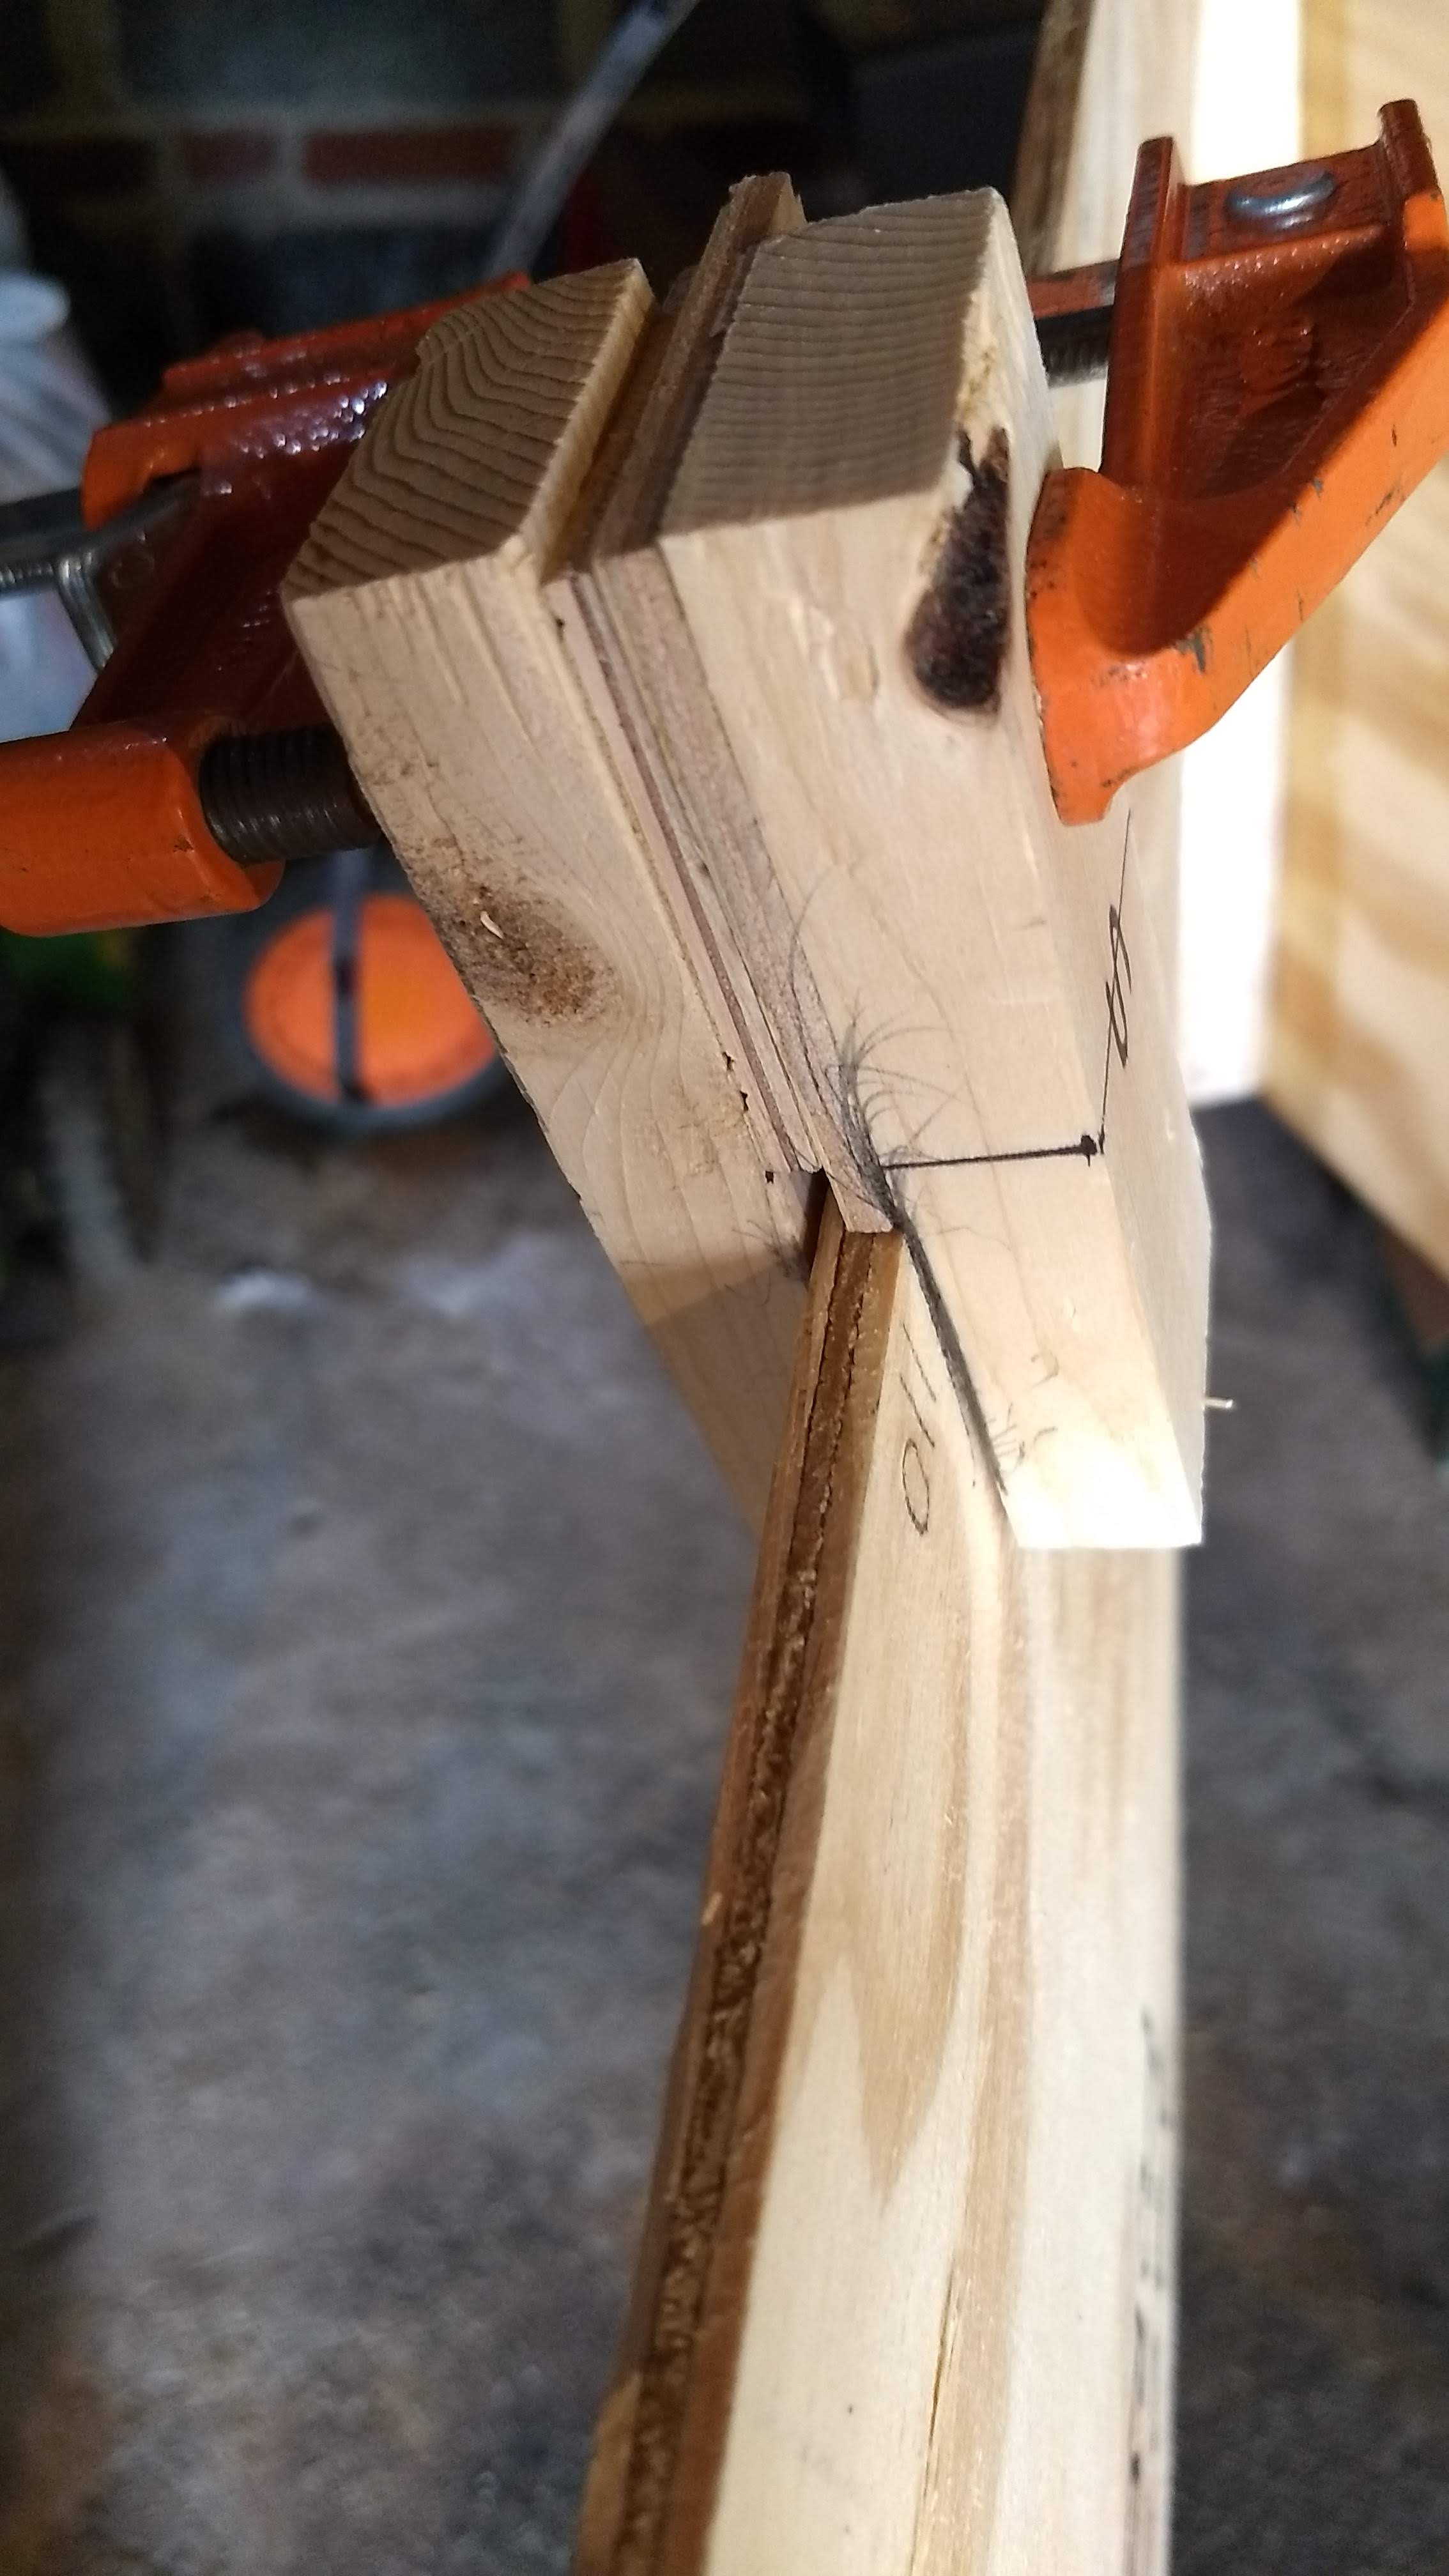
SSTG in use
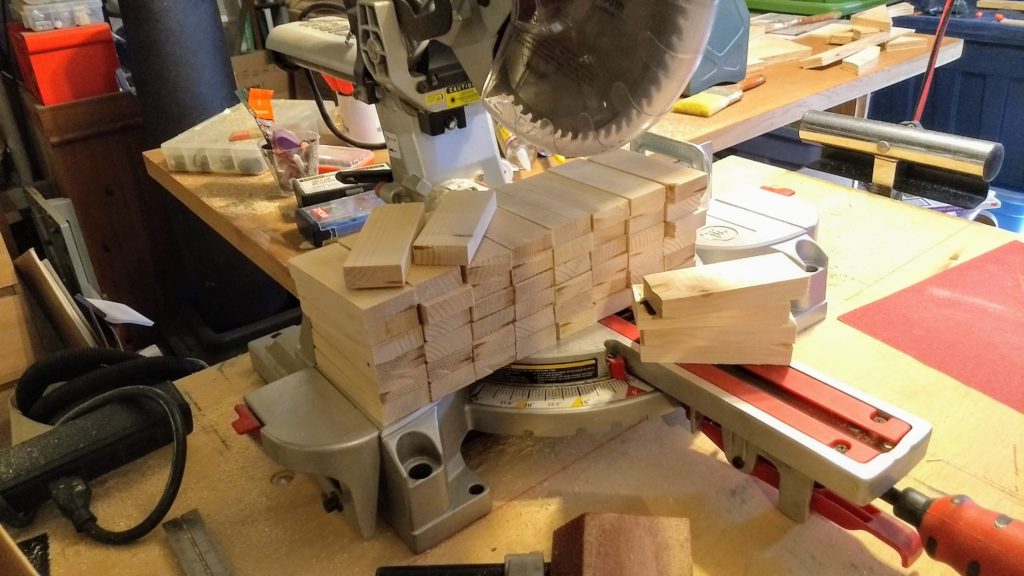
Once the points were marked on the inside, I could then screw the spacer blocks to the hull. Again, this is a little bit of a dance, since I’m screwing the blocks to the hull but then I’ll be screwing the inwales to the blocks. I don’t want screws going into or through each other from both sides.
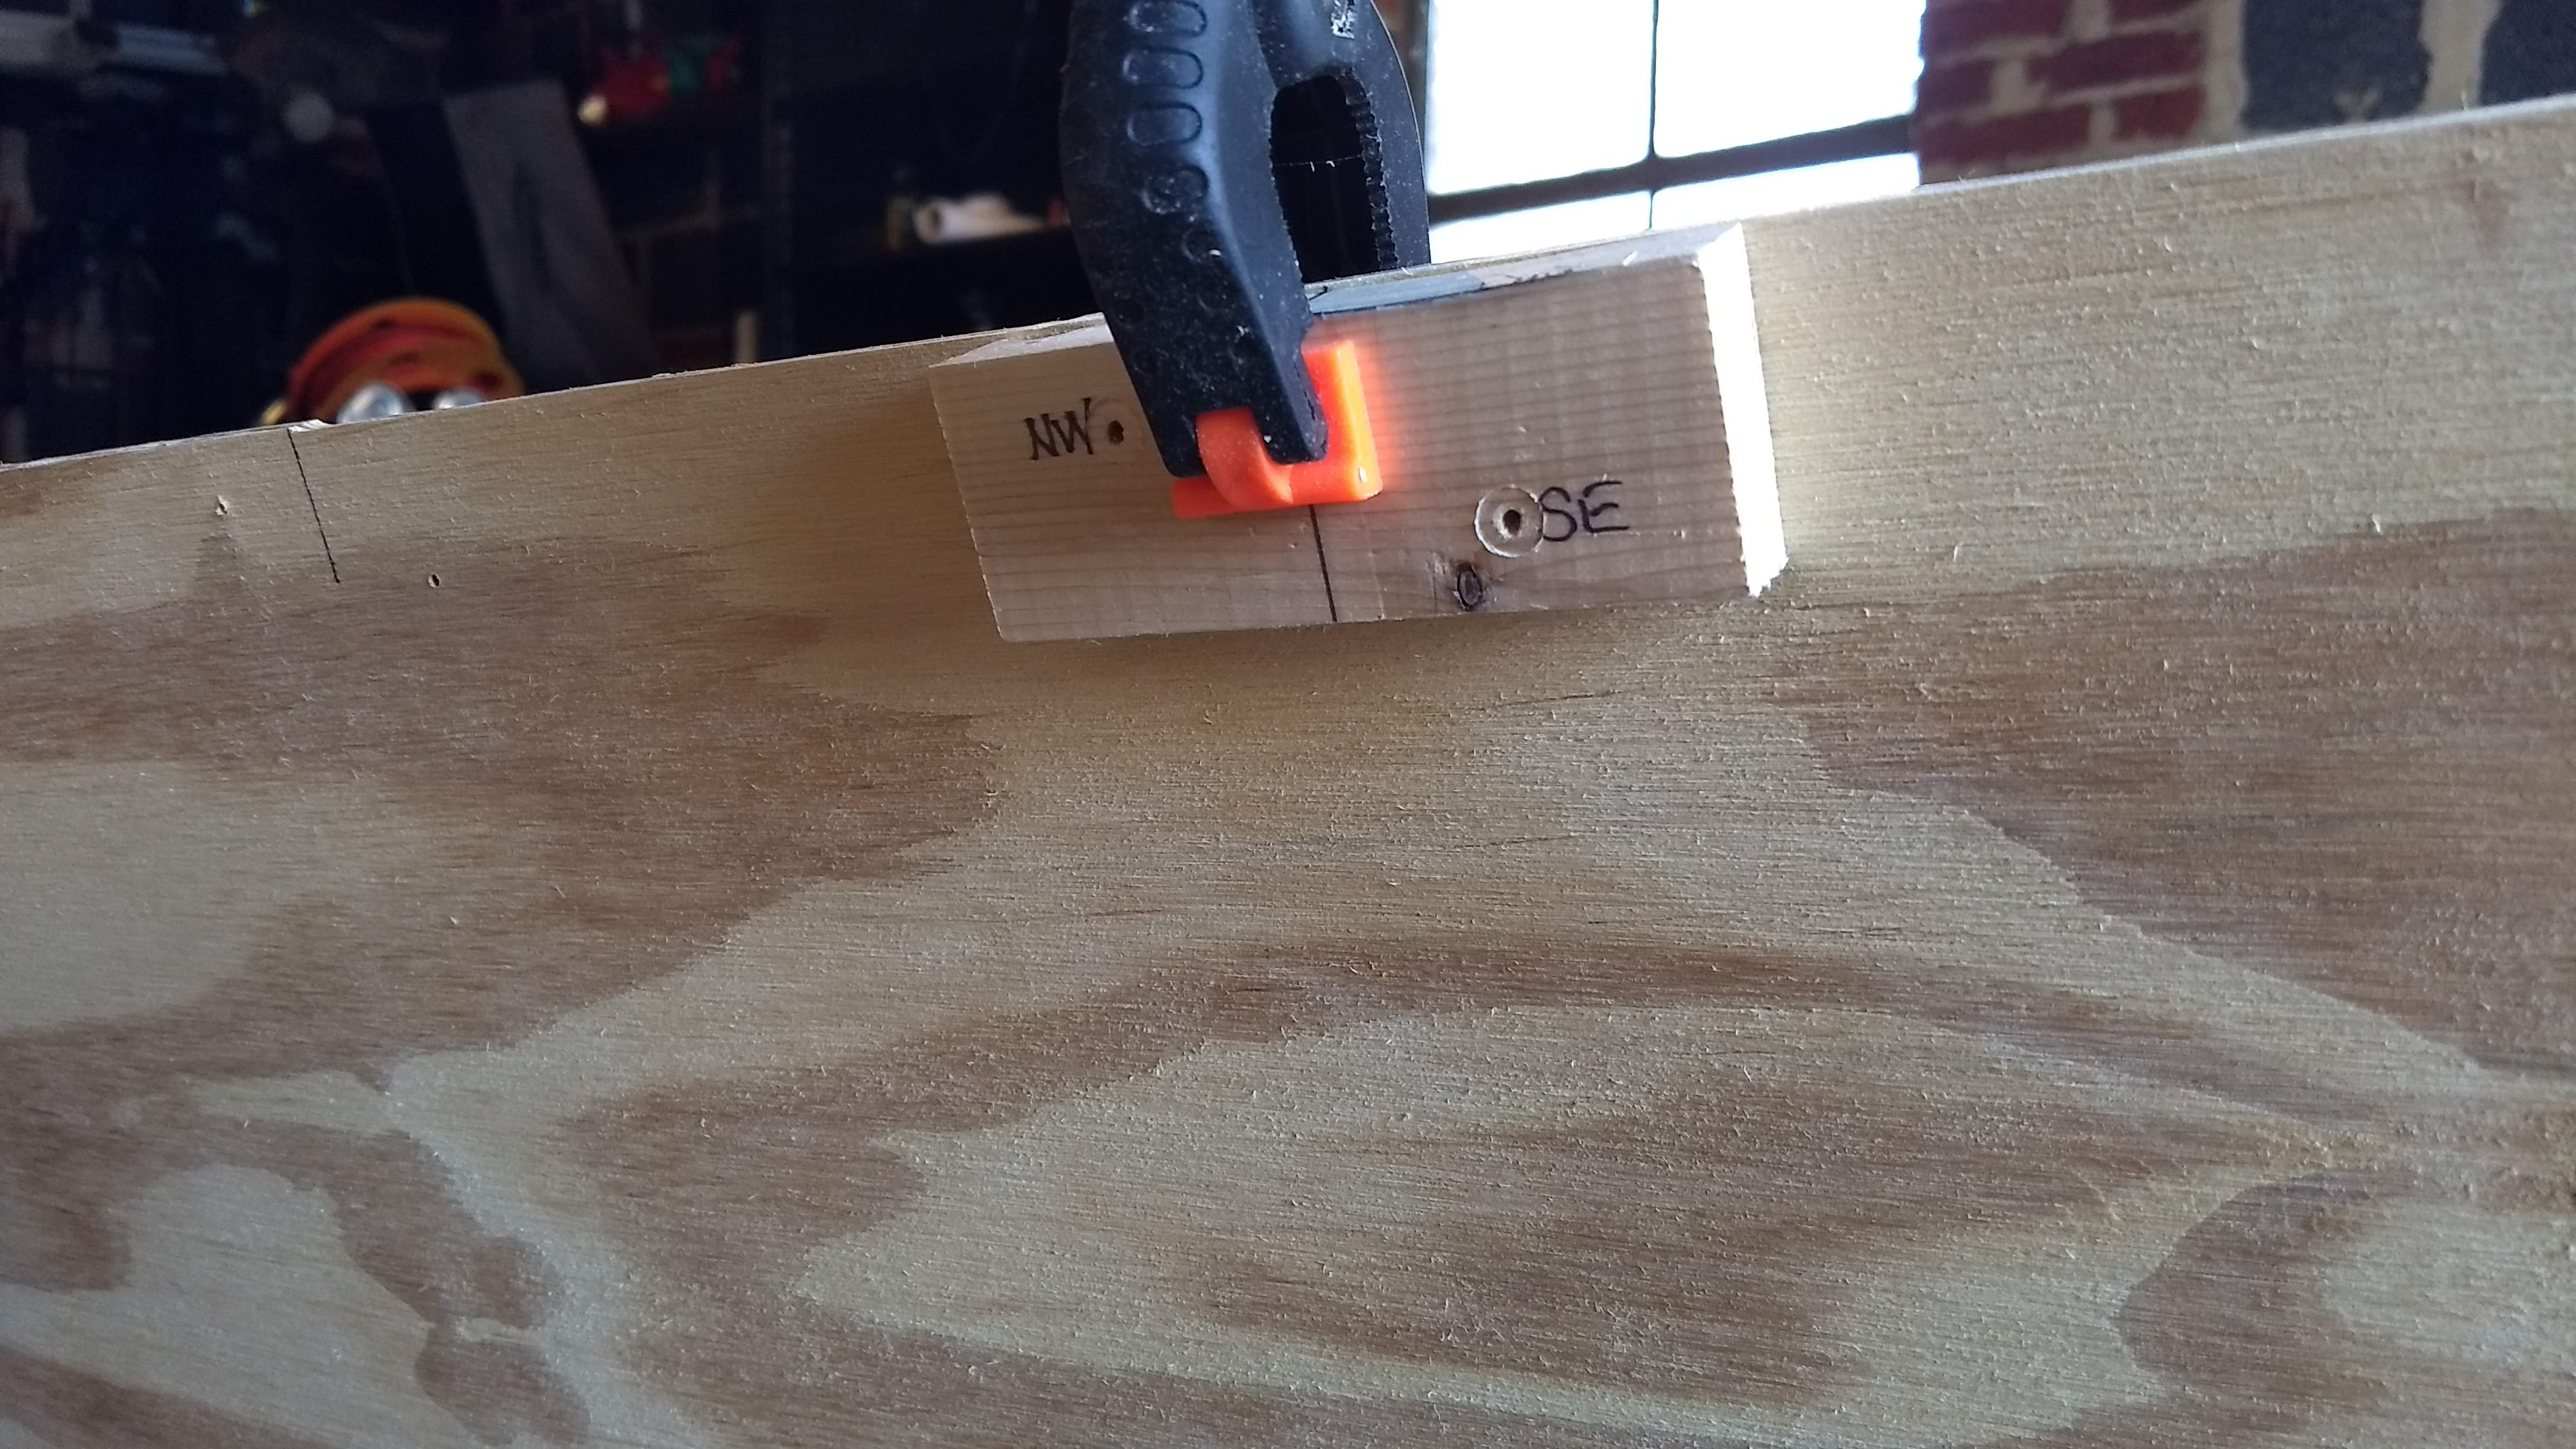
So I made a little jig or template from an extra spacer block, such that the screws will be in different corners of the block depending on which side they come from. I clamped that onto the outside and drilled pilot holes for each block.
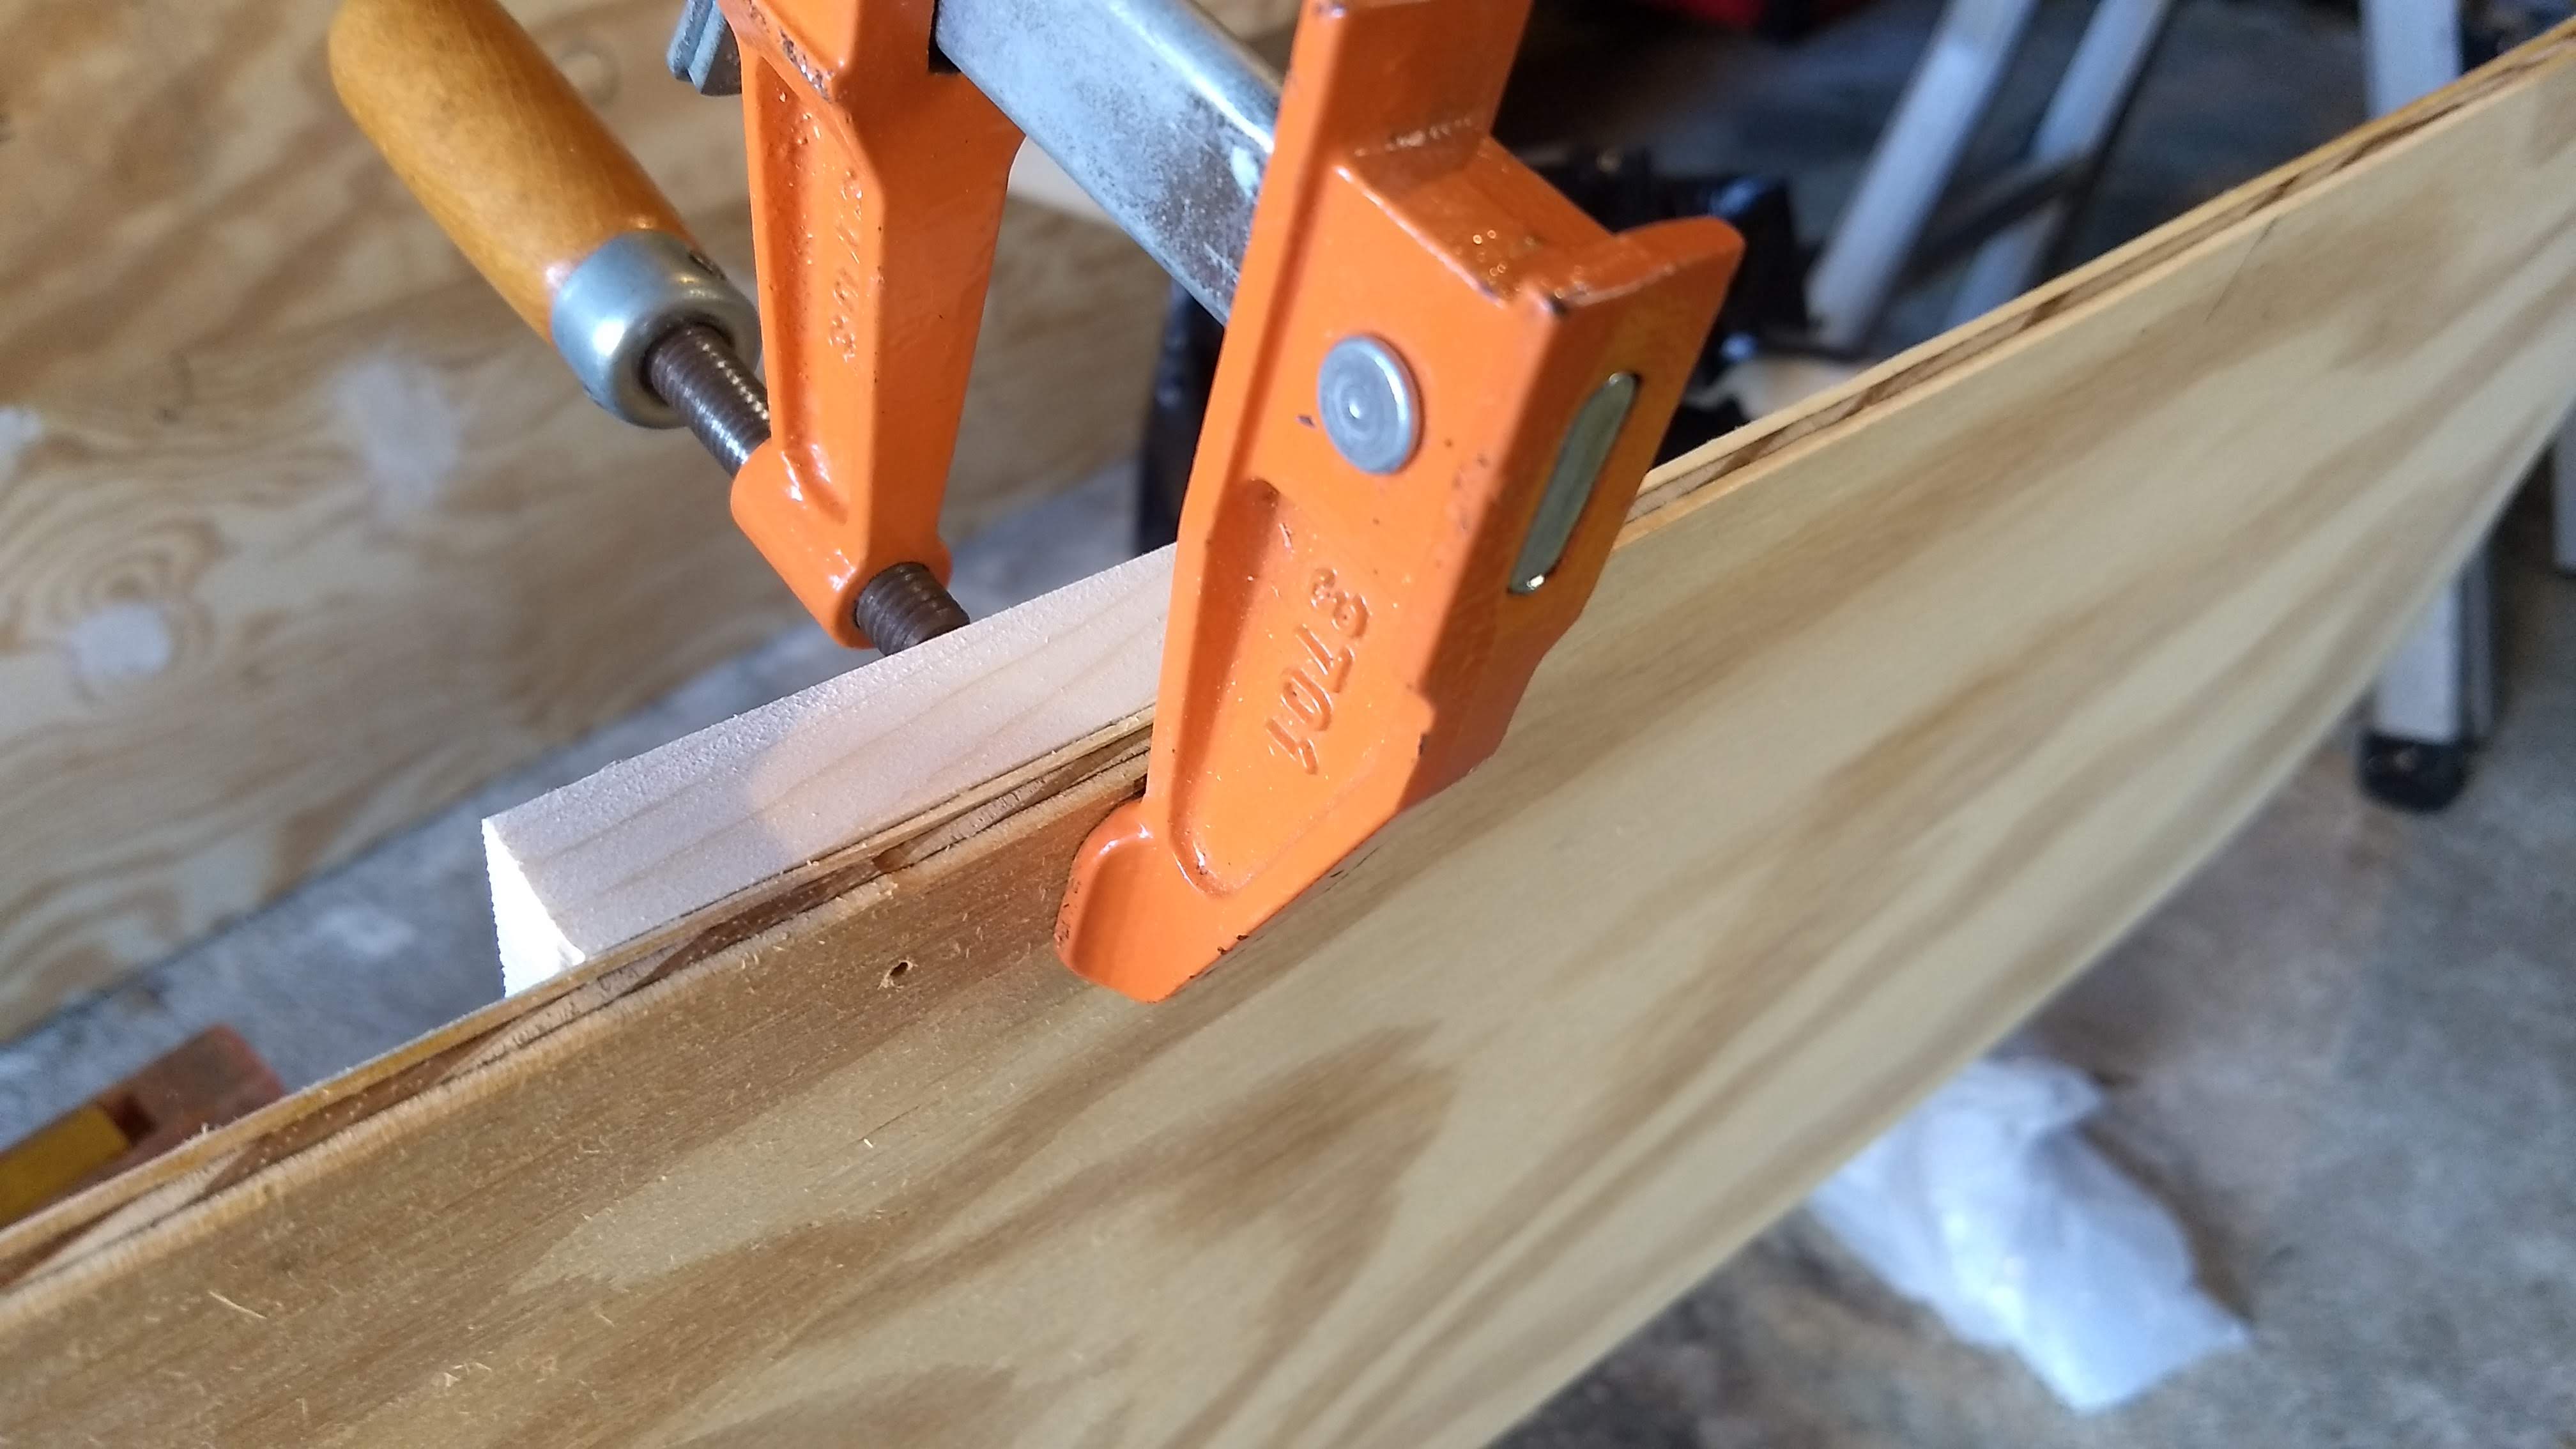
Then I clamped each spacer block in place and drilled through the pilot holes with the #6 screw countersink set for a 1/2″ screw.

And, finally, I screwed each block on with the 2 screws.

That took a while, going around both sides of the boat, 15 spacer blocks per side and 2 screws per spacer block. That’s 60 screws, if you’re counting.
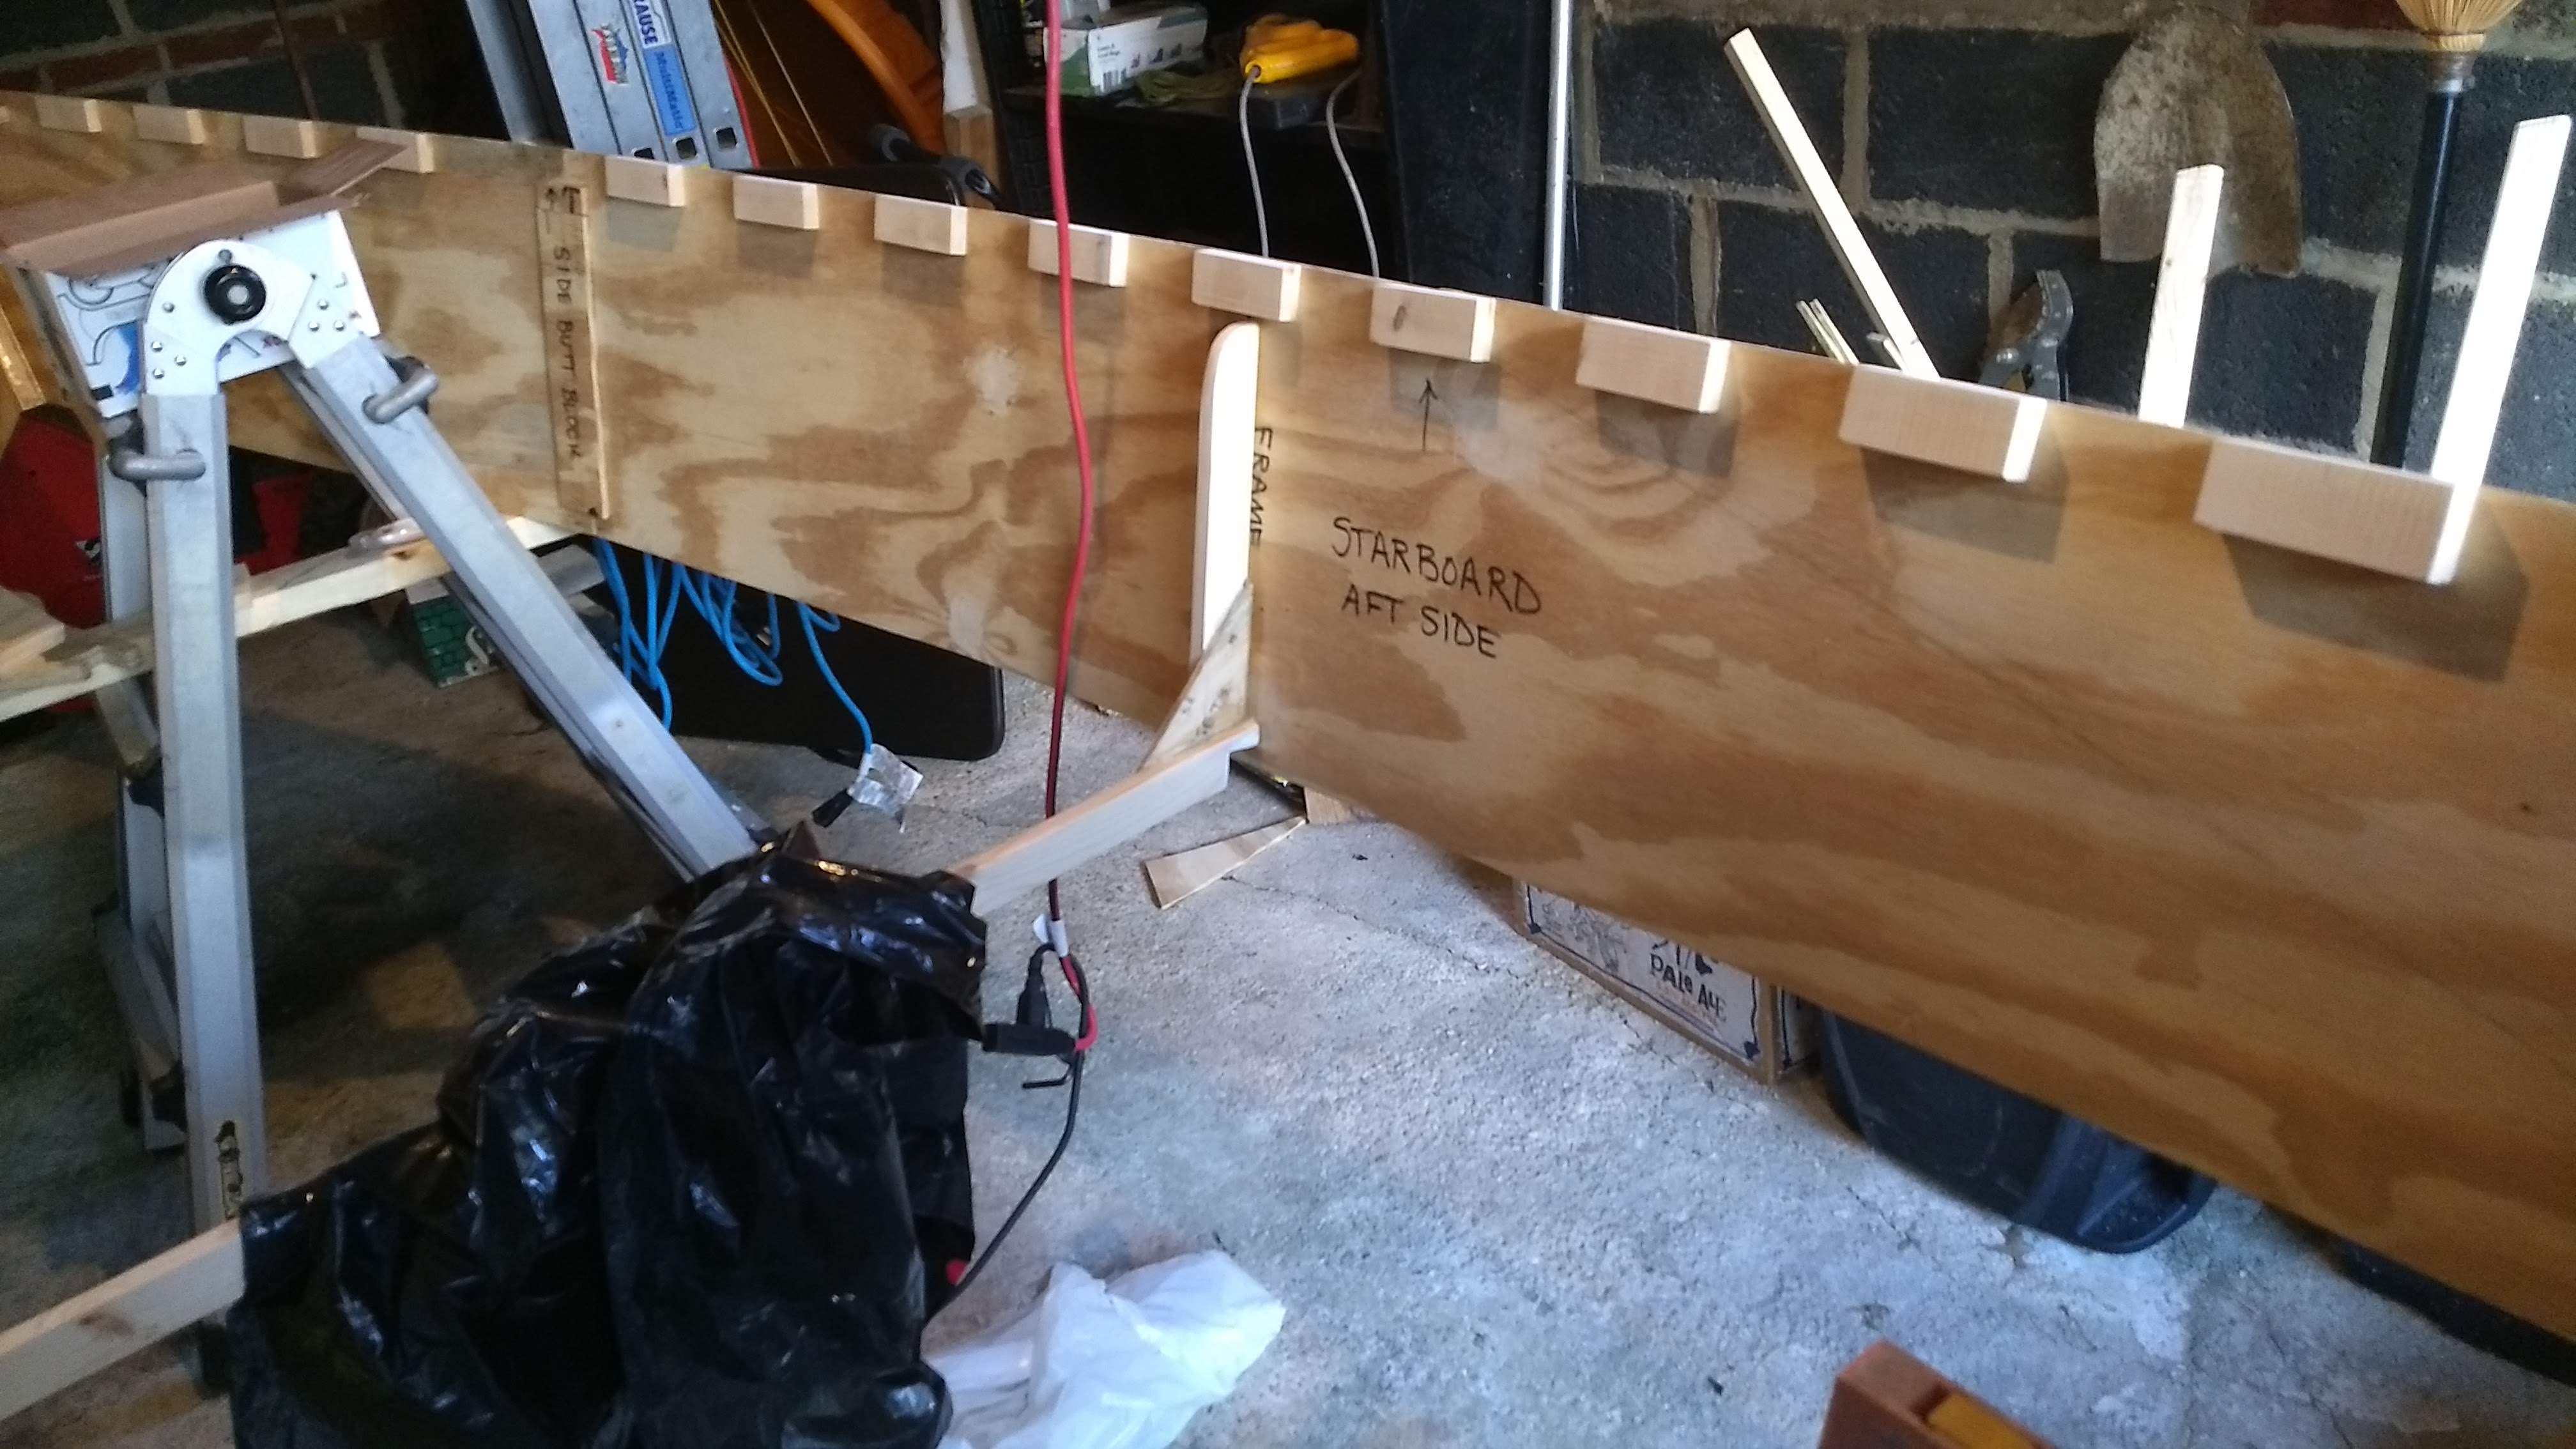
And then I was able to screw the gunwales onto each side.

I was amazed at how solid the assembly is, with the sturdy gunwales attached. Next steps is to unscrew all the parts screwed on today so that they can be glued and re-screwed. Then inwales glued and screwed to the spacer blocks. Then time to turn the boat over and install the chines.
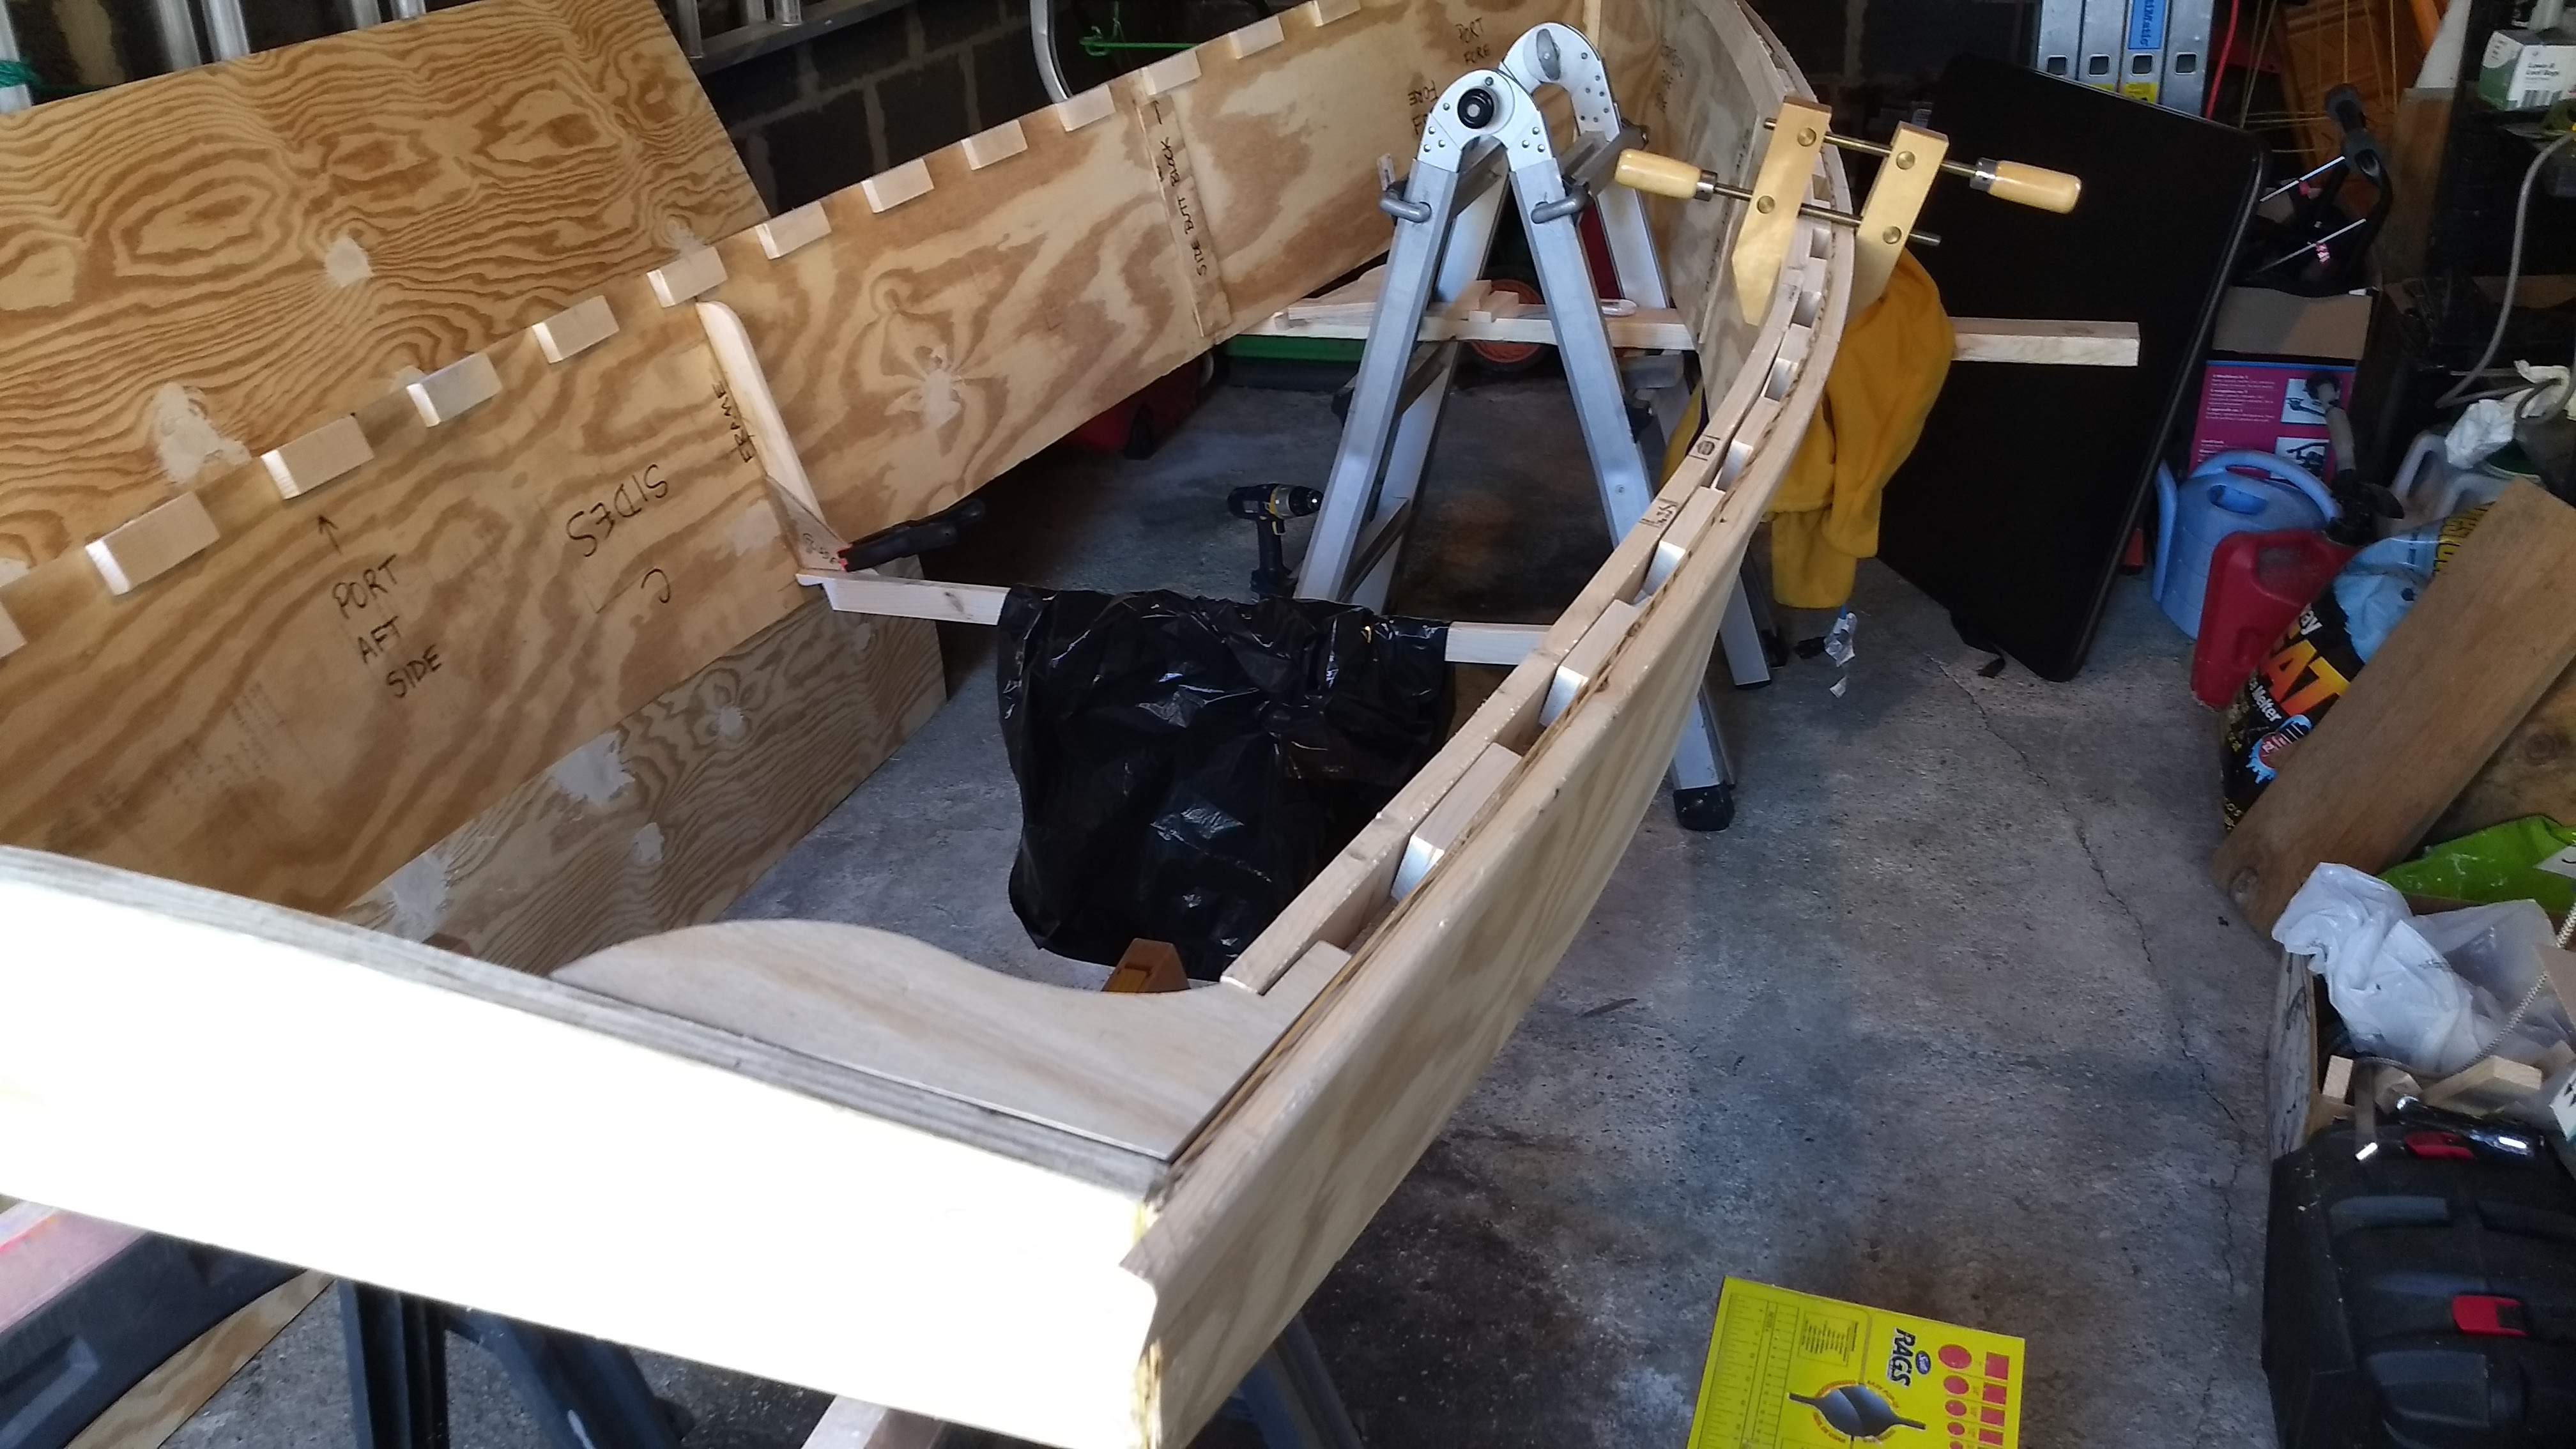
Stay tuned.
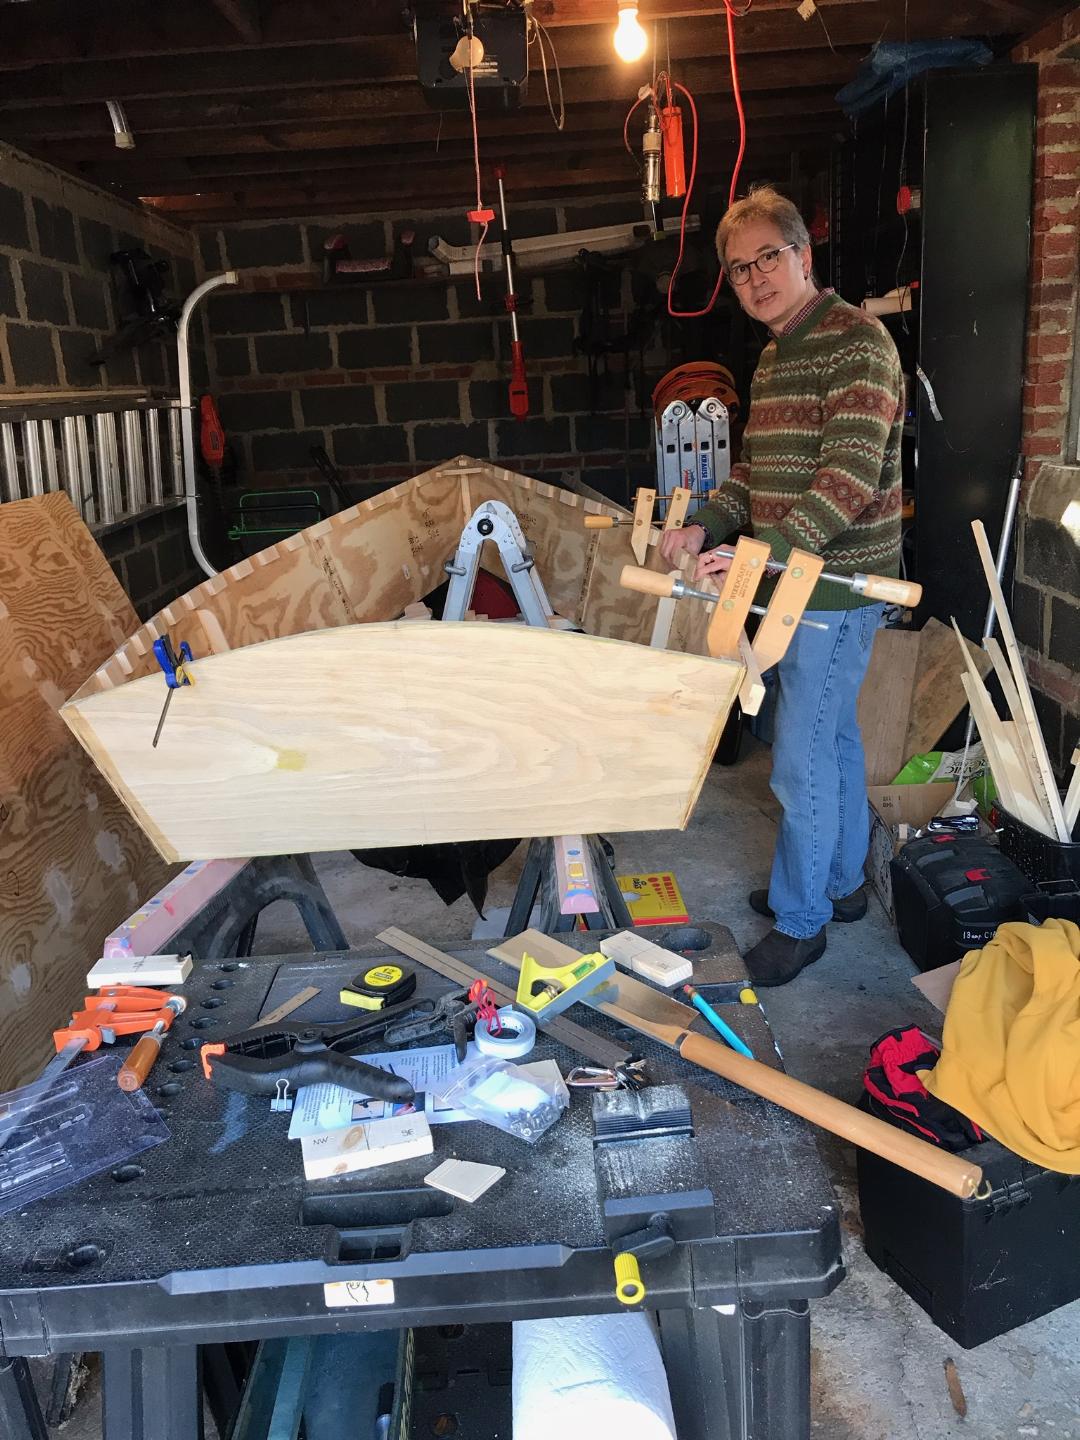
(Oh, and I forgot to mention, Dawn stopped by to take a picture of me working on my boat, to send to Papa Joe.)