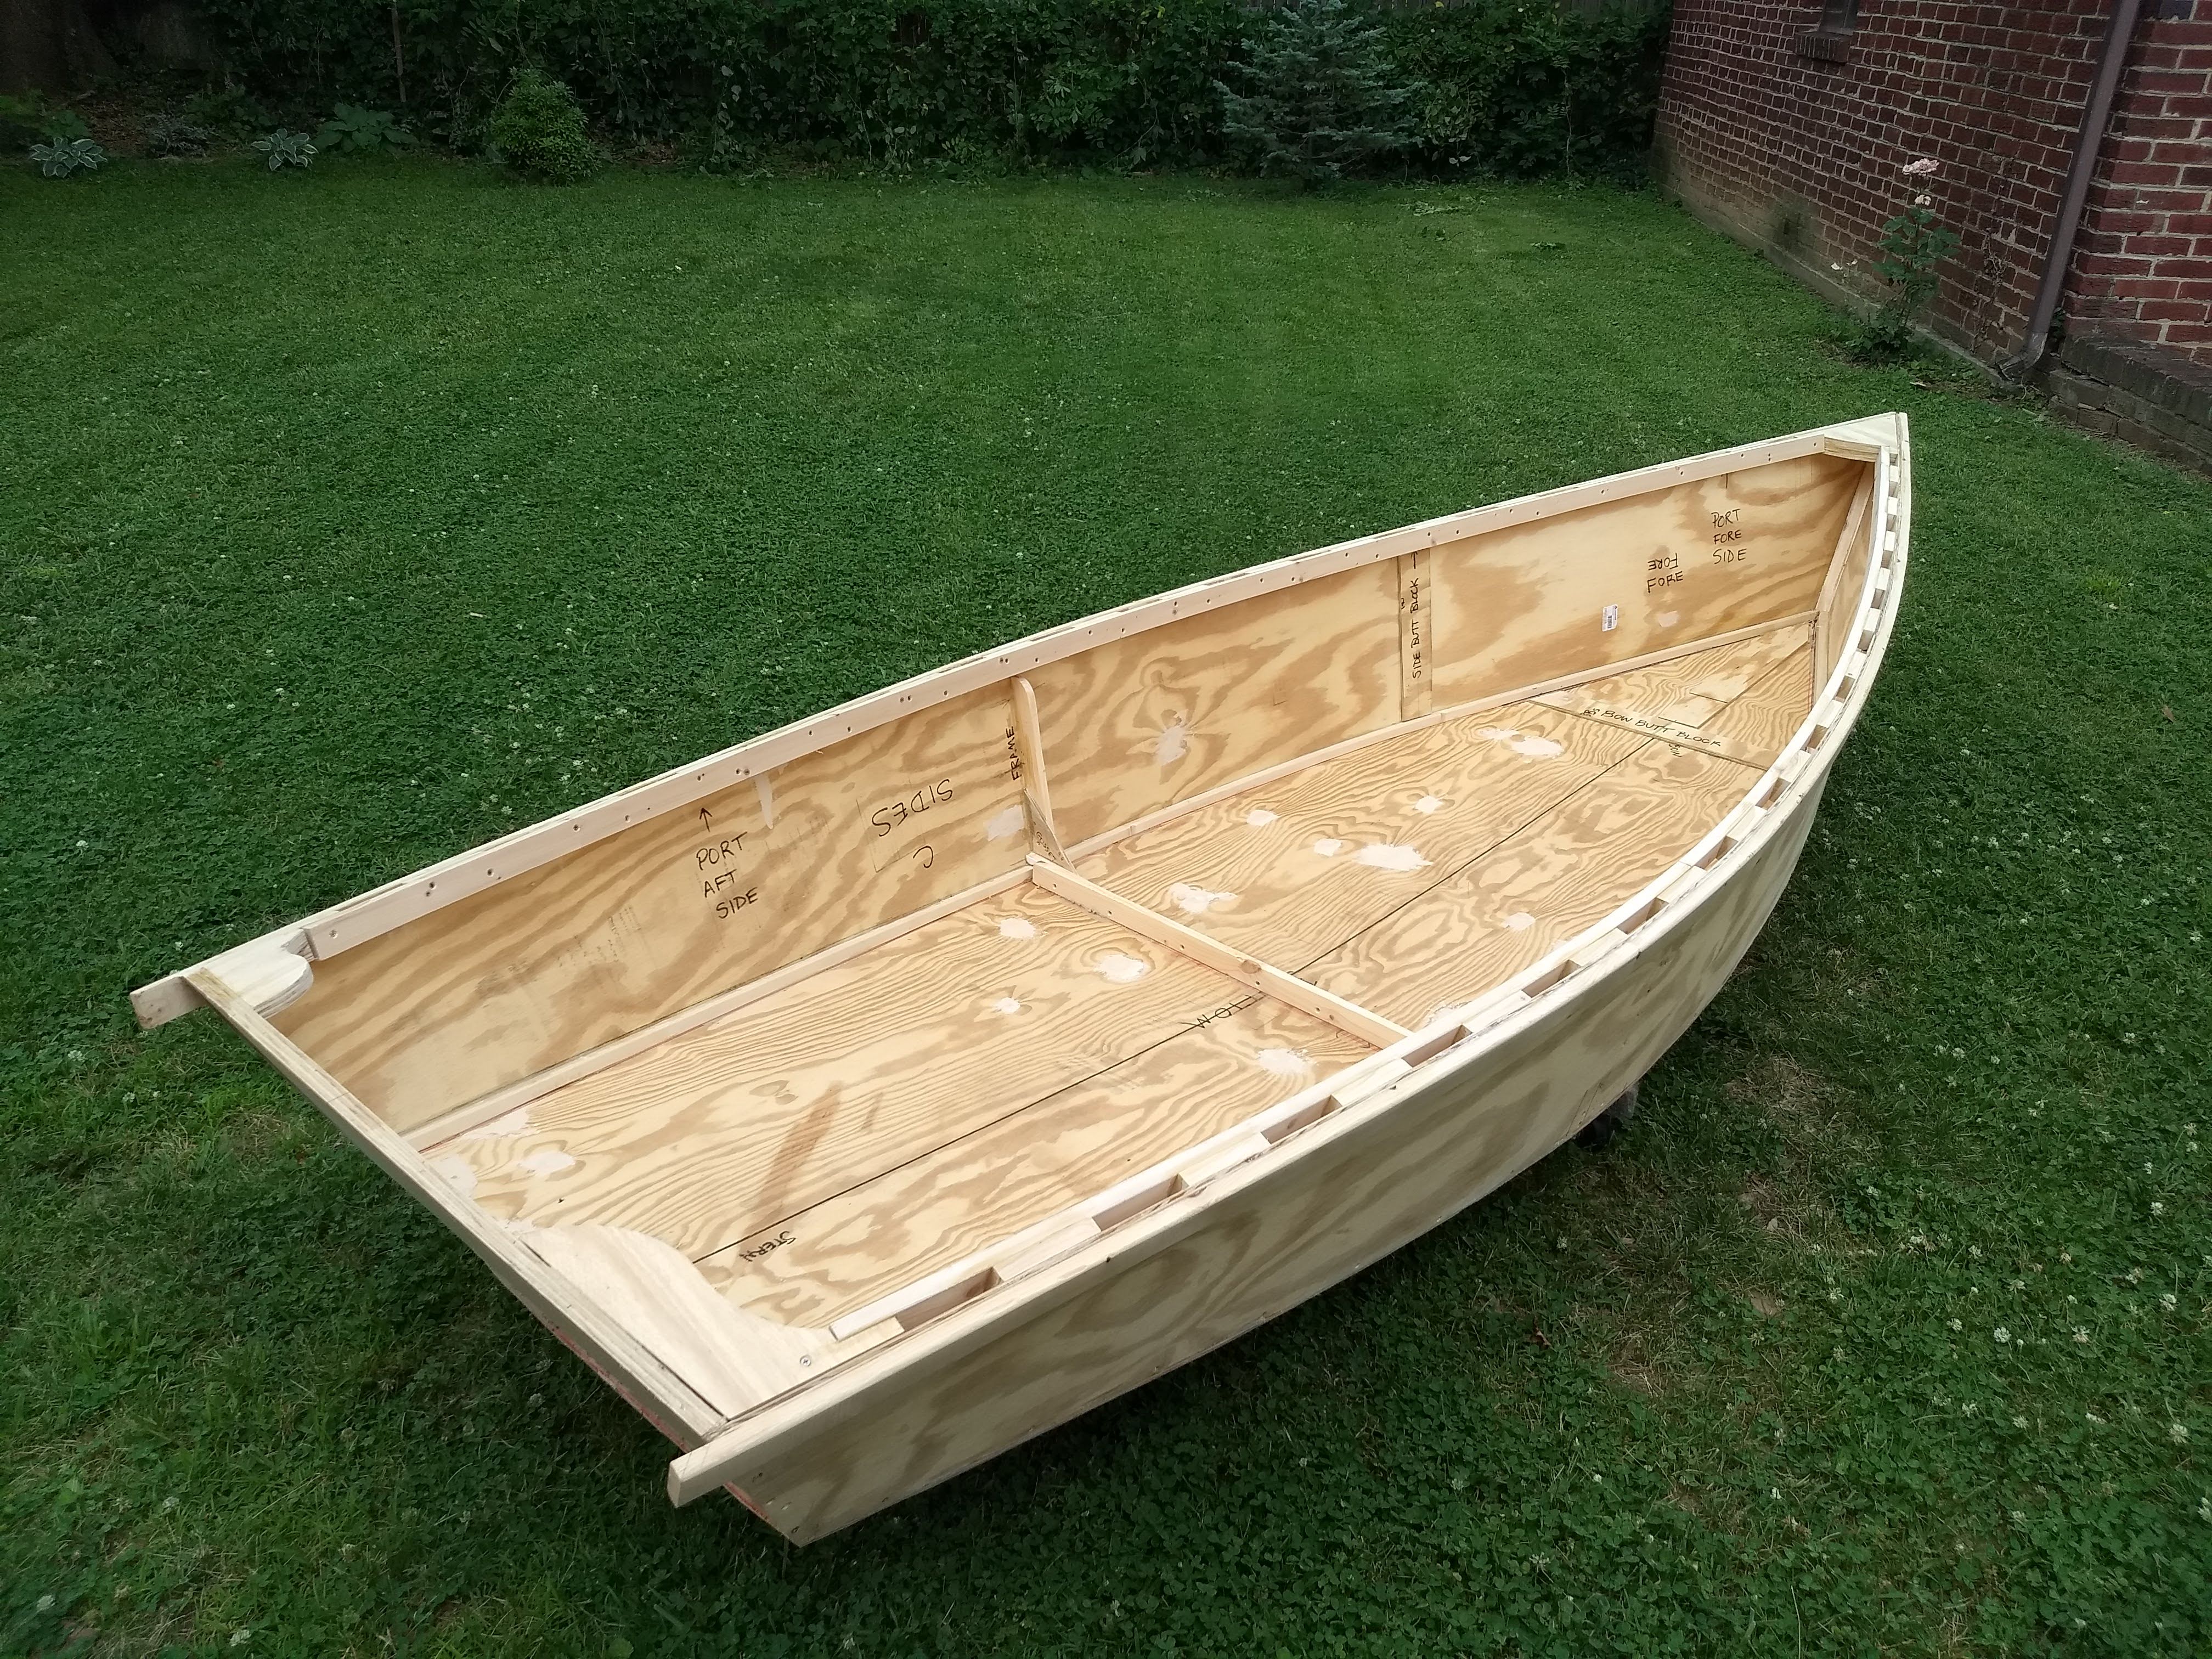
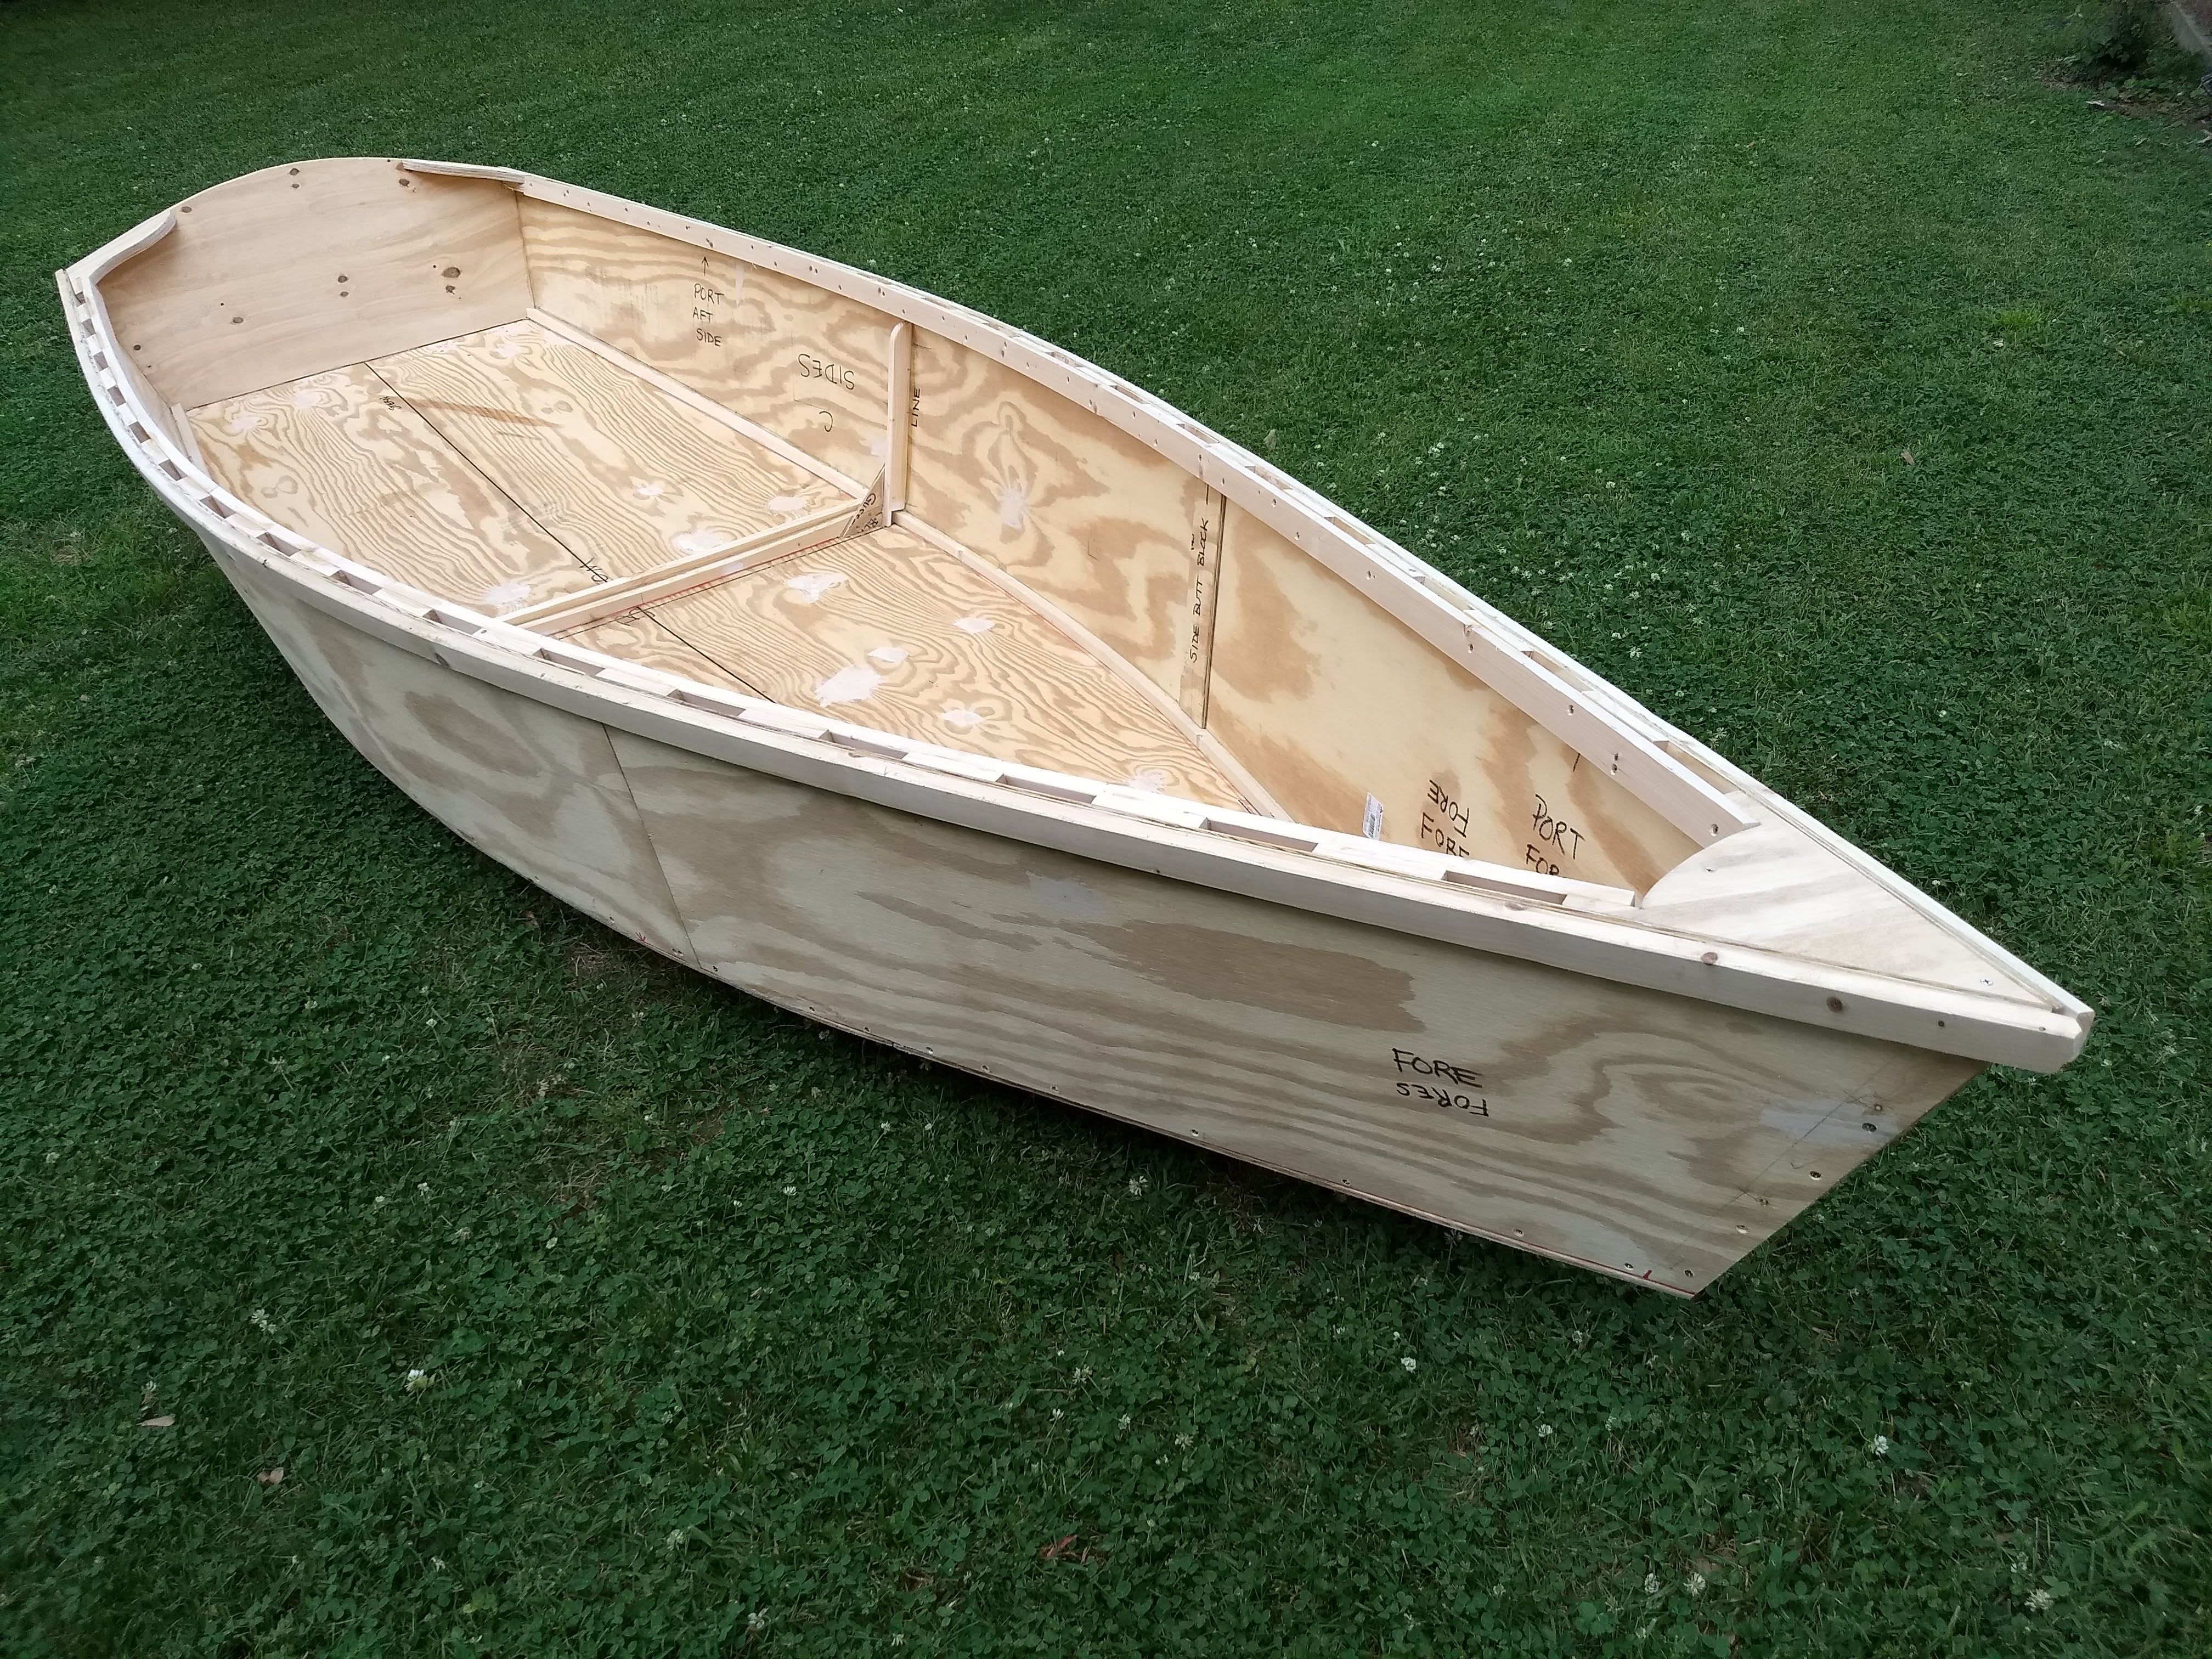
Week 31: Keel, Skeg, Mast Step

Making some final pieces that need to be on the boat before painting.
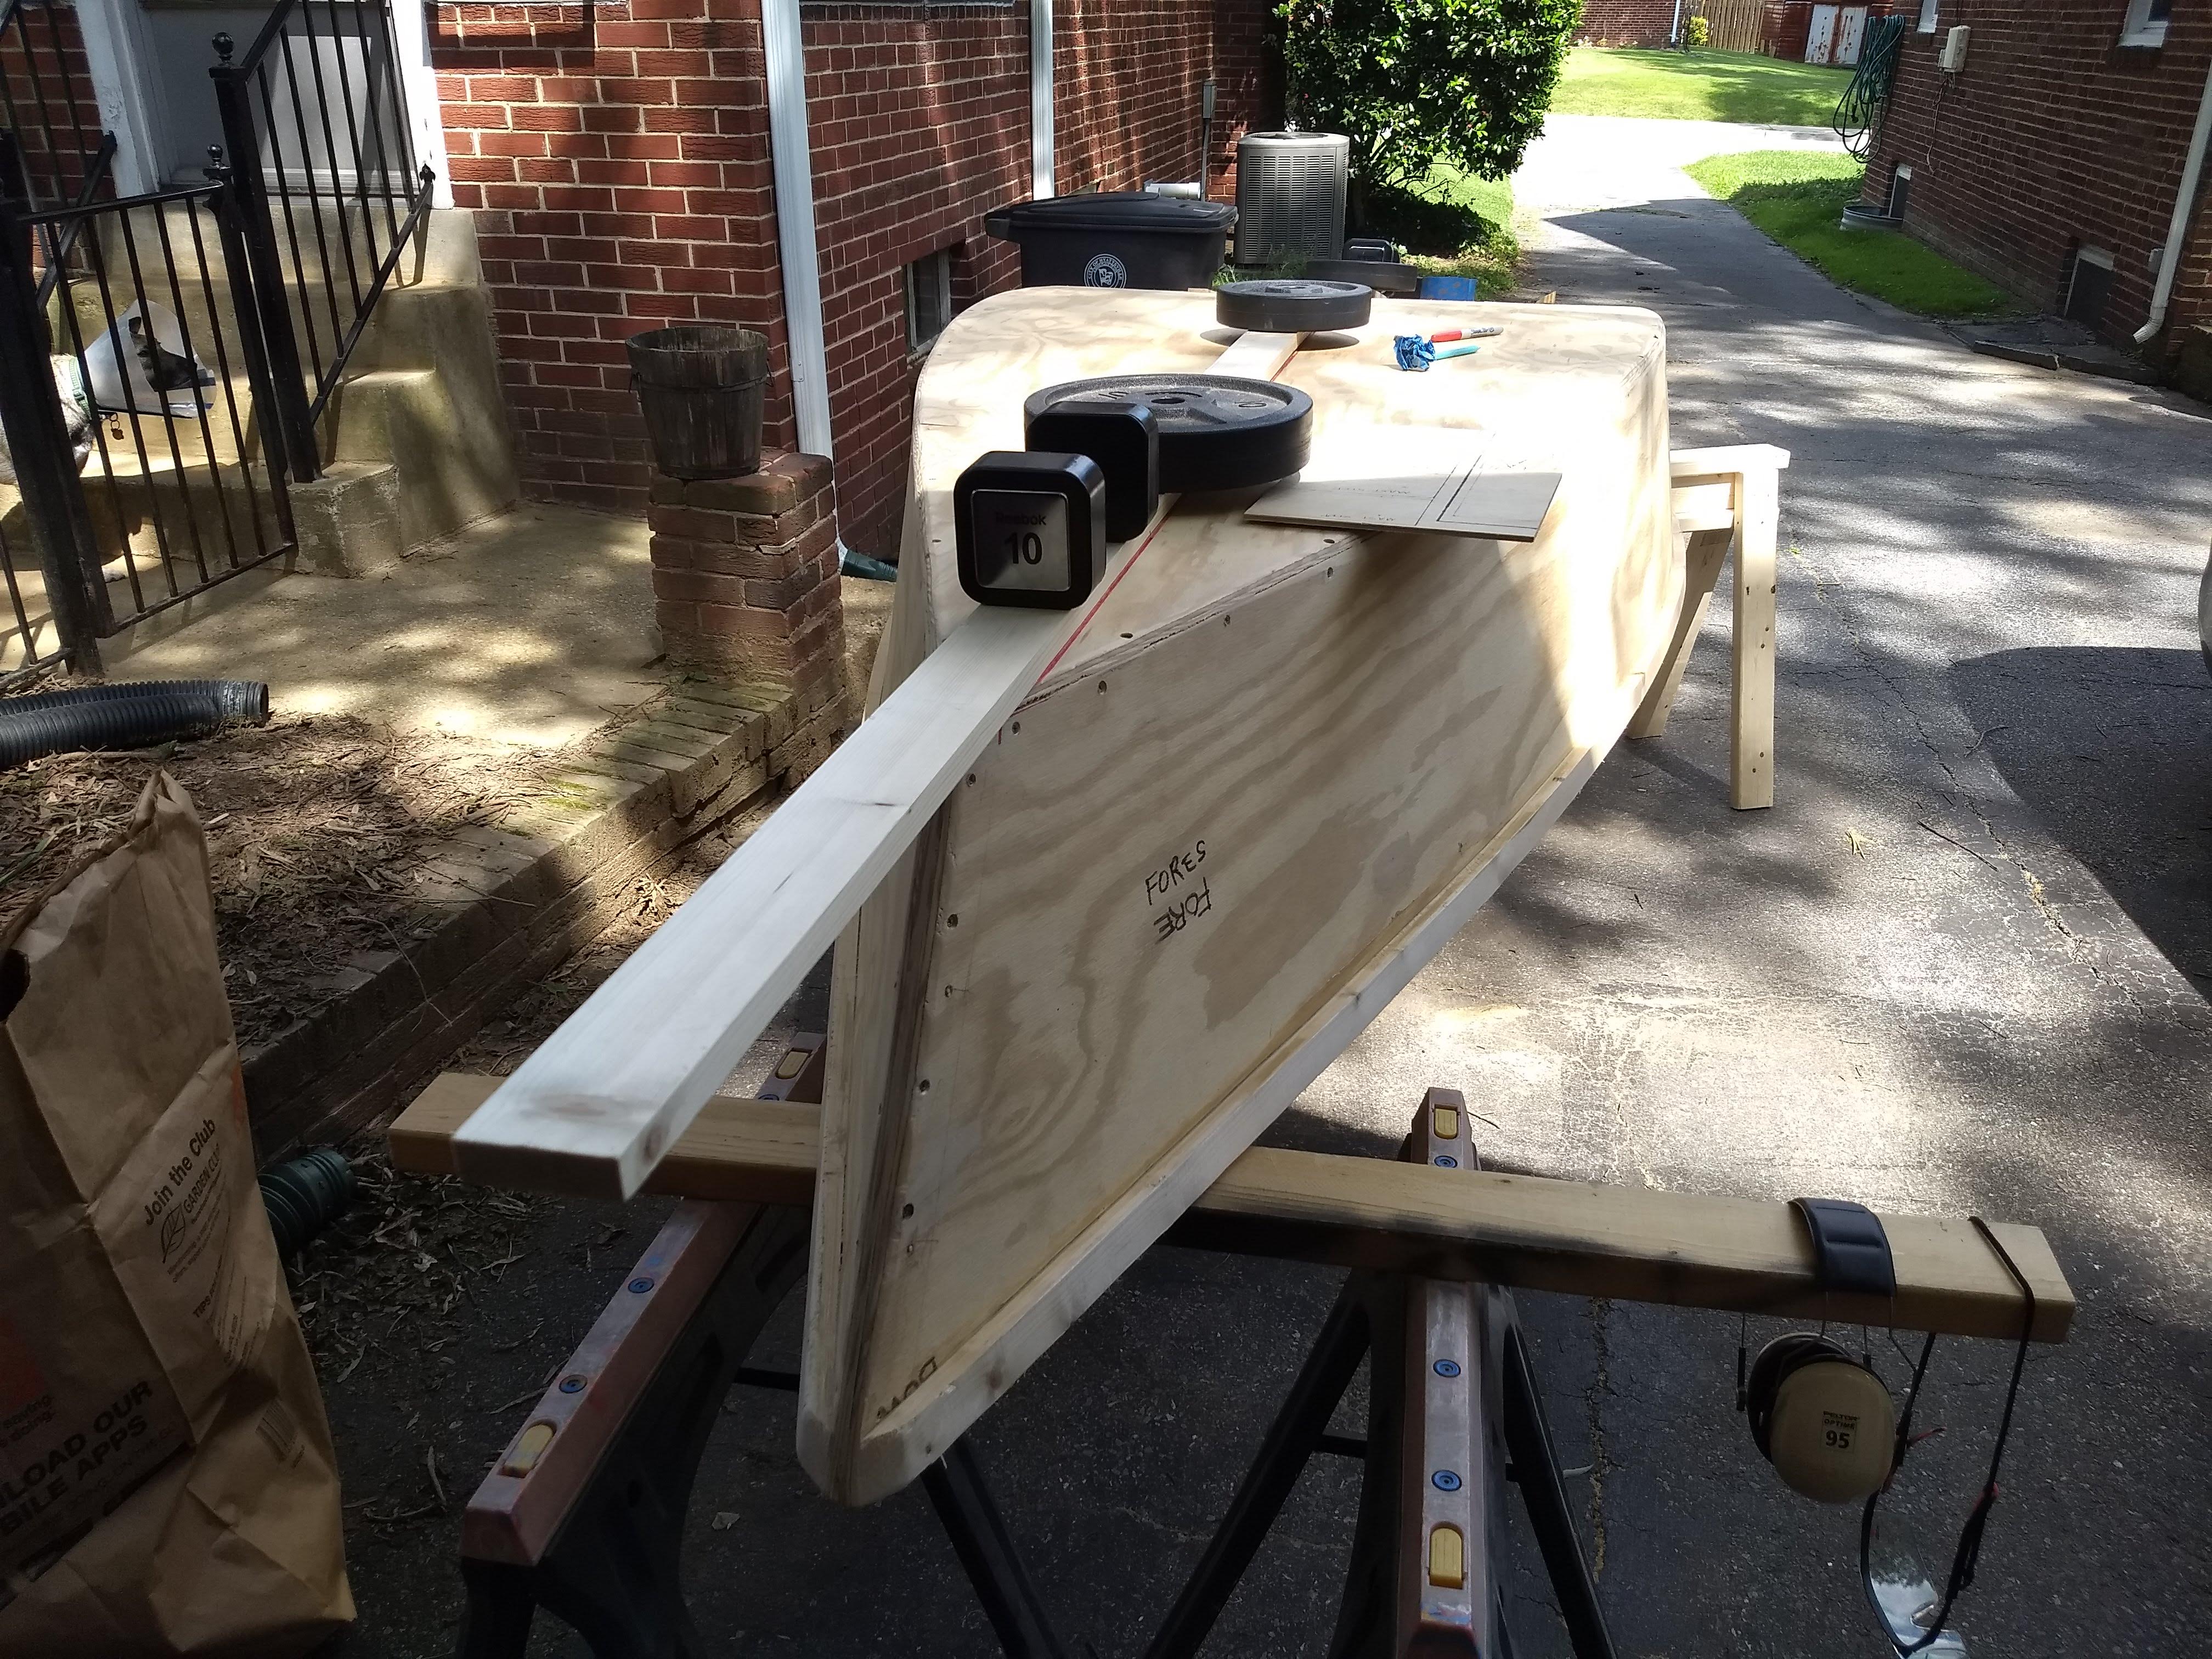
Positioning the keel

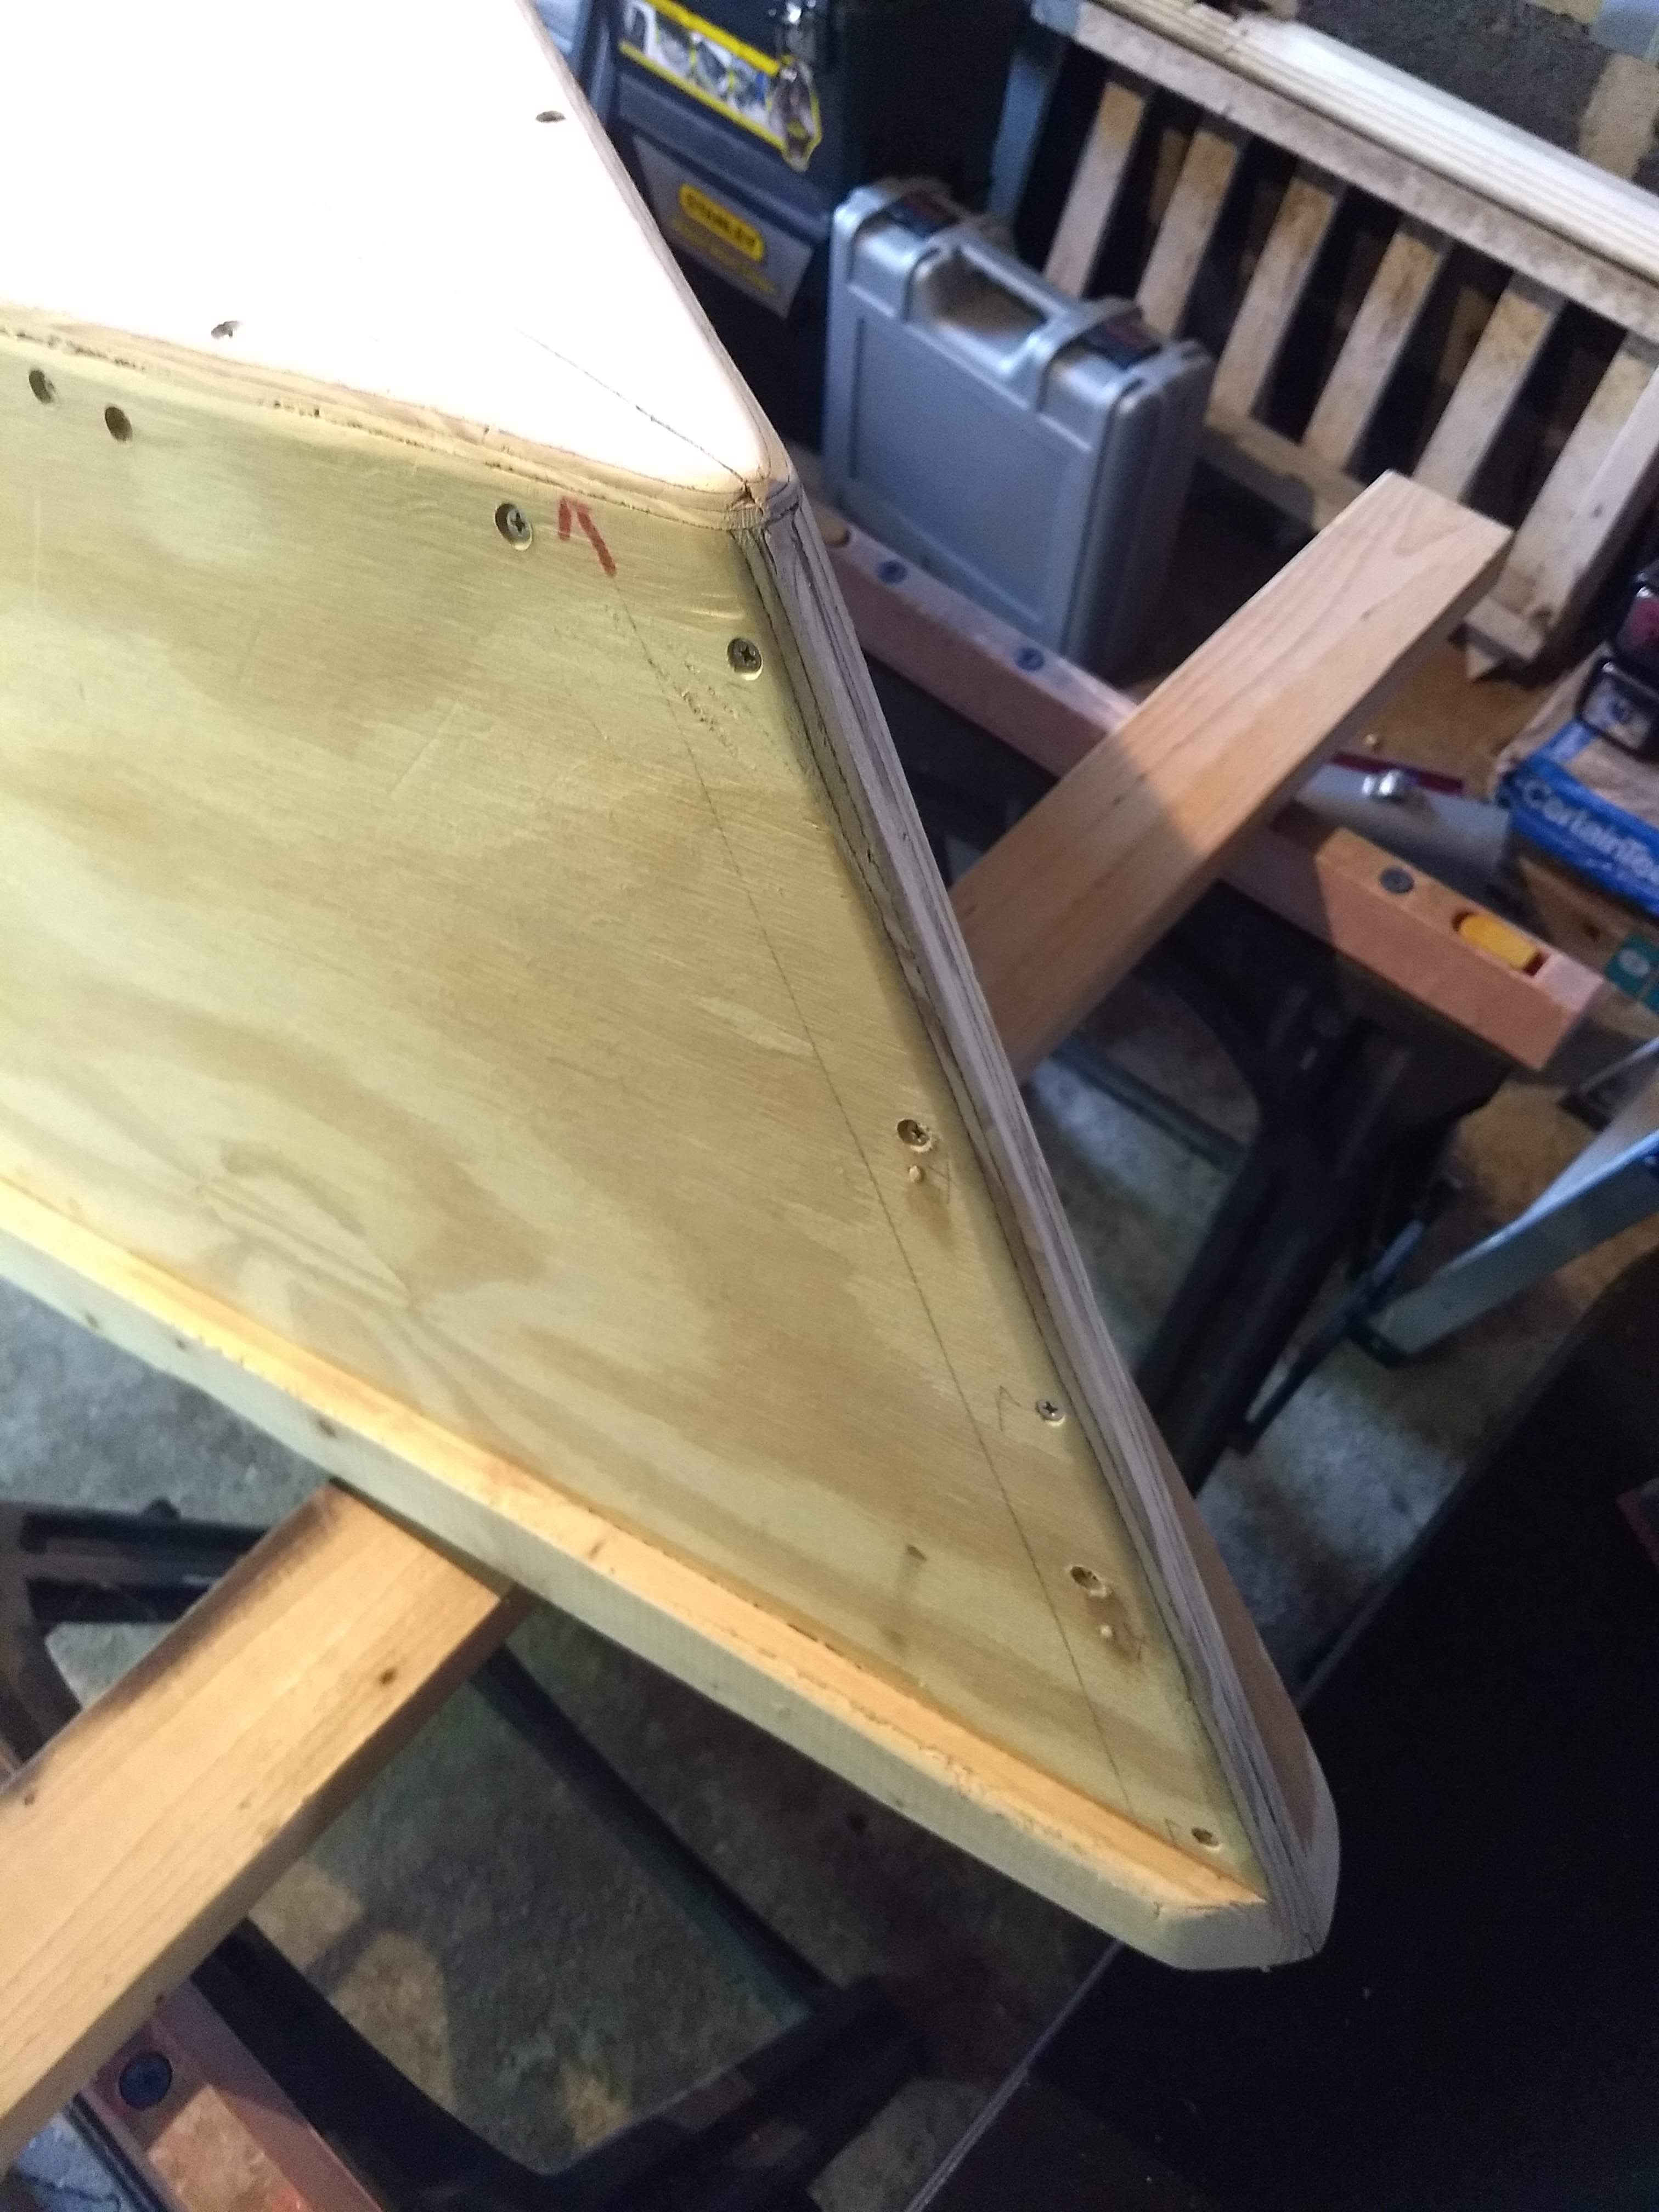
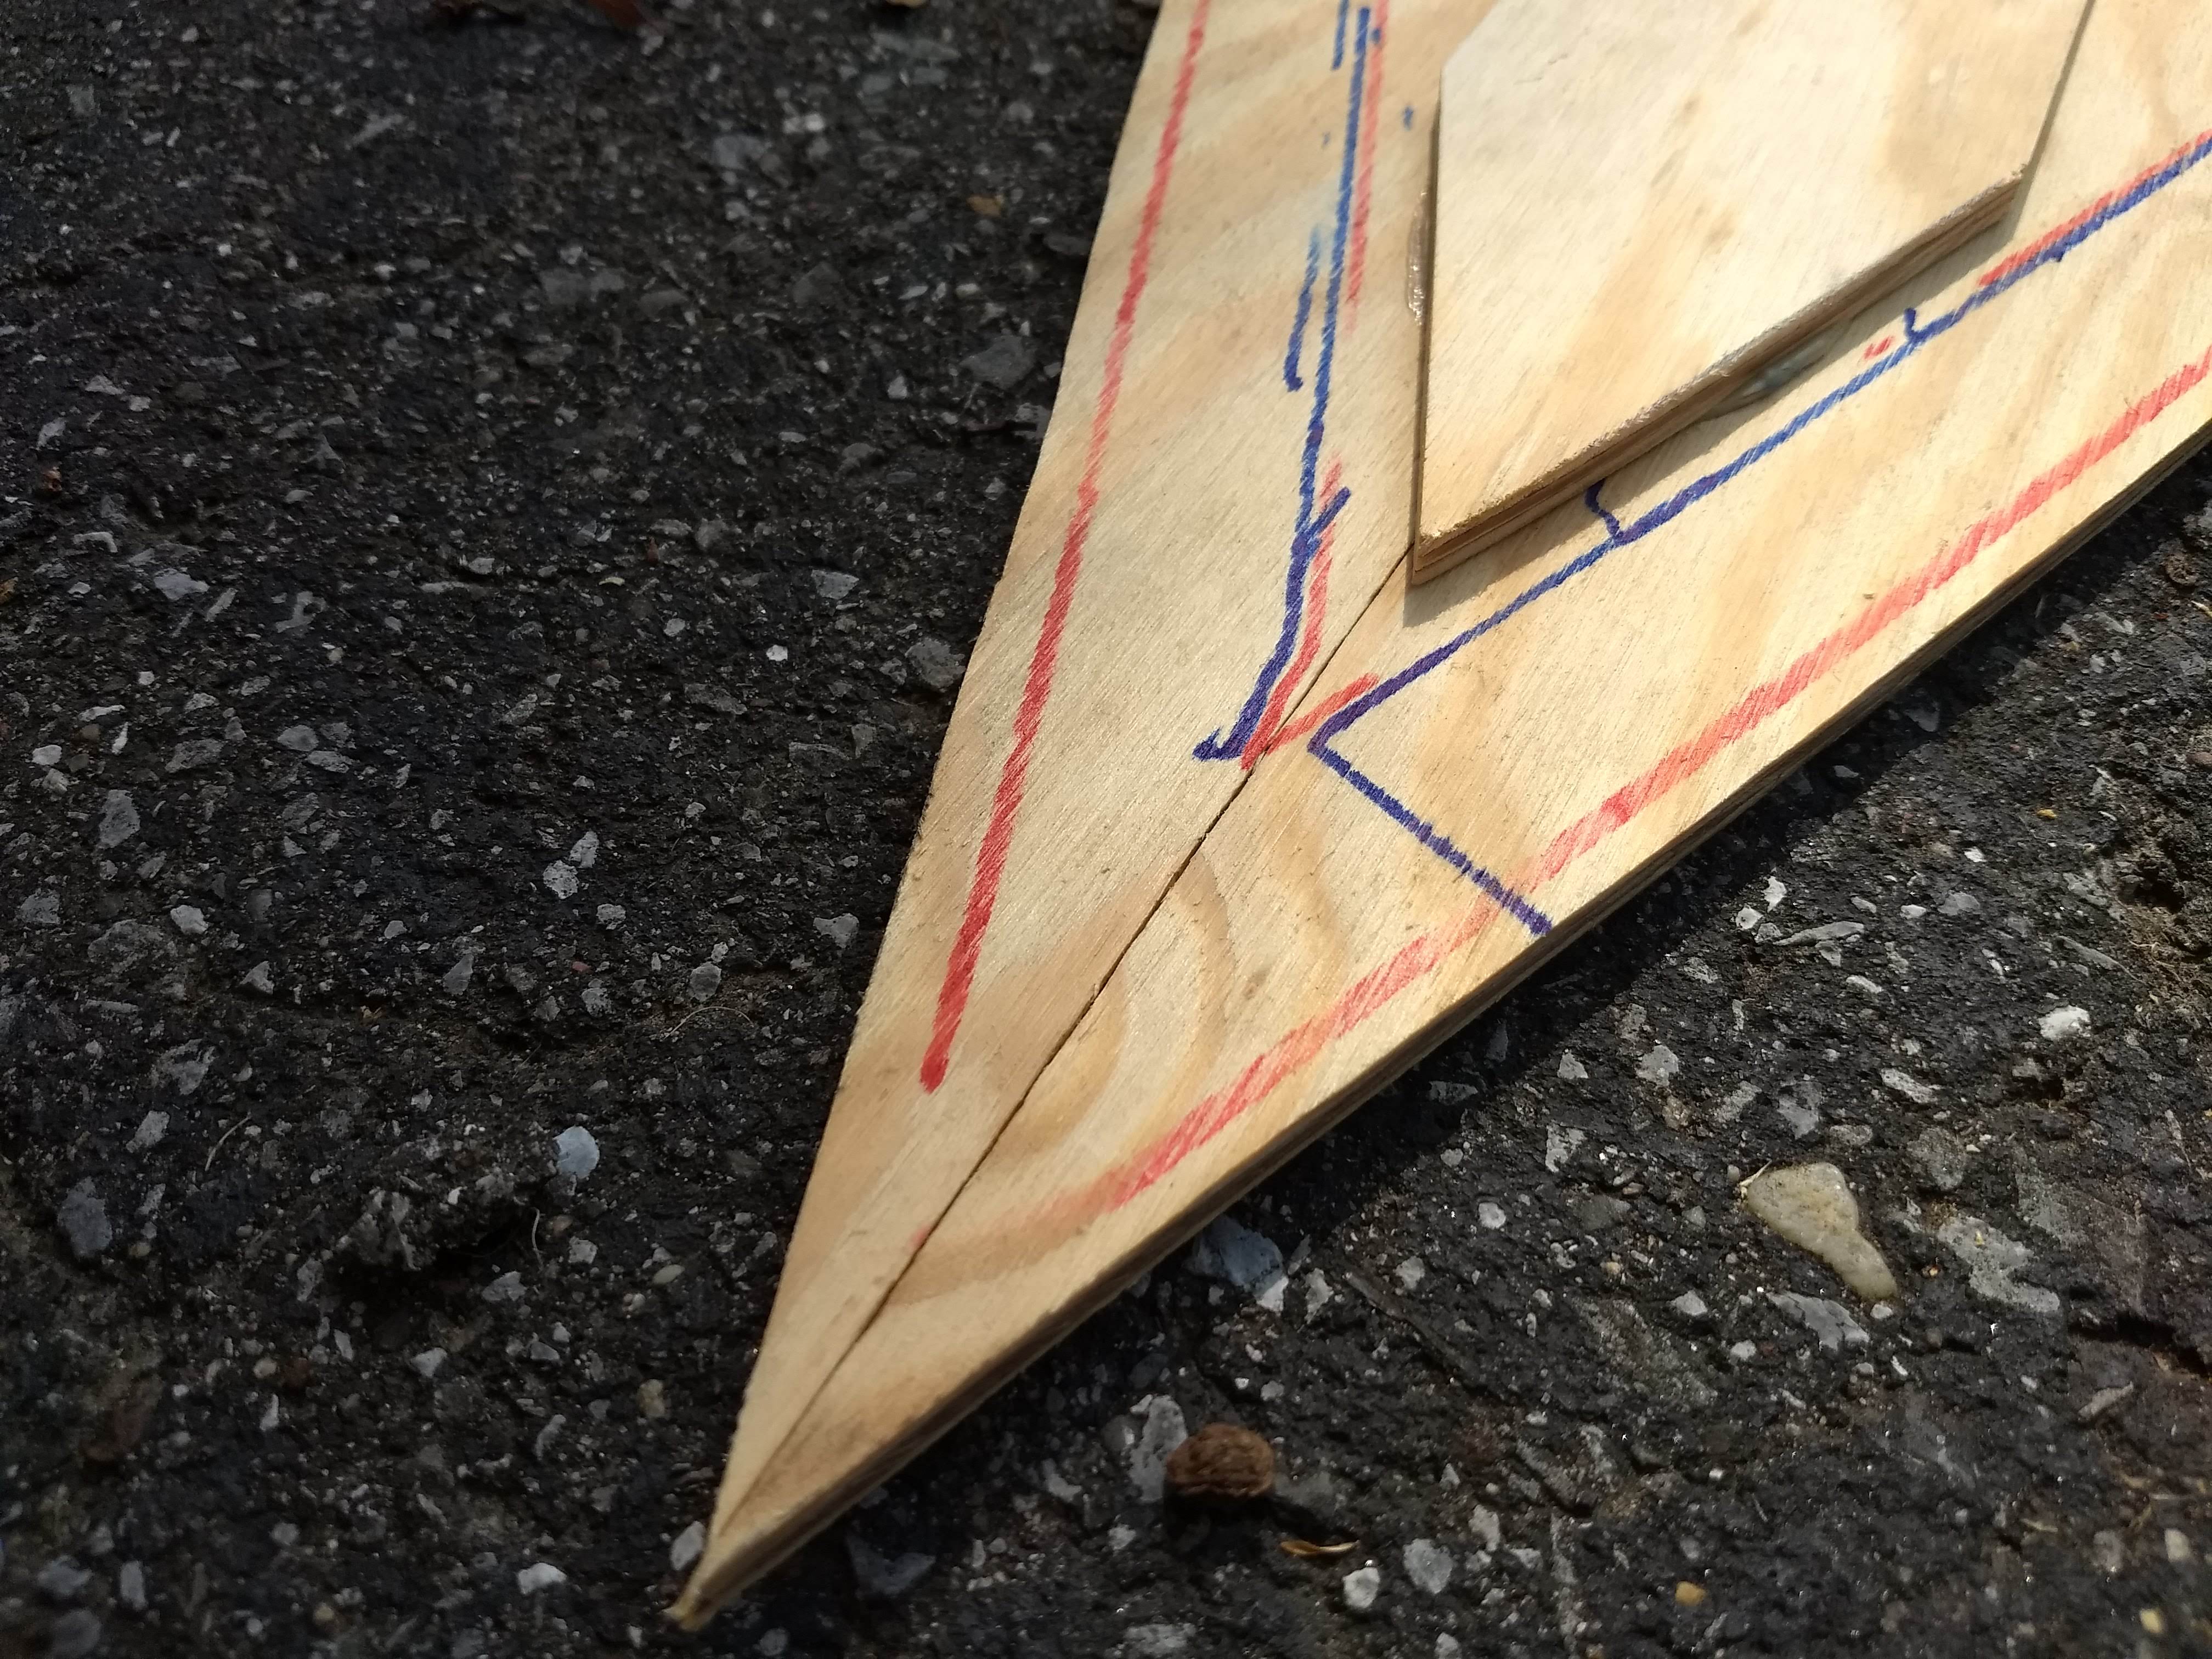
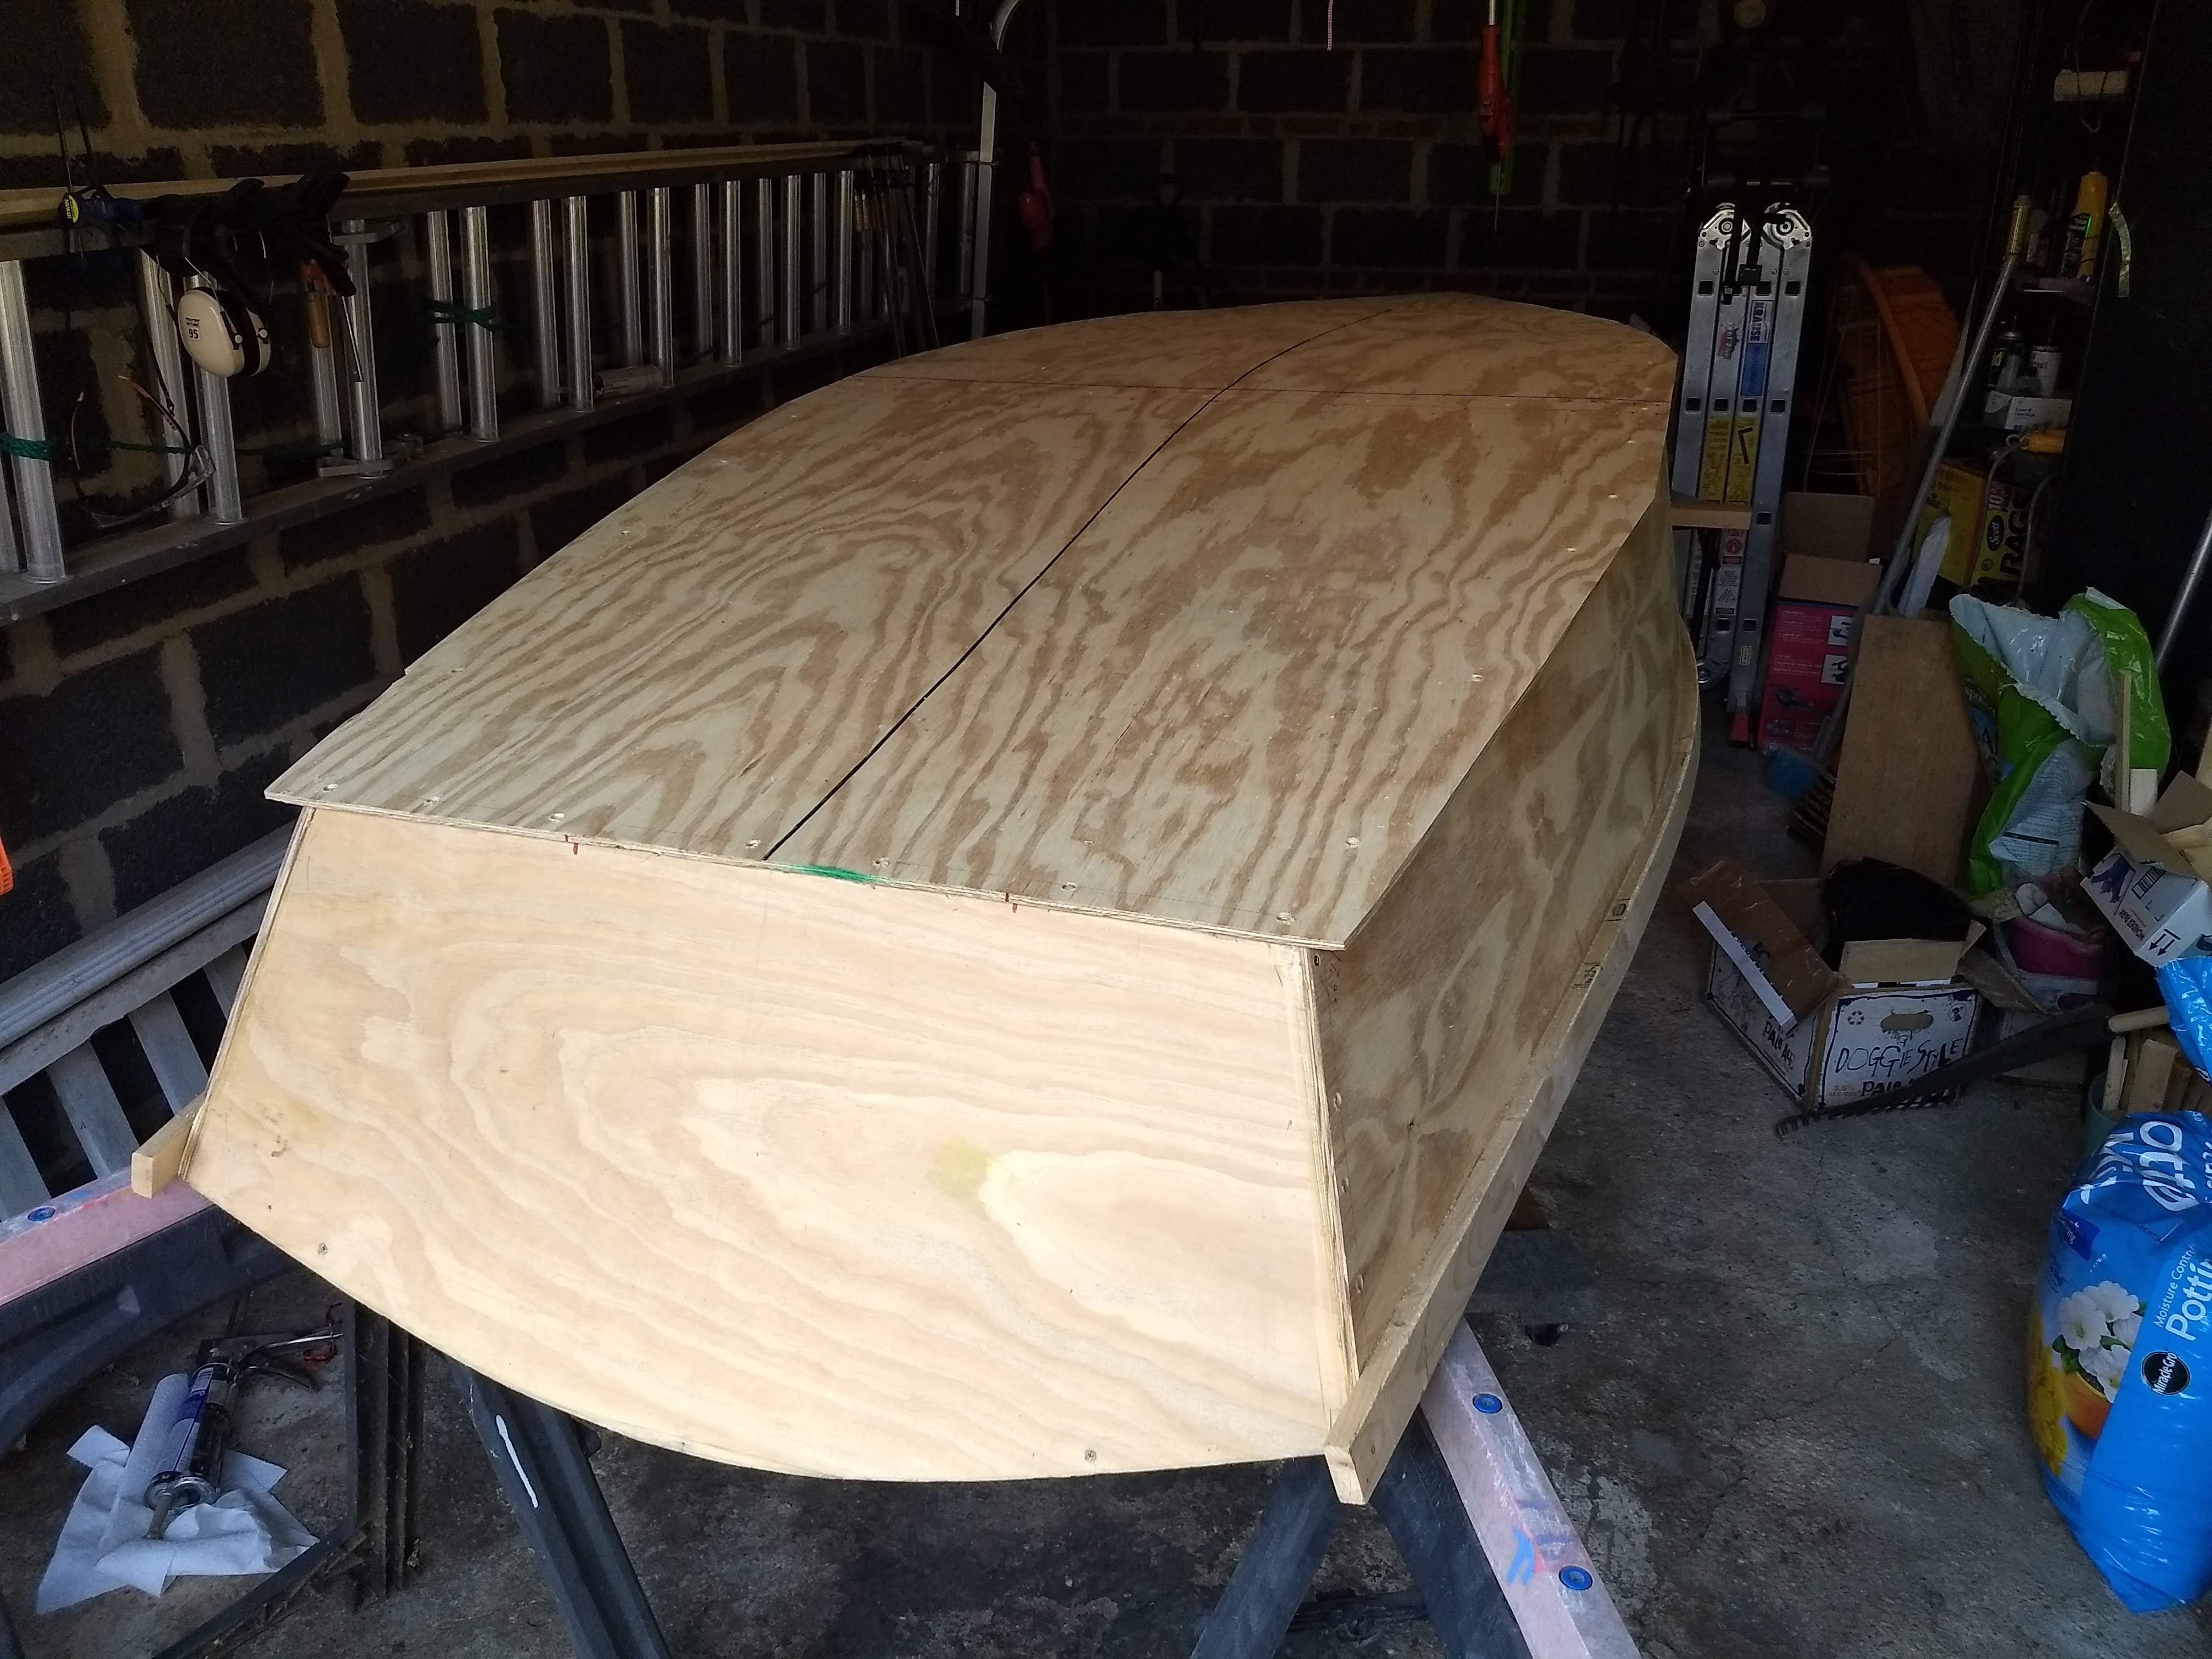
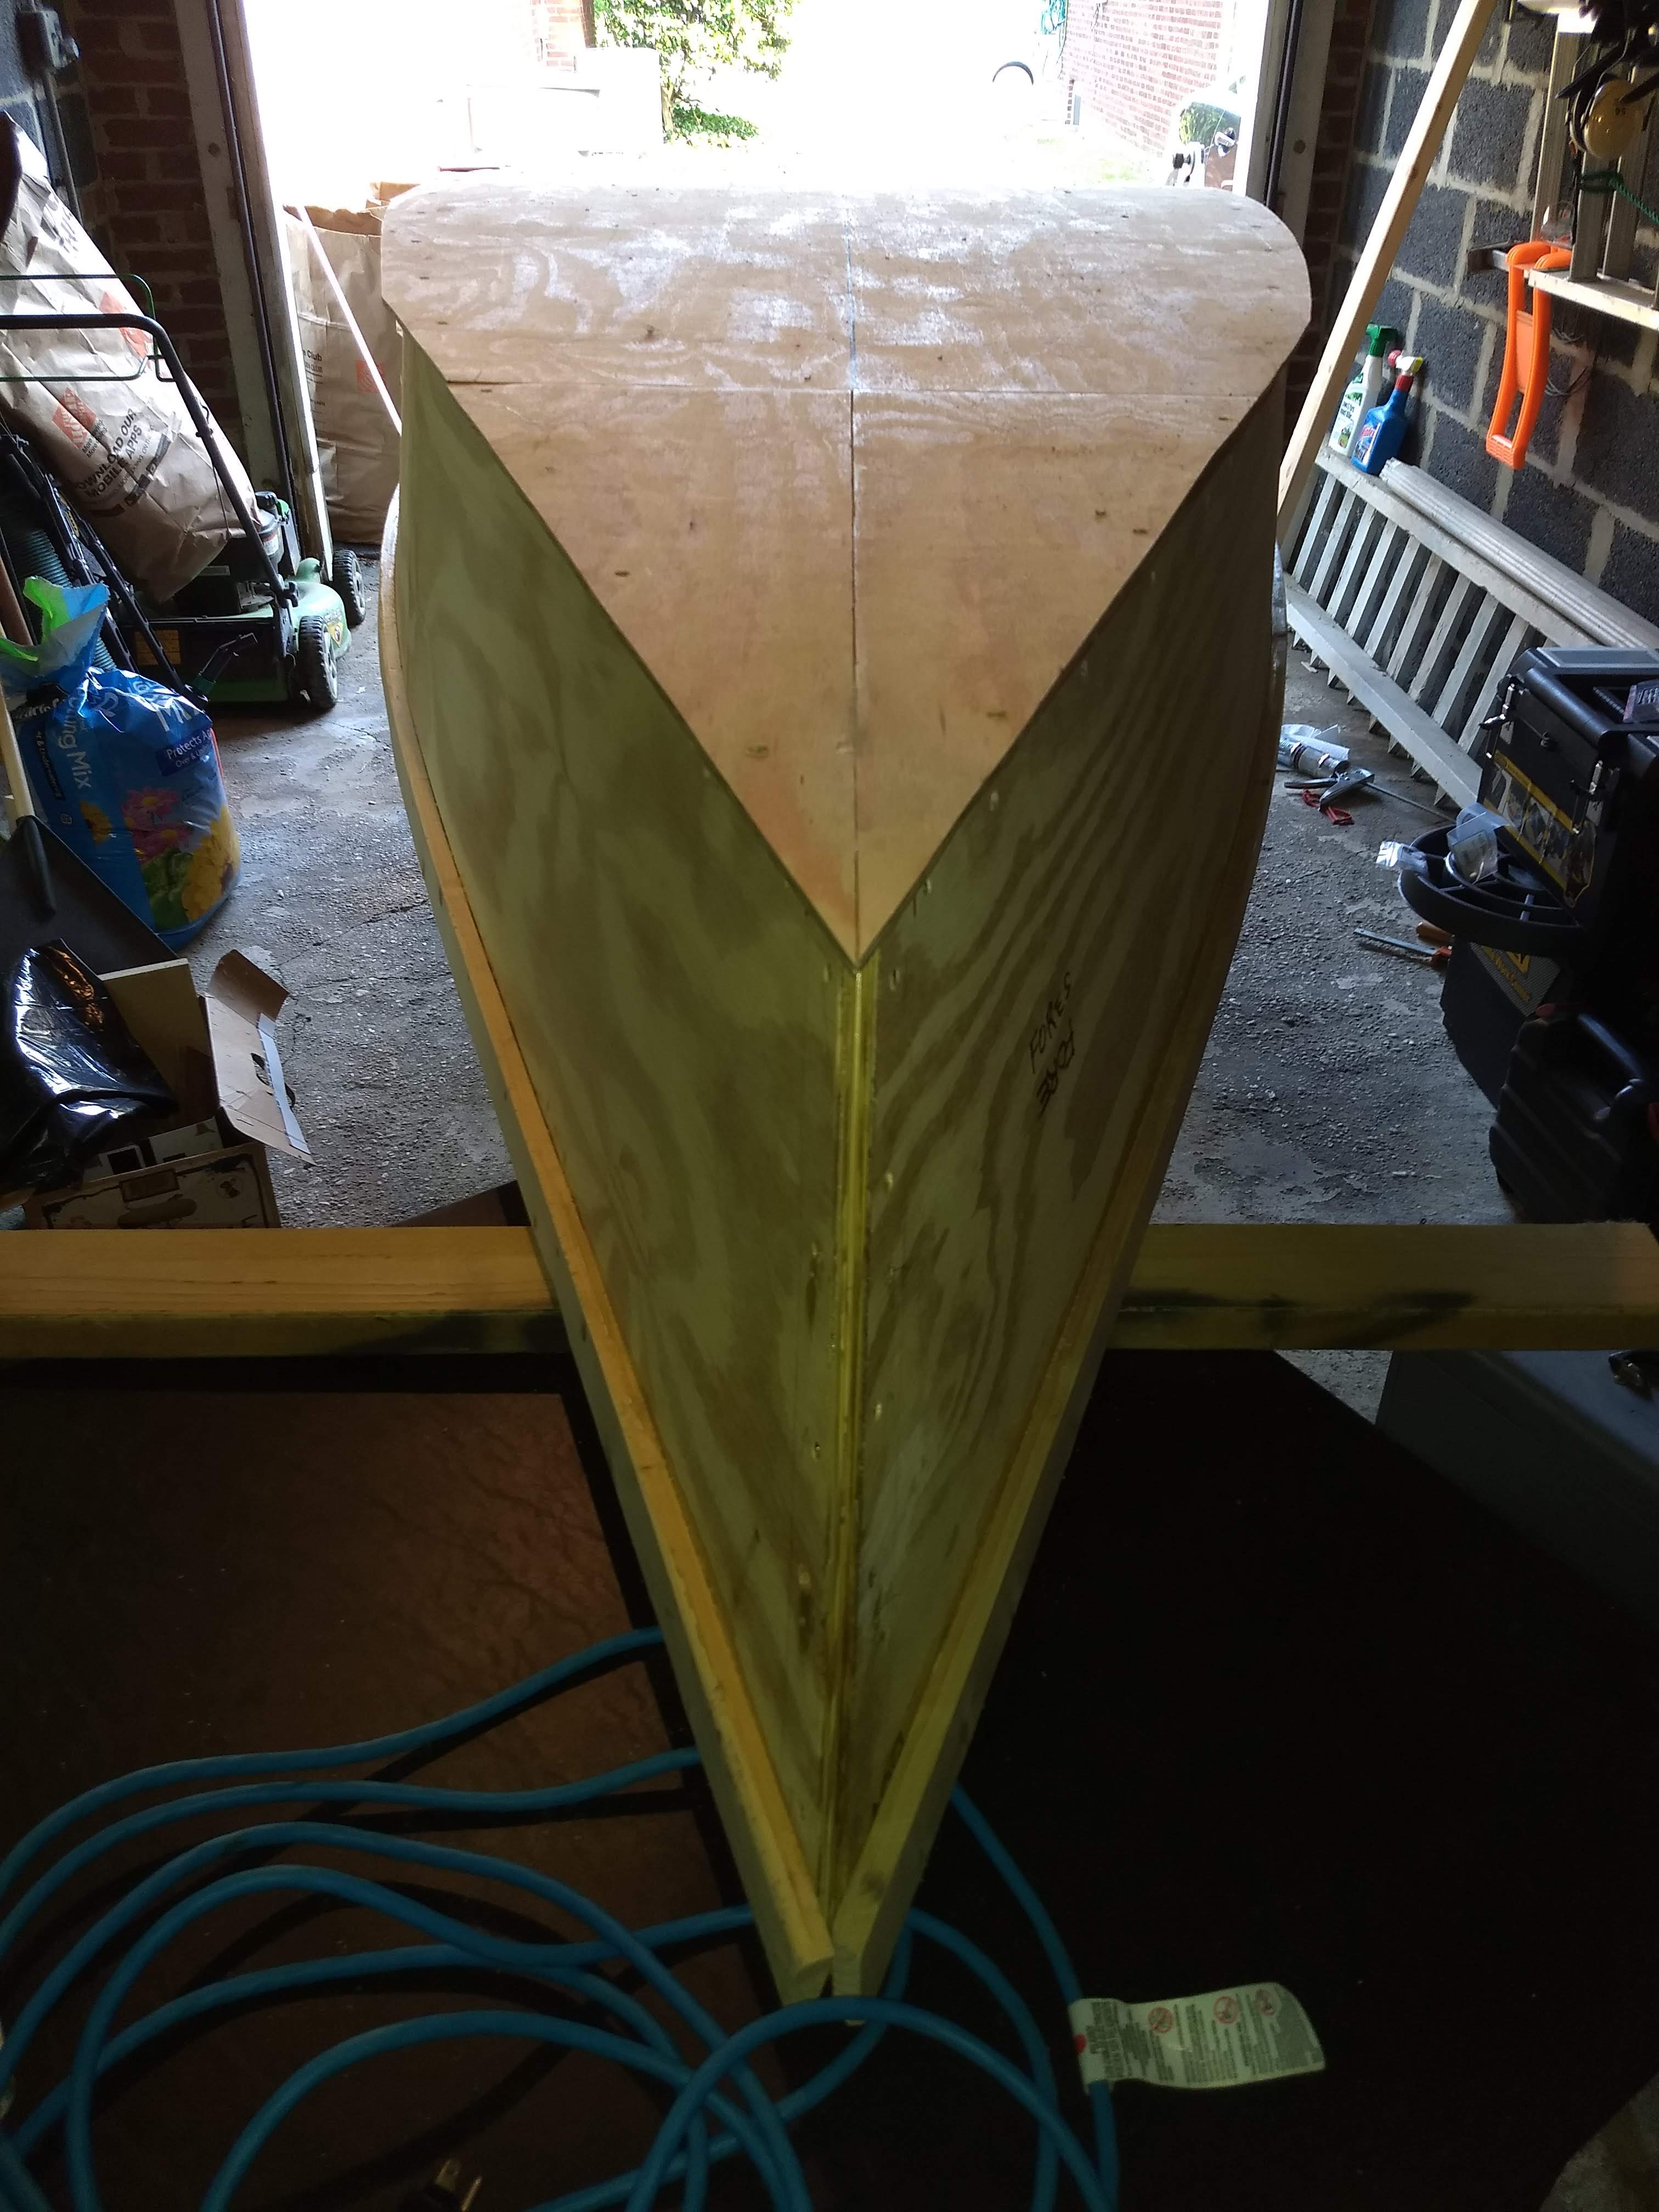
In the basement workshop, I ripped the 1× remaining to its final 2-1/2″ width for the keel. I took it out to the garage/driveway workshop and weighted it on the bottom of the boat. I fussed a bit too much trying to get it as perfectly centered as possible, trying to tape a story stick on the transom and measure and calculate and whatnot. I finally gave up all that silliness and just basically eyeballed it, measuring with a tape measure down to the nearest quarter inch or so. I drew the outline of the keel on the bottom of the boat with red Sharpie, then marked on the keel itself with blue and black Sharpie the part name and some way points along the length.
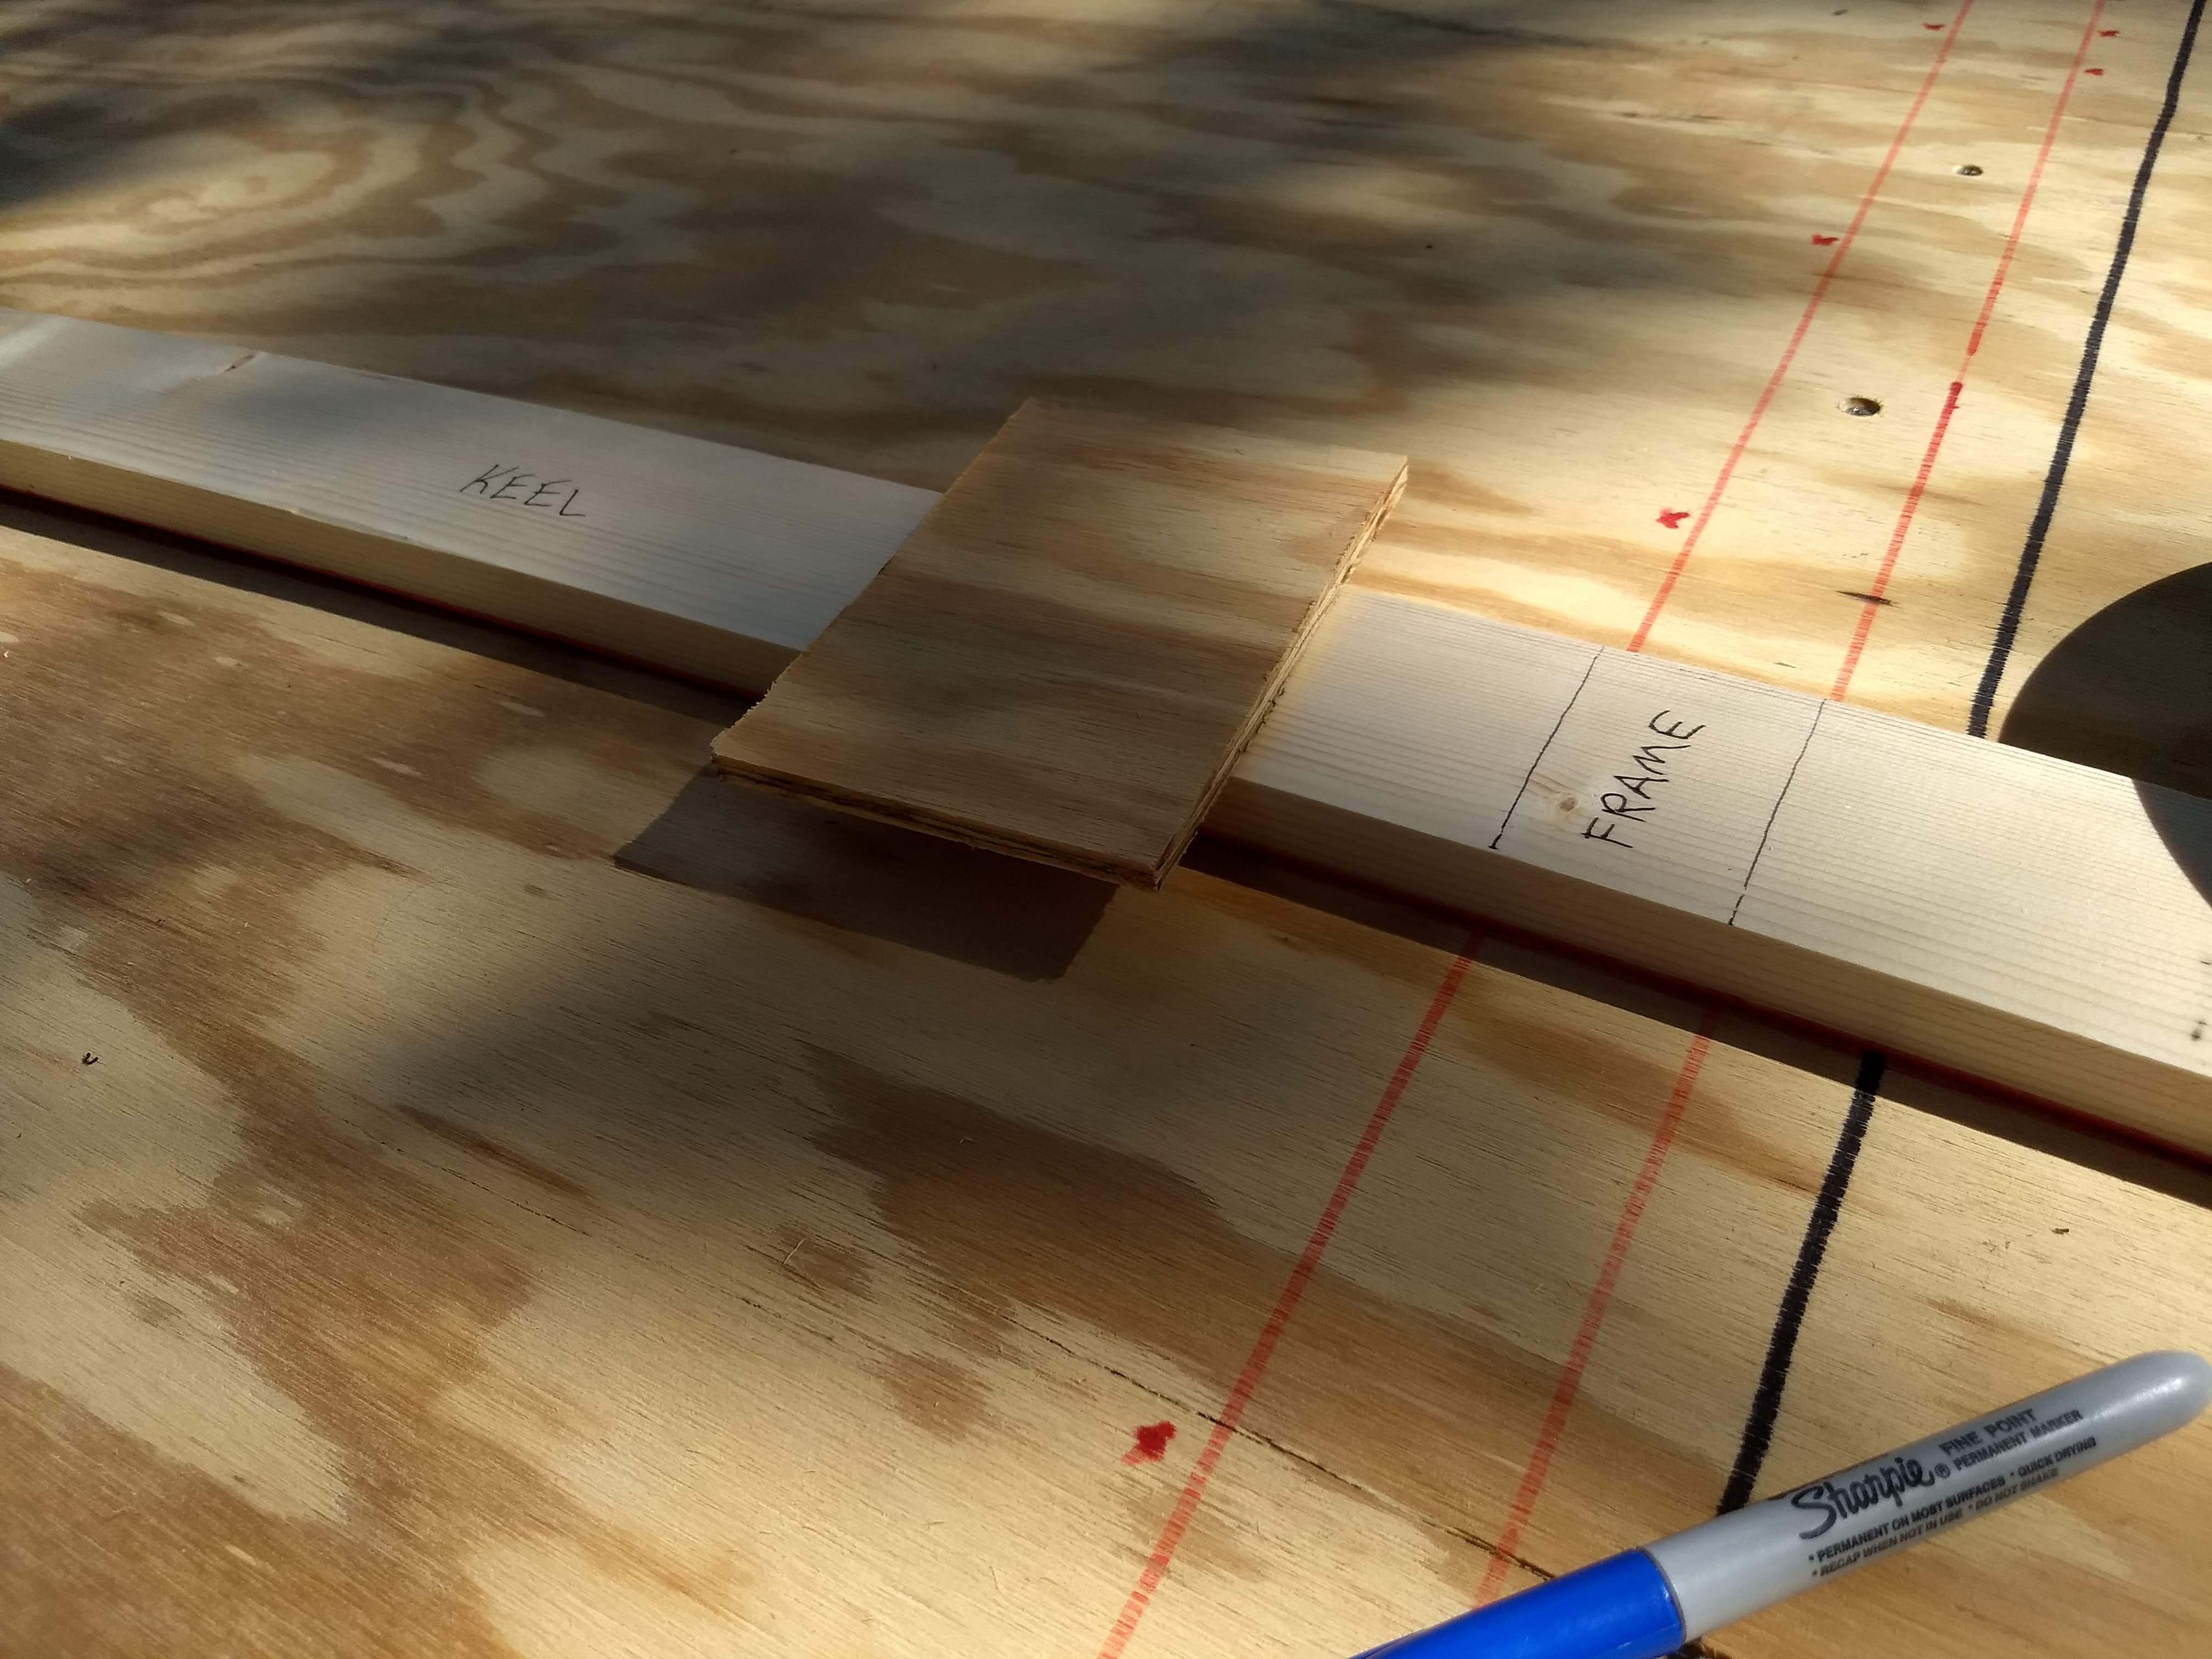
Marking frame location on keel

Then it was time to cut the skeg. Remember that I had opted to use 3/4″ plywood for the skeg instead of Beede’s sandwich of 1/4″ ply pieces from the first plywood sheet, and then I had overruled myself and decided to use a length of 1× hardwood (which I later determined was maple) instead, reasoning that, if hitting any sort of gravel or sandy bottom or beach, I’d rather have a solid piece attached down underneath than plywood.

Marking bow butt block seam on keel

But then I had the dilemma as to how to cut the 1× to shape, basically a wedge, 3 feet long, going from 3/4″ tall to 3-1/2″ tall. I couldn’t figure how to clamp that to anything to be able to cut that long diagonal cut. I finally figured that I could clamp a sacrificial length of 2×4 to the Stanley folding work bench and then clamp the maple length to the sacrificial 2×4, leaving room for the 4-1/2″ circular saw to just barely scoot by the clamps. Worked out rather swell, actually.
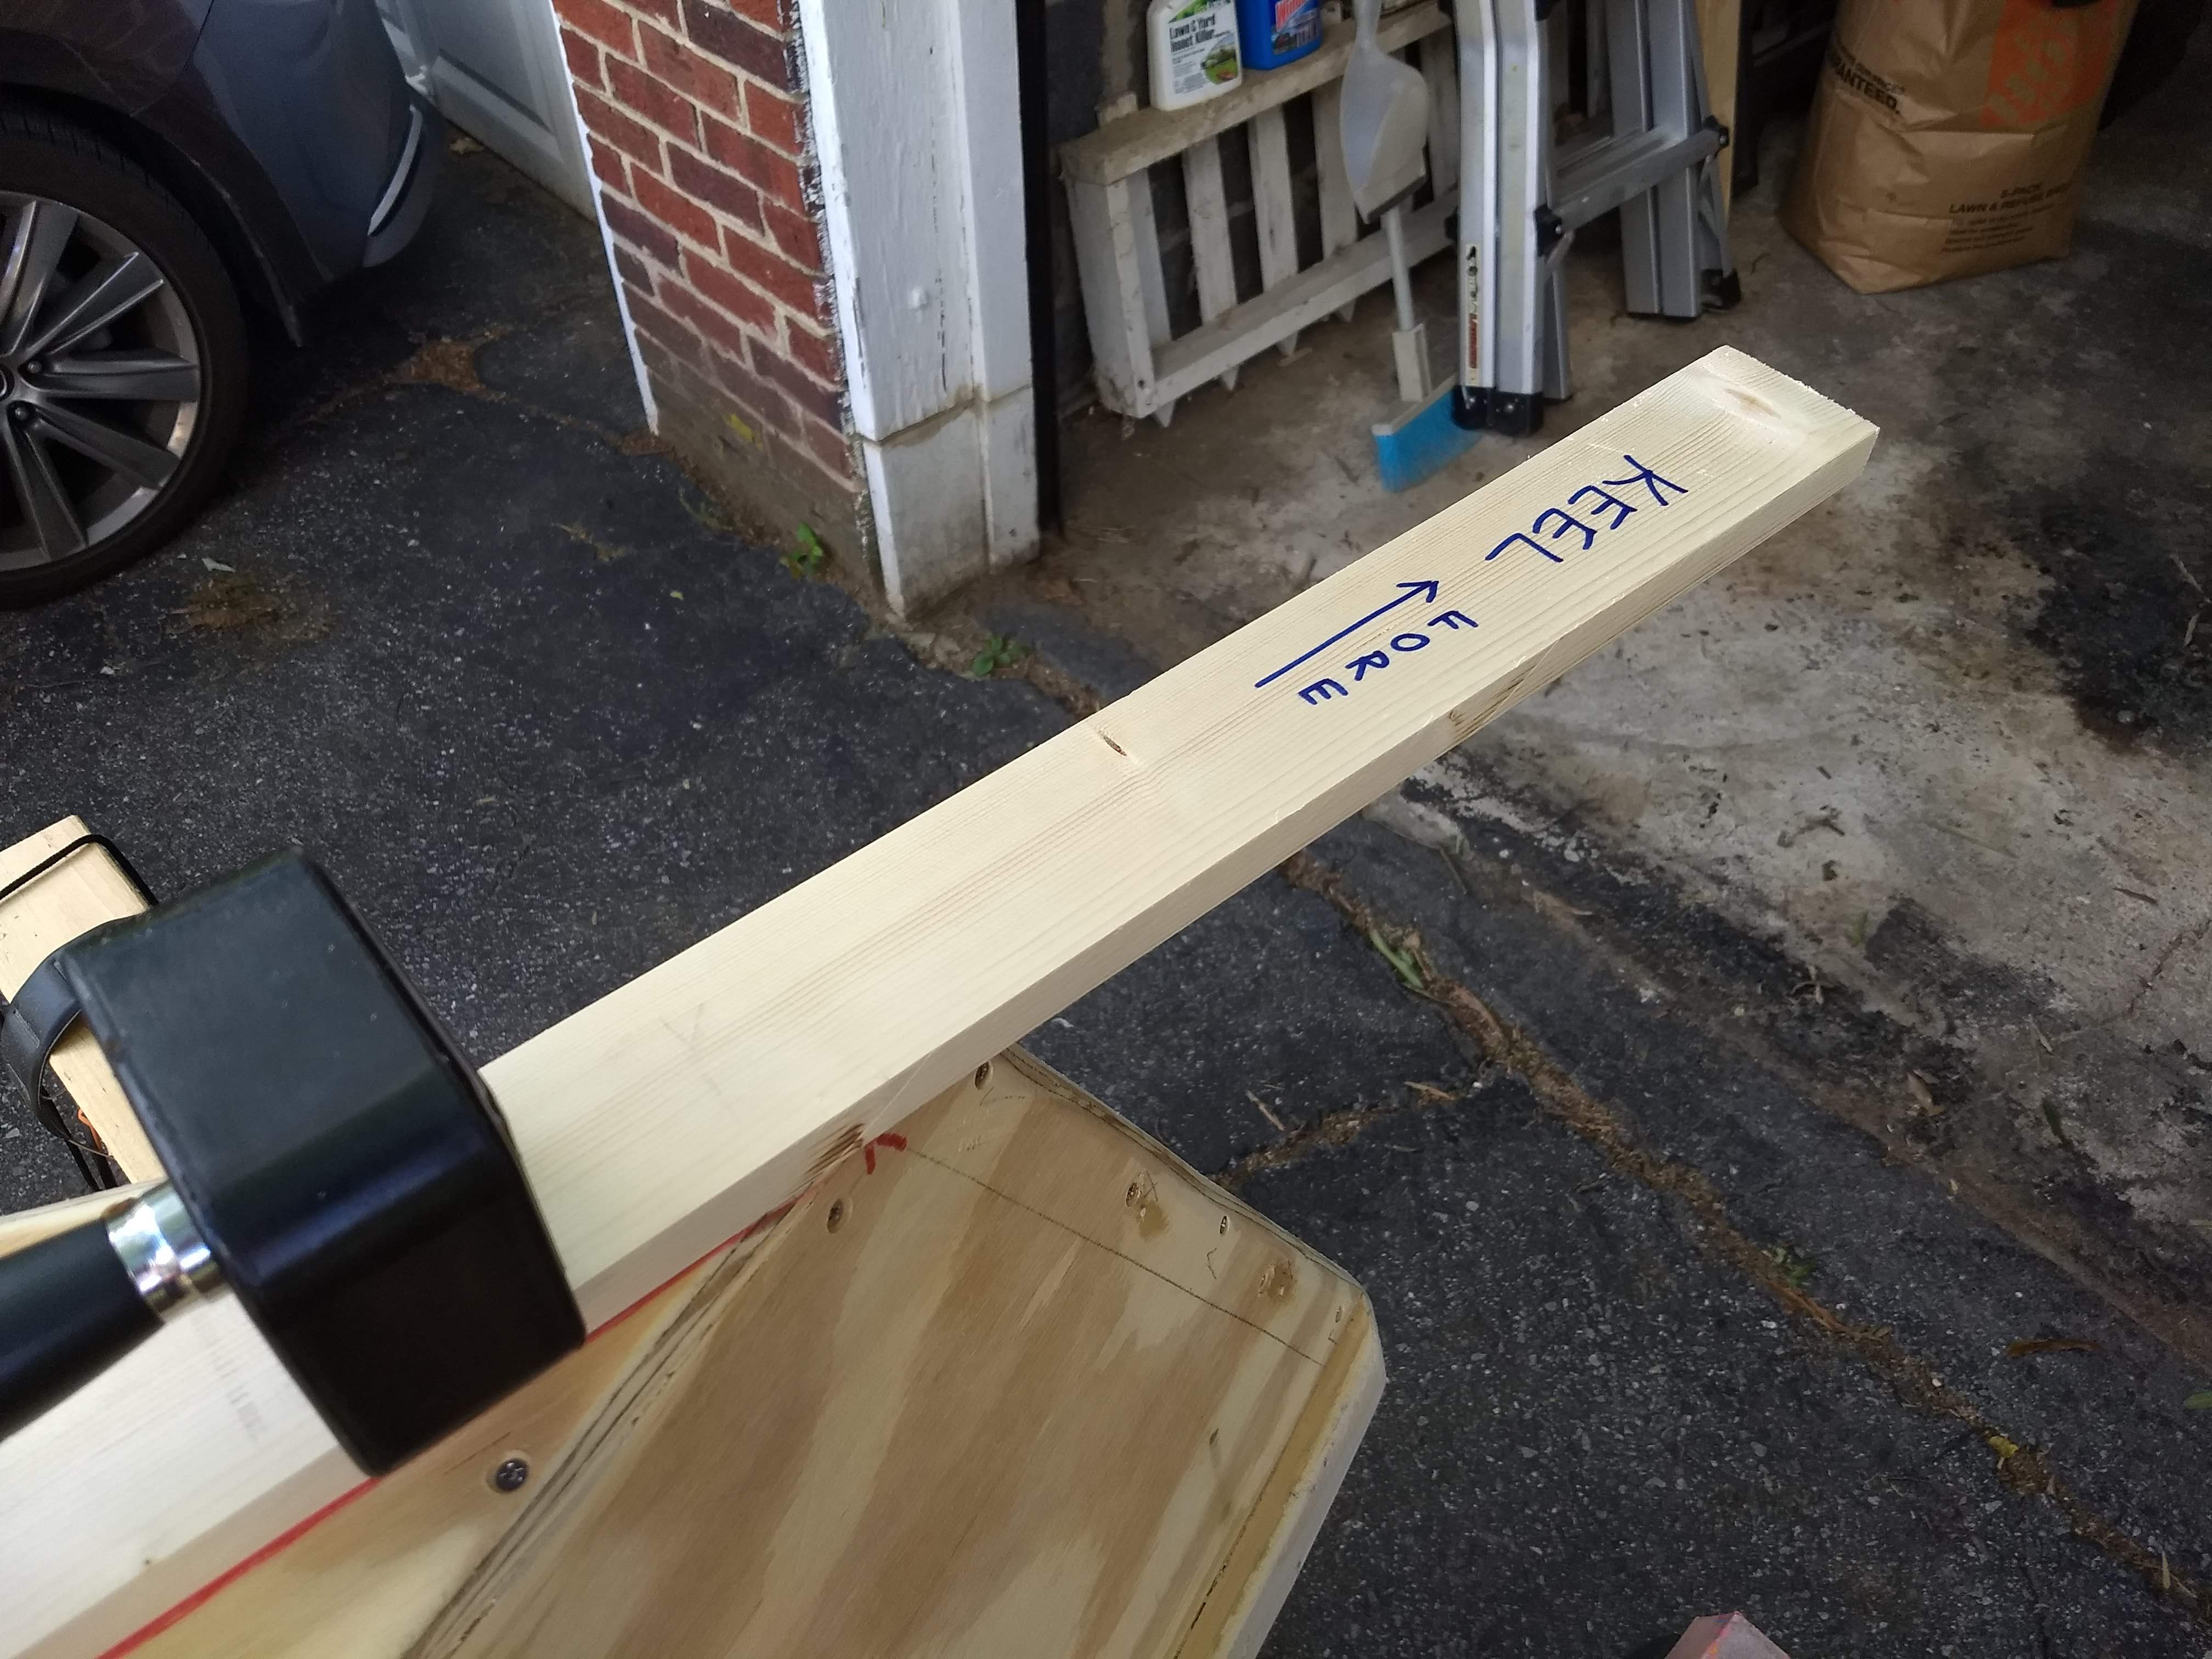
Extra keel at the bow, to be removed later

I had to cut the wedge again, on the bottom, so to speak, to match the rocker curve of the boat. I held the skeg in place and used a triangular fat pencil, spiling along to transfer the curve from boat to skeg. Then I cut that side on the sacrificial 2×4 as well.

Bam. Skeg cut and done. I used the off-cut from the spiling to trace the skeg onto the keel so I can cut the slot that it needs before they get attached.

Using the skeg off-cut to mark the keel

But before I can attach the keel and skeg, I need to install the mast step, since the mast step gets glued down to the bottom of the inside of the boat, and thus needs clamping screws going from outside to inside, before the keel gets attach to the outside and covers up the area where those mast step clamping screws need to go. And before I can install the mast step, I need to make it.
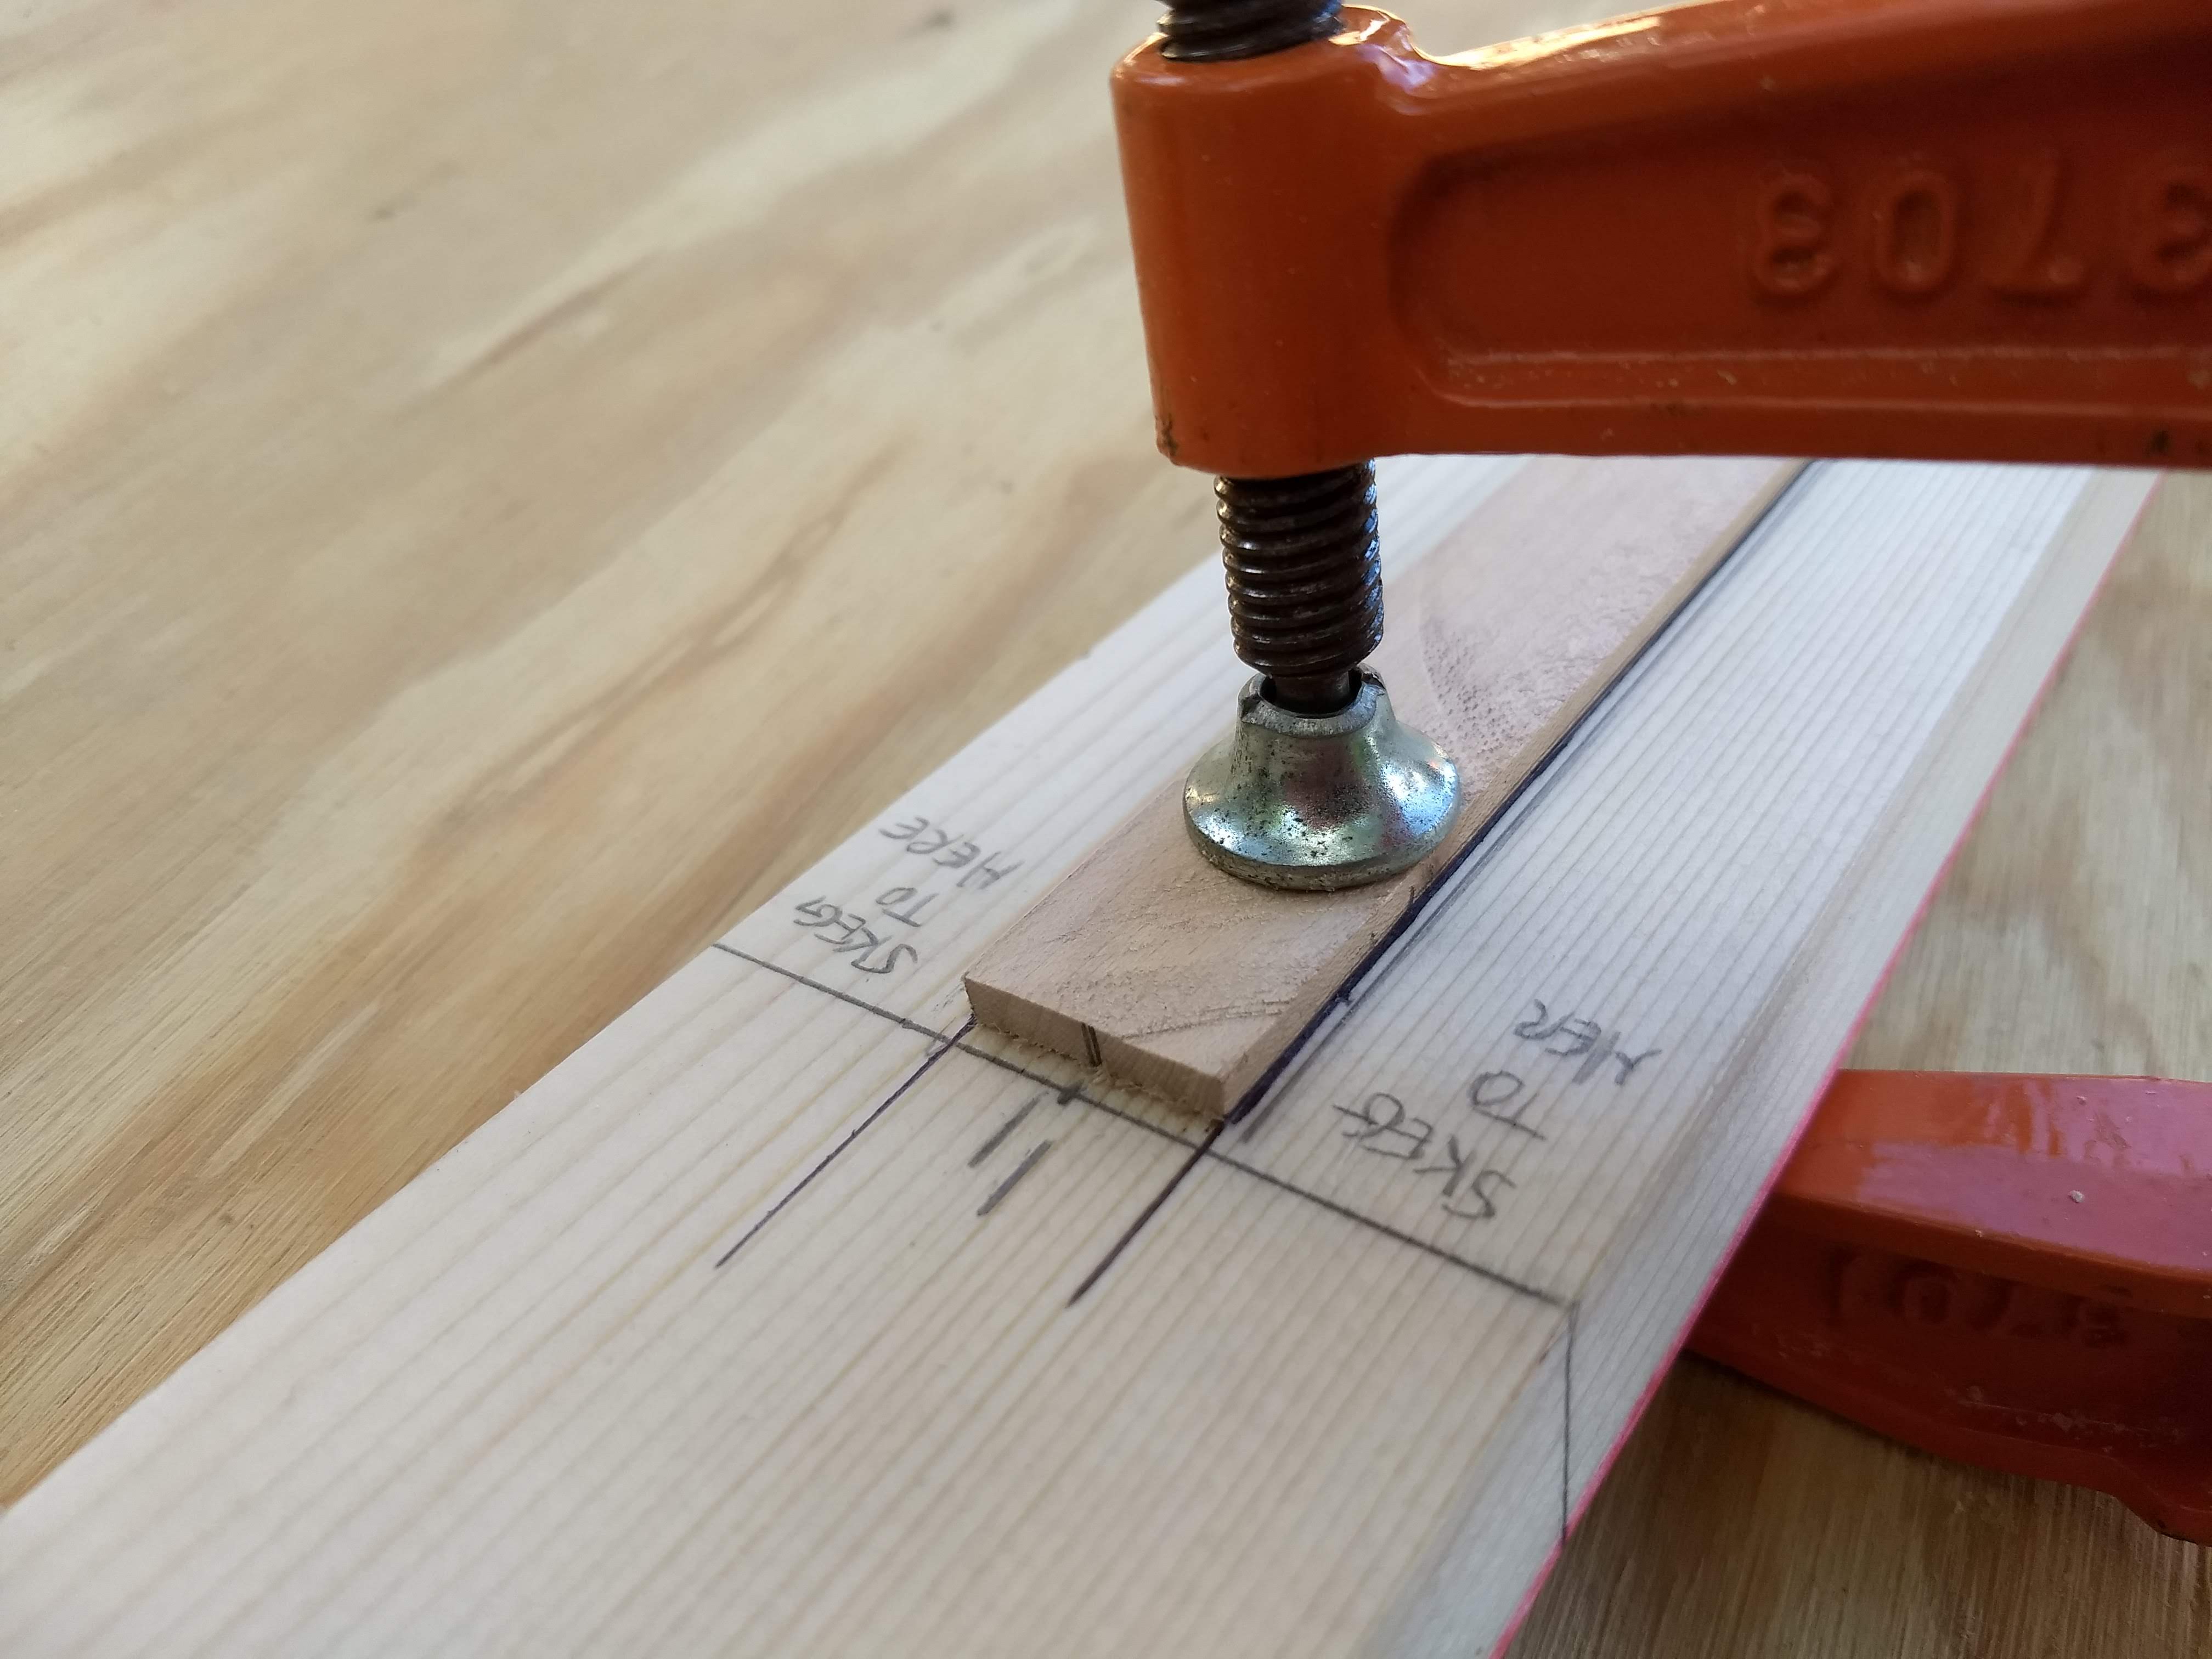
Close up of skeg markings on keel. “Skeg to her?”

I had designed a 1-1/2″ sandwich of plywood pieces, but I today I decided I didn’t like the 1/4″ ply pieces that I’d cut. And I decided that I’d use 1x pieces instead of 3/4″ plywood pieces. I cut the 1x pieces a smidge wide, thinking that would give me a little more wiggle room for the center hole for the mast, but then that threw off the entire symmetry of that layer. And then trying to glue the rectangle together went completely off the rails, with the wood glue making every piece far too slippery to position. I ended up throwing the disastrous lower assembly into the trash.
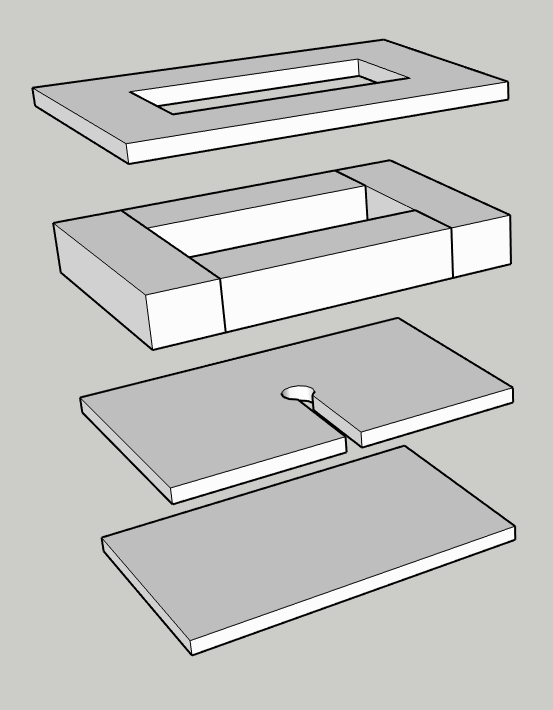
Mast step design
Mast step lower assembly dry fitting
Mast step lower assembly disaster in trash

The upper assembly went a little better, where I unscrewed and slathered with glue and re-screwed one rectangle side at a time to avoid repeating the disaster I’d had with the lower assembly. Then I replaced the lower assembly with a simple piece of 1× oak that I had. And, anyway, I like the idea of a solid piece of wood attached to the floor of the boat instead of a couple layers of plywood.

Mast step upper assembly glued

I had hoped to flip the boat upright and measure and mark where the mast step will be, but I ran out of time. We went to walk the dogs, then had a quick dinner, then I dashed off to see Amanda Anne Platt & the Honeycutters, at Hill Country Live, with Gordon and Cathy.
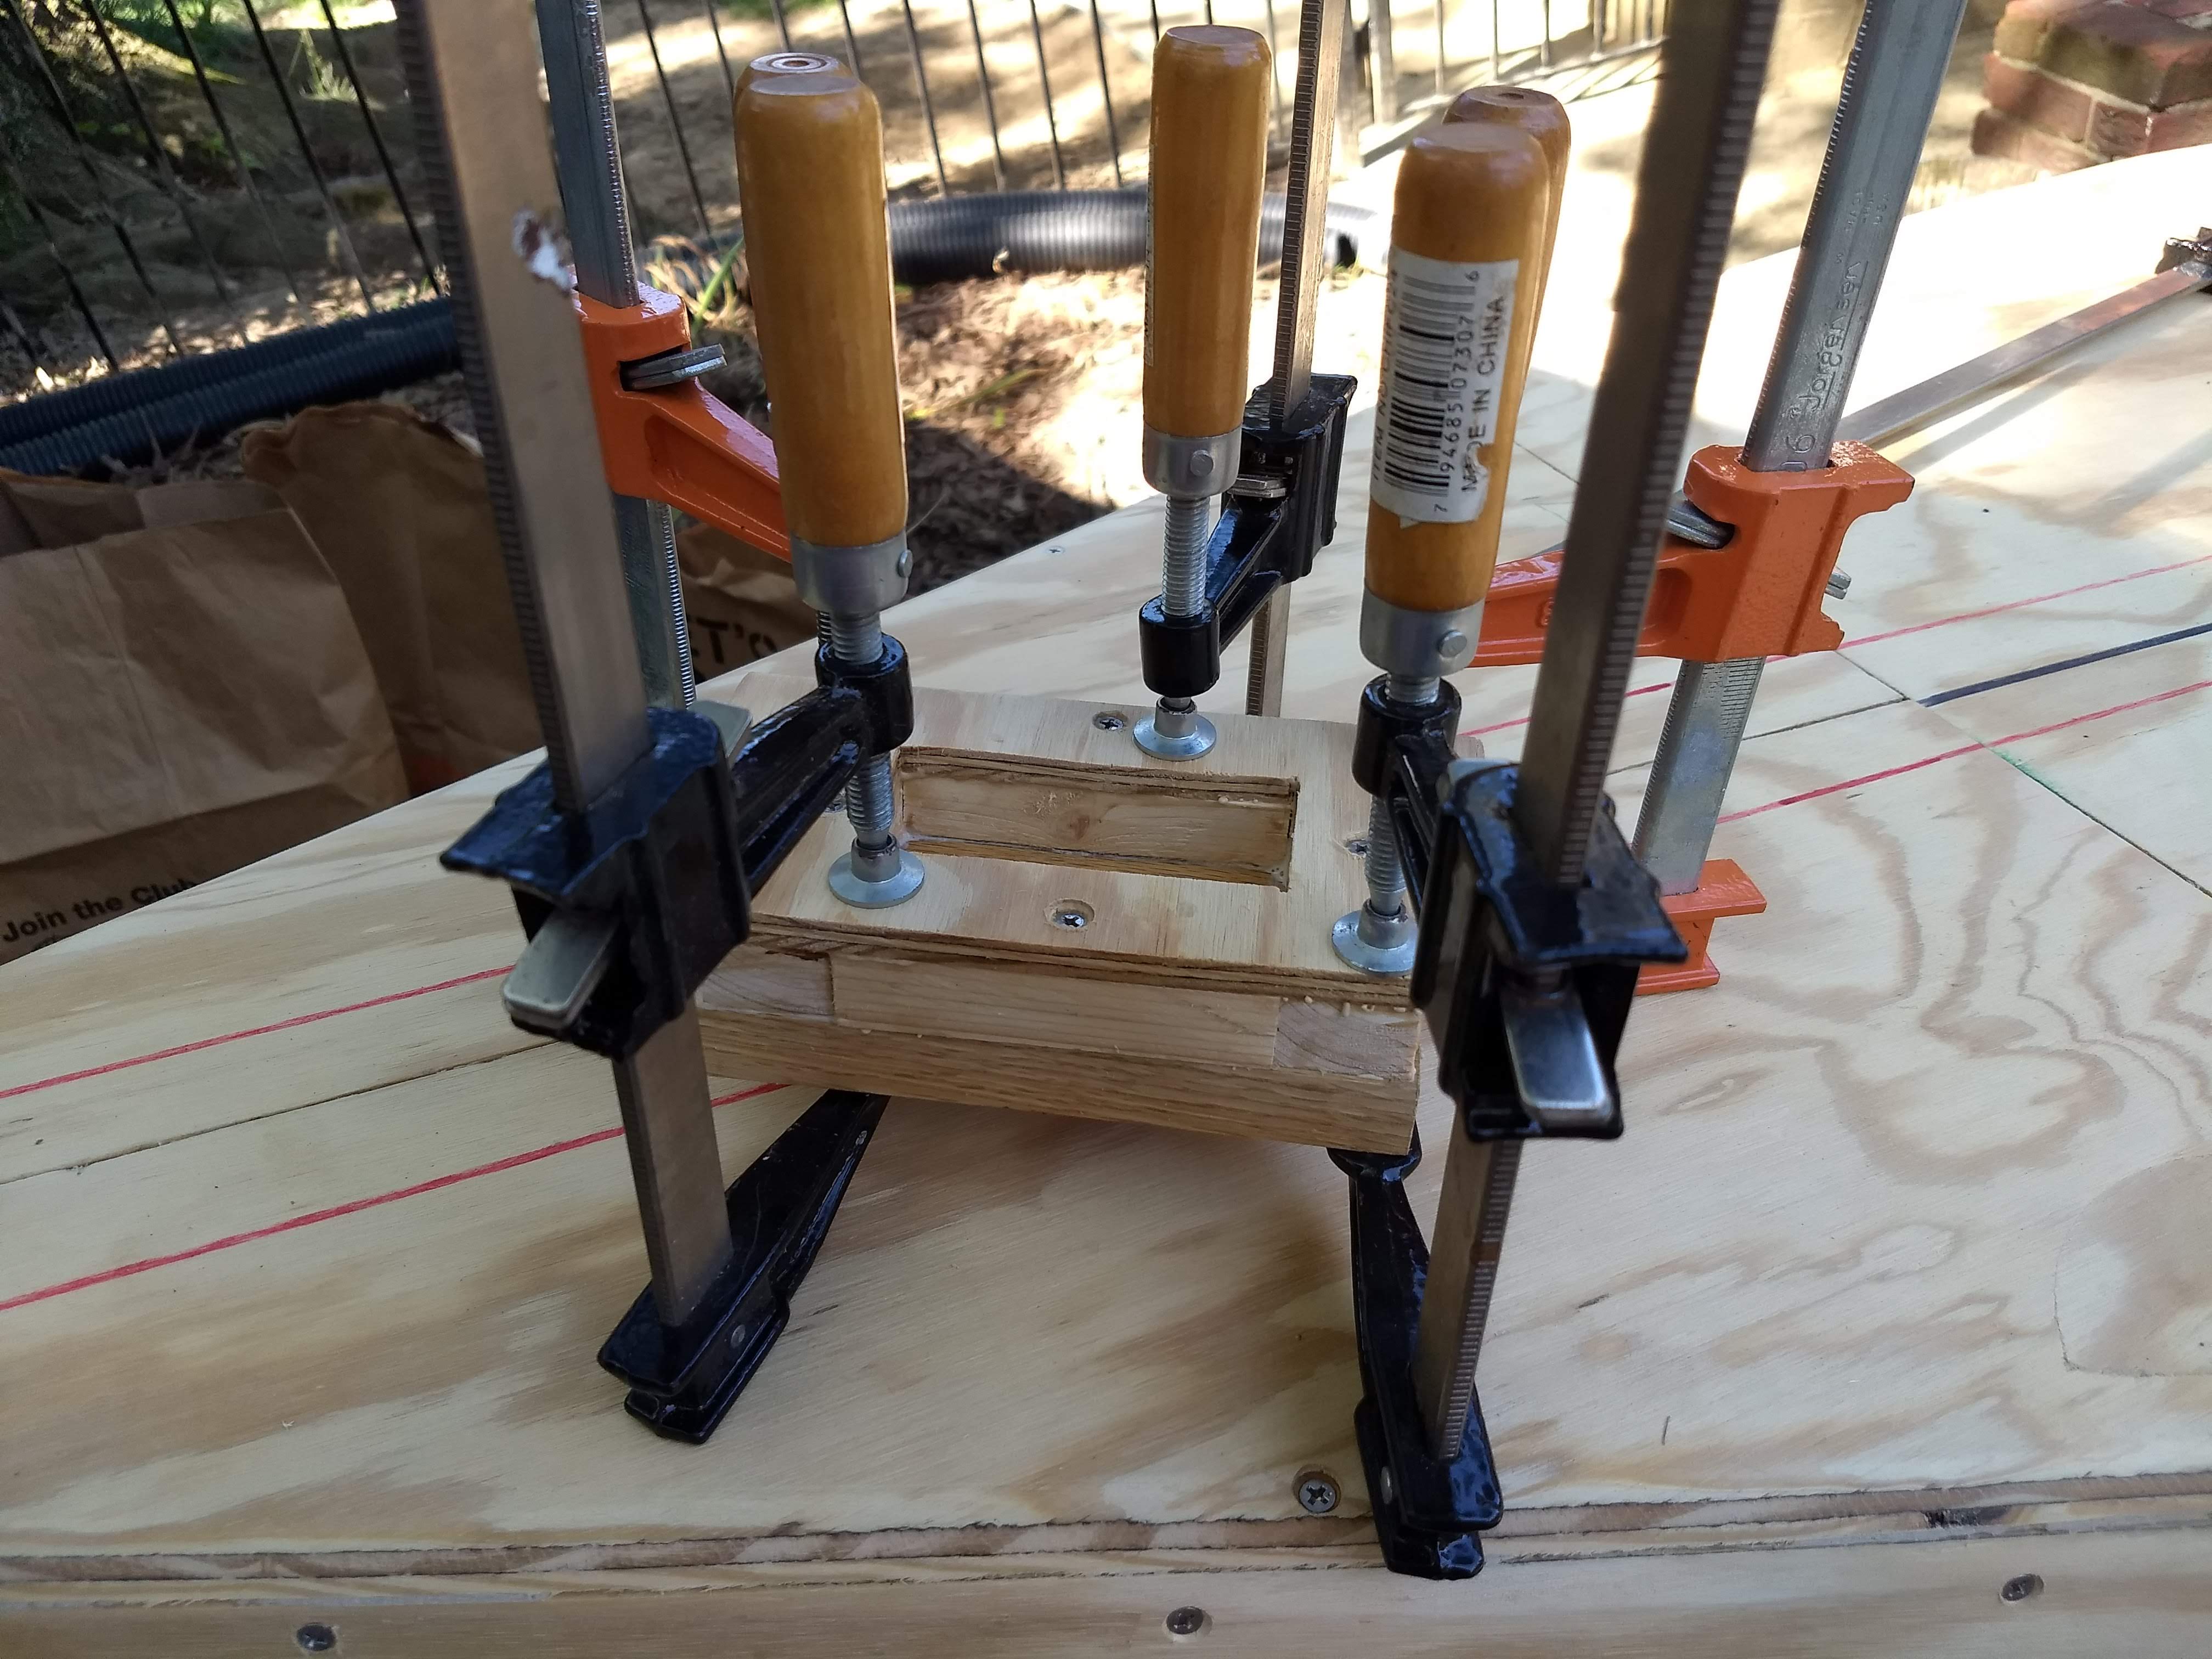
Mast step glued and clamped. It still needs a drain hole drilled into the oak slab on the bottom. Then I think I’m going to chop all the sides evenly. Then maybe I should put on an edge band?

Week 30: Over the hump

Having now made what can be described as a boat, I need to make it seaworthy. There’s wood filler and caulk and epoxy and paint to be applied. I need to get the boat ready for that.

I made some proper sawhorses to use instead of the card table that I’ve been using all this time. I might make another pair.

The main thing is to glass the chines. That’s what I call it anyway, although with my chines being internal, I’m not really glassing them proper. I’m glassing the outside joint made by the bottom and the side.

And right now that joint is way too sharp to hold the tape, or at least that’s what I gather from reading my Michalak. So the big job this weekend was taking the rasp to the bottom to make that joint rounder.

Moving slowly along the port side from stern to bow, making that sharp edge smoother

And what a slog that was, going all the way around the boat. I wasn’t keeping exact time or anything, but I’m guessing it was about two hours. It was hard work, but it was satisfying as well.

Port side transom edge and rounded gunwale

While I was at it, I finally cut off the excess of the gunwales both at the transom and the stem. I rounded them a little bit as well, with the rasp, as best as I could with the boat upside down. I’ll make them more symmetrical when next the boat is right side up.

Rounding the stem

Next step is to fill the seams of the butt blocks with wood filler, in preparation for covering those same seams with fiberglass tape embedded in epoxy, glassing the seams same as the chines will get glassed. I bought Minwax High Performance Wood Filler to use for these critical seams, as opposed to the cheaper DAP Plastic Wood filler that I’d used way back in like Week 2 or so for filling the knot holes on the C side of the BC plywood.

Week 29: It’s finally a boat

If nothing else, if I never do another minute of work on it, this thing is now a boat. I fully plan on doing many more minutes of work on it, to make it a seaworthy boat, one that won’t leak, not too much anyway. But it is now recognizably a boat.

I had some time early Saturday morning, when Dawn is usually out rowing but today was volunteering at some rowing event for a couple hours extra. I had been eagerly anticipating the big reveal of the gluing and butt blocks of the bottom bow triangles.

And, voila, they don’t look too bad. They don’t look nearly as good as I was aiming for, what with the longitudinal block having slipped a smidge to port and the transverse seam on the starboard side a little wider than I might have hoped, but, still it’ll do.

I took a picture of the final result on the garage floor, but my camera screwed up, so, sorry, not showing it here.

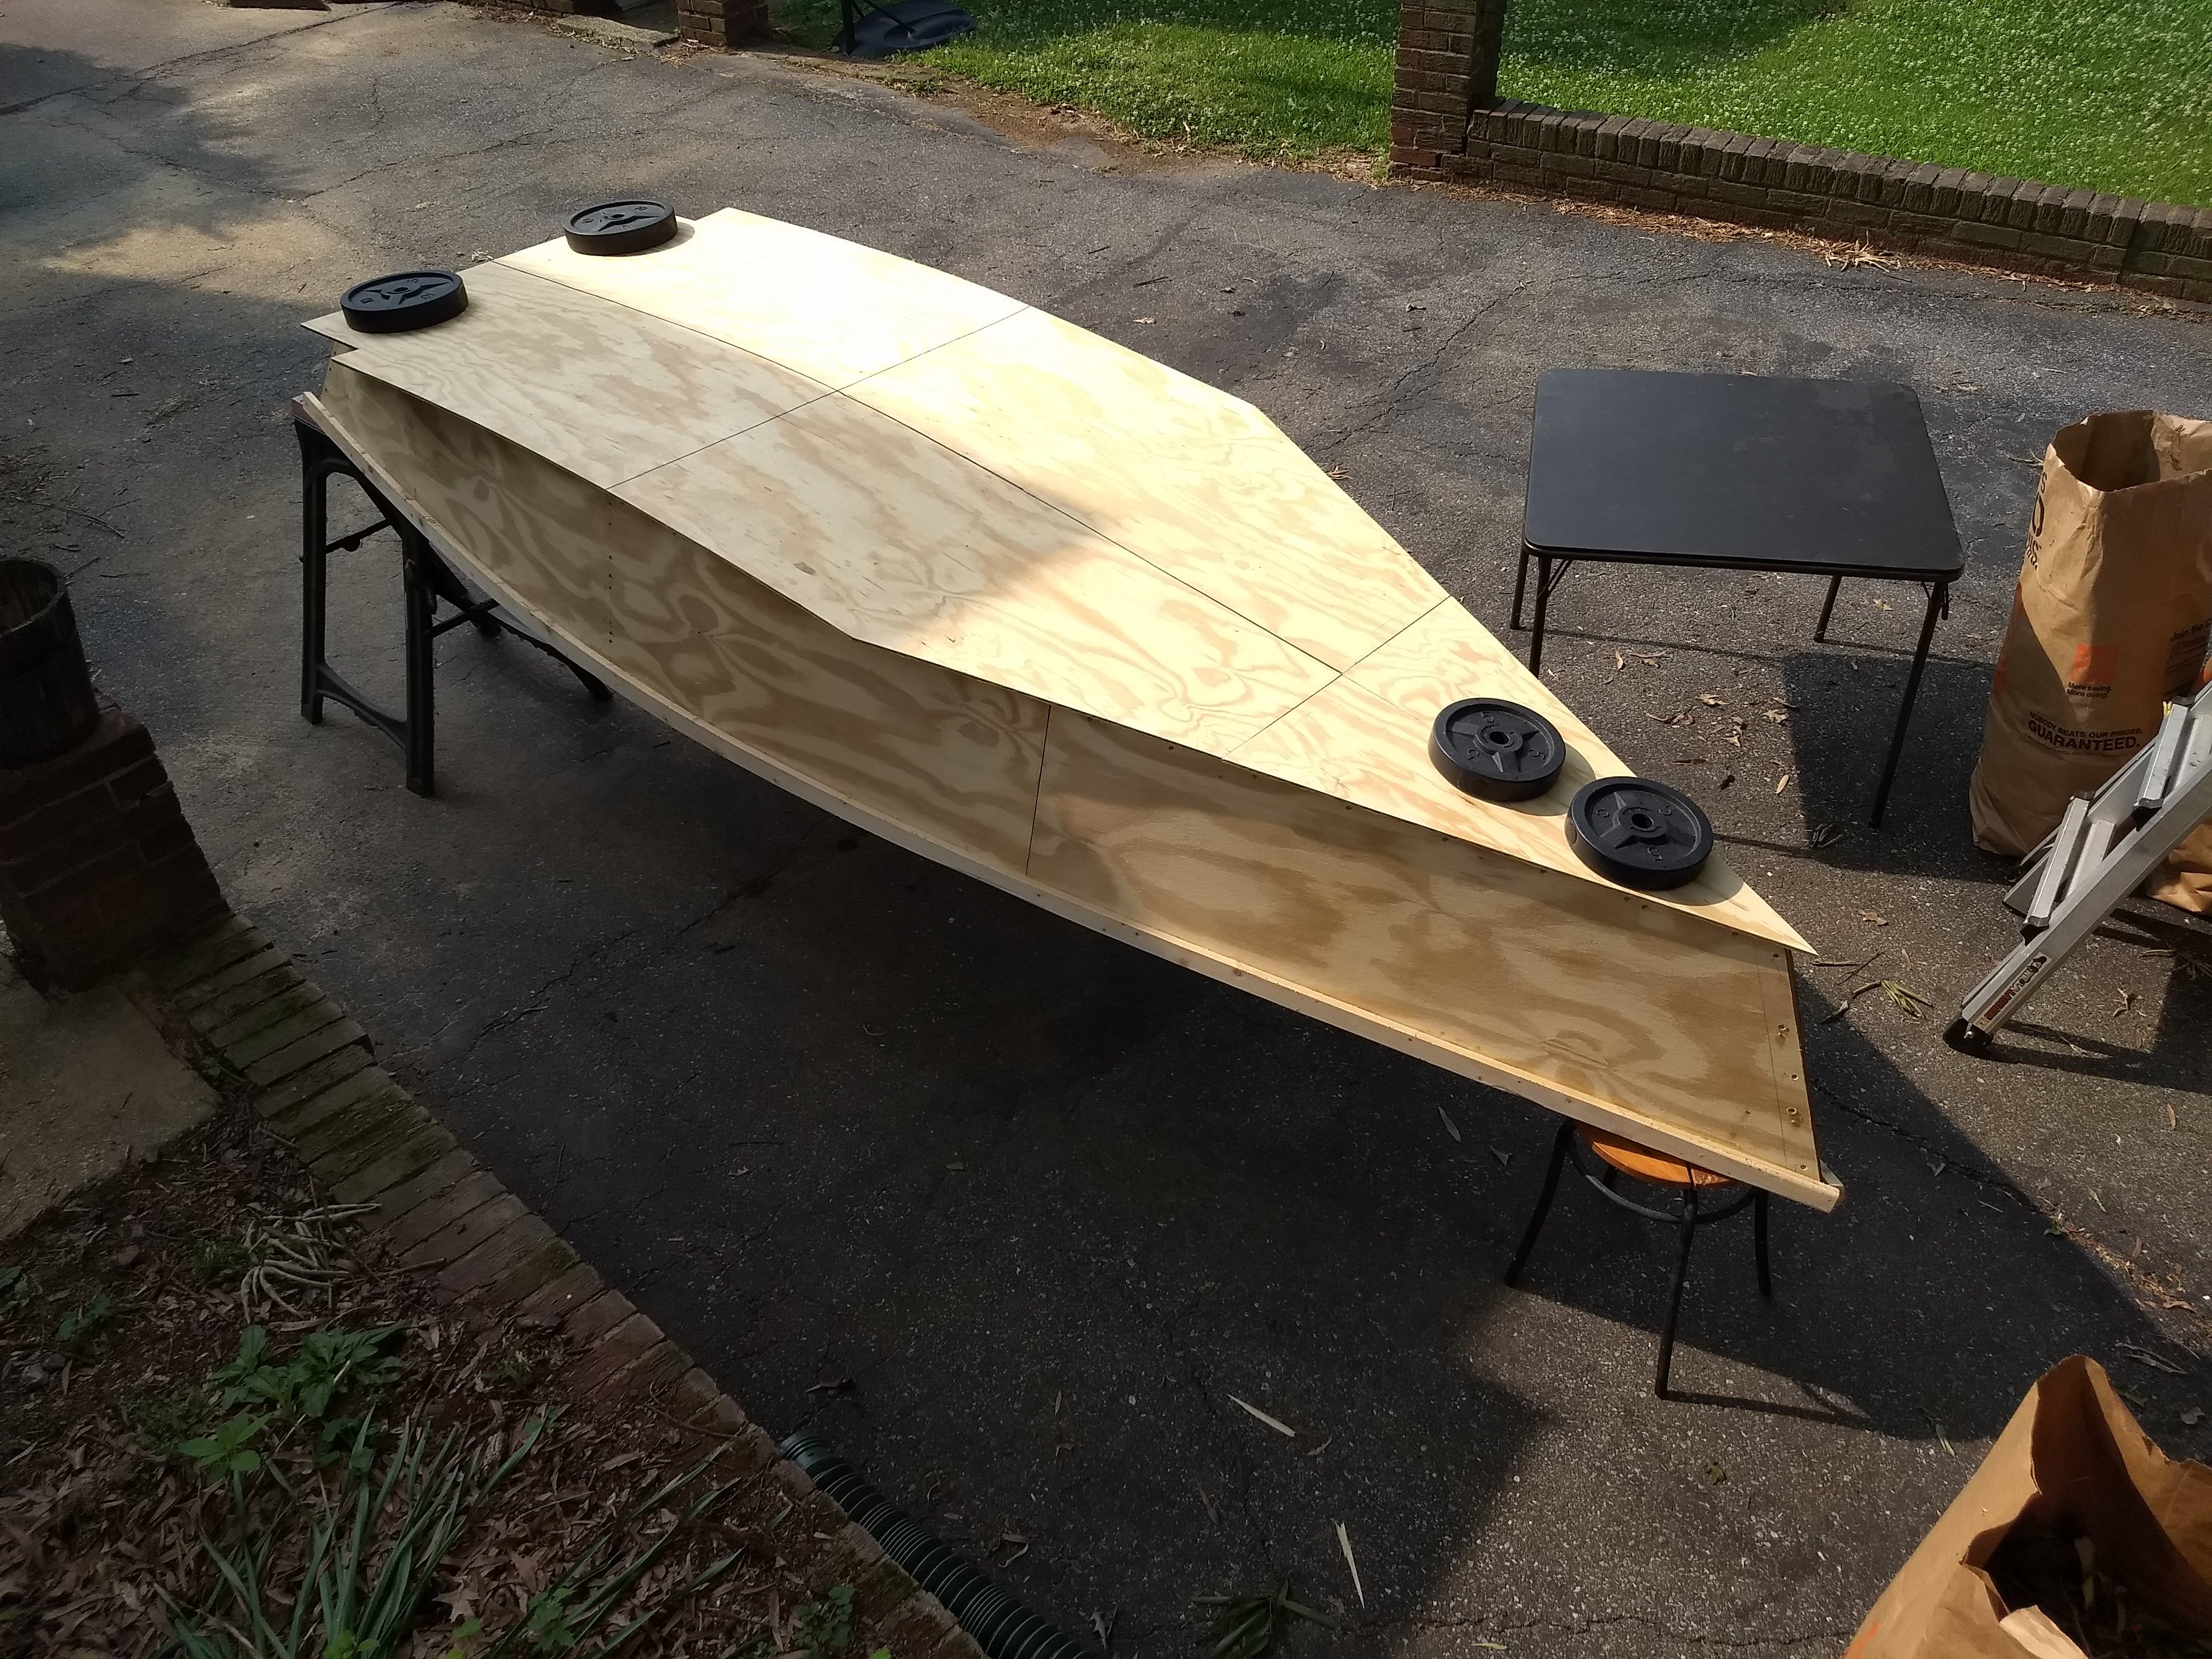
I had to pull the boat out of the garage to get to the glued up bottom on the garage floor, so I did my first test fitting on the full bottom on the boat now set up in the driveway. It was very satisfying to see the boat coming together.

Bottom assembly dry fit

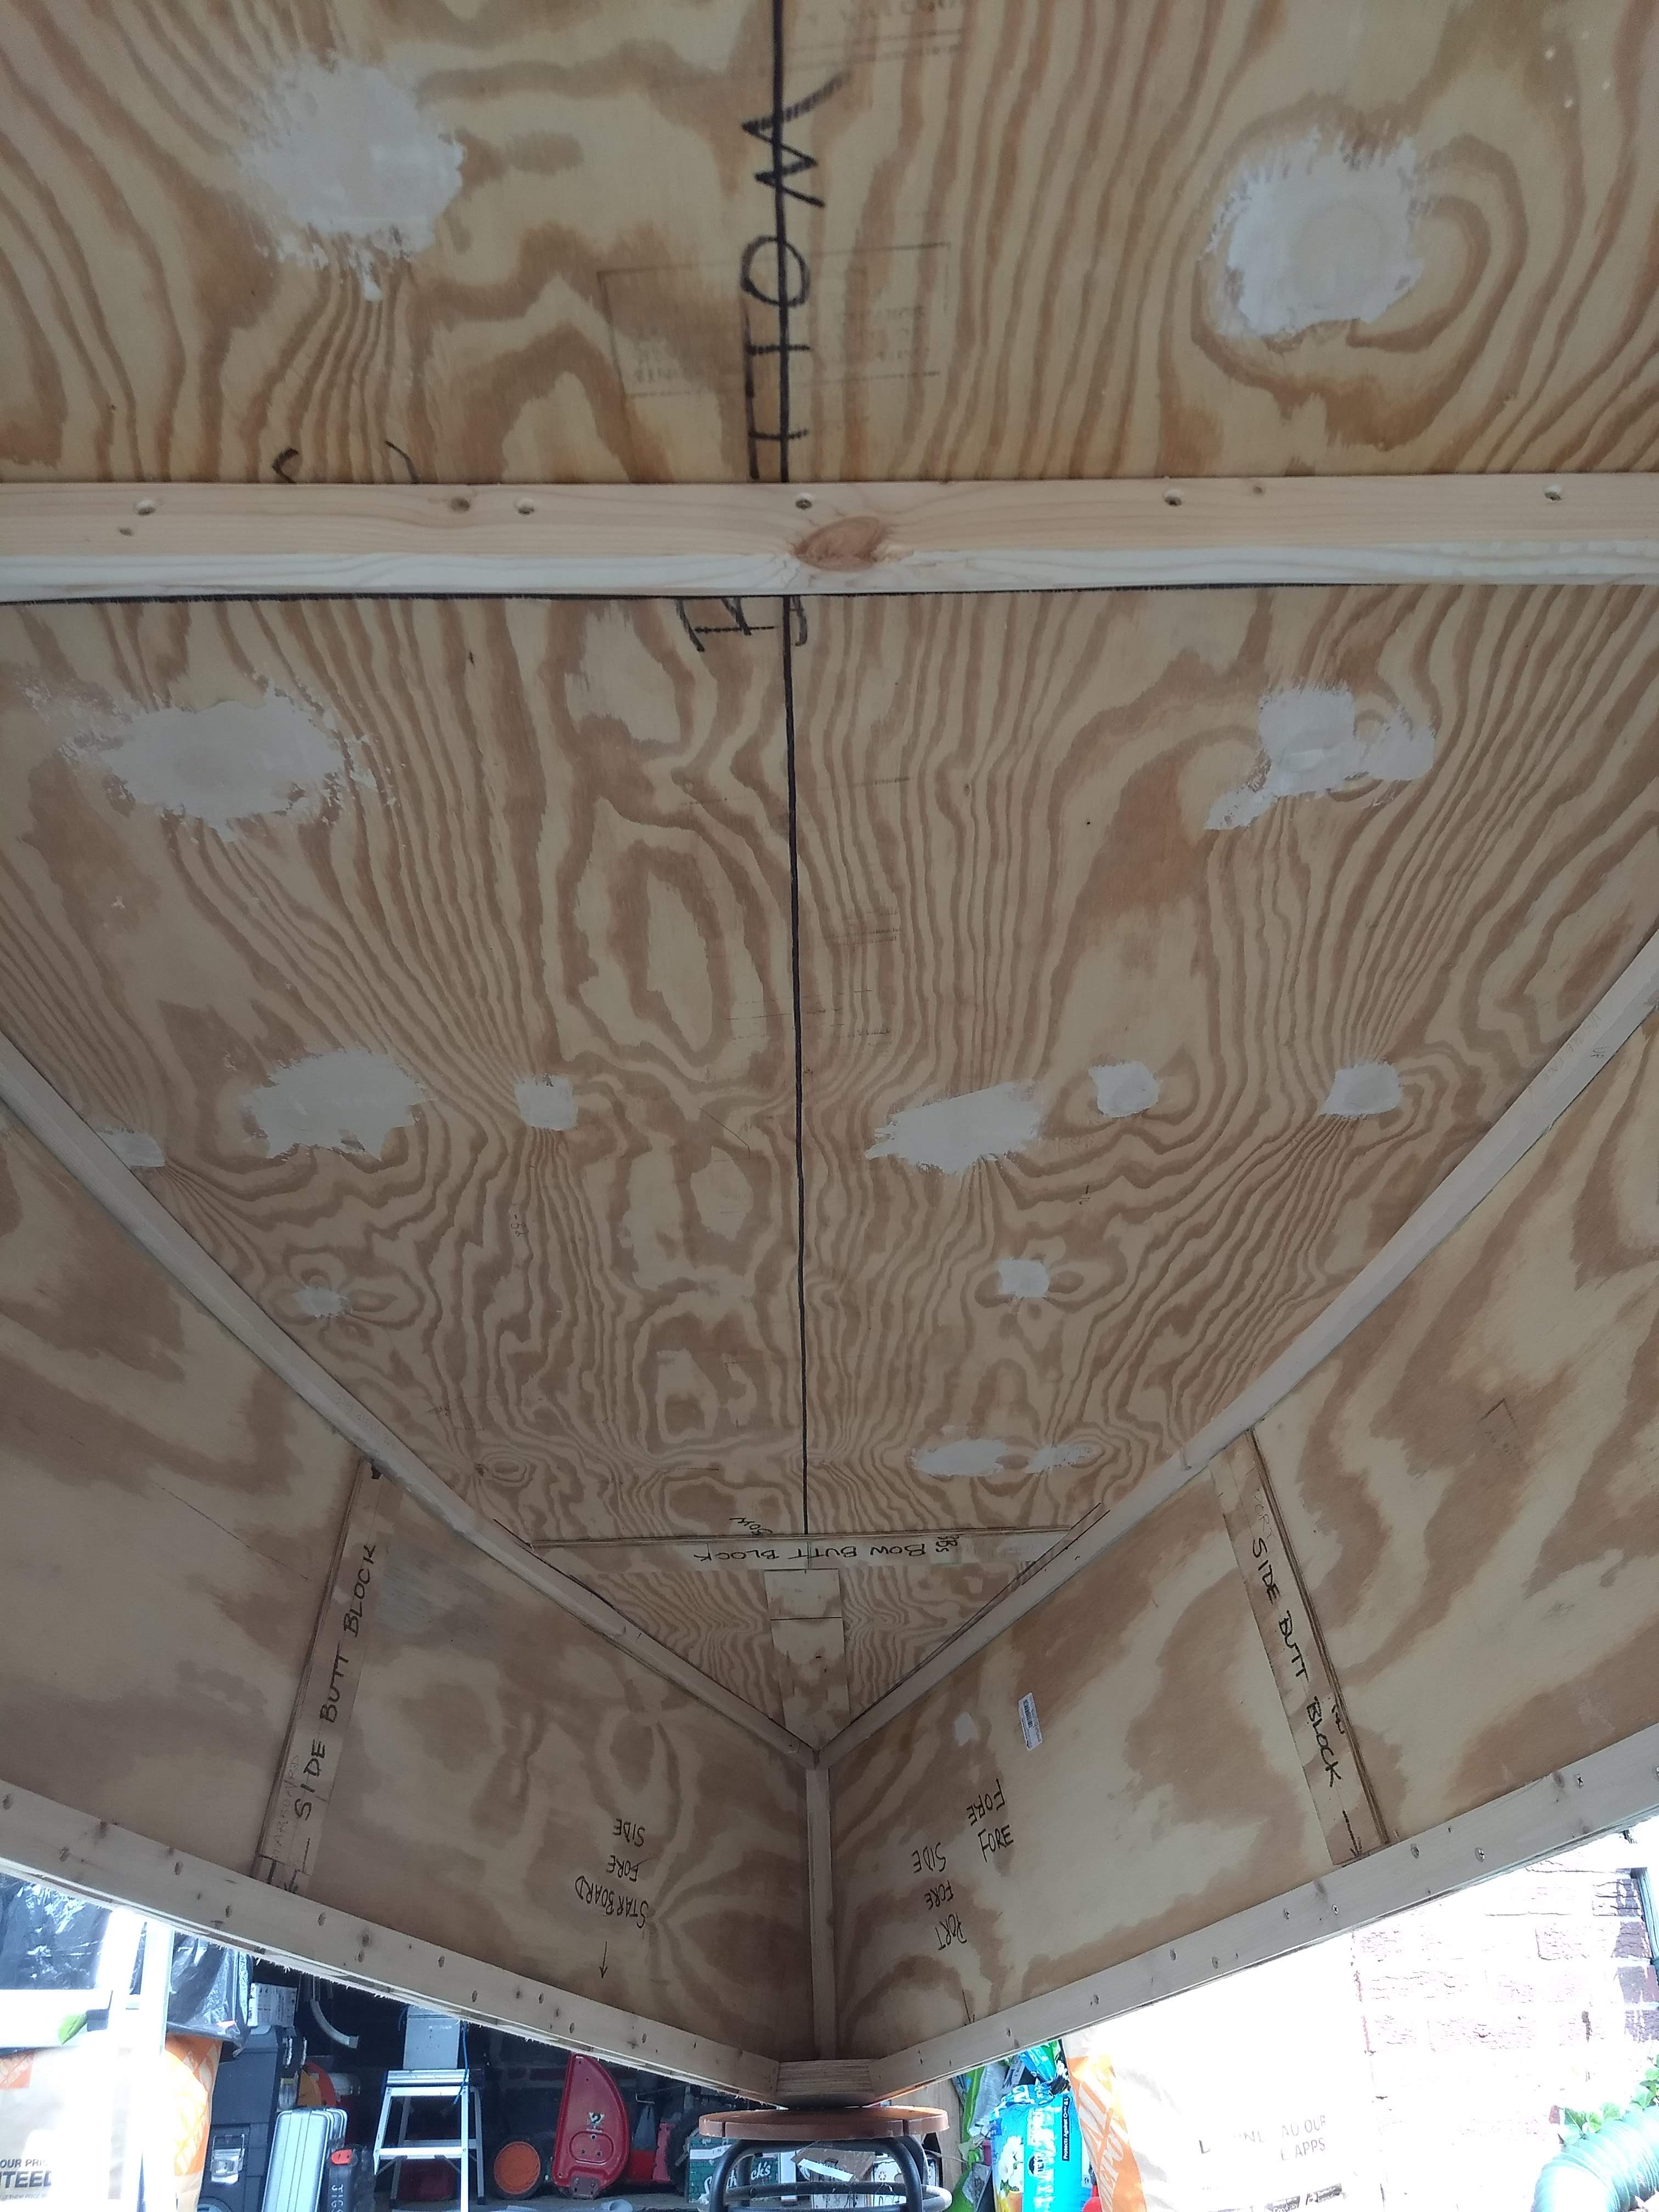
It was even more exciting crawling underneath the assembly and seeing the boat’s cockpit for the first time. I took a lot of pictures from underneath and later looked at them upside down.

Underneath upside down

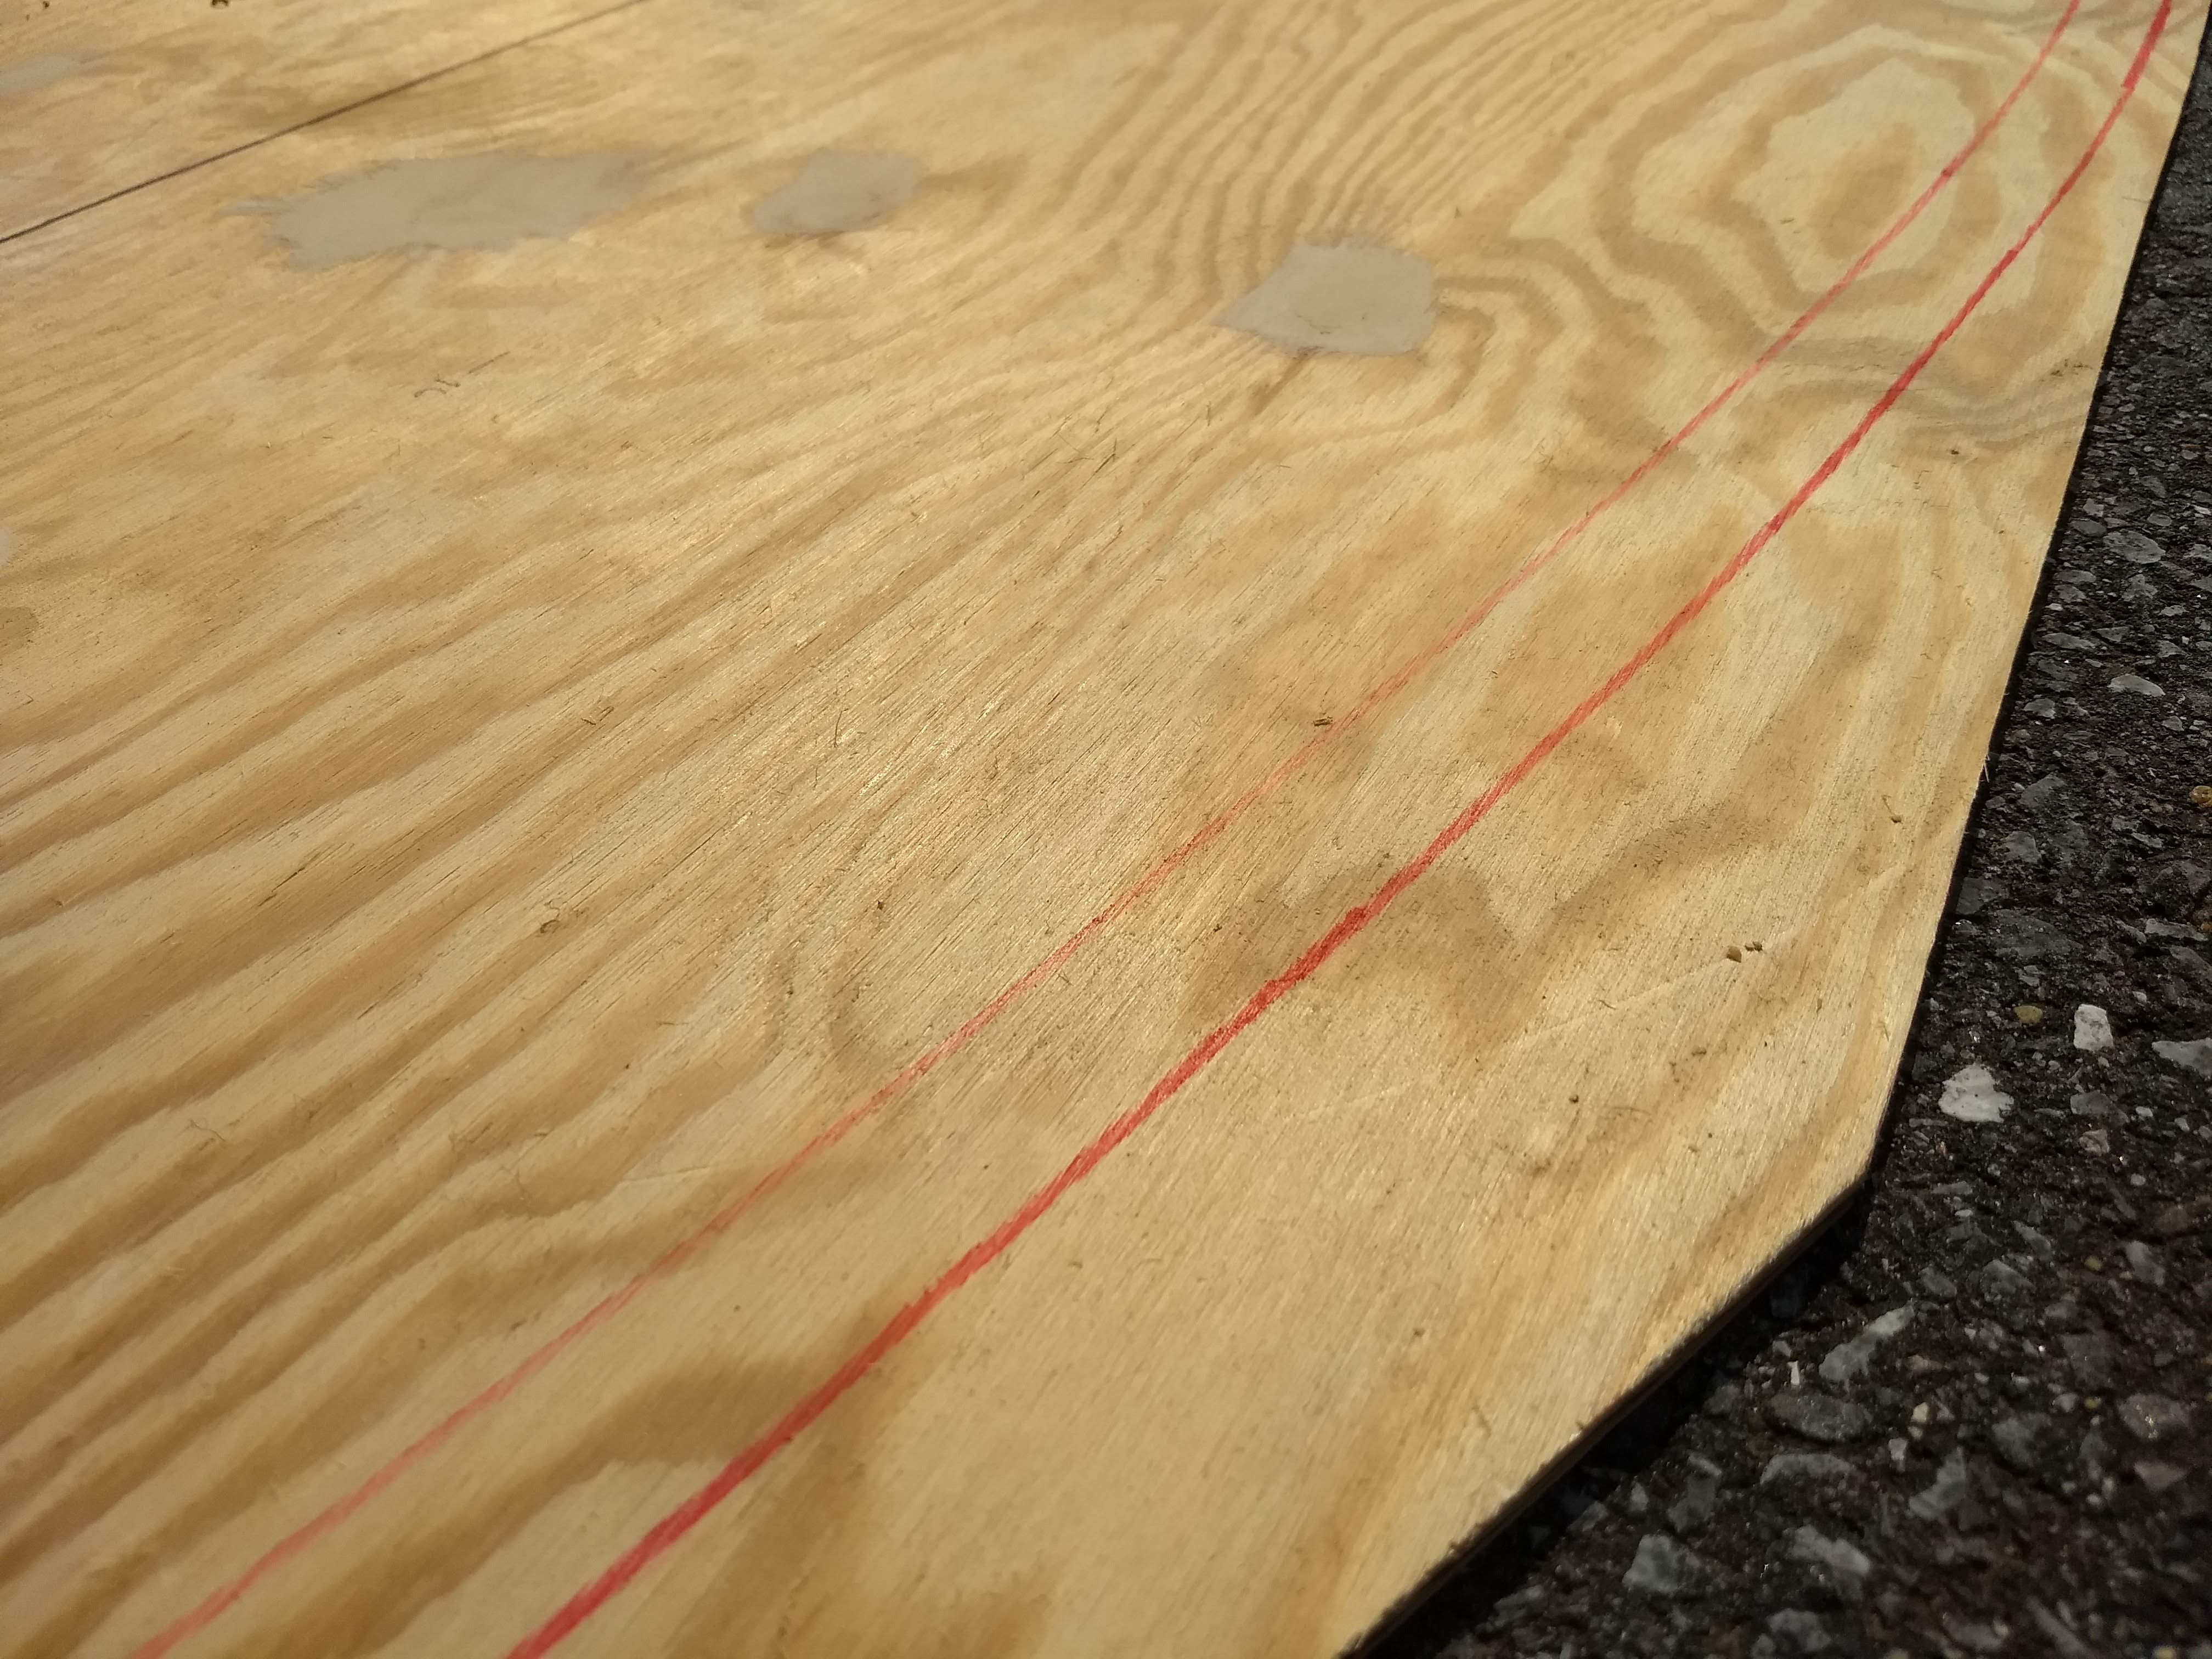
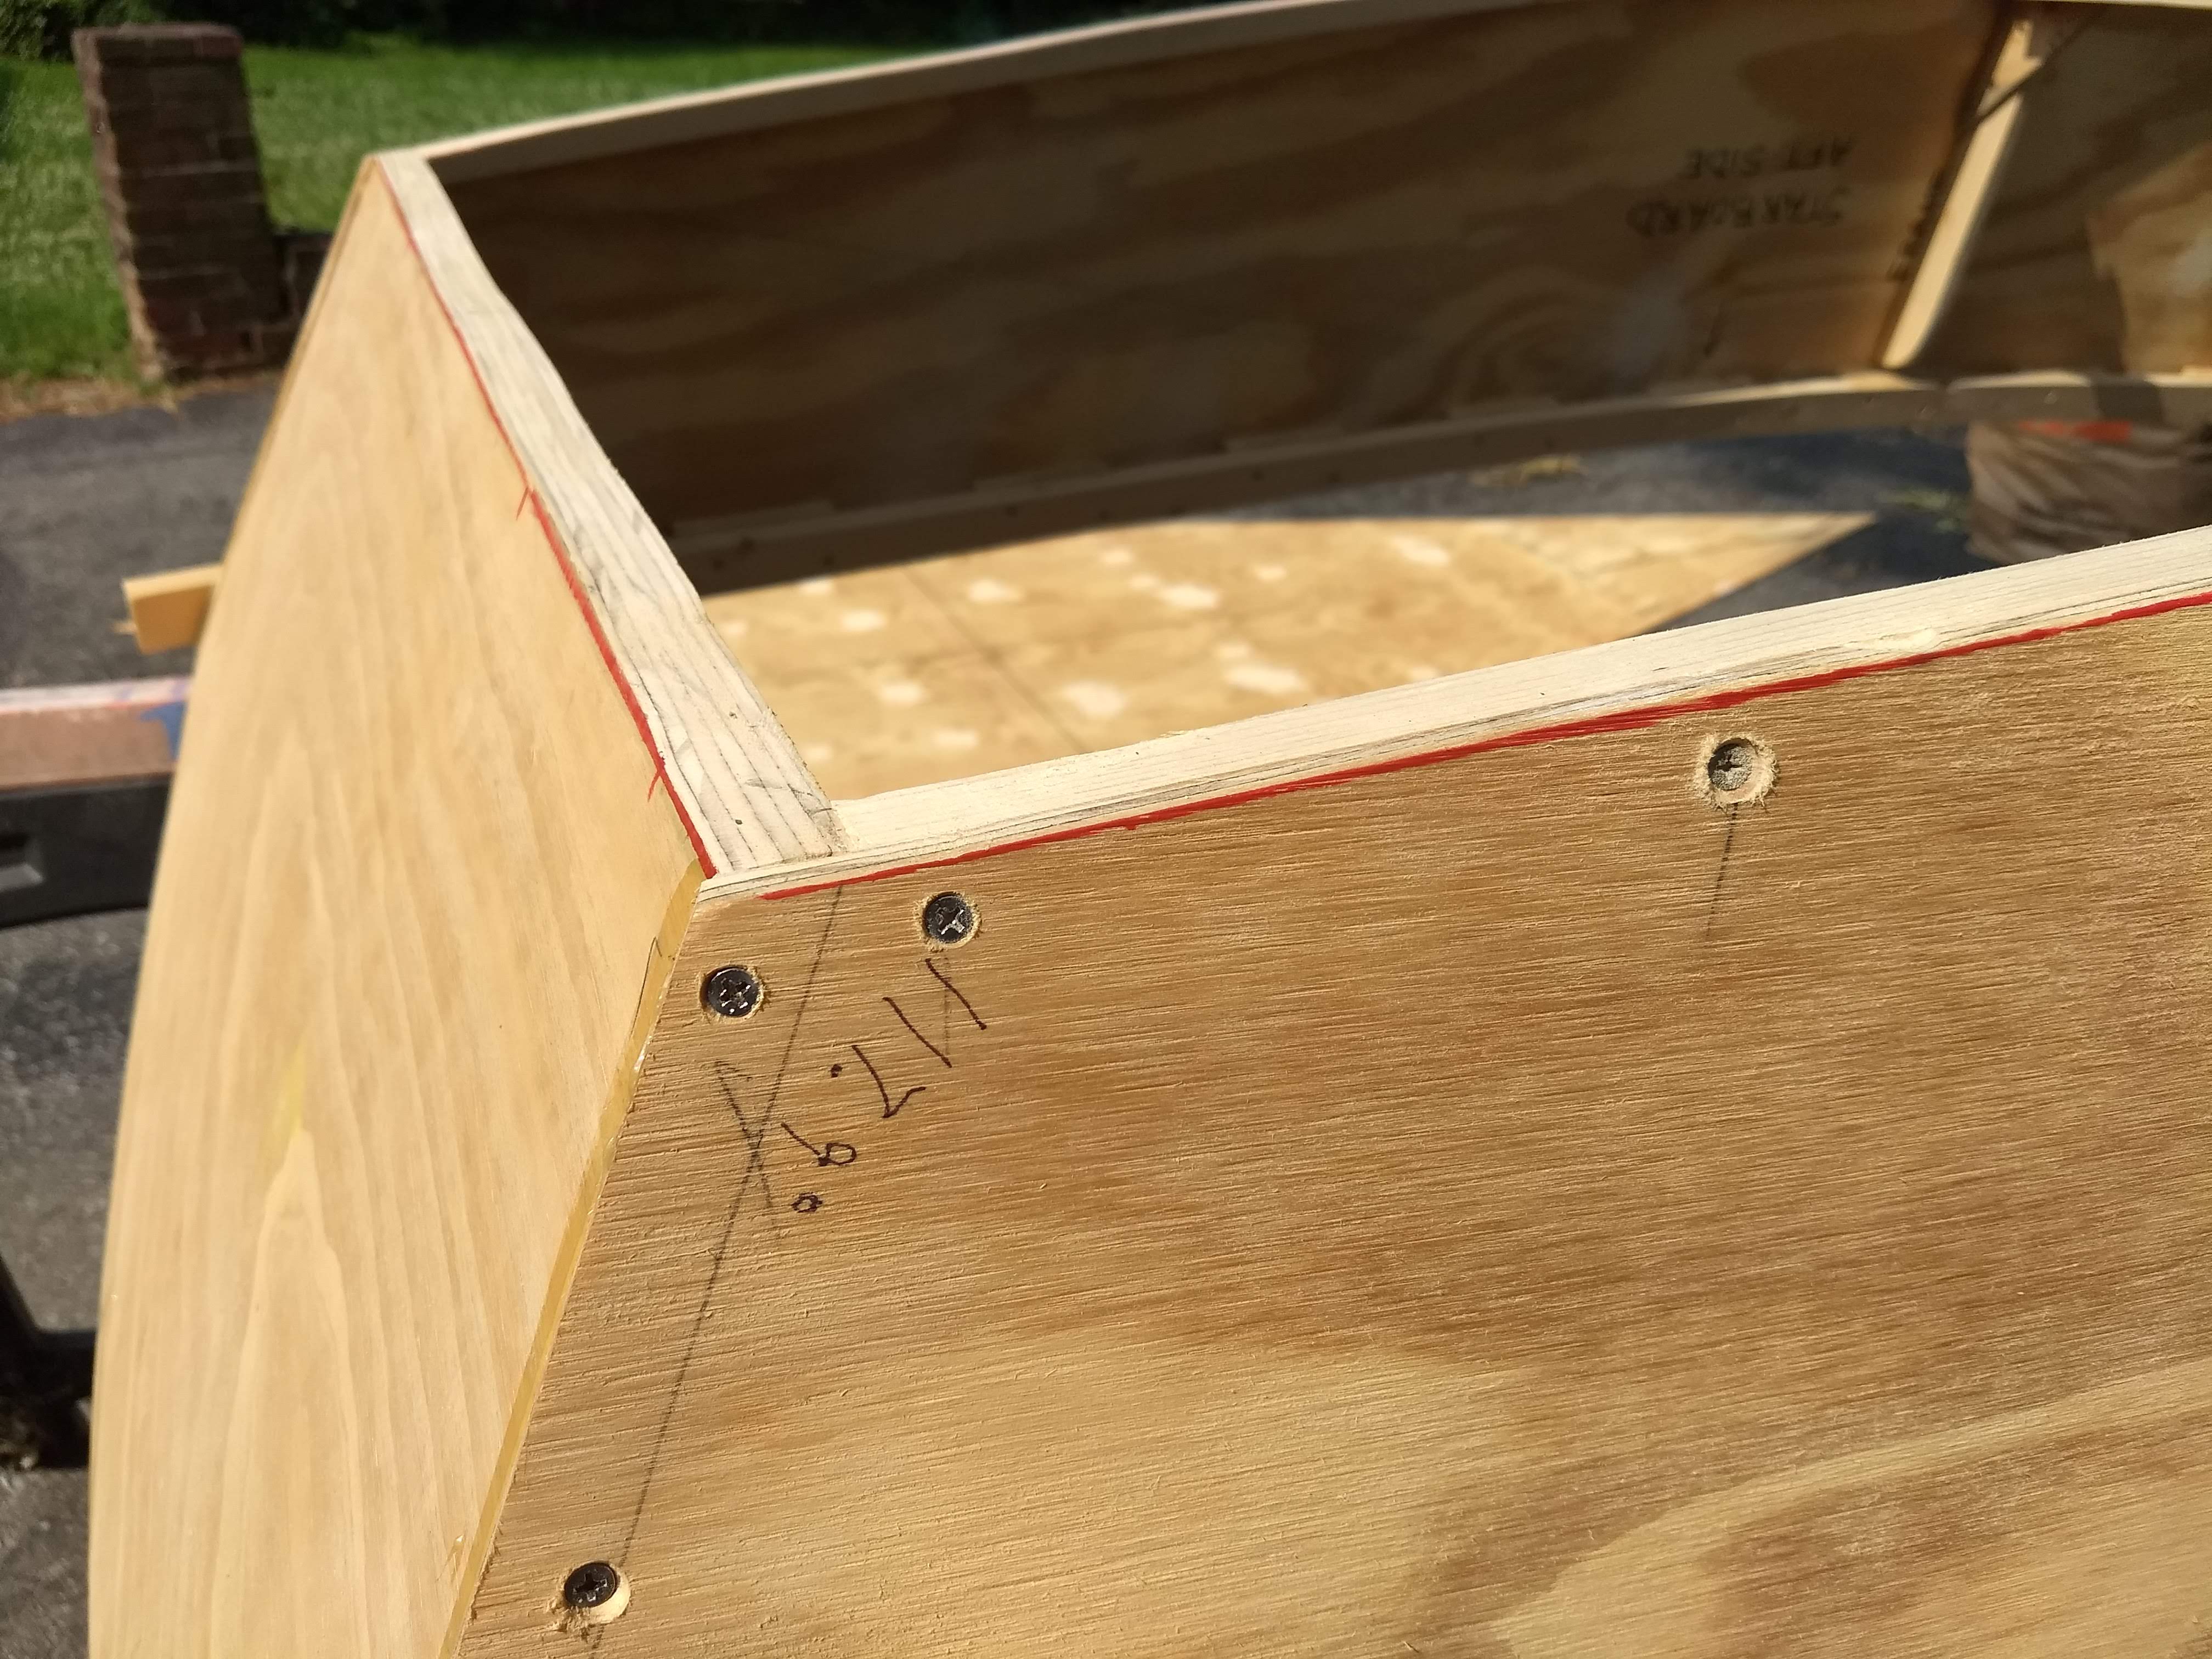
I have variously marked parts and lines with pencil and black sharpie (and even light green highlighter), and more recently I had marked the extents of the chines on the bottom with blue sharpie. I used red sharpie for the final chine and frame lines to differentiate these now mightily important lines.

Red chine outline

I finally packed up for the morning, rolling the boat and the bottom back into the garage, and I made plans for the actual glue up for later in the day, after lunch and grocery shopping.

Blue was for keeping the butt blocks clear of the chines. Red is for the chines themselves.

Later, in the afternoon, I brought the bottom outside for a final trim clear of the red chine lines, and then it was ready to be glued and screwed on.

Some of the red sharpie ended up on the hull as well. I thought it kinda looked like lipstick.

I had pondered quite a bit as to how I would manhandle the bottom onto the upside down hull assembly after I’d spread glue all around the chines. All of the times before I’ve plopped the bottom onto the assembly, from one side or the other, and then slid it into place. But I wouldn’t be able to do that once the chines had all been slathered with the construction adhesive. So I figured out my method using a 2×4 to prop up half of the bottom at a time, first the stern and then the bow, while weighing down the other end with the barbell weights.

Final pre-glue trim for the bottom assembly

The aft end went really well, allowing me to apply a bead of glue along the chines (and the transom) and then spread it all out with craft sticks. I had trouble, though, when I switched the prop to the bow. Not having the transom to brace it, the prop promptly starting listing to the side, sliding the bottom toward that side with it. I was able to save the bottom before it went crashing to the floor, but a not insignificant amount of glue got smeared in the meantime.

I kept my calm, however, and just worked around the problem. I re-propped the bottom and made my way around the chines around the bow. I still think my method was a good idea, but it did perhaps suffer in the execution.

The tube of adhesive also decided to inconveniently run empty during the application around the bow. I really thought there would be enough in this tube. But I had a spare tube on hand for just this possibility, so I was up and running again in a minute or two.

Then I grabbed the drill driver and the countersink bit and driving adapter and the bag of 3/4″ #6 screws and started making my way around the boat, sinking screws every six or eight inches. I’m not sure how it happened, given how carefully I had laid out the red sharpie lines, but there was one spot near the starboard bow where the bottom had slid inward and did not fully cover the plywood side. It wasn’t that bad, as in the chine wasn’t showing or anything, and I’m going to cover the seam with fiberglass tape and epoxy. But, still, it wasn’t as good as I was aiming for.

Bottom glued & screwed on

And, in any case, the bottom was installed.

Bottom done for the day

I waited a few minutes and then started scraping off any glue squeeze out as well as a few spots where the bottom had slipped and spread errant glue, especially around the frame. Then I was done for the day.

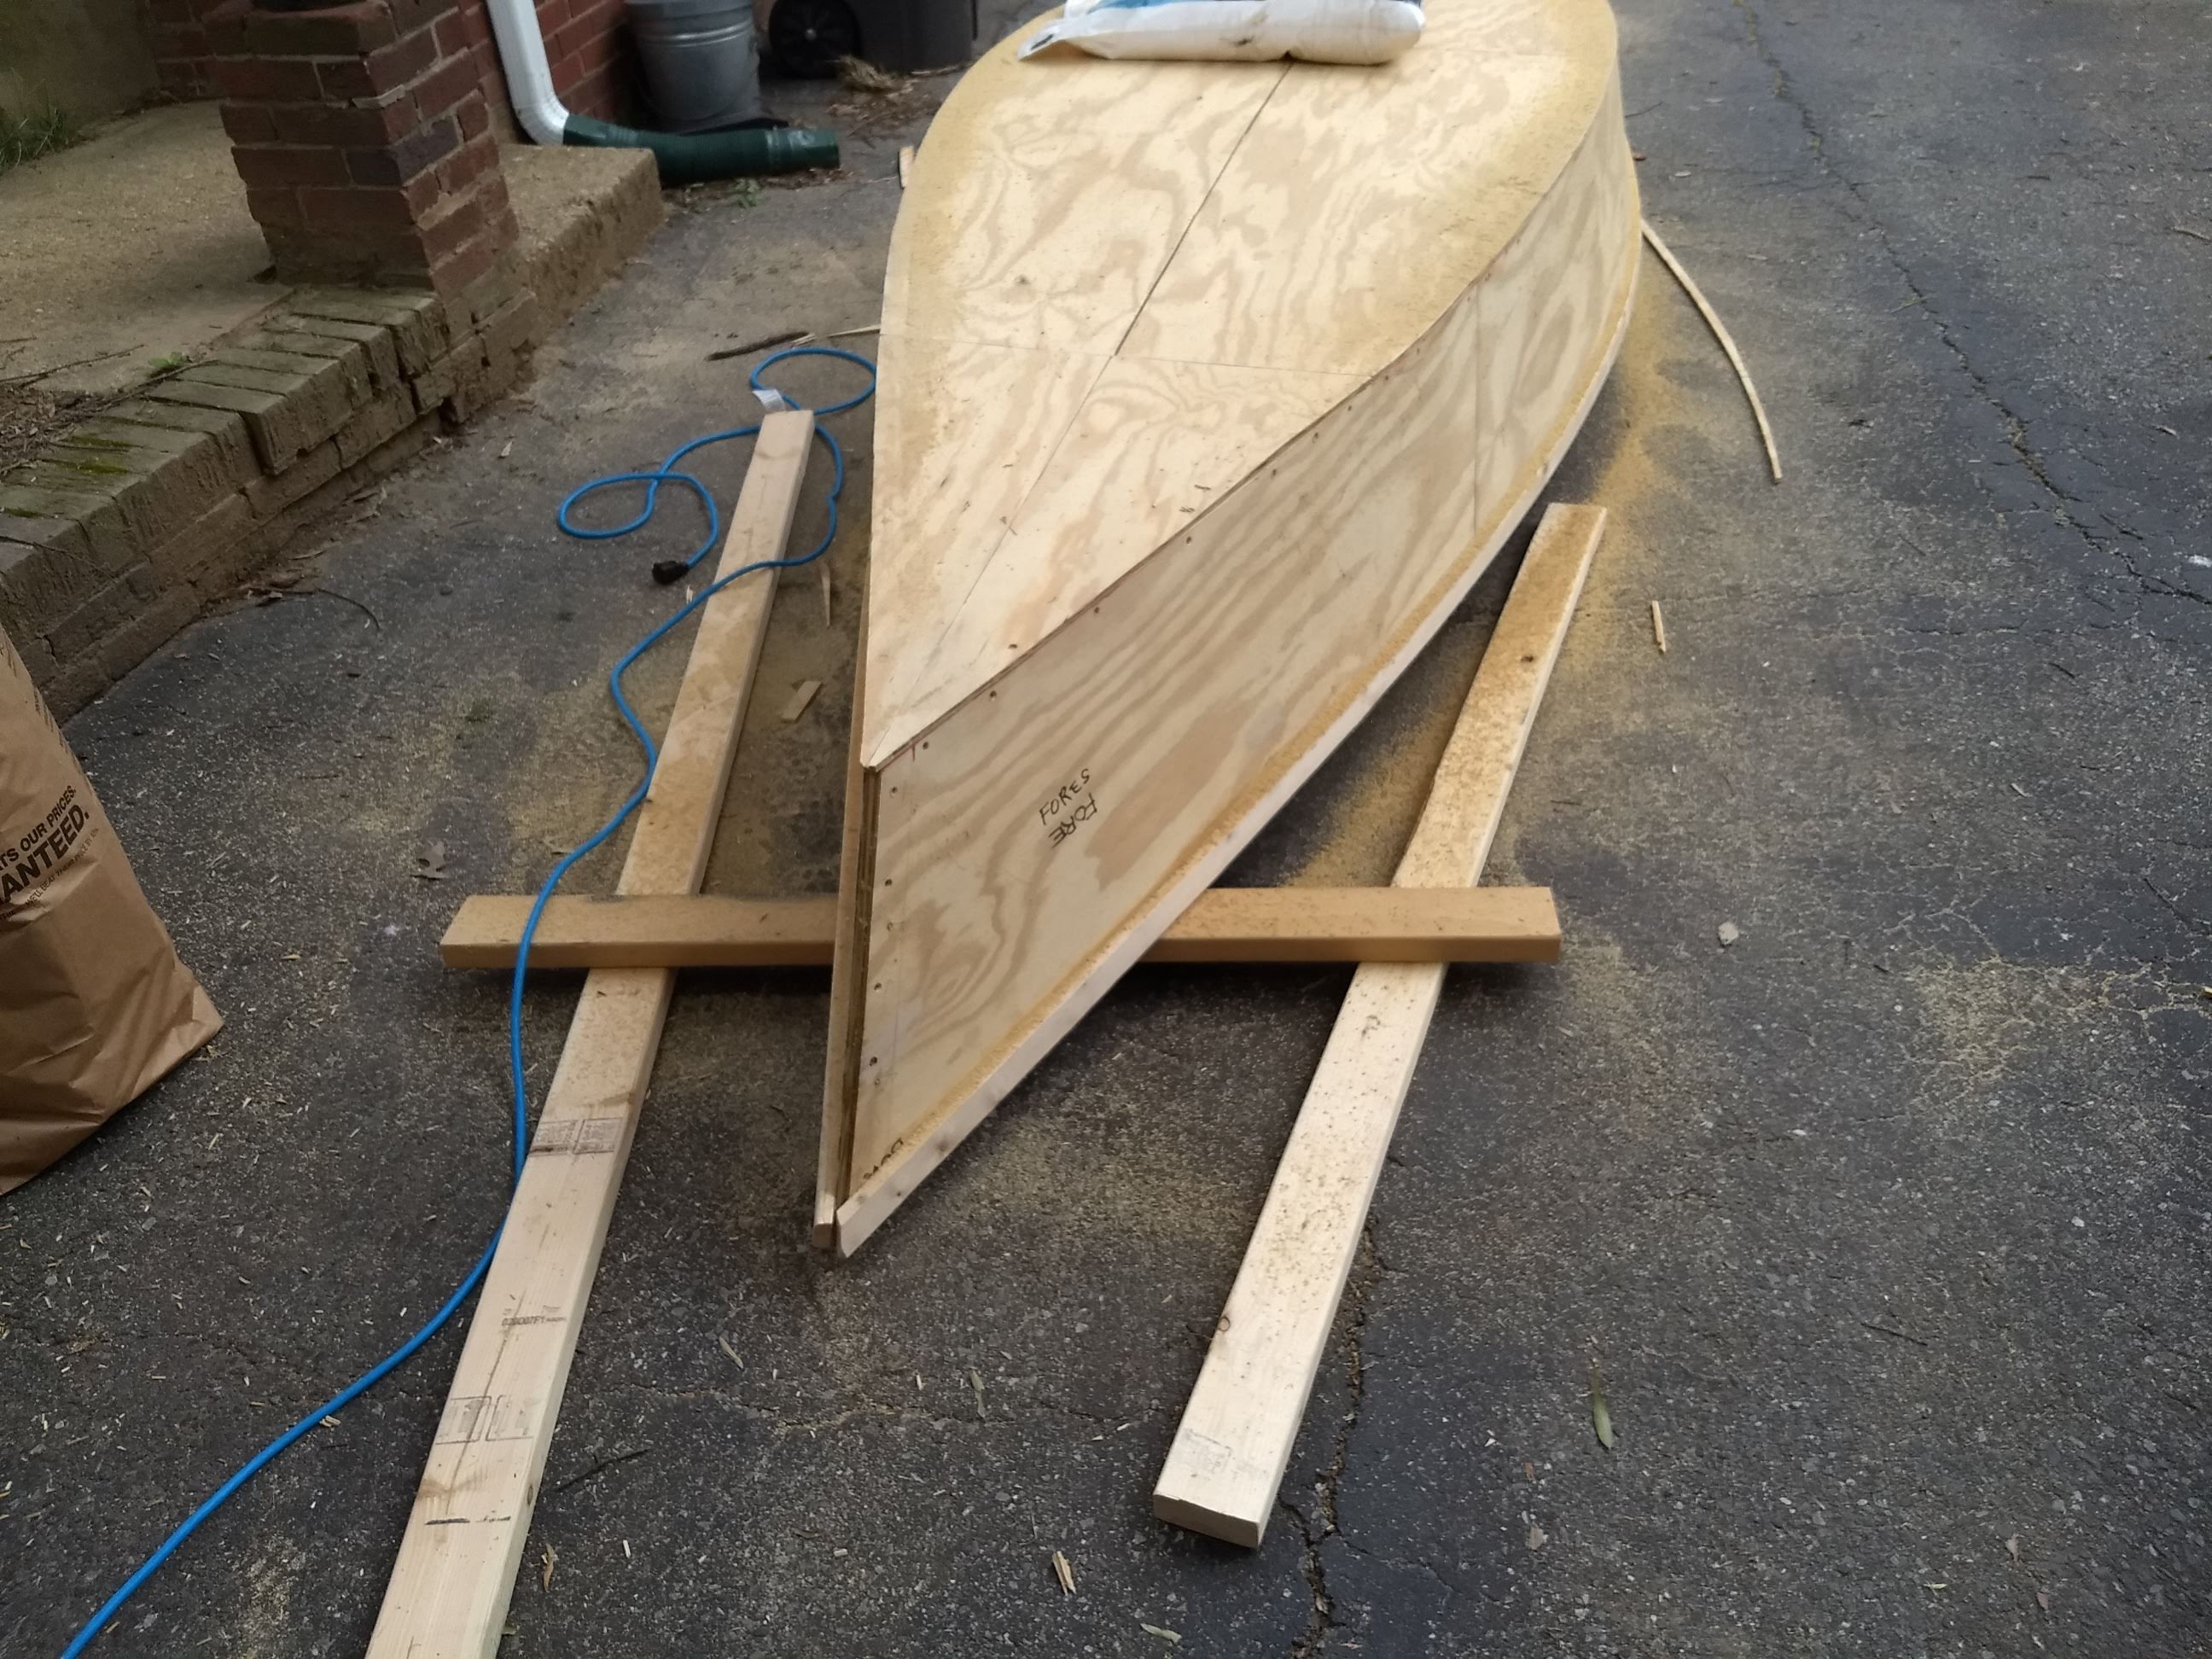
I pulled the boat back out on Sunday afternoon to trim off the excess inch or so of the bottom around the hull. This proved to be challenging.

Set up low on the driveway to work on the bottom with the boat as stable as possible

I tried to saw off most of the excess, in preparation for making the edges mostly flush with a flush-trim router bit. But damned if I could saw away much. I first tried with the ryoba, since the spine of the dozuki would interfere with any cut after like 2 inches. But as fine as the Japanese saws are on lumber, they do not like cutting plywood. So I switched to a Spear & Jackson 22″ saw, but that just made a hash of the port side beneath the overhang. Ugh.

So then I tried the 4-1/2″ compact circular saw, setting the bevel to around 20˚ or so, and that only sort of worked. But I needed to be able to see above and below the plywood cut at the same time, and, of course, I can’t physically do that.

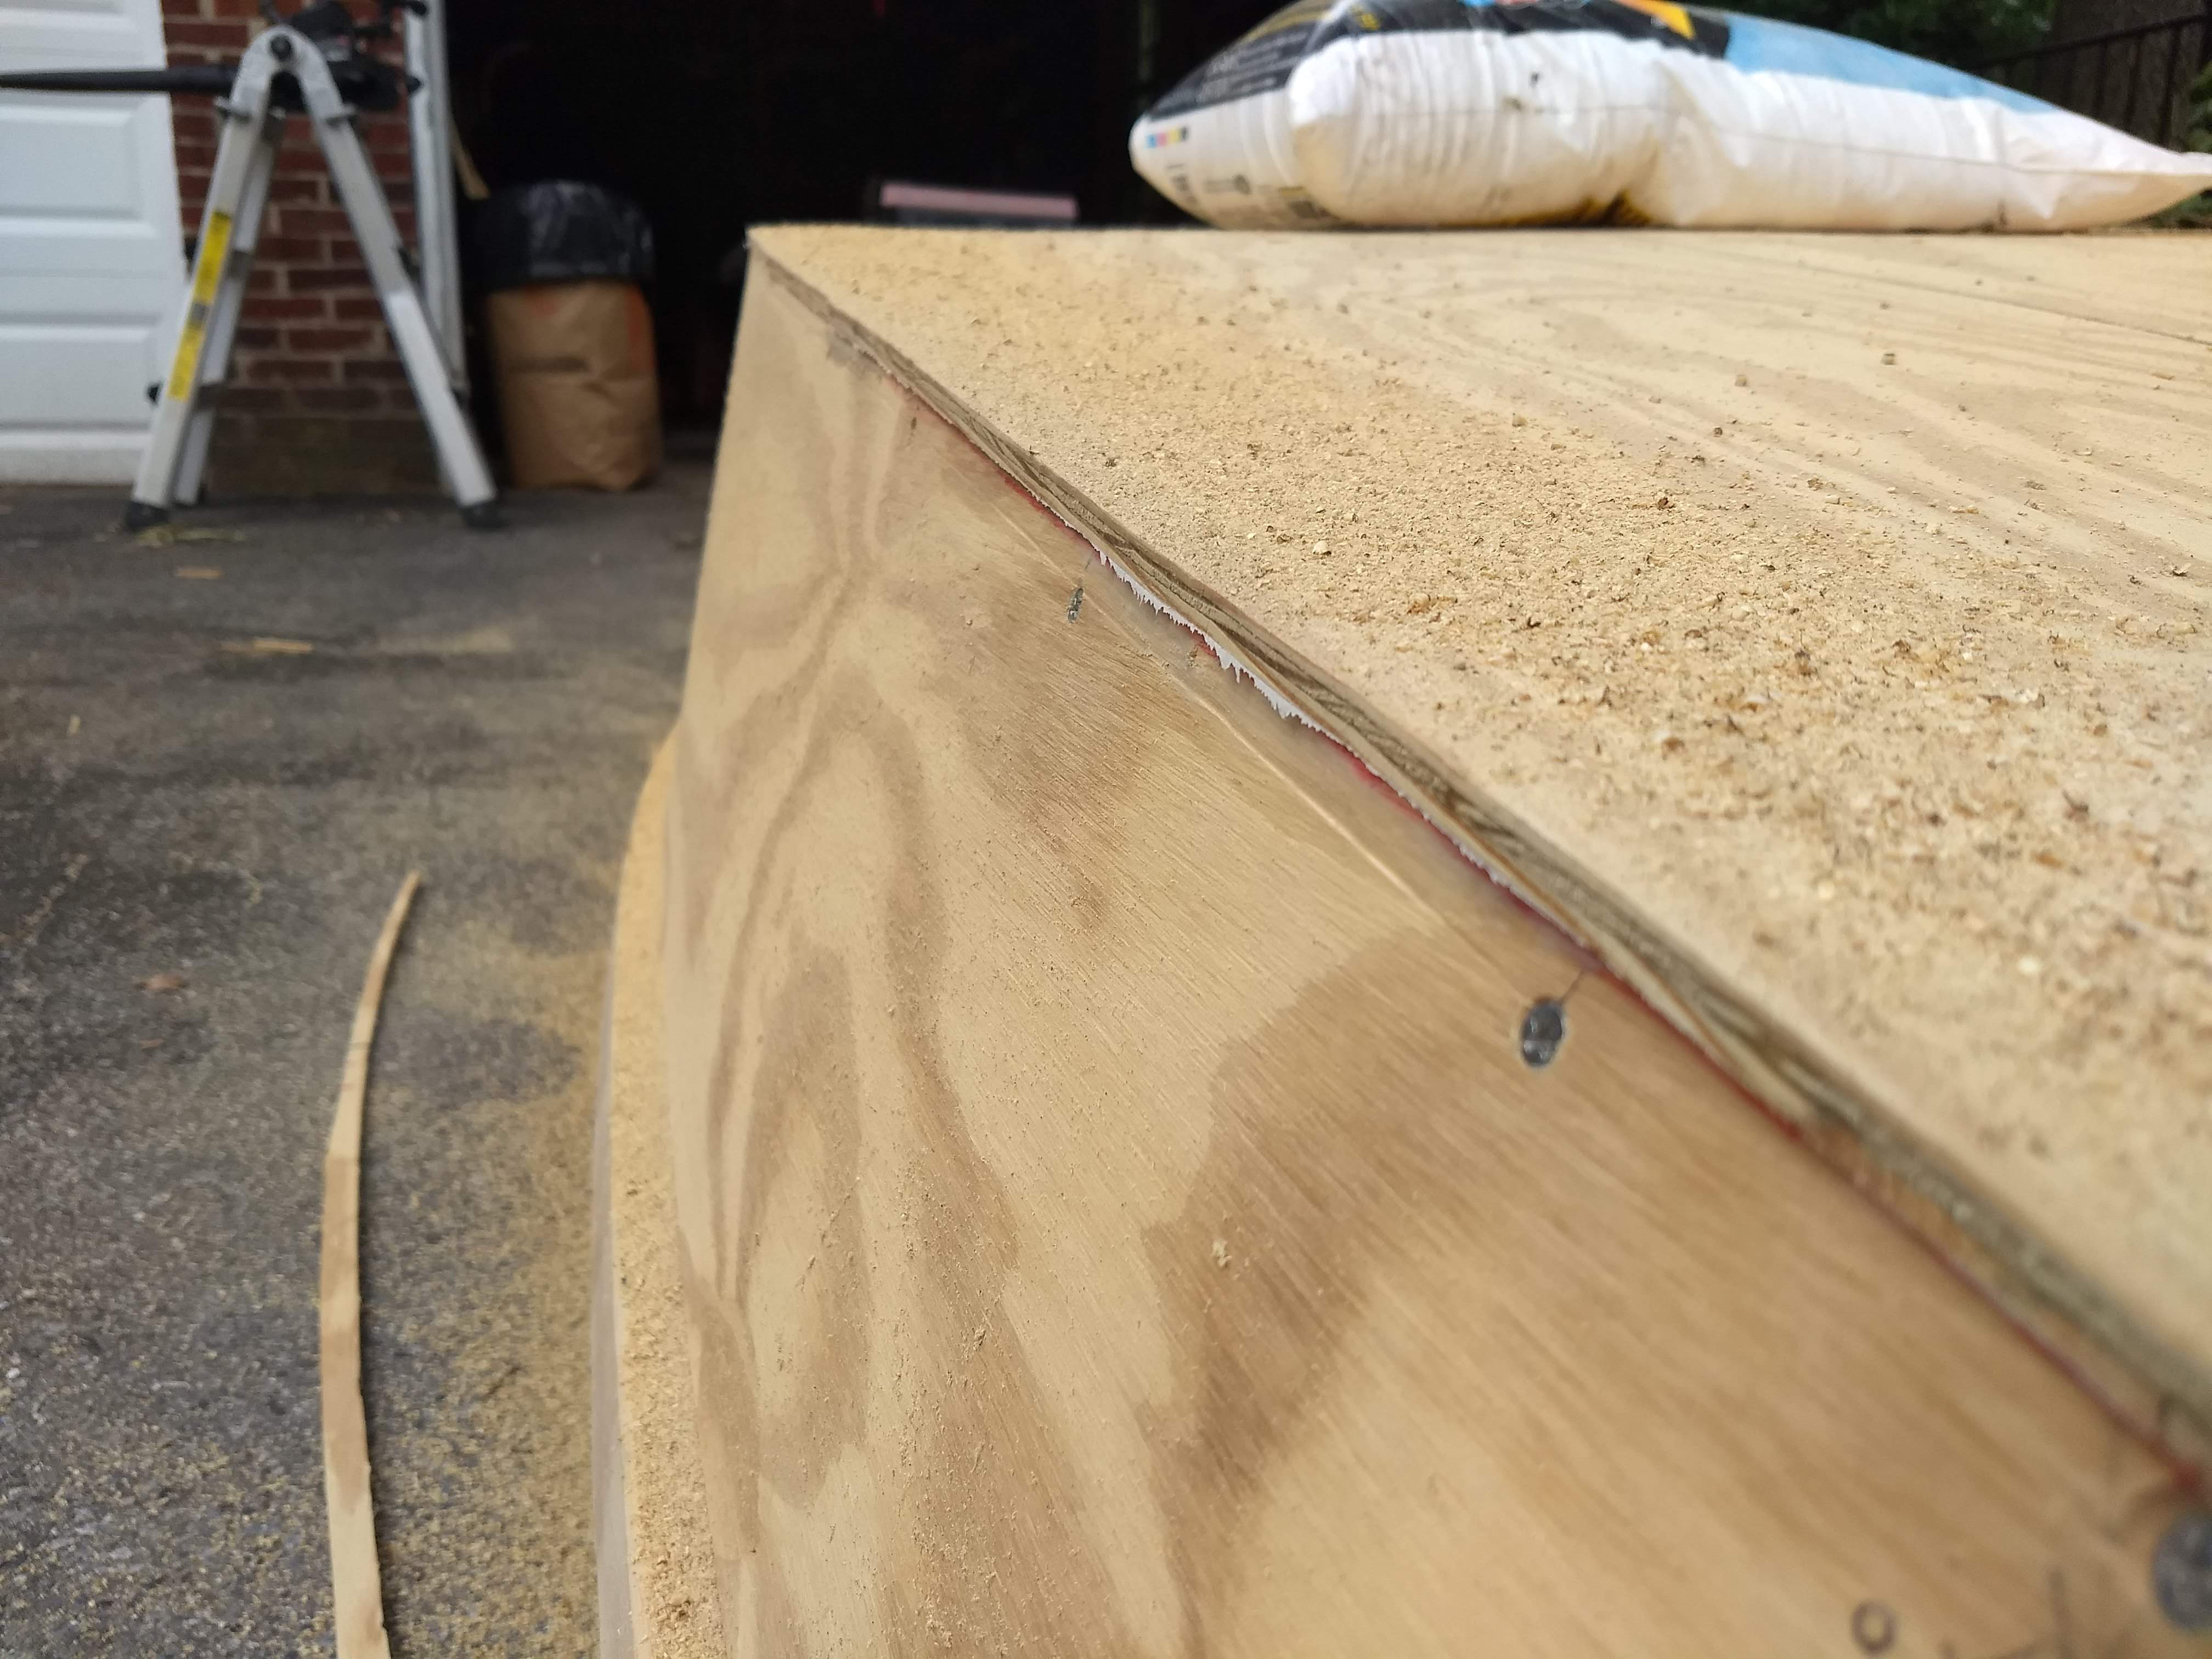
So then I opted for the flush trimming with the router for the whole thing. I guess if I think about it, the plywood is only 1/4″ thick that I’m cutting with the router bit, and the bit itself is 1/2″ in diameter. So that’s a total volume of 1/8 of a square inch that I’m cutting. Is that math right? Hmm, I’m not sure, but anyway, it doesn’t matter if there’s another 2 inches or 20 inches hanging off the end that I’m not cutting. It only matters what I’m cutting, right?

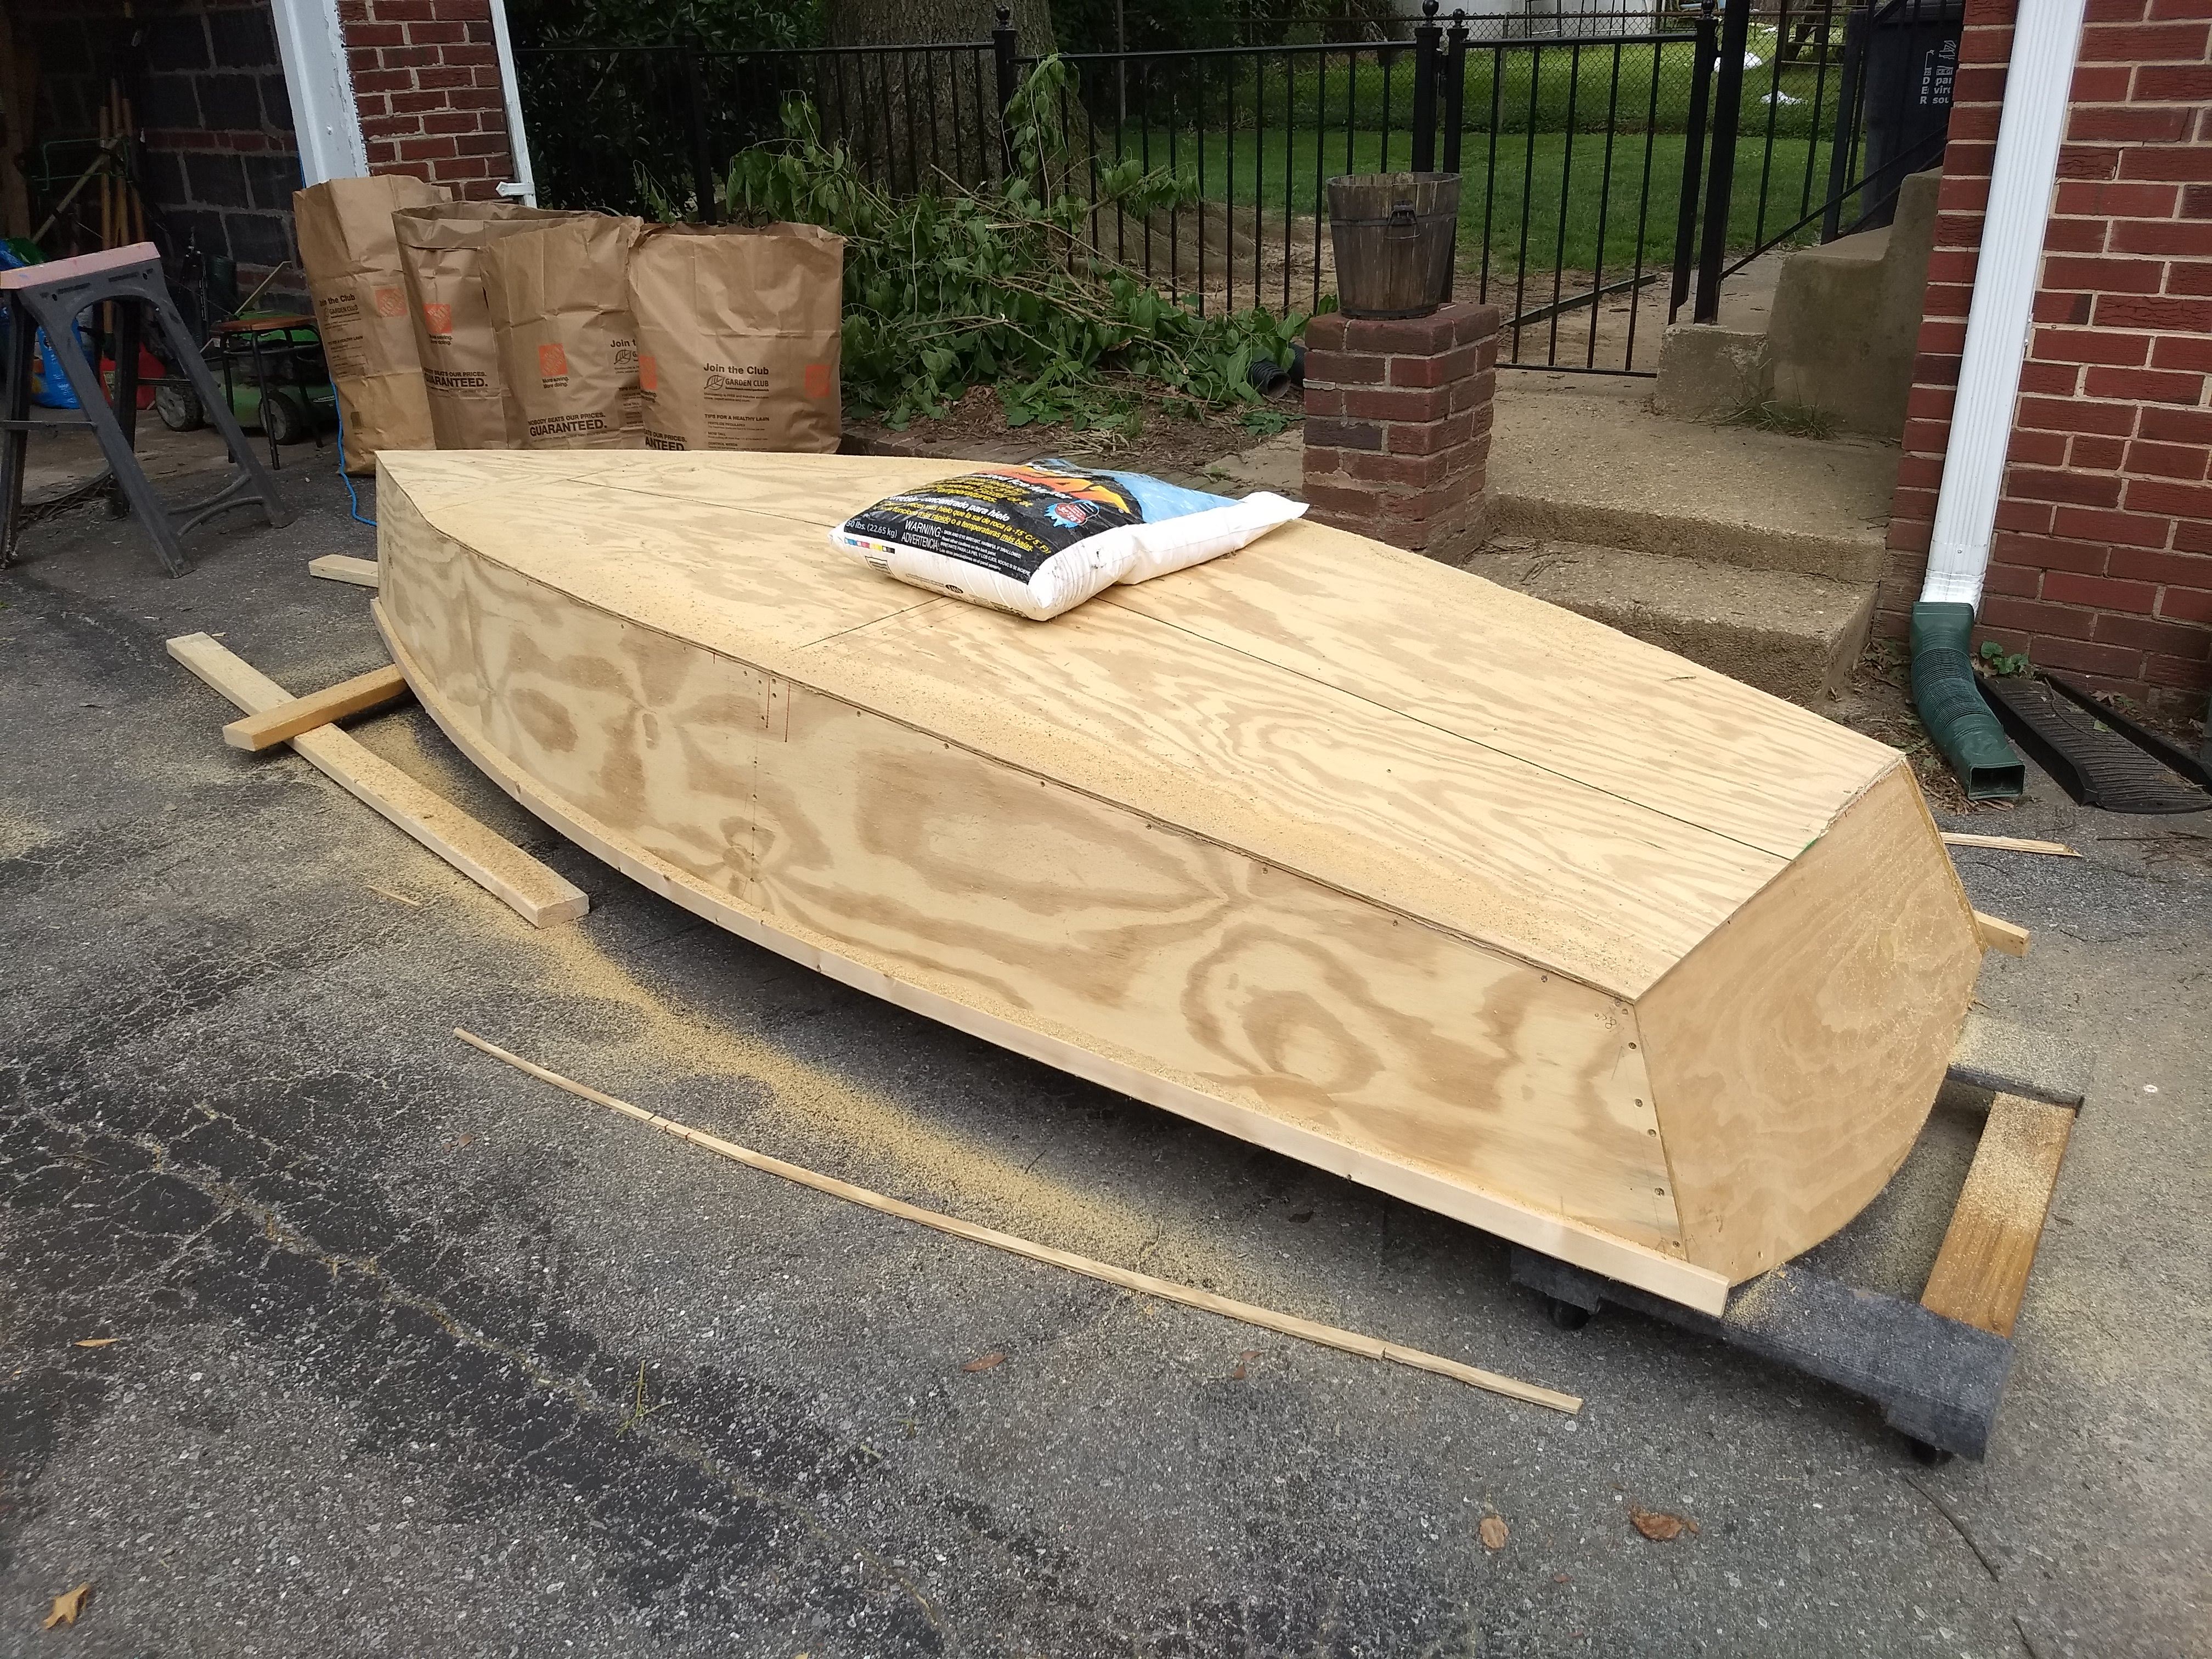
Edges routed

No, I suppose I would have rather been cutting like a quarter inch overhang rather than plowing the router bit through the middle of anything, even 1/4″ plywood. But, that really wasn’t one of my options, turns out.

Routed edge detail

It went fine, slowly but surely, for the rest of the boat, about 3/4 of the boat by the time I started with the router proper. Generated a heck of a lot of sawdust, for sure. But it went fine. Then I went to work with the rasp and a sanding block. I didn’t quite finish, but almost there.

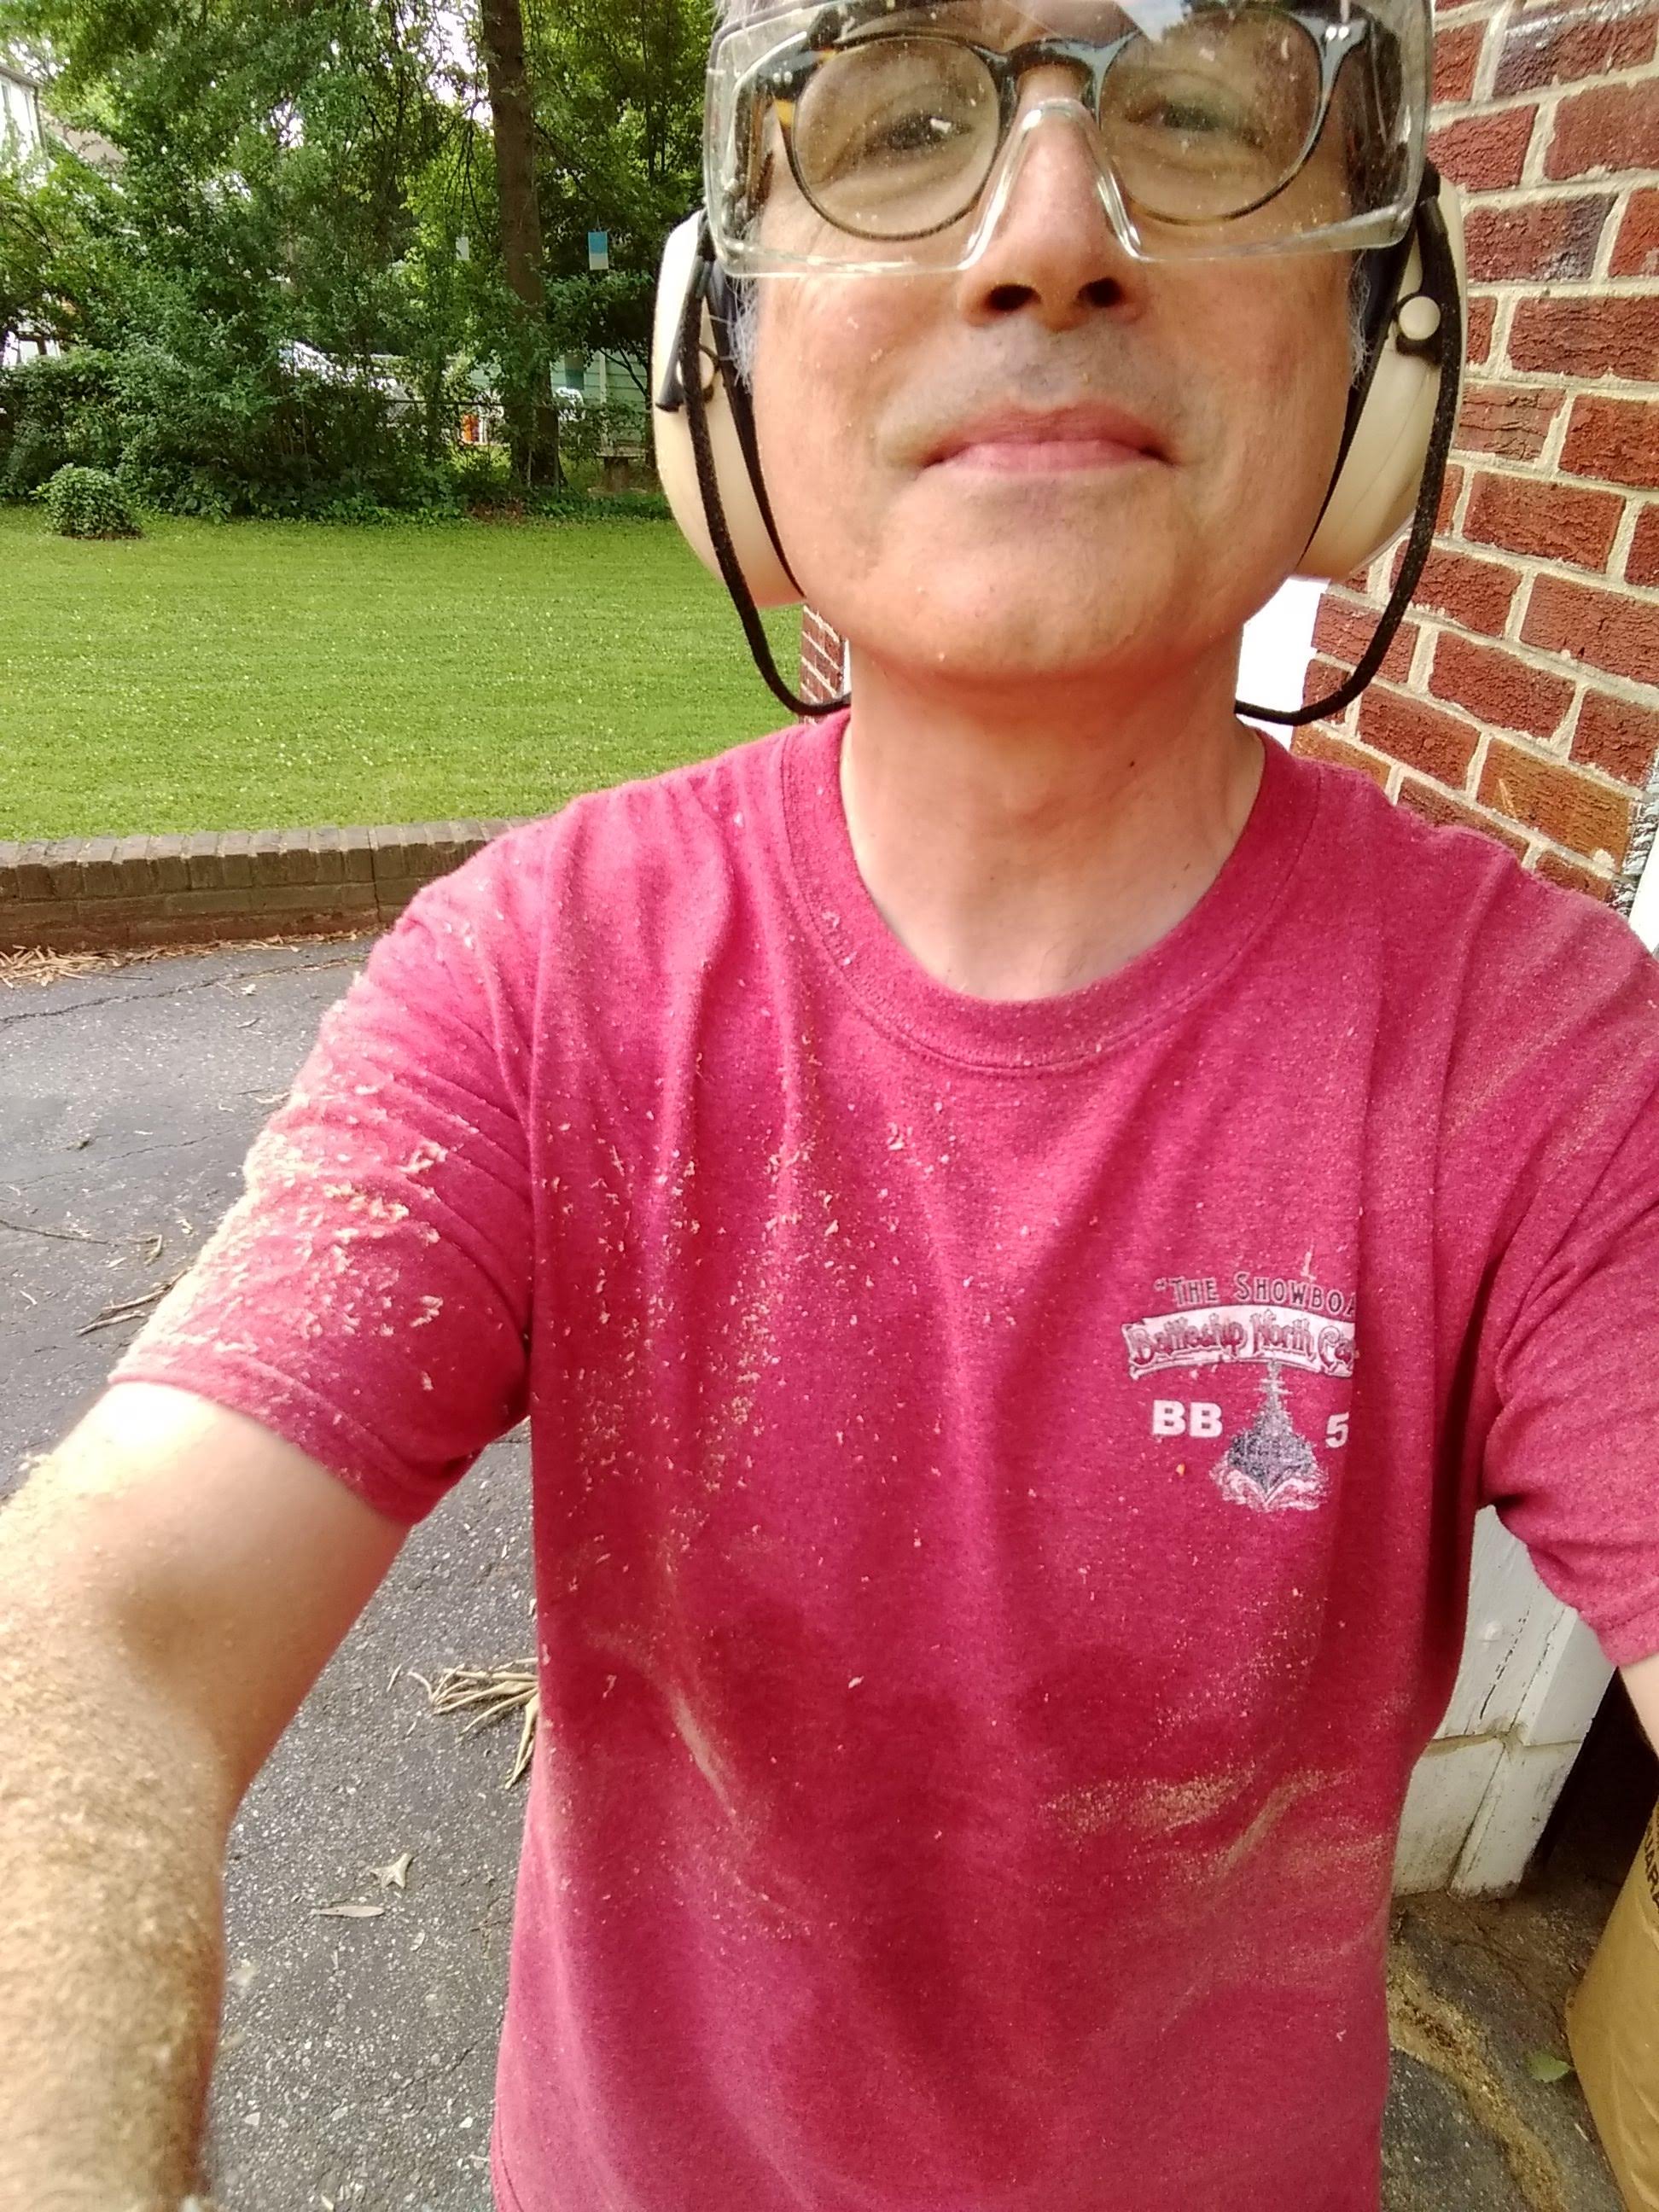
Sawdust boy

Getting close to the end of the day, I rolled the boat over to the neighbor’s back yard and rolled it over right side up and took a ton of pictures. Because it’s now a boat. And it’s starting to look really good.

I guess it’s something to do with the size of the lens of my camera on my phone, but some shots of the boat in the backyard make it look long like a canoe while other shots make it look fat like a rowboat.

Fat boat
Skinny boat