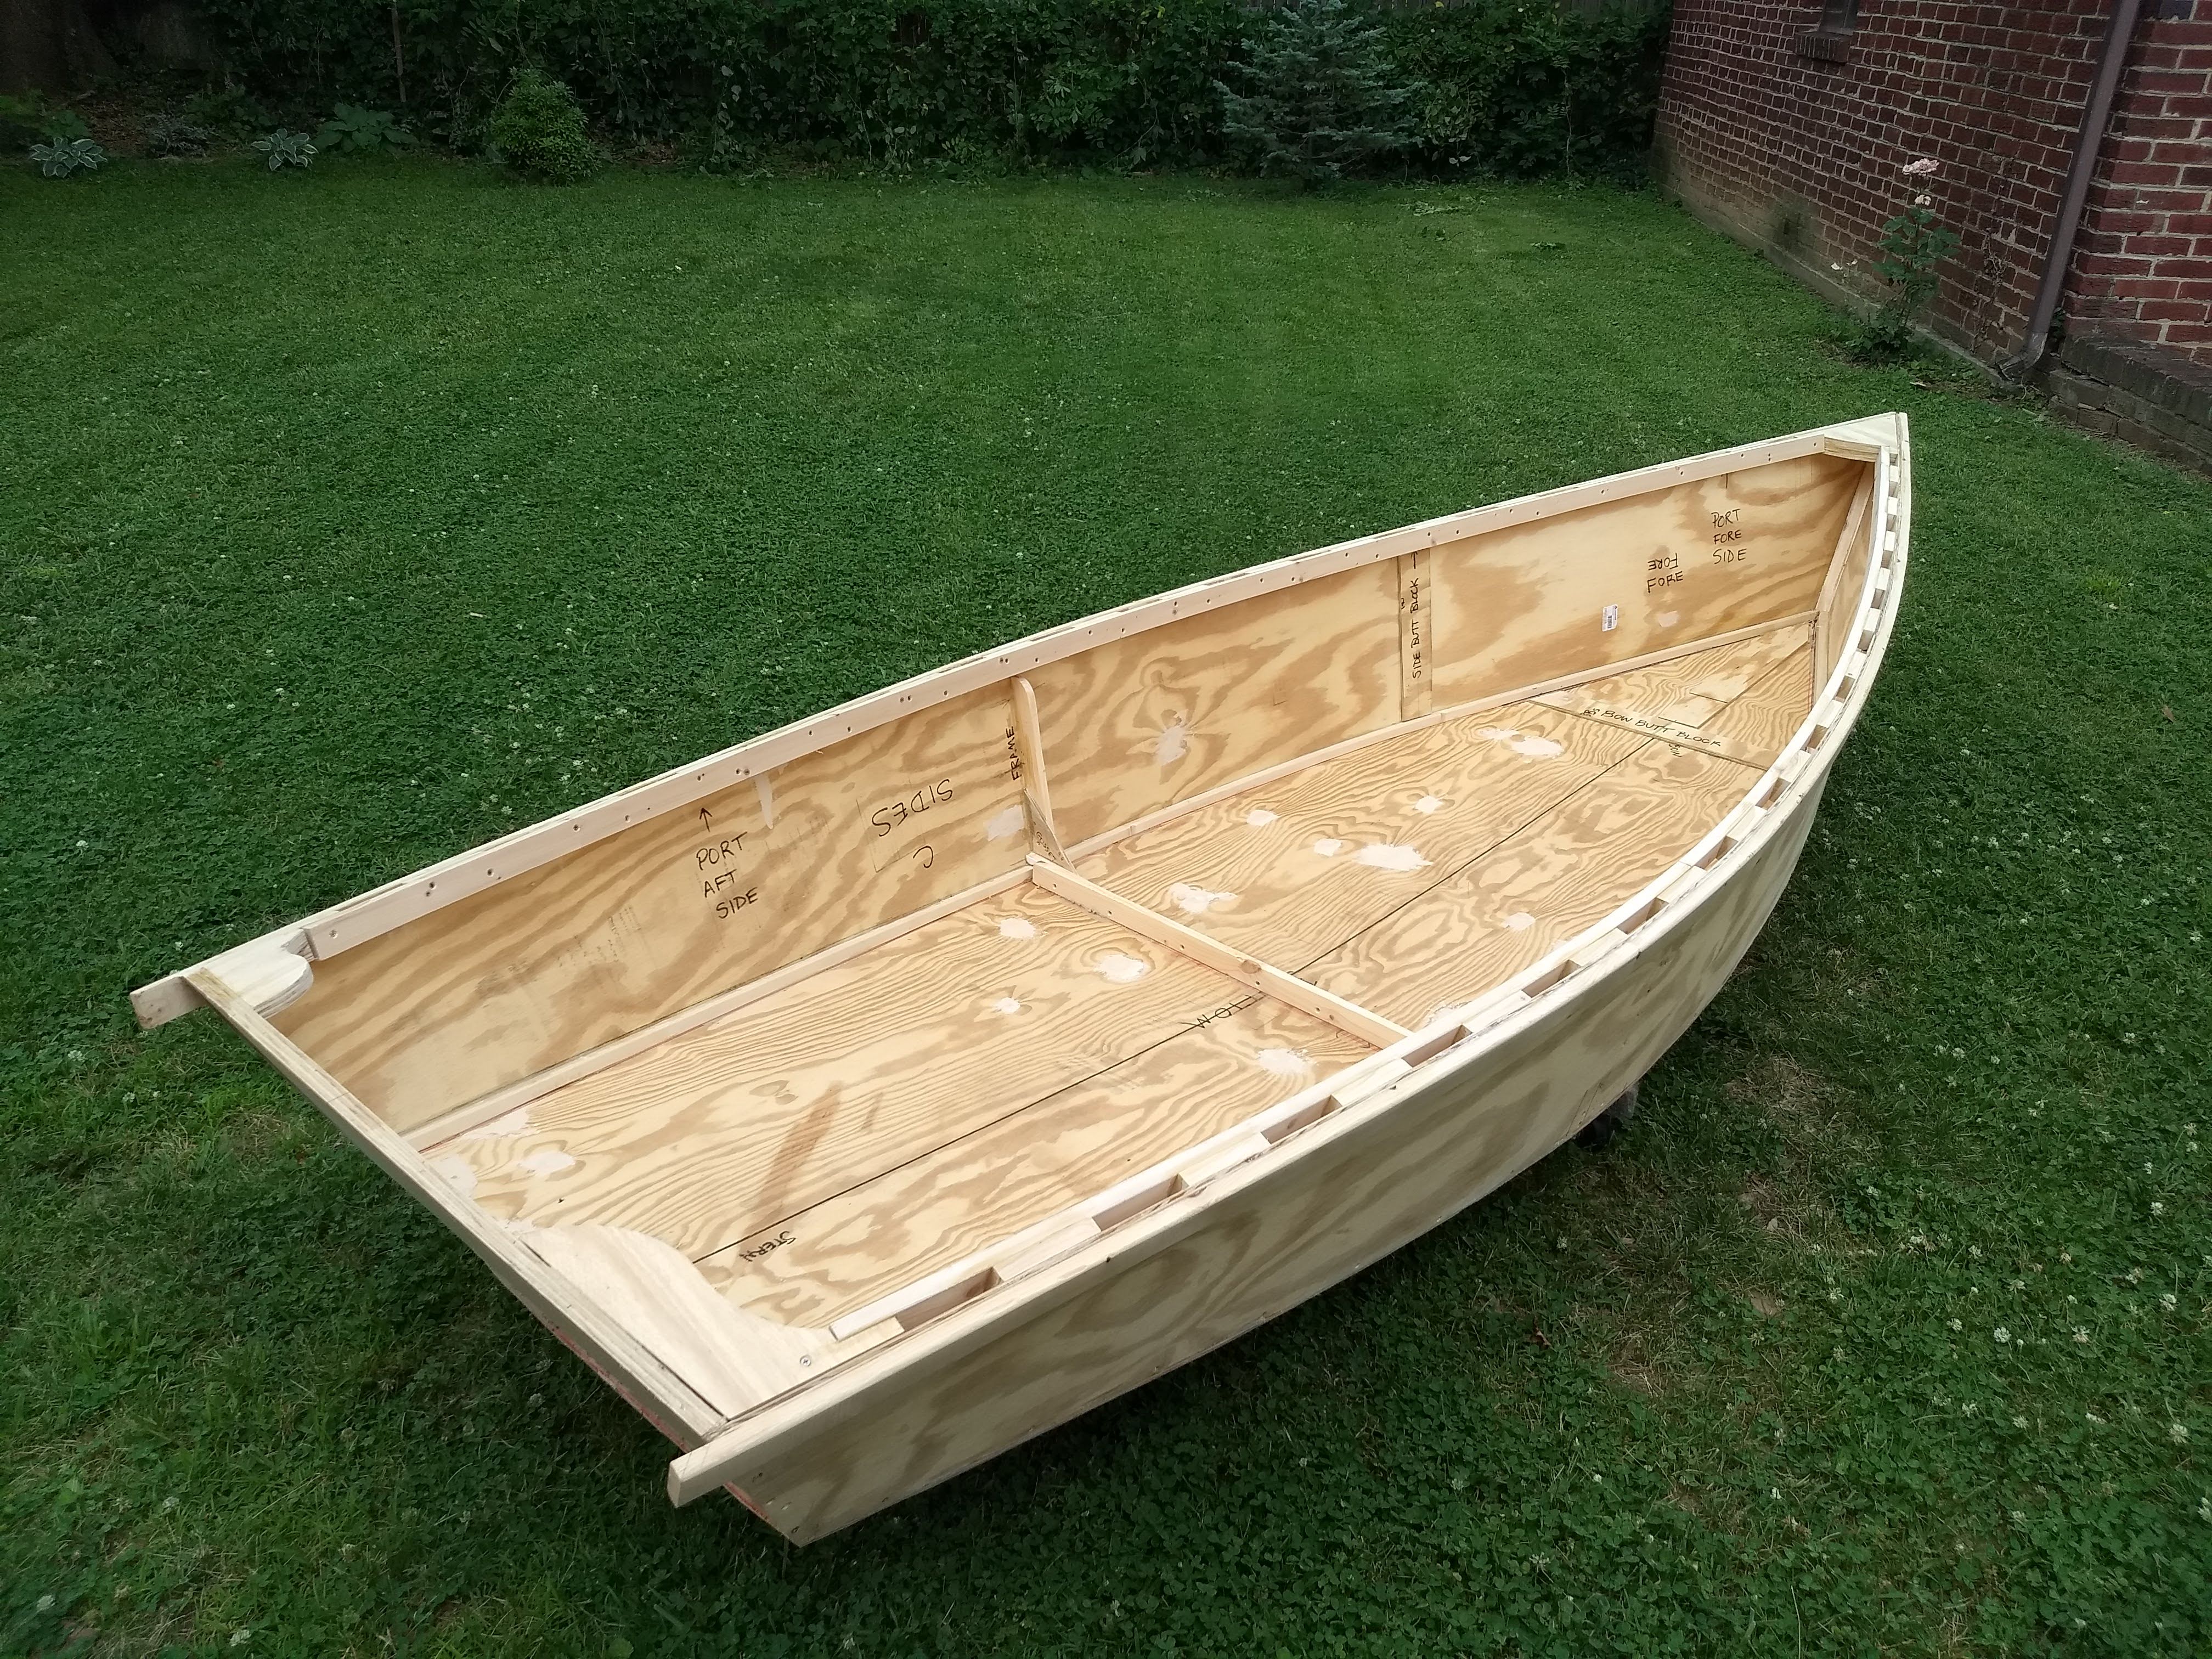
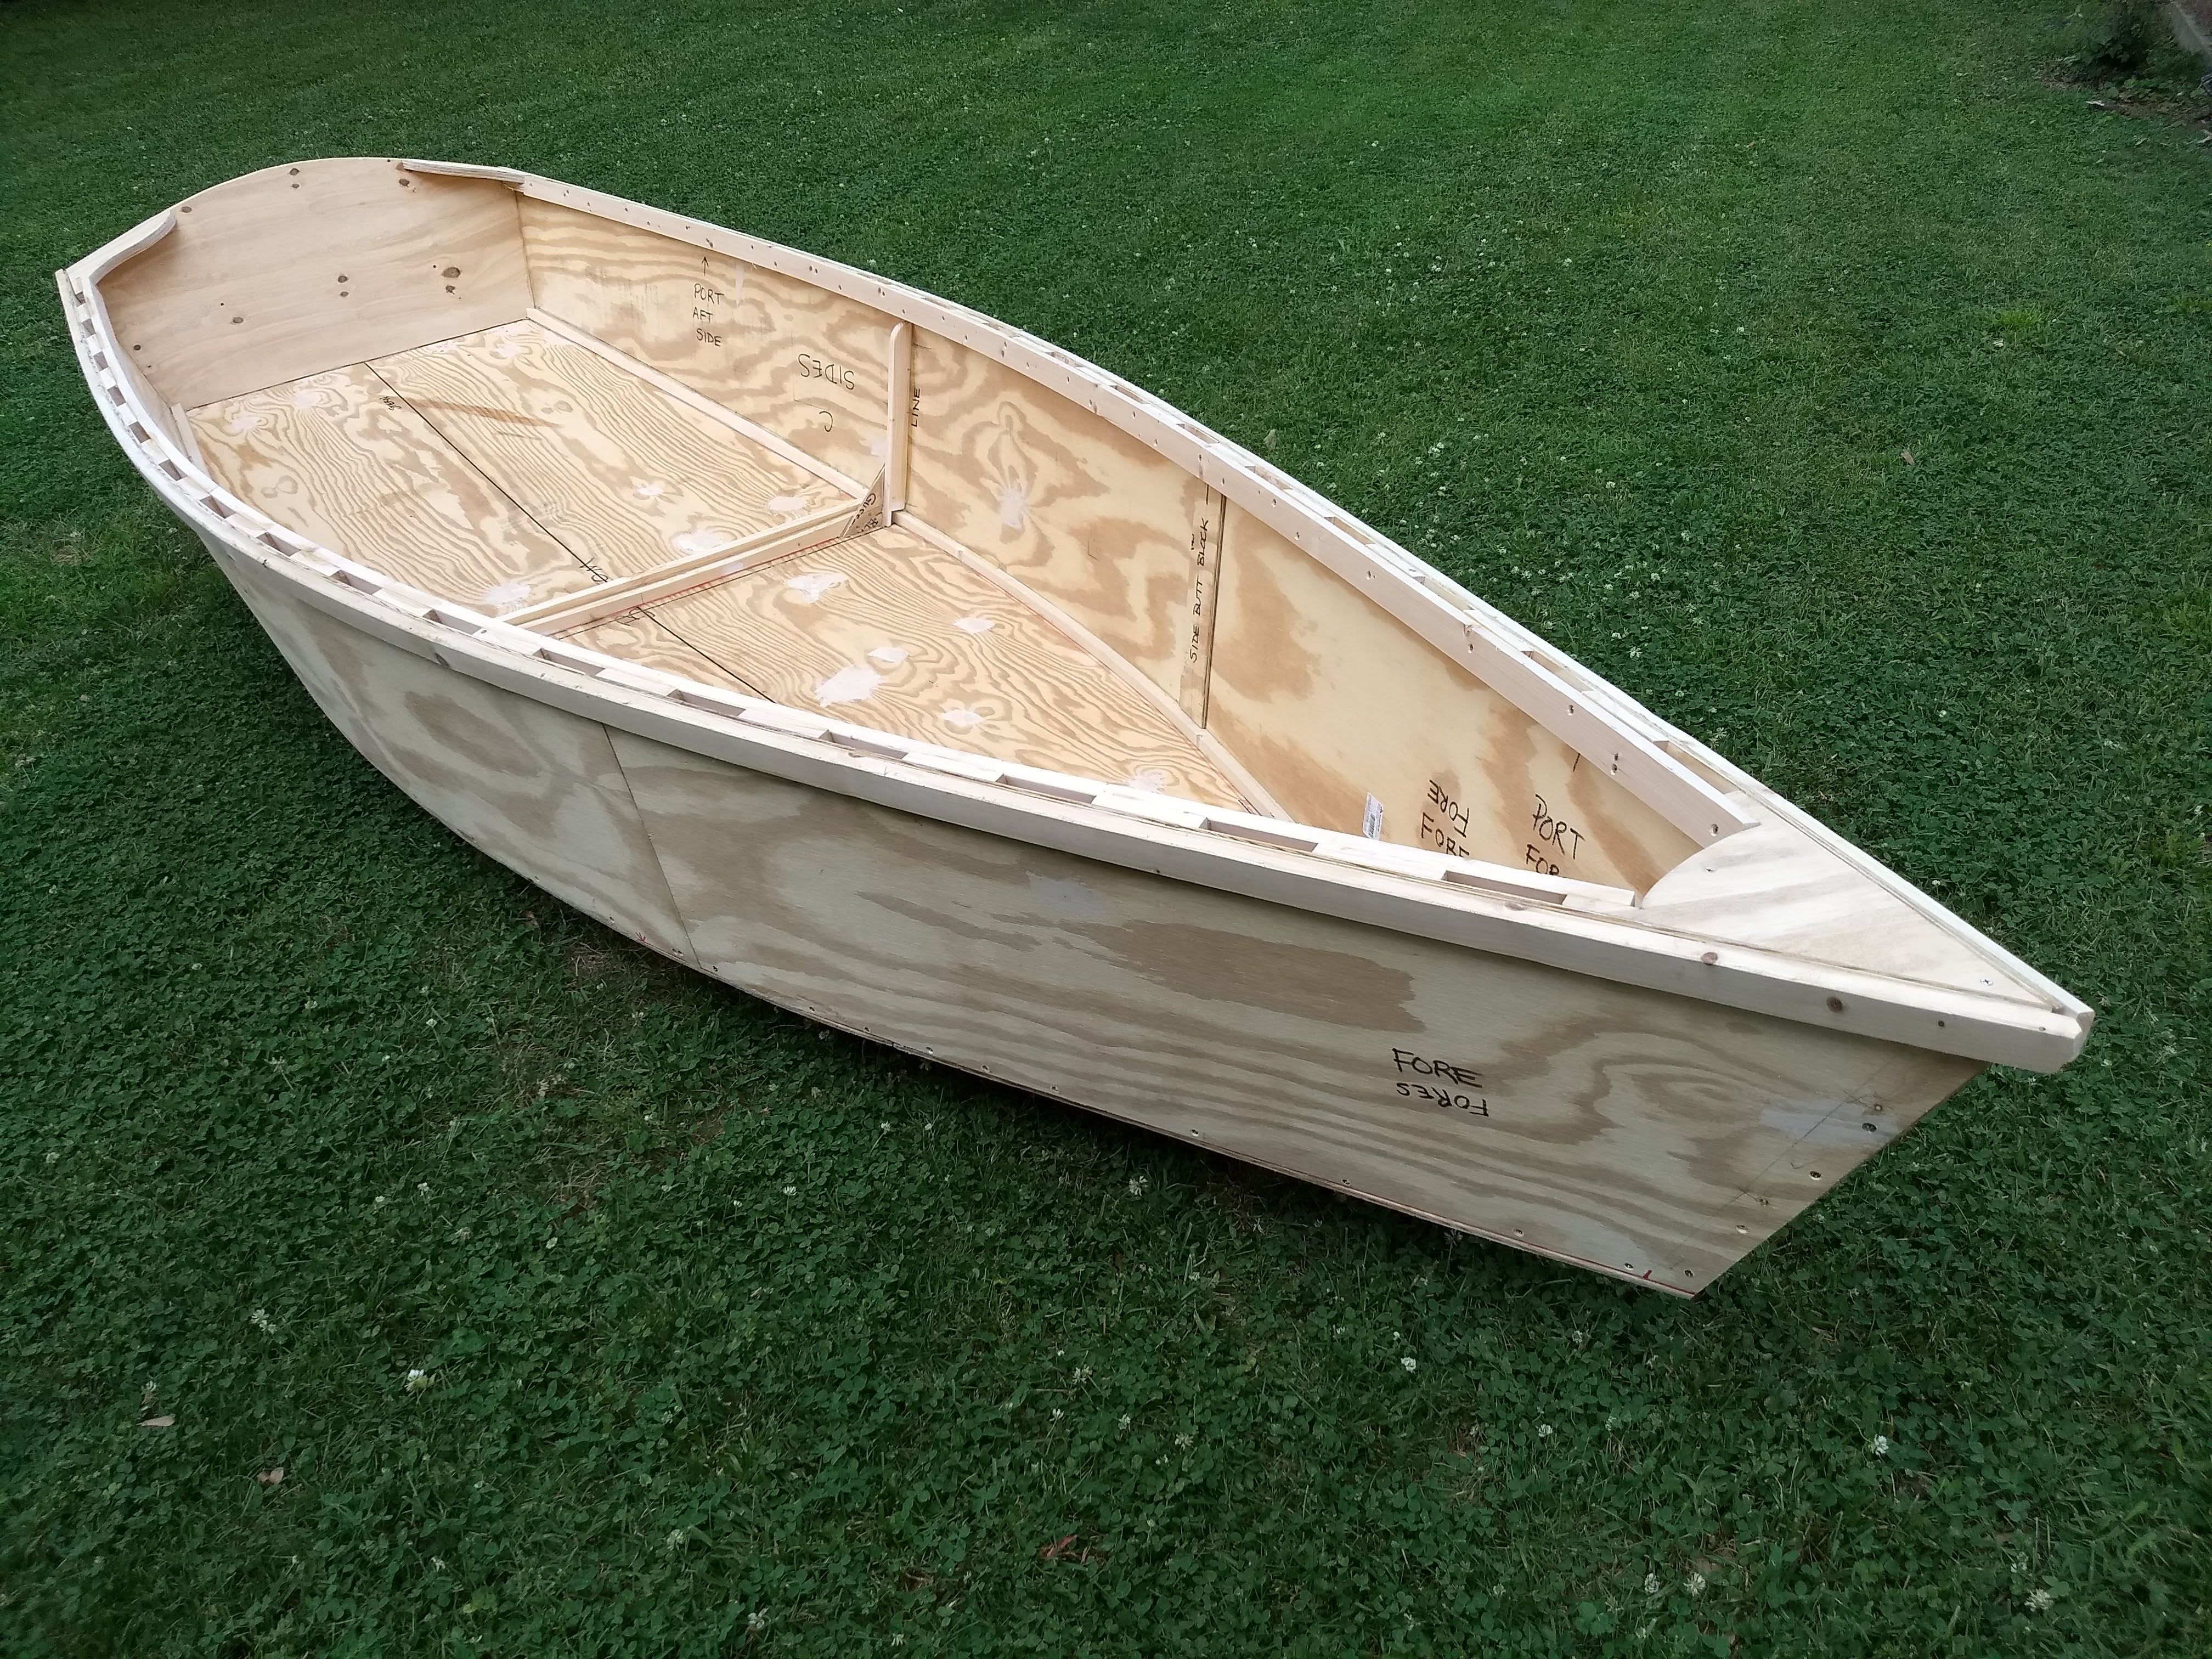
If nothing else, if I never do another minute of work on it, this thing is now a boat. I fully plan on doing many more minutes of work on it, to make it a seaworthy boat, one that won’t leak, not too much anyway. But it is now recognizably a boat.
I had some time early Saturday morning, when Dawn is usually out rowing but today was volunteering at some rowing event for a couple hours extra. I had been eagerly anticipating the big reveal of the gluing and butt blocks of the bottom bow triangles.
And, voila, they don’t look too bad. They don’t look nearly as good as I was aiming for, what with the longitudinal block having slipped a smidge to port and the transverse seam on the starboard side a little wider than I might have hoped, but, still it’ll do.
I took a picture of the final result on the garage floor, but my camera screwed up, so, sorry, not showing it here.
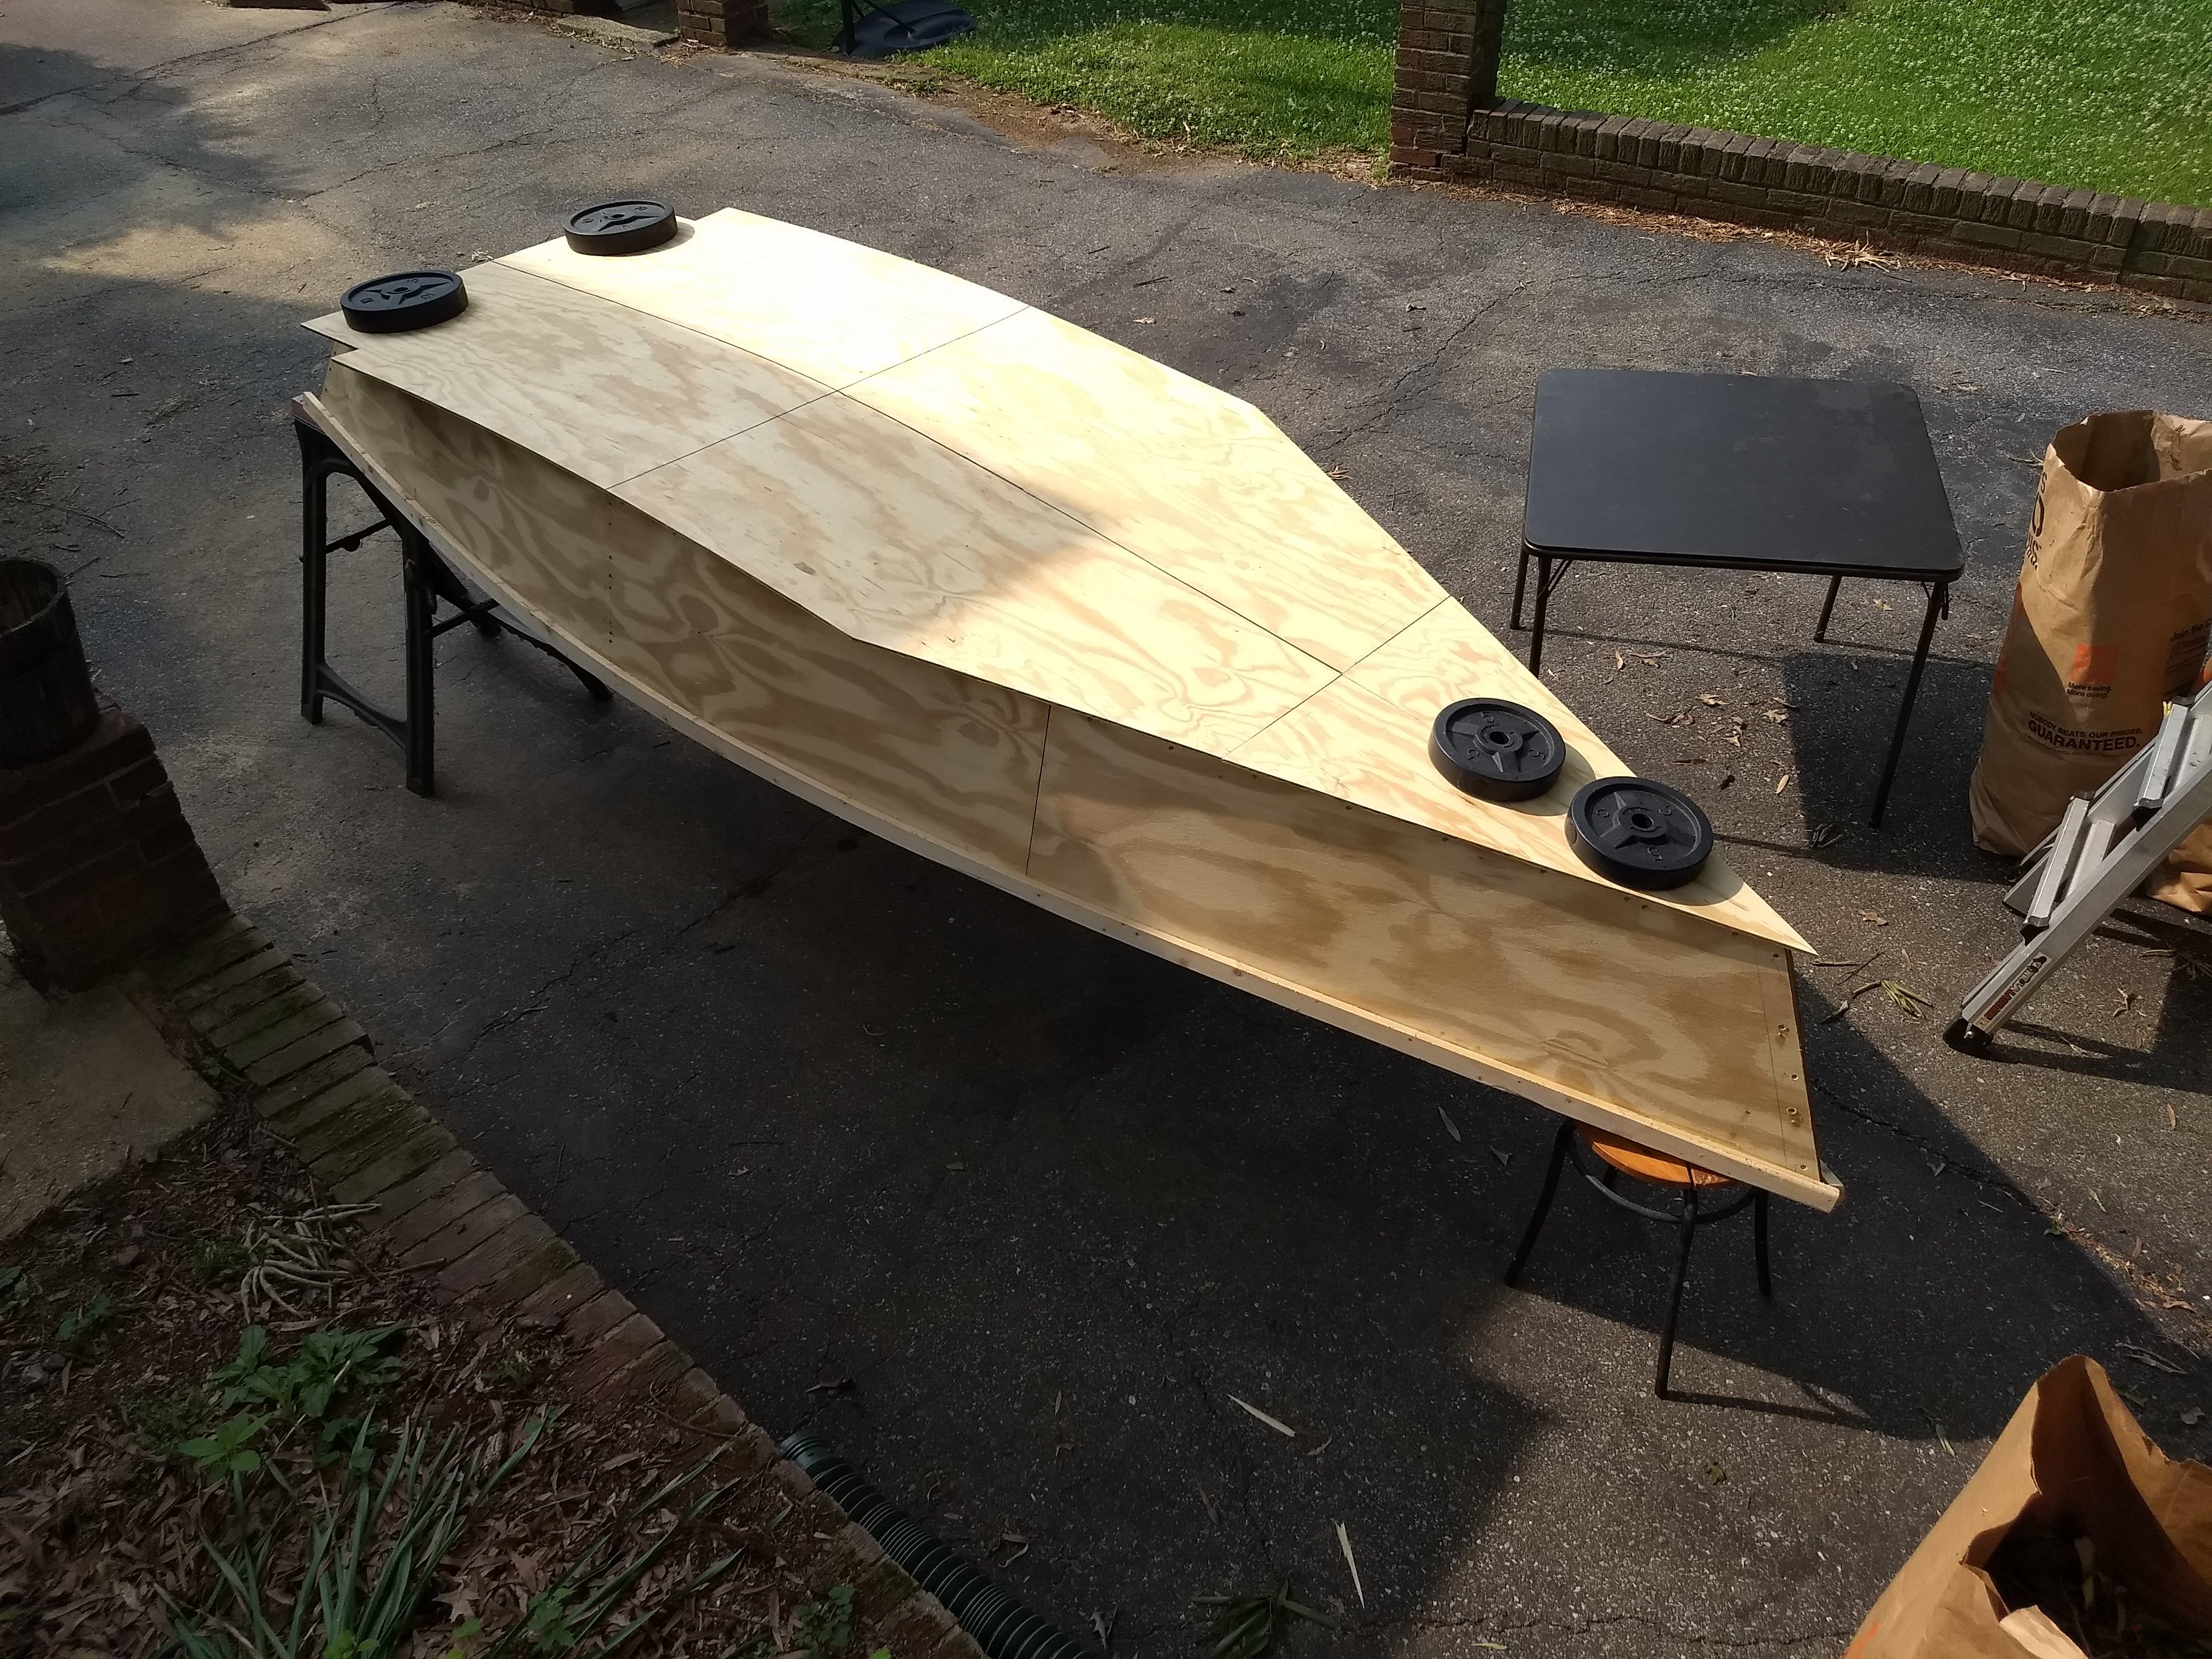
I had to pull the boat out of the garage to get to the glued up bottom on the garage floor, so I did my first test fitting on the full bottom on the boat now set up in the driveway. It was very satisfying to see the boat coming together.
It was even more exciting crawling underneath the assembly and seeing the boat’s cockpit for the first time. I took a lot of pictures from underneath and later looked at them upside down.
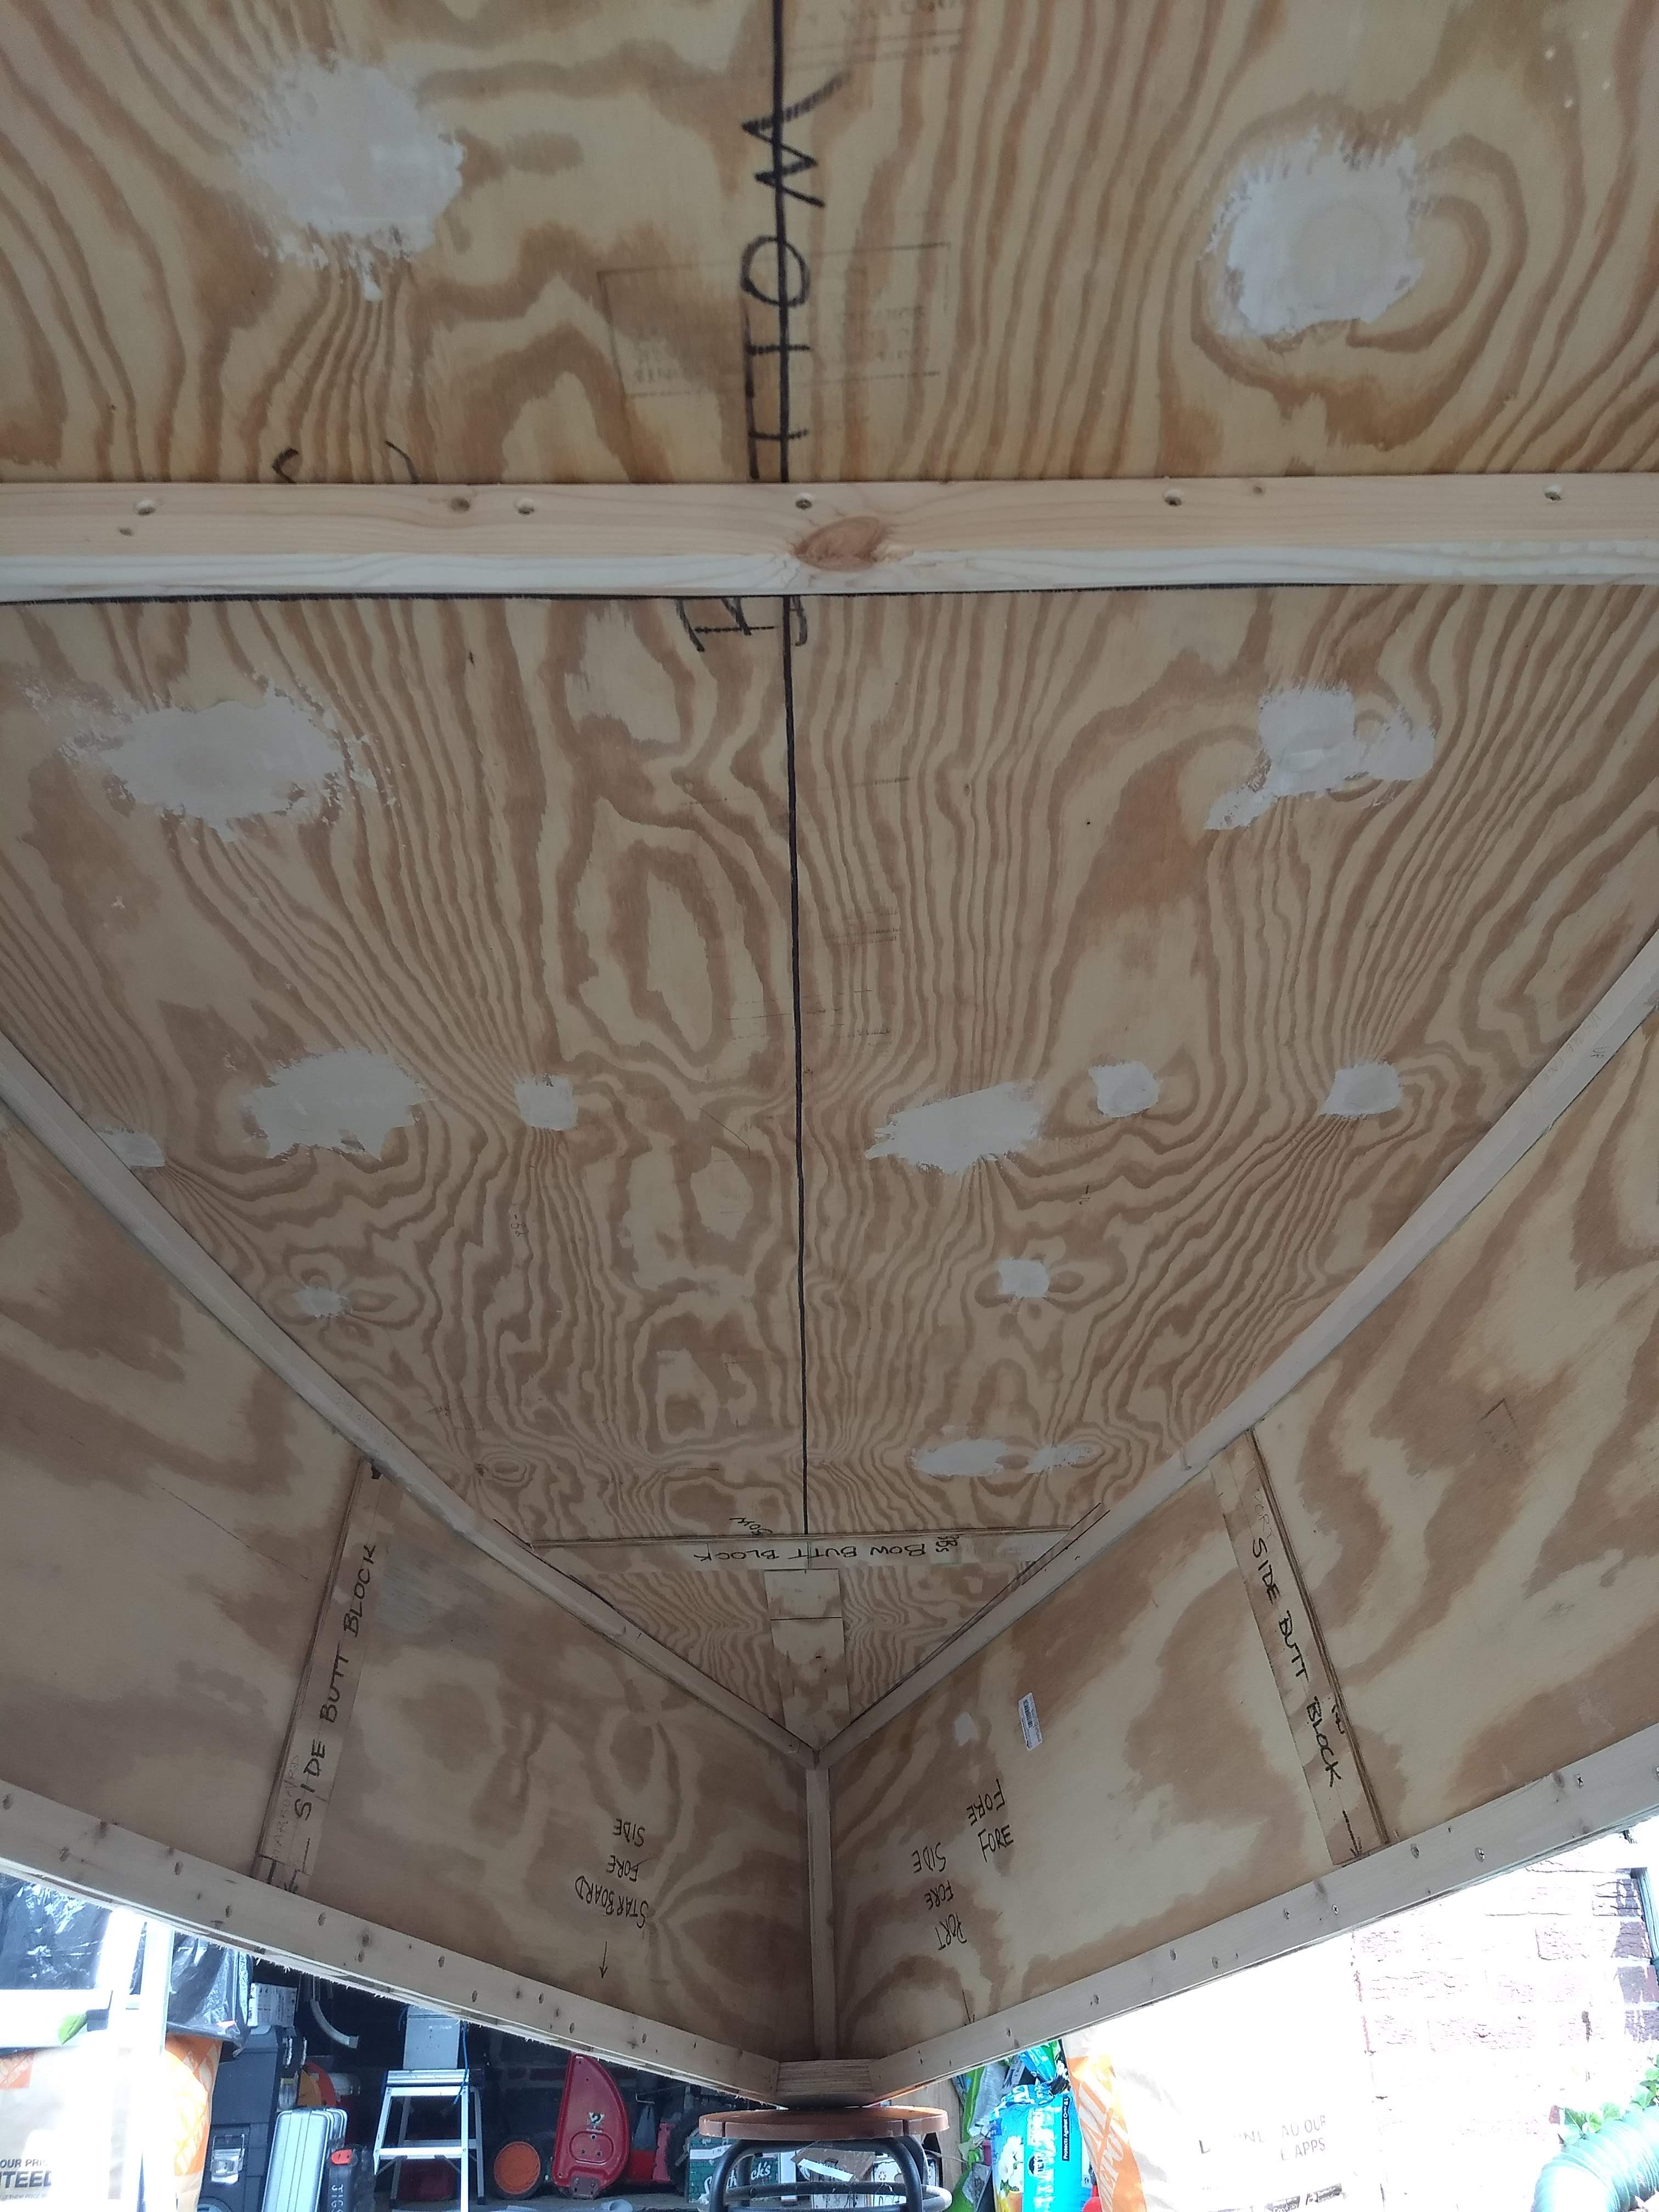
I have variously marked parts and lines with pencil and black sharpie (and even light green highlighter), and more recently I had marked the extents of the chines on the bottom with blue sharpie. I used red sharpie for the final chine and frame lines to differentiate these now mightily important lines.
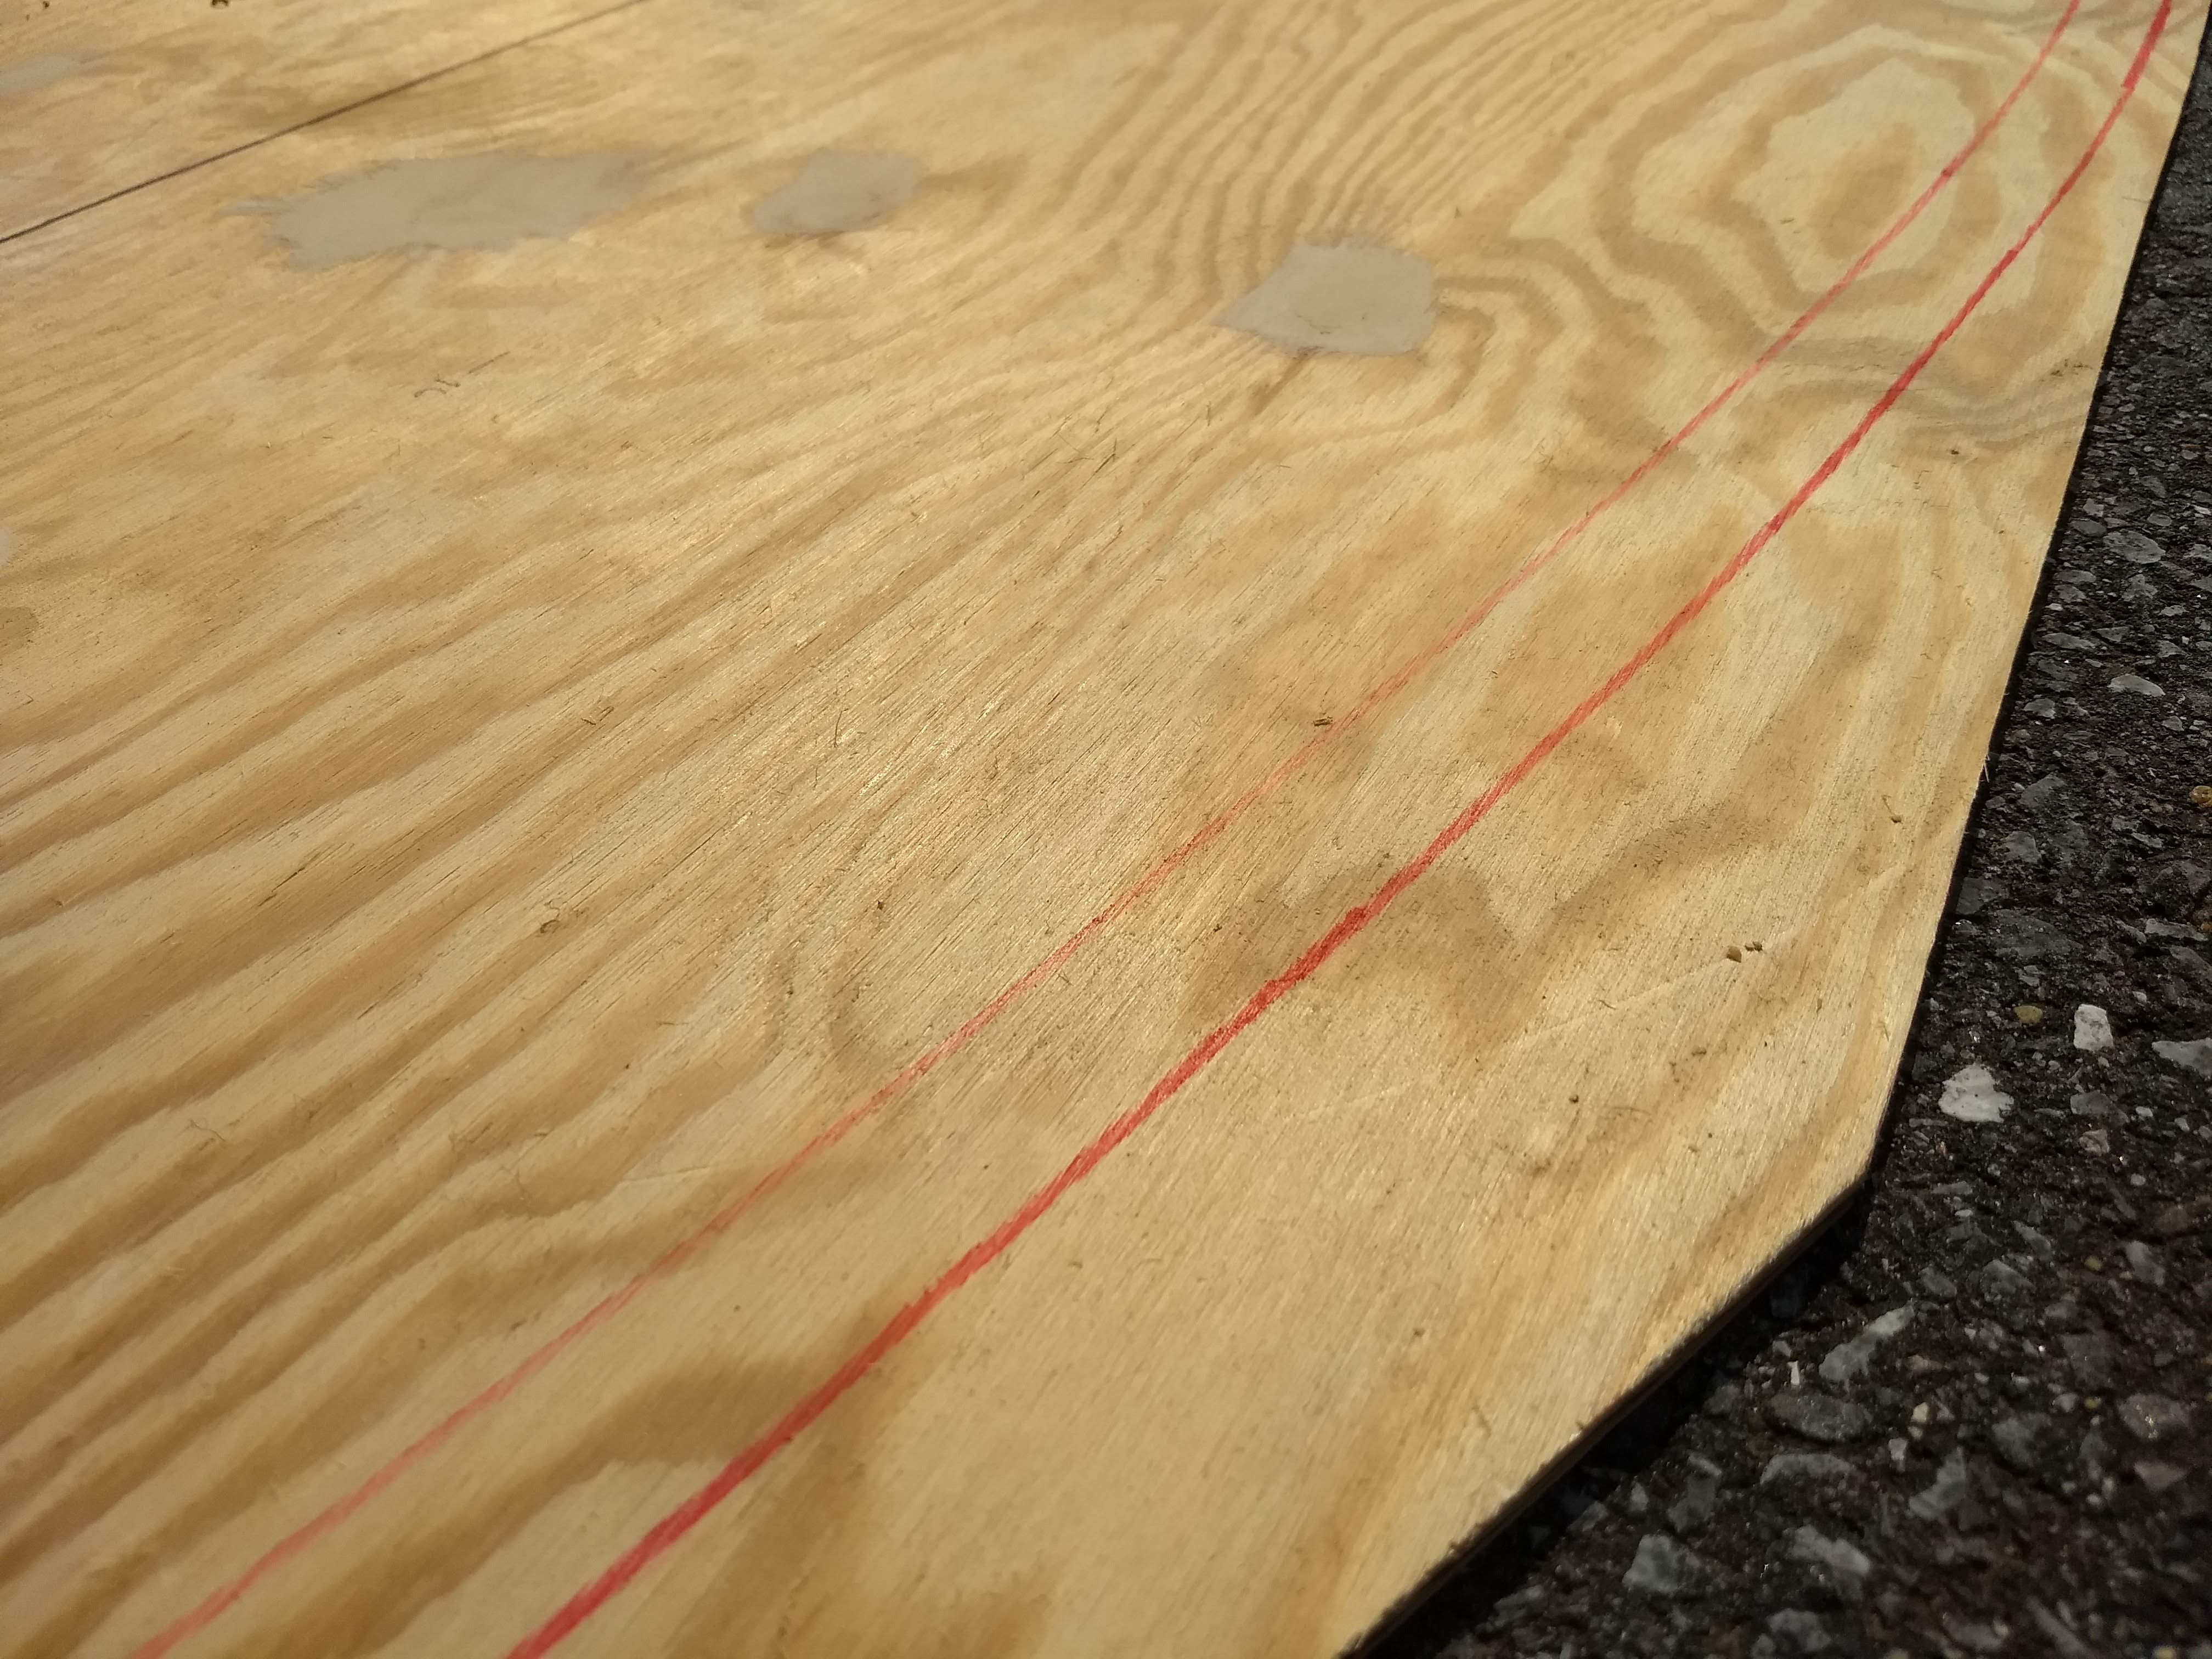
I finally packed up for the morning, rolling the boat and the bottom back into the garage, and I made plans for the actual glue up for later in the day, after lunch and grocery shopping.
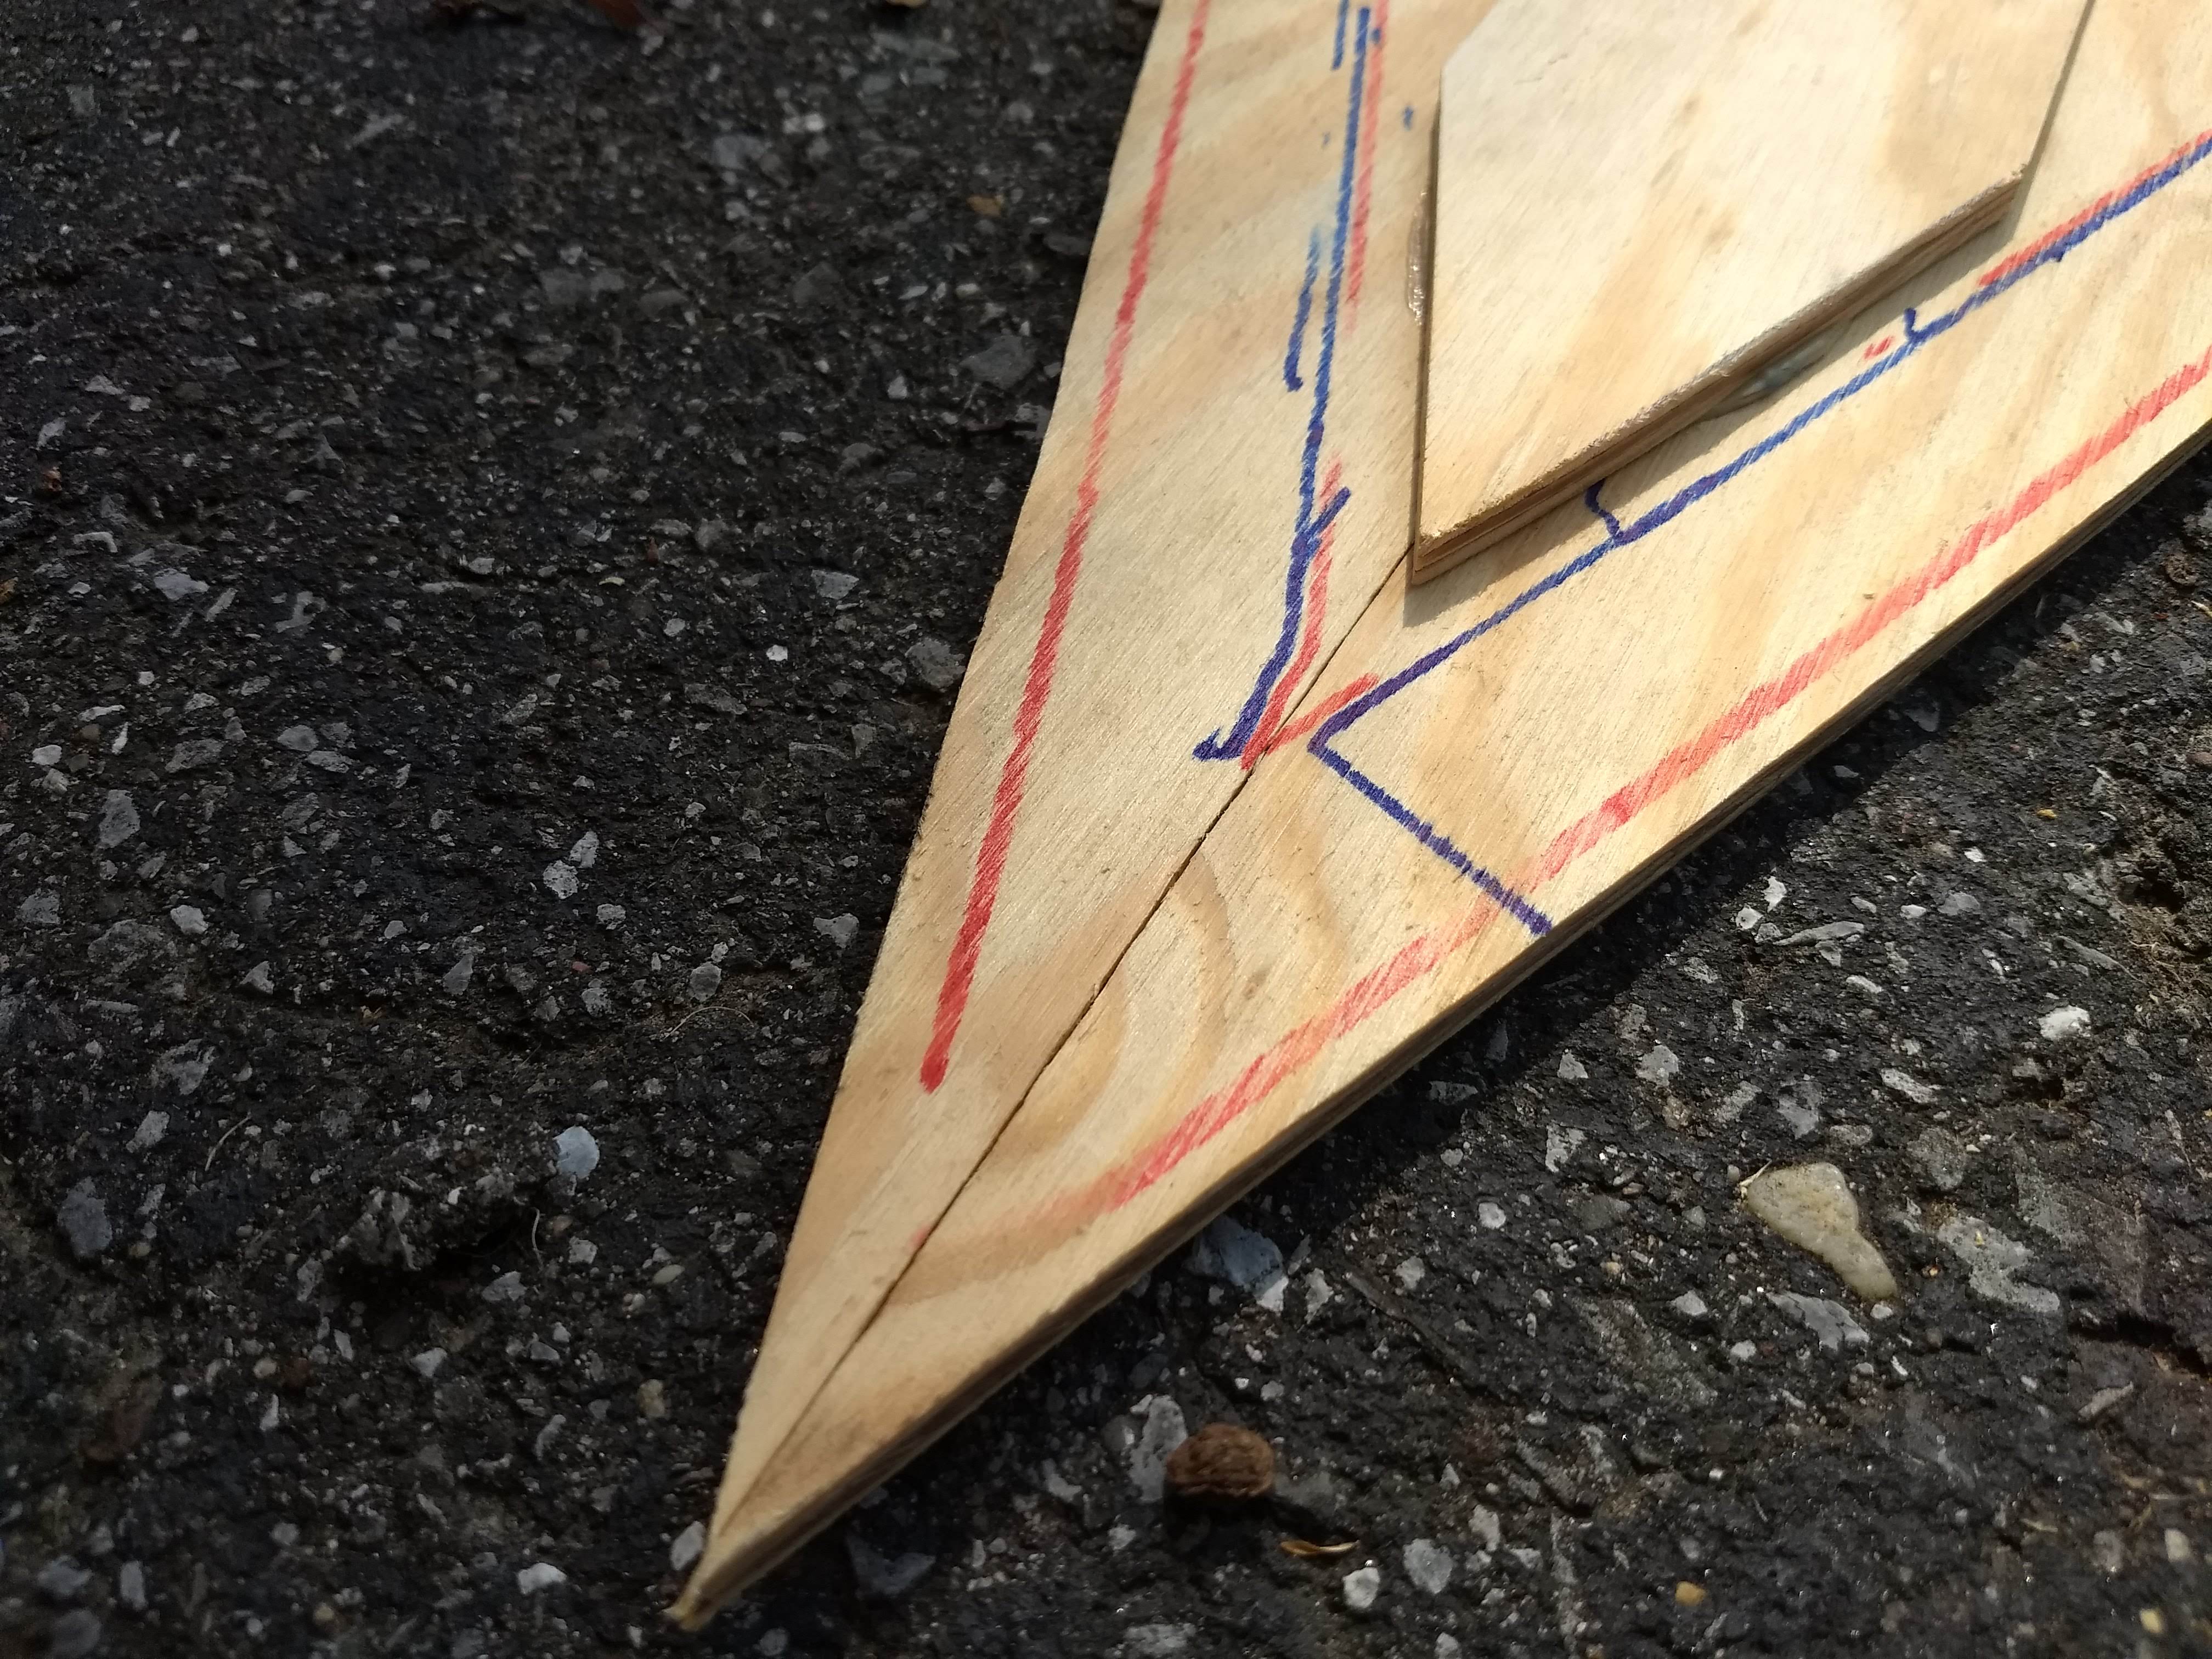
Later, in the afternoon, I brought the bottom outside for a final trim clear of the red chine lines, and then it was ready to be glued and screwed on.
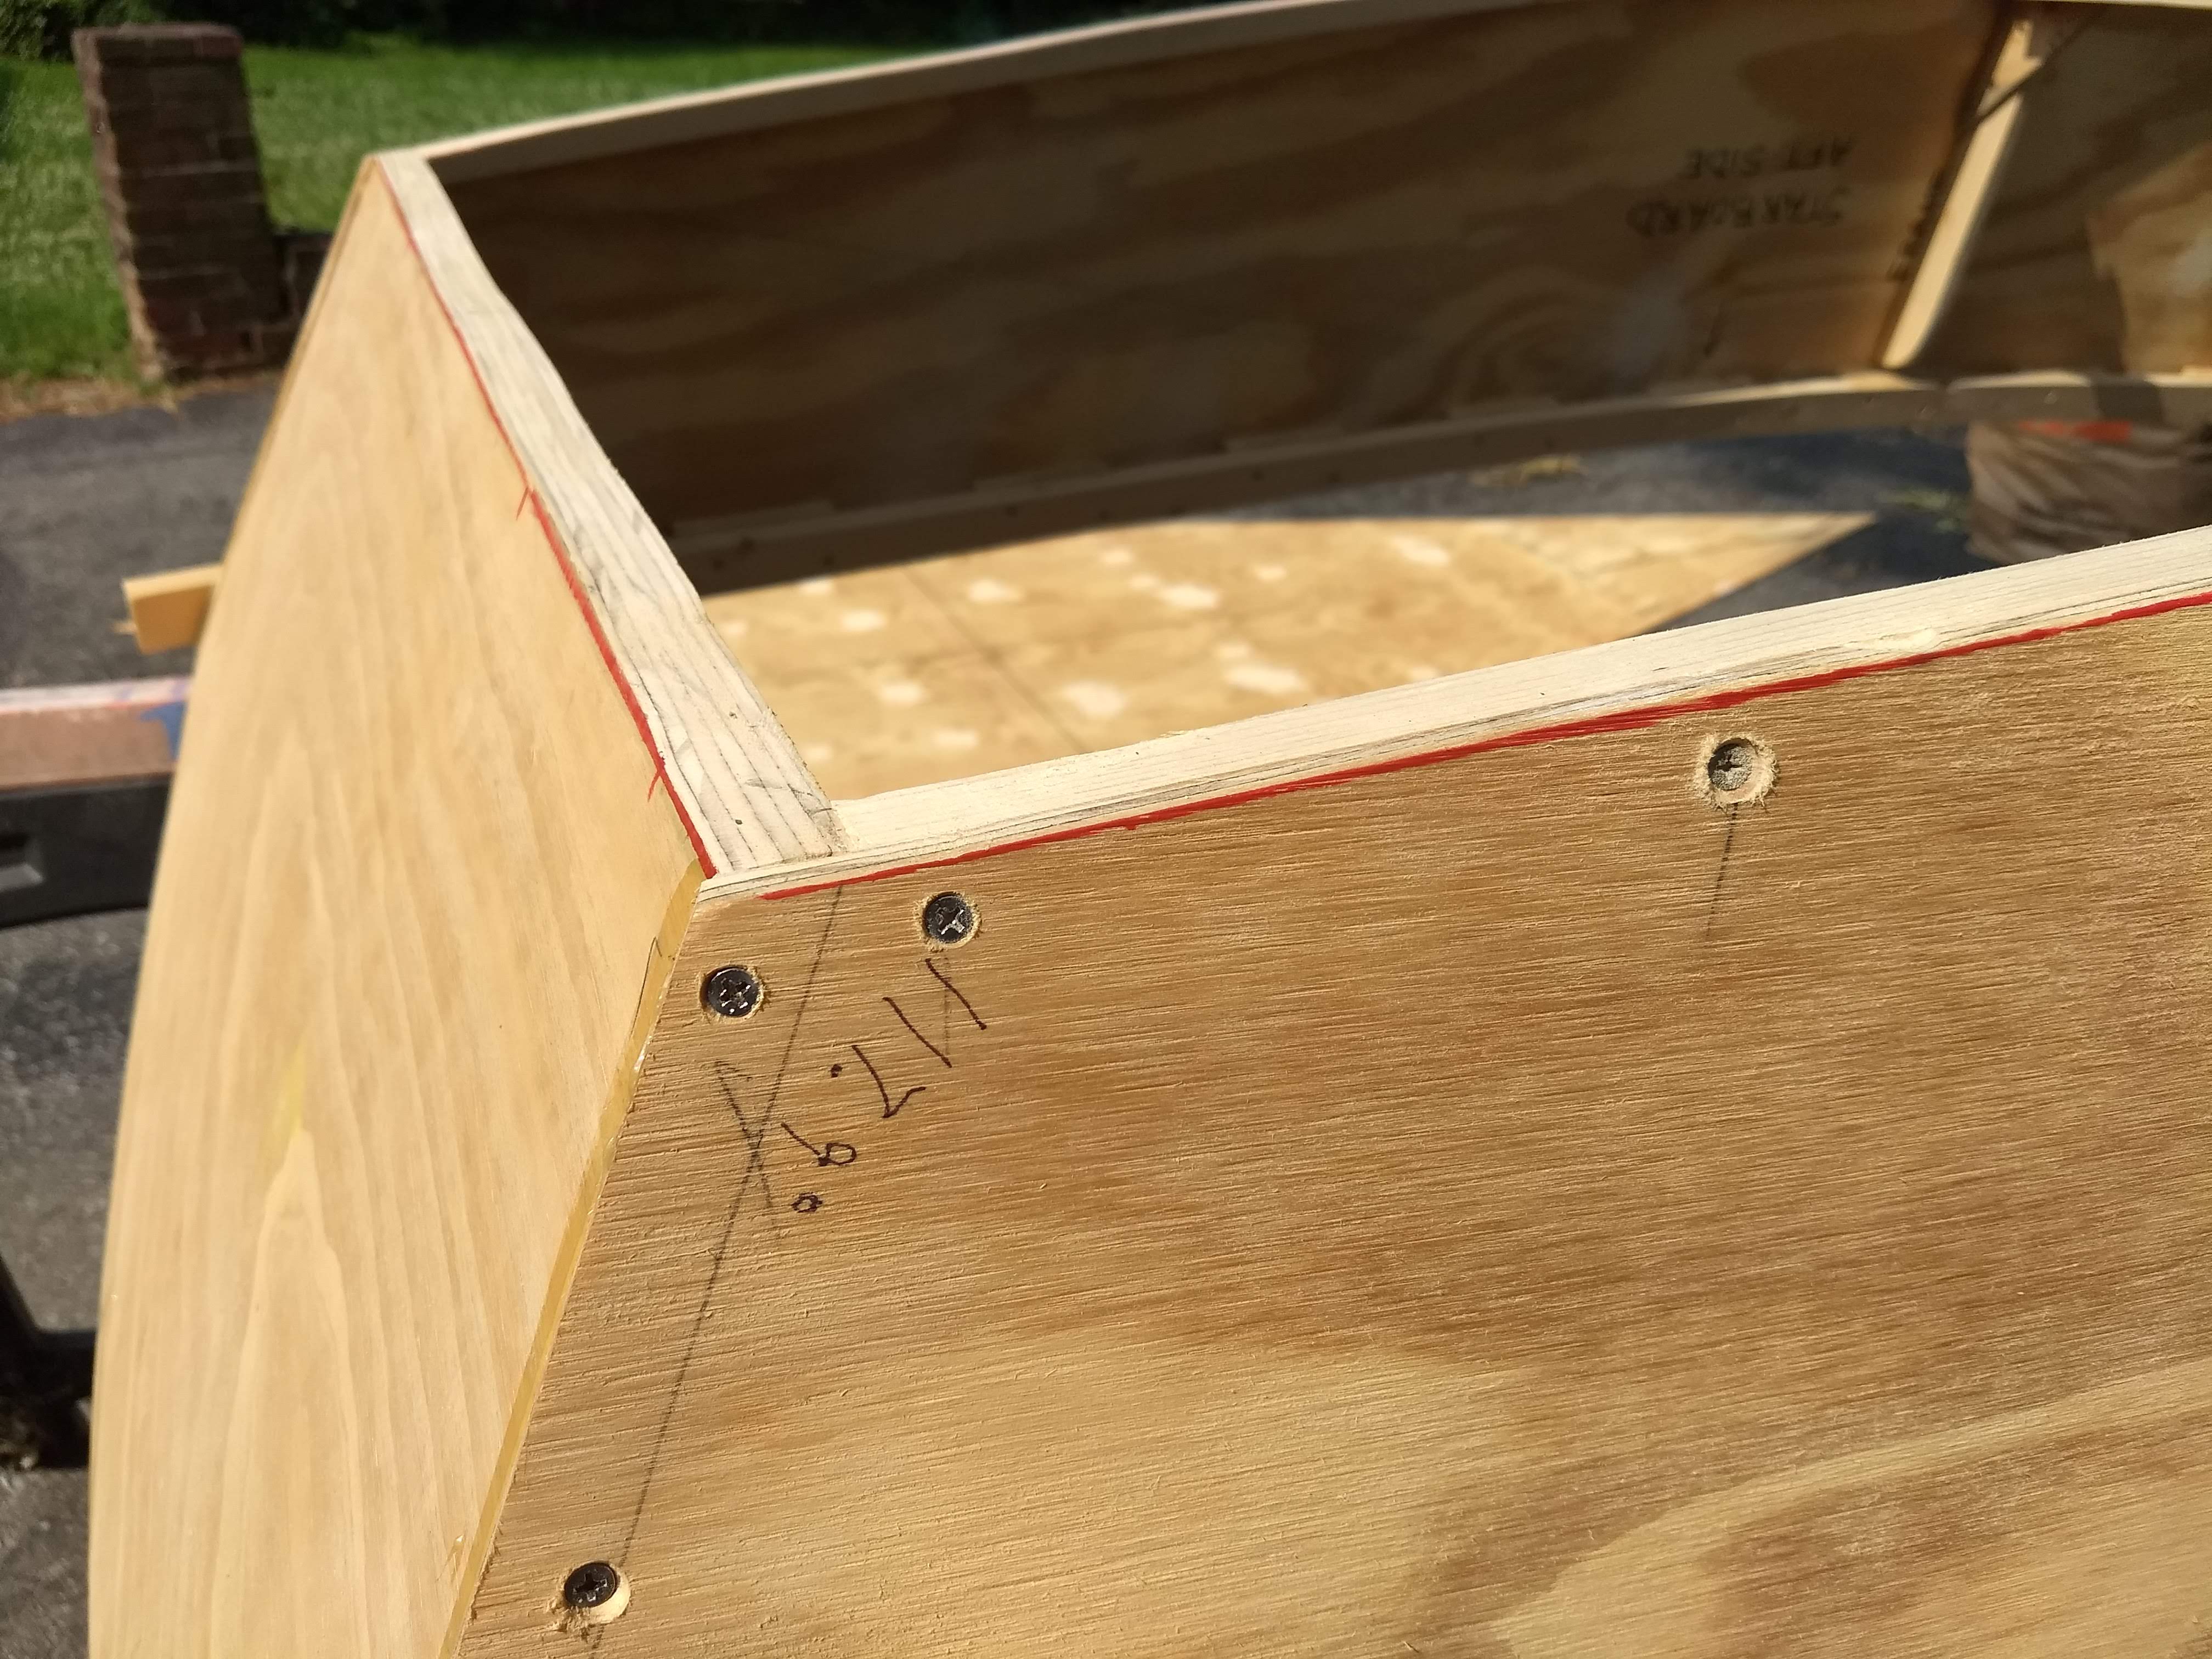
I had pondered quite a bit as to how I would manhandle the bottom onto the upside down hull assembly after I’d spread glue all around the chines. All of the times before I’ve plopped the bottom onto the assembly, from one side or the other, and then slid it into place. But I wouldn’t be able to do that once the chines had all been slathered with the construction adhesive. So I figured out my method using a 2×4 to prop up half of the bottom at a time, first the stern and then the bow, while weighing down the other end with the barbell weights.

The aft end went really well, allowing me to apply a bead of glue along the chines (and the transom) and then spread it all out with craft sticks. I had trouble, though, when I switched the prop to the bow. Not having the transom to brace it, the prop promptly starting listing to the side, sliding the bottom toward that side with it. I was able to save the bottom before it went crashing to the floor, but a not insignificant amount of glue got smeared in the meantime.
I kept my calm, however, and just worked around the problem. I re-propped the bottom and made my way around the chines around the bow. I still think my method was a good idea, but it did perhaps suffer in the execution.
The tube of adhesive also decided to inconveniently run empty during the application around the bow. I really thought there would be enough in this tube. But I had a spare tube on hand for just this possibility, so I was up and running again in a minute or two.
Then I grabbed the drill driver and the countersink bit and driving adapter and the bag of 3/4″ #6 screws and started making my way around the boat, sinking screws every six or eight inches. I’m not sure how it happened, given how carefully I had laid out the red sharpie lines, but there was one spot near the starboard bow where the bottom had slid inward and did not fully cover the plywood side. It wasn’t that bad, as in the chine wasn’t showing or anything, and I’m going to cover the seam with fiberglass tape and epoxy. But, still, it wasn’t as good as I was aiming for.
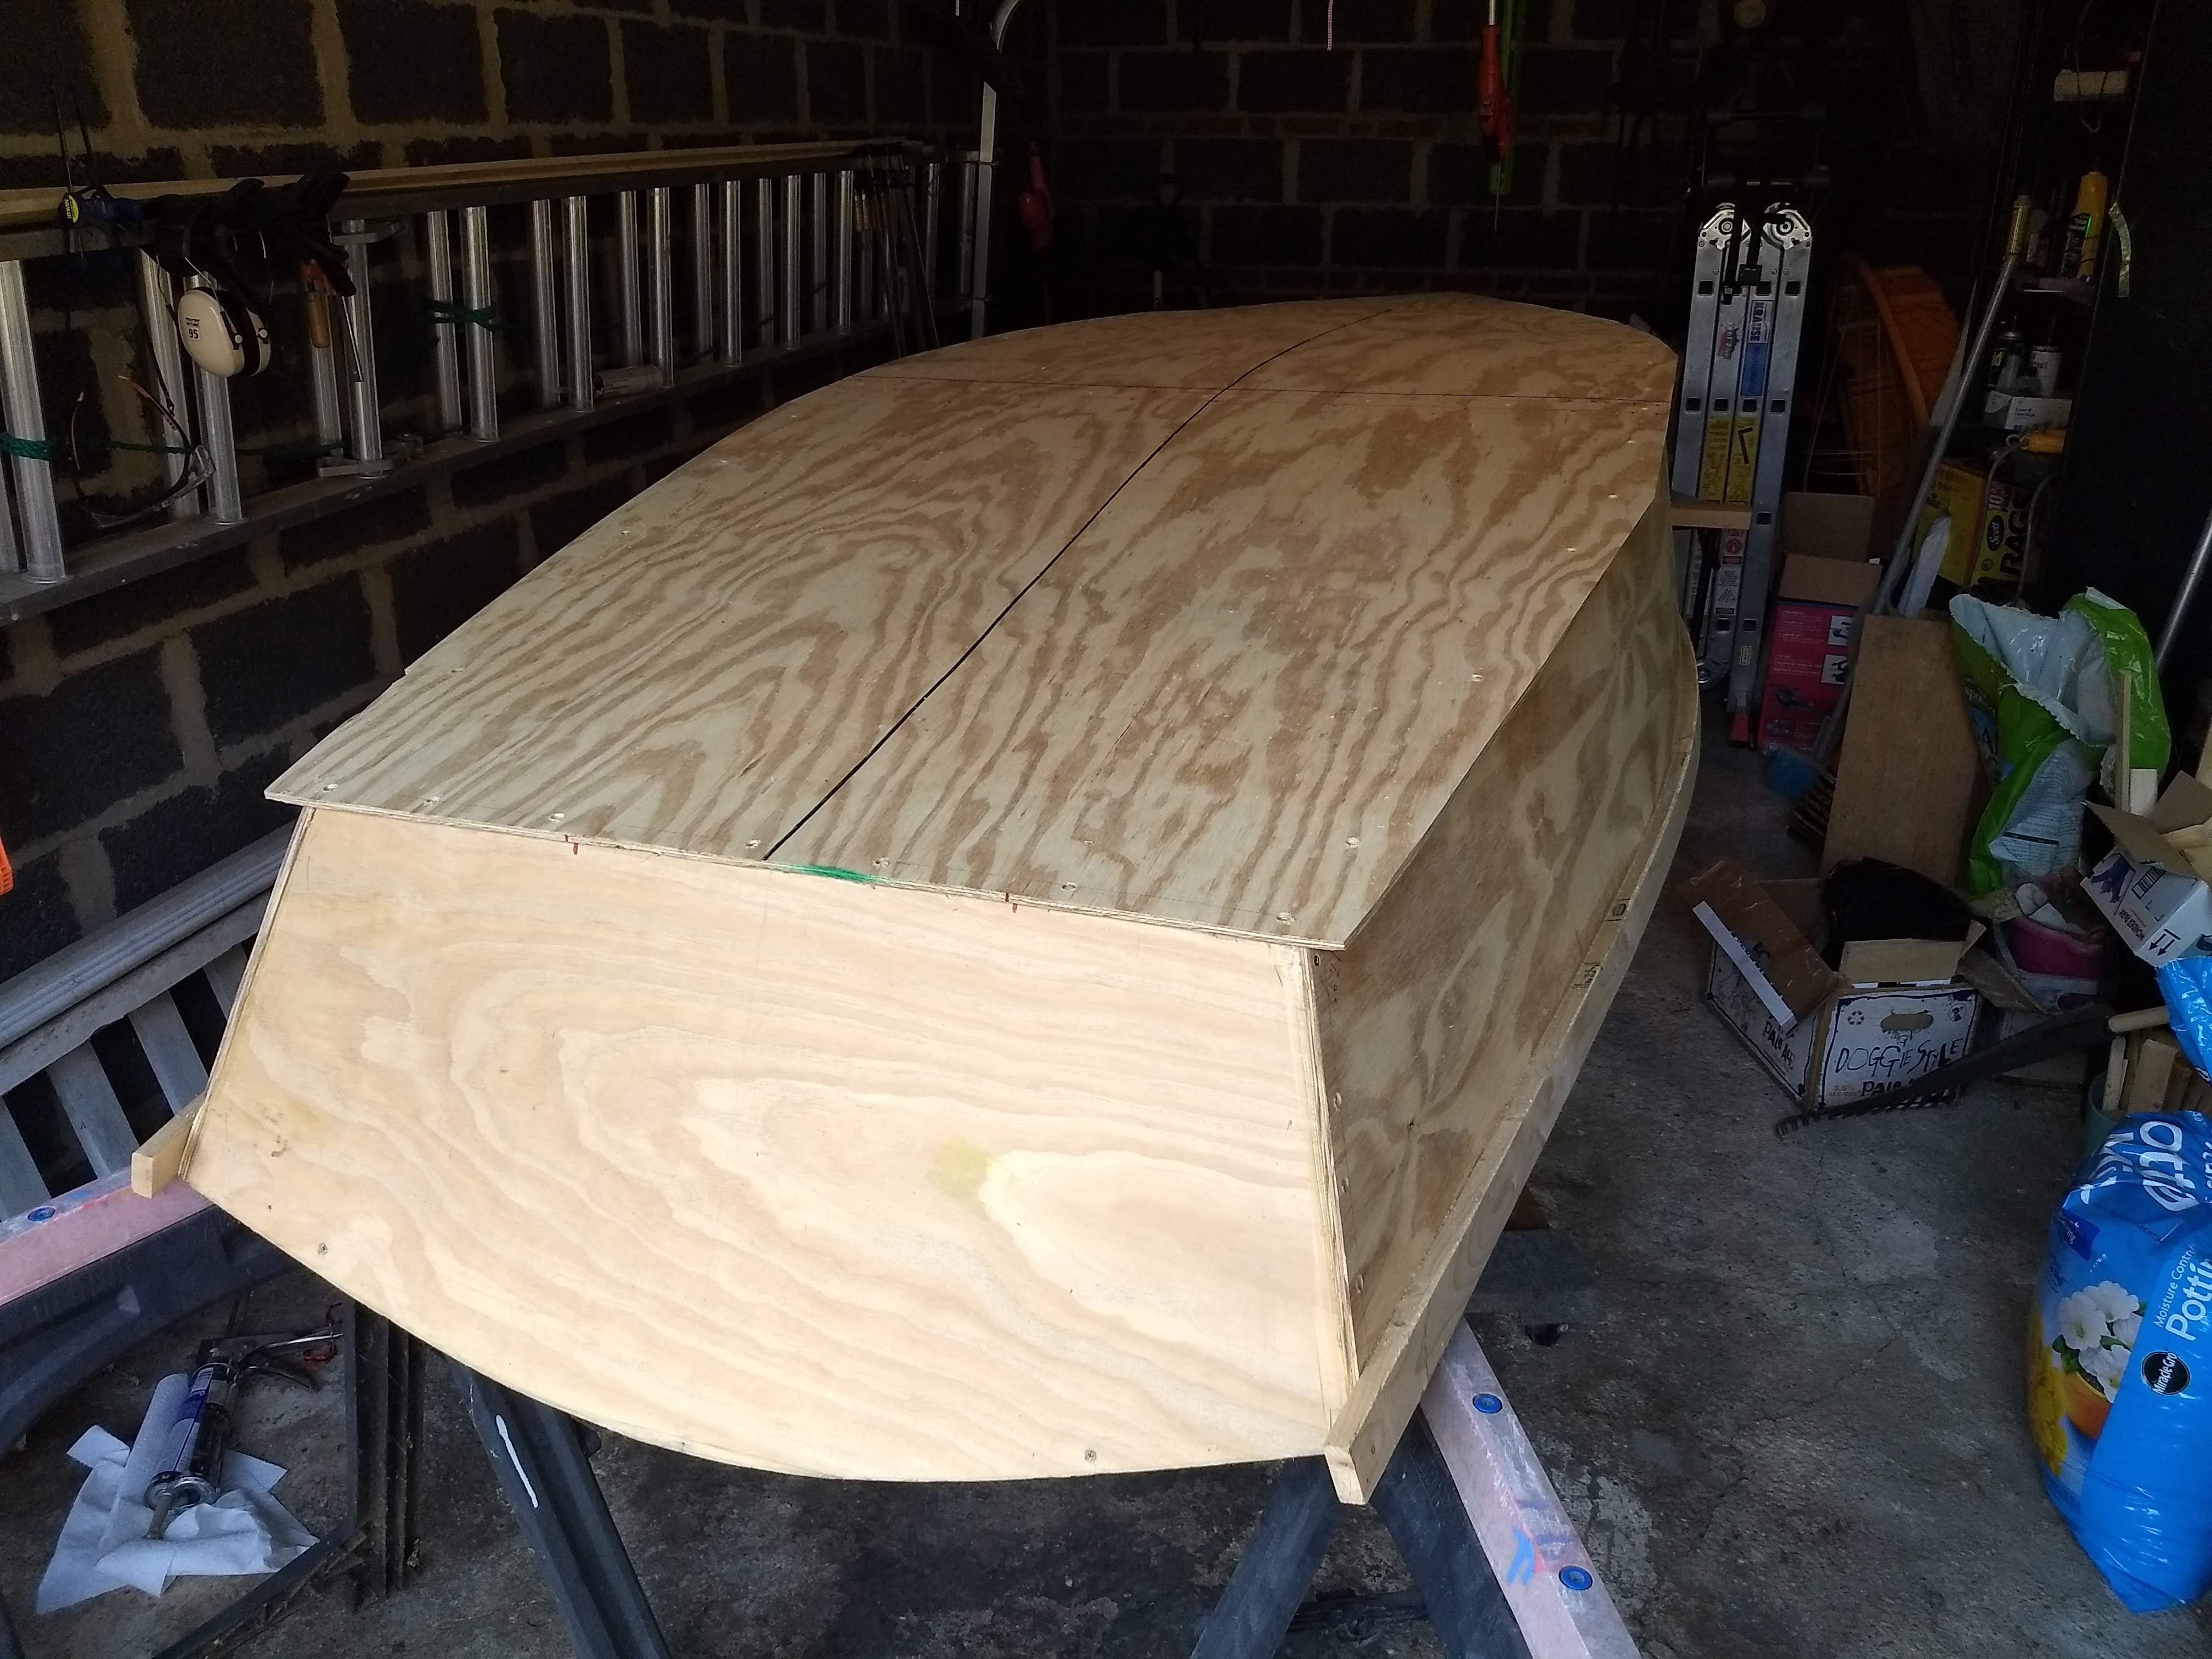
And, in any case, the bottom was installed.
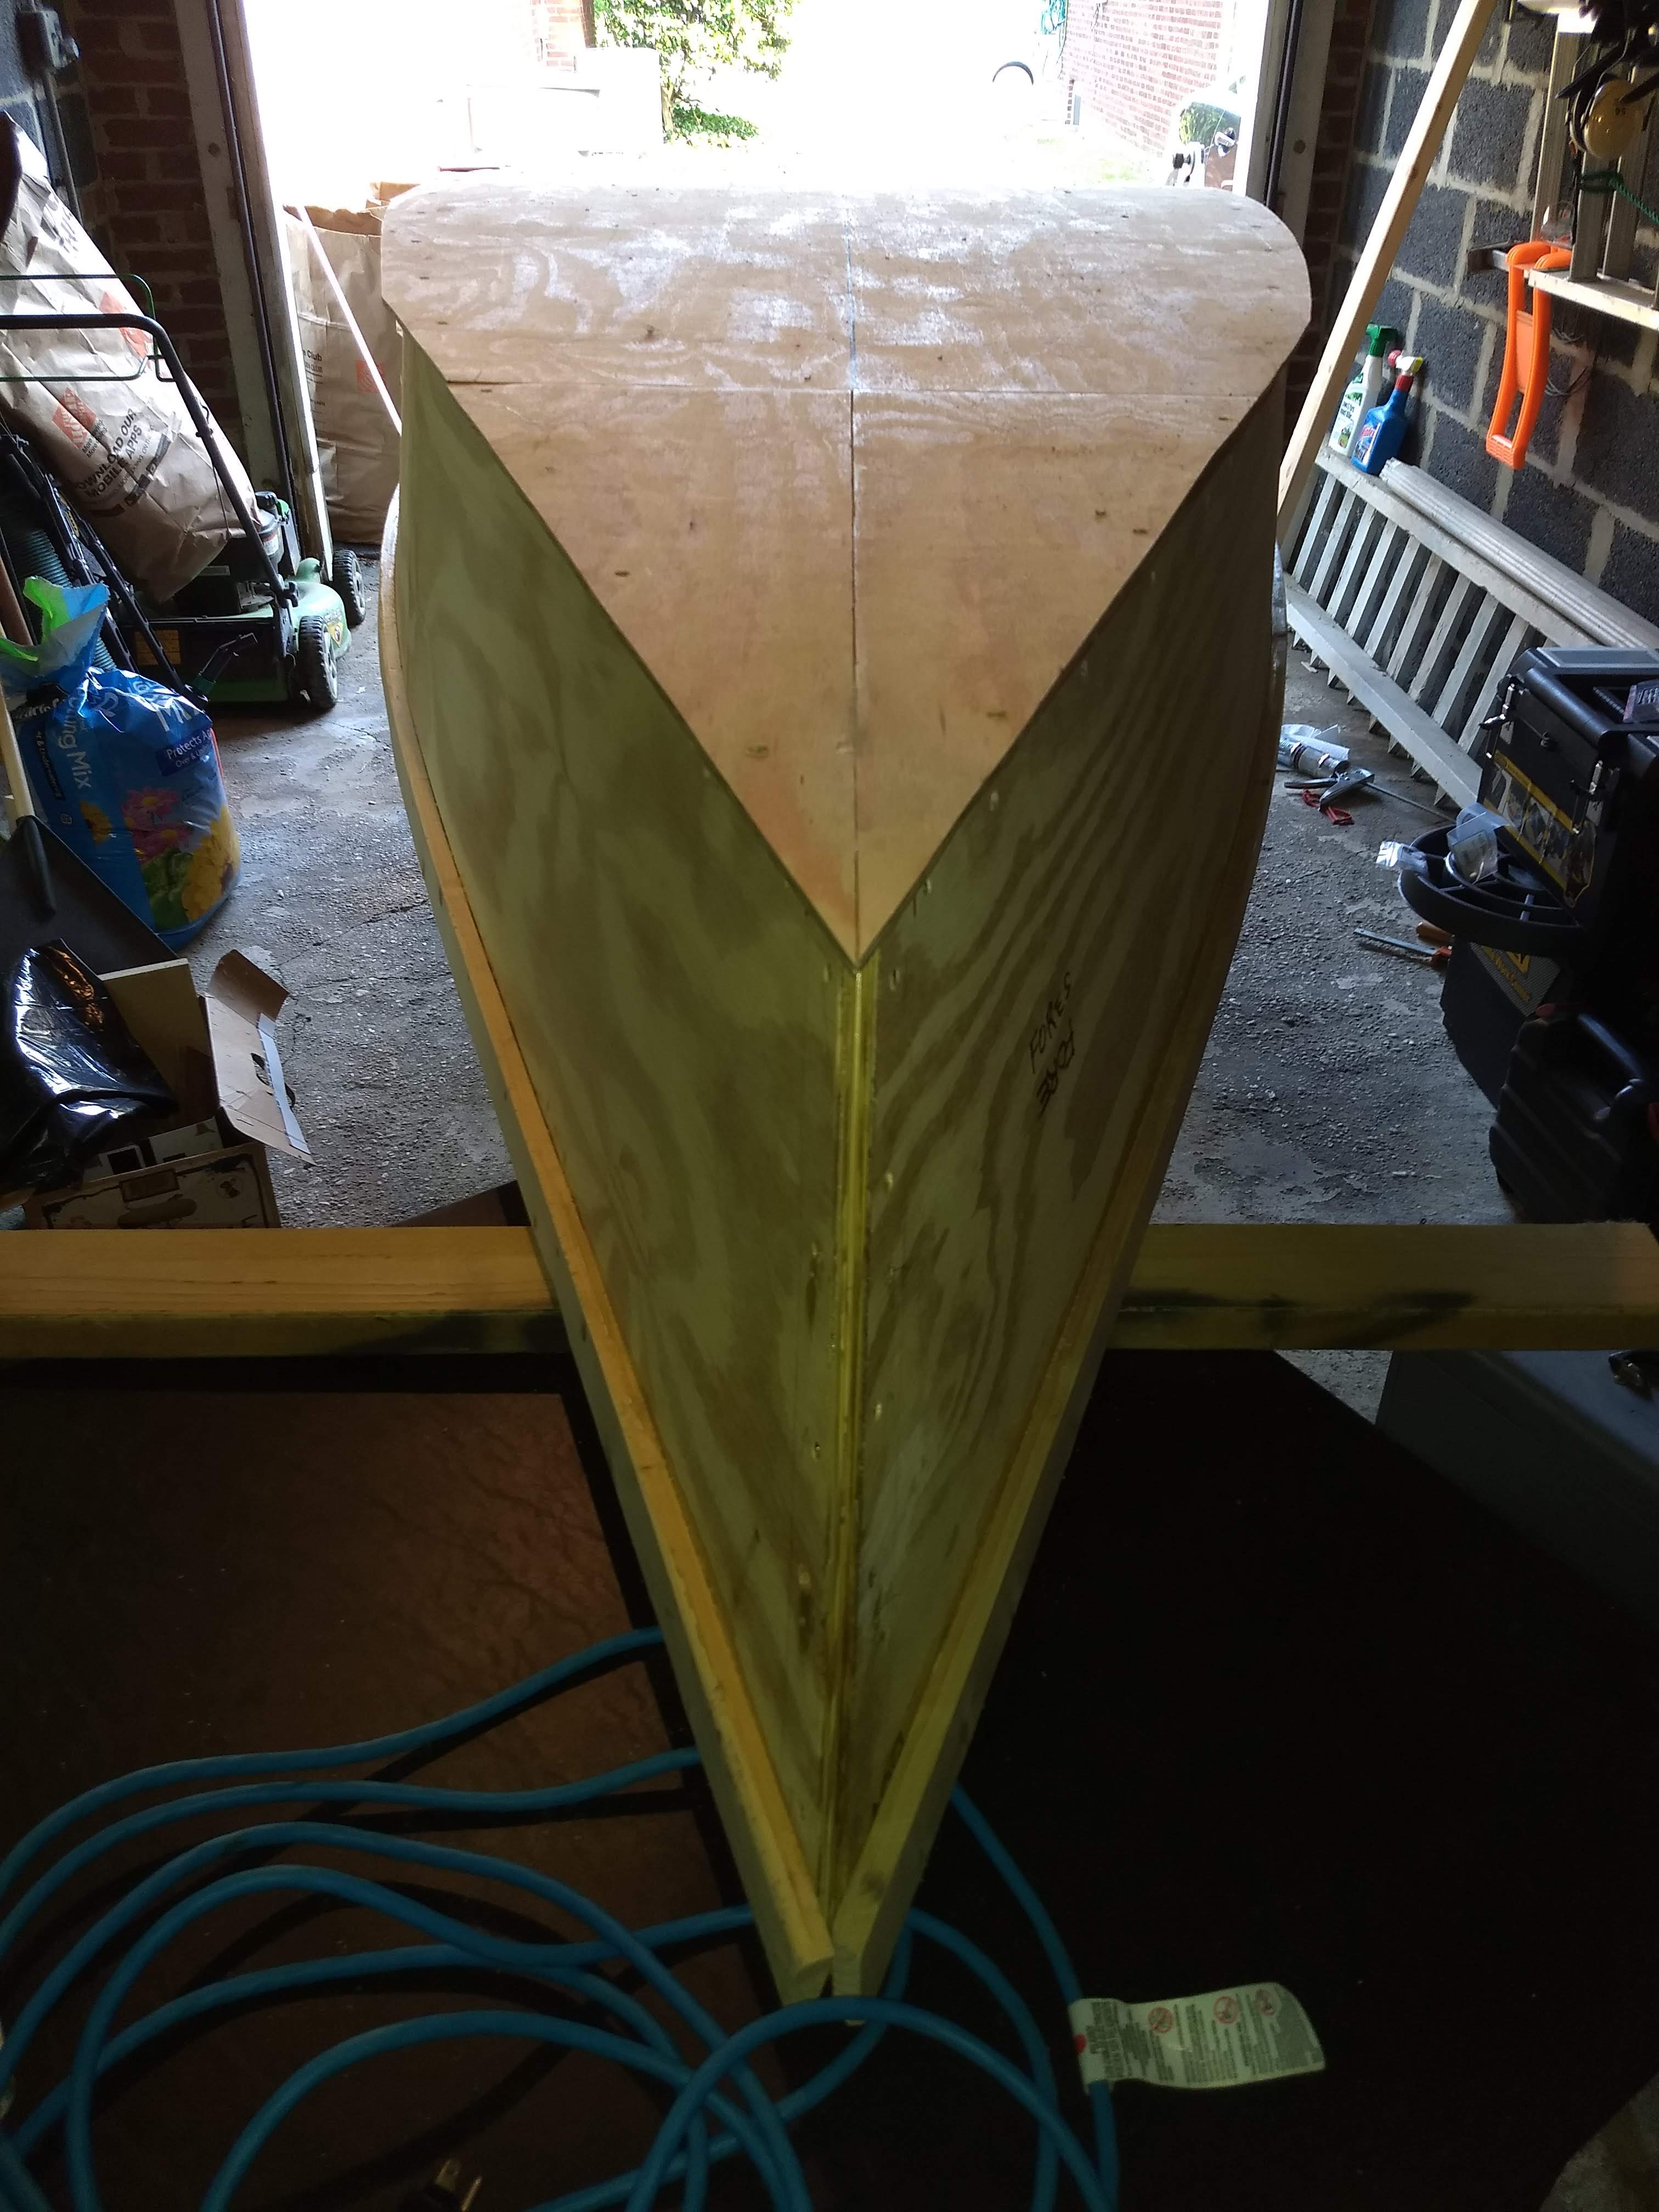
I waited a few minutes and then started scraping off any glue squeeze out as well as a few spots where the bottom had slipped and spread errant glue, especially around the frame. Then I was done for the day.
I pulled the boat back out on Sunday afternoon to trim off the excess inch or so of the bottom around the hull. This proved to be challenging.
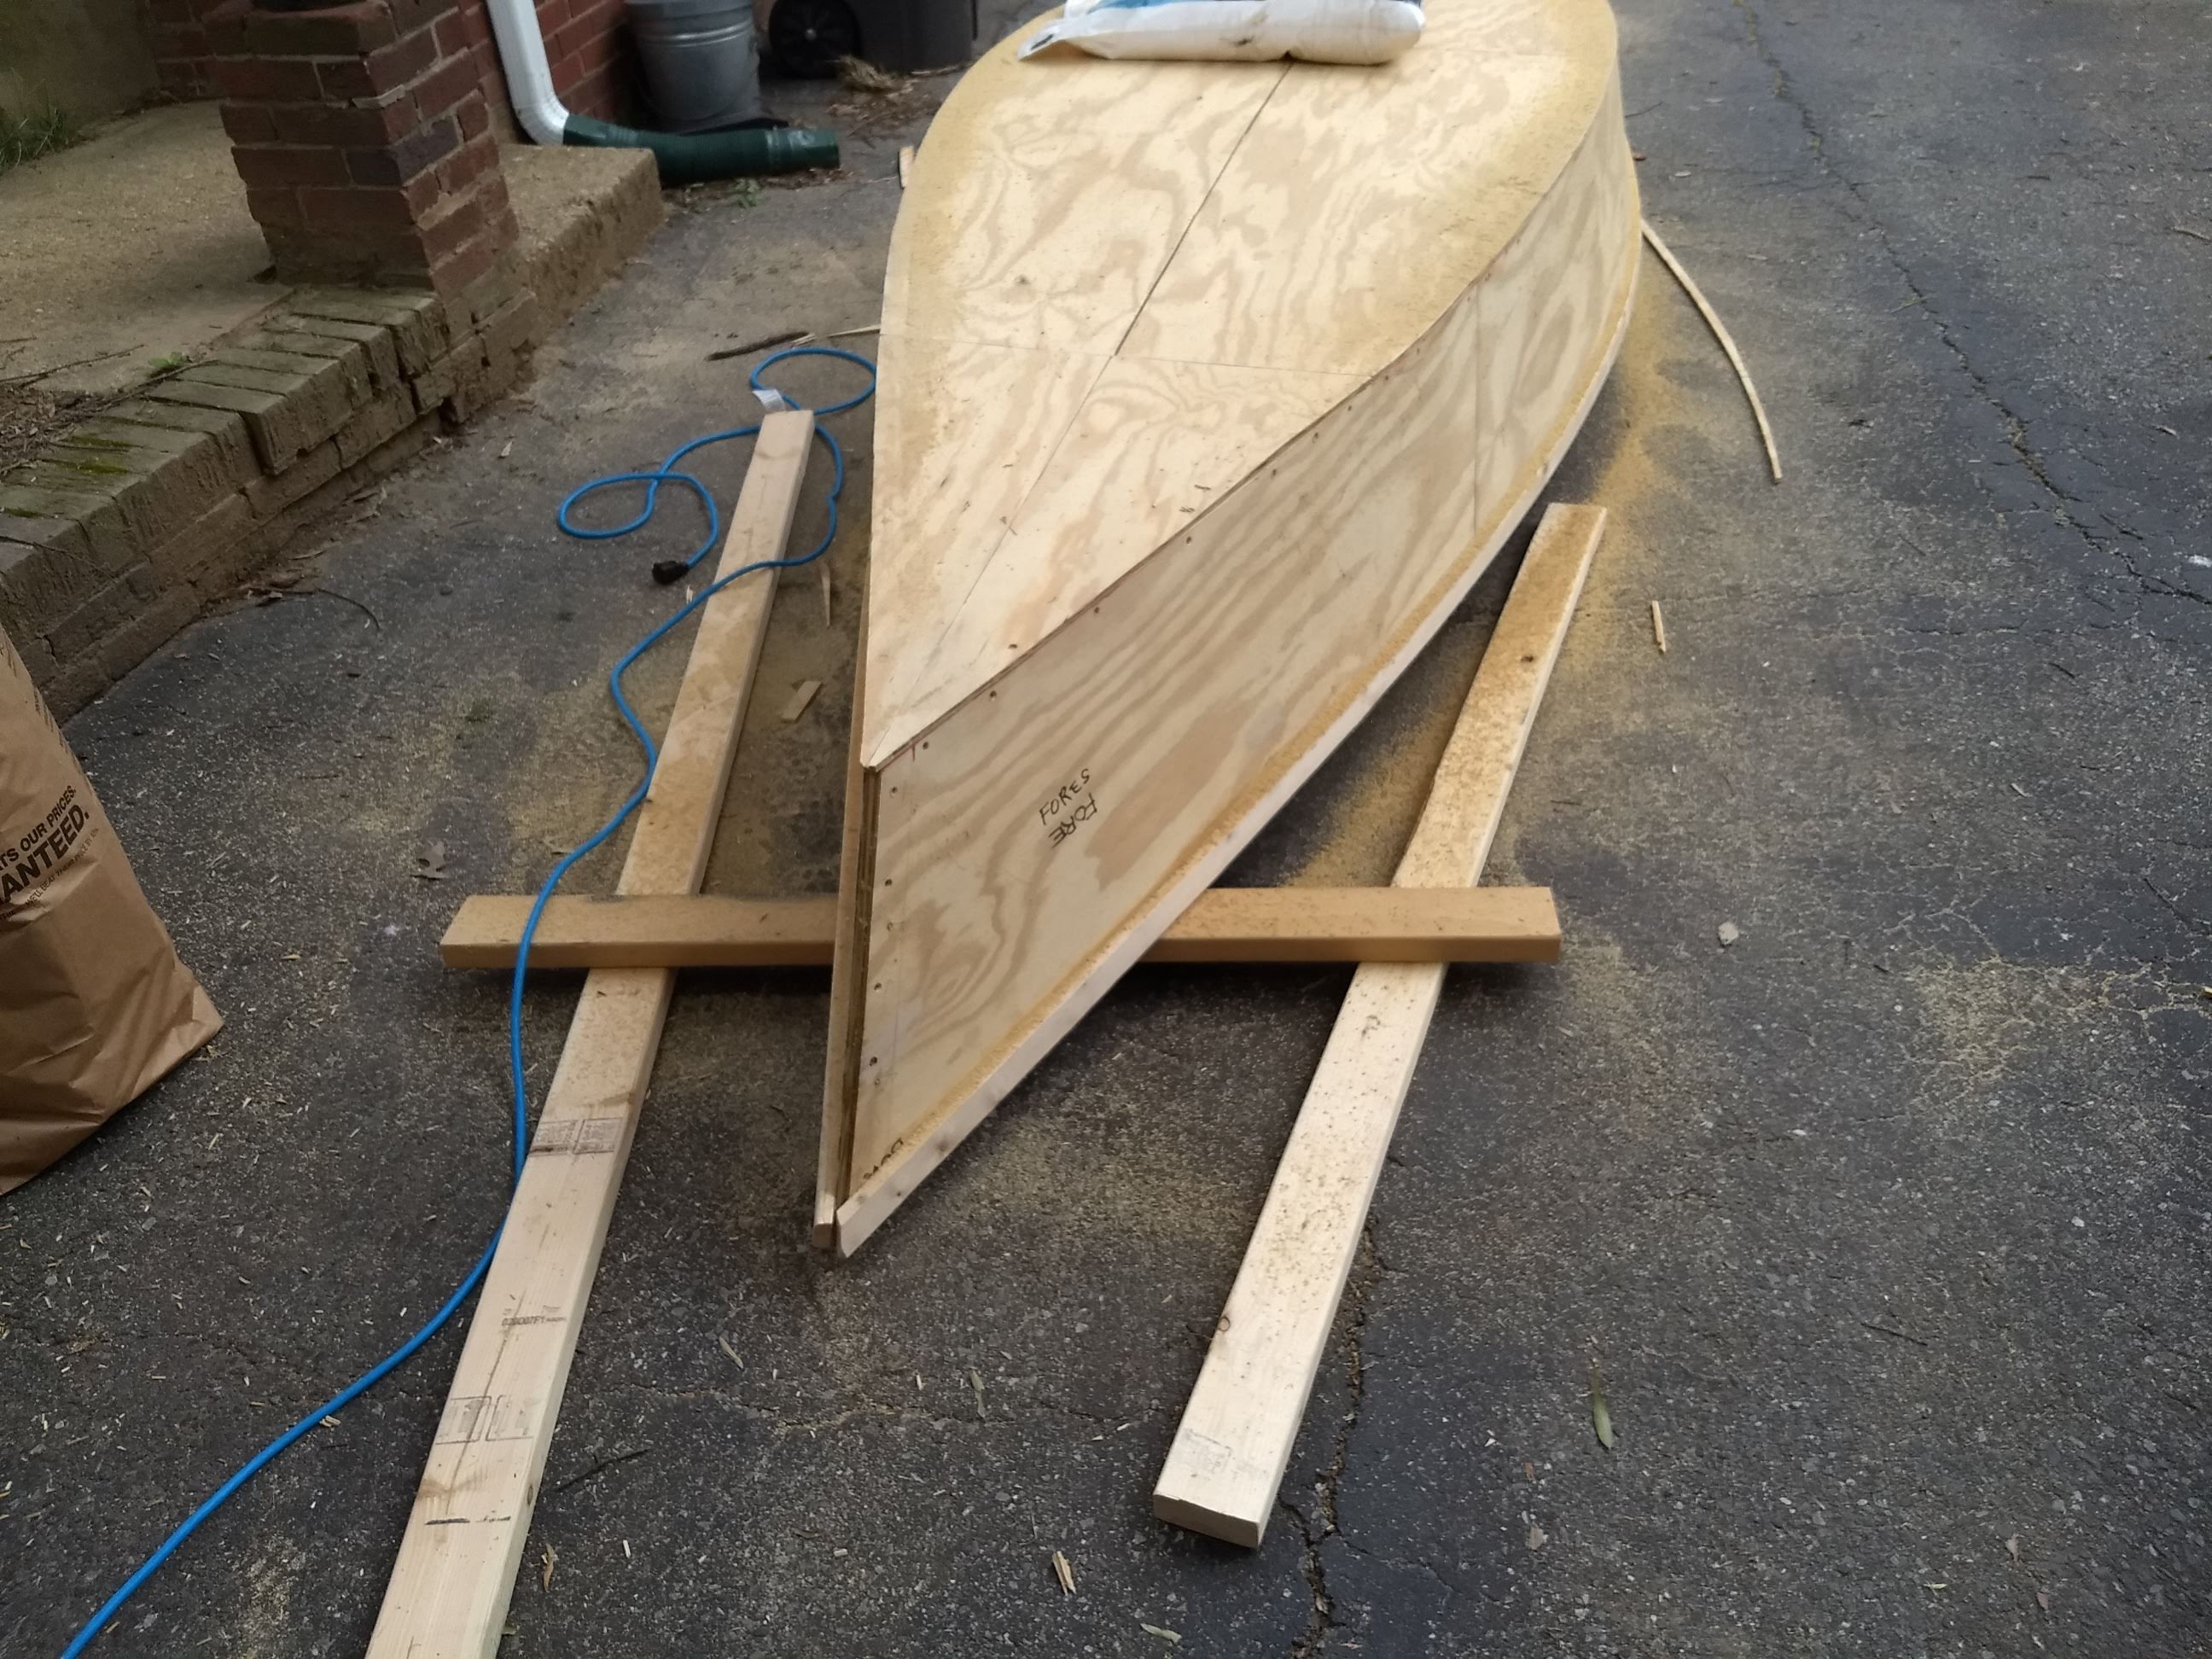
I tried to saw off most of the excess, in preparation for making the edges mostly flush with a flush-trim router bit. But damned if I could saw away much. I first tried with the ryoba, since the spine of the dozuki would interfere with any cut after like 2 inches. But as fine as the Japanese saws are on lumber, they do not like cutting plywood. So I switched to a Spear & Jackson 22″ saw, but that just made a hash of the port side beneath the overhang. Ugh.
So then I tried the 4-1/2″ compact circular saw, setting the bevel to around 20˚ or so, and that only sort of worked. But I needed to be able to see above and below the plywood cut at the same time, and, of course, I can’t physically do that.
So then I opted for the flush trimming with the router for the whole thing. I guess if I think about it, the plywood is only 1/4″ thick that I’m cutting with the router bit, and the bit itself is 1/2″ in diameter. So that’s a total volume of 1/8 of a square inch that I’m cutting. Is that math right? Hmm, I’m not sure, but anyway, it doesn’t matter if there’s another 2 inches or 20 inches hanging off the end that I’m not cutting. It only matters what I’m cutting, right?
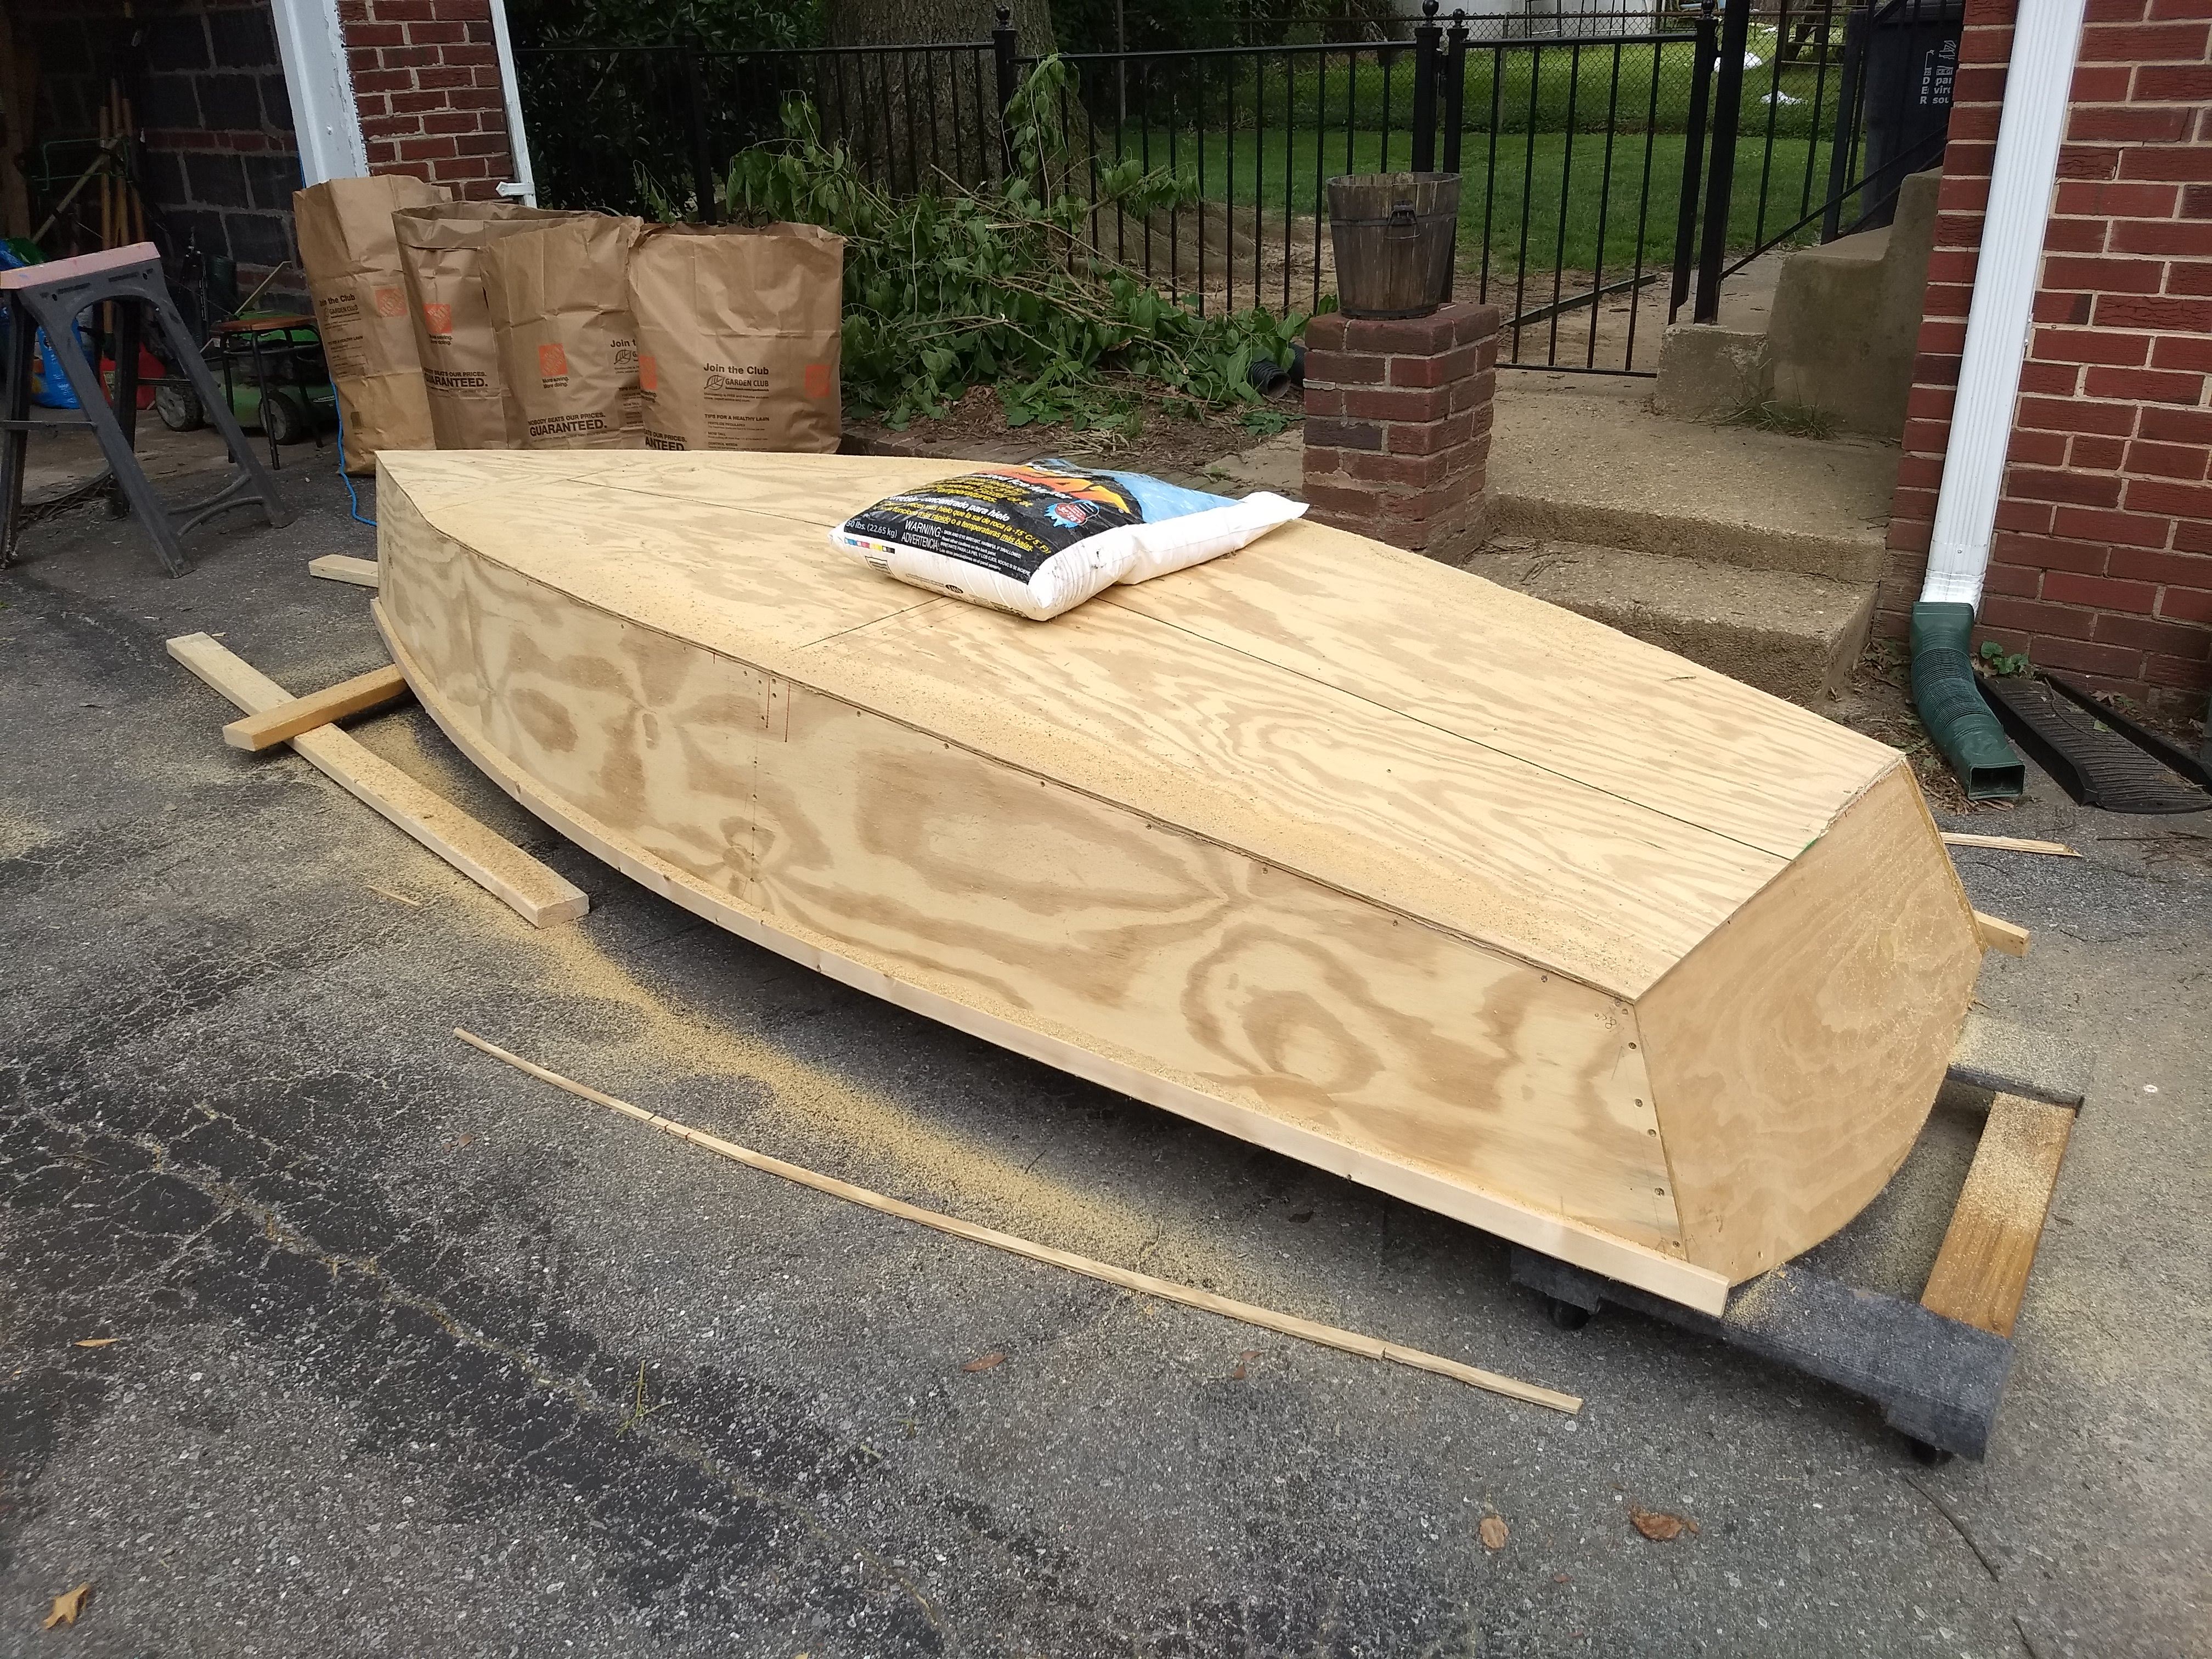
No, I suppose I would have rather been cutting like a quarter inch overhang rather than plowing the router bit through the middle of anything, even 1/4″ plywood. But, that really wasn’t one of my options, turns out.
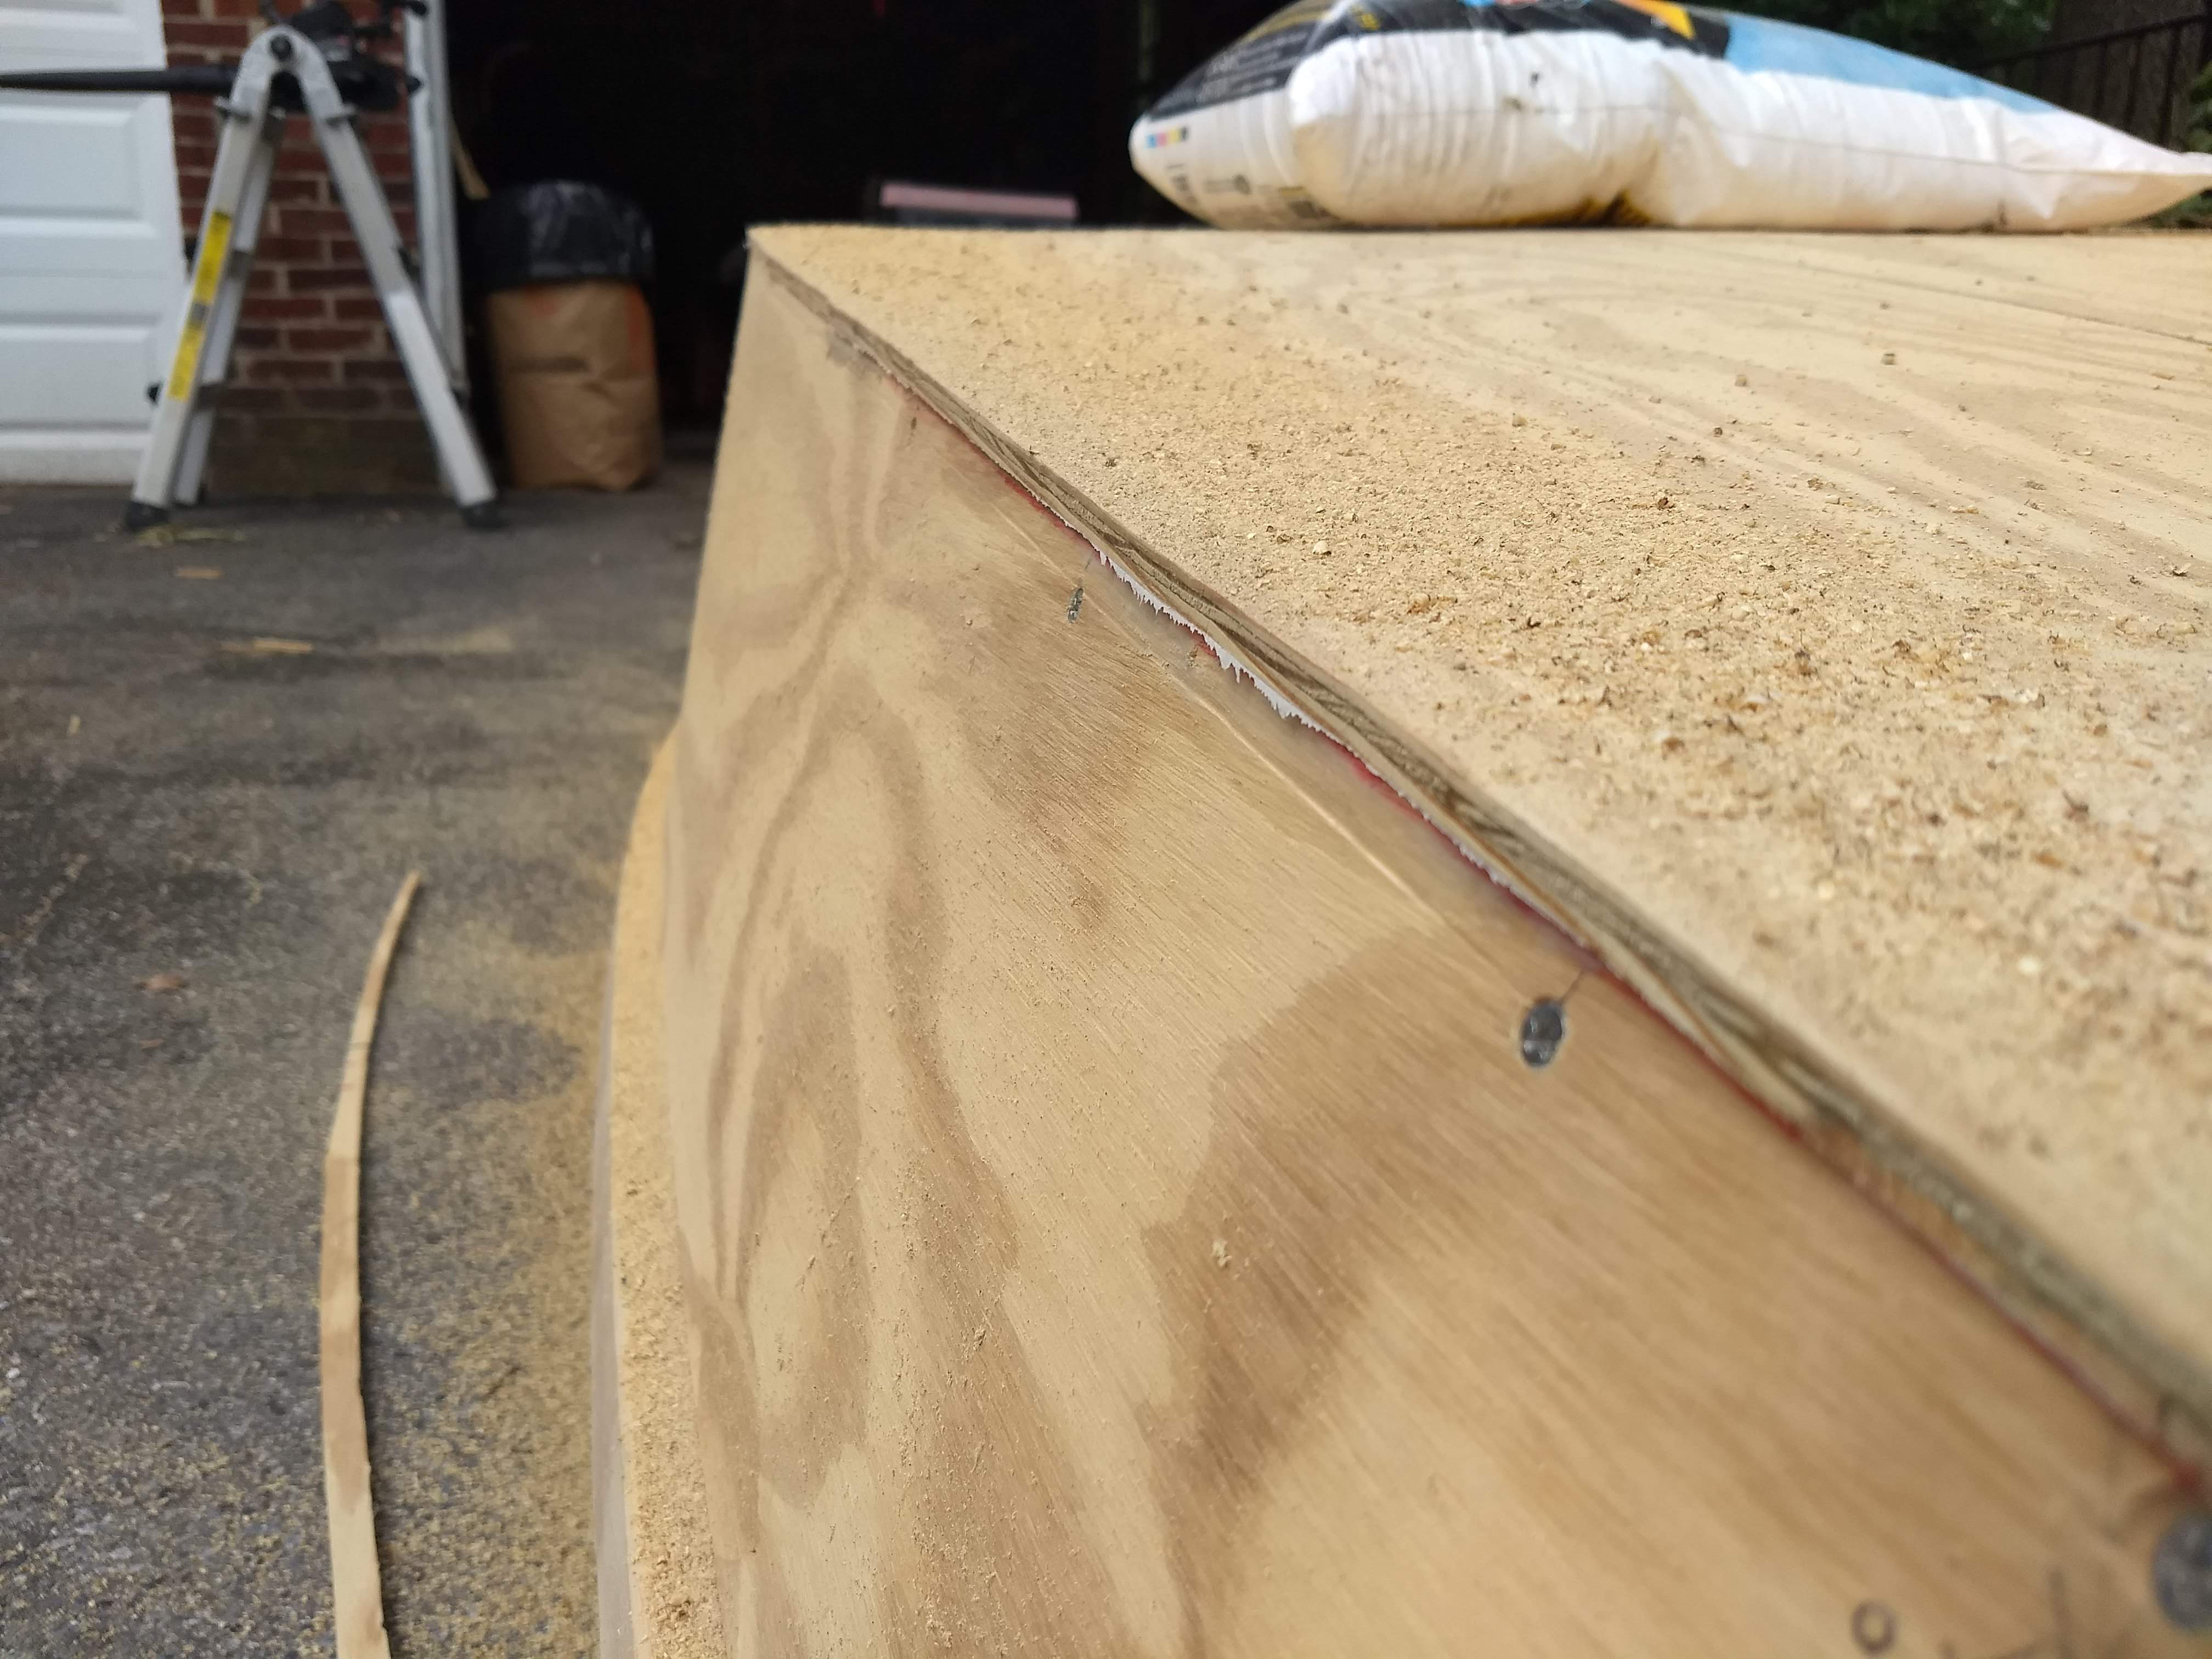
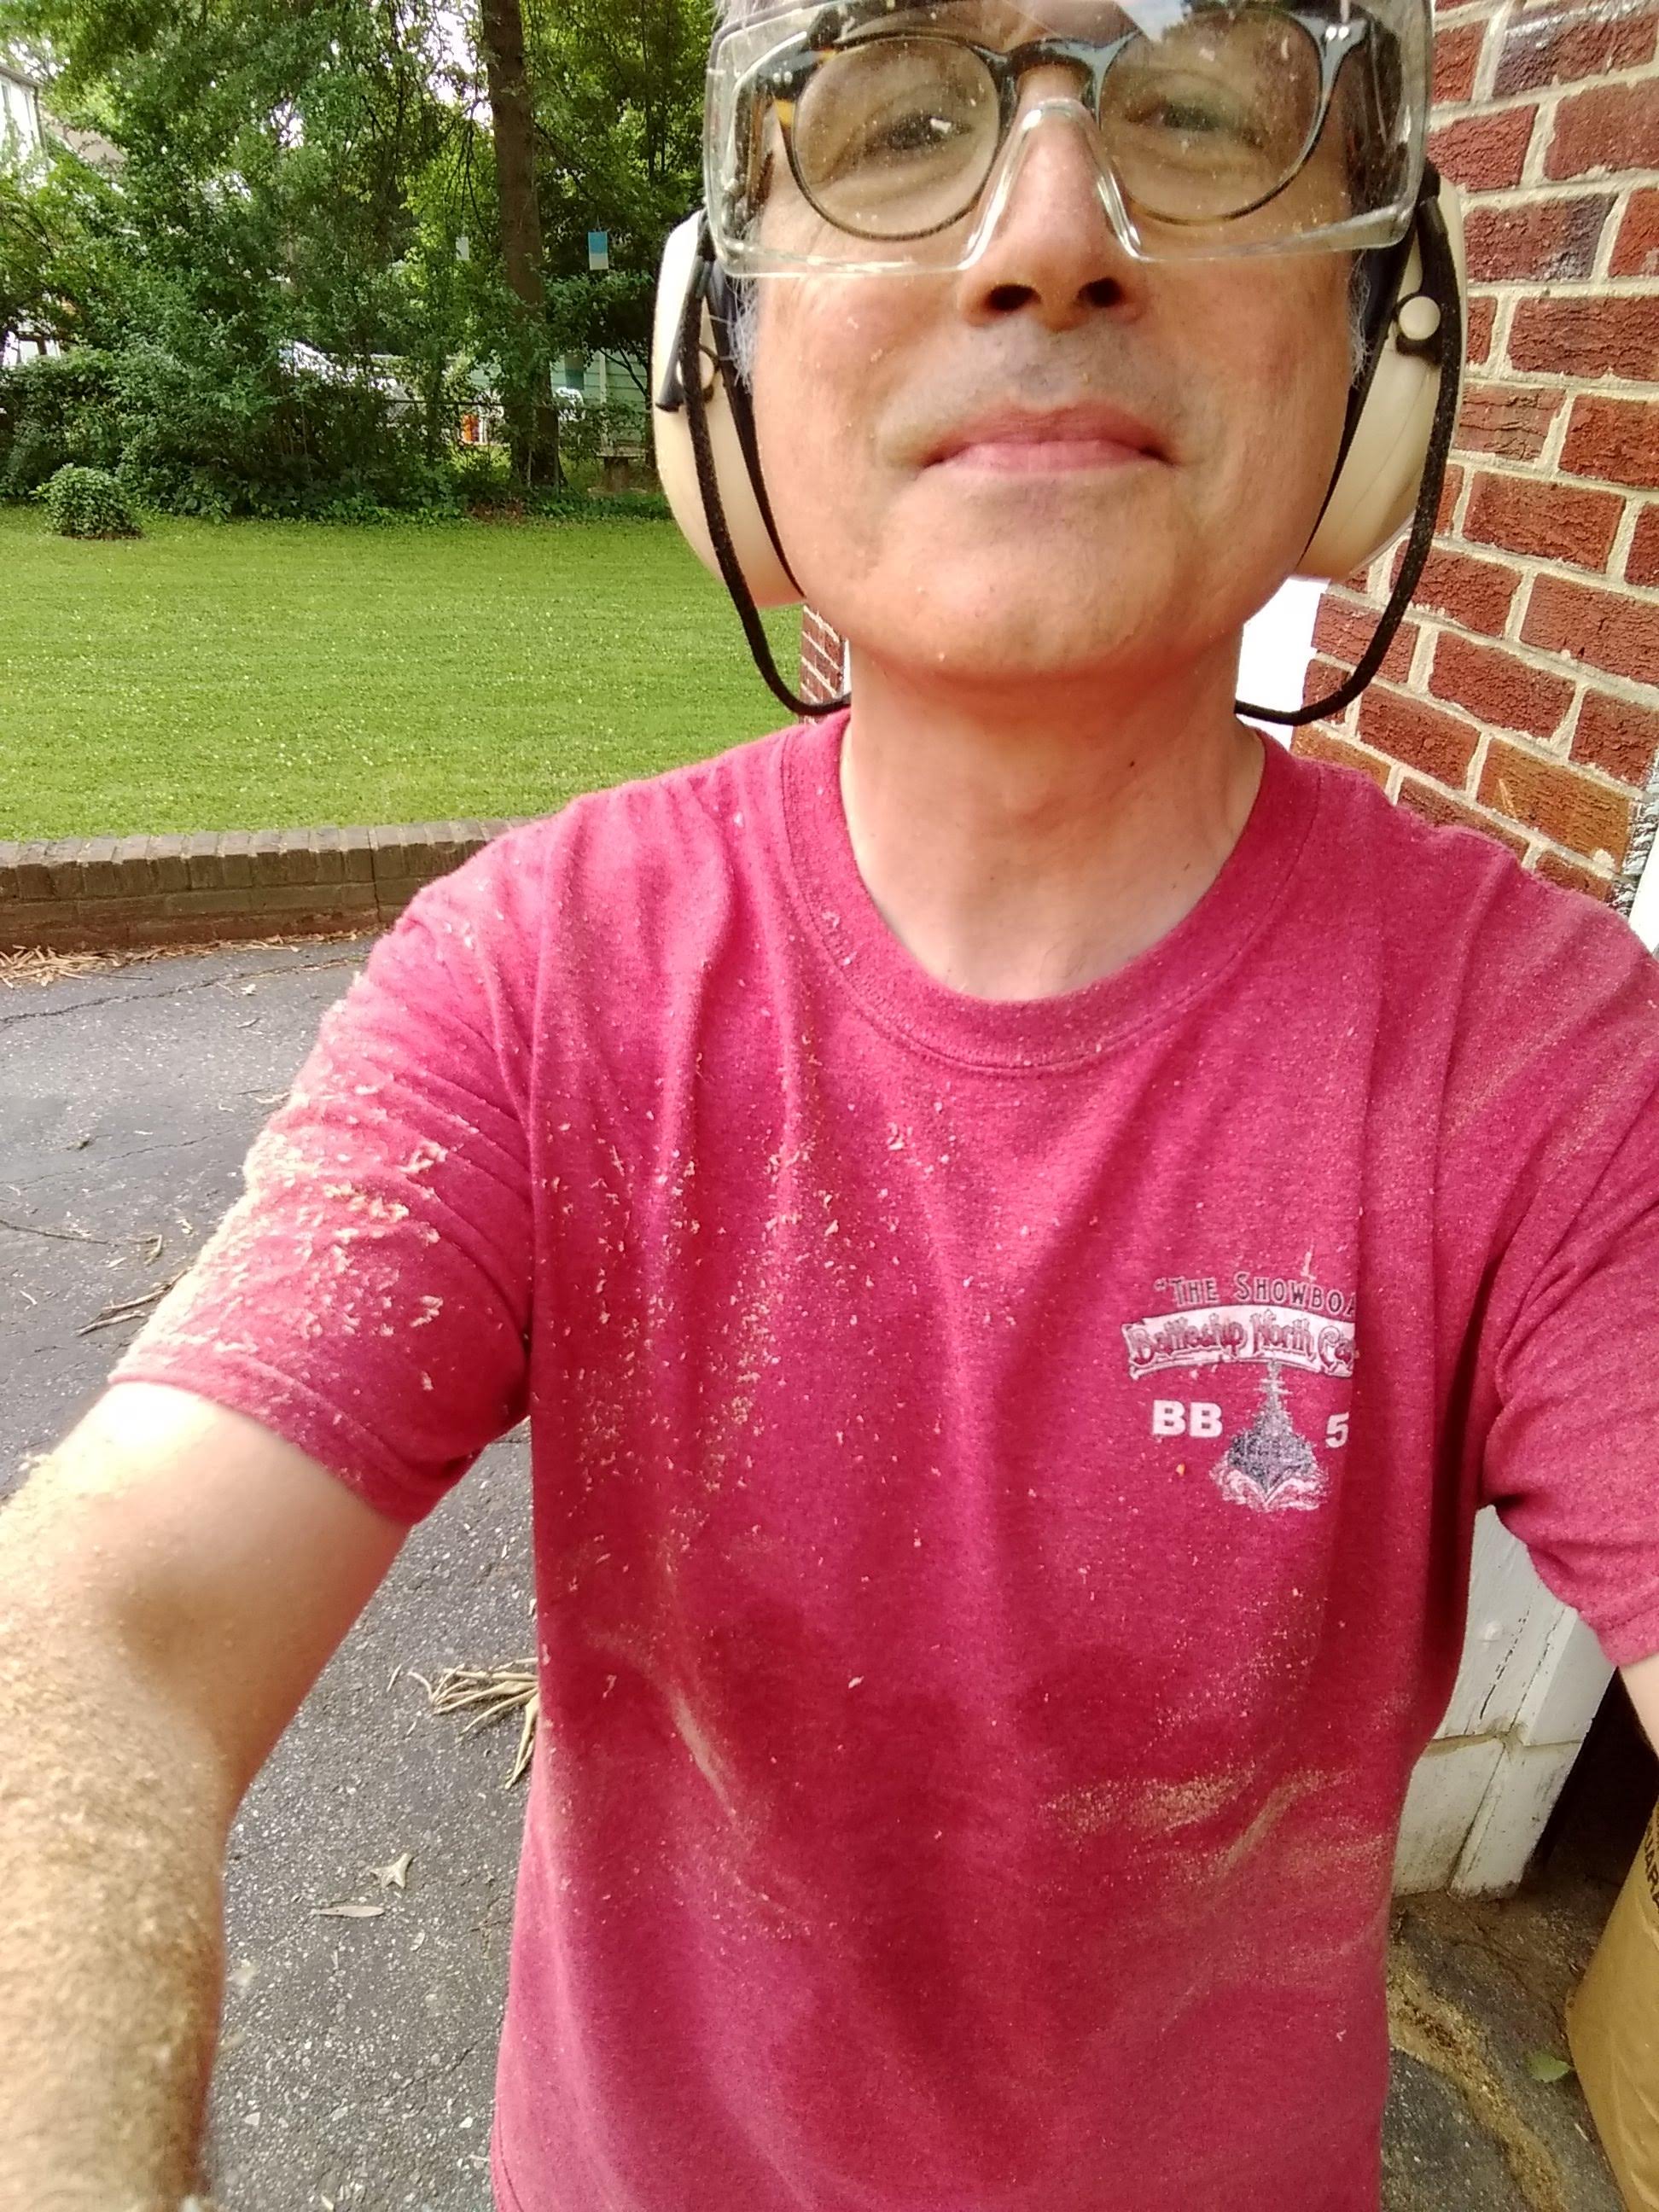
It went fine, slowly but surely, for the rest of the boat, about 3/4 of the boat by the time I started with the router proper. Generated a heck of a lot of sawdust, for sure. But it went fine. Then I went to work with the rasp and a sanding block. I didn’t quite finish, but almost there.
Getting close to the end of the day, I rolled the boat over to the neighbor’s back yard and rolled it over right side up and took a ton of pictures. Because it’s now a boat. And it’s starting to look really good.
I guess it’s something to do with the size of the lens of my camera on my phone, but some shots of the boat in the backyard make it look long like a canoe while other shots make it look fat like a rowboat.