Well, this has certainly turned into one of the biggest challenges for my boat.
Getting the boat from home to water necessarily involves our car, a 2012 Subaru Forester. It has a roof rack, handily, but I’ve never figured that the roof rack was itself solely capable of holding the boat. The rack is about 40″ square, whereas the boat is 140″ long stem to stern with a beam of 48″ at its widest. So that seems like a relatively small rack and a relatively big boat. And anyway I don’t want to drag the softer wood wales of the boat along or across the hard metal roof rack. So I need something between the boat and the rack.
My first idea was to tie 2×4s to the boat’s wales lengthwise, one on each side, so I could slide the boat onto those and thus onto the car rack. Trouble with that turned out to be that the lengthwise rails on top of the car are 38-1/2″ apart, while any 2×4 that could be attached to the wales would need to be outboard of the transom at the stern to be able to tie in two places on the wales. The transom is 39-3/4″ wide, so the 2×4s would be on the edges of or even outside of the long rails on the car. No good.
So then I had the idea of having shorter 2×4s going across the boat at two or three places, so the width of the car long rails wouldn’t matter. But then I was worried about the car rack’s cross rails. I’d have to jump my boat’s cross rails up & over the car’s cross rails, what, like two or three times, to get the boat up on top of the car. Maybe the same getting the boat off the car, too. No good.
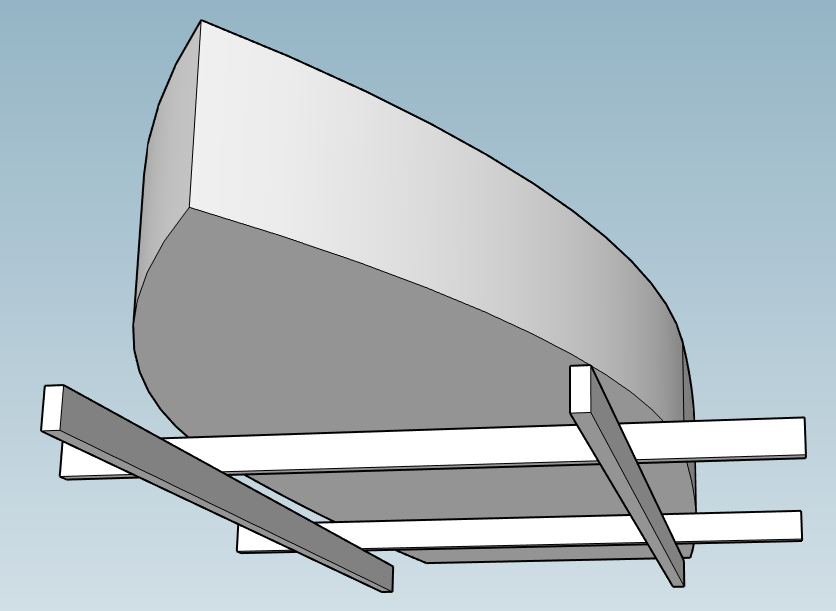
So, finally I figured that I’d have to supplement the car rack, with my own long rails. Something like this:
Not sure why I’ve got all the rails standing on edge instead of lying flat here, but you get the idea.
With the long rails fastened to the car and the cross rails fastened to the boat, I figured that I could slide the boat on and off the car.
But then had trouble finding U-bolts the right size to attach the 2×4 rails to the car rack. The car cross rails are 2-3/4″ wide but only 3/4″ thick. I found plenty of U-bolts that would fit around that 2-3/4″ width, but all of those that would were way, way longer than 3/4″. I thought maybe that I could just cut the length with a hacksaw to make them as short as I wanted, but the U-bolts weren’t threaded all the way back down that far. Any that I cut short enough would then not have any threads for nuts to attach them to anything. But, heck, I thought that maybe I could buy a tap & die set and re-tap (re-die? re-thread?) the threads back onto the bolt length. But, really, let’s face it. That’s all crazy talk.
Meanwhile, I also started worrying about the 2×4s being too massive and besides there might be too much friction with the wood sliding on wood, especially holding the boat above my head, behind the car, trying to slide it on and off. I decided that maybe PVC pipe would be smaller and slicker. Plus the PVC pipe would certainly stand up to rain much better than the wood would. Ergo, I talked myself out of 2×4s and into PVC pipe.
So I bought three ten-foot lengths of 2″ PVC pipe from Home Depot. I kinda just guesstimated & eye-balled the diameter, but pretty soon I decided that 2″ was too big. I think that I initially assumed that the 2″ size referred to outer diameter. I’ve since learned that PVC pipe is sized according to inner diameter. Which I suppose makes sense, if, as I imagine, PVC pipe is mostly used for drain pipes in homes & gardens. You’d kinda want to have the sizes more directly correspond to the volume of whatever’s flowing through them that they can handle.
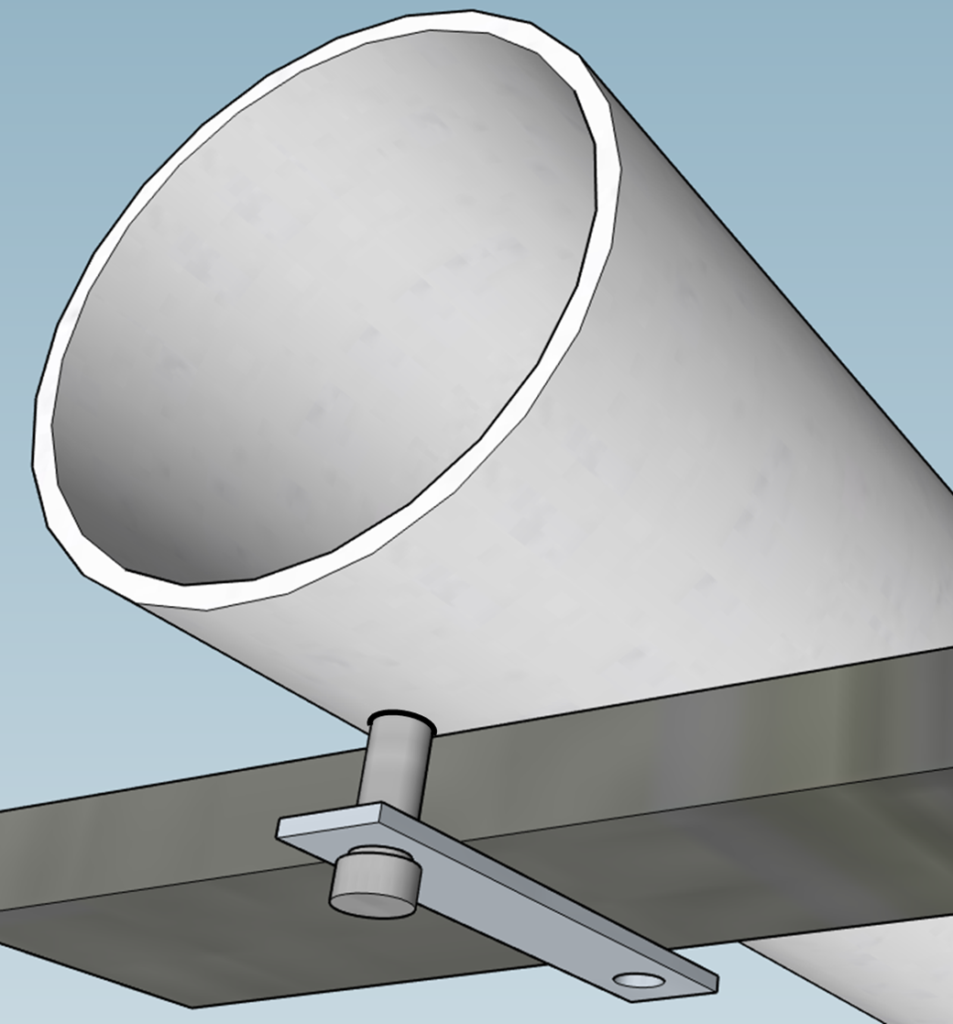
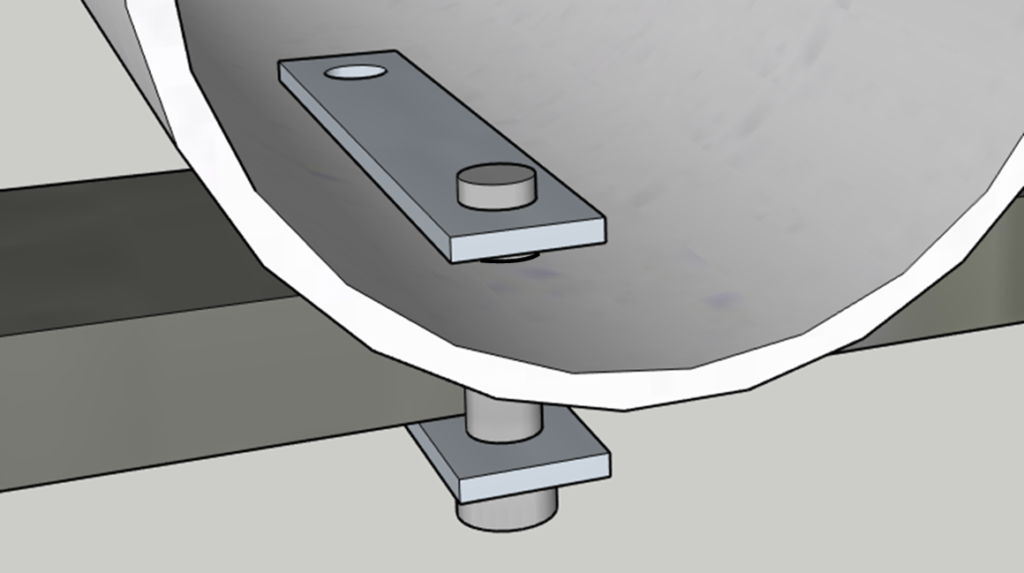
I also bought a couple of 1″ pipes as well, deciding that I’d use the 2″ pipe as the long rails on top of the car and the 1″ pipe as the cross rails on the boat wales. And now I had to figure out how to attach the pipes to the car and boat. For that I decided to use hex bolts and lengths of 3/4″ wide, 1/8″ thick aluminum flat bar stock to bolt the pipes around the car cross rails and through the boat’s spaced inwales. Here’s a sketch or two of how I’d tie a 2″ pipe around a 2-3/4″ wide, 3/4″ thick car cross rail.
Bar stock below the car rail, pinning the PVC pipe that’s sitting on the car rail. (Note that only one through bolt is shown.)Same kind of bar stock inside the PVC pipe, essentially acting as a rectangular washer.
I further decided, though, that maybe the flat bar stock beneath the car rails might be a little flimsy, so I opted for 3/4″ square, 1/16″ thick aluminum square tube. With all flat bar & square tube stock acquired, I took a whole afternoon to cut and drill & mill the aluminum stock.
But then the trouble started when I was measuring and drilling matching holes in the 2″ PVC pipe. I hadn’t appreciated from my sketches (see above) that I couldn’t really access the insides of the pipes to turn the bolts or nuts, depending on which direction the bolts were going. Okay, so I actually decided to drop the bolts down vertically from above, with the bolt heads inside of the pipes and the nuts down below the bottom aluminum stock. That’s the opposite direction from what the sketches above show.
But to turn the bolts from above I needed to drill through the PVC and have the holes exactly match up on either side. Not so easy to do for me on slippery round pipe. But not exactly impossible either. I just marked the hole points on one side, drilled a pilot hole with a small bit, say 7/64″ or so, then drilled the real hole all the way through with the 3/8″ bit to match the 3/8″ hex bolts that I was using.
But turns out that way still doesn’t let me tighten the bolt from outside the pipe, or even get the bolt into and through the pipe, since the bolt head is much larger than the 3/8″ of the threaded bolt shaft. The bolt head takes a 5/8″ socket, turns out. So I need a bigger hole. But, wait, the 5/8″ socket is 5/8″ on the inside hex, but it’s of course bigger on the outside. I needed a 3/4″ or 7/8″ hole.
Which a 7/8″ hole is hard to drill out of a hole that’s already 3/8″ big. What a pain. What a mess. I was outside in the driveway doing all this drilling with a cordless drill/driver. I could have dragged the pipes back inside to the basement workshop and drilled with the drill press, but even with that I’m not sure that I could safely and effectively clamp a 2″ PVC pipe to my drill press table.
So I just hacked at the 3/8″ hole with a 7/8″ Forstner bit as best I could. The resulting holes looked terrible, but they were big enough. And, to be fair, it was only on the first of the two PVC pipes where I had this trouble, and only on the first set of holes on one the back end of the car rack. I still had three more chances to get it right.
So for the rest of the holes I drilled the small pilot hole through the top side first, then the 7/8″ hole through the top side, then the 3/8″ hole through the bottom. Those turned out to be much, much cleaner that my first attempt.
But I measured wrong on one of the sets of holes, drilling them too close together such that the holes didn’t even come close to lining up to the corresponding holes in the aluminum square tube. I was getting really, really discouraged.
But what further bothered me was how flexible the PVC pipe was acting on top of the car when I was attaching it. I decided that, even after all this work, I was going back to the 2×4s. But I still had the U-bolt issue.
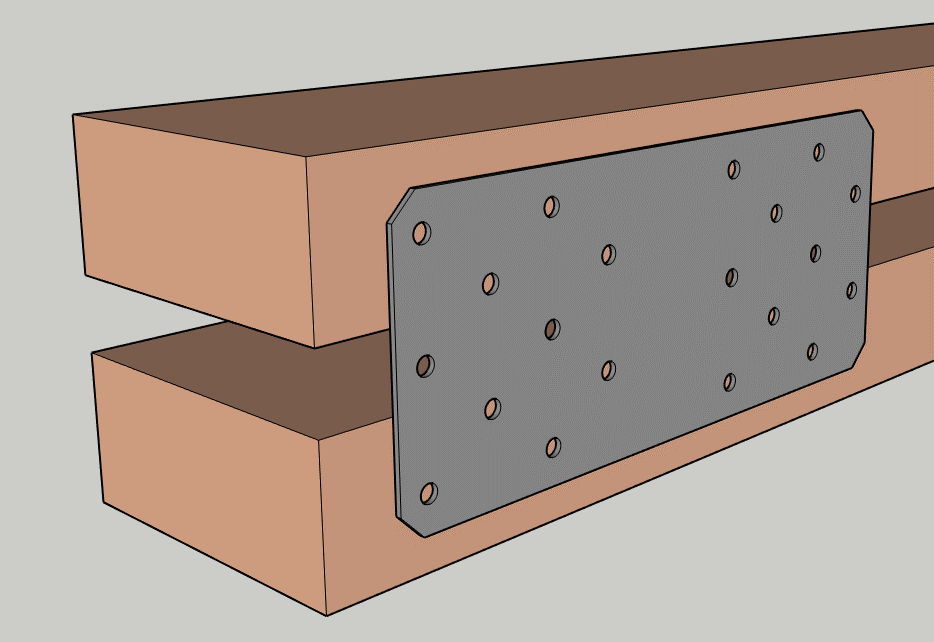
I’m not sure where or how I struck upon the idea to use tie plates, like I imagine they use on decks or fencing or whatever is they’re used for. I could tie a 2×4 rail on top of the car rack cross rails to a short 2×4 below the cross rail. Like this:
Imagine there are screws holding that plate to the 2×4s.
I had two ten-foot 2×4s in the garage for the long rails as well as an eight-foot 2×4 that I could cut in half to go below the long rails on either side. So all I needed was 8 3″×7″ tie plates and a box of connector screws to start building.
And it worked! And it was easy! (Except for the lowest four screws on the lower rails.) And it’s strong!
Whew.
I still had the 1″ PVC that I used to make the cross rails that attach to the boat wales. I was able to use my disastrous experience with the 2″ PVC to make sure that I measured thrice before cutting and drilled the different size holes in the proper sequence. I was able to quickly attach two cross rails.
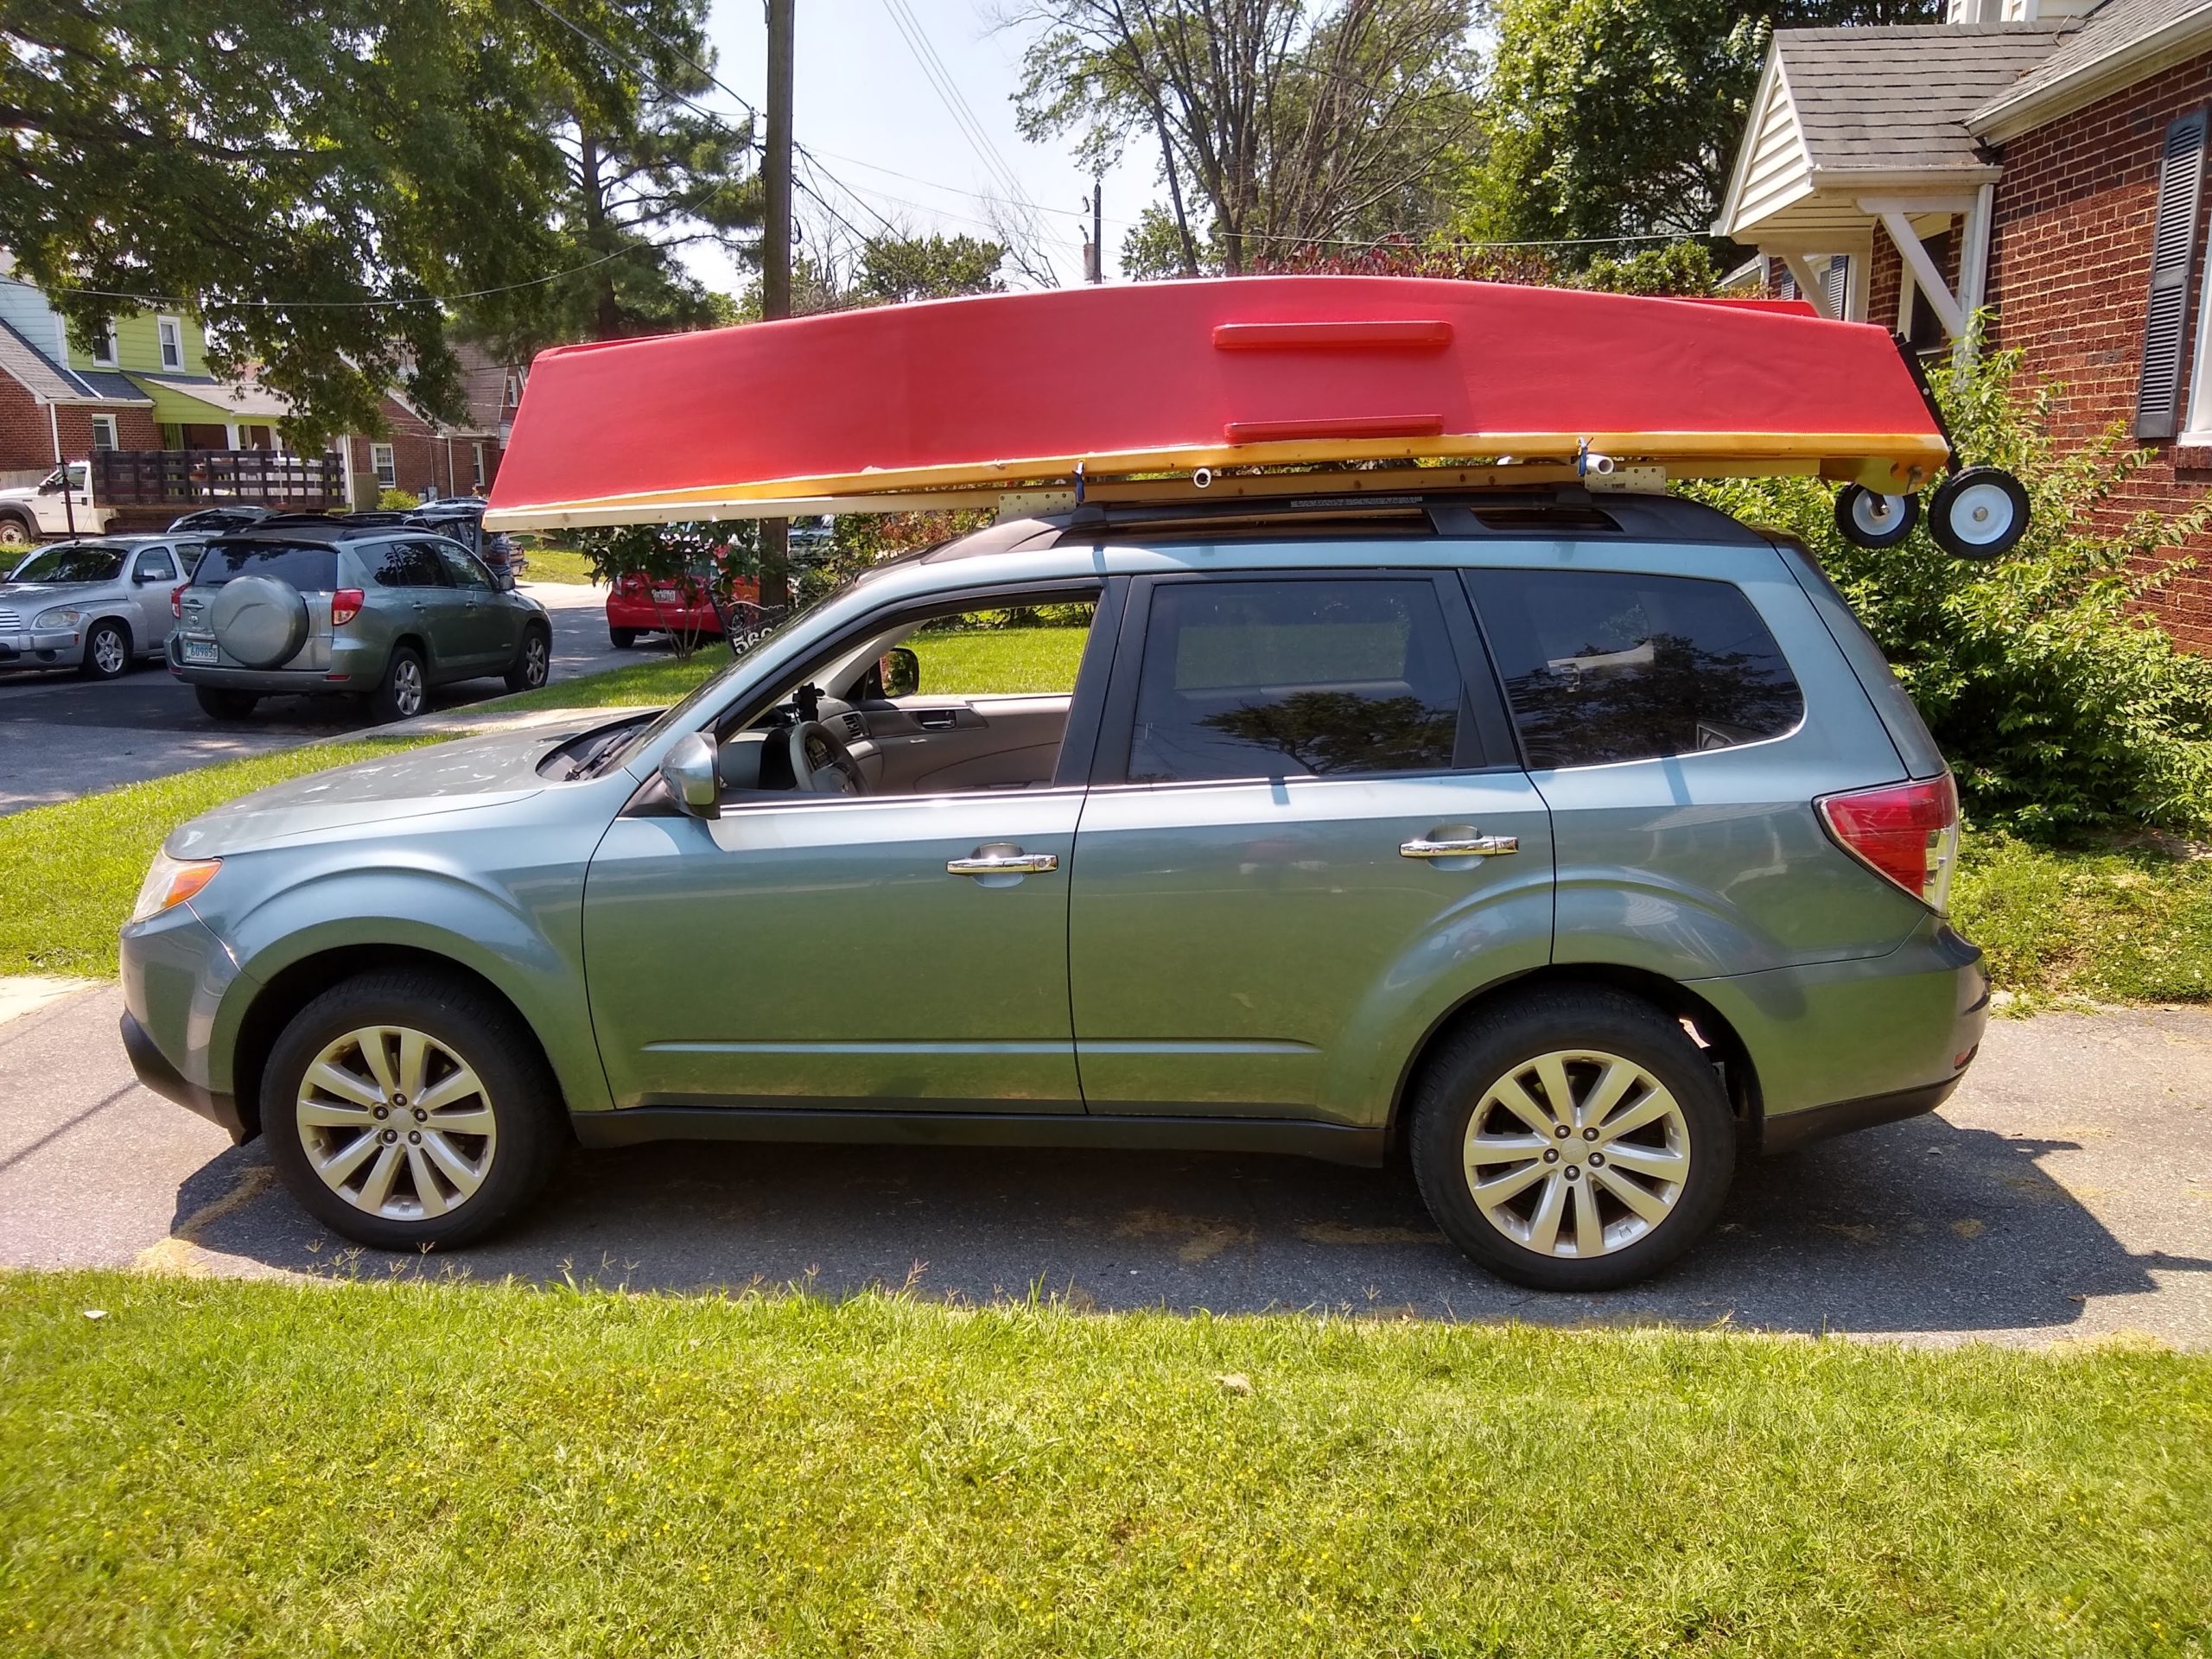
So then came time to attempt to wrestle the boat on top of the car. I’d been worrying a lot about this, naturally, maybe obsessing, even. I had even purchased block & tackle to help me lift the boat up high enough to get it on top of the car.
But, it turned out that I was able to get the boat onto the car, by myself, without mechanical advantages of block & tackle.
This moment was … indescribably amazing.
But, as incredible as it was, getting the boat up onto and off of the car by myself, there were a few not-insignificant problems with my setup.
First issue to present itself was that two cross rails on the boat weren’t enough. The wales made some serious contact with the 2×4 rails, about 1/4 of the way aft of the bow, and got pretty scraped up. Next I noticed that the 1″ PVC cross rails attached to the boat were bending quite a bit, were not nearly strong and stiff enough. Then I kept catching the cleat attached to the bow every time I slid the bow over the forward rail of the car rack, to the point where I practically ripped the cleat out of the breast hook when I was pulling the boat back off the car. (I did in fact rip one of the screws holding the cleat completely out. That kinda sucked.) And, finally, when I got the boat off the car, I saw that the PVC cross rails had crushed the wood of the wales underneath where they were attached.
So I replaced the two 1″ PVC cross rails on the boat with three 2×4 rails. I spaced them so as to be (1) at that point where the wales matched up with the long rails towards the bow, where the wales got so scraped up before, and (2) & (3) right above the car’s original rack cross rails instead of how I’d spaced the PVC cross rails. (I can’t remember now why I put the PVC cross rails where I did.)
I did have to rasp and file and sand re-stain the spots where the wales had gotten damaged. It was easy enough to fix, except that I’d stained the wales so long ago and the newly stained areas pretty clearly don’t match the long-ago stained areas around them. I’m hoping the newly stained parts with age and match in the months ahead. We’ll see.
I cut another board for the thwart, and, thankfully, I did it right this time. I redesigned it, too, to be a little more symmetrical. And you better believe that I measured, re-measured, and re-re-measured to make sure I didn’t ruin another board.
Thwart that fits
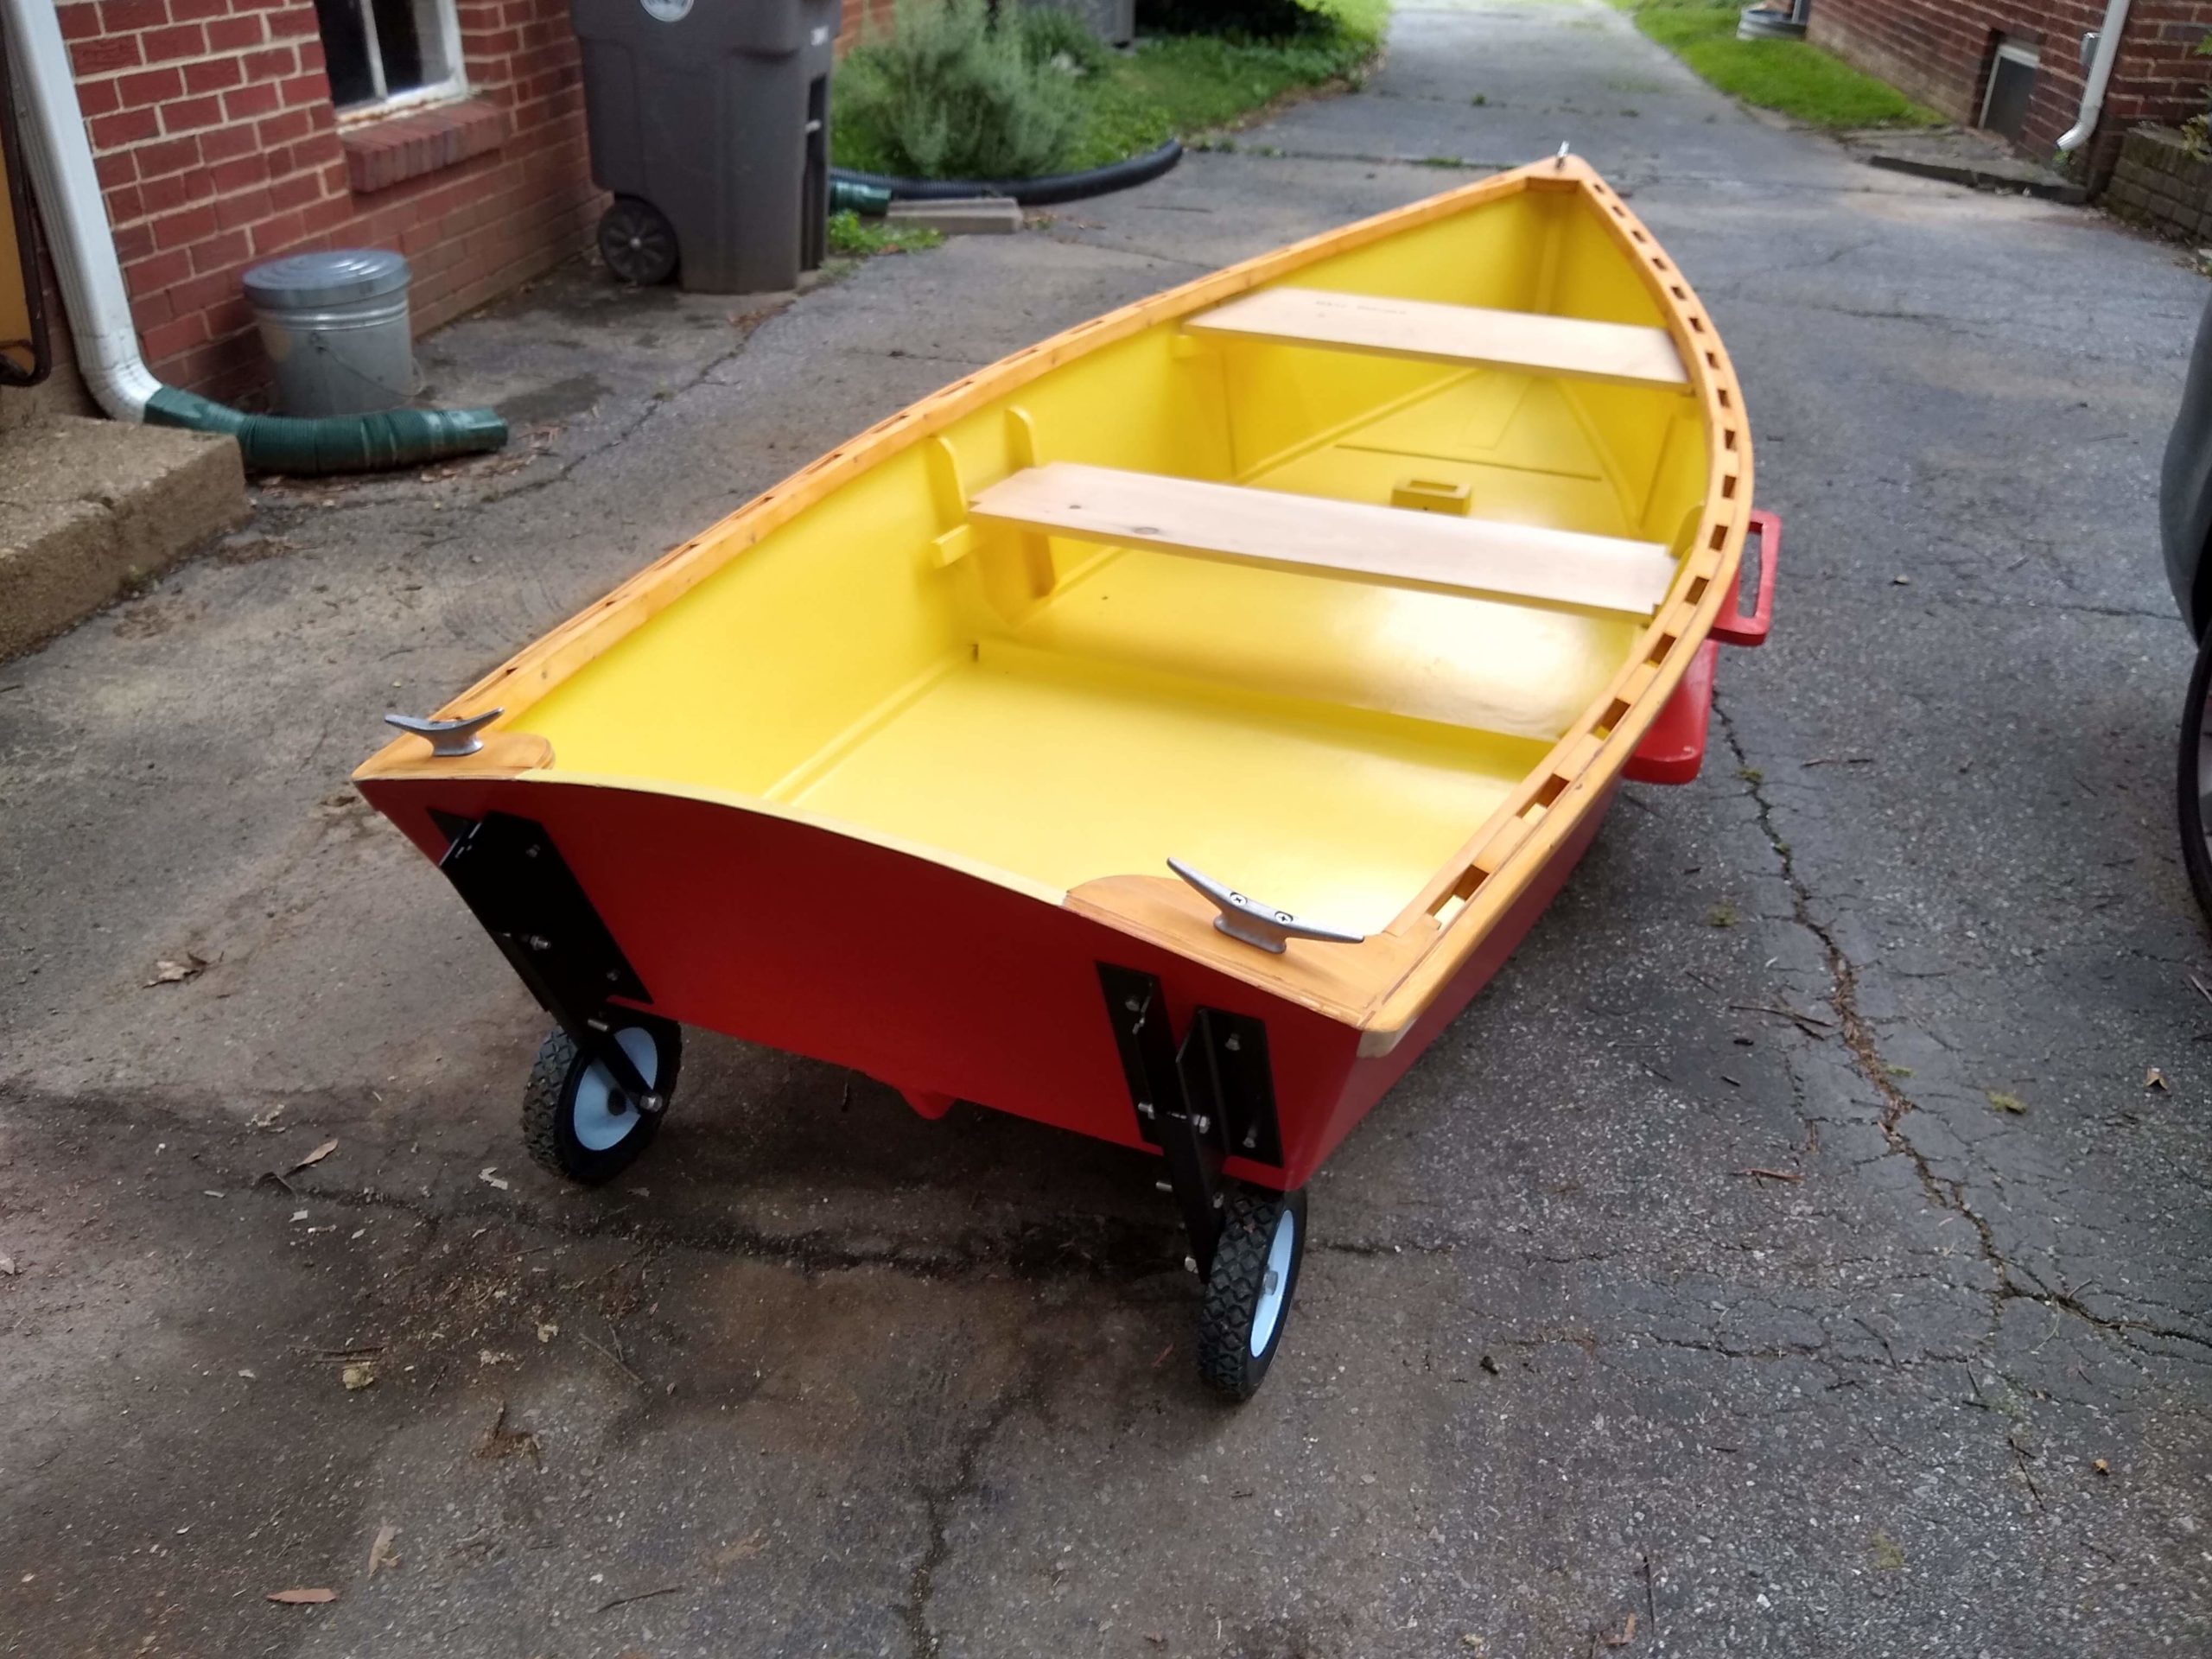
I put the wheel assemblies, now painted, back on the transom.
She rolls again.
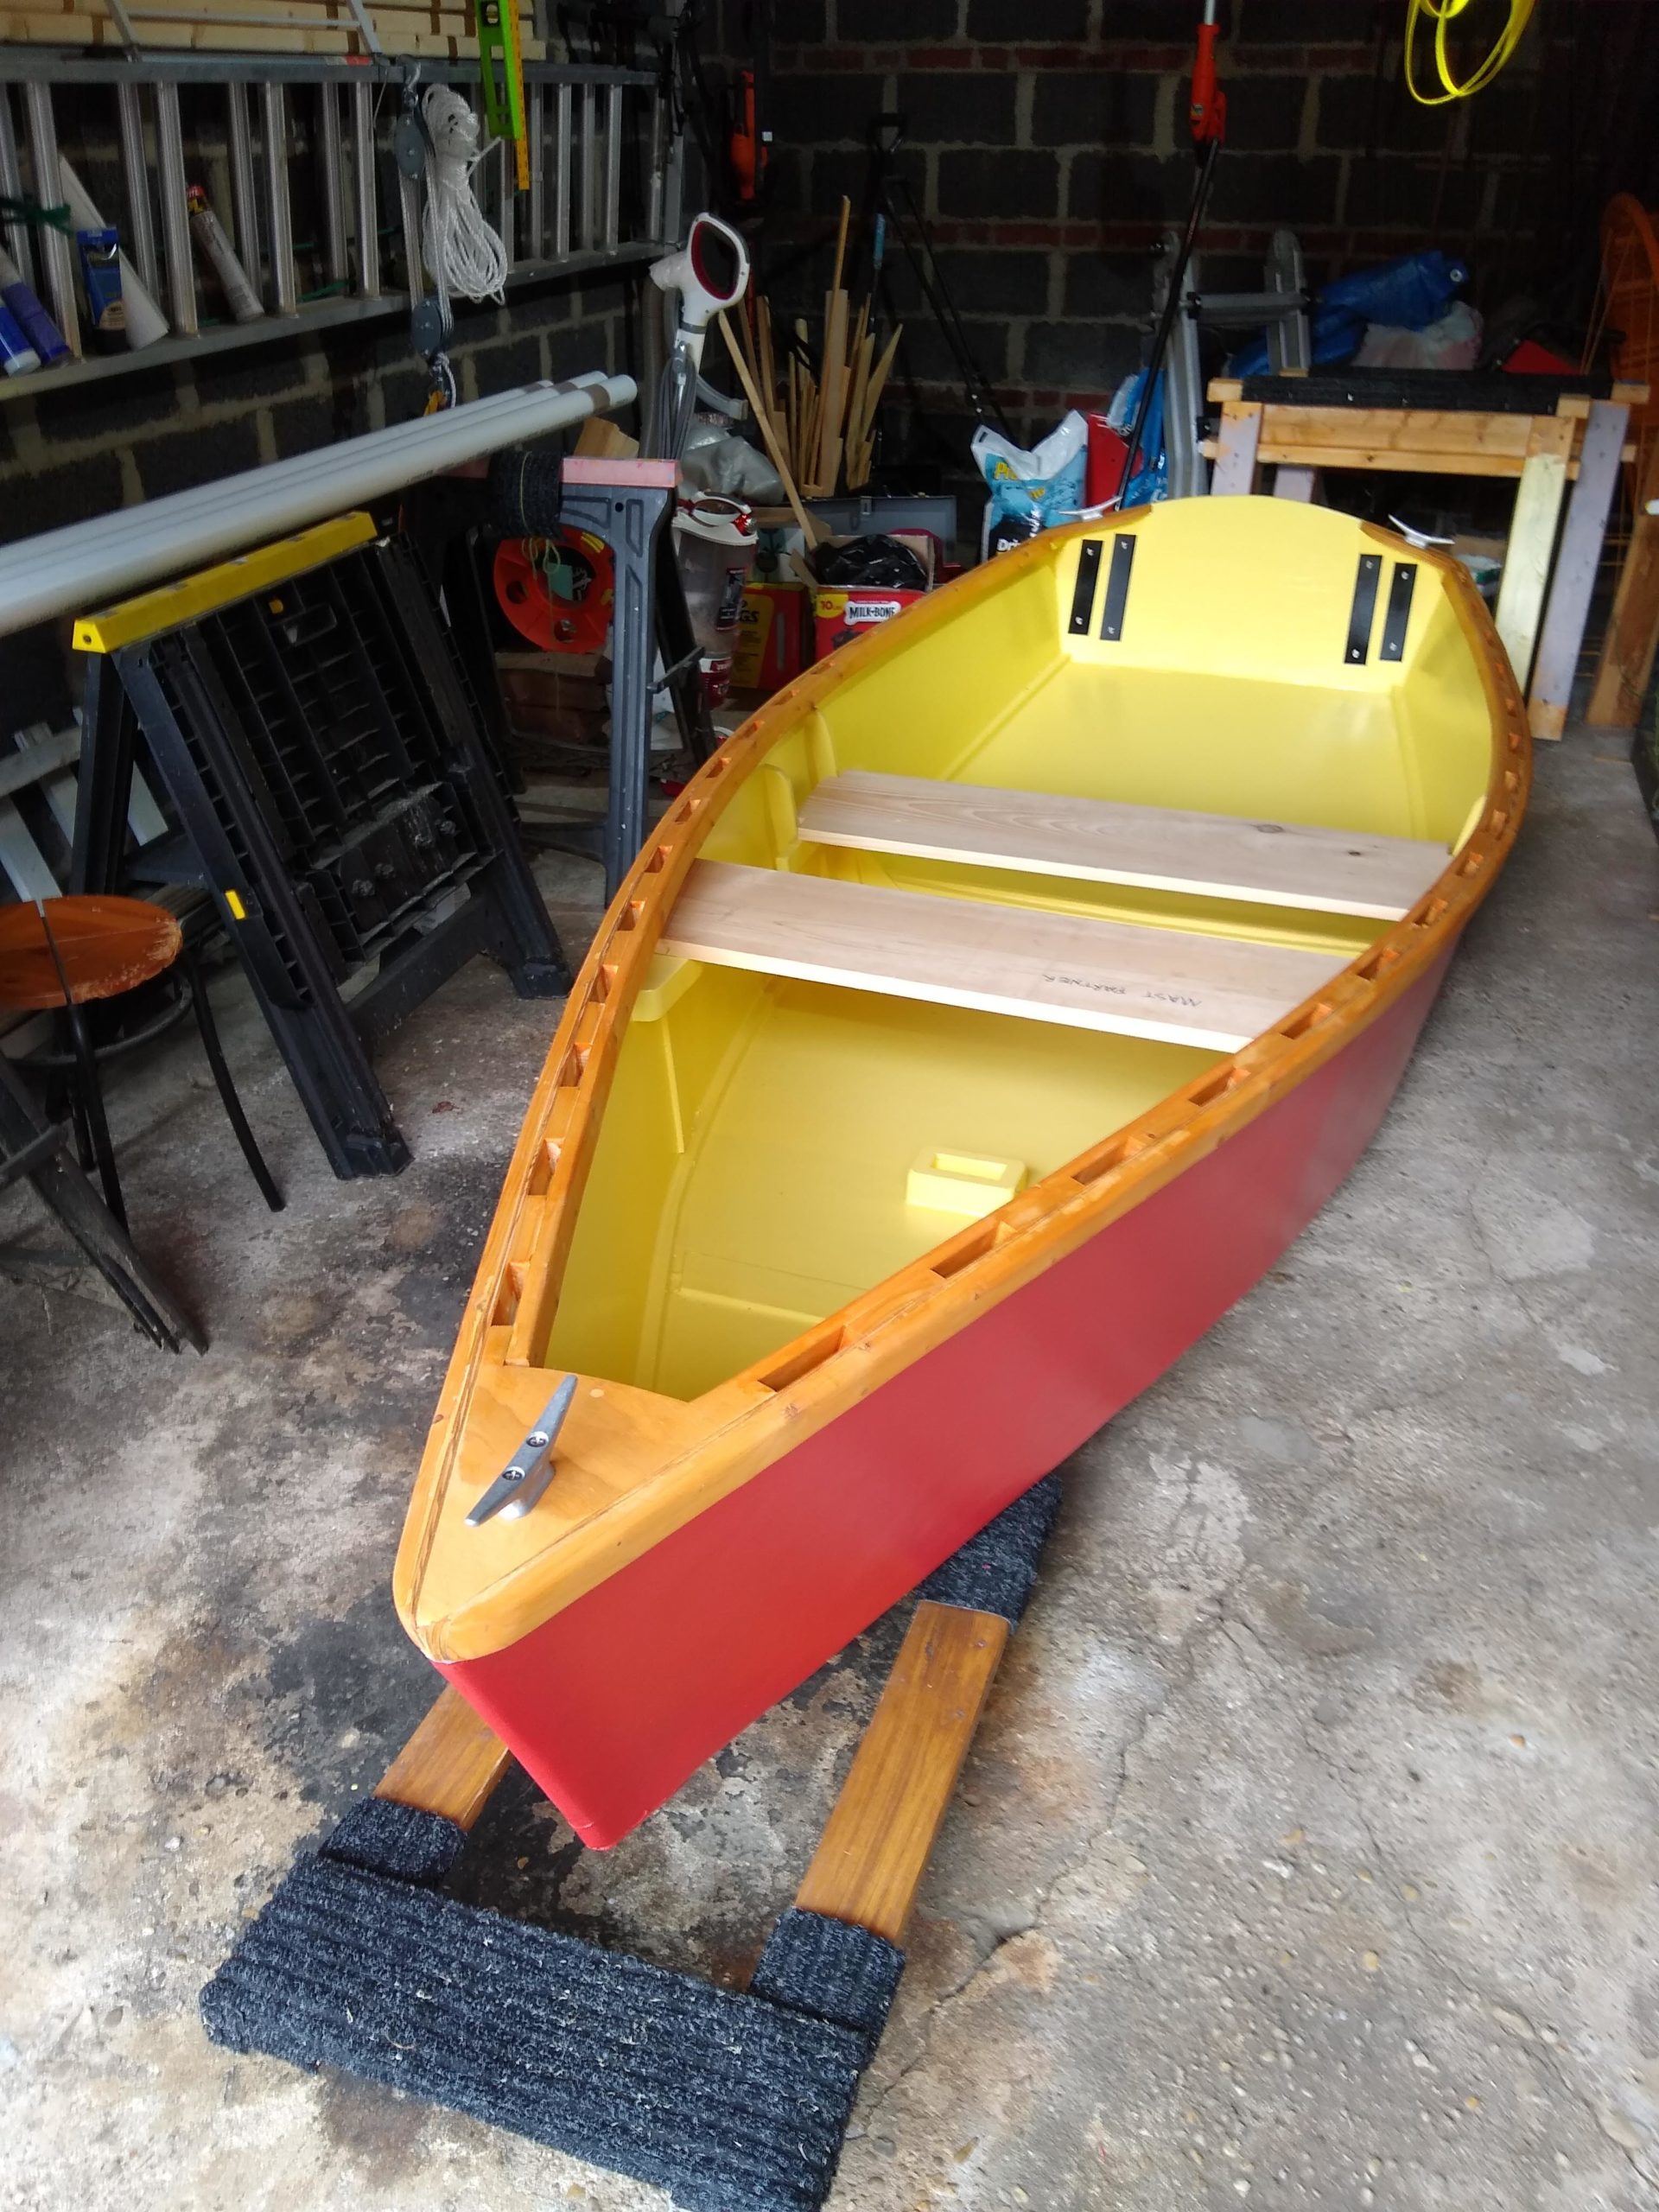
I dry fit the thwart and mast partner just to see the boat in its so-far completed form.
Although neither the thwart nor the mast partner is stained yet, nor do they have their cleats.
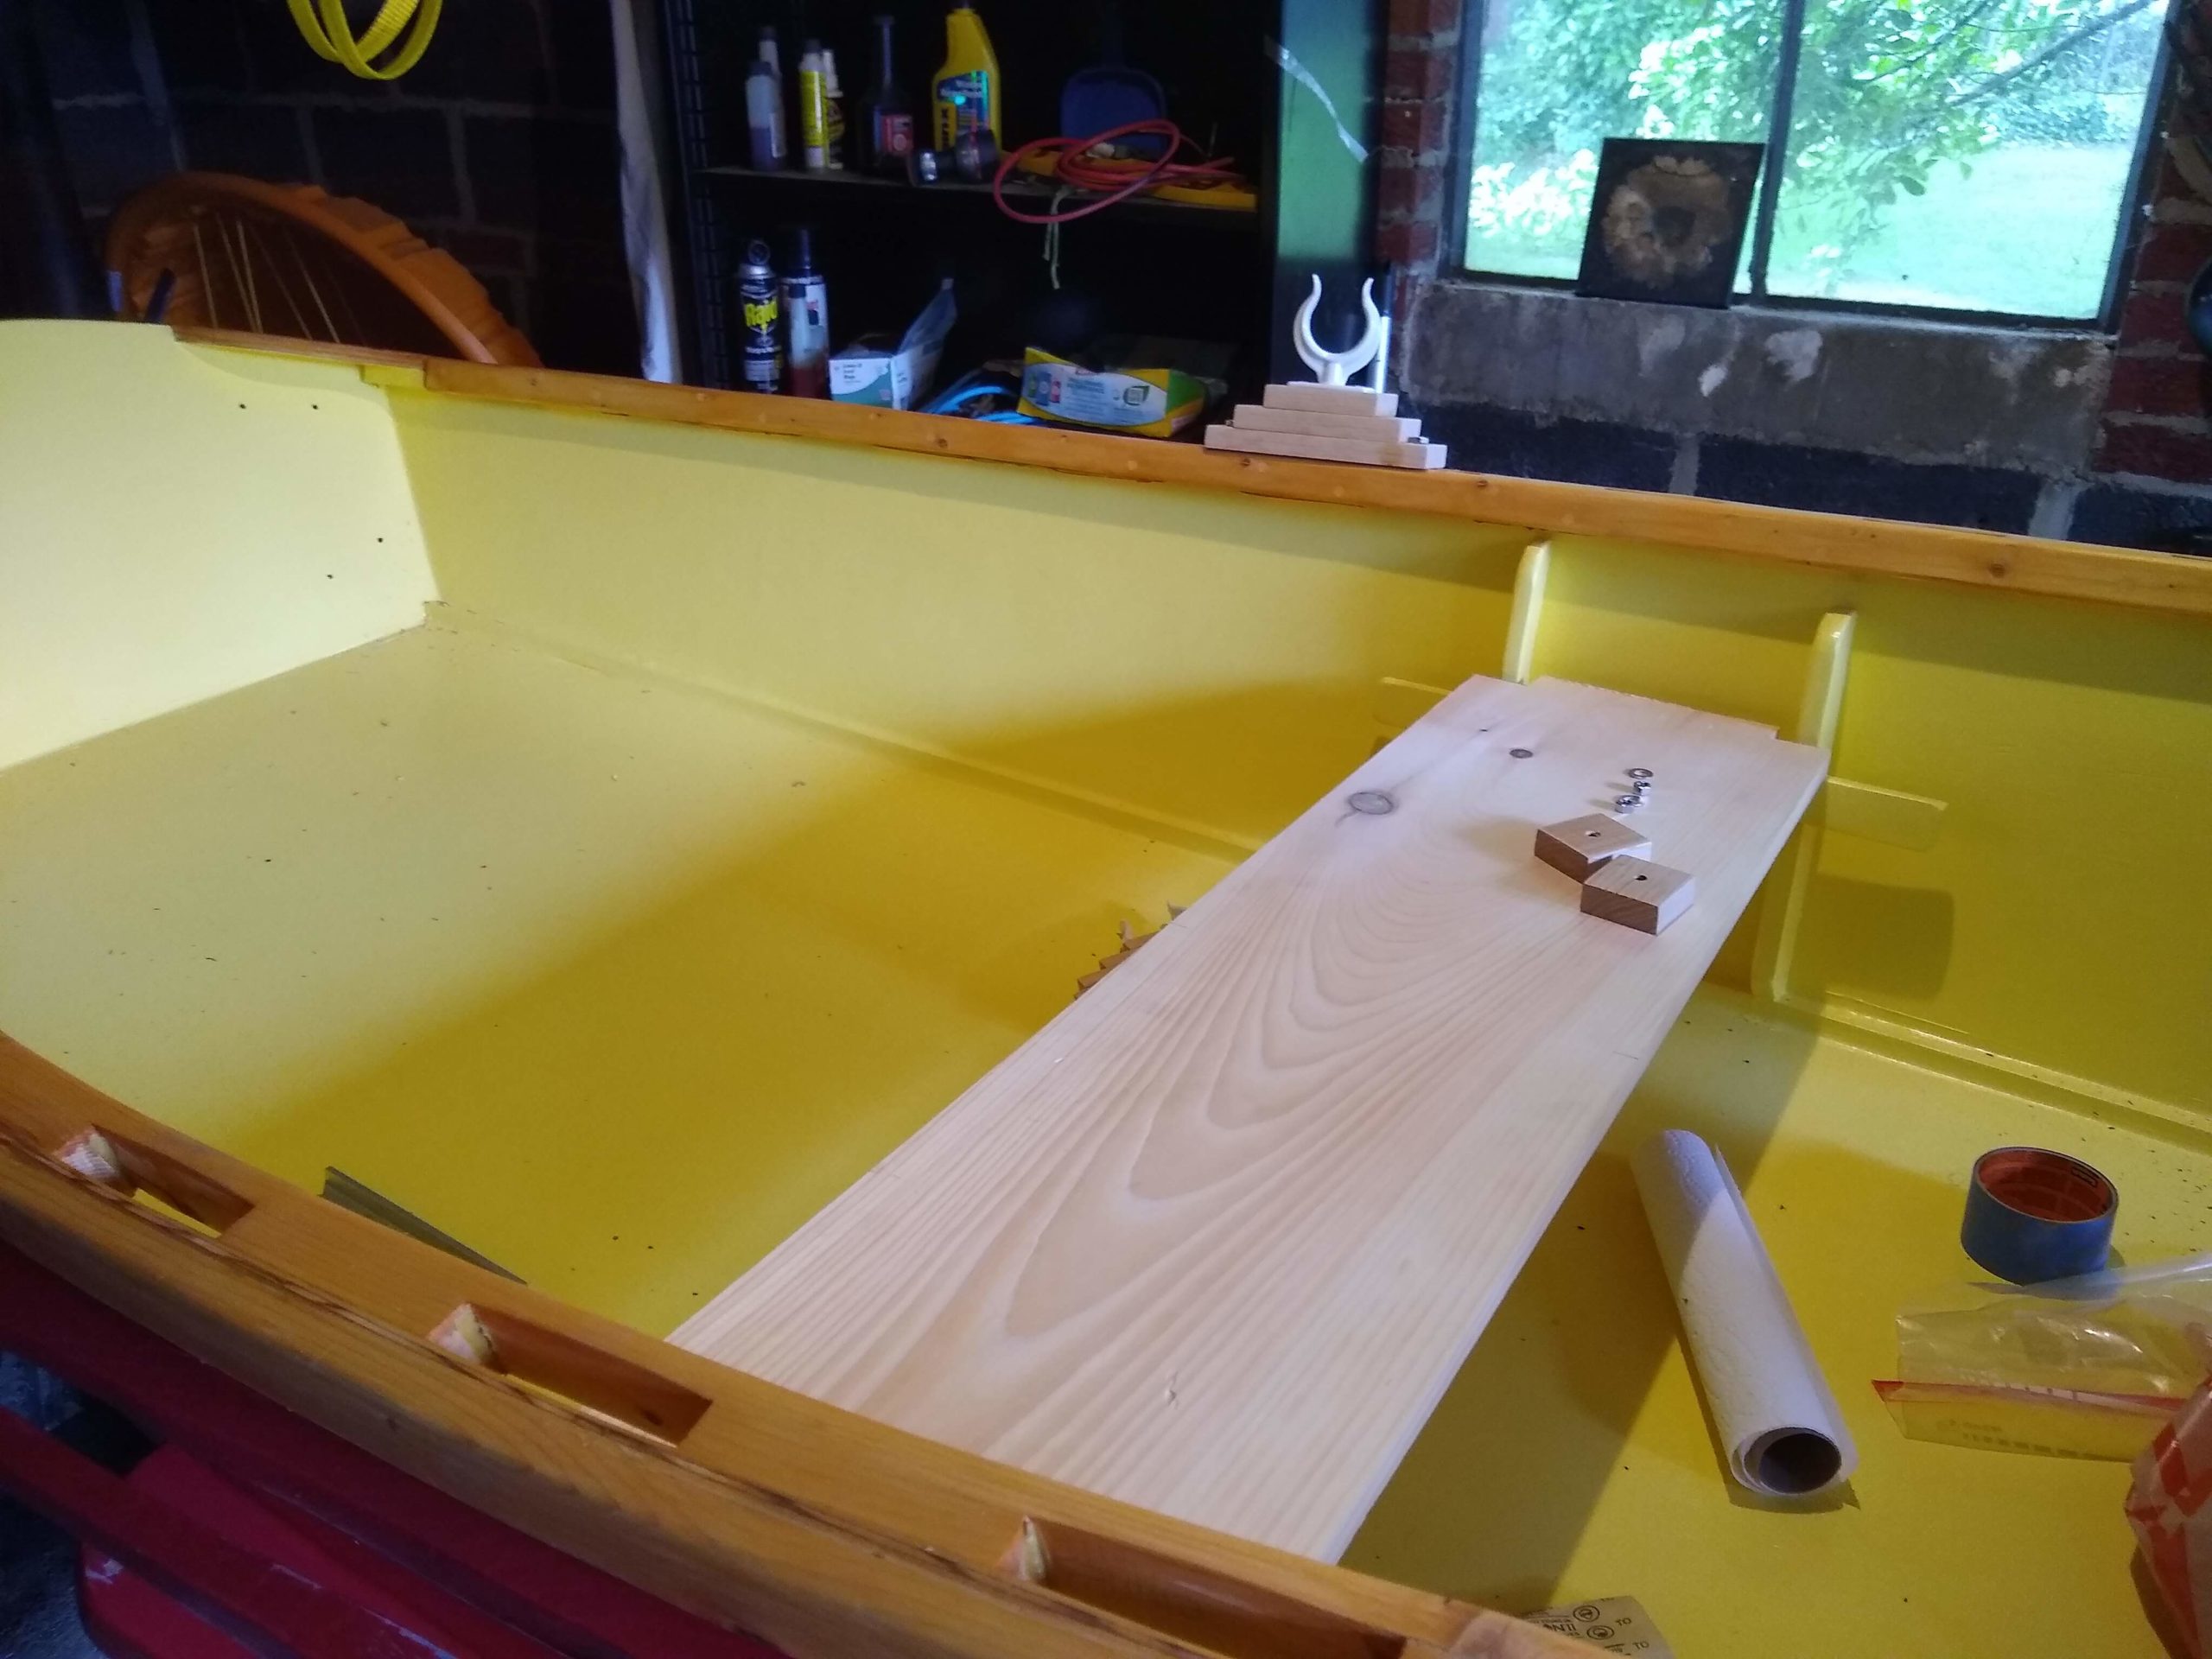
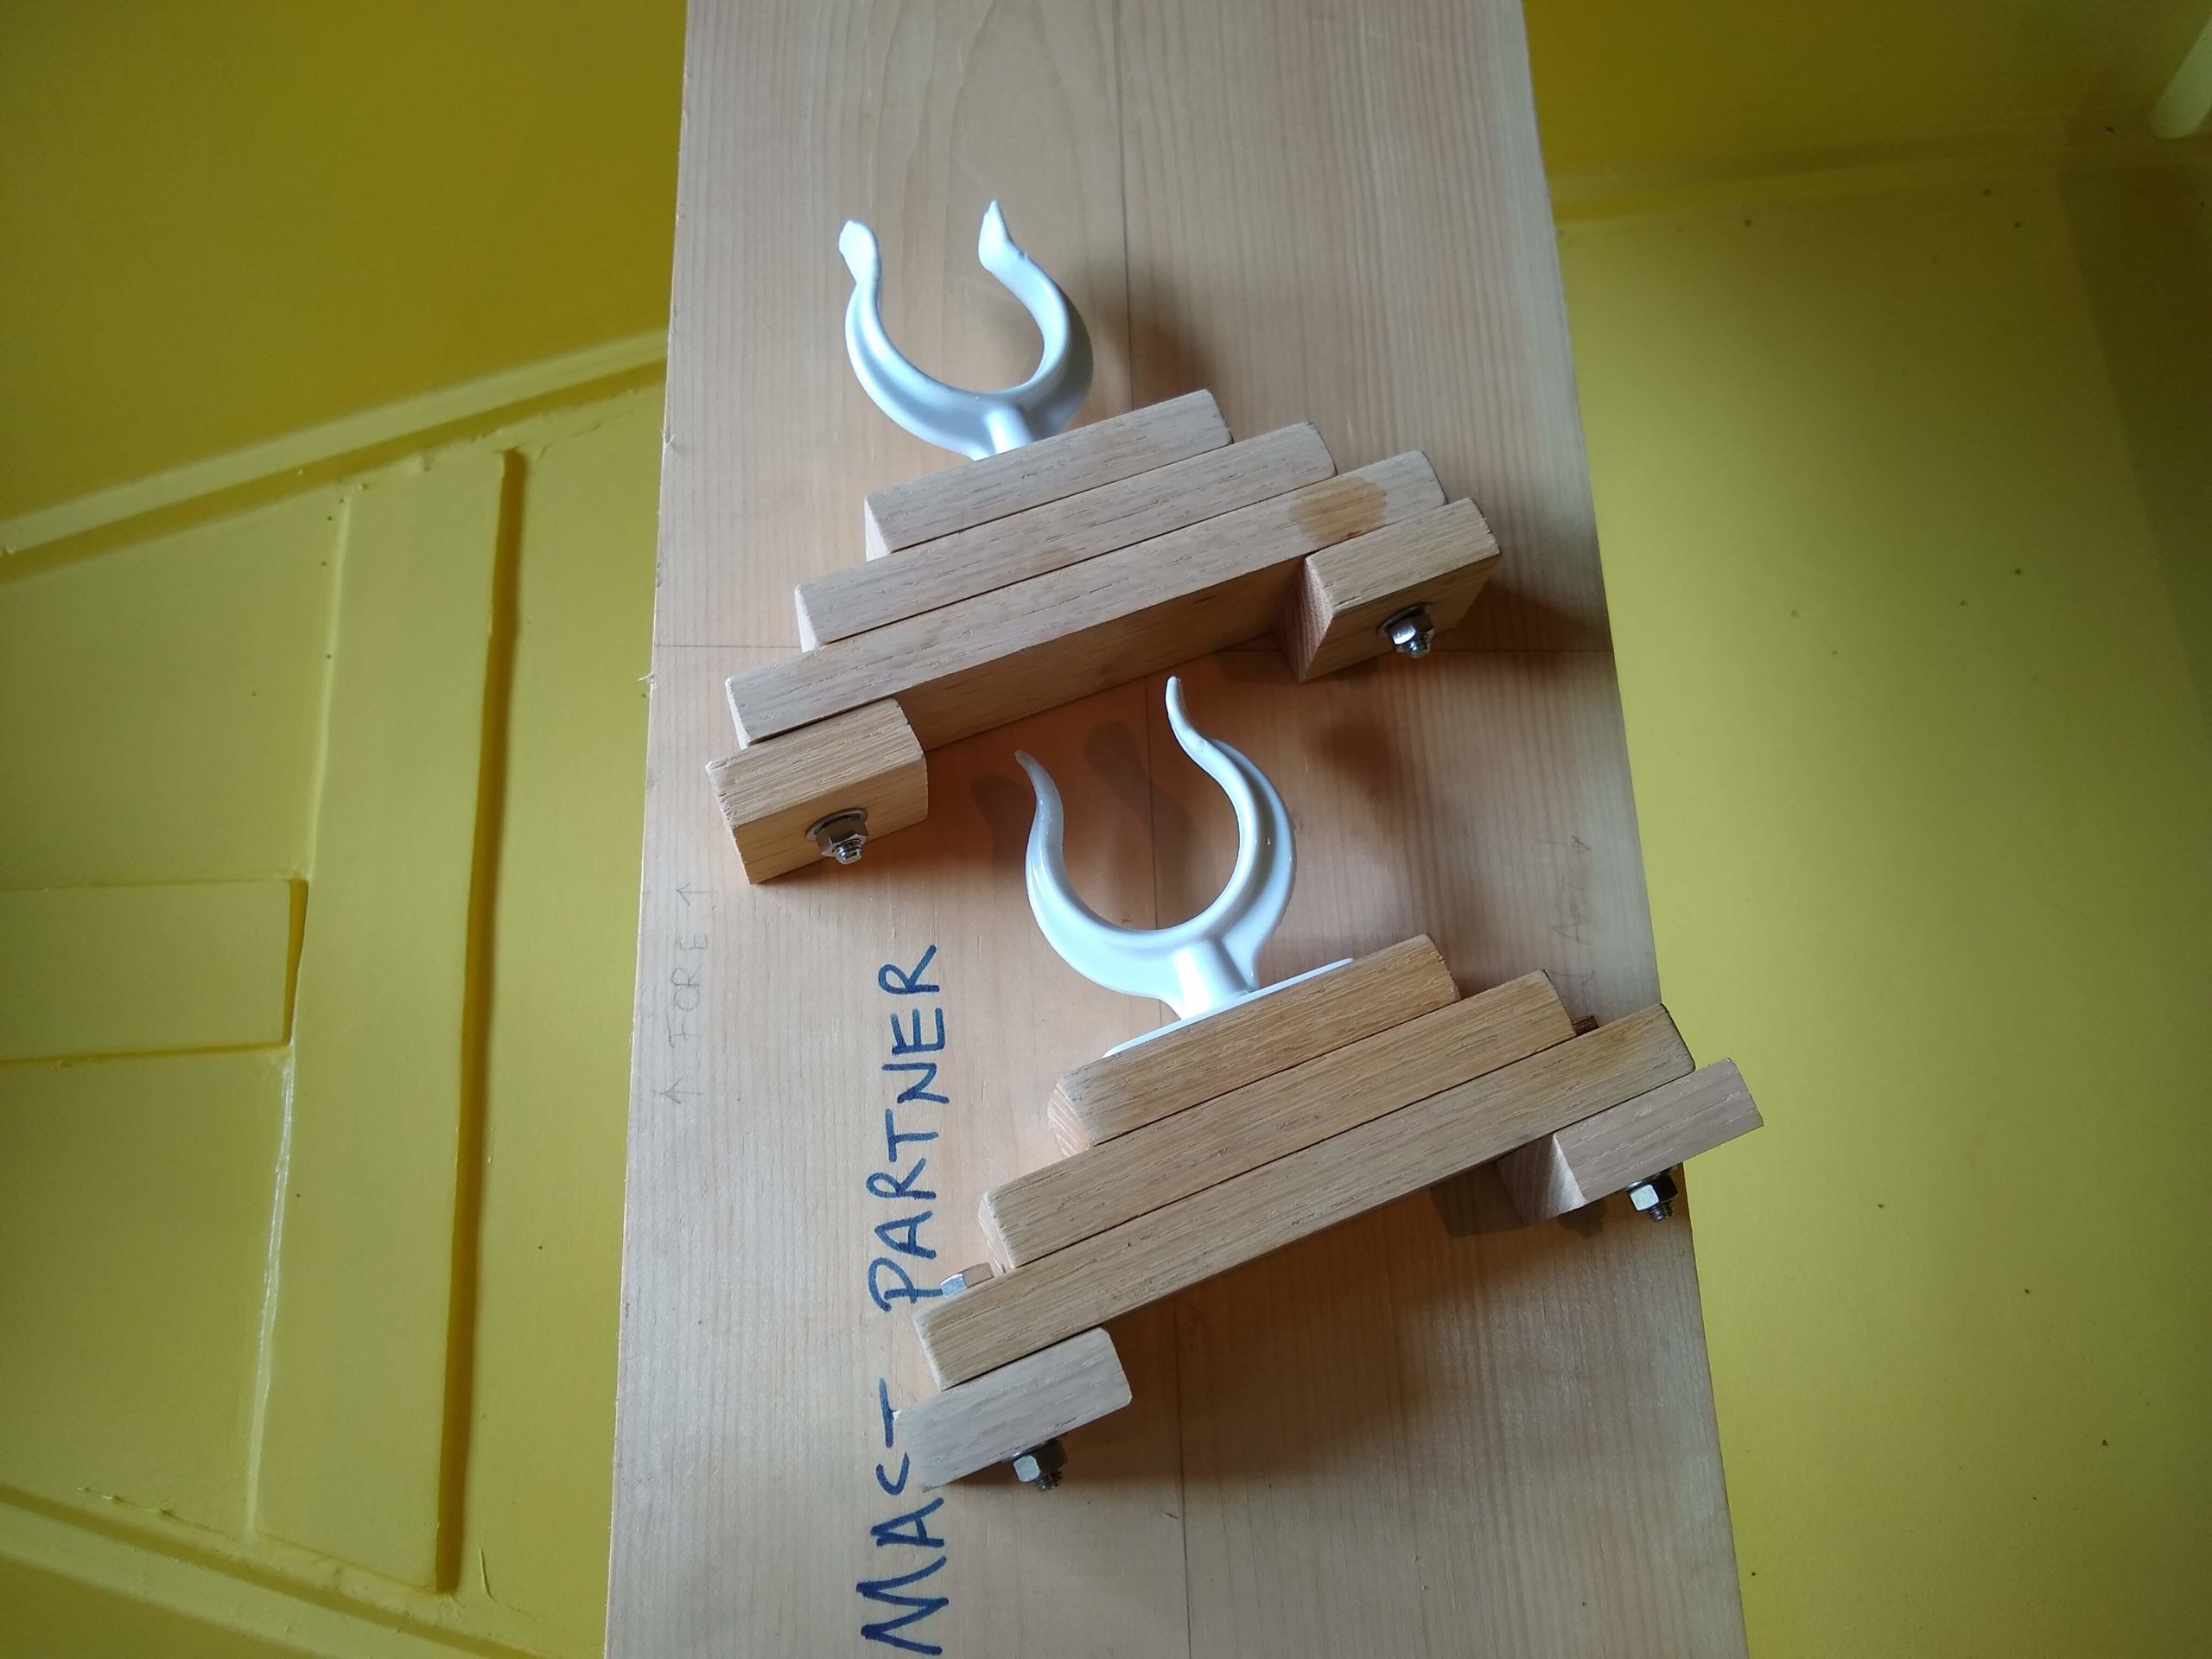
I’m not sure if I’ve featured the oarlocks on the blog. I’ve been working on them for a week or two. The oarlocks themselves are the cheapest nylon ones from Duckworks. I’m not yet sure where exactly along the wales they’re going to be permanently installed, so I made some temporary mounts out of some 1x oak that I had.
The mounts are kinda ridiculously tall, but that’s because the 3/4″ oarlock shafts go down 2″ below the surface into which the oarlock sockets are installed. So two layers of the 3/4″ thick oak wouldn’t be tall enough, and thus it’s three layers at 2-1/4″ tall.
The fourth layer, those smaller blocks at the bottom, were supposed to act as holders below the inwales, with the hex bolts going through the space between the hull and the inwales, between the inwale spacers. But the hex bolts you see are clearly not long enough. Not sure what I was thinking when I calculated the lengths.
And the smaller blocks won’t work either. I drilled holes exactly in the middle of them, but that spacing doesn’t even come close to matching the spacing of the inwale spacers. Gotta figure out something else. I’ve got some 3″ hex bolts that should work, but they’re 3/8″ instead of the 5/16″ that I used here originally. Not a big deal to drill the holes in the mounts a tad bigger. And I’ve got some aluminum bar parts to use instead of the blocks here as well.
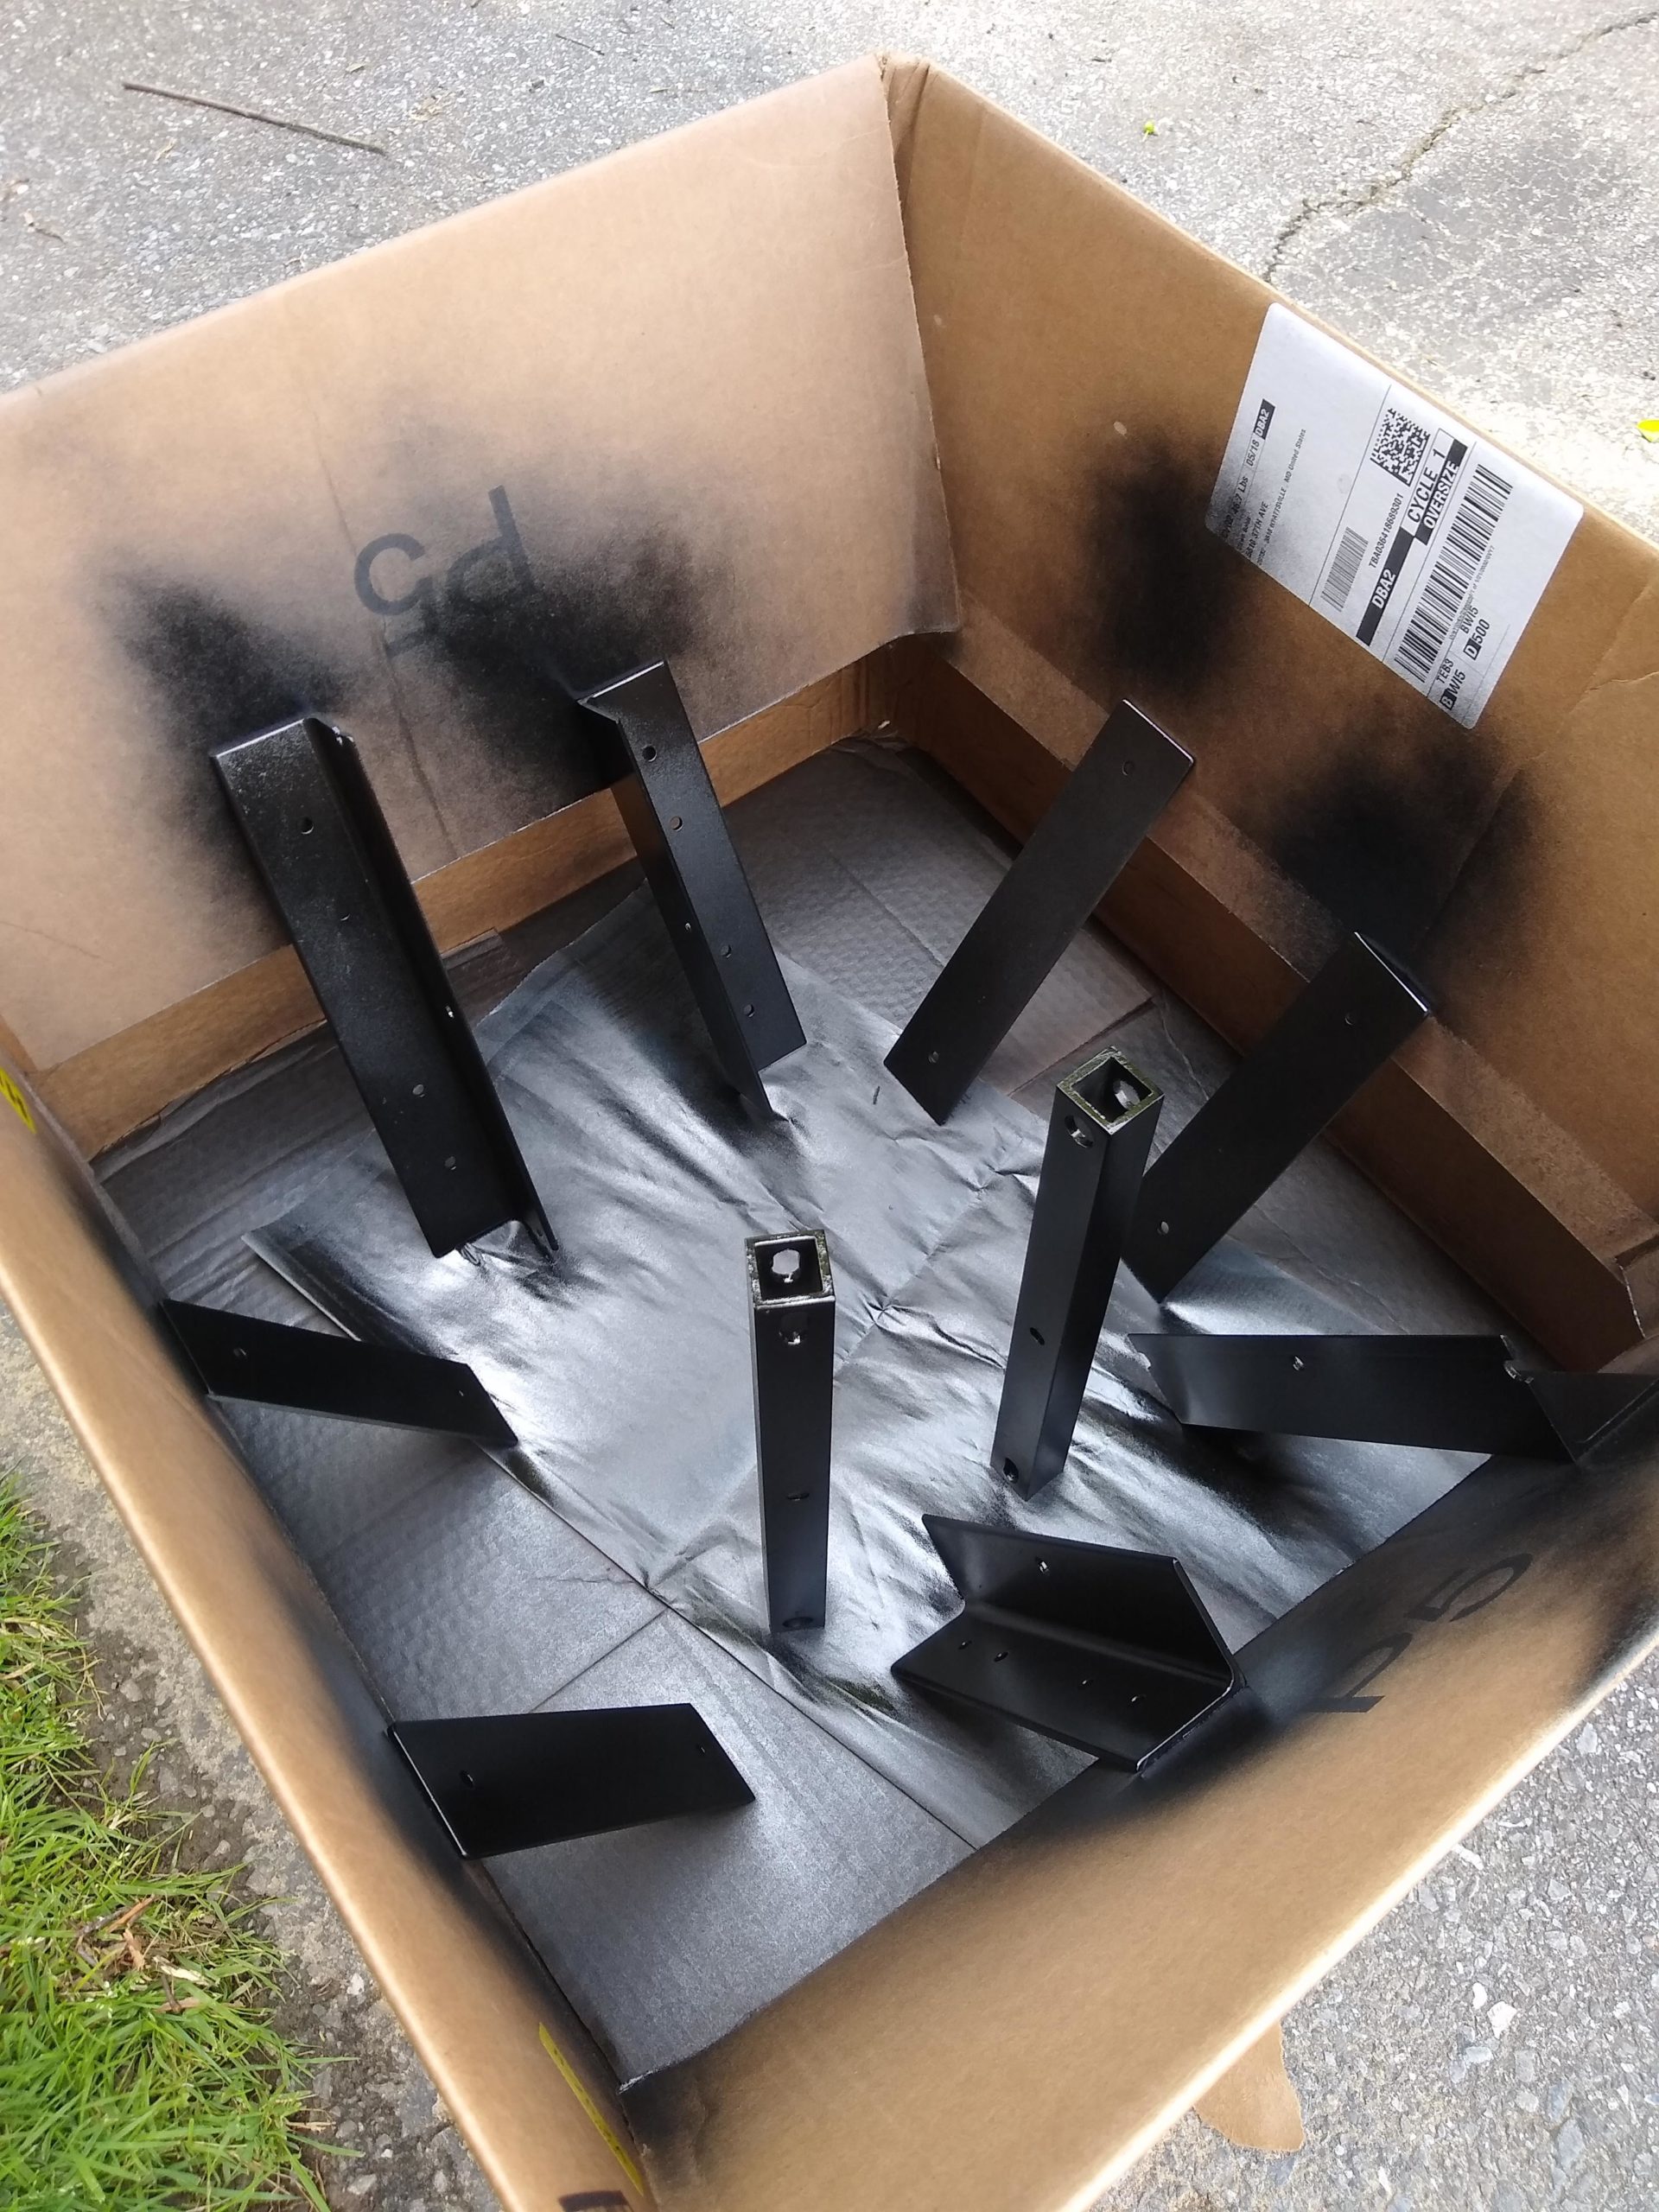
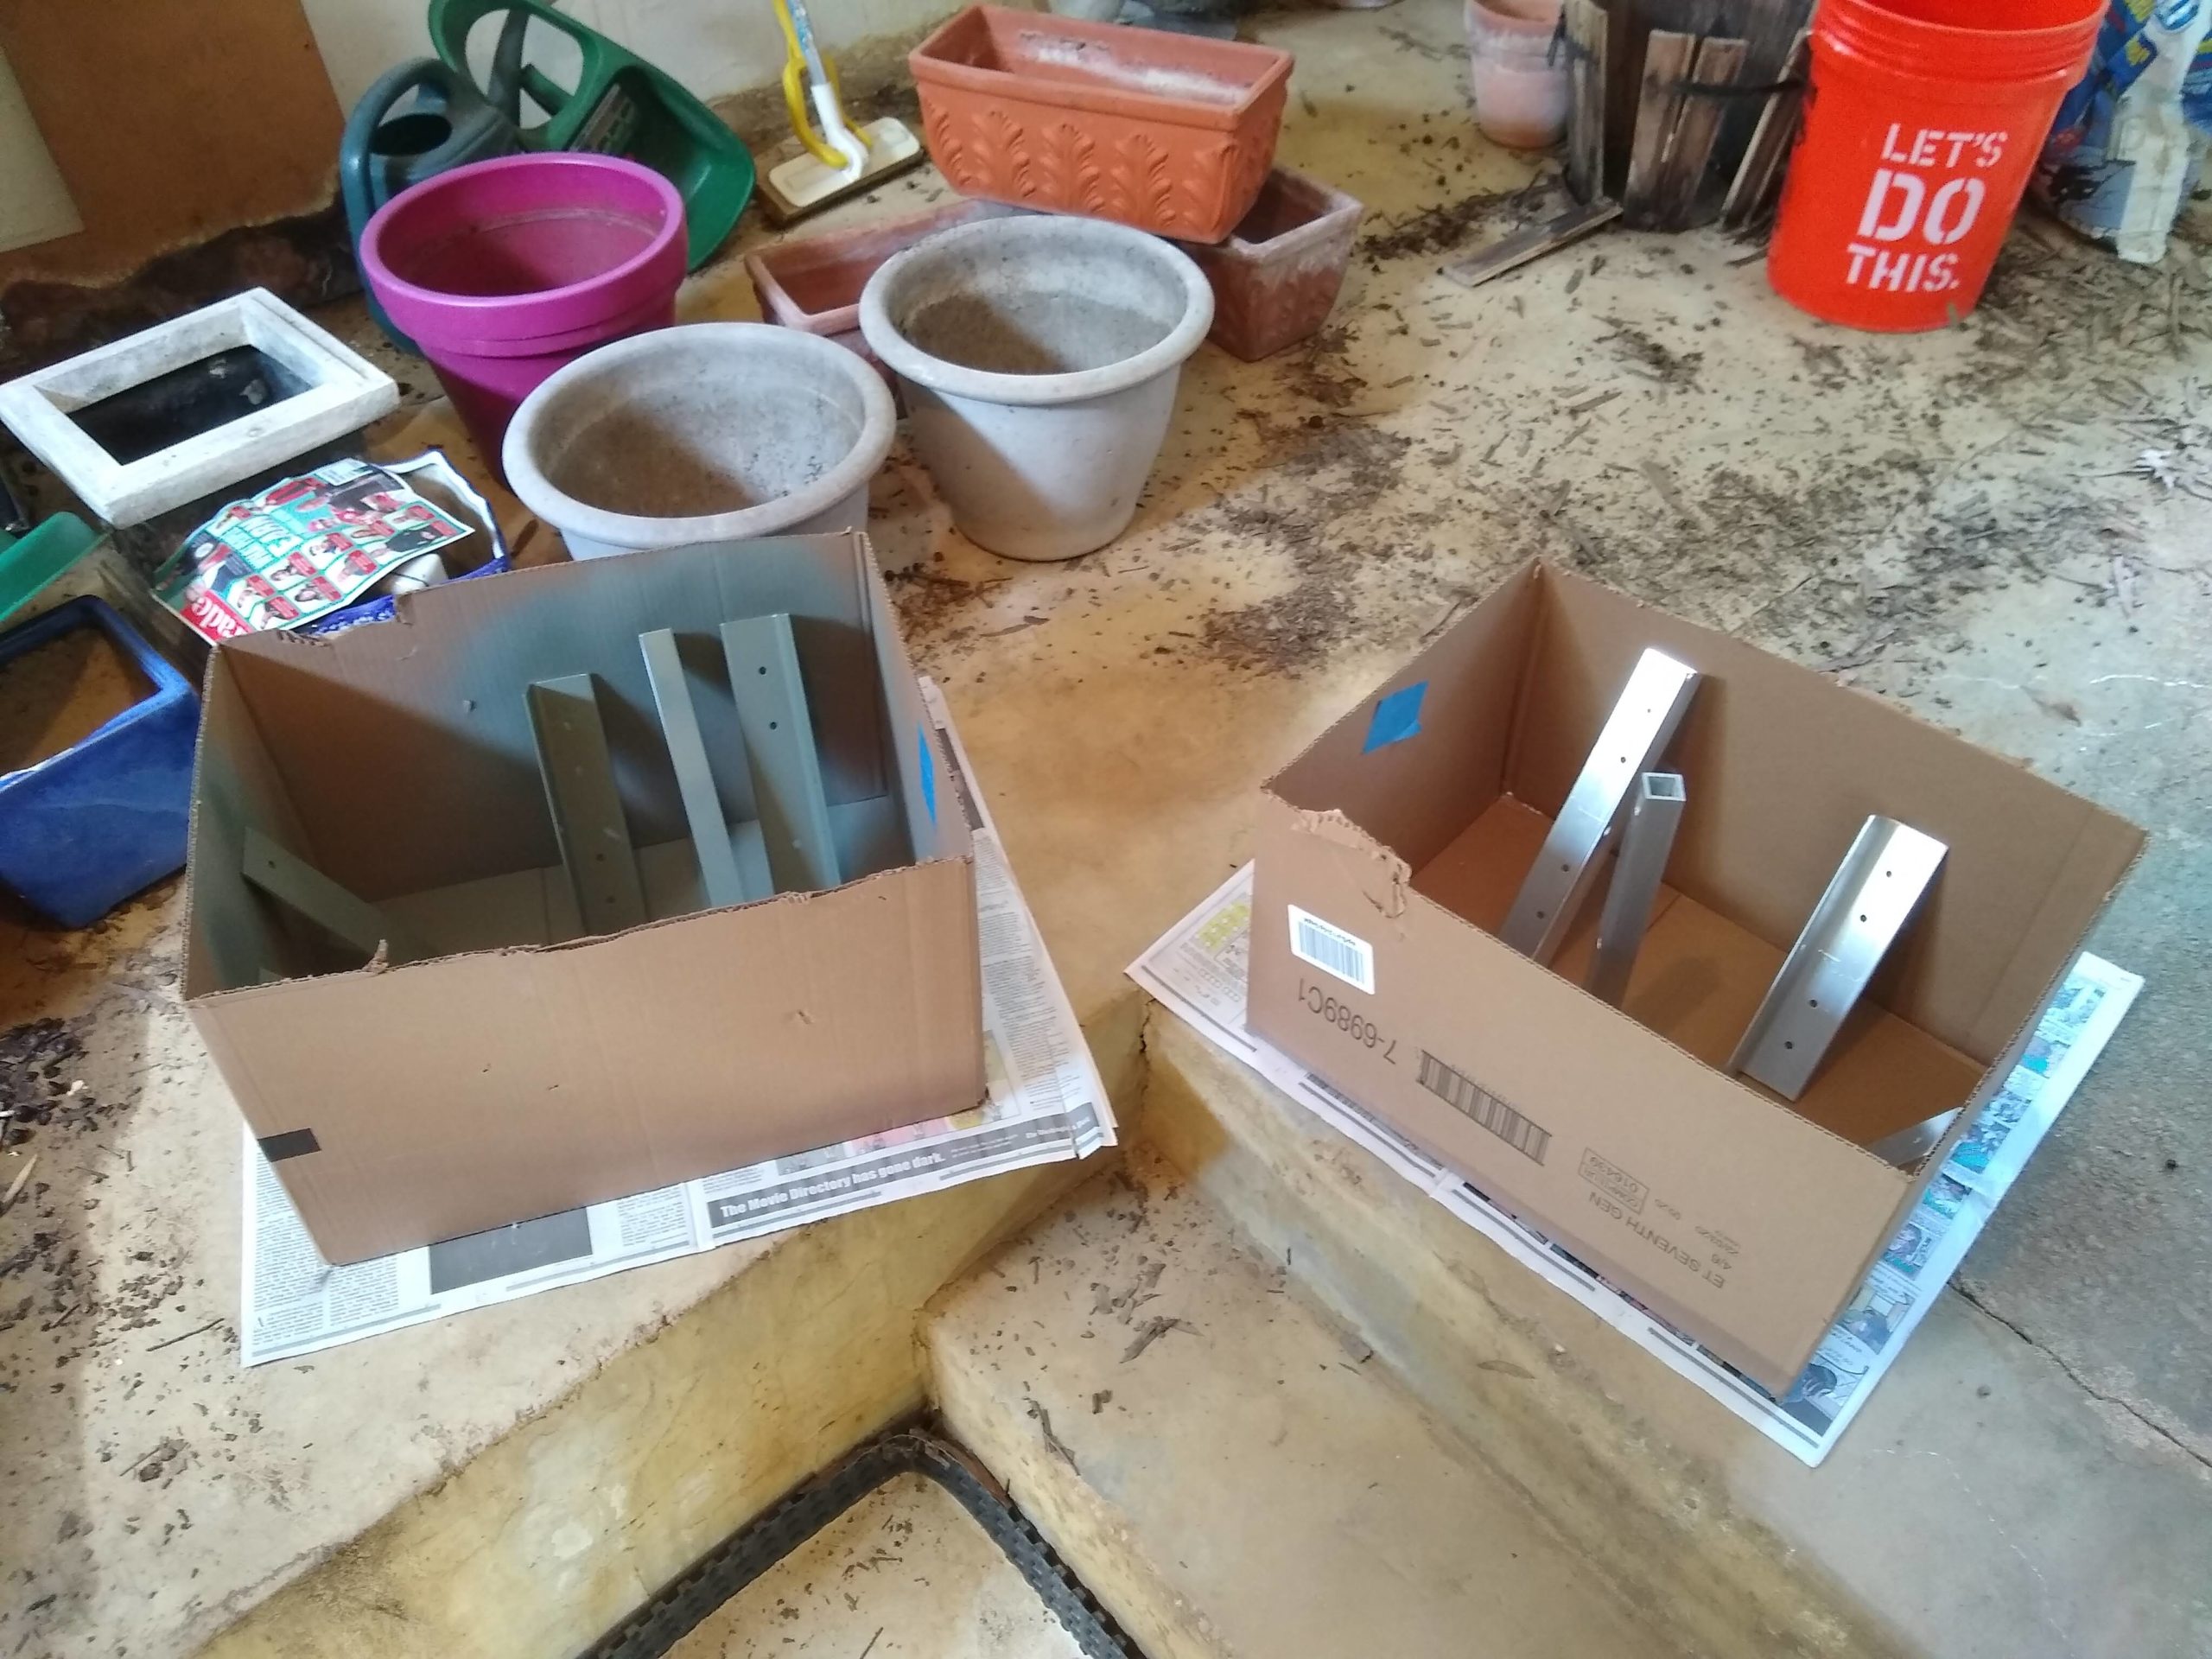
On Saturday I sprayed a second coat onto the aluminum angle, flat bar, and square tube parts that make up the wheel assemblies. On Sunday I touched up a few spots on the hull with red and yellow.
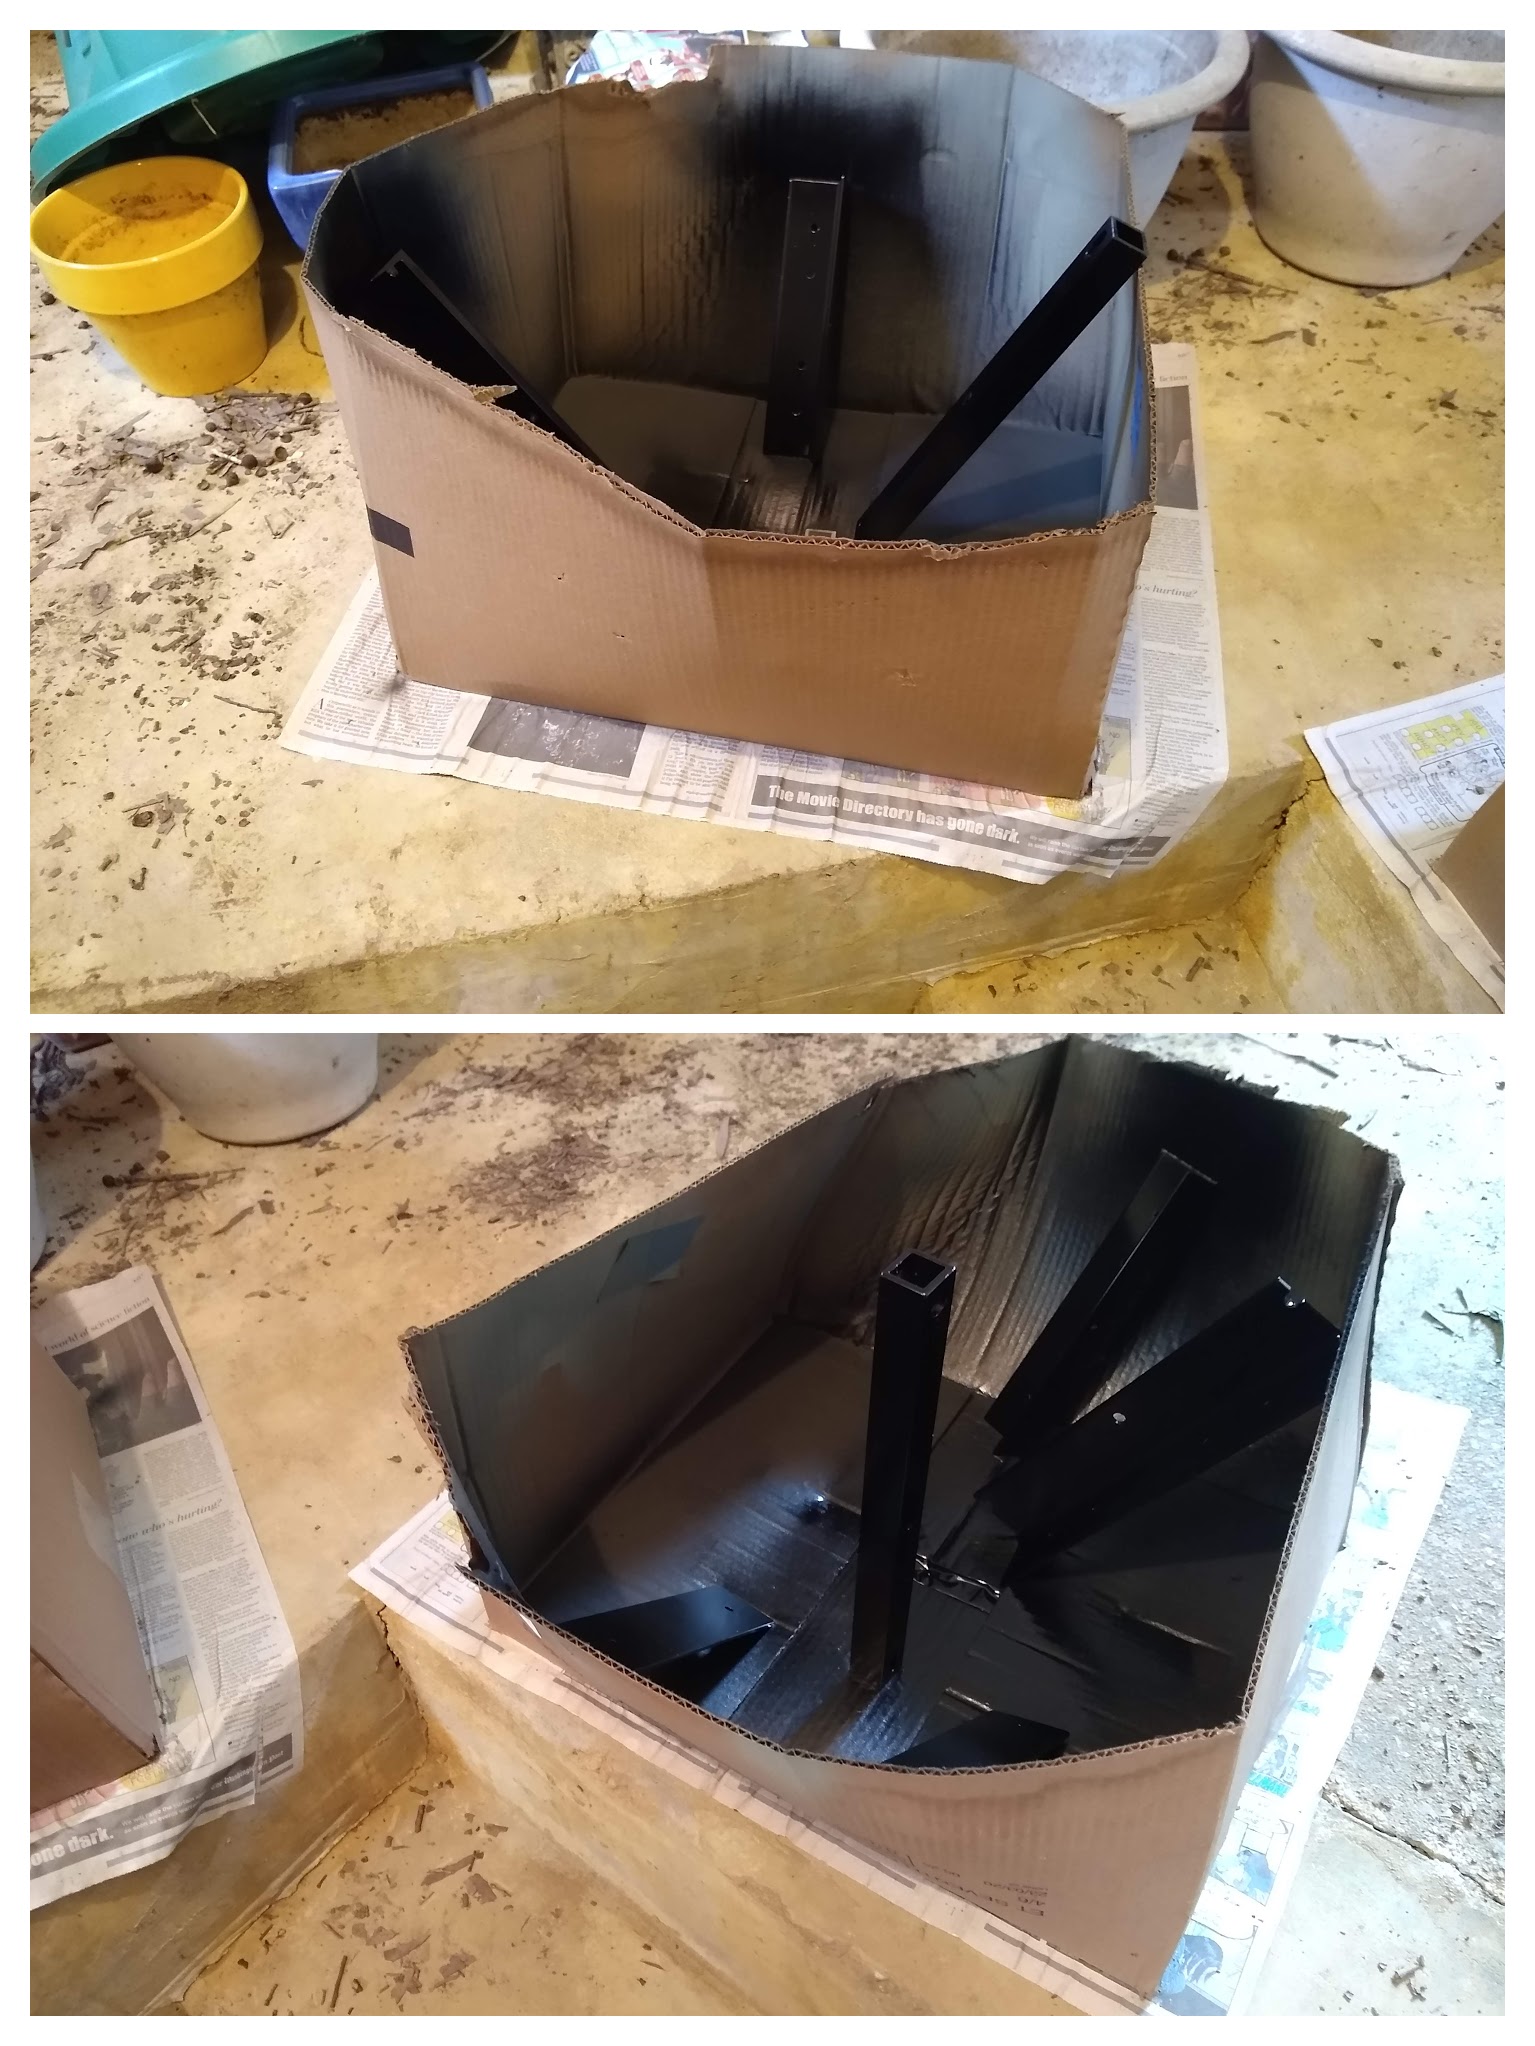
I sprayed outside this time, rather than down in the potting shed area below our back porch. Quite a bit better outside in terms of ventilation, so neither did I make the whole basement smell like spray paint nor did I end up with black gunk in my nose from breathing aerosol paint.
Second and final coating of black enamel on the metal parts
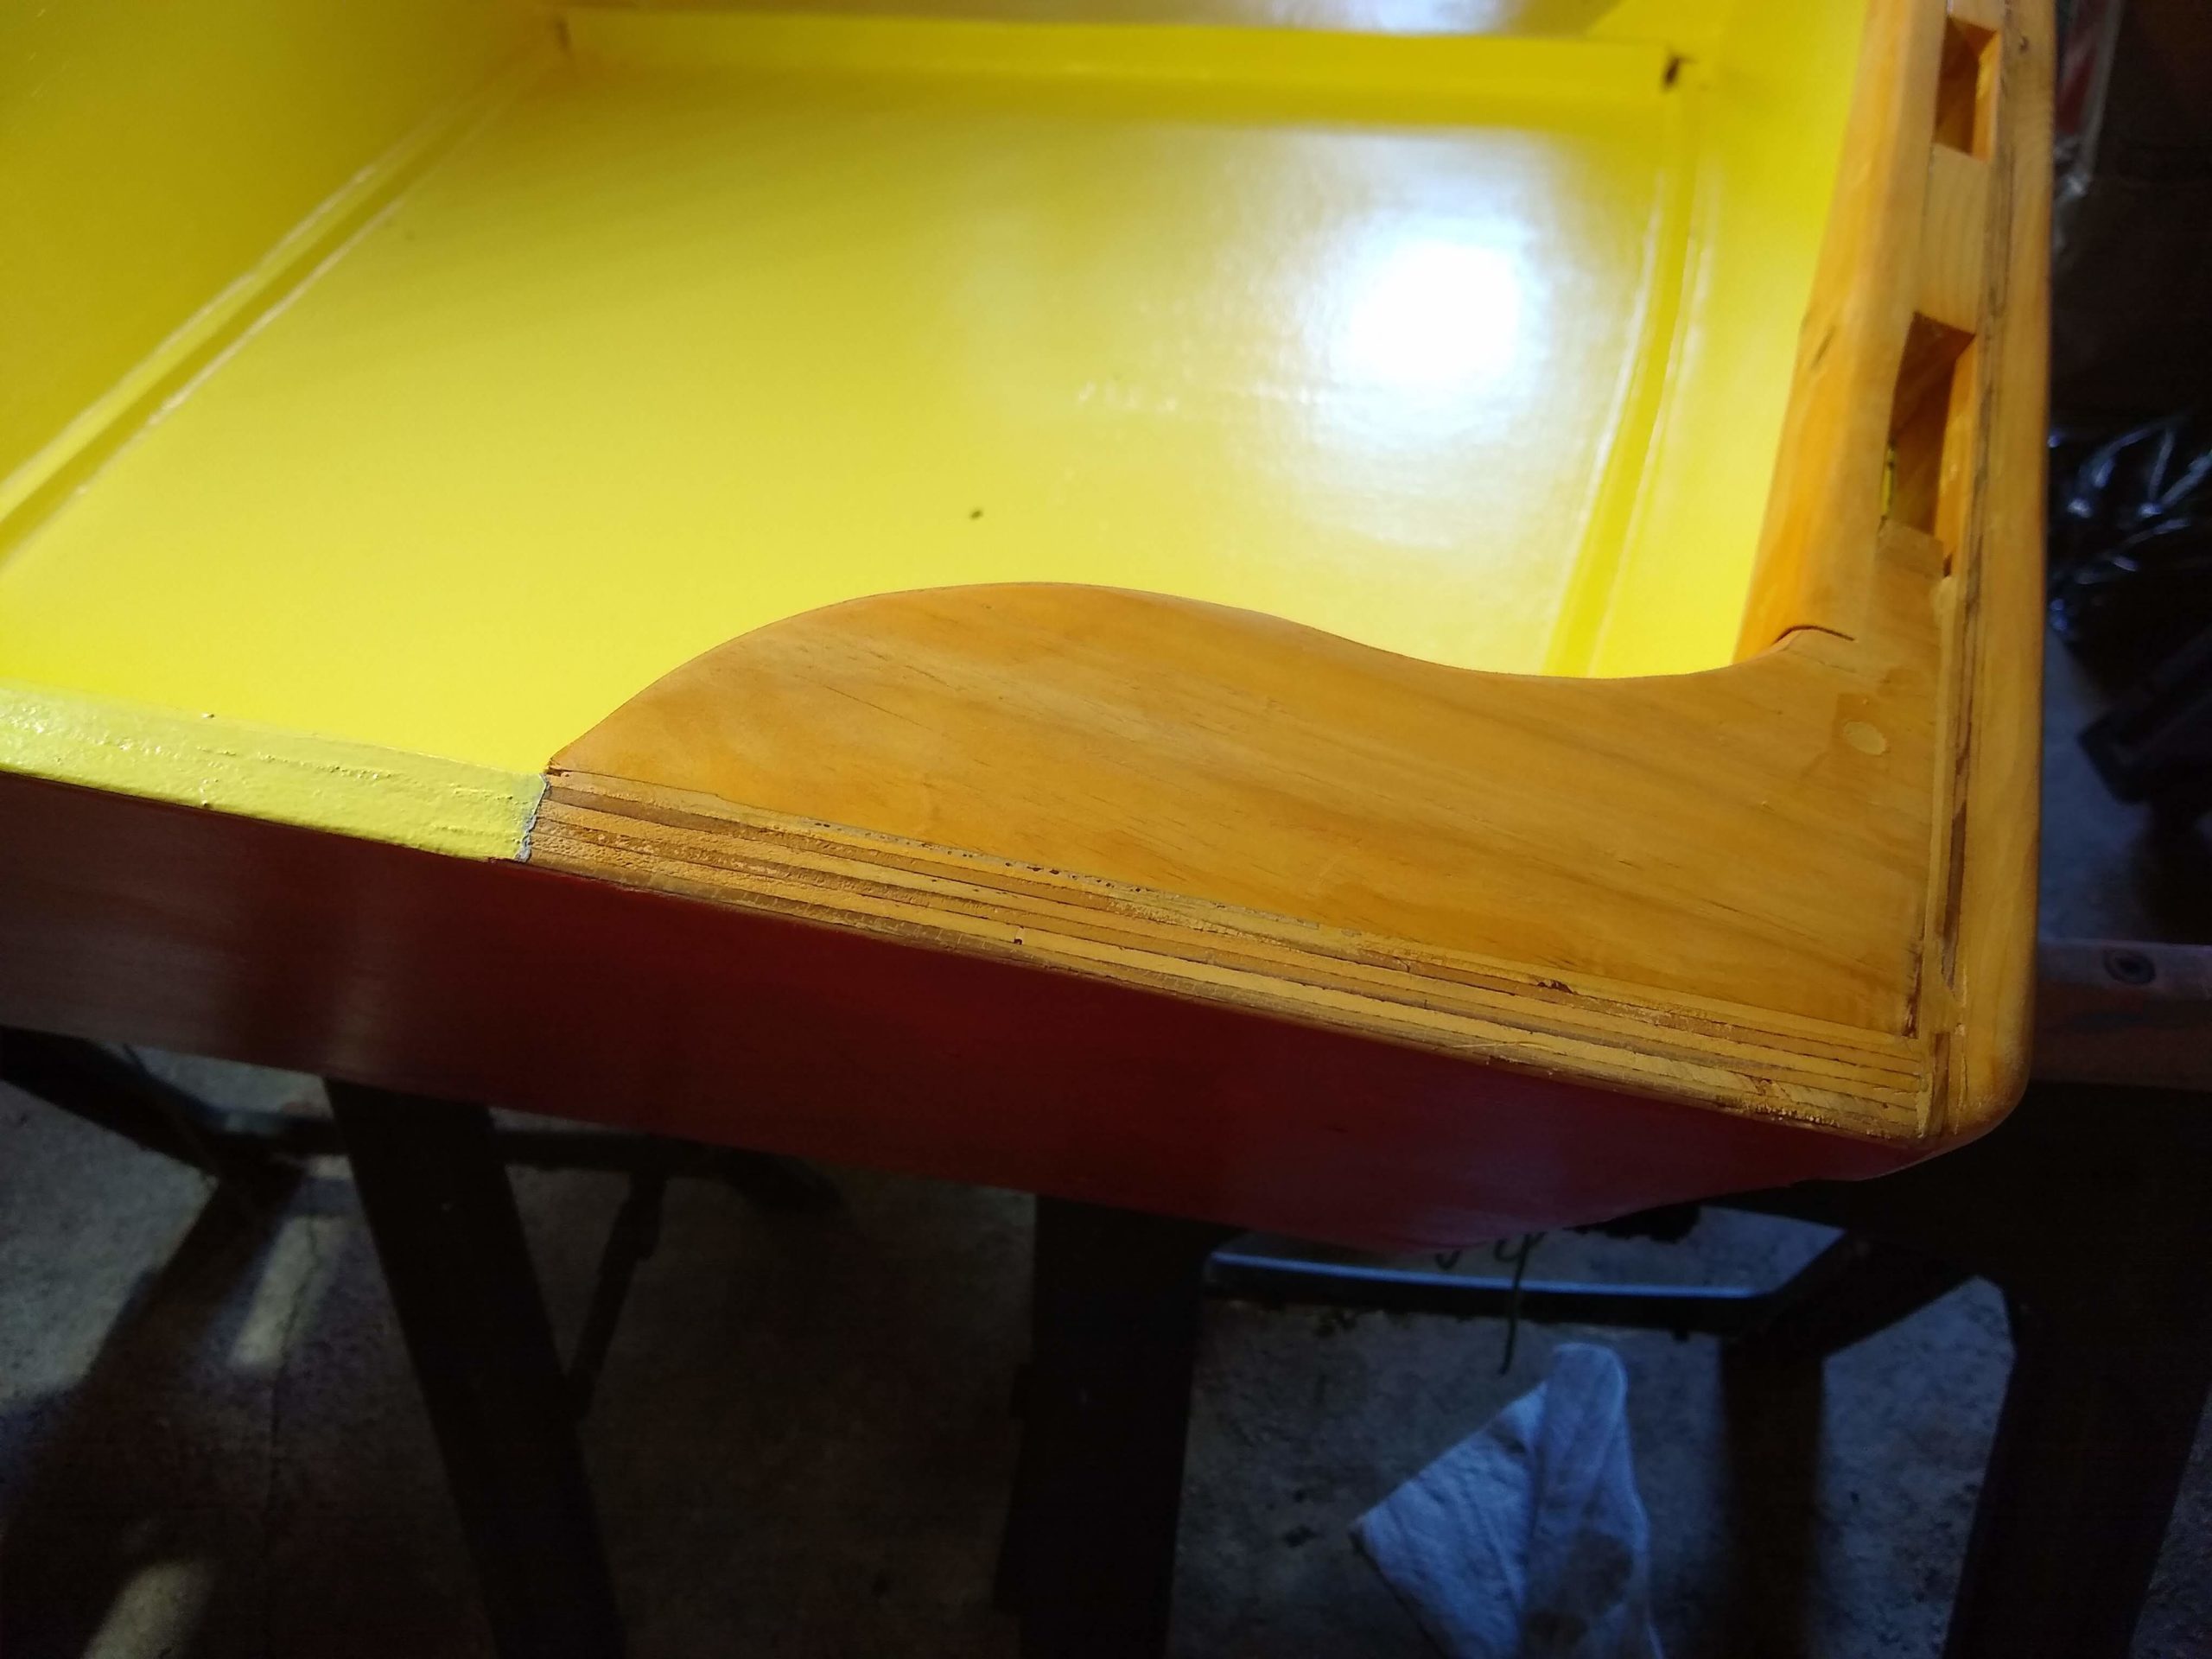
There were a few problem areas on the hull that needed some attention, especially some transition areas between painted areas and stained wood areas. The worst was around the undersides of the quarter knees. It’s painted there, whereas the tops and sides are stained. The masking tape I’d used hadn’t quite prevented some splotches from creeping up and showing on the sides of the quarter knees. I nice sharp chisel took care of removing the paint, though.
Part of the top edge of the transom is painted yellow, while part of it is stained to match the adjacent quarter knee.
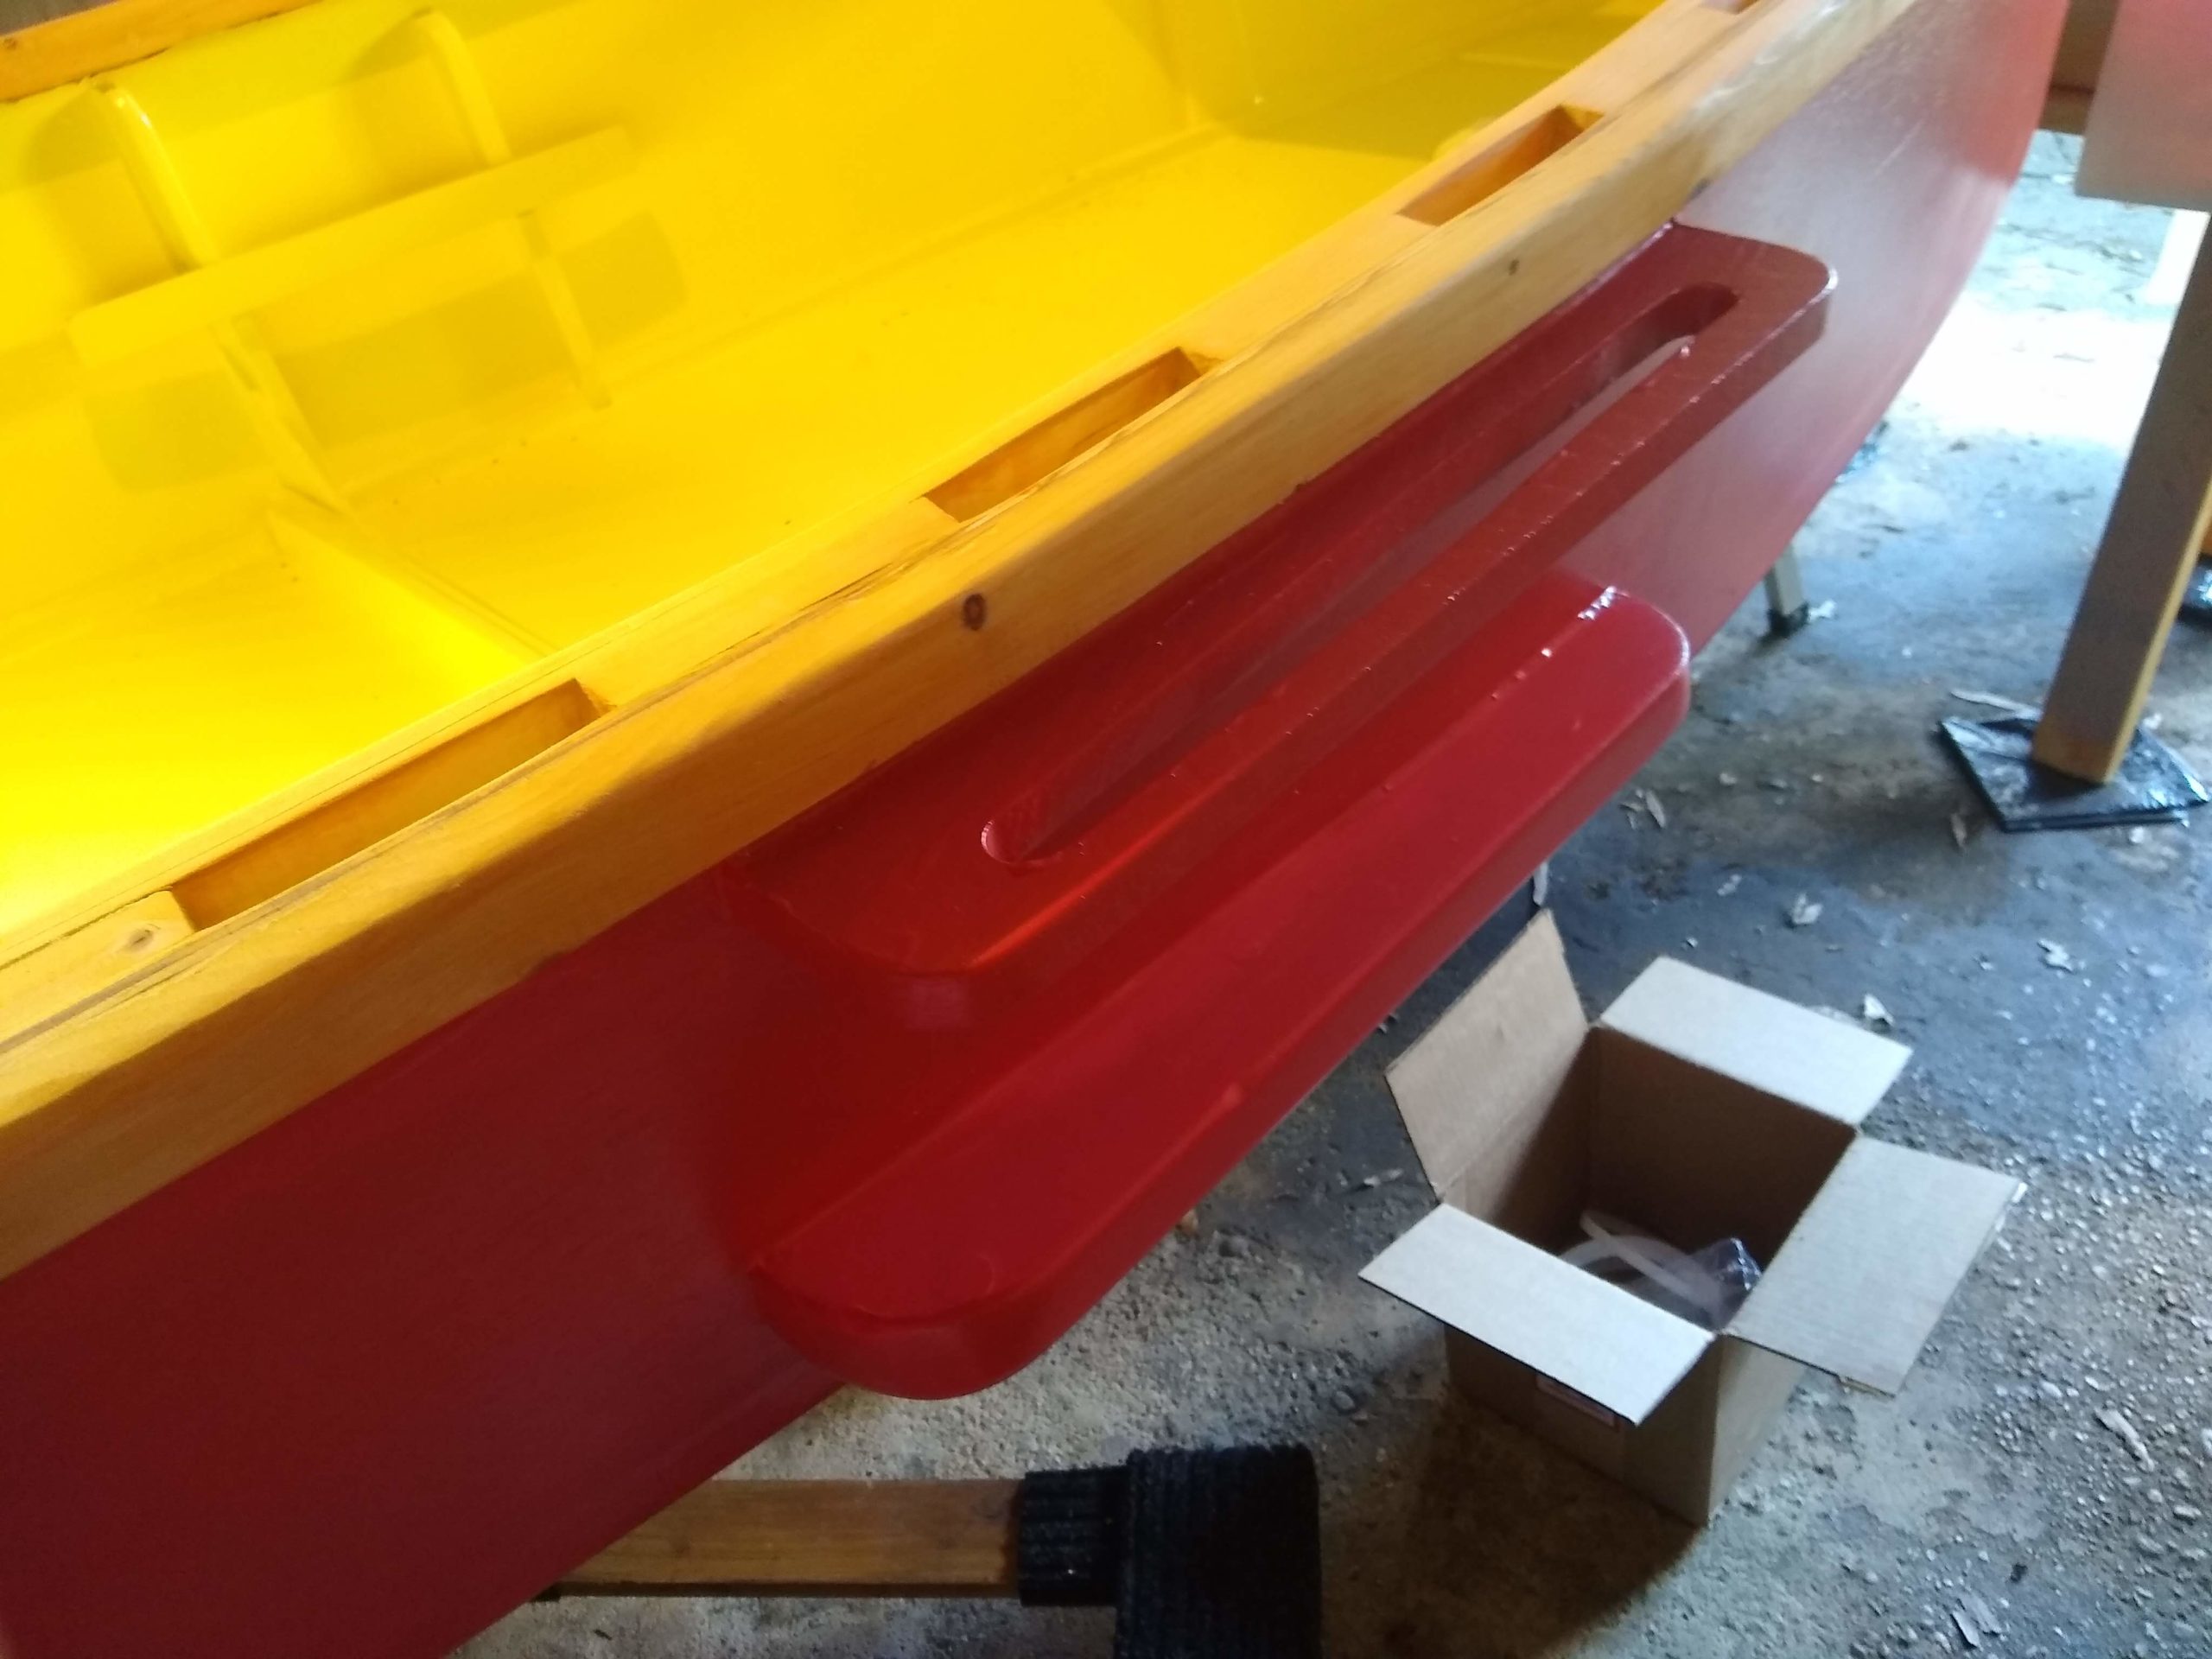
Then I also touched up some spots that lacked paint coverage, a little square on the port side of the top of the transom that showed gray primer showing through that needed yellow. Likewise there were spots on the topsides of the leeboard guards that didn’t get quite enough red on them since the boat was upside down for the coats of red.
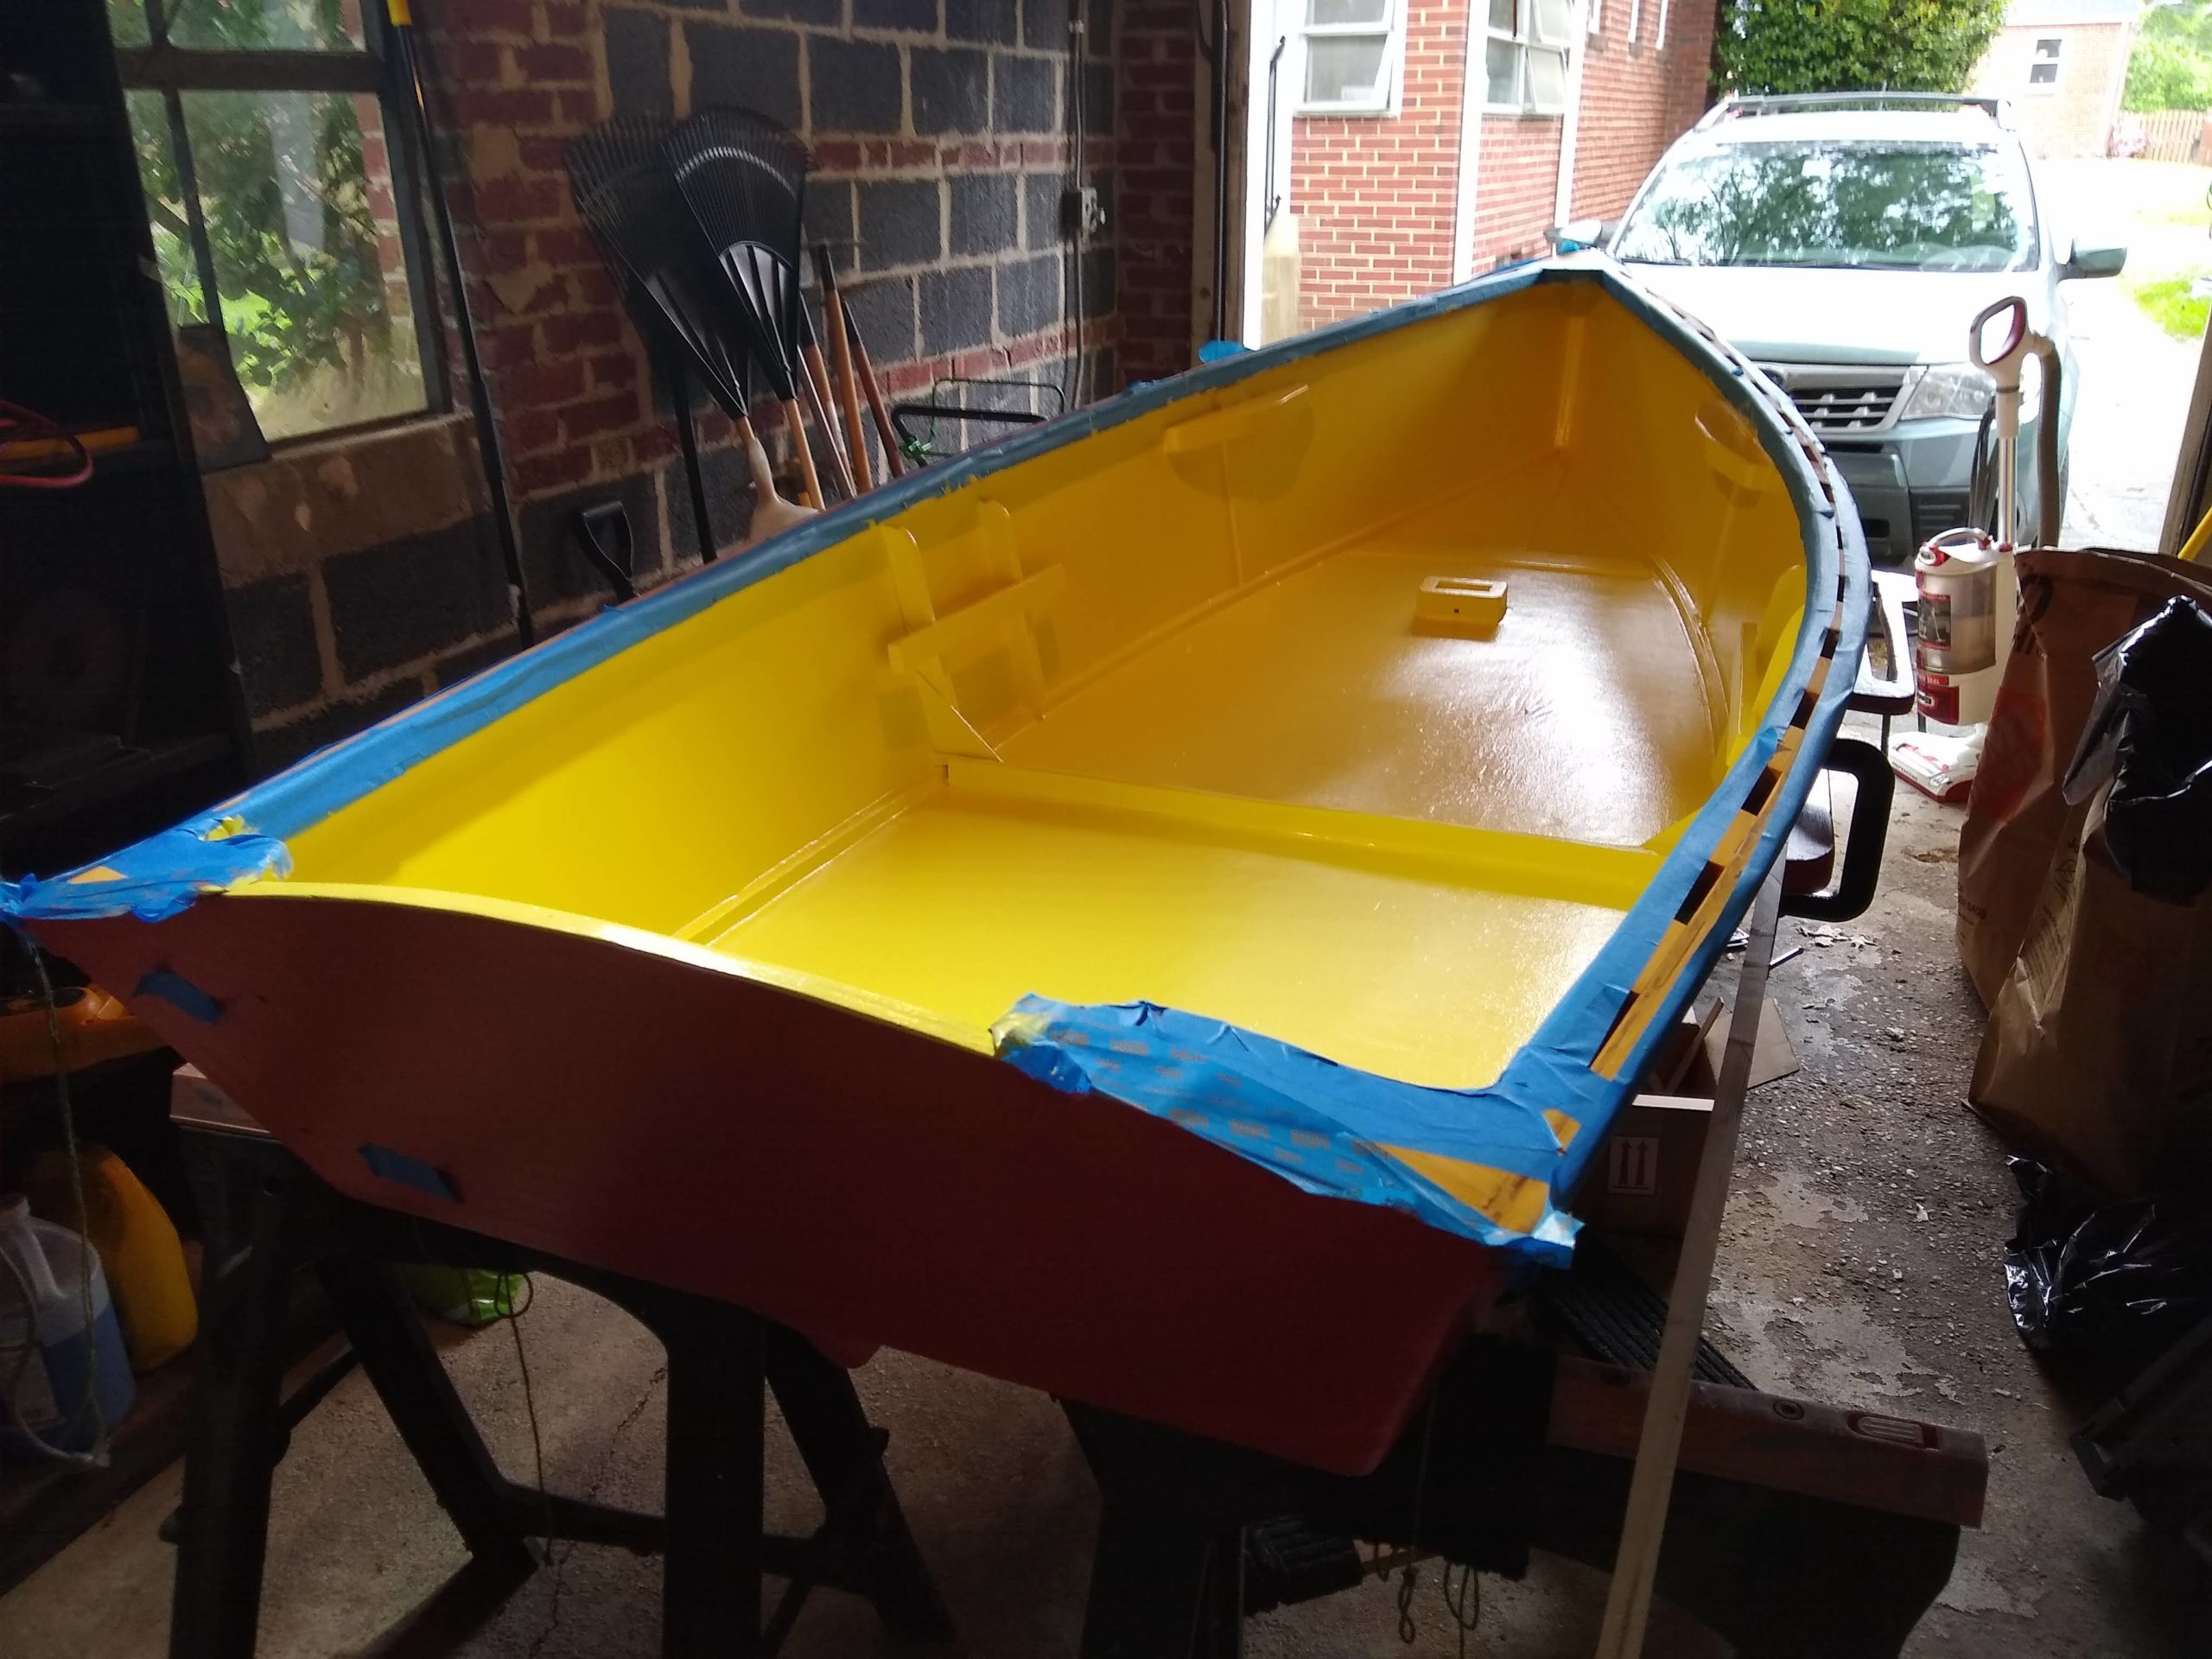
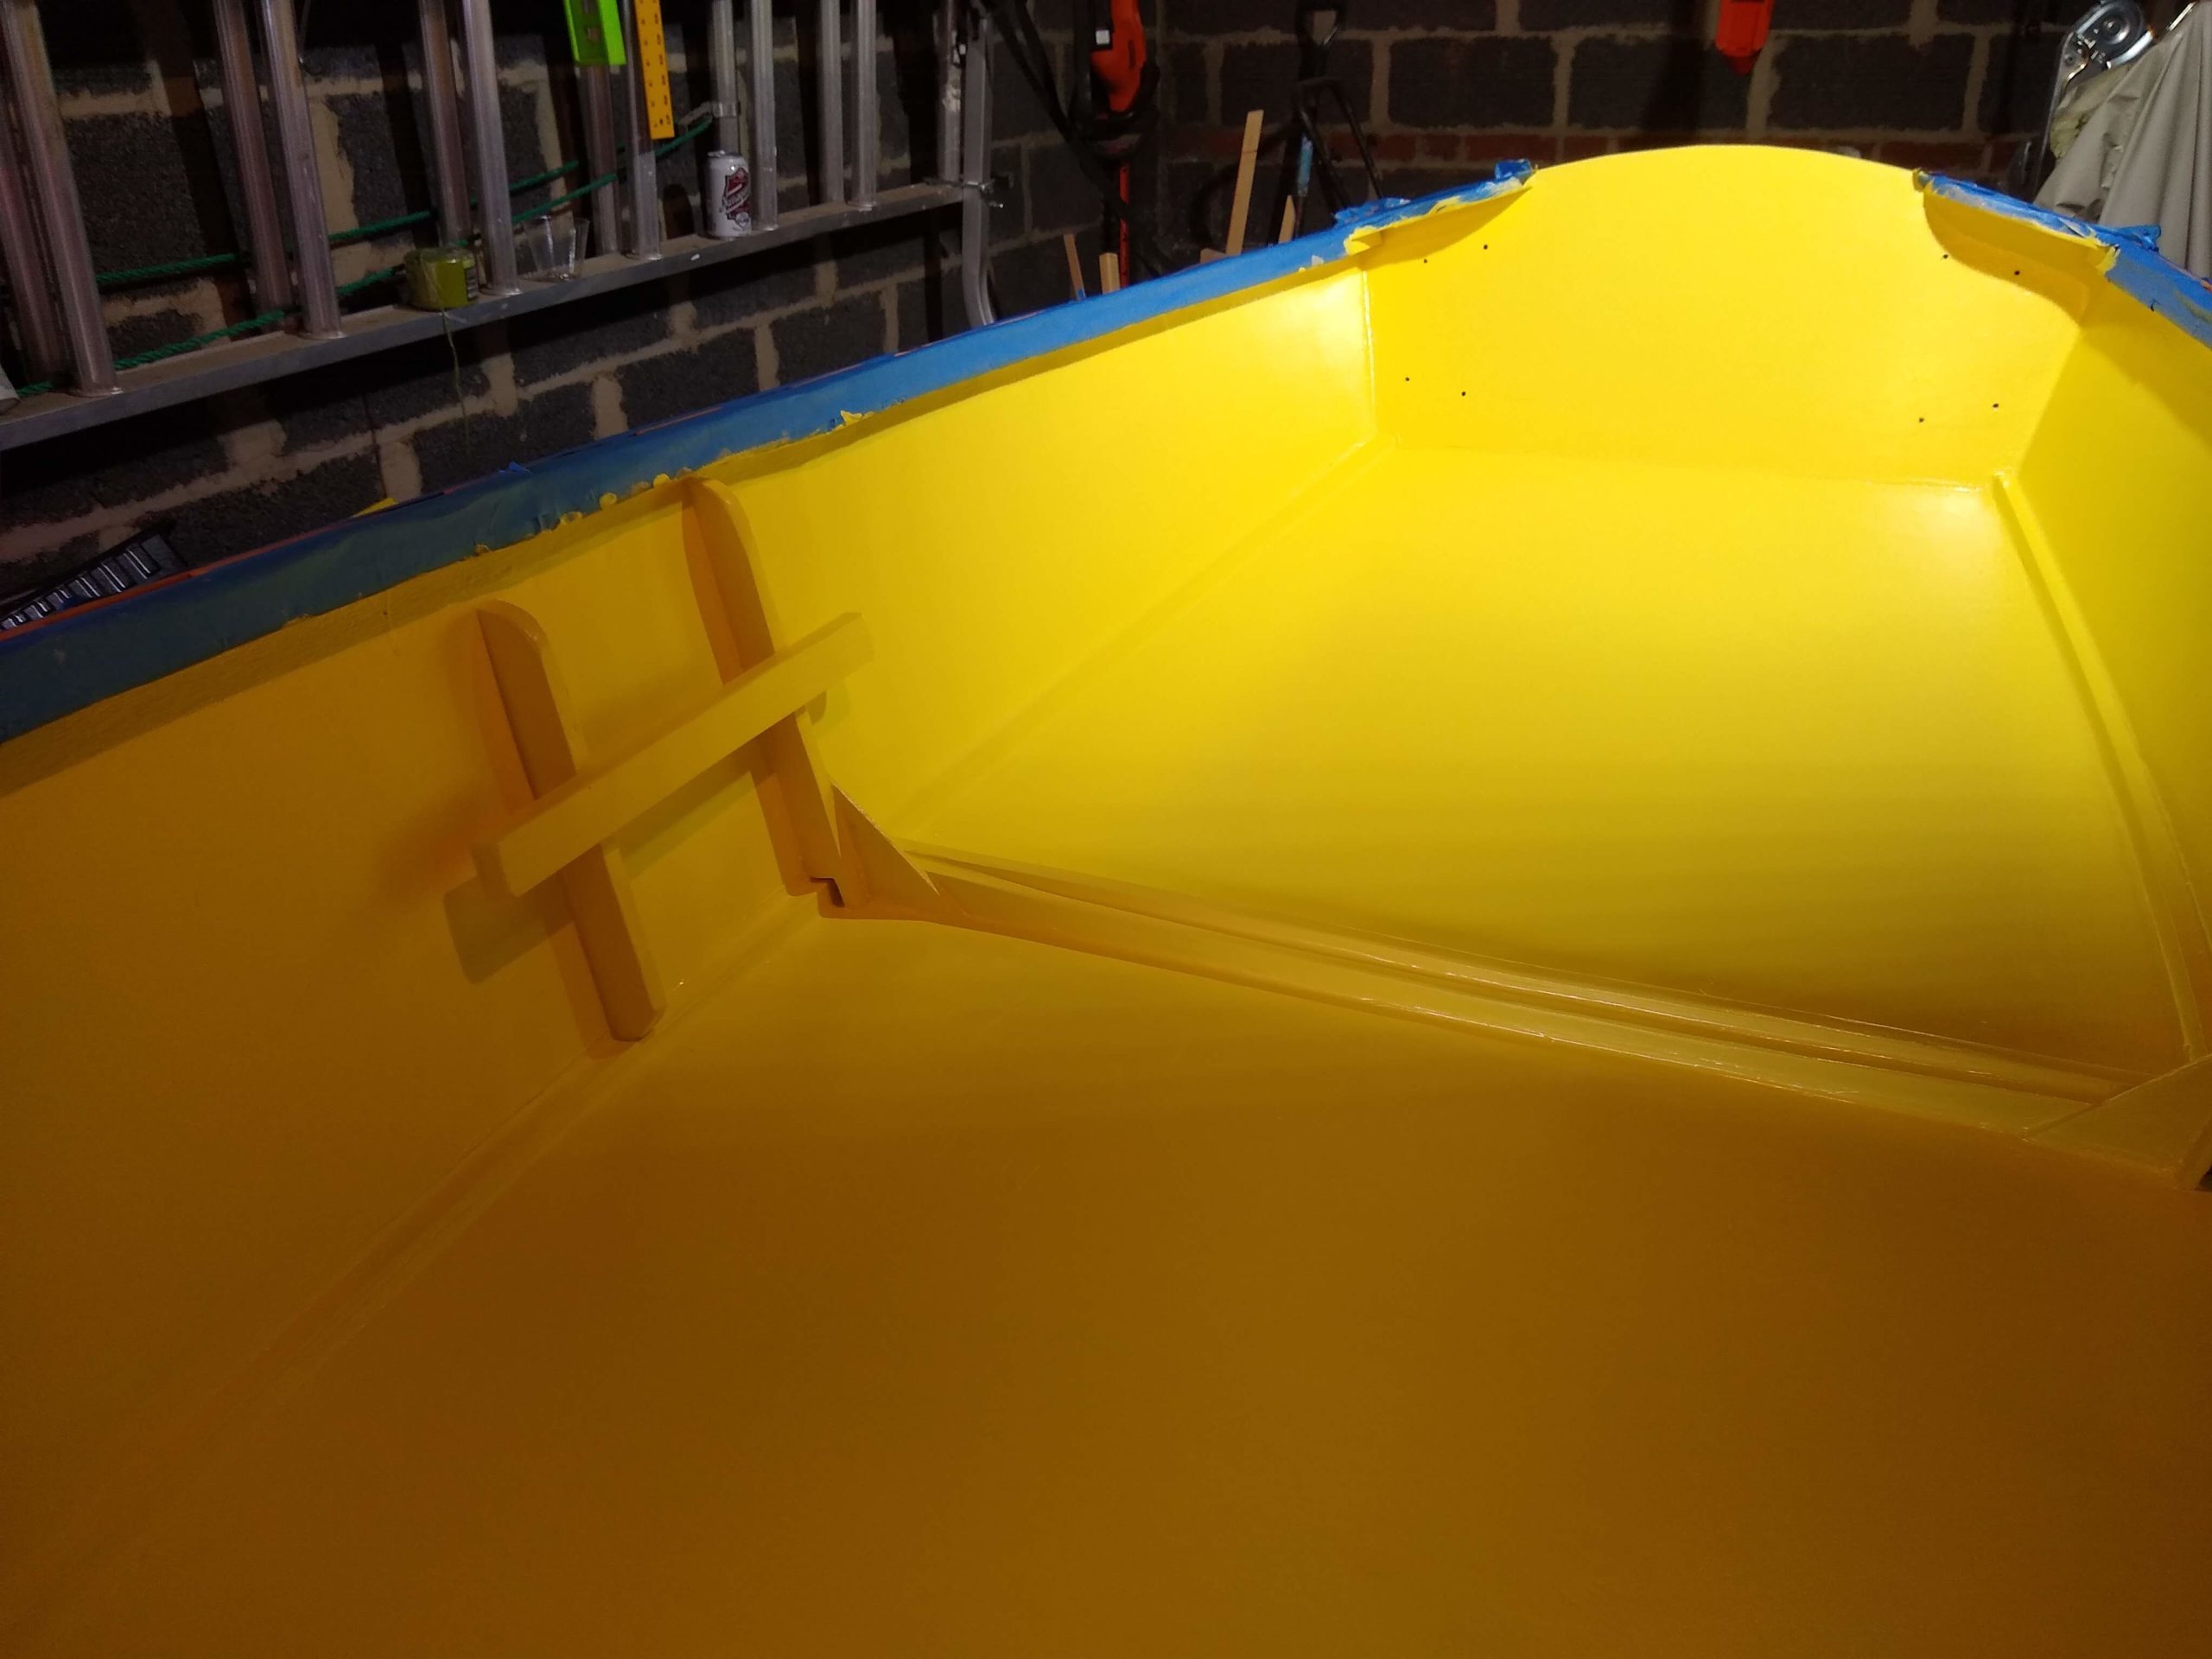
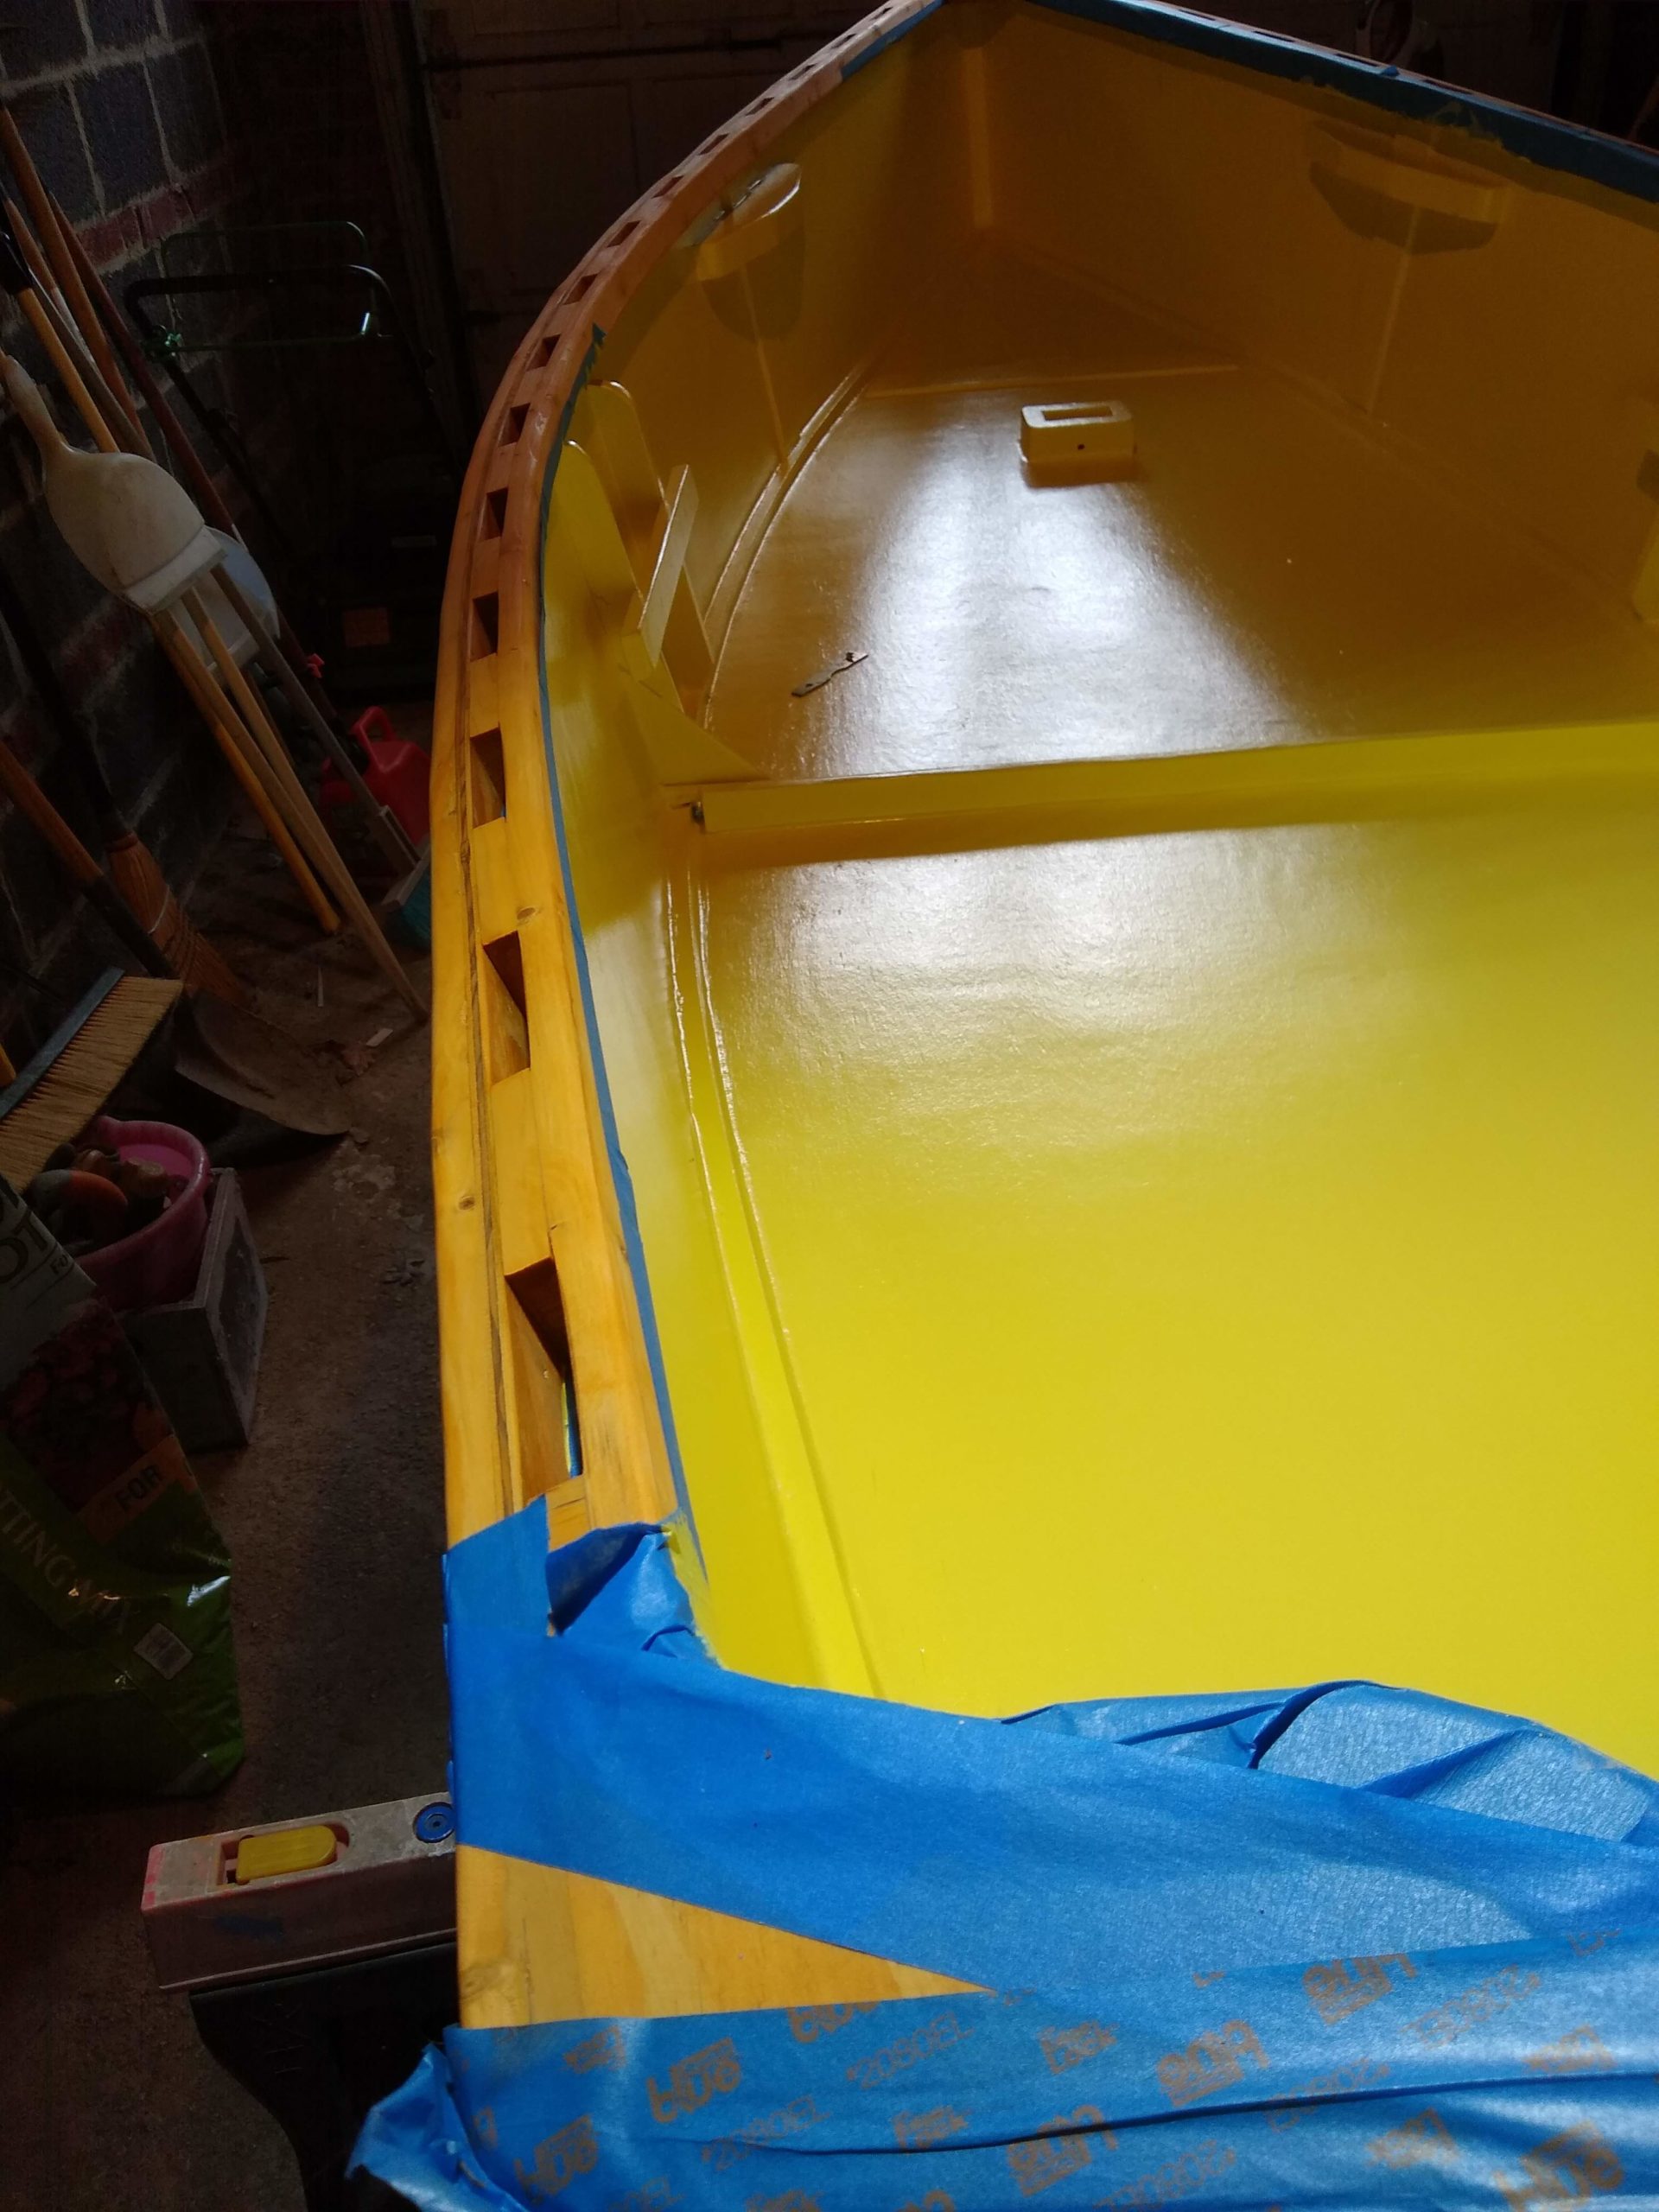
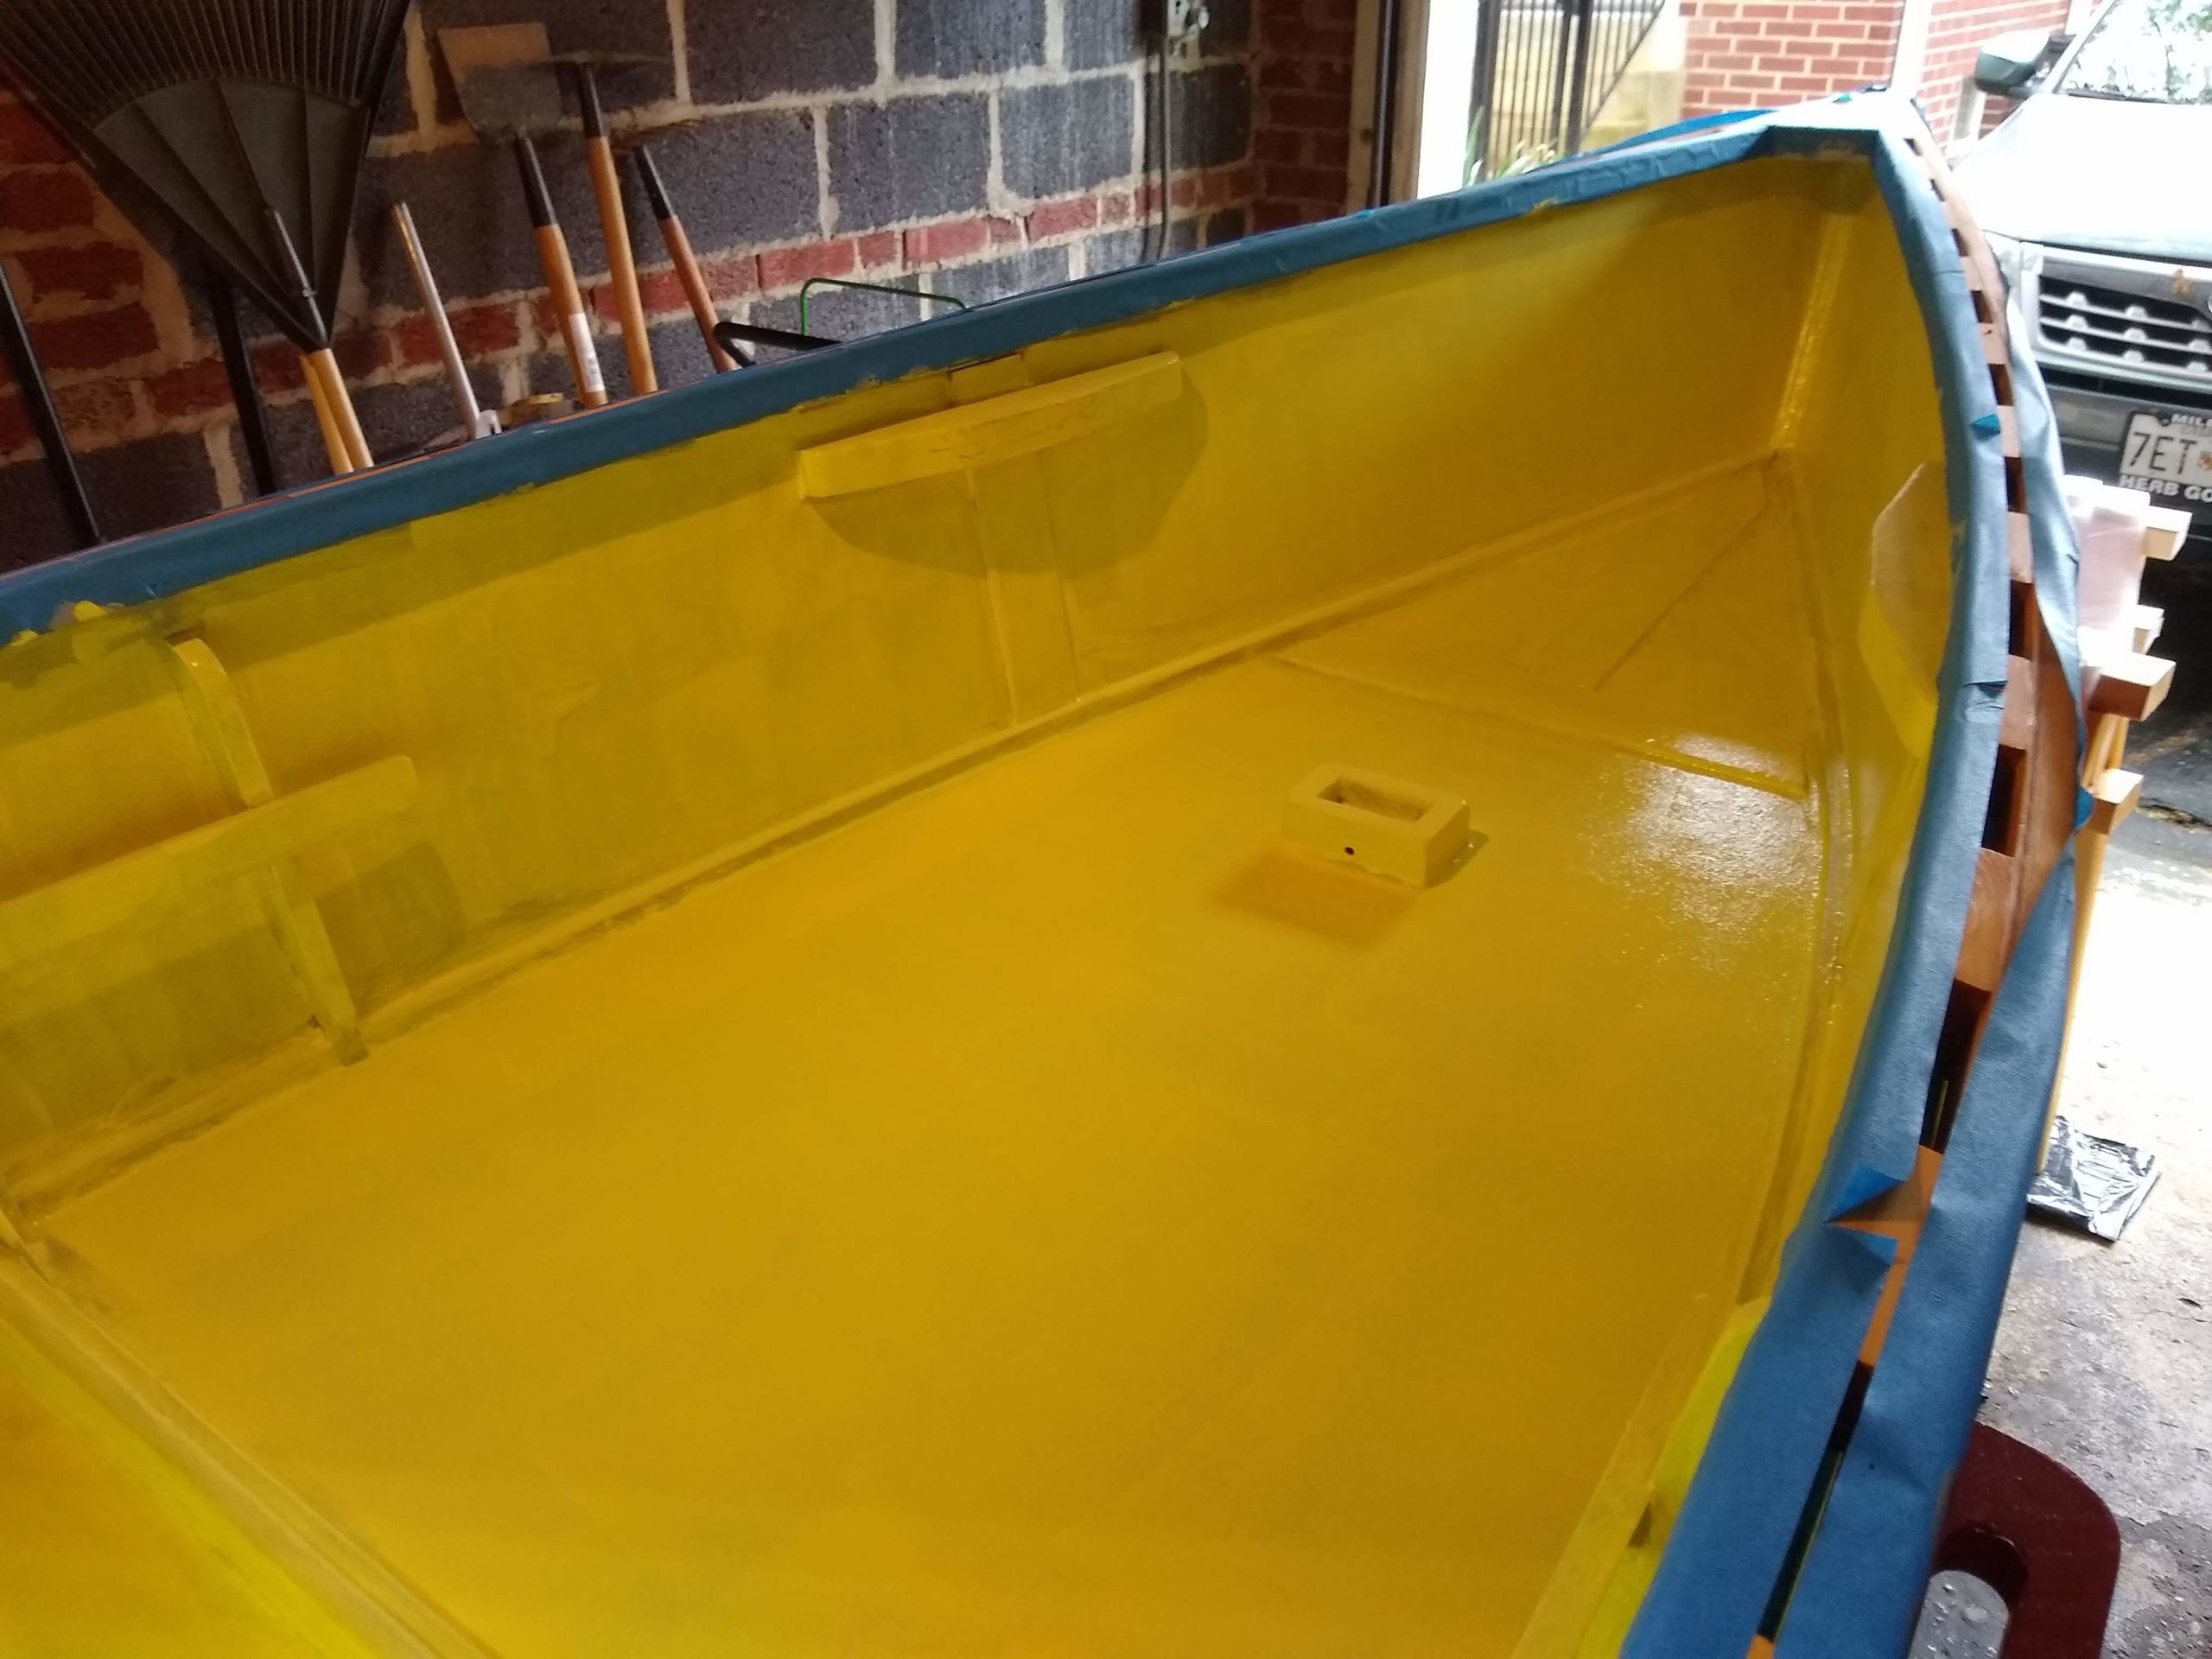
I put the fourth and, for damn sure, the final coat of yellow on the inside. And I painted the first coat of black on the metal wheel assembly parts.
Takes a lot of coats of yellow over gray primer, turns out.
I had to get a new brush and roller for the fourth coat of yellow. I’ve been meticulous about washing the brushes and rollers after each coat, but the 2″ sash brush and the roller had pretty much had it. The brush had little balls of gunky yellow inside the bristles up near the ferrule. And the roller looked like it was starting to shed a bit on the third coat of yellow, although the coat looked fine after it dried. Maybe those were just air bubbles.
Bright and cheerful, though, ain’t it?
But I didn’t want to risk screwing up the finish after working so long on it, so I got a new brush and roller. I couldn’t find a new 2″ brush that wasn’t angled, because, hey, I’m not painting sashes, so I got a 2-1/2″. I totally bought the wrong kind of roller, while I was at it, though. I thought I was going for a roller for a smoother finish, since I wasn’t painting over bare wood anymore but rather over 3 coats of primer and 3 coats of top coat. But whatever roller I bought was way fluffier, had way, way more nap than I would’ve wished. But I was careful and got the job done.
I also got some enamel top coat black spray paint for the gray-primed wheel assembly parts. I did 3 coats with just a couple minutes in between, but I’ll need to do that again for complete coverage.
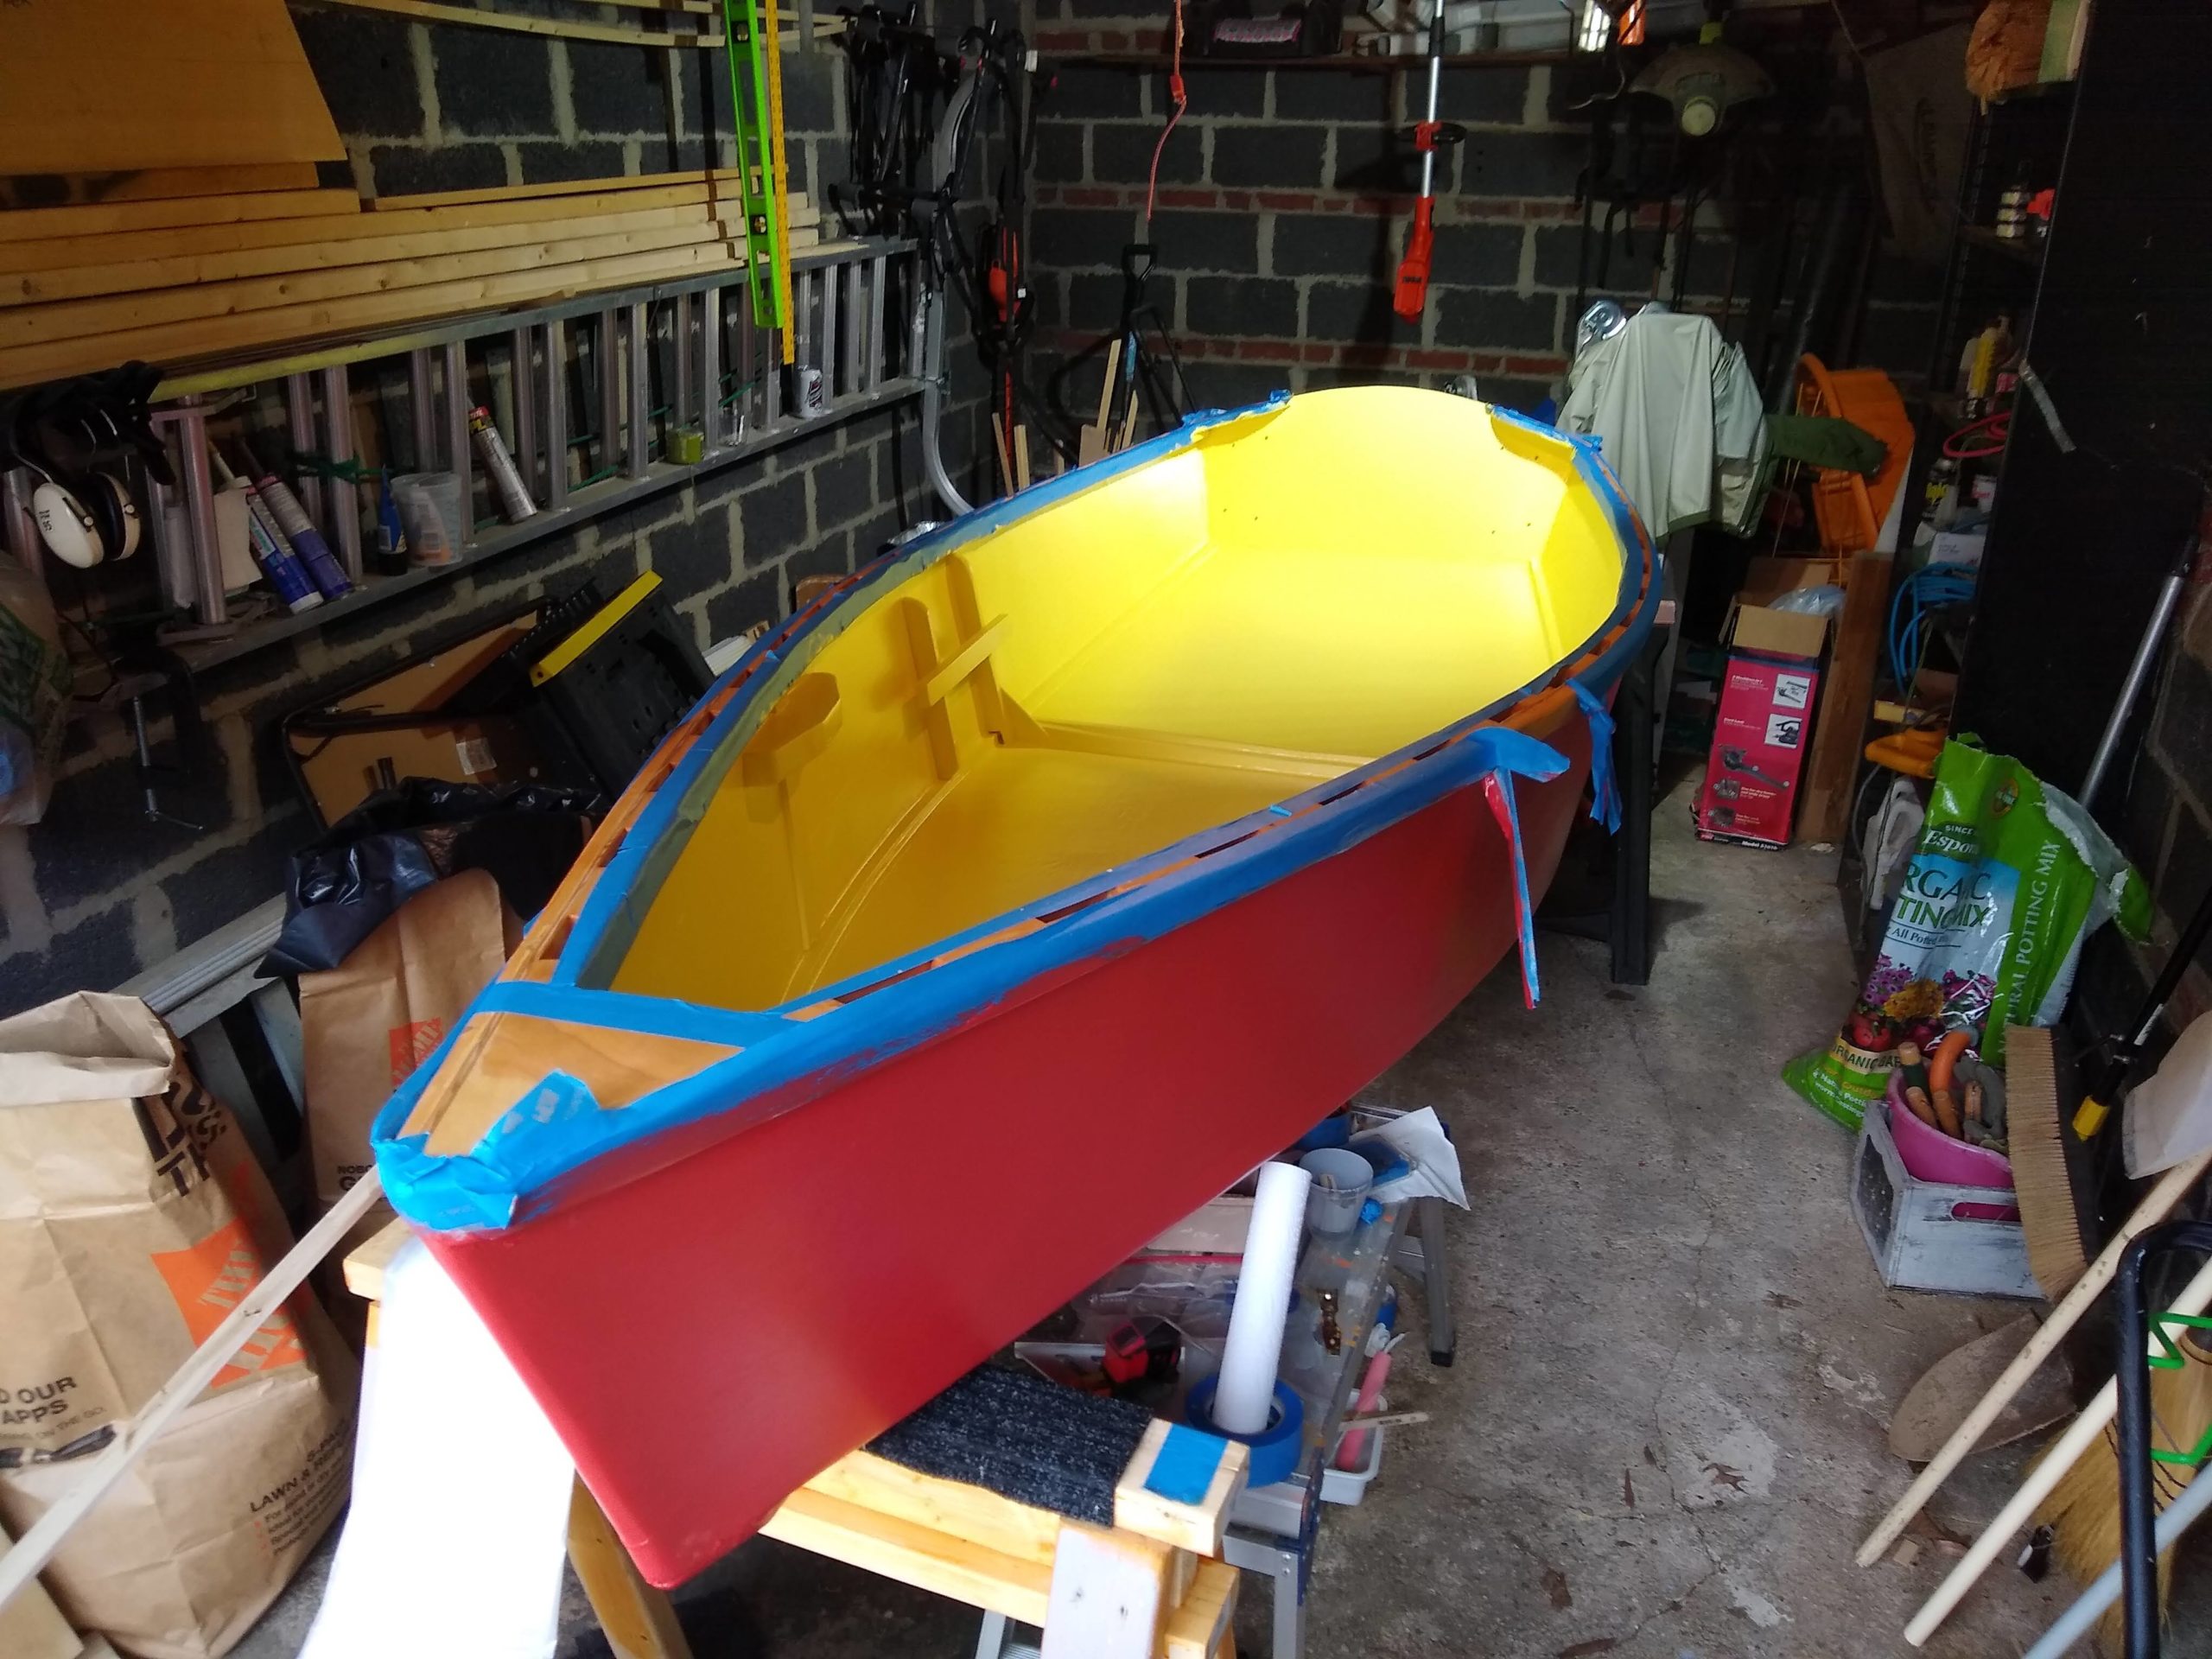
Starting to peel the tape off
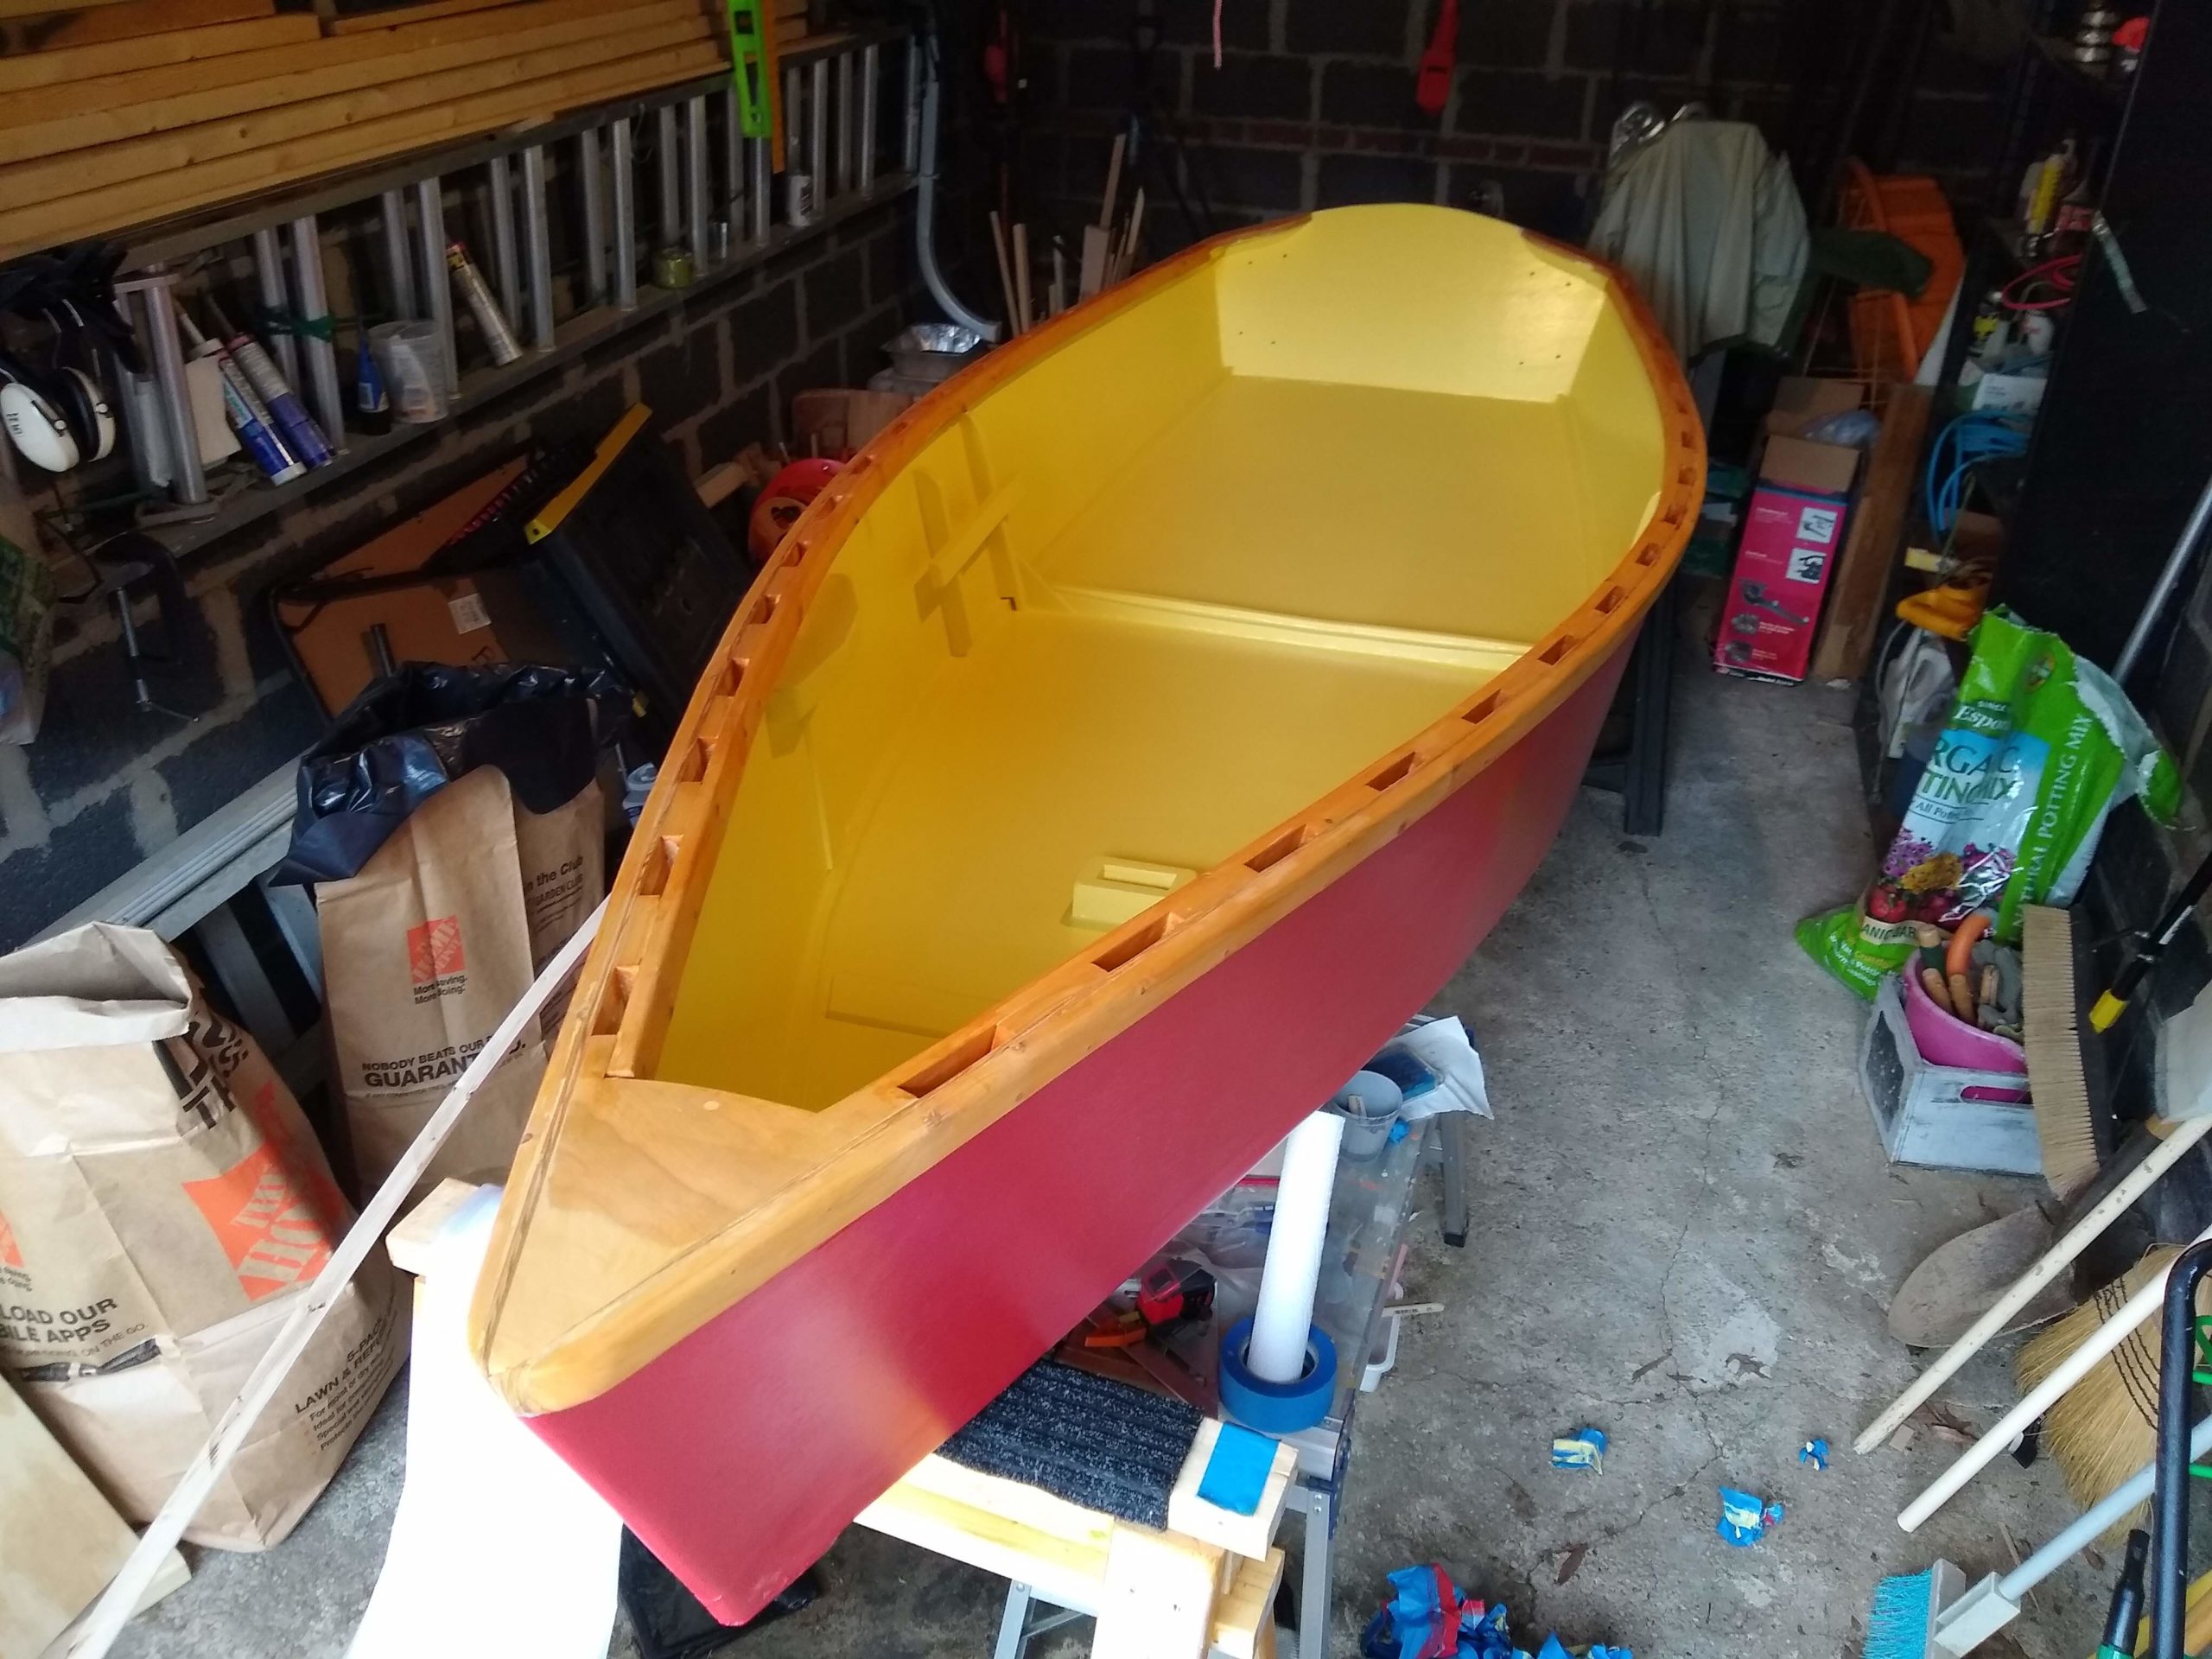
I let the paint dry a few days and finally, finally peeled off the masking tape. Wow, this boat is really just about done.
Most of the tape off the starboard wales
I found a number of spots that’ll need some touching up, especially around the transom and quarter knees. A little scraping maybe, or rasping or filing, and maybe some sanding, and then some touch up paint and stain and varnish. But little bits. Major painting operations have concluded.
Not much to say, really. I put another coat of yellow on the inside.
I was hoping that, like the outside, two coats would be enough, but the yellow doesn’t cover the gray primer as well as the much darker red did. So it’s going to need another coat.
Yellow covers much better in the picture here than it does in real life.
I did get a little smarter, in that I tried more to paint going from lower to upper, so as to minimize the time I was reaching over wet paint to apply paint somewhere else. I did not get any paint on my arms. Well done, me.
Yep, it’s yellow.
I also decided that I would indeed put a top coat over the gray primer on the aluminum parts for the wheel assemblies. I think black would be nice, so I’d have red and yellow and black, which along with the white that the sail is going to be, is the colors of the Maryland flag.
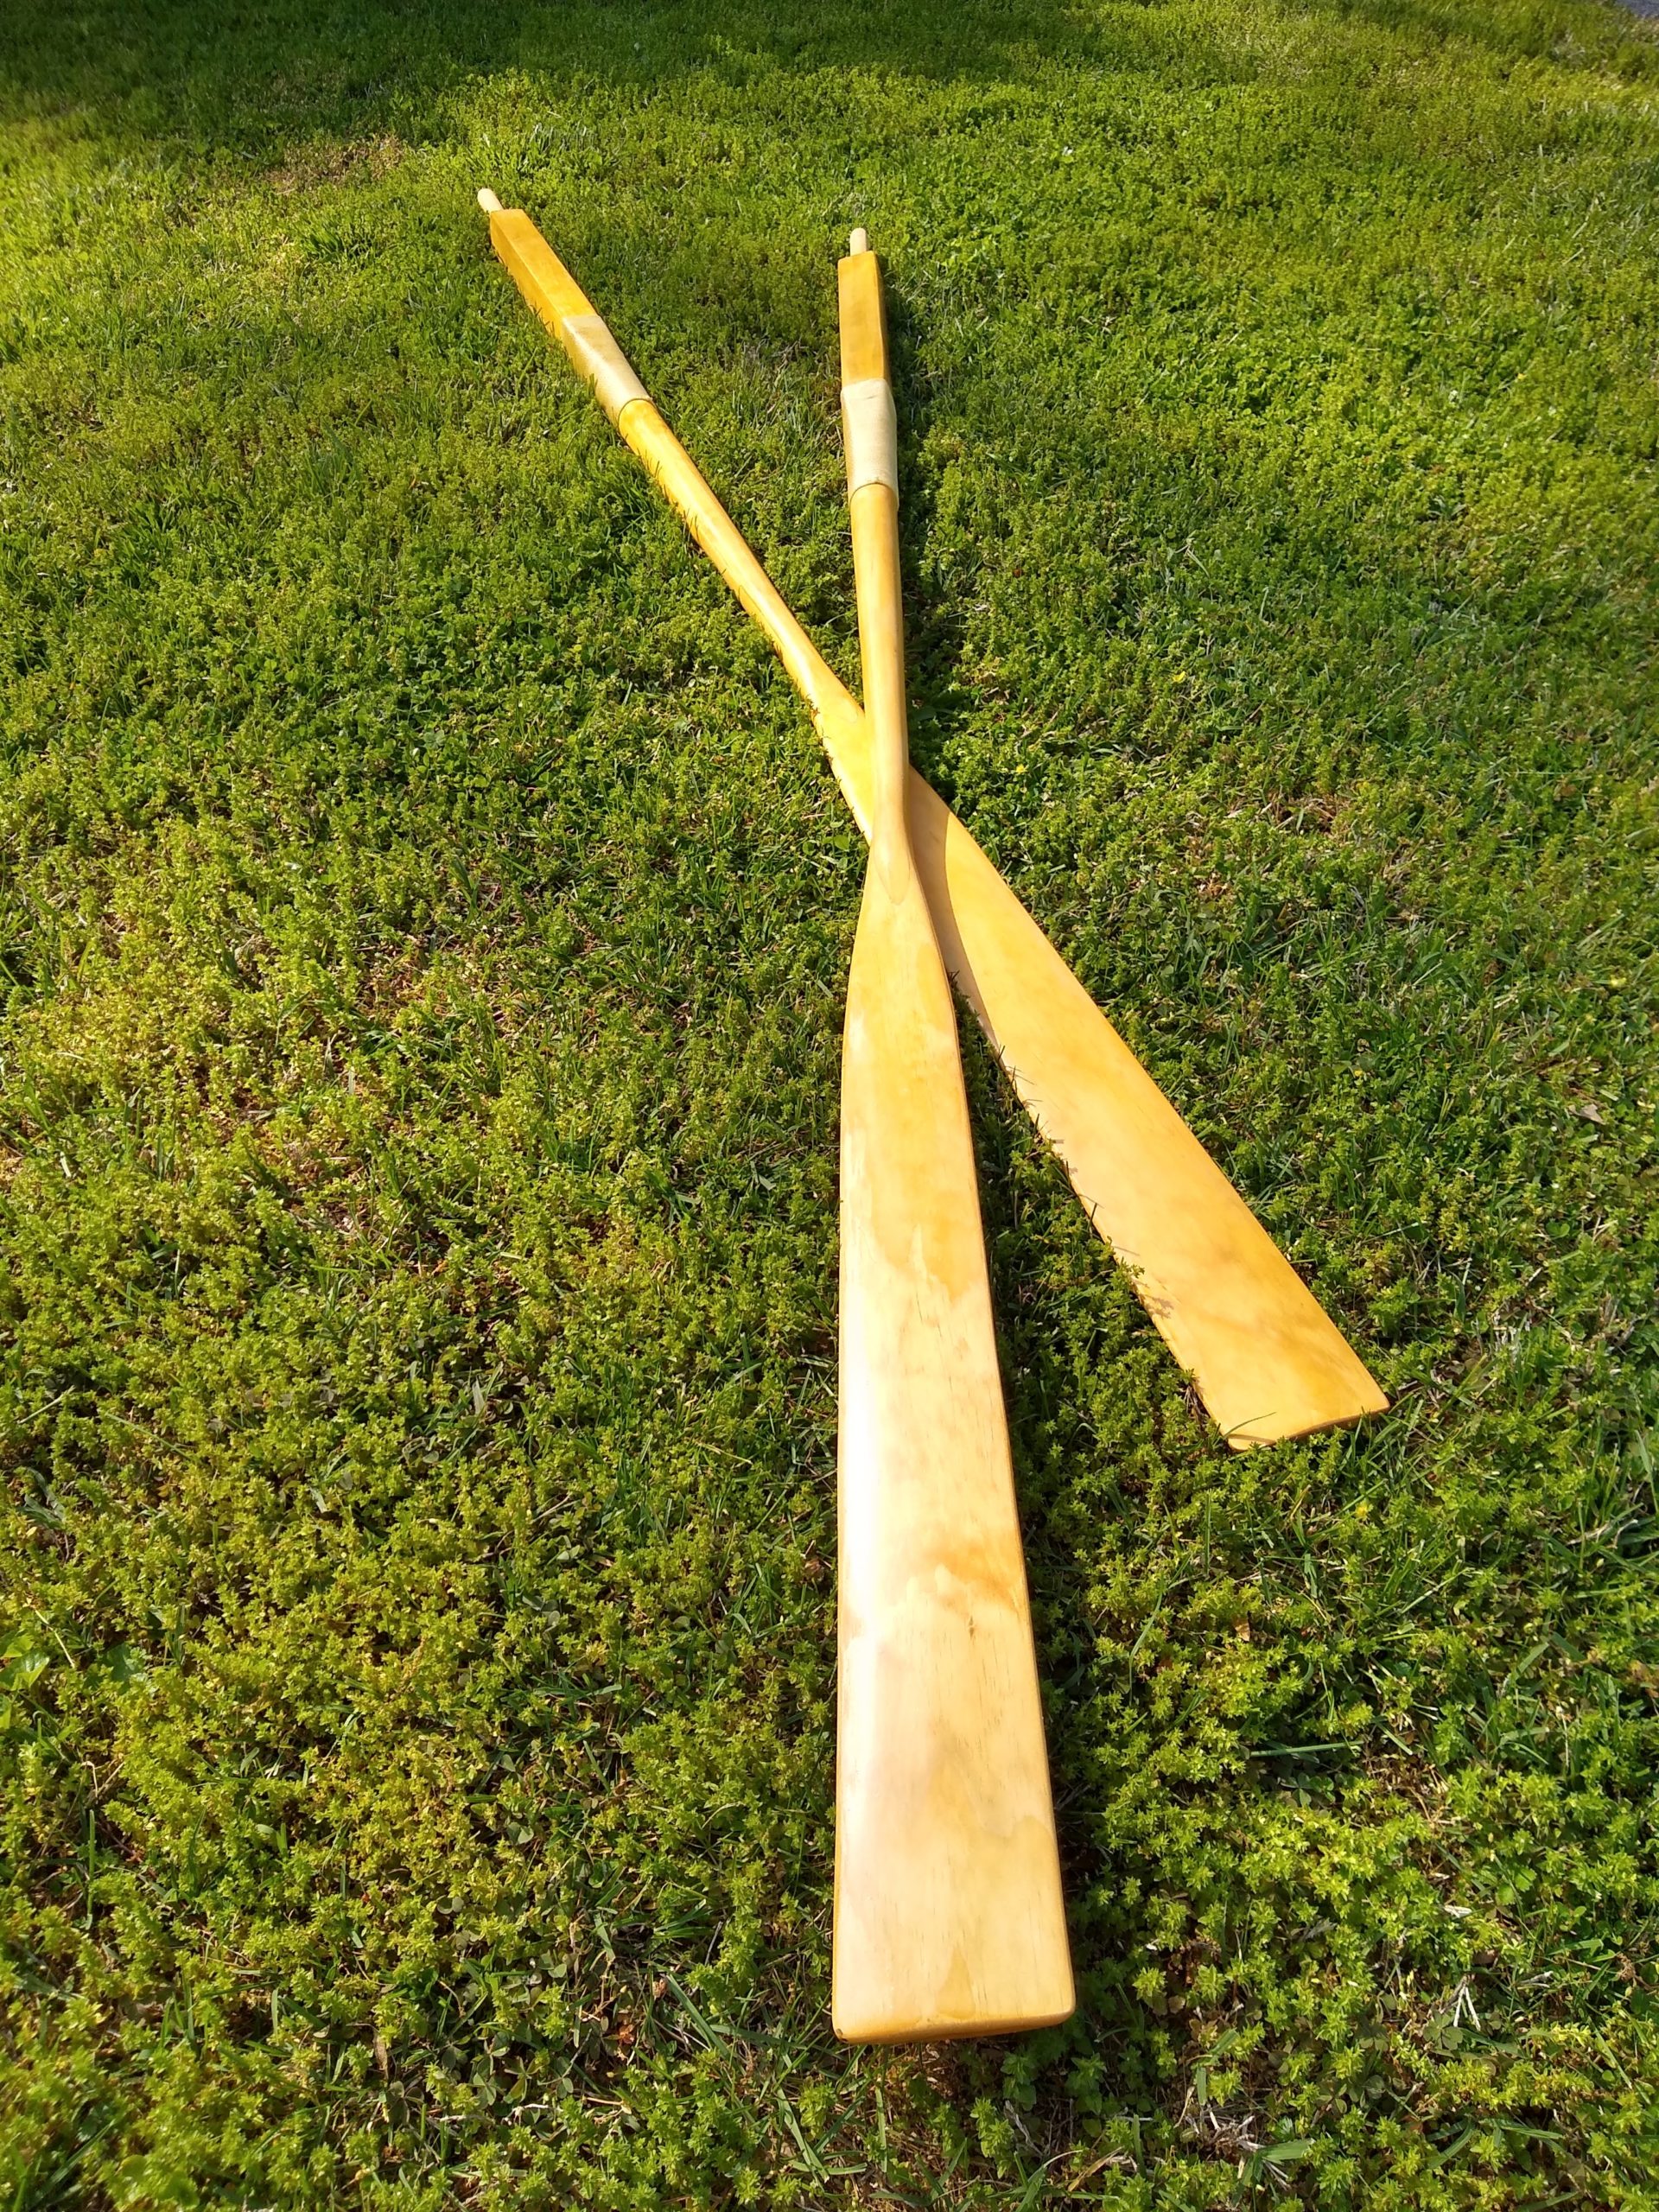
I finished with the last coats of varnish on the oars, and I painted the first coat of yellow on the interior of the boat.
I never did figure out a way to put a whole coat of varnish on an entire oar in one lick. Best I was able to do was like half an oar at a time. And not like one side, but more in the way of doing the blade and the leathers in one go, and then the other parts of the loom in the other go. So three coats of varnish took six application sessions. And they’re done now.
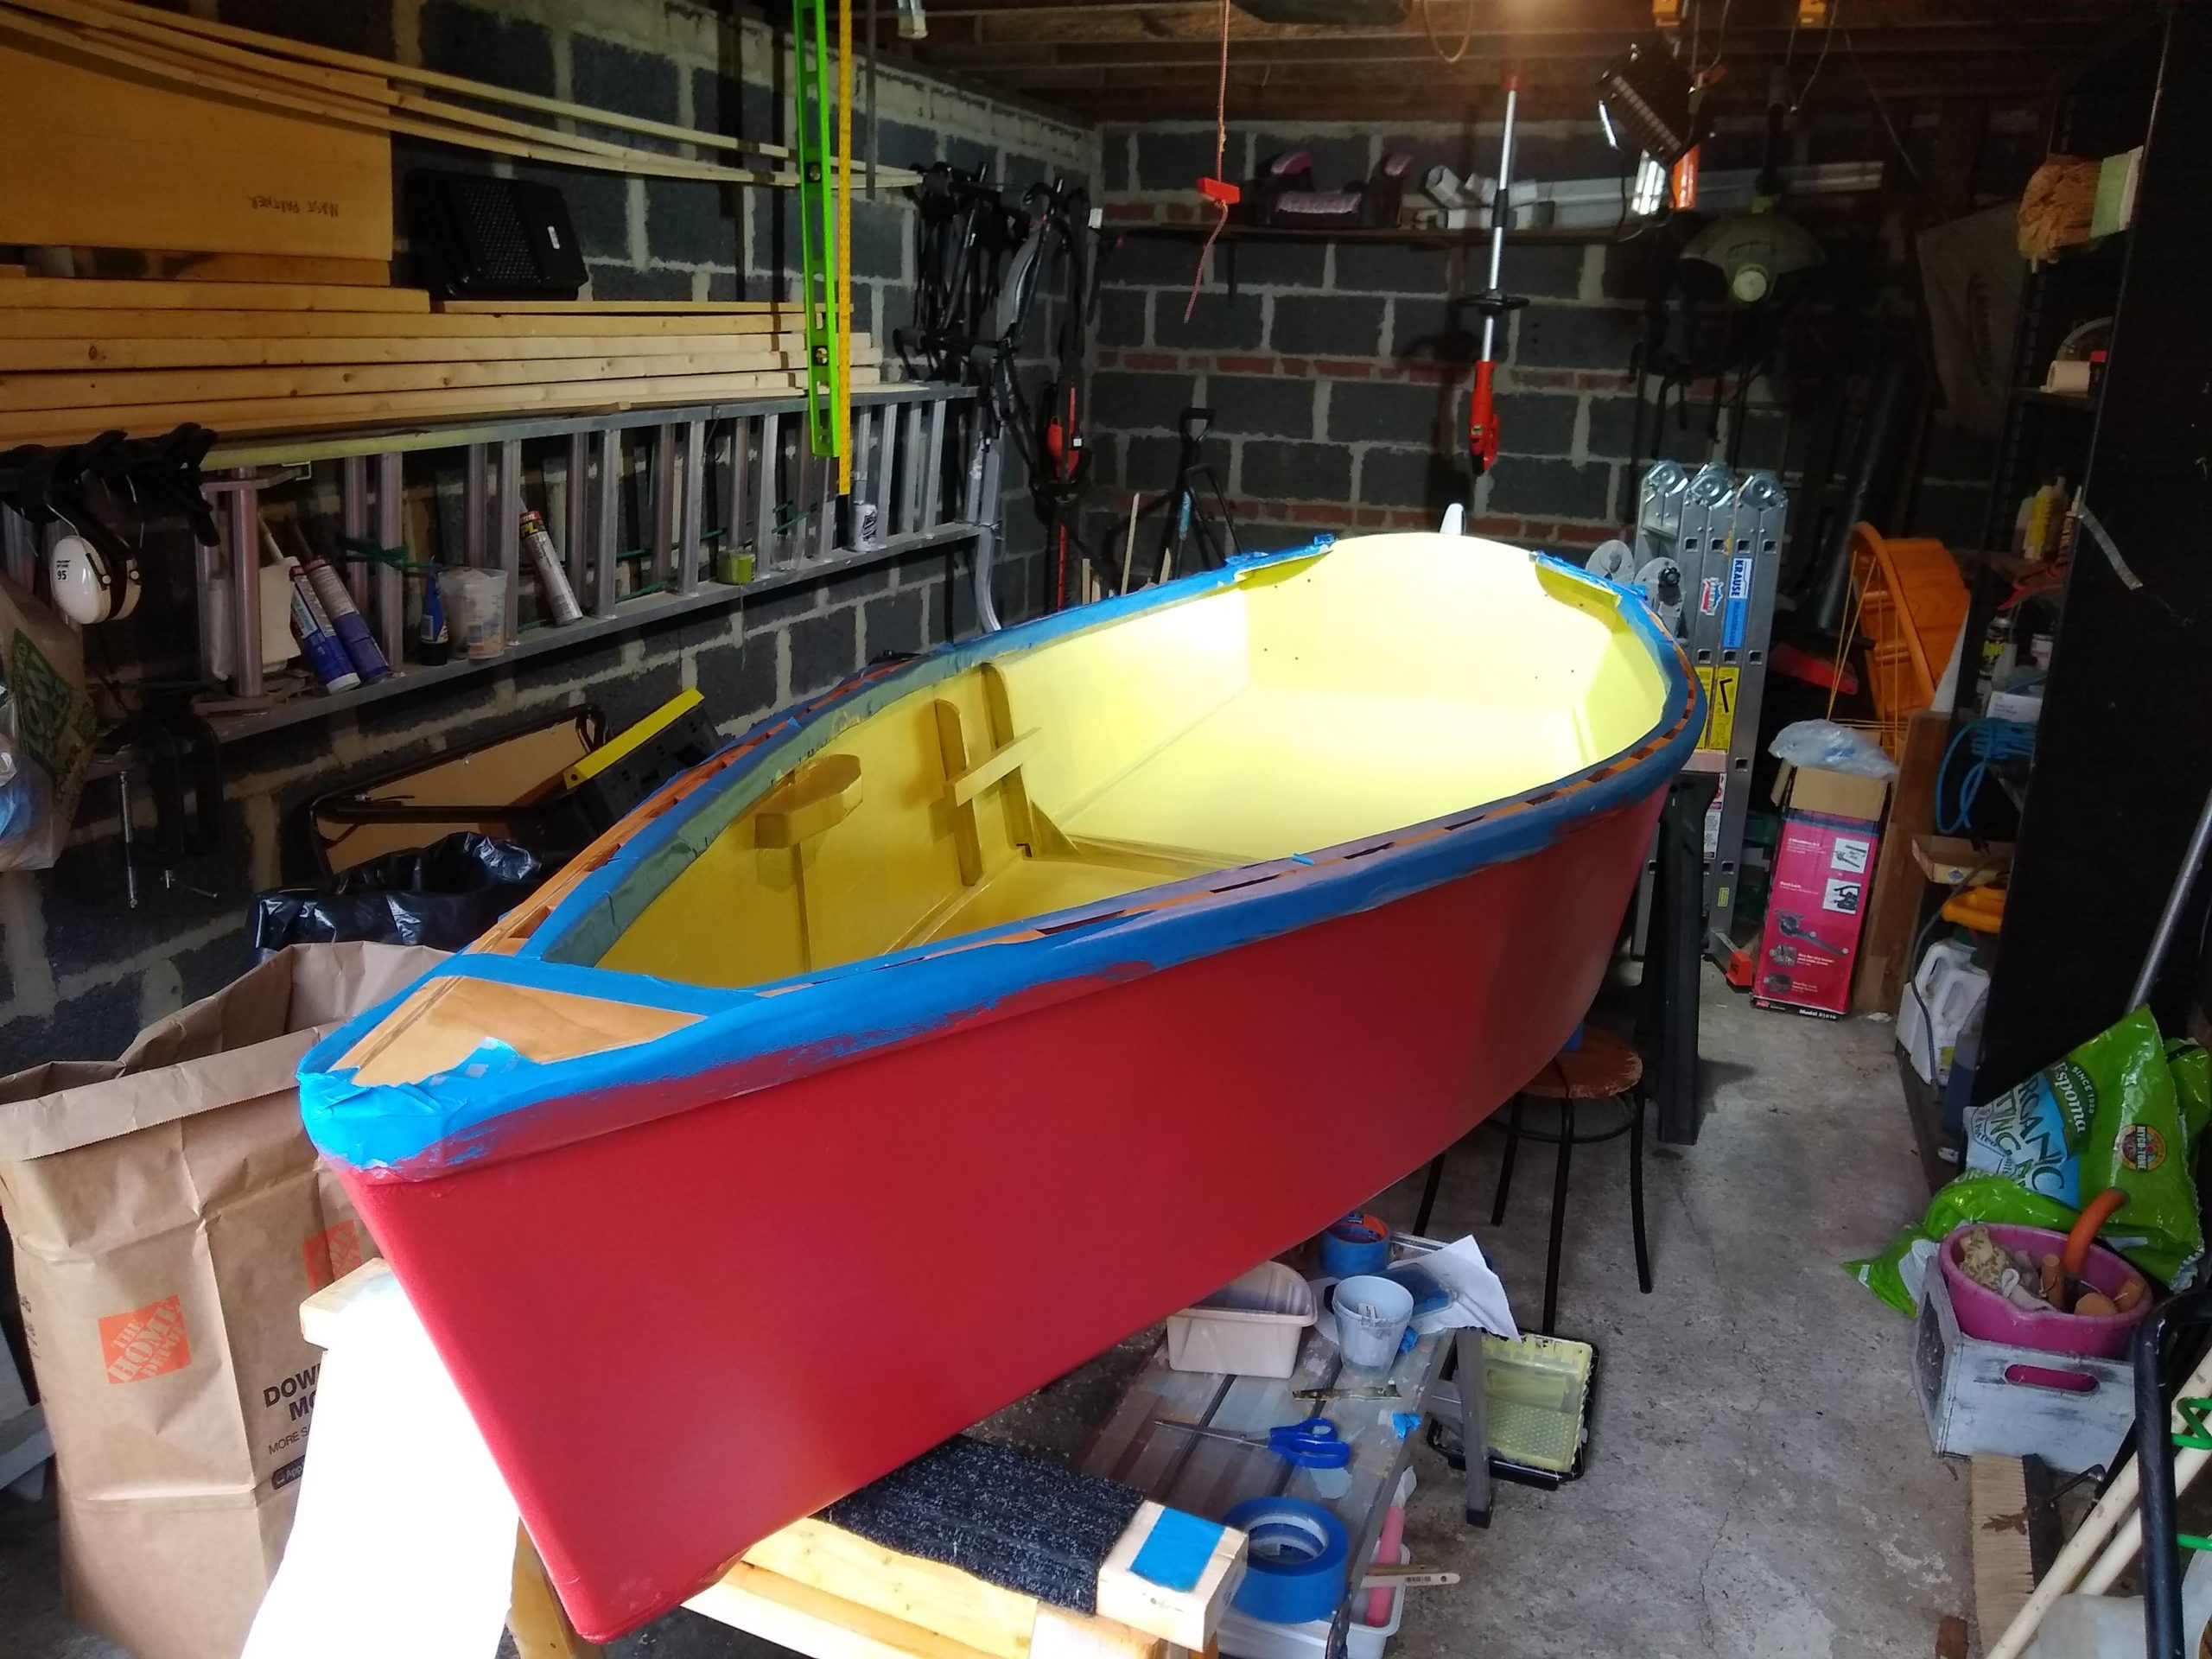
Red and yellow boat
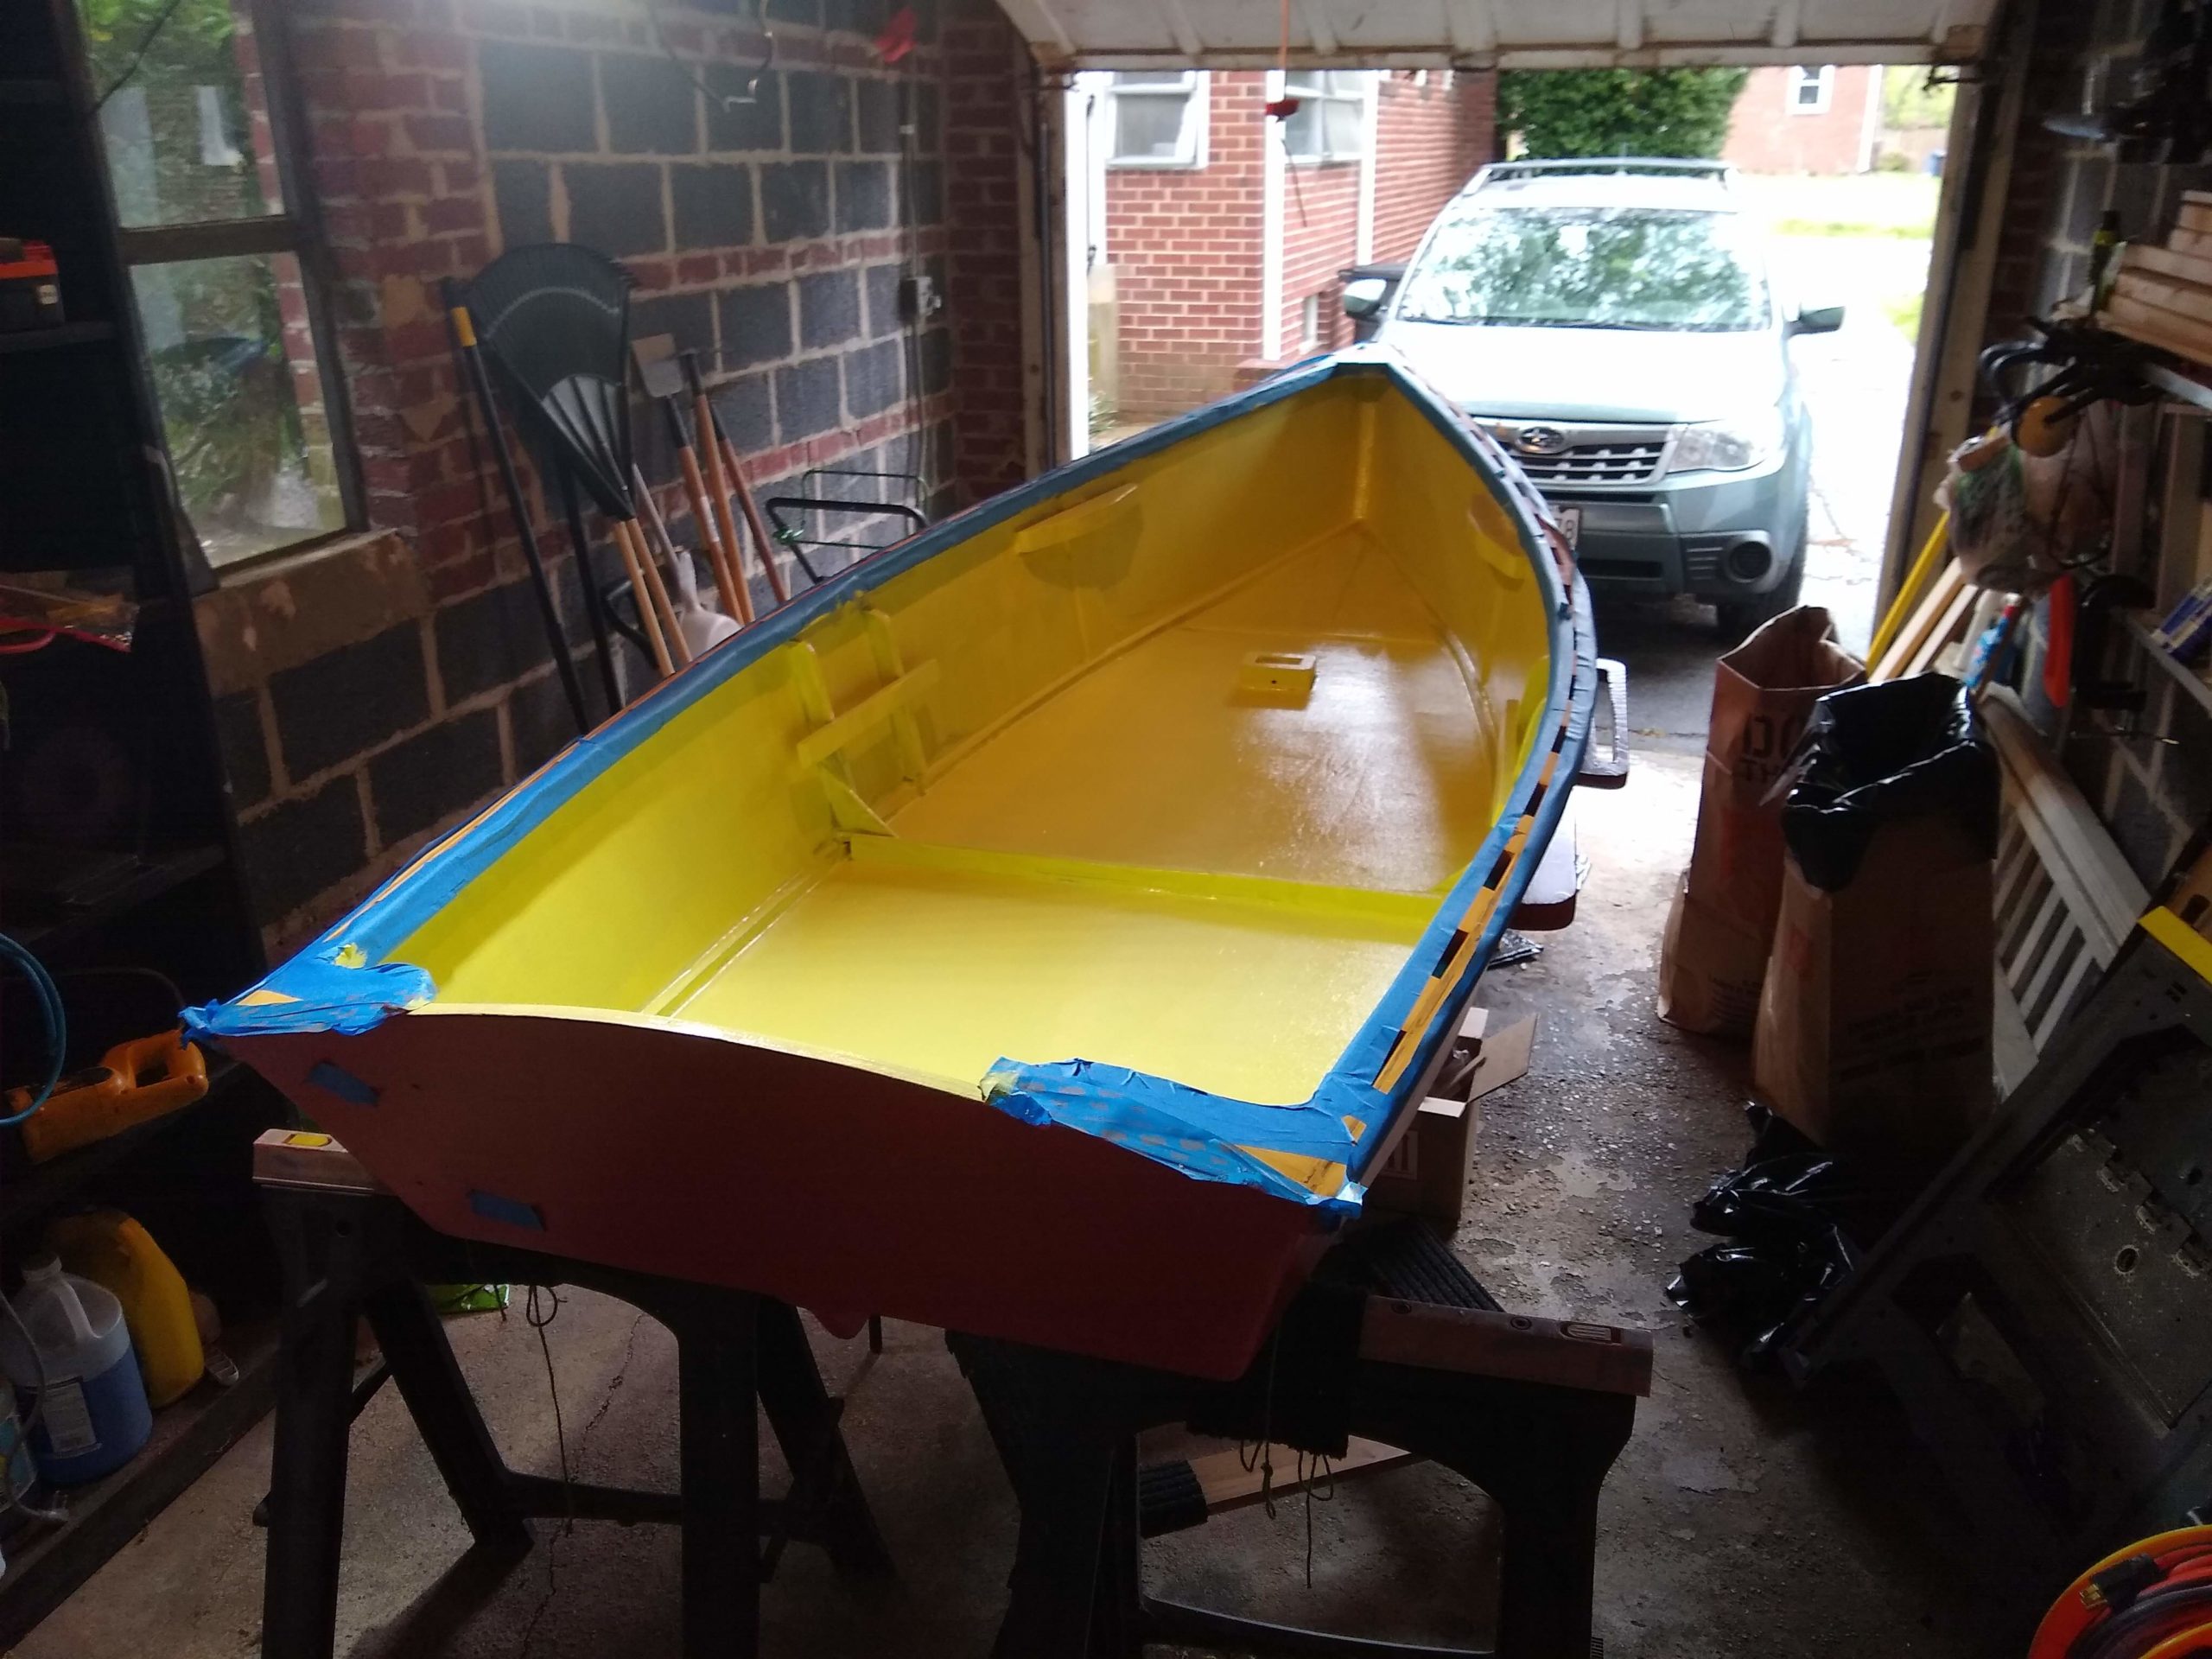
And I finally braved painting the inside of the boat. I think a big part of my reluctance to paint the inside was how the inside of the boat collects dirt and gritch and such. It was easy enough to blow all that off the bottom and sides of the boat when it was upside down, and it’s not so easy to get it out of the boat when it’s right-side up and catches all that stuff like a big bucket. I finally dragged the vacuum out to the garage and sucked up all the stuff inside the boat.
View from aft
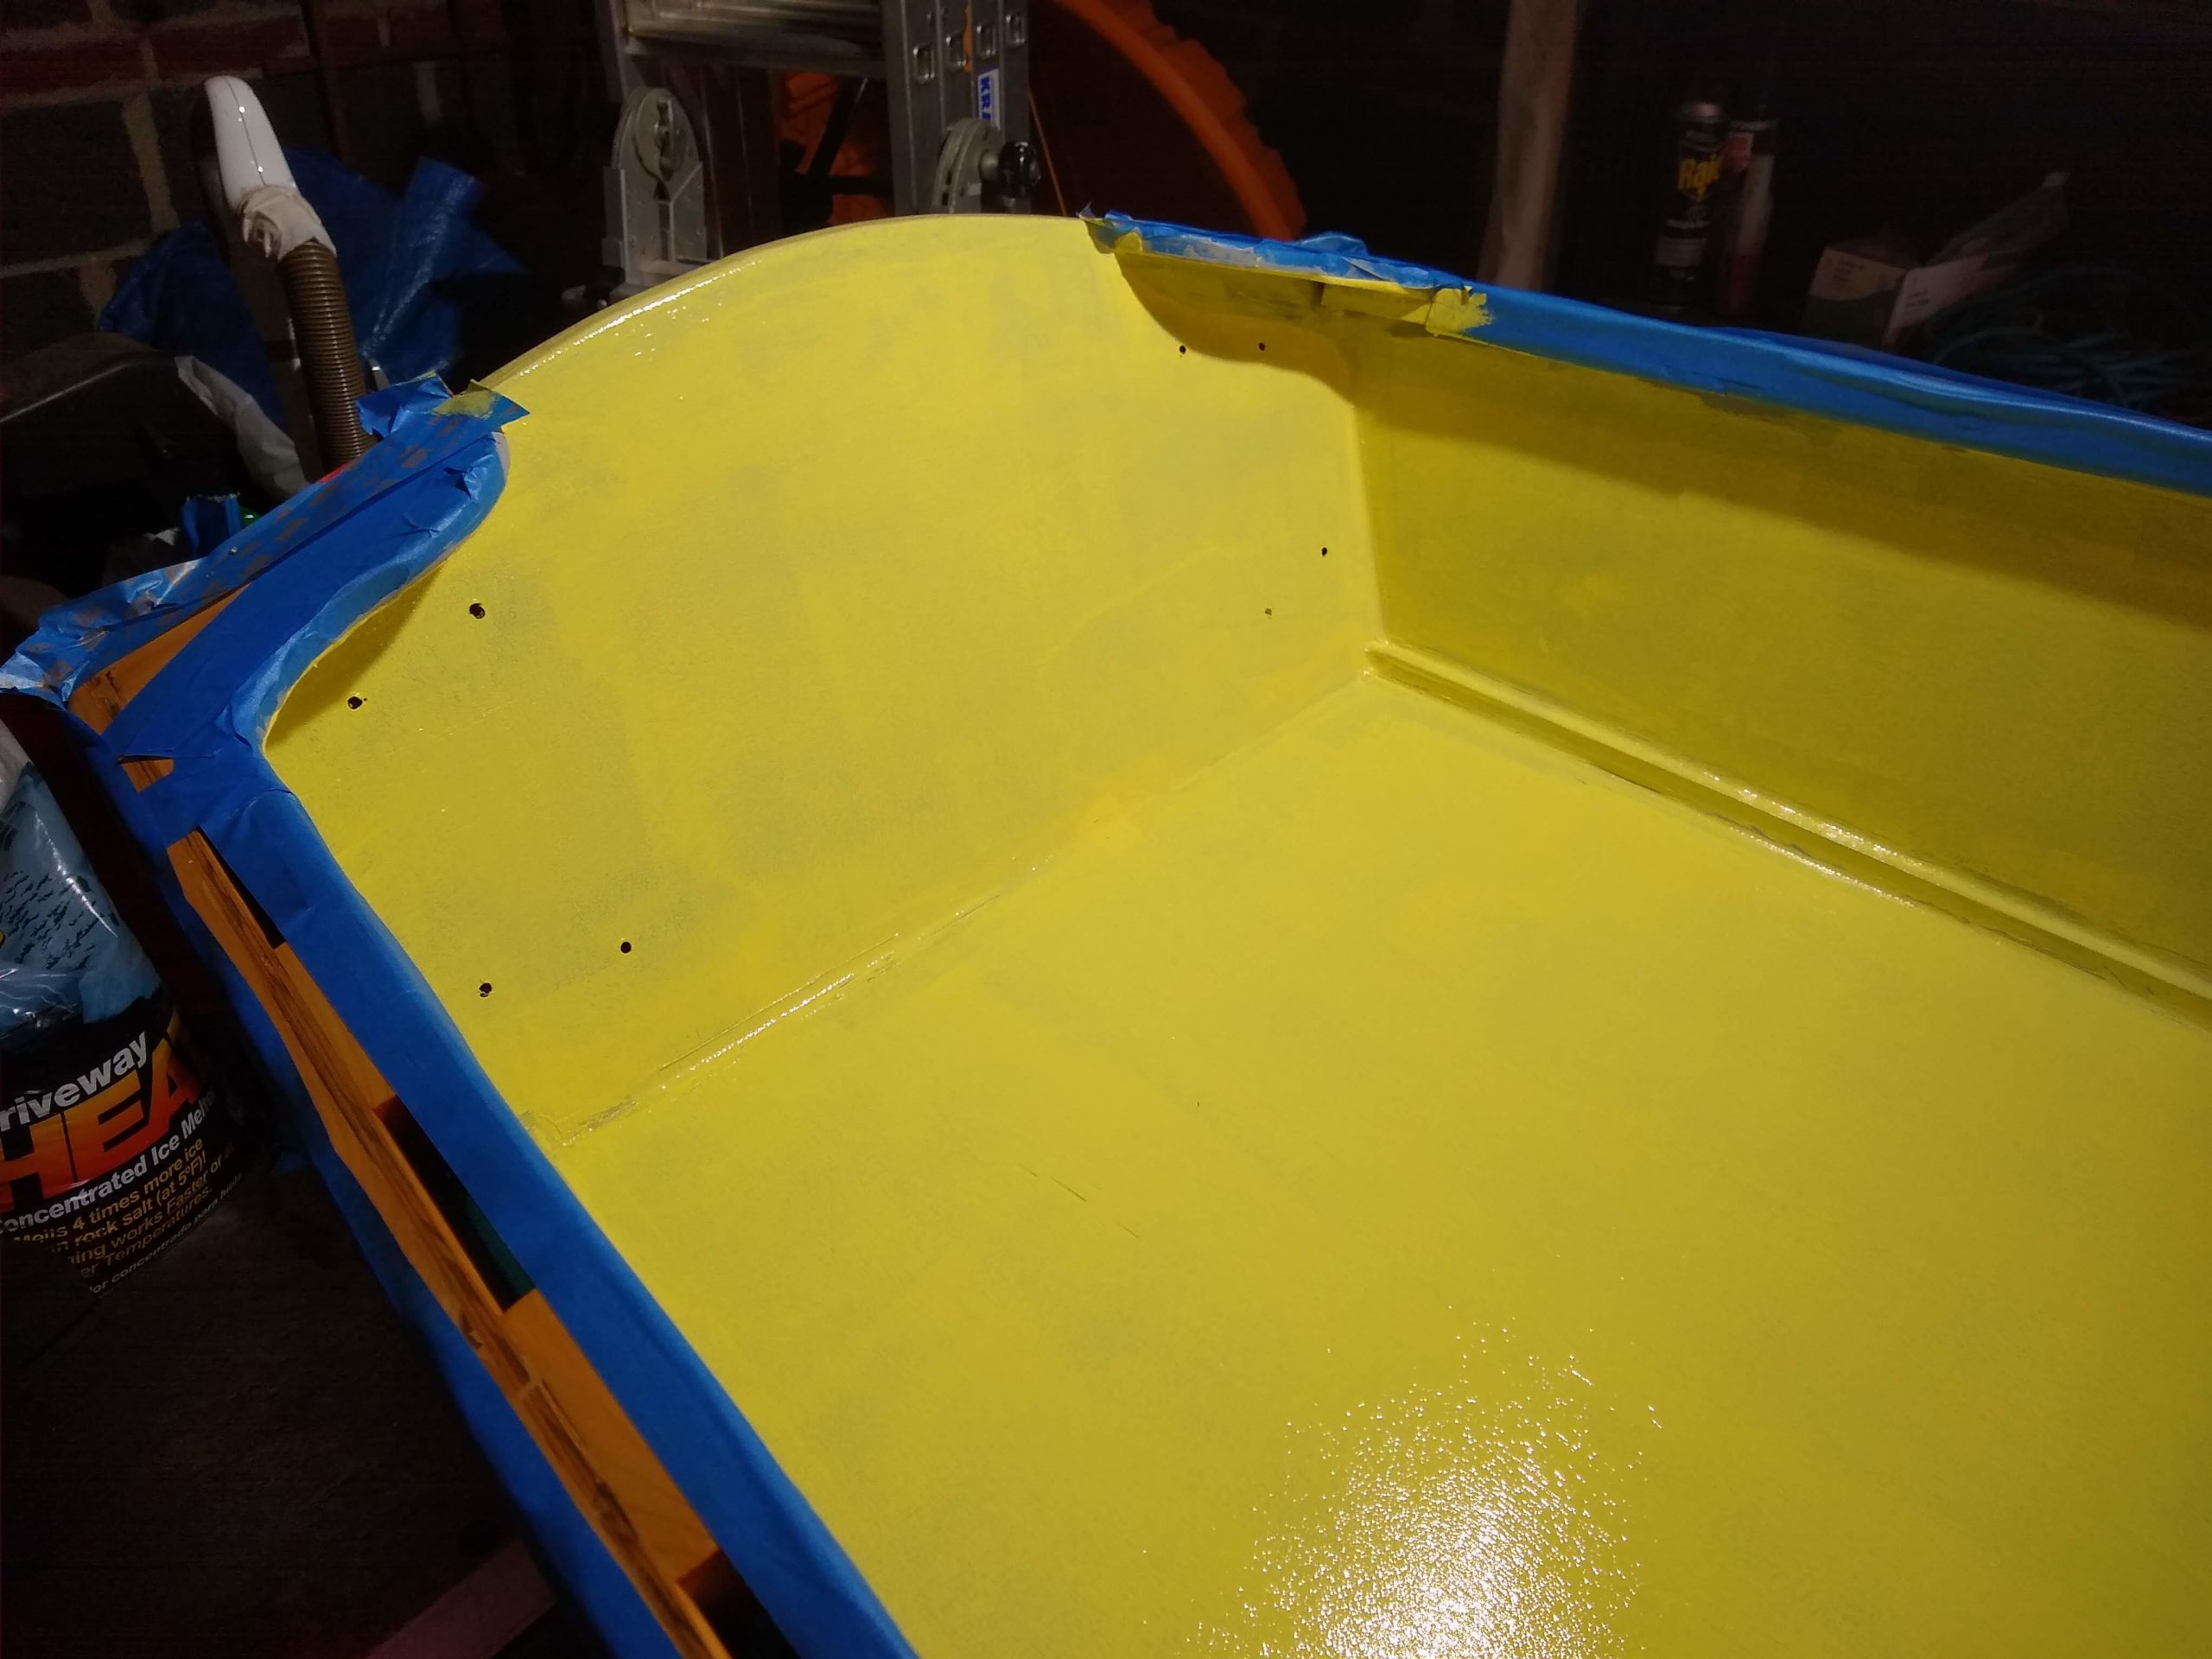
And with that I put down the first coat on the inside. It looks a little better in the pictures, at least the small thumbnails inline the text here. But it surely needs another coat. I hope just one more coat.
Close-up aft
I’d had some ideas as to painting the inside of the transom red, but I got lazy and didn’t. It would have involved taping between the transom and the rest of the inside getting the yellow, as well as taking two more weeks at least doing more red. I’m not sure I even remember why I wanted to do two-tone inside the hull. I think maybe it had something to do with the aluminum parts for the wheels being on both sides of the transom. Yeah, I think that was it.
I slapped another coat of varnish on the oars, and I primed the aluminum parts that make up the wheel assemblies.
The first coat of varnish bubbled a little, so I knocked it down with some 0000 super fine steel wool. I’m much more used to applying varnish by just wiping it on with a rag rather than using a brush. But the instructions on the can say to use a good brush or to spray it on. I don’t have a spray gun, and neither do I have a setup to being spraying such big pieces of work, so ergo I’ve bought and am using a good brush.
I feel a little guilty, too, using an oil-based varnish rather than water-based. I’m being good, in that, after cleaning the brush after each use with mineral spirits, I’m collecting the waste cleaning fluid in an old Mason jar. But, still, I feel like a terrible environmentalist.
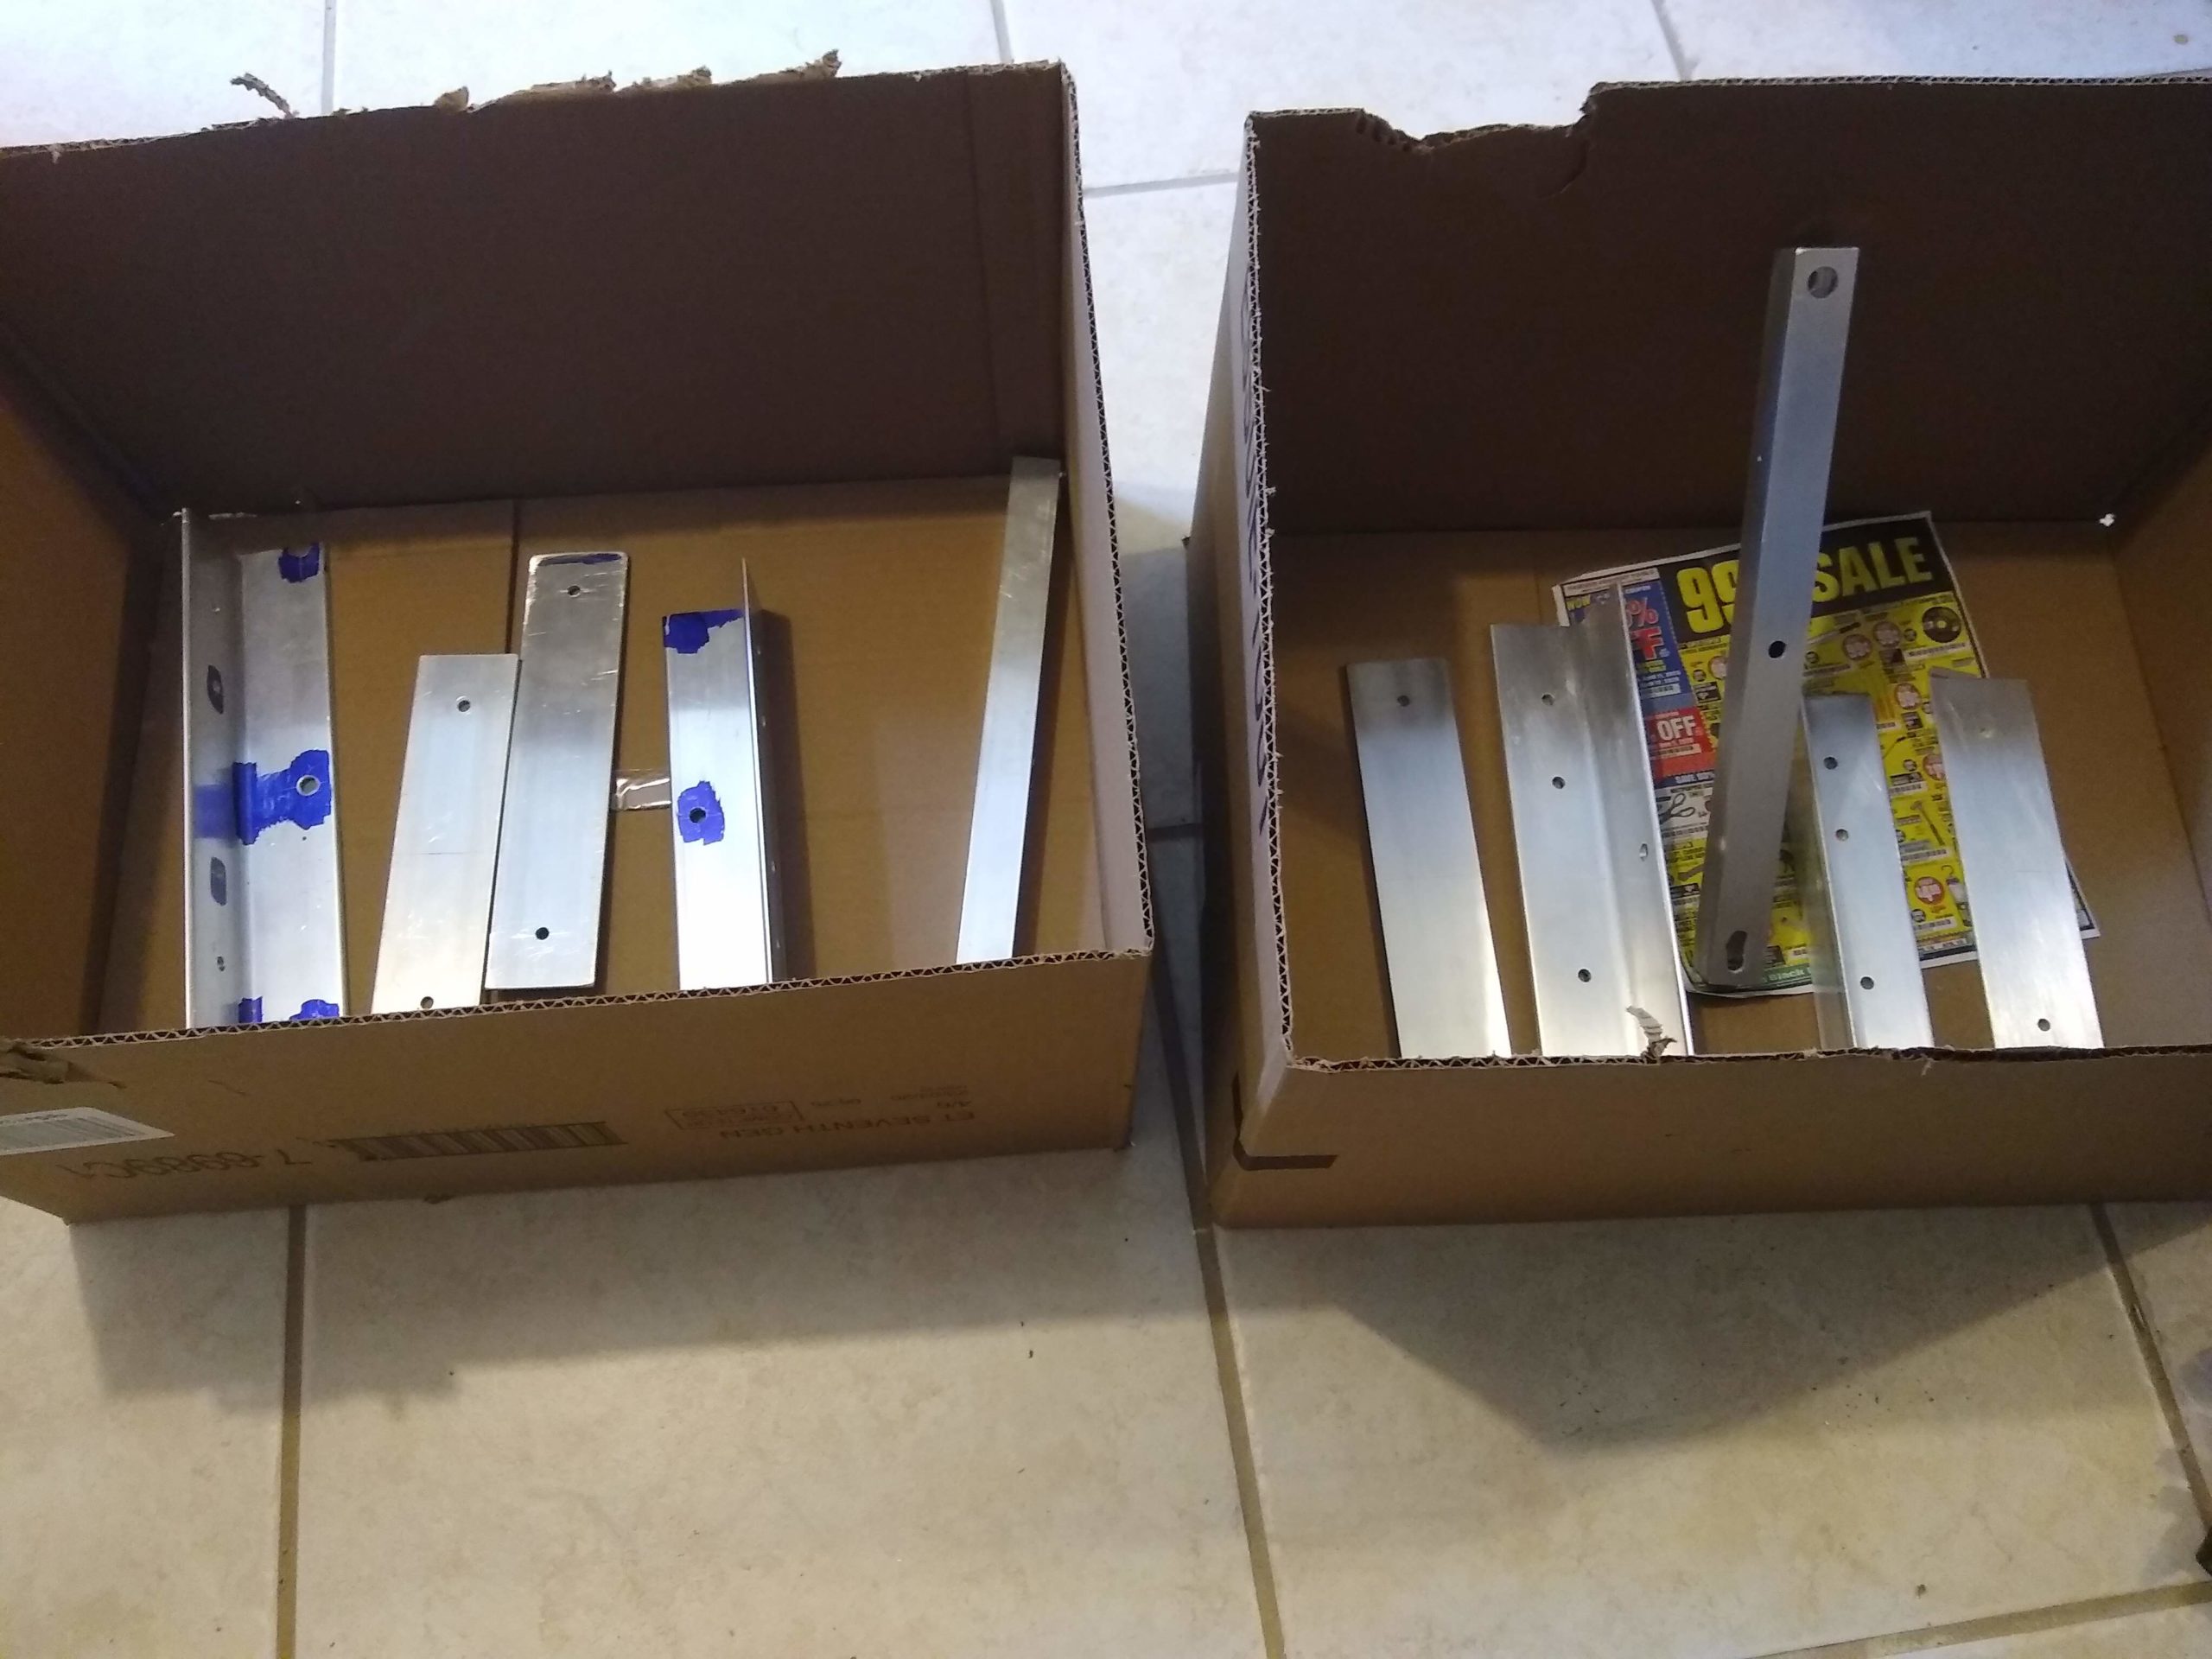
I also cleaned up and painted the aluminum parts. I’d been worrying some as to how to remove all the blue layout fluid that remained, but 220 sandpaper and a not insubstantial amount of elbow grease did a fine job. The sanding removed a lot of the surface scratches and blemishes while it was at it, although it didn’t remove quite all of the scribed lines from layout. But the three coats of etching primer did a pretty good job of filling those, as it turned out. The parts look great.
Some parts sanded clean, some parts not yet
I did the painting in the outside basement area beneath the back porch, but the smell of the spray paint wafted into the house all the same. Tala thought it smelled great, while Dawn hated it. And, like I said, the parts look great.
Some parts primed, some parts not yet
The darkish gray primer looks really good by itself. I’ve been planning to do red or yellow or both top coats, but now I’m thinking of leaving them as it.
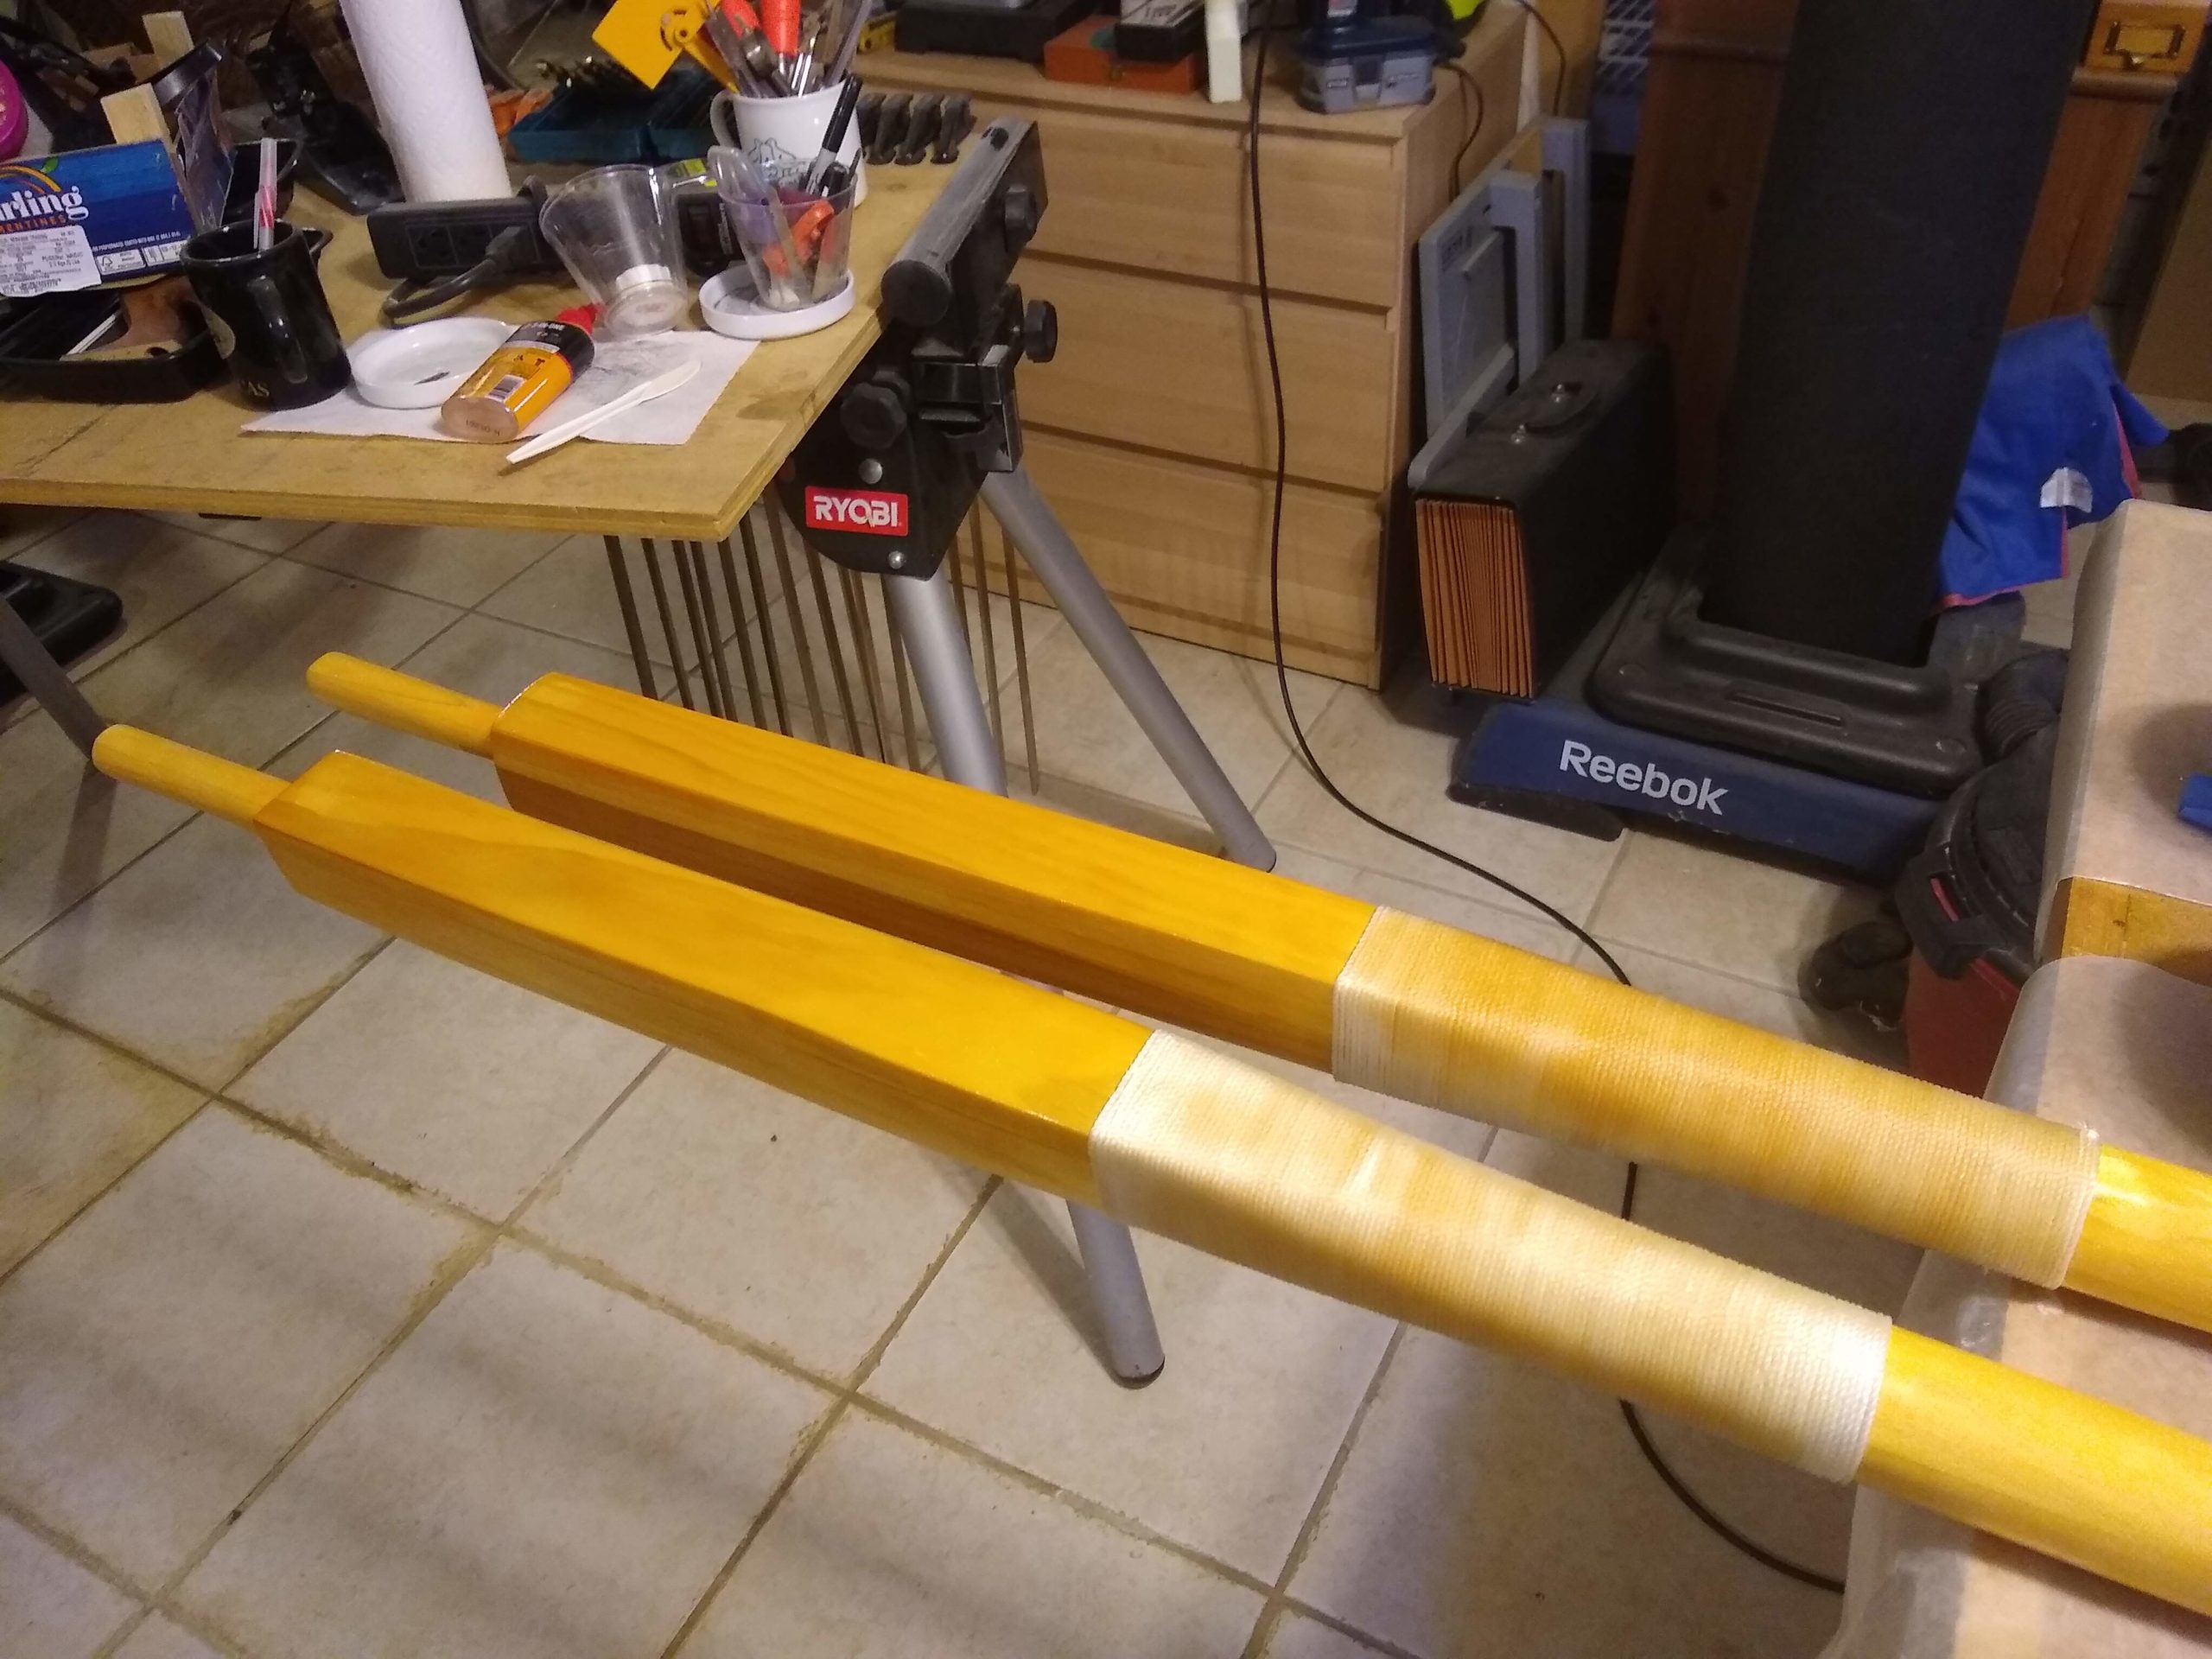
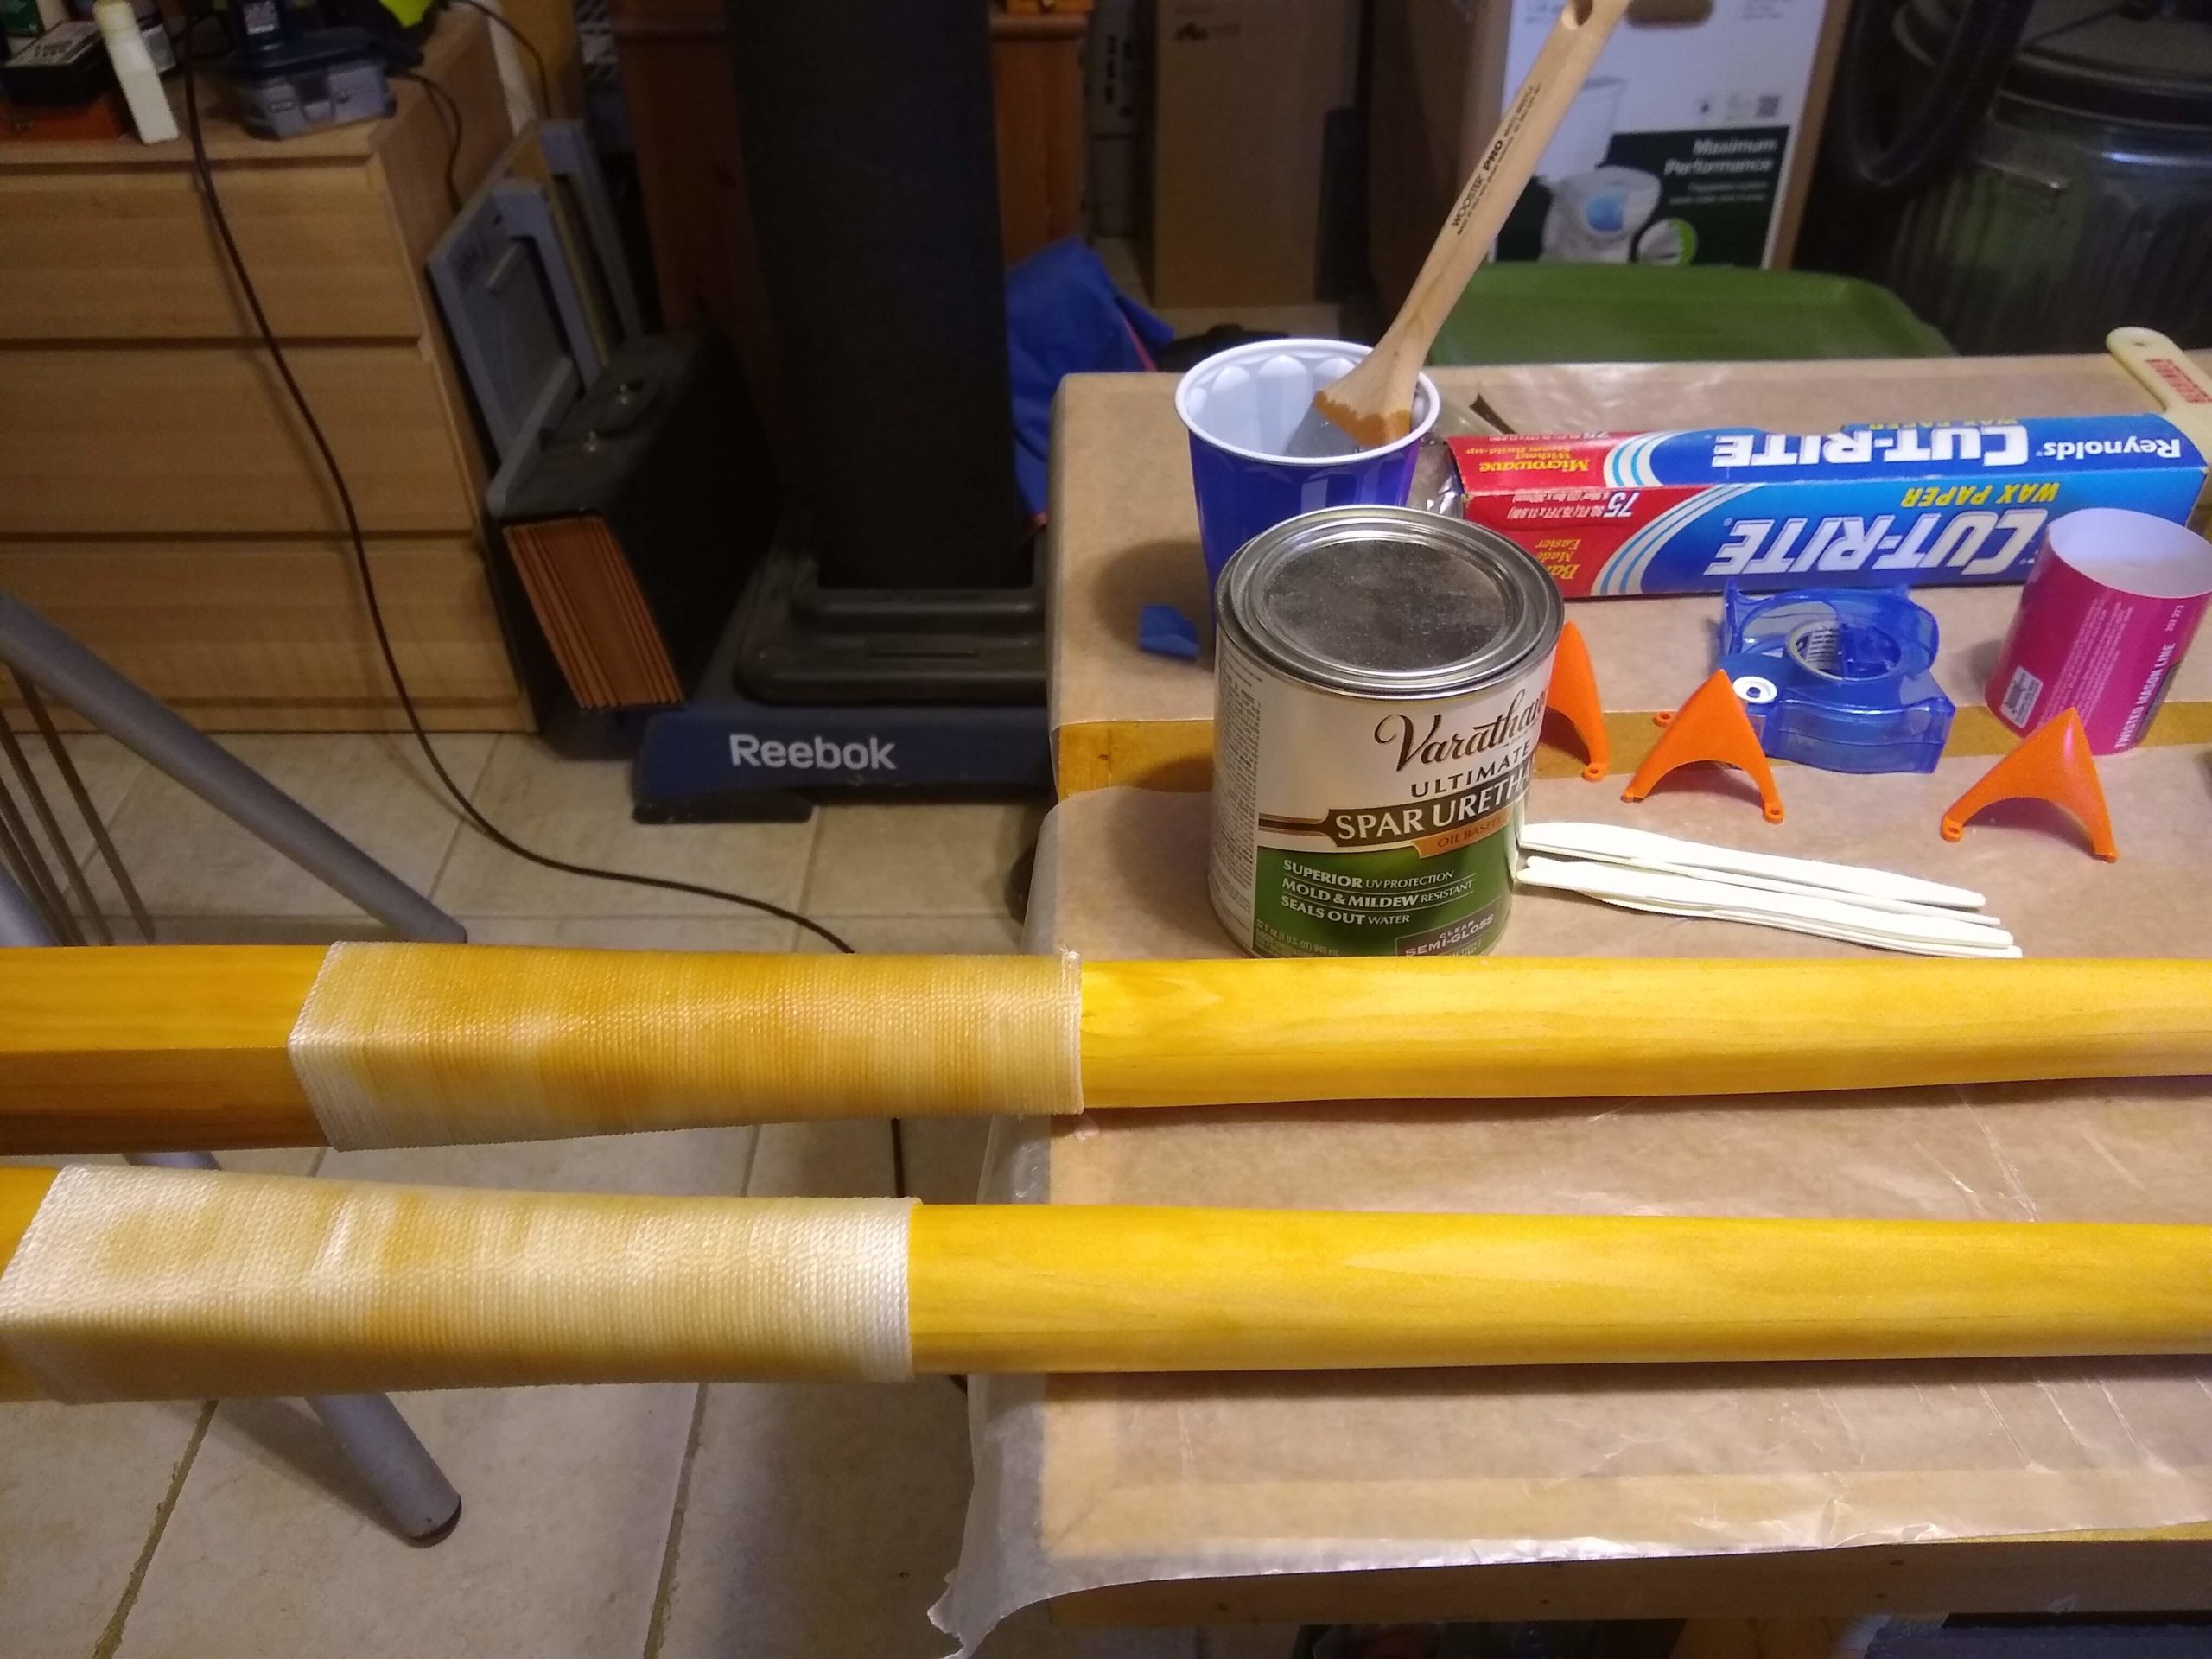
One last thing that I had to do, before varnishing the oars, was to install collars where the oars will sit in the oar locks. Such collars are traditionally made of leather; indeed, Jim Michalak calls them “leathers.”
He doesn’t use leather, though, for the leathers. Instead he uses synthetic masons twine. So, then, as do I. He varnishes the twine along with the wooden oars, except for leaving the handles bare. Again, then, so do I.
It’s a little harder than I’d planned, getting the slippery twine wrapped around the slippery shaft of the oil-stained loom. He says to secure the ends with knots, but the best way I find to begin the wrapping is to wrap the twine over itself, trapping itself tight underneath. This works just fine at the beginning of the wrap, but there’s no way I can do it at the end. On the first oar, I handily have a singed end just the right length to hitch around and bind where I want it to end. The second oar takes a little finagling but ends up ending the same way.
Upper looms and “leathers”
Then it’s time to varnish. The synthetic twine doesn’t soak up the varnish as well as I’d like, and the dark varnish turns the white twine a sickly baby poo brownish yellow. But, the first of a planned three coats is on and left to dry.