Week 62: Varnish & Yellow

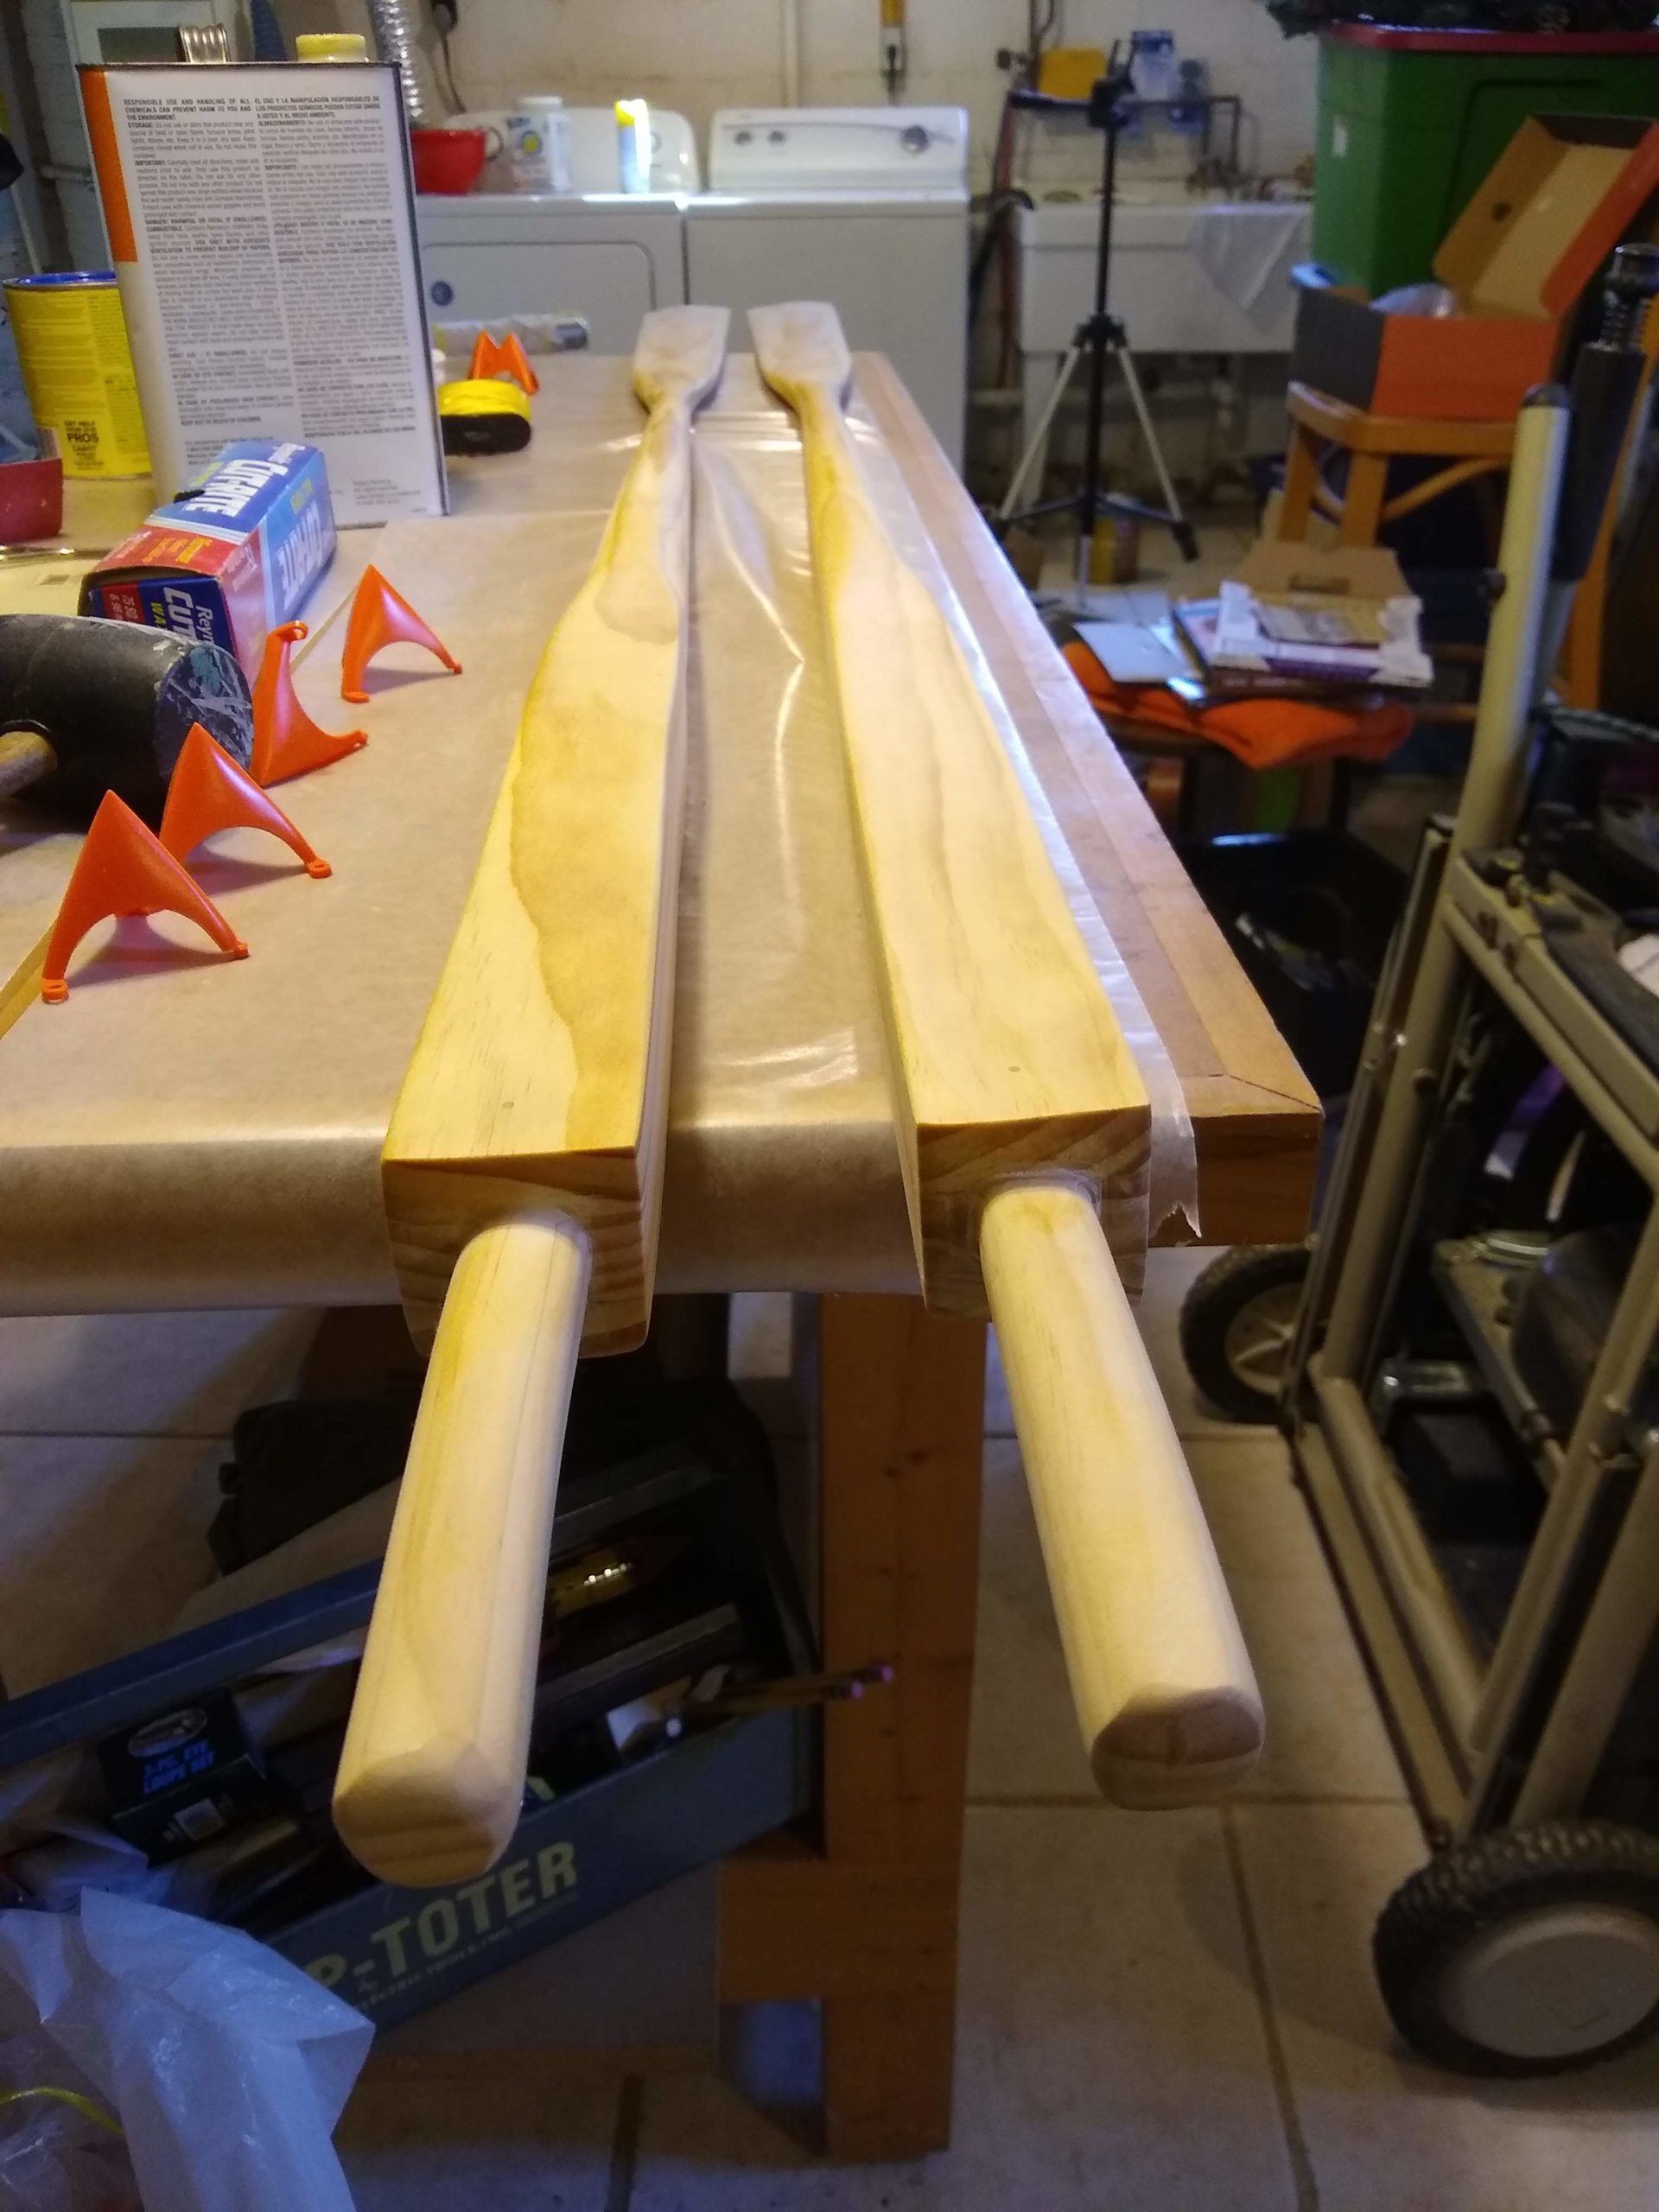
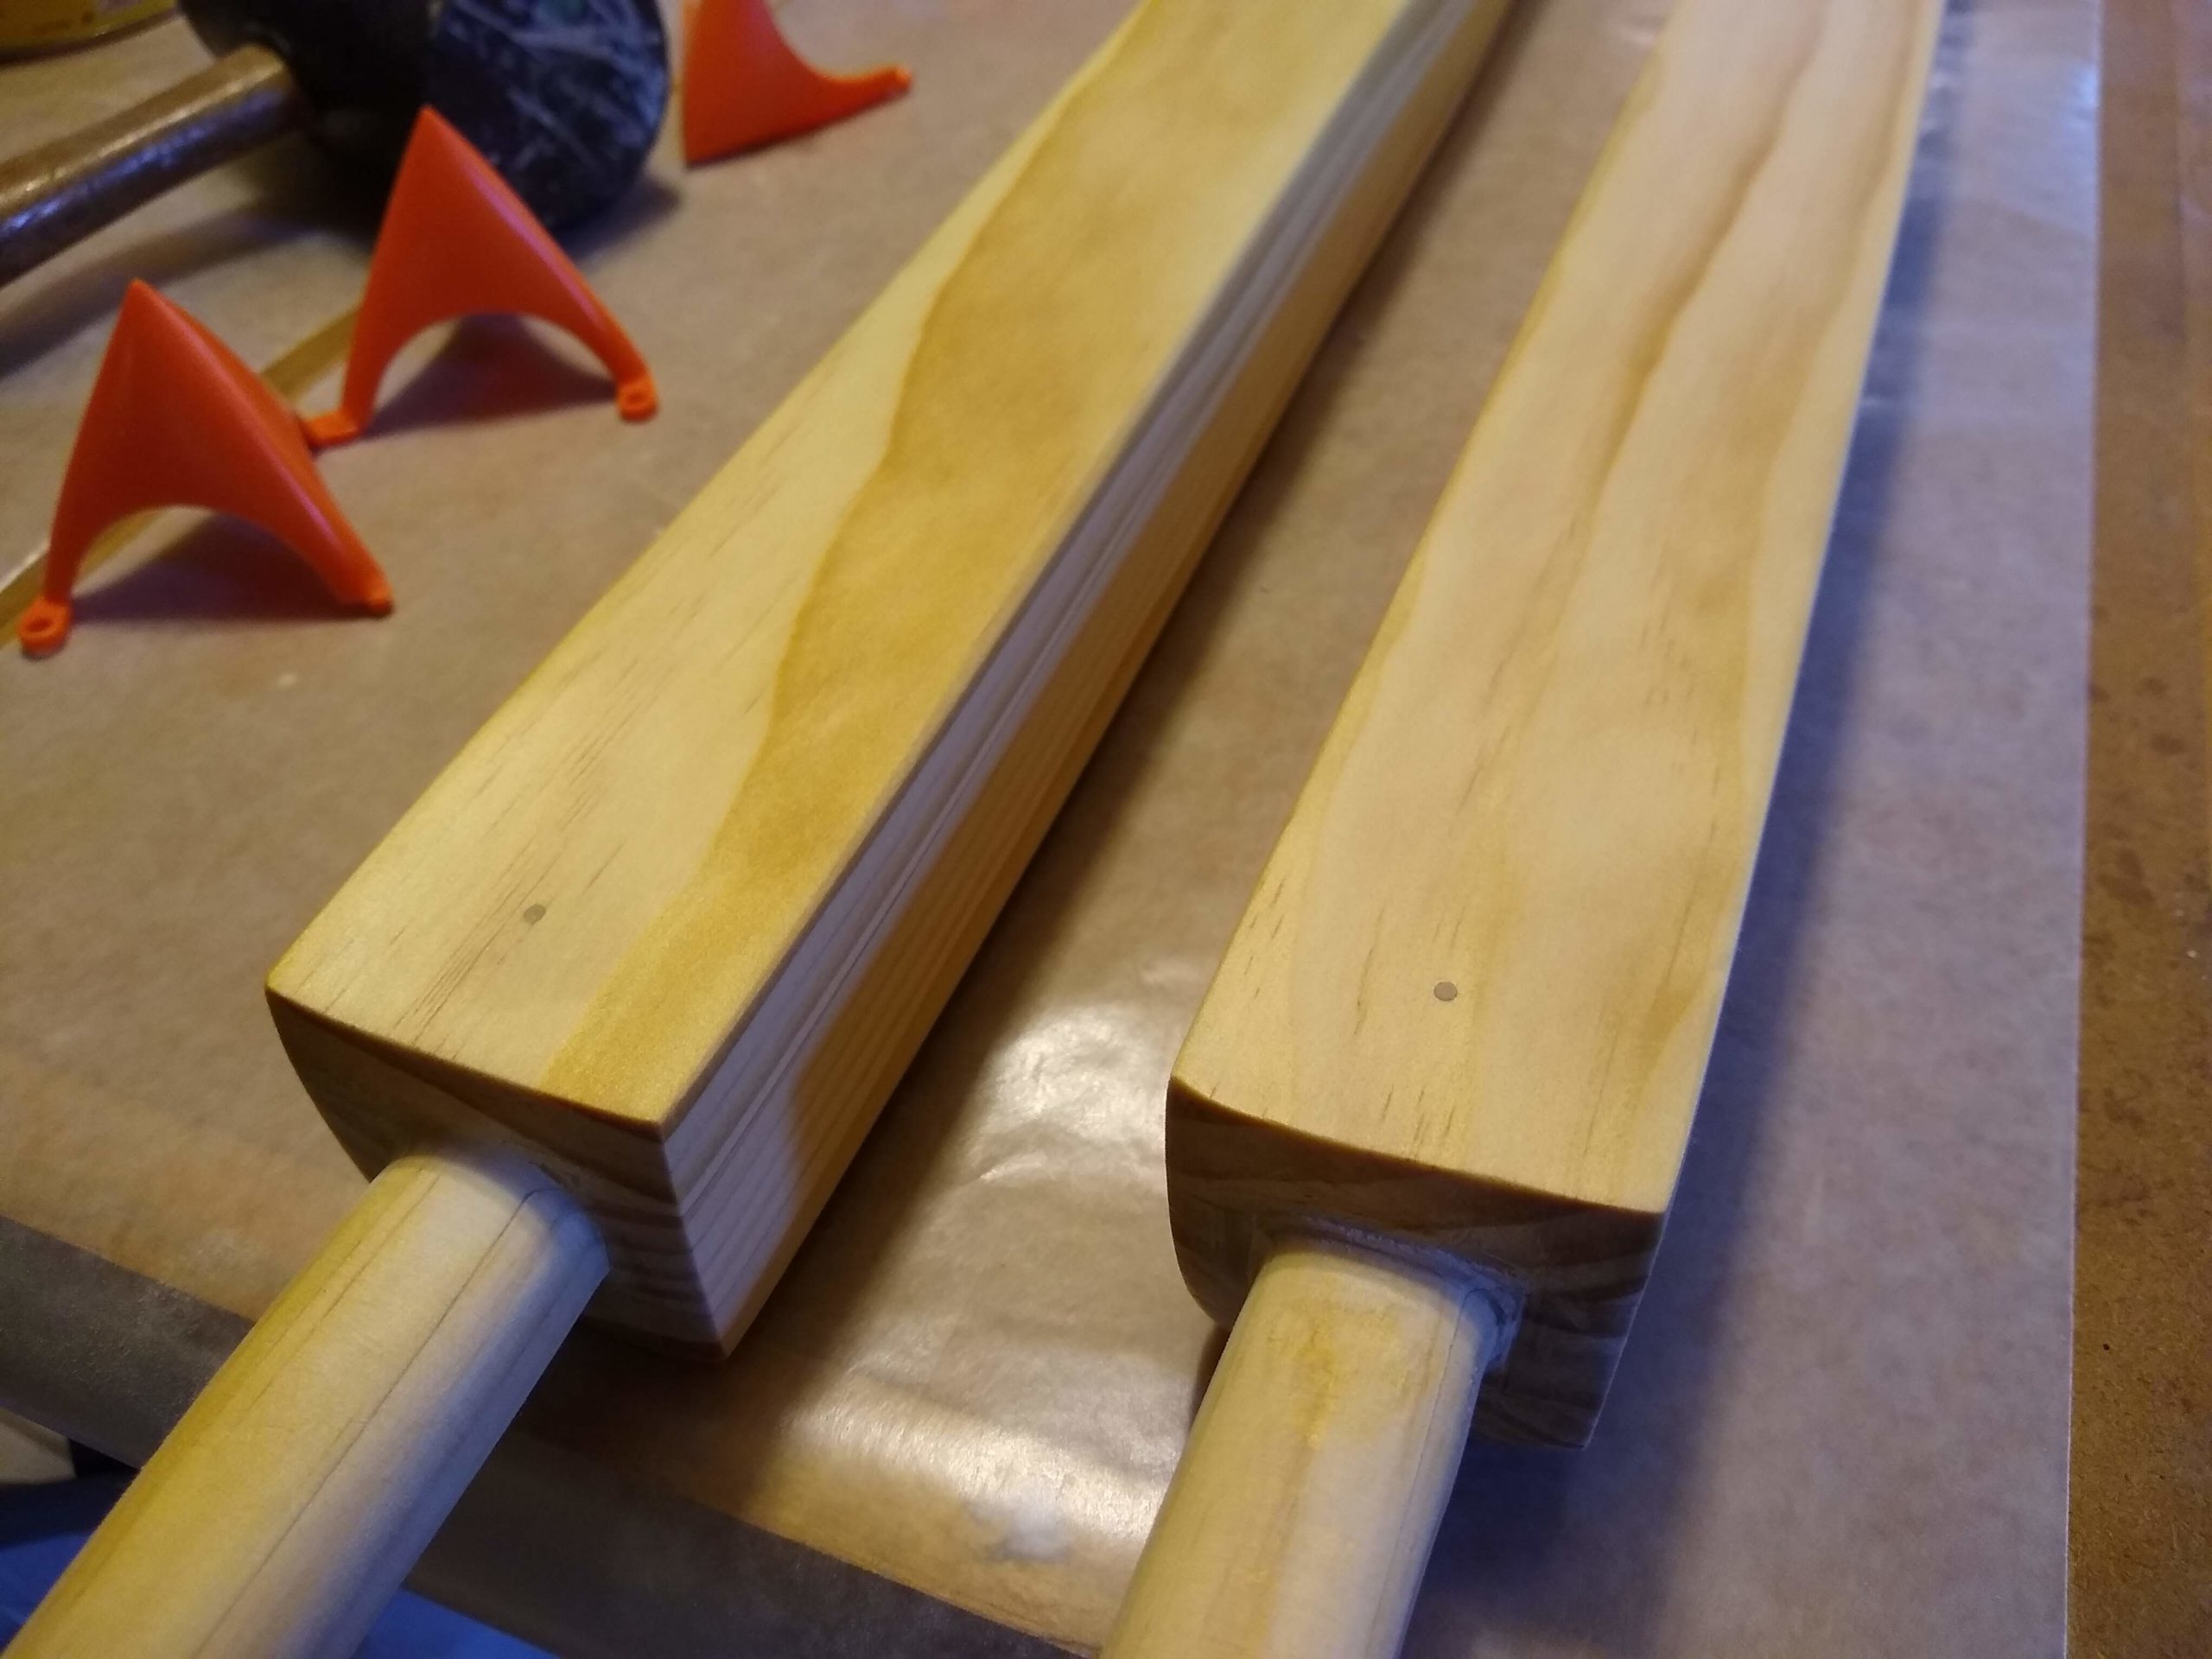
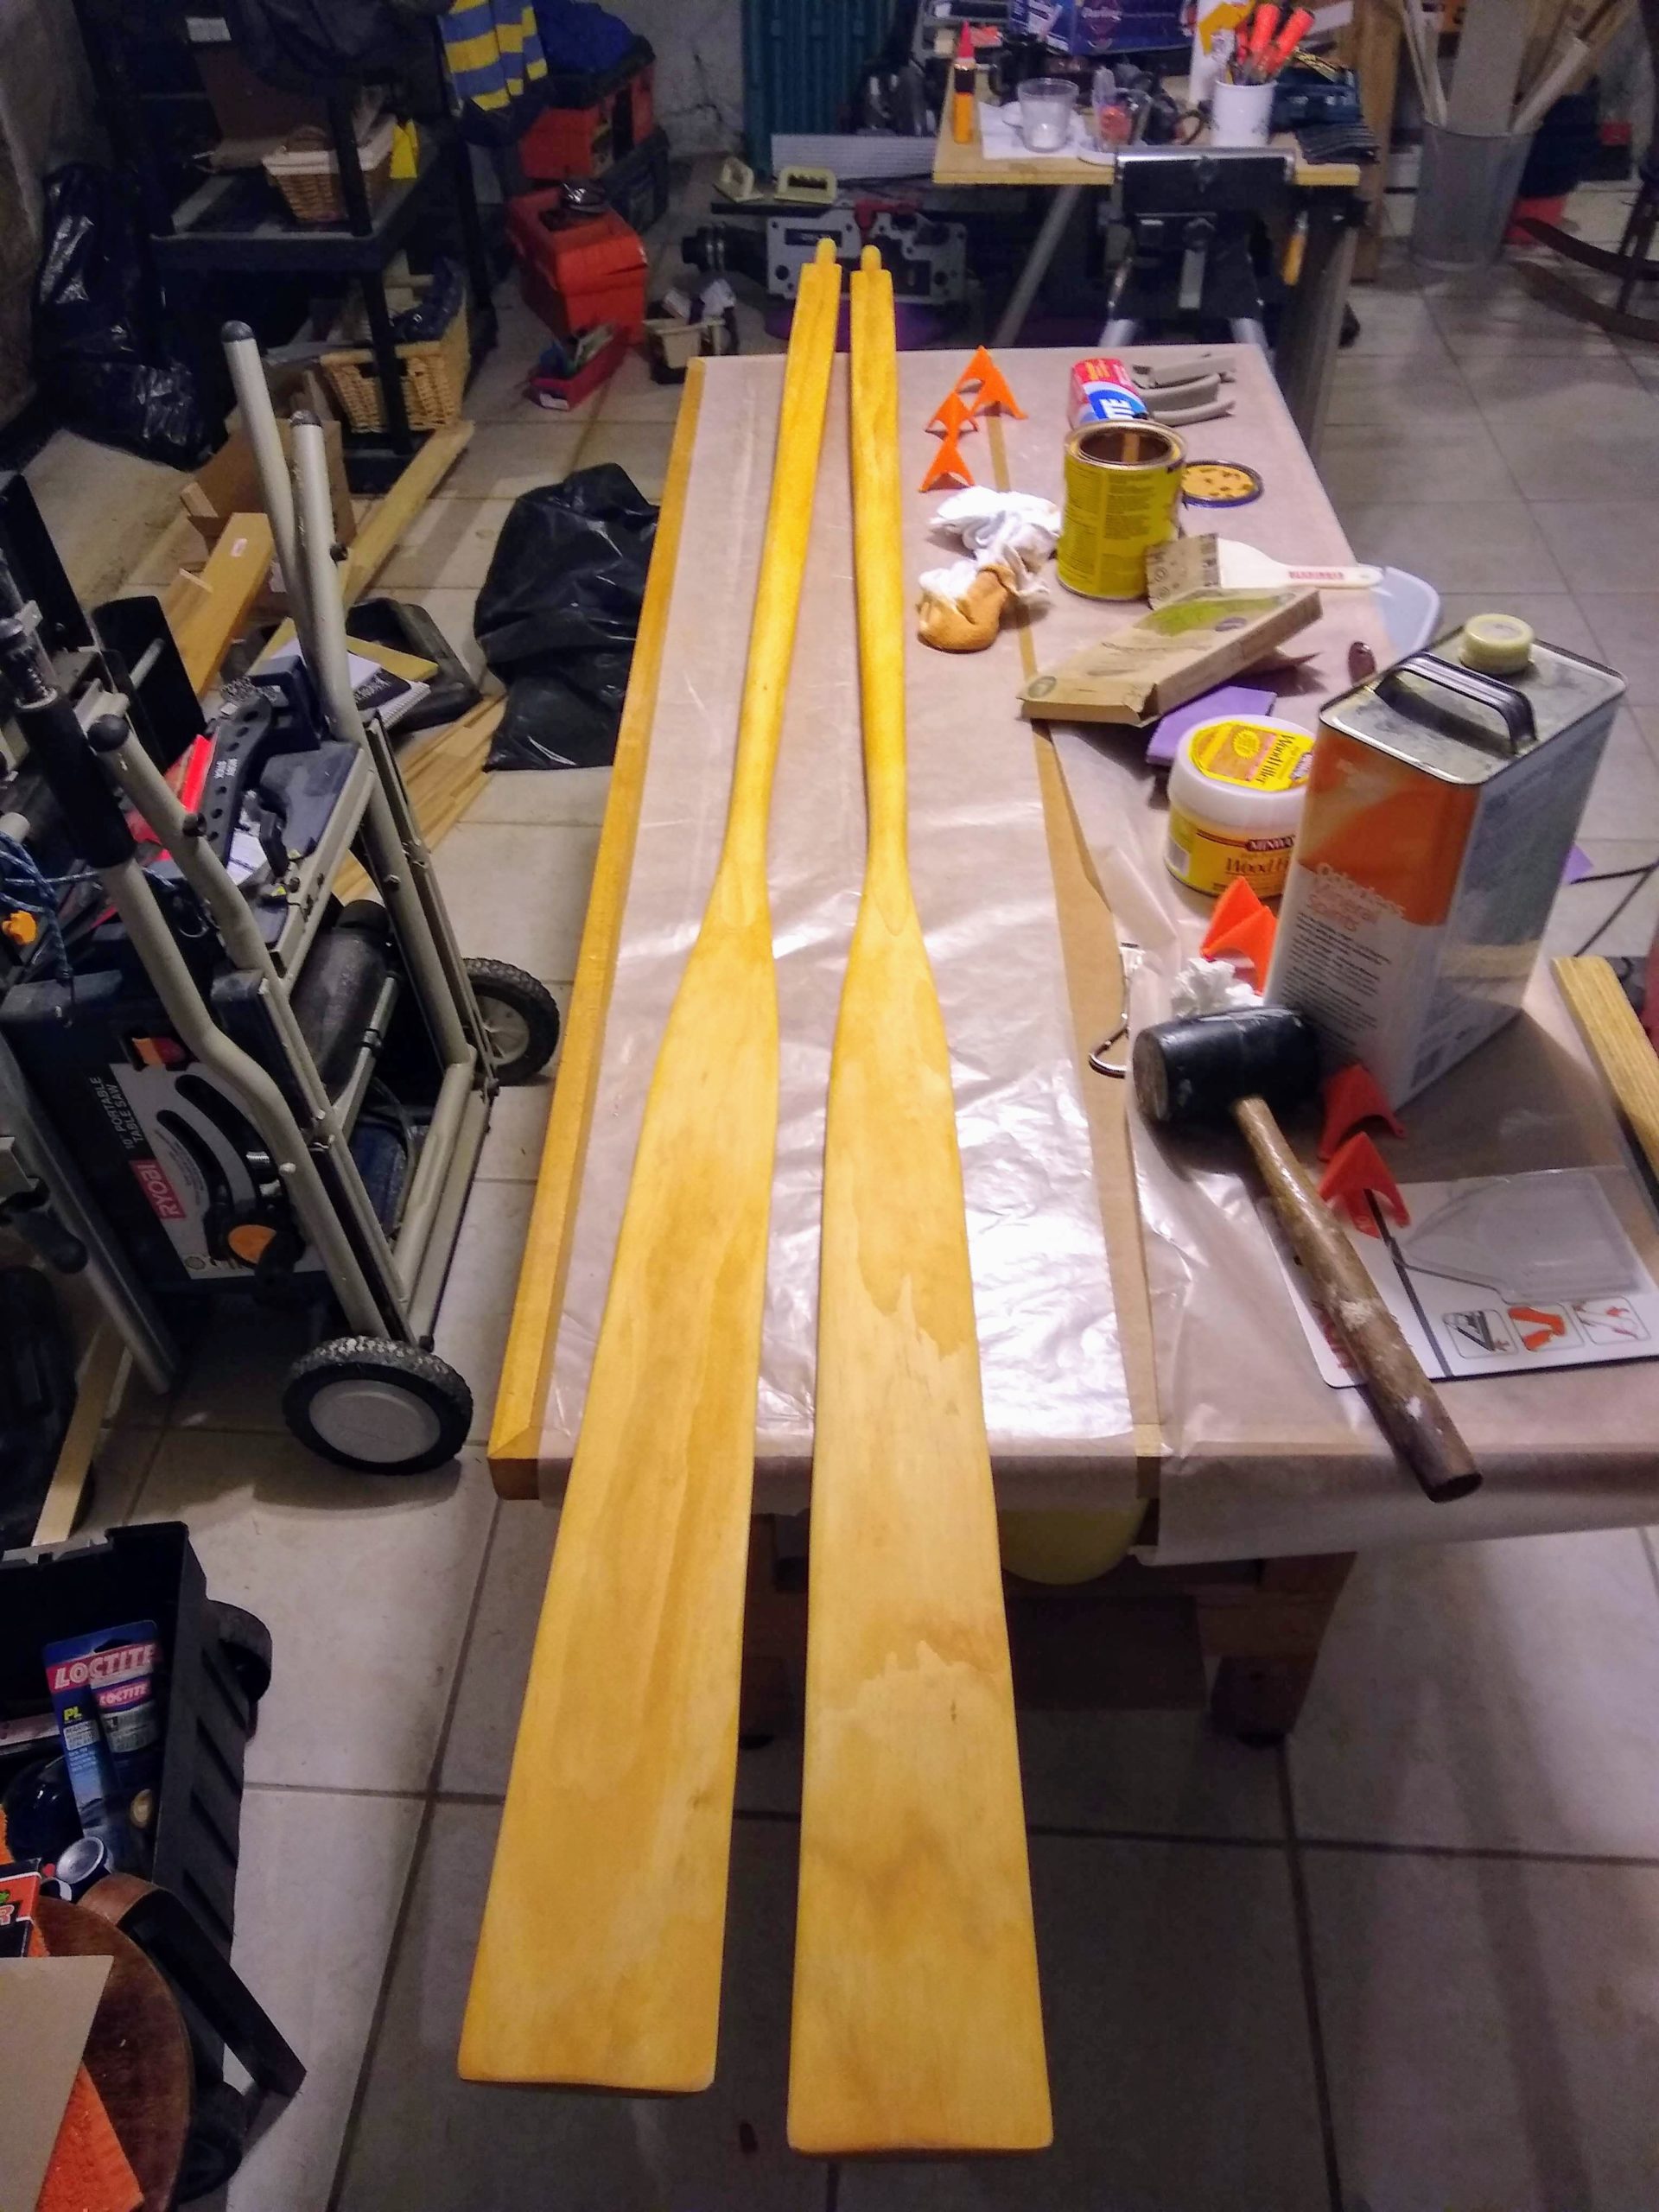
I finished with the last coats of varnish on the oars, and I painted the first coat of yellow on the interior of the boat.

I never did figure out a way to put a whole coat of varnish on an entire oar in one lick. Best I was able to do was like half an oar at a time. And not like one side, but more in the way of doing the blade and the leathers in one go, and then the other parts of the loom in the other go. So three coats of varnish took six application sessions. And they’re done now.
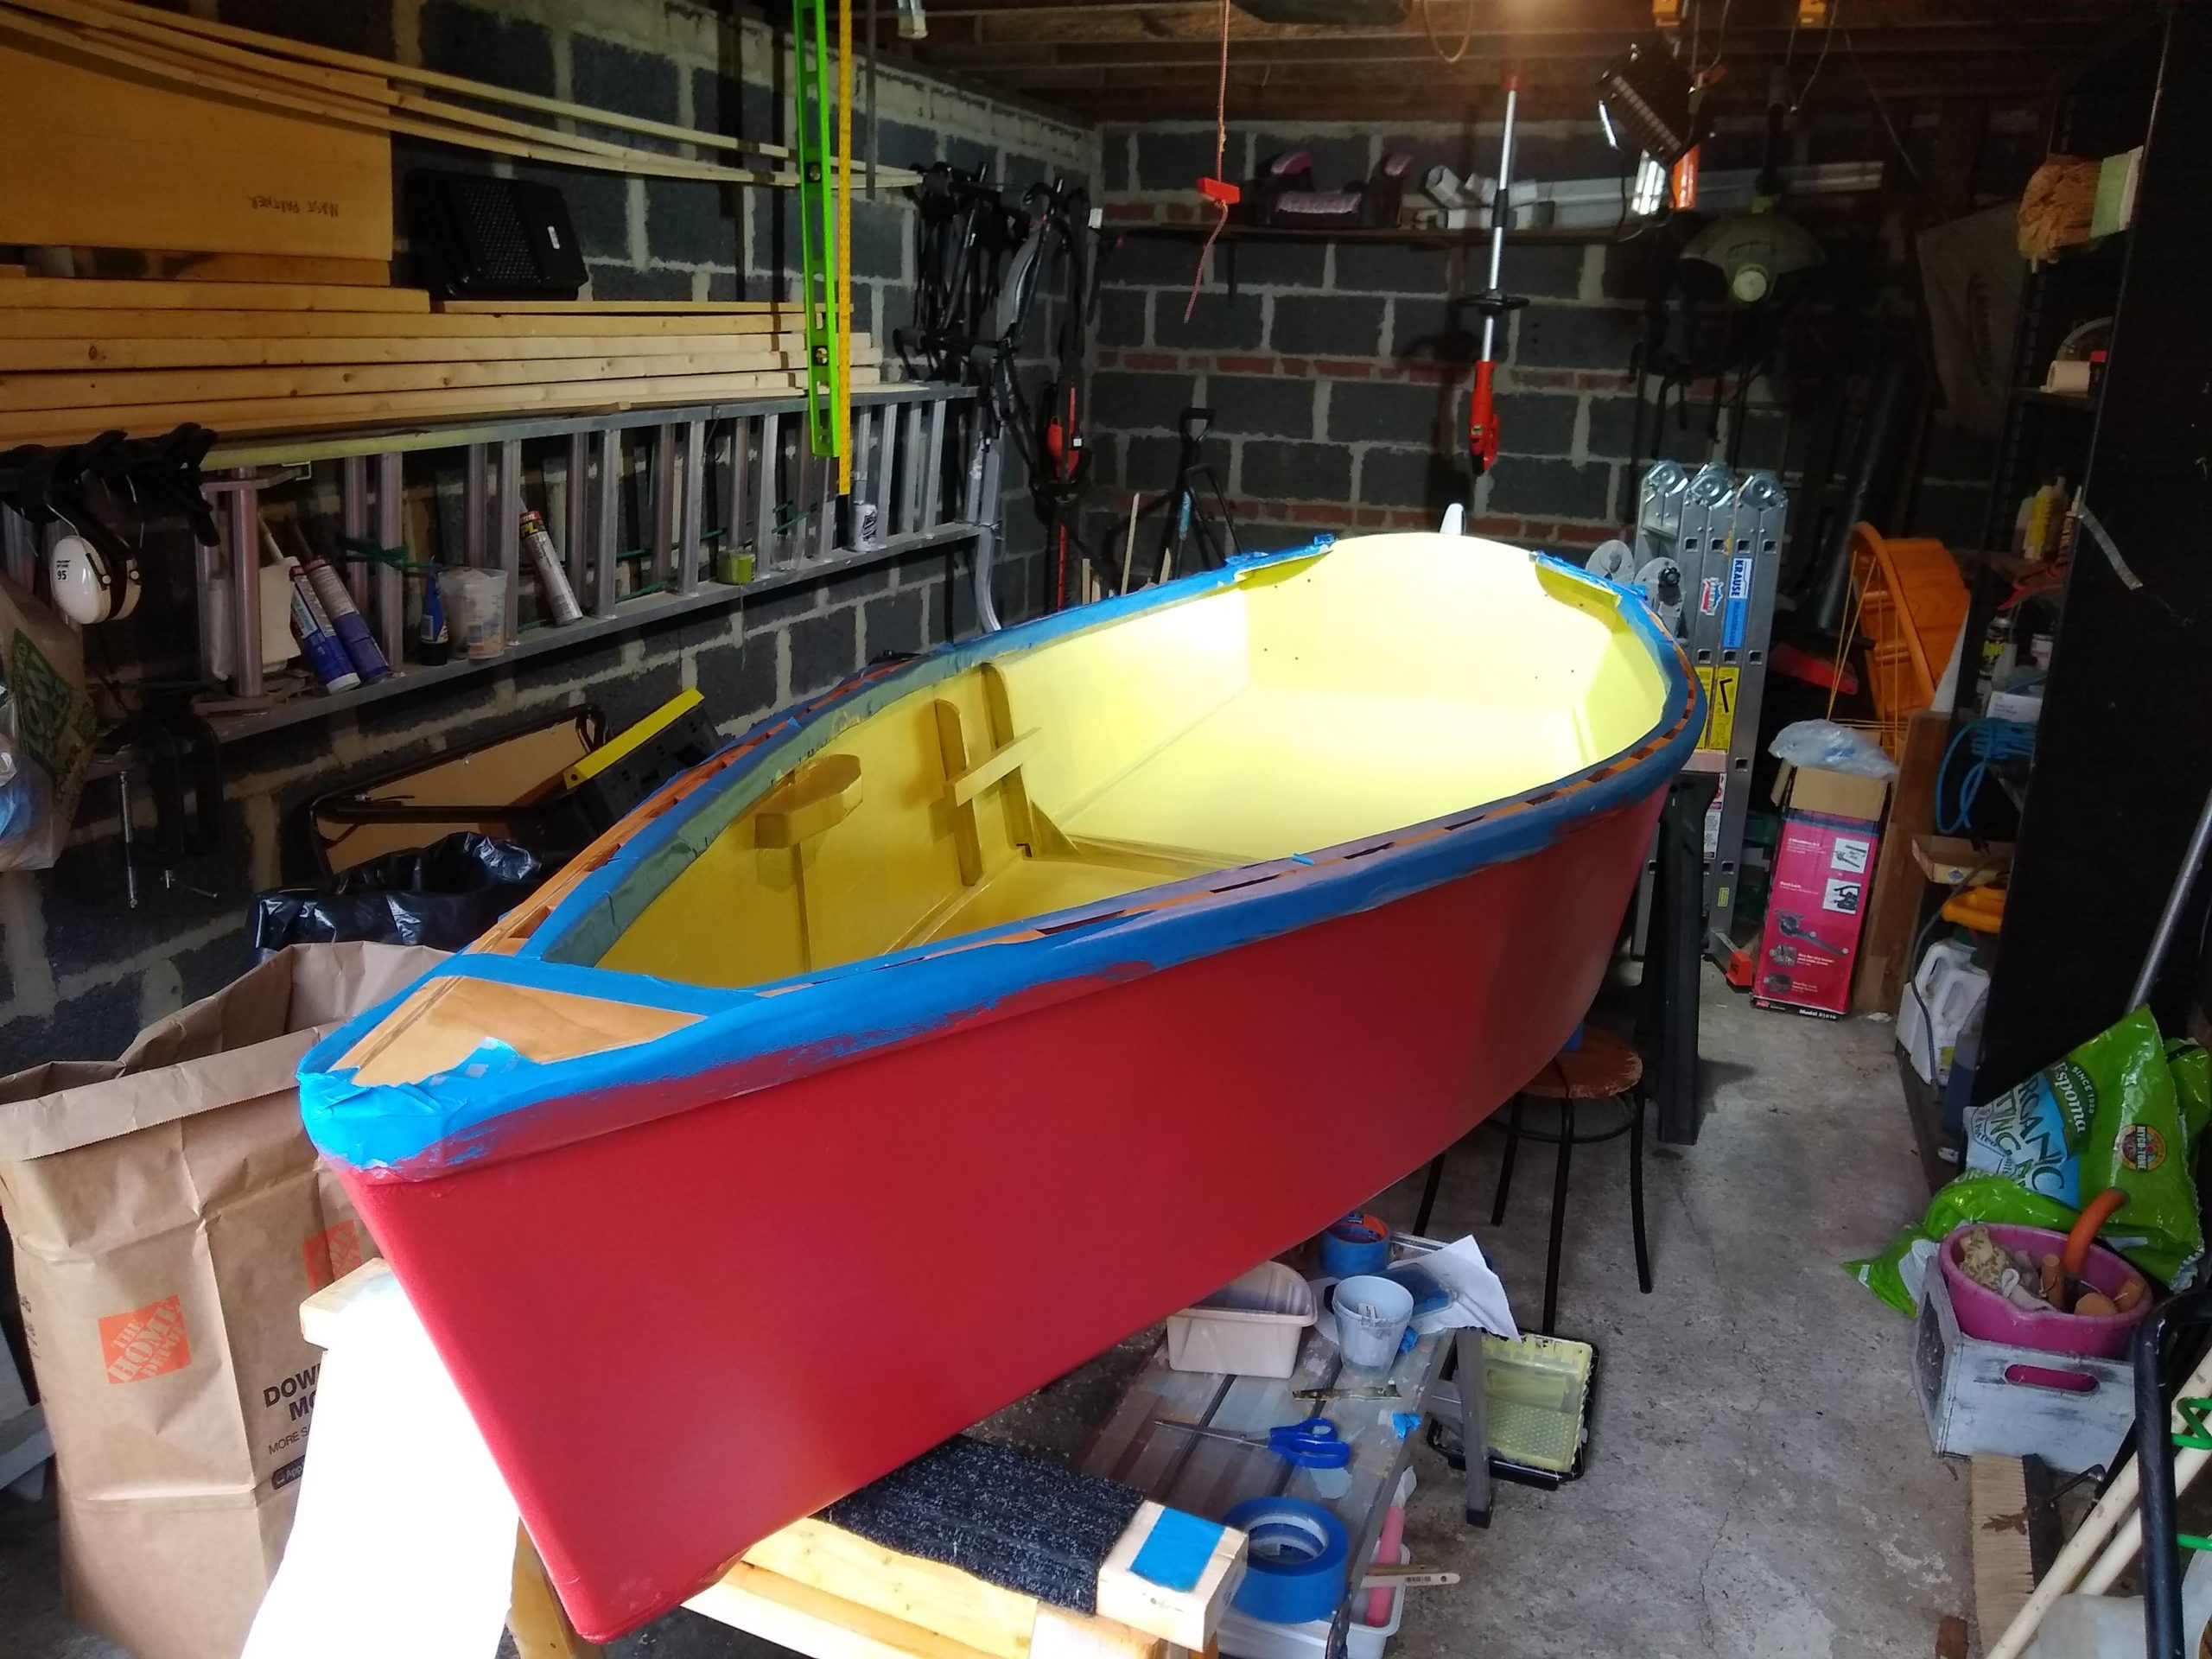
Red and yellow boat

And I finally braved painting the inside of the boat. I think a big part of my reluctance to paint the inside was how the inside of the boat collects dirt and gritch and such. It was easy enough to blow all that off the bottom and sides of the boat when it was upside down, and it’s not so easy to get it out of the boat when it’s right-side up and catches all that stuff like a big bucket. I finally dragged the vacuum out to the garage and sucked up all the stuff inside the boat.
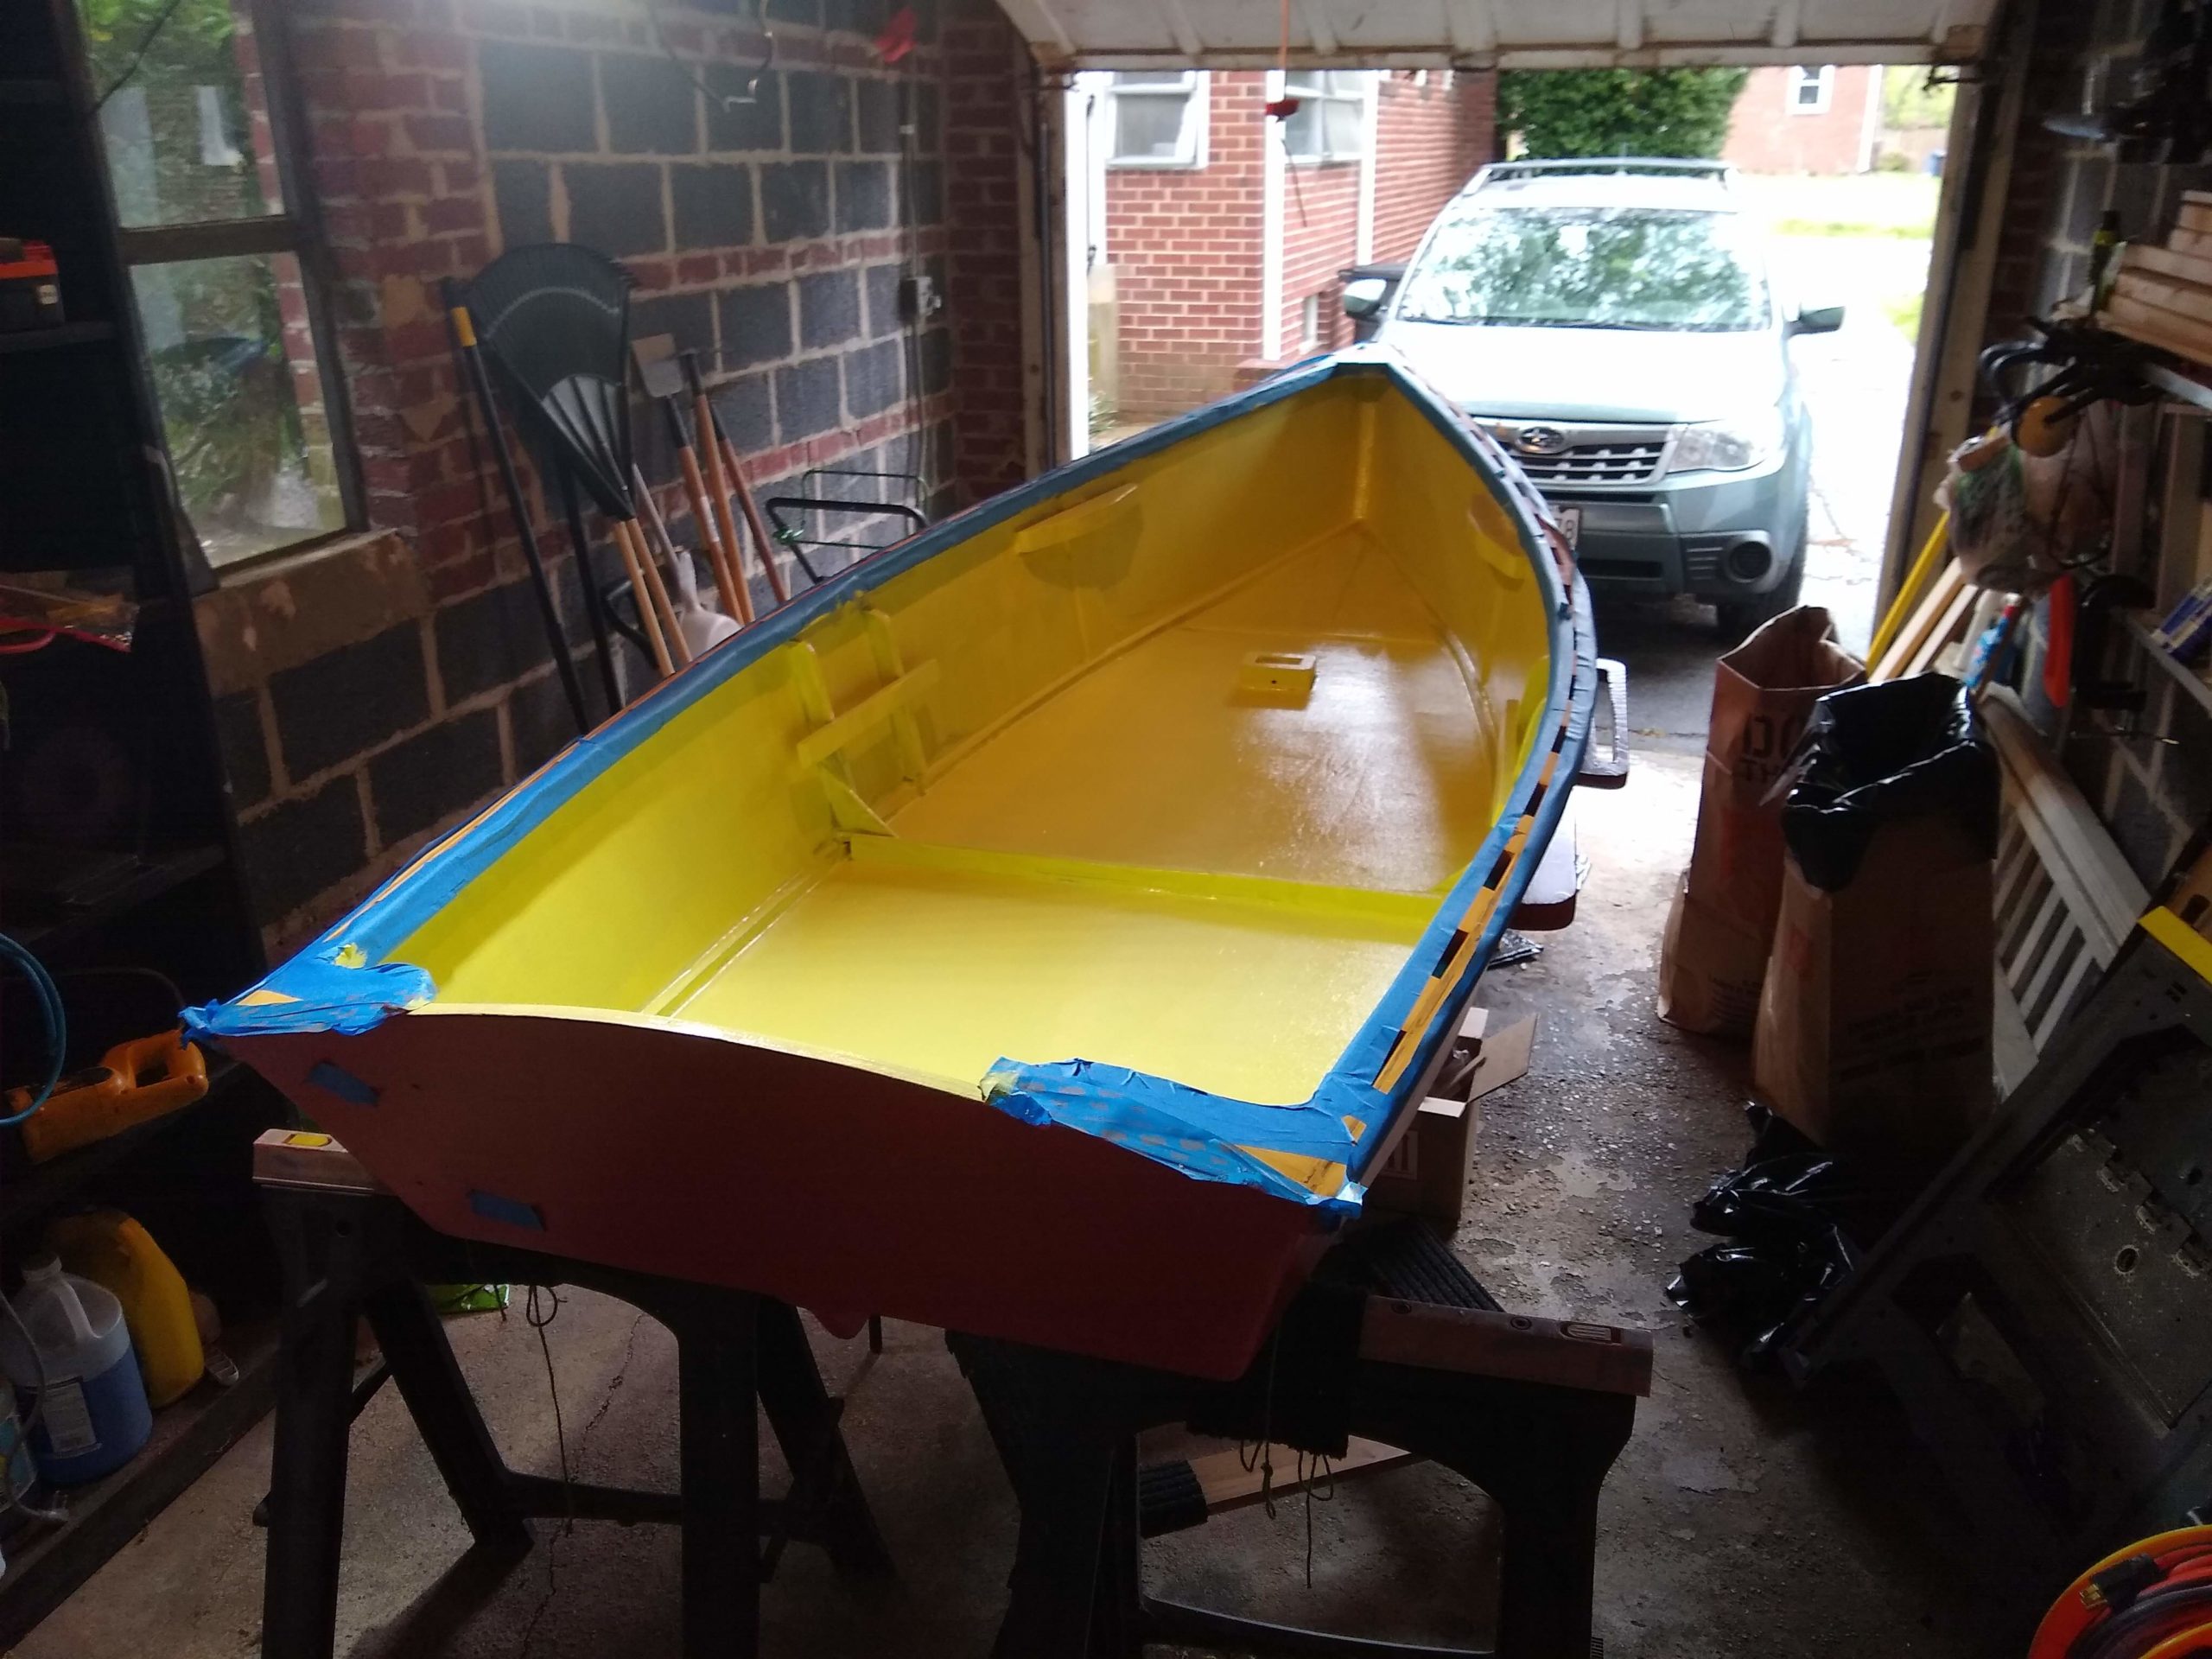
View from aft

And with that I put down the first coat on the inside. It looks a little better in the pictures, at least the small thumbnails inline the text here. But it surely needs another coat. I hope just one more coat.
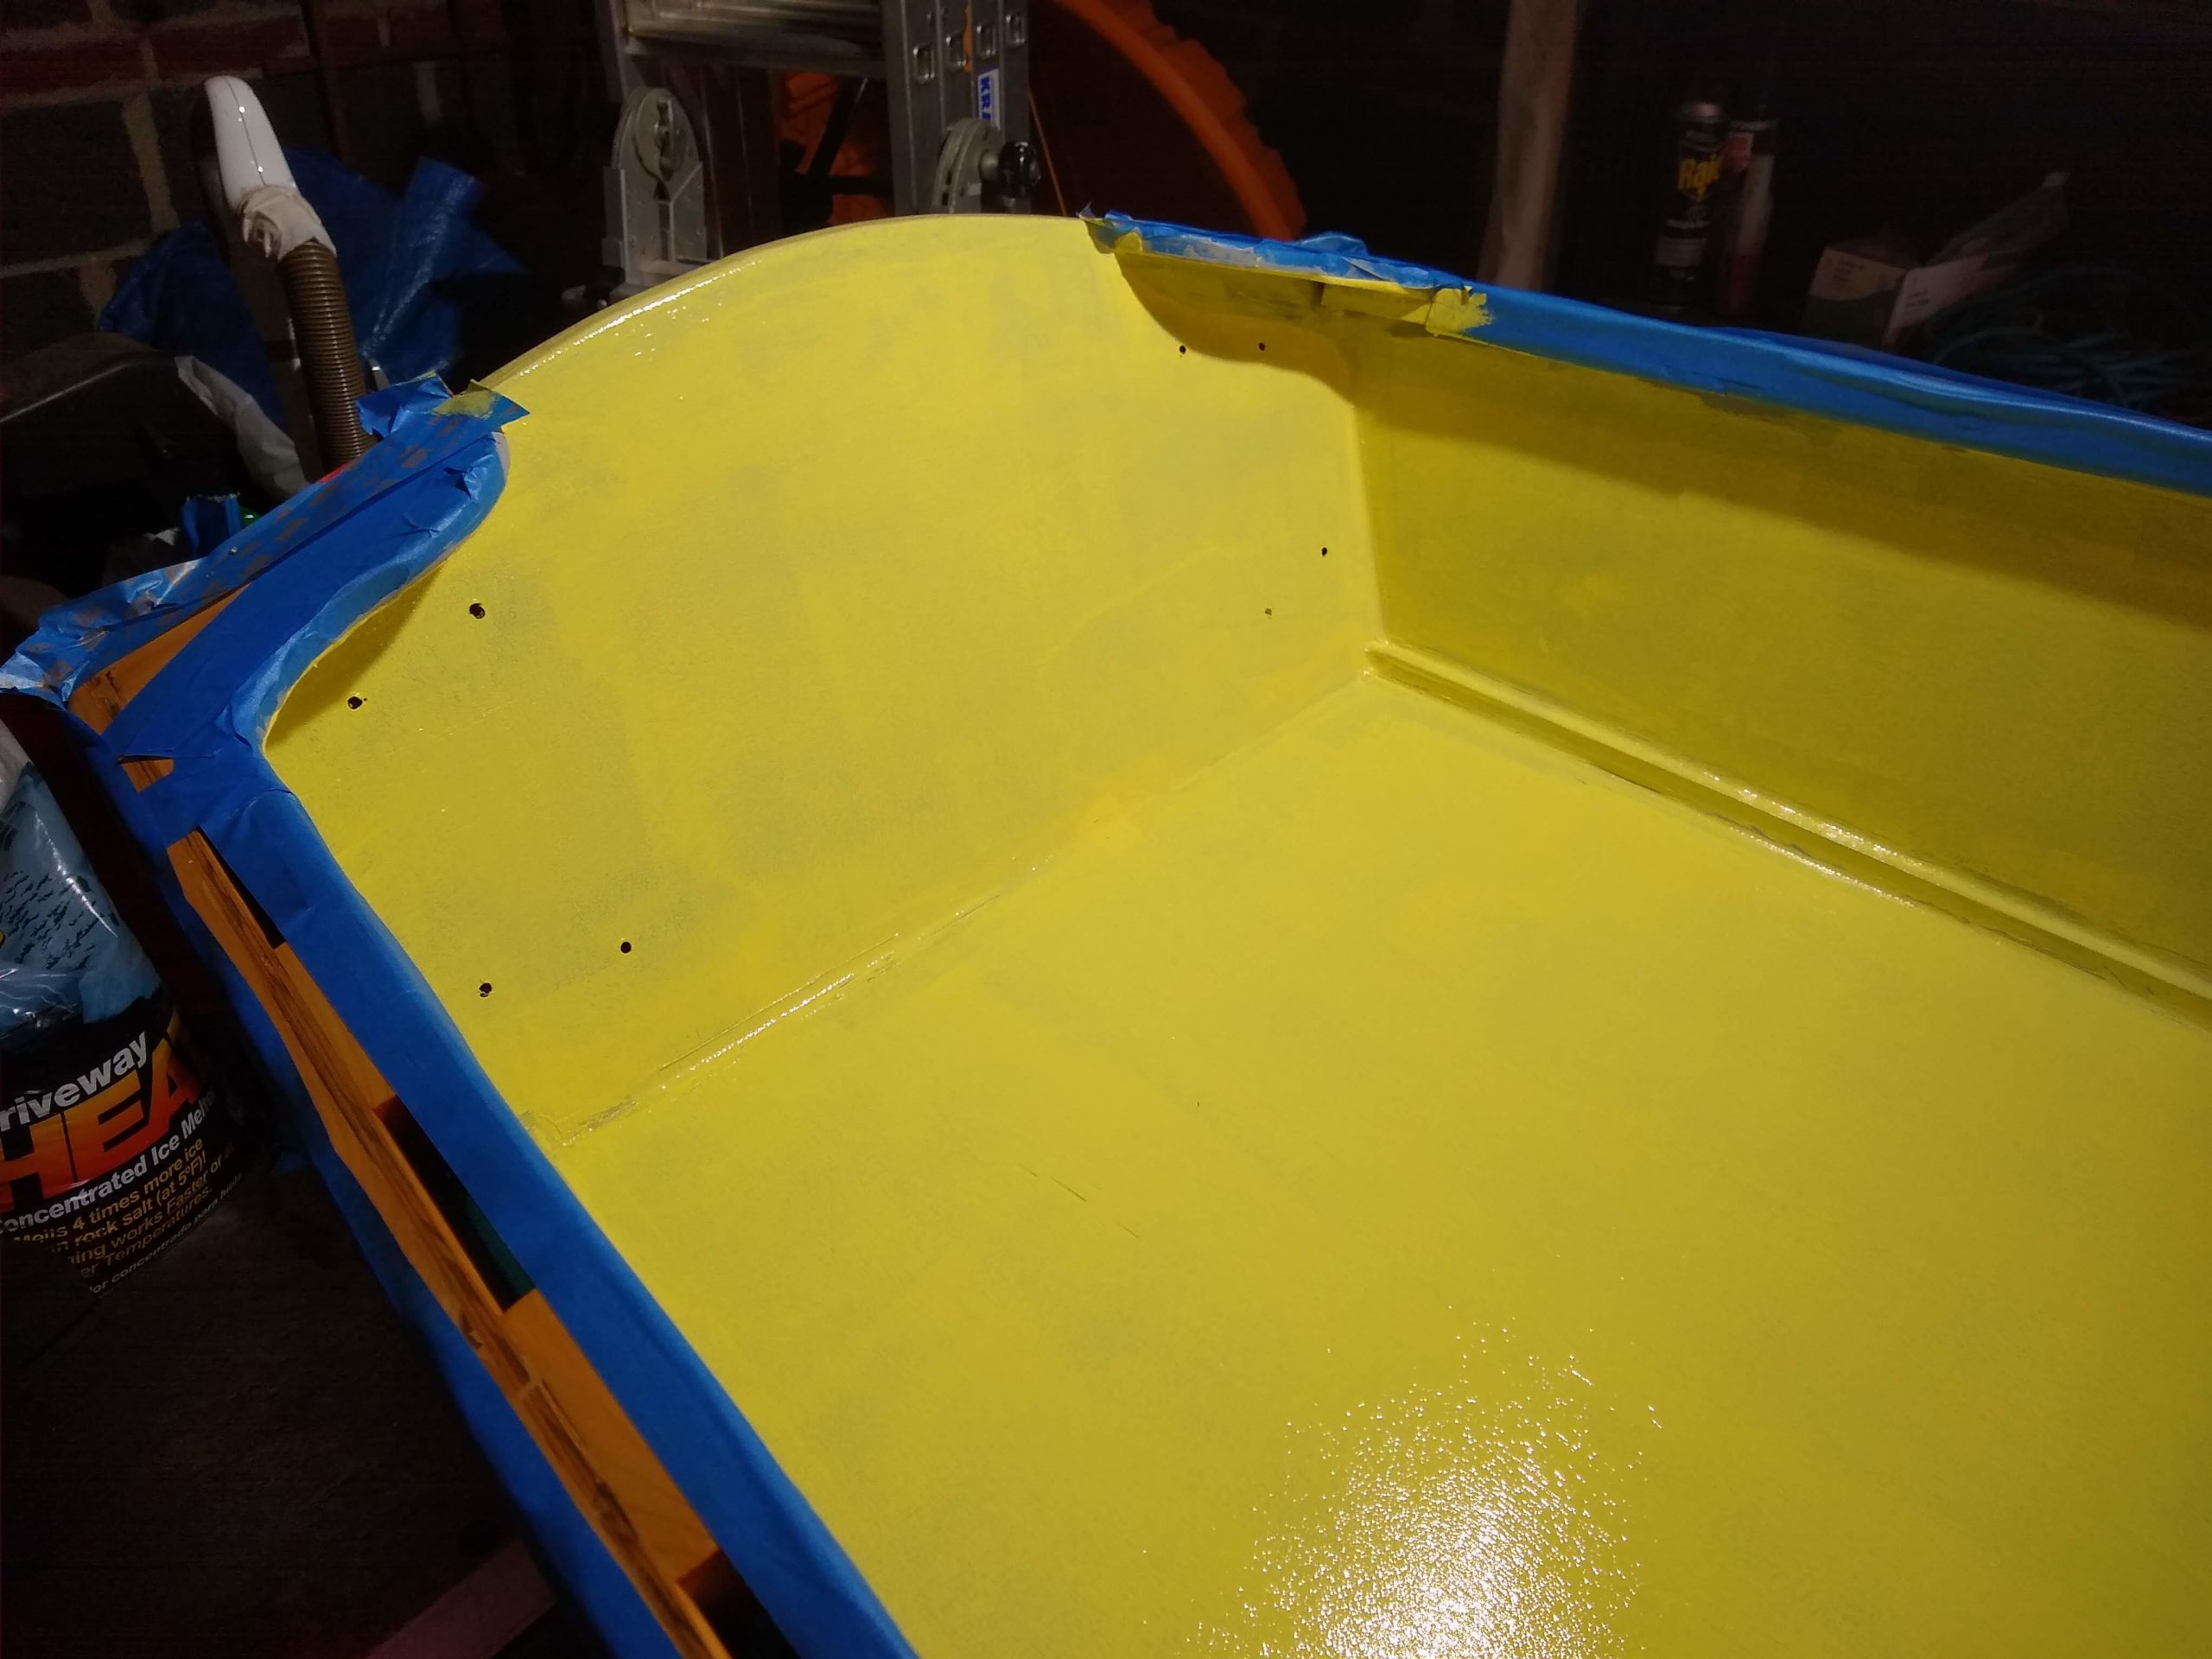
Close-up aft

I’d had some ideas as to painting the inside of the transom red, but I got lazy and didn’t. It would have involved taping between the transom and the rest of the inside getting the yellow, as well as taking two more weeks at least doing more red. I’m not sure I even remember why I wanted to do two-tone inside the hull. I think maybe it had something to do with the aluminum parts for the wheels being on both sides of the transom. Yeah, I think that was it.
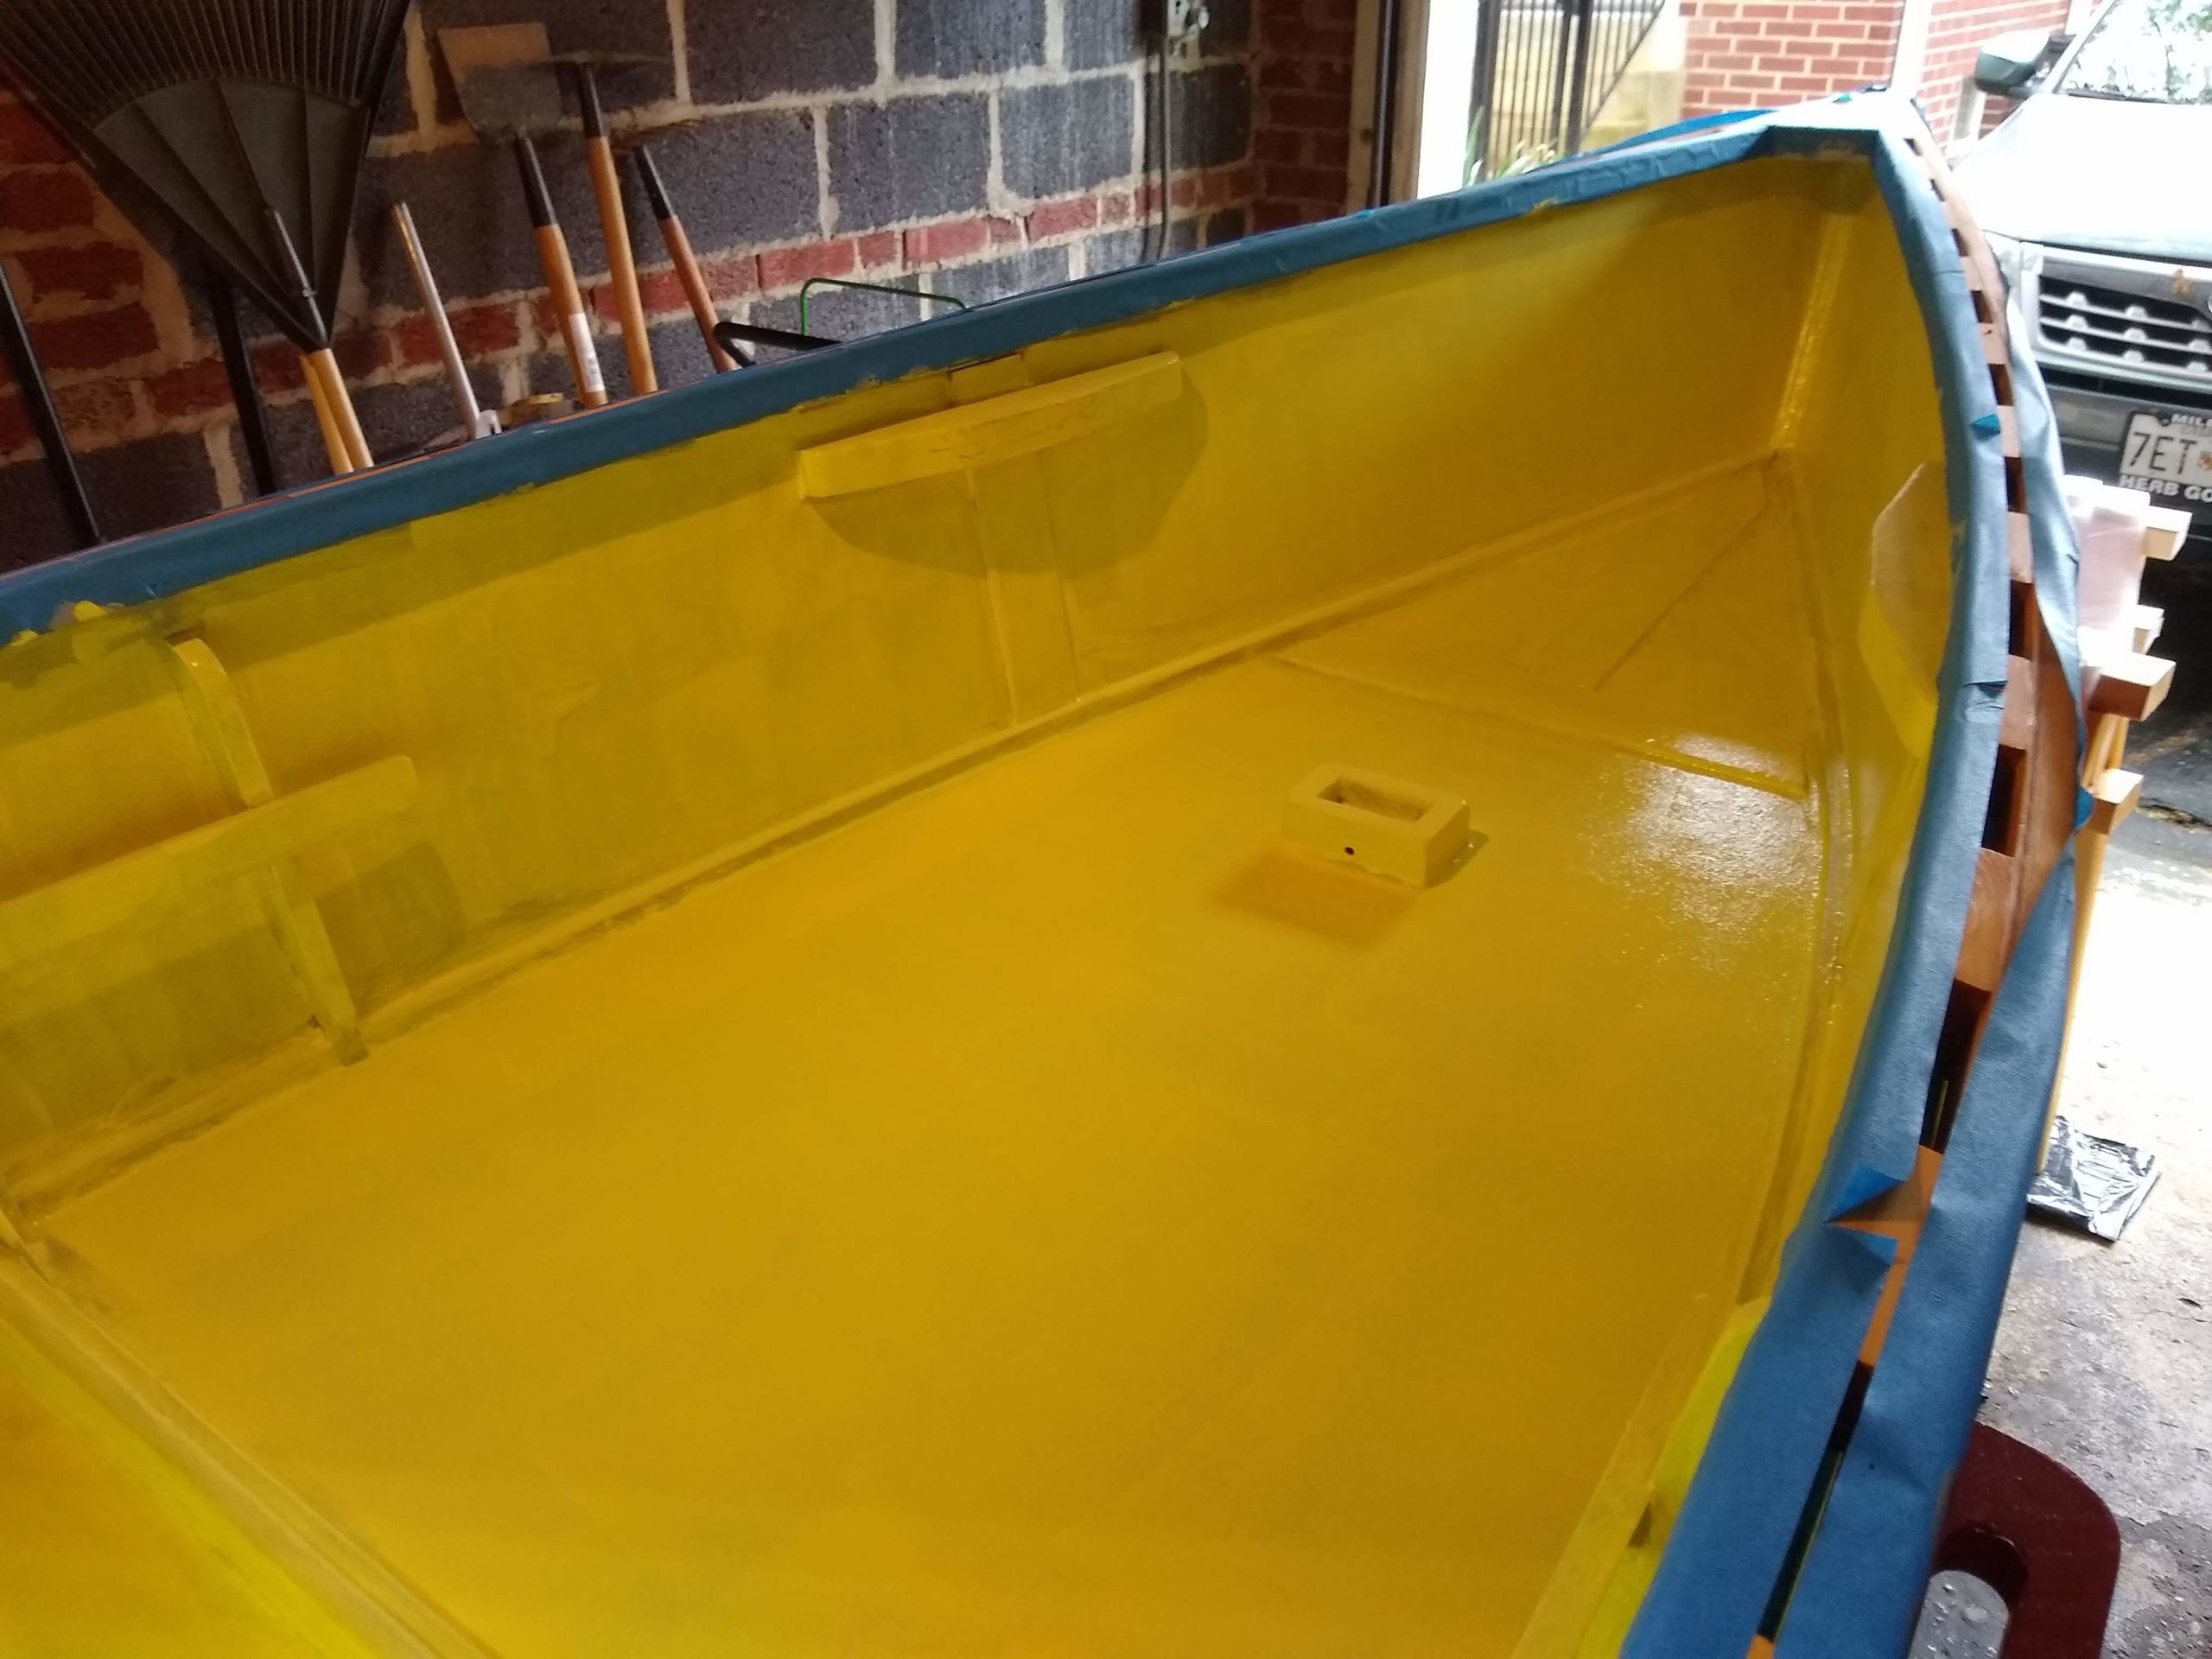
Close-up fore

Week 61: Wheel Assembly Painting

I slapped another coat of varnish on the oars, and I primed the aluminum parts that make up the wheel assemblies.

The first coat of varnish bubbled a little, so I knocked it down with some 0000 super fine steel wool. I’m much more used to applying varnish by just wiping it on with a rag rather than using a brush. But the instructions on the can say to use a good brush or to spray it on. I don’t have a spray gun, and neither do I have a setup to being spraying such big pieces of work, so ergo I’ve bought and am using a good brush.

I feel a little guilty, too, using an oil-based varnish rather than water-based. I’m being good, in that, after cleaning the brush after each use with mineral spirits, I’m collecting the waste cleaning fluid in an old Mason jar. But, still, I feel like a terrible environmentalist.

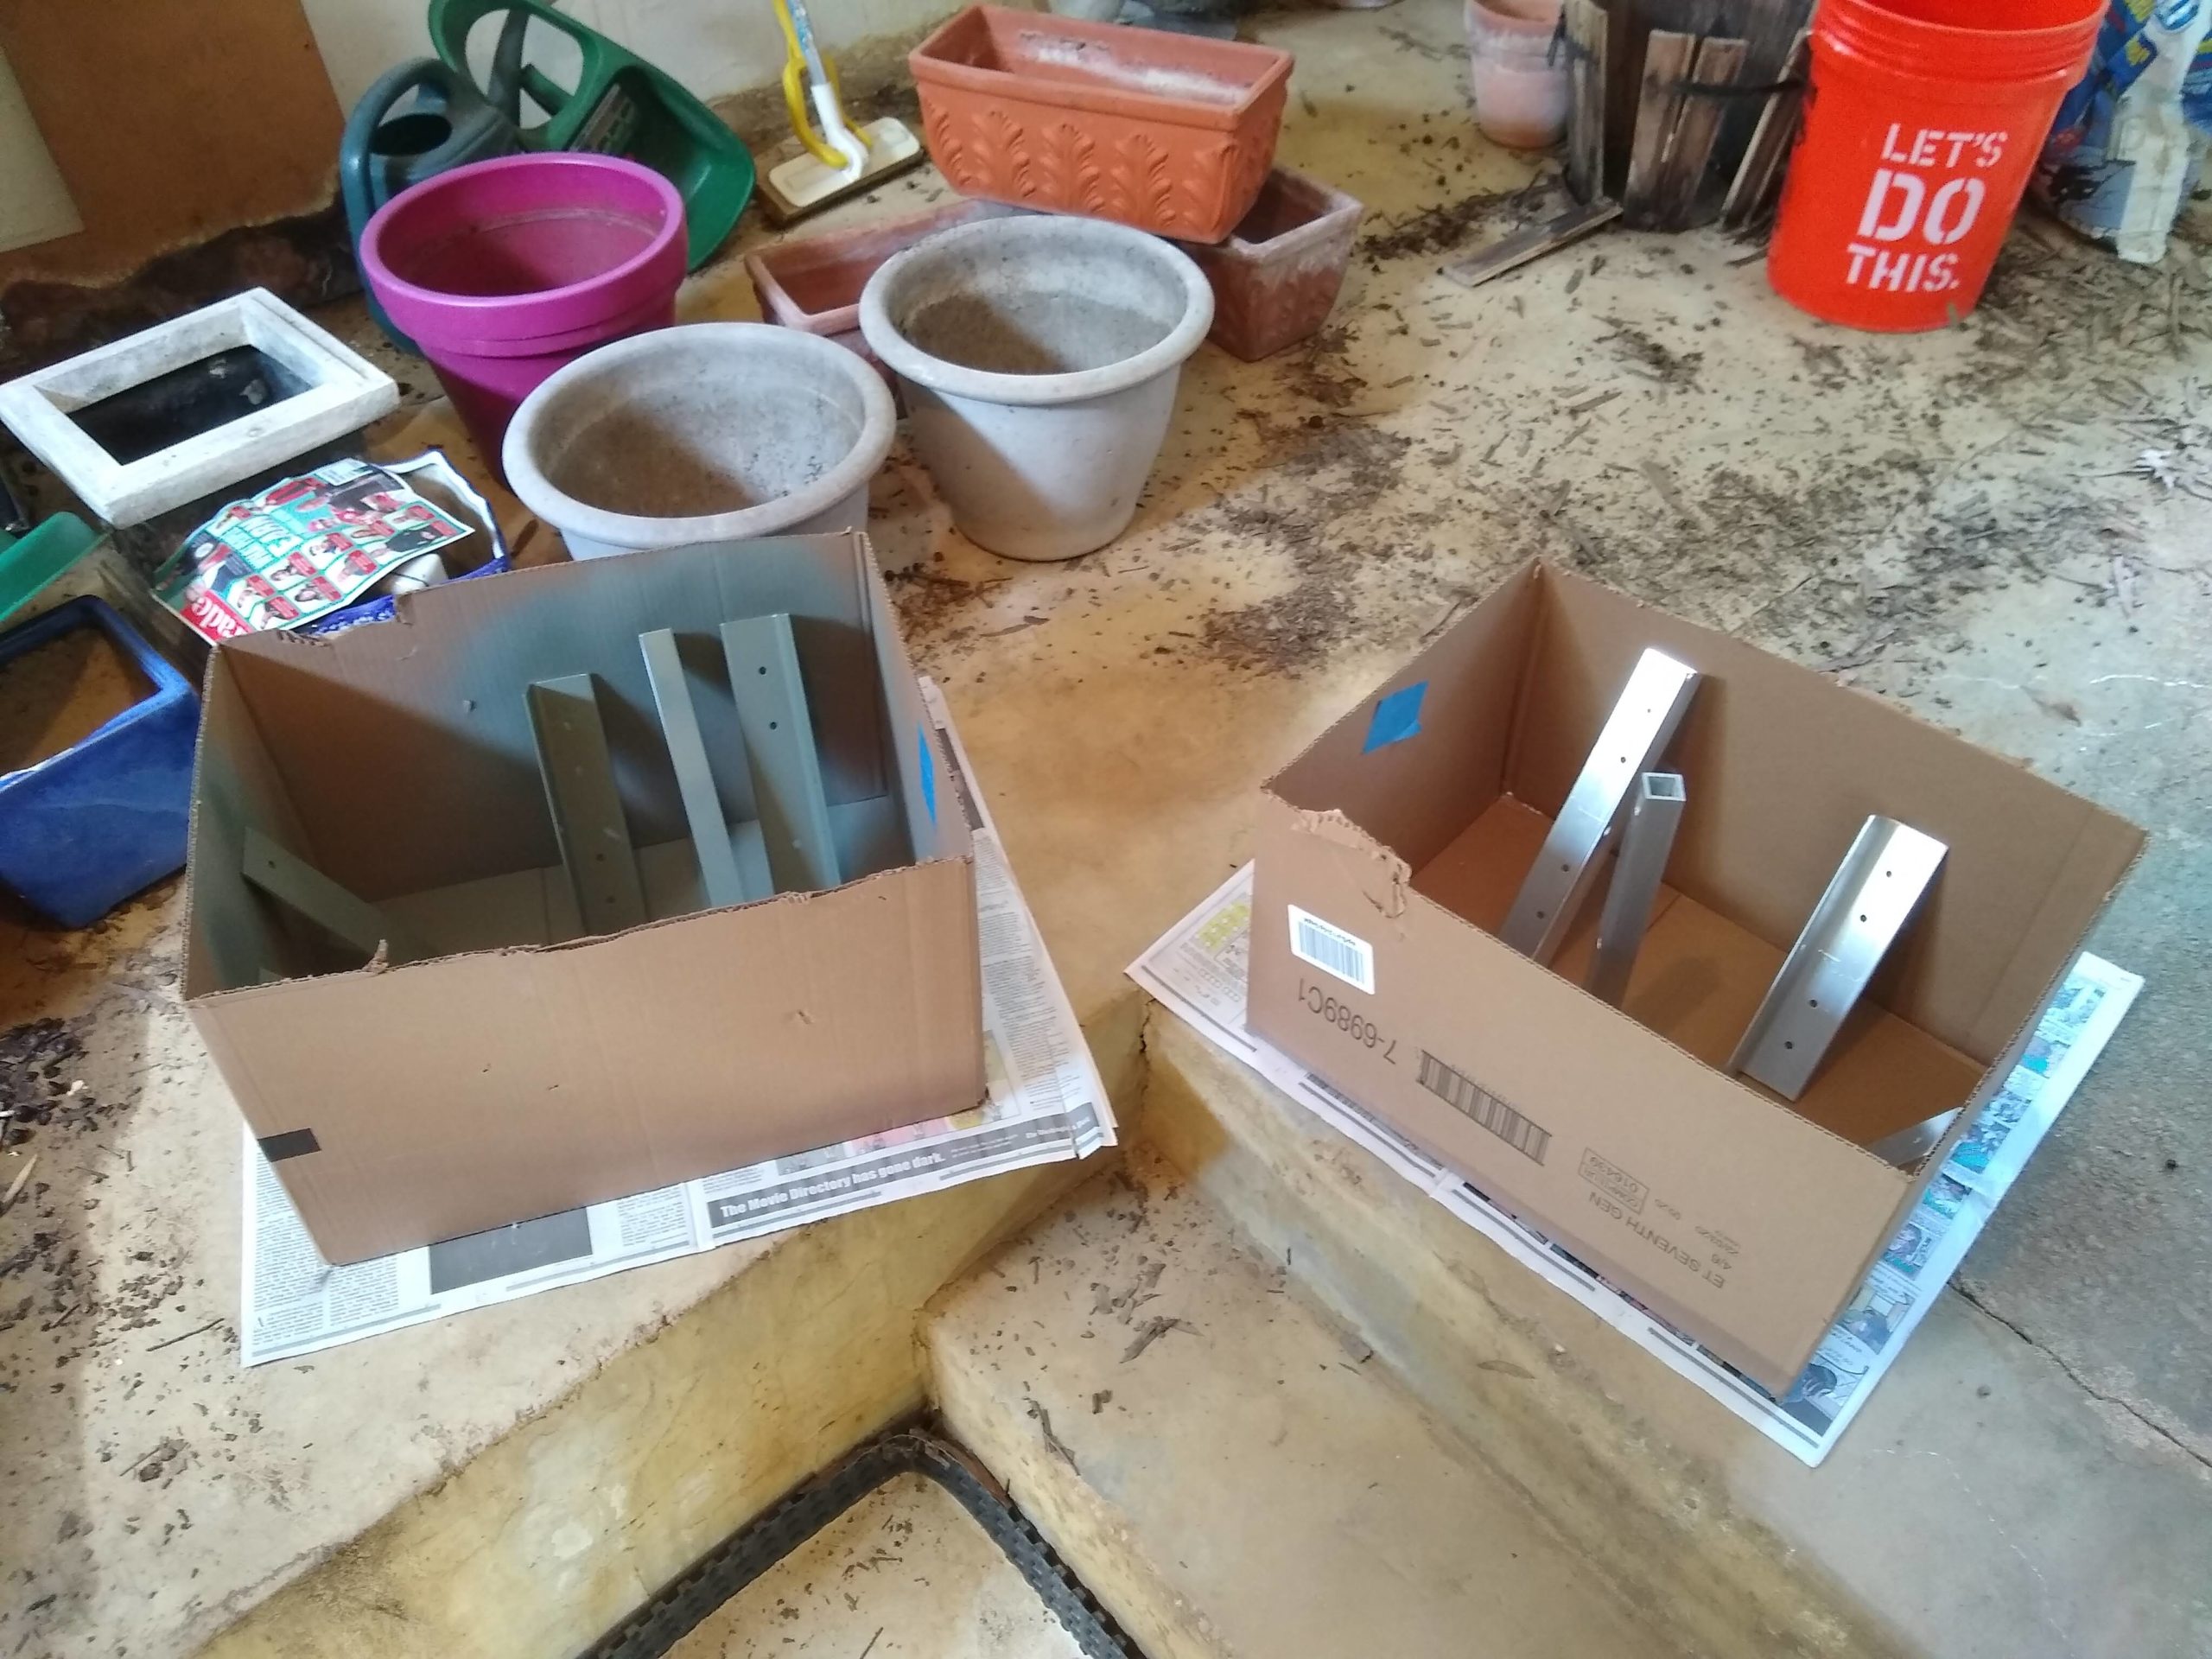
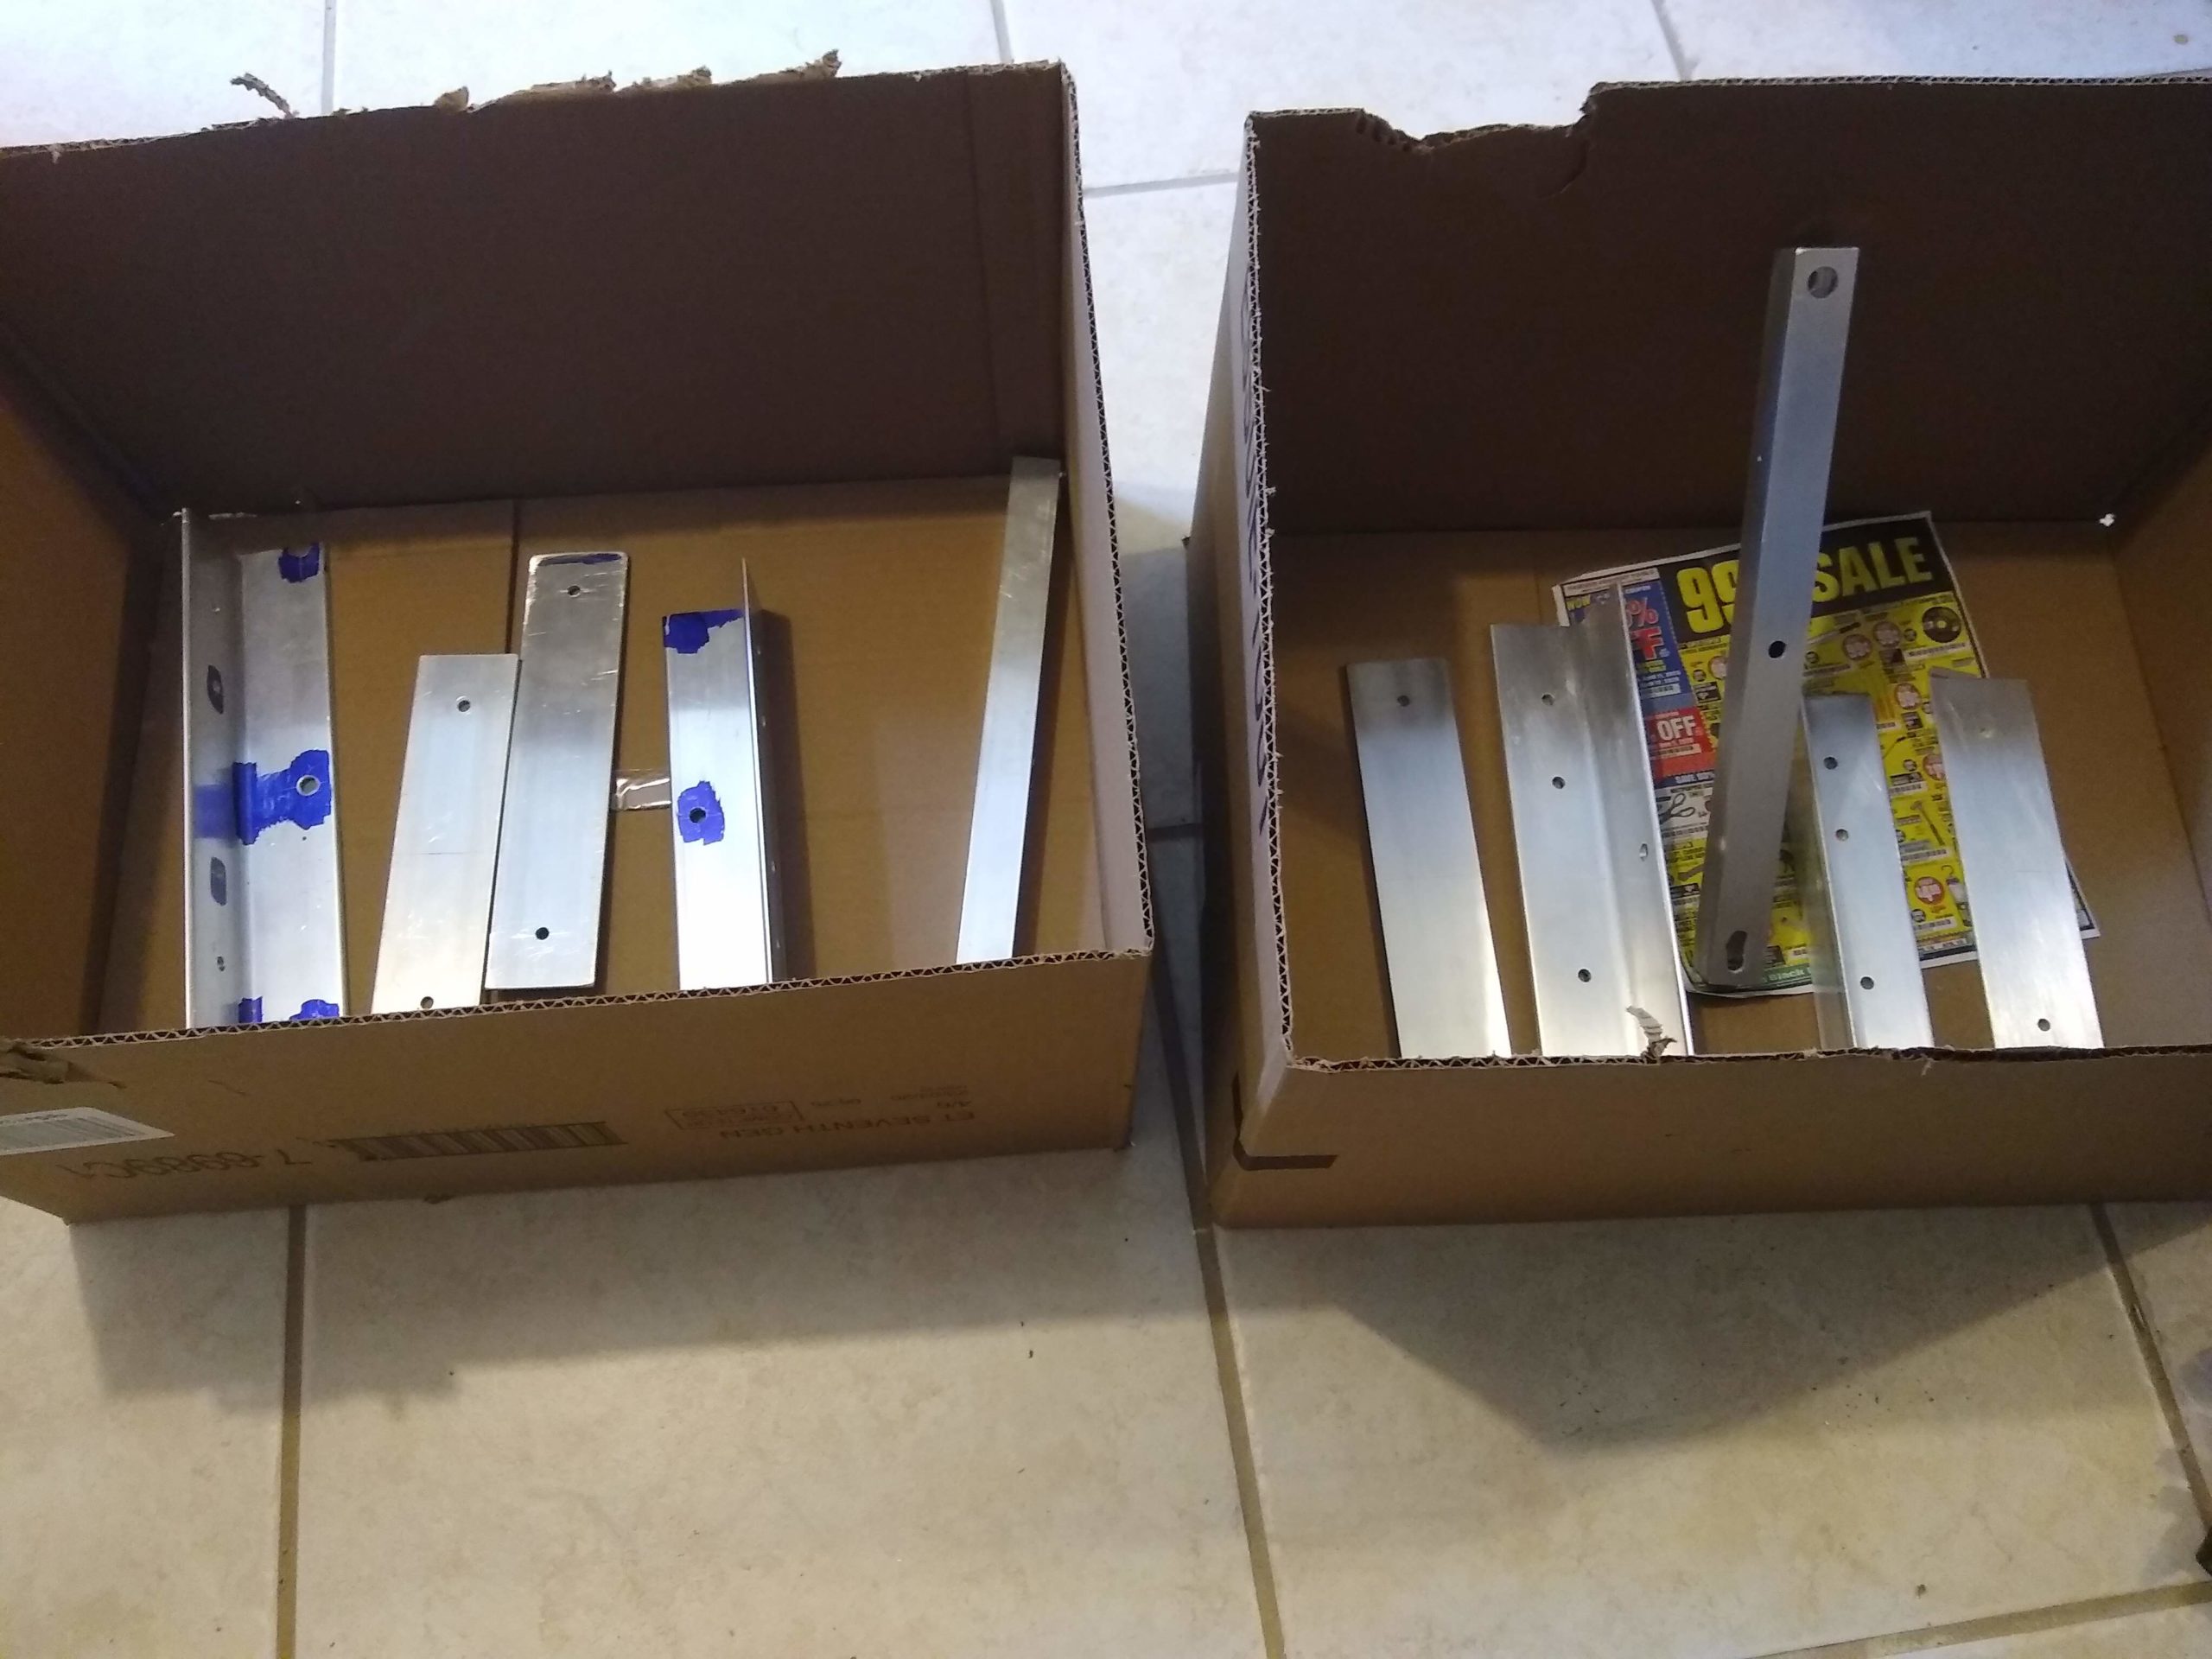
I also cleaned up and painted the aluminum parts. I’d been worrying some as to how to remove all the blue layout fluid that remained, but 220 sandpaper and a not insubstantial amount of elbow grease did a fine job. The sanding removed a lot of the surface scratches and blemishes while it was at it, although it didn’t remove quite all of the scribed lines from layout. But the three coats of etching primer did a pretty good job of filling those, as it turned out. The parts look great.

Some parts sanded clean, some parts not yet

I did the painting in the outside basement area beneath the back porch, but the smell of the spray paint wafted into the house all the same. Tala thought it smelled great, while Dawn hated it. And, like I said, the parts look great.

Some parts primed, some parts not yet

The darkish gray primer looks really good by itself. I’ve been planning to do red or yellow or both top coats, but now I’m thinking of leaving them as it.

Week 60: Oar Finishing

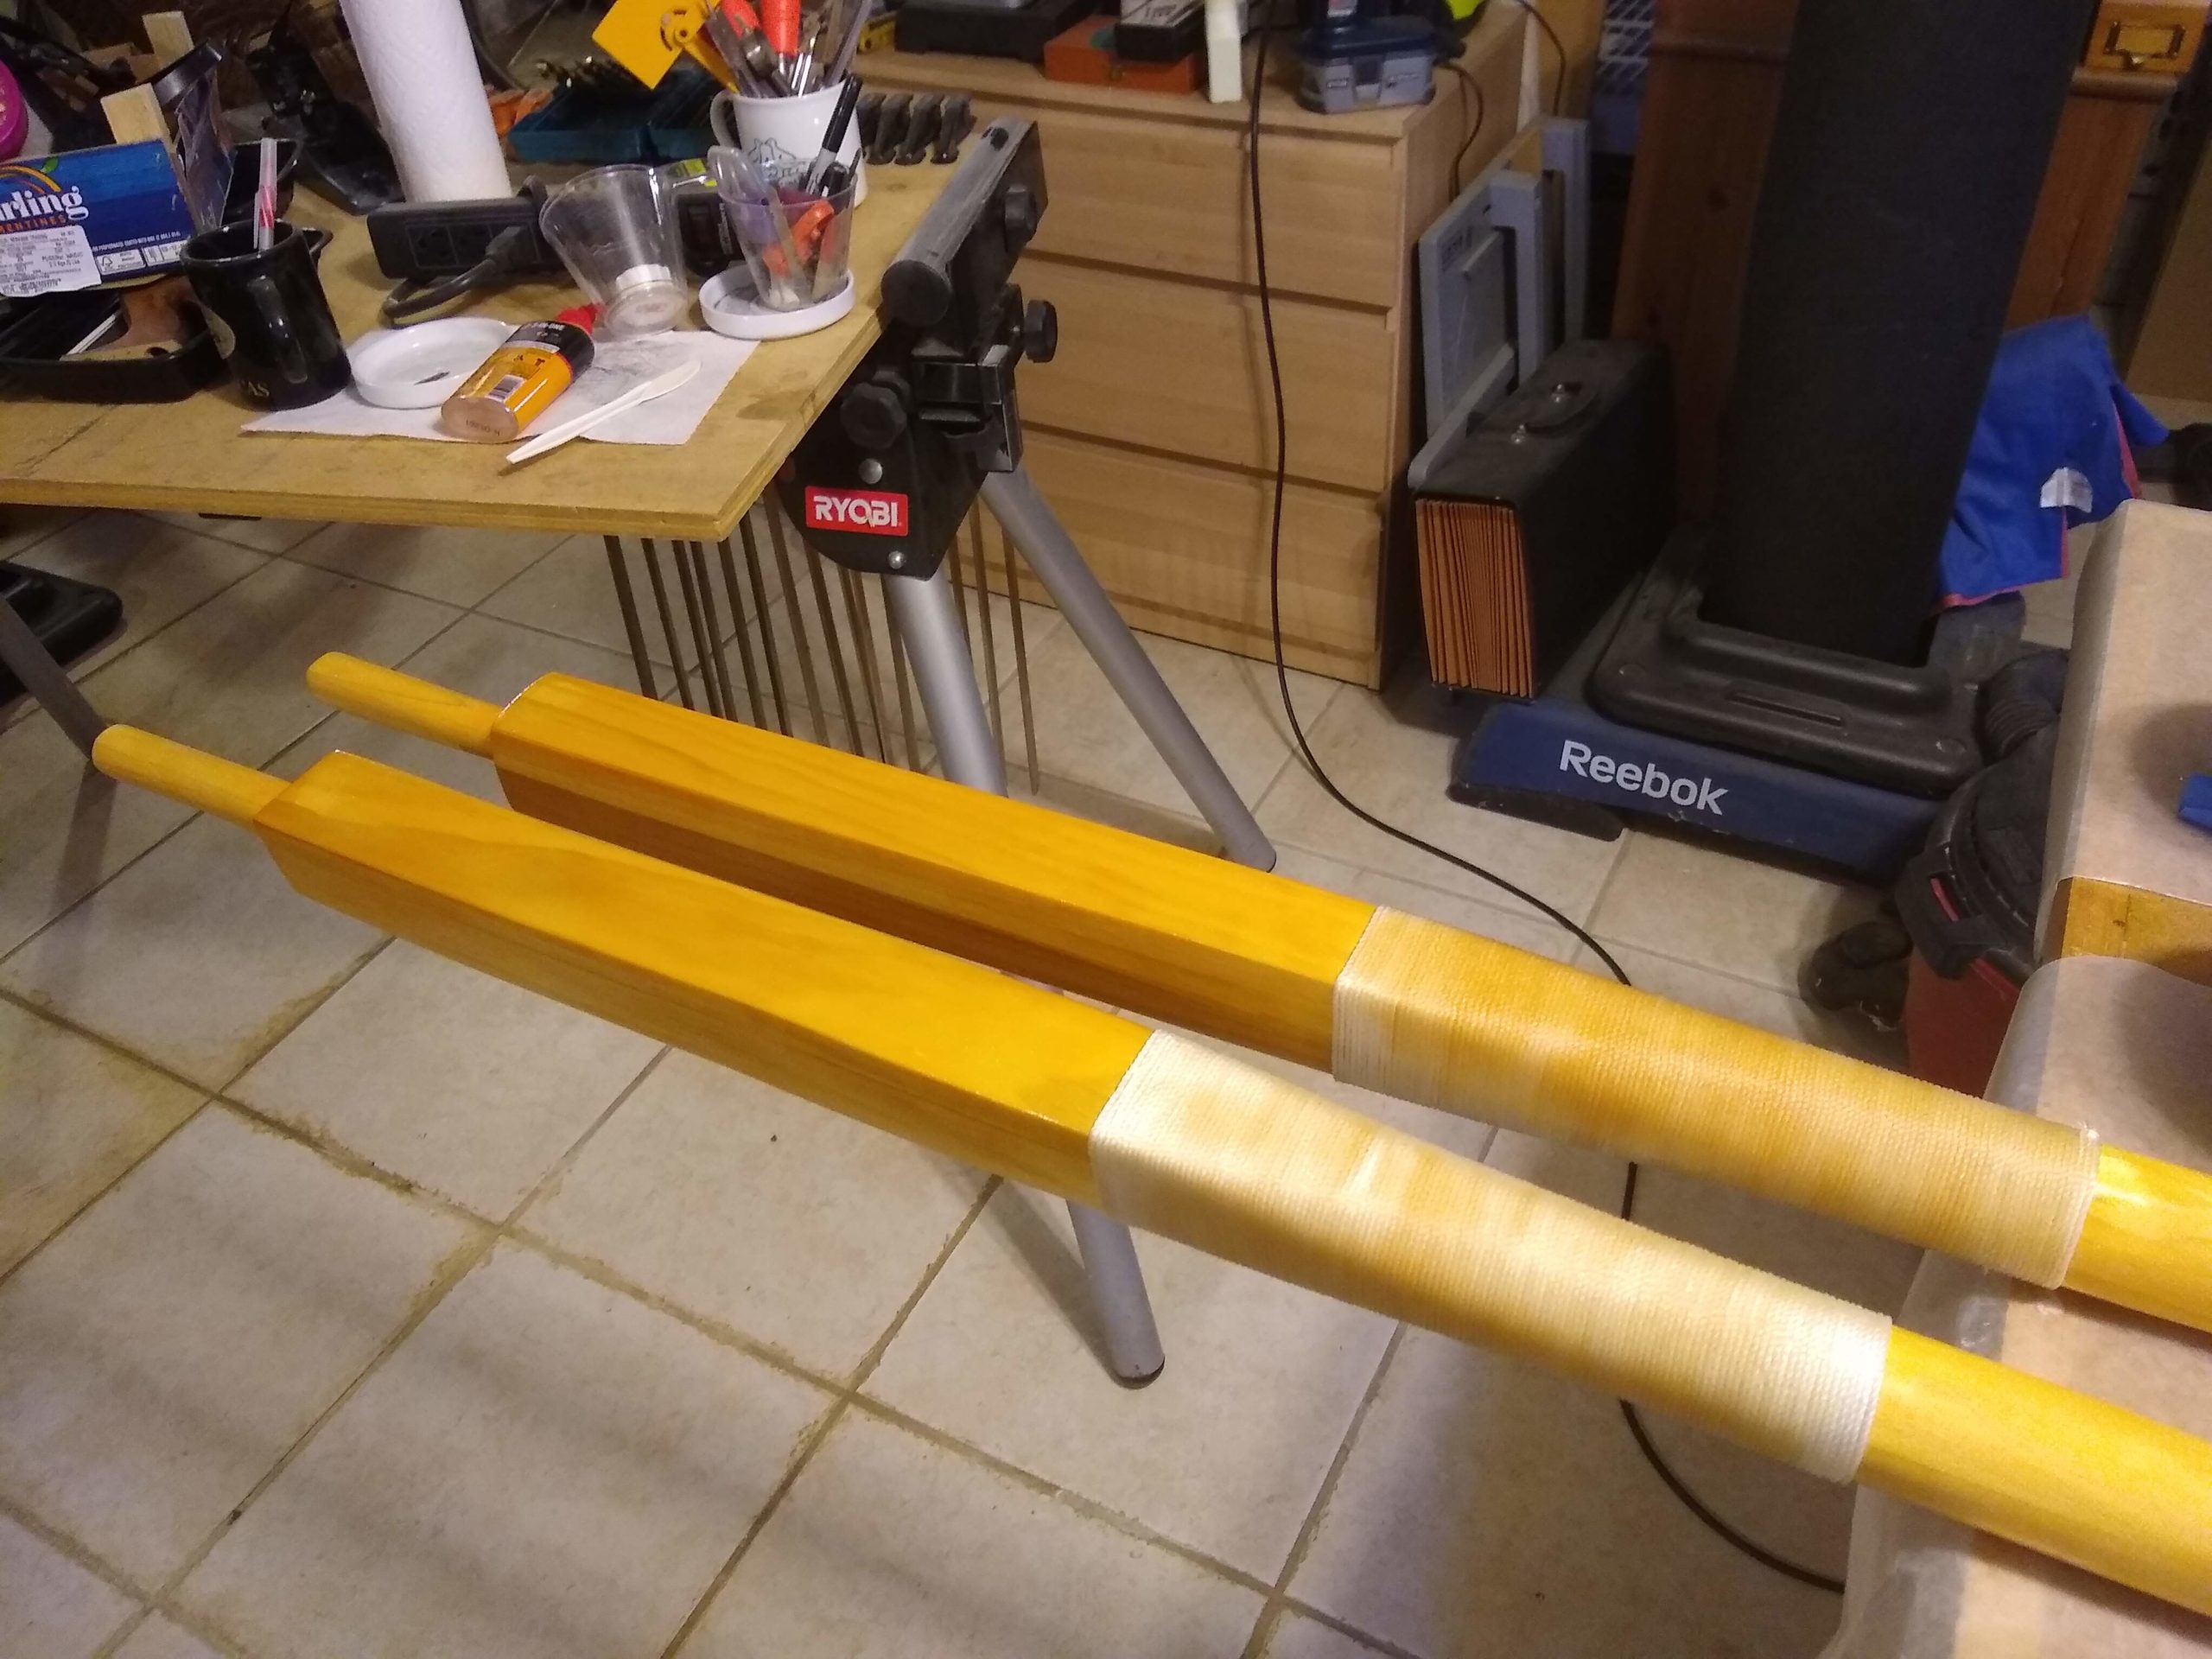
One last thing that I had to do, before varnishing the oars, was to install collars where the oars will sit in the oar locks. Such collars are traditionally made of leather; indeed, Jim Michalak calls them “leathers.”

He doesn’t use leather, though, for the leathers. Instead he uses synthetic masons twine. So, then, as do I. He varnishes the twine along with the wooden oars, except for leaving the handles bare. Again, then, so do I.

It’s a little harder than I’d planned, getting the slippery twine wrapped around the slippery shaft of the oil-stained loom. He says to secure the ends with knots, but the best way I find to begin the wrapping is to wrap the twine over itself, trapping itself tight underneath. This works just fine at the beginning of the wrap, but there’s no way I can do it at the end. On the first oar, I handily have a singed end just the right length to hitch around and bind where I want it to end. The second oar takes a little finagling but ends up ending the same way.

Upper looms and “leathers”

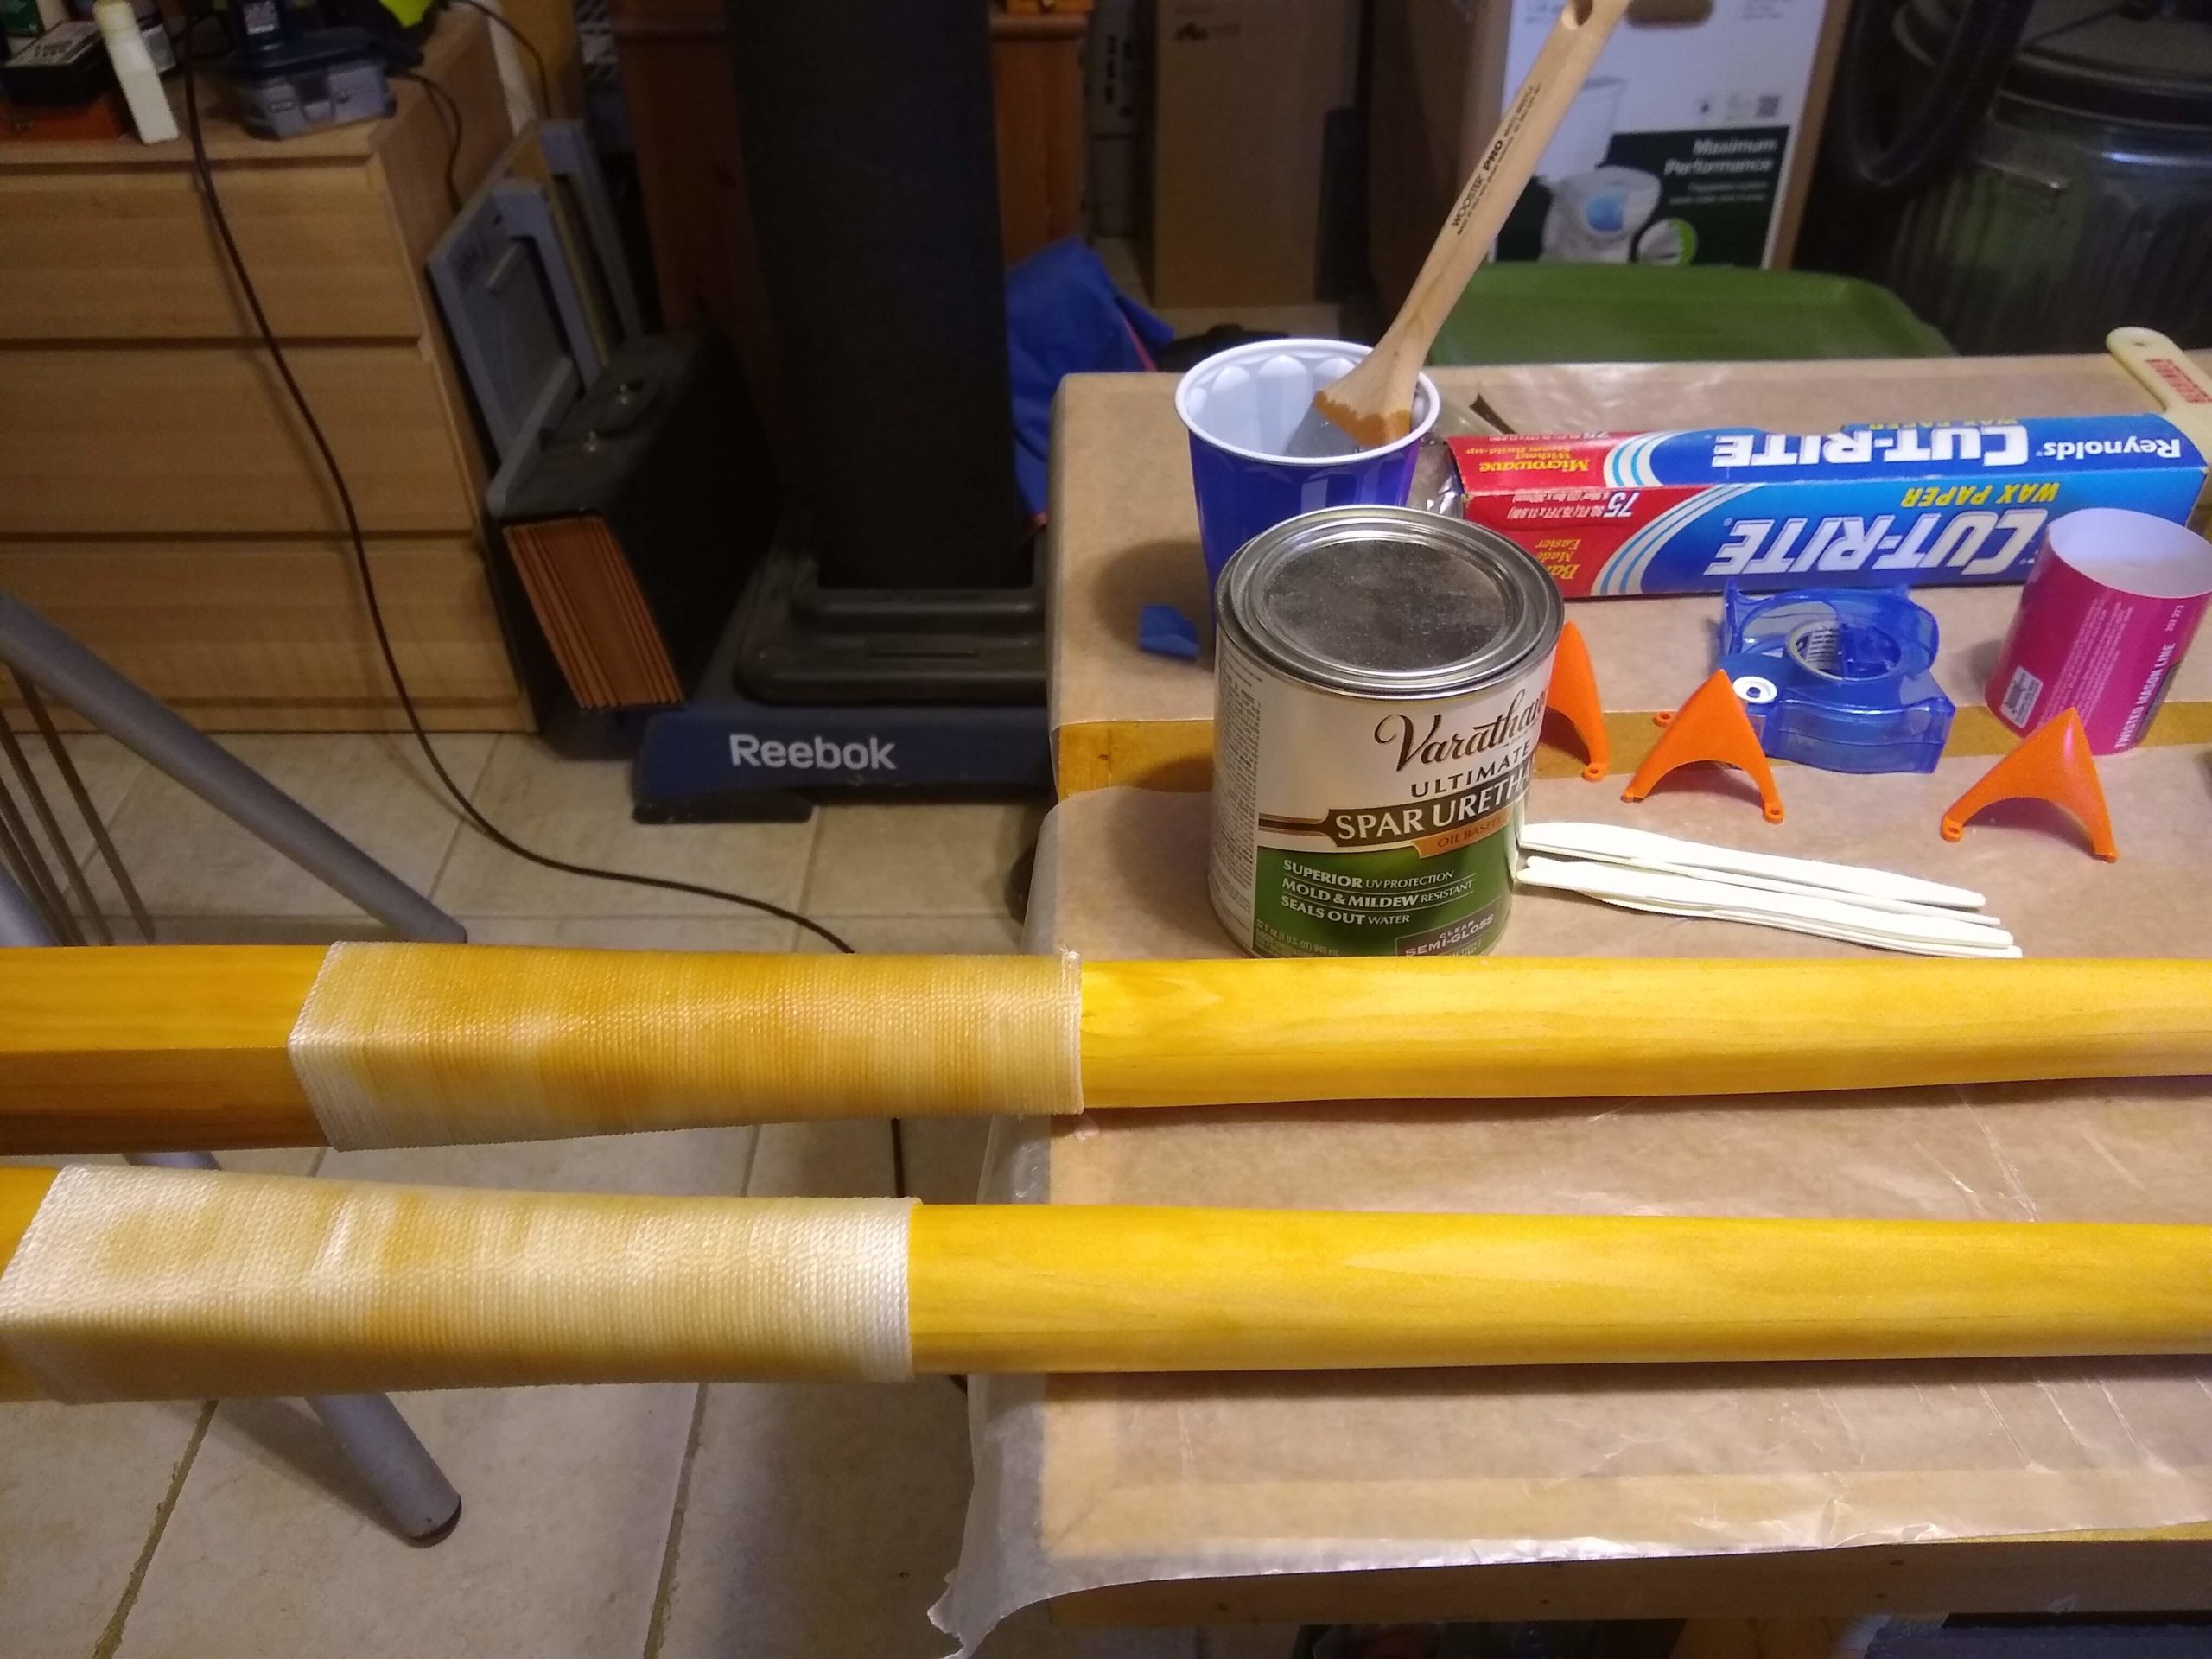
Then it’s time to varnish. The synthetic twine doesn’t soak up the varnish as well as I’d like, and the dark varnish turns the white twine a sickly baby poo brownish yellow. But, the first of a planned three coats is on and left to dry.

Spar urethane on the oars

Week 59: Oar Six

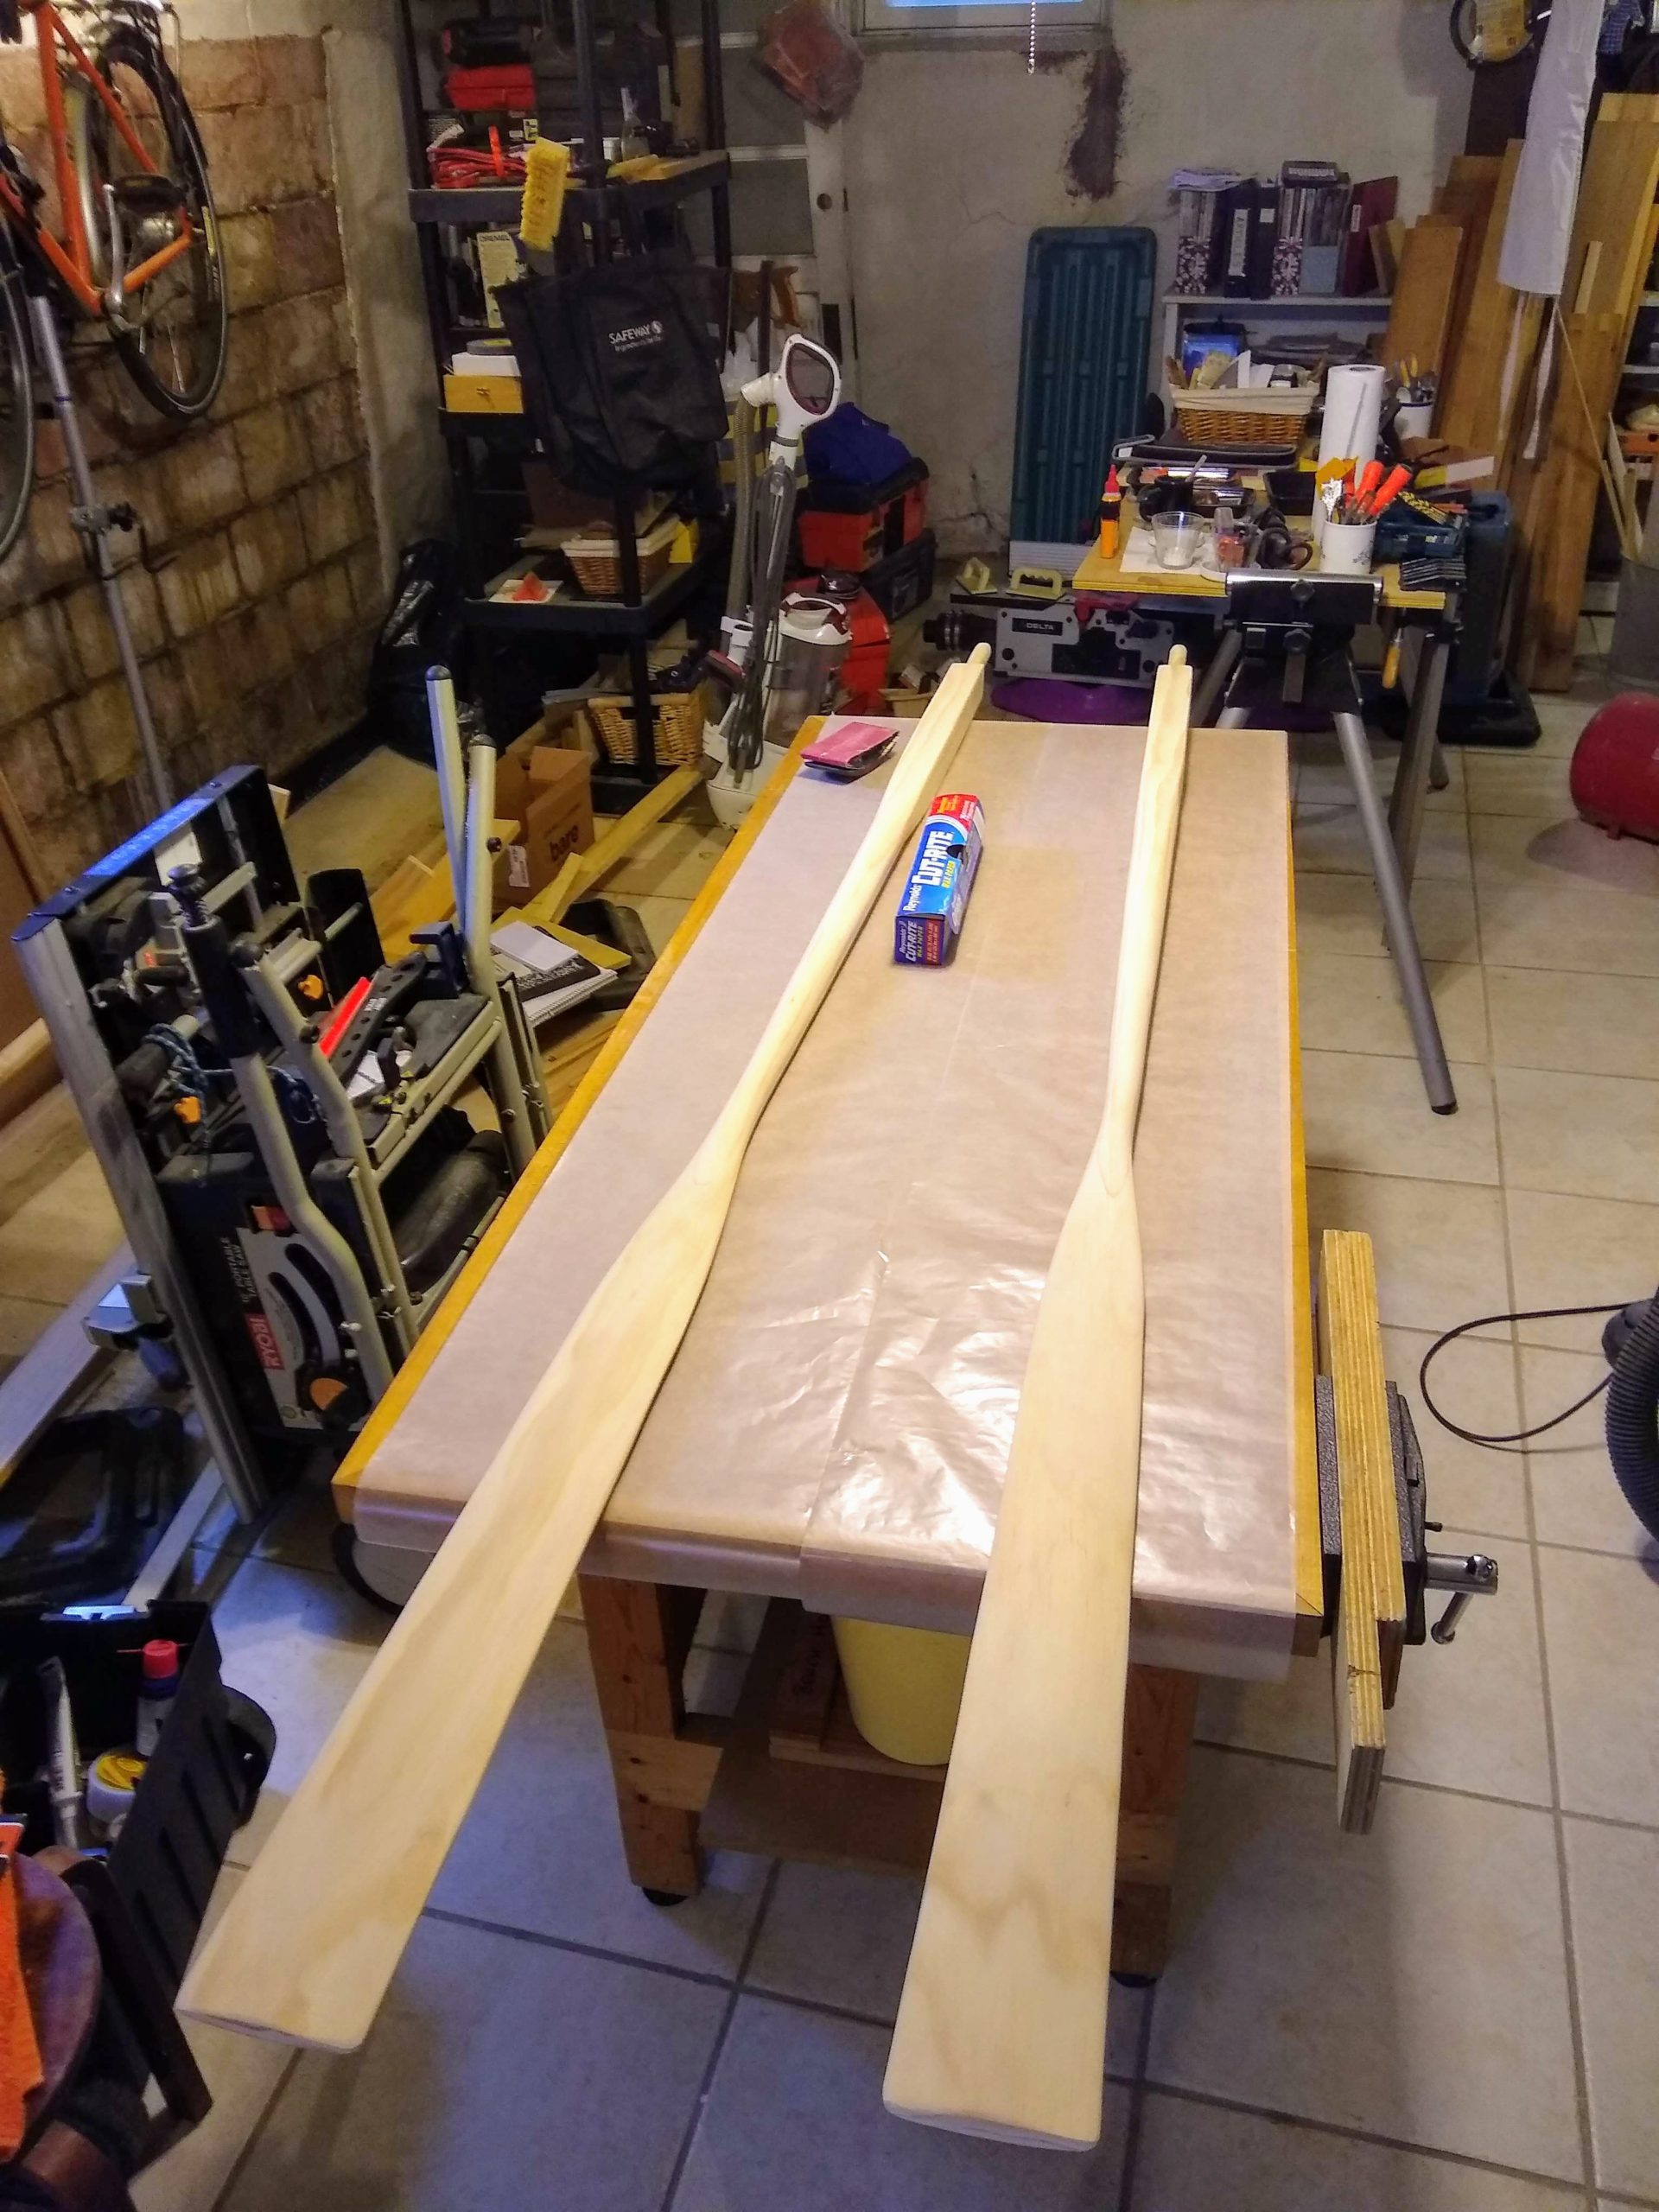
Did a little final tweaking on the shaping, then it was on to sanding.

Those are some pretty oars.

Went over everything that I could with the quarter-sheet pad sander, with 100 grit and then with 150 grit.

They’re definitely hand made. They’ve got … character.

Had to sand the handles by hand, though. That’s kinda poetic.

I like the grain of this pine.

Oh, and I filled the remaining register holes from the glue up with wood fill.

The blades were the hardest part to shape.

They took such a long time to make, but they turned out so gorgeous.

They’re not perfect, and I love them.

So then I wiped on a little oil stain with the questionably orange cedar stain that I’d bought. Next week they’ll be ready to varnish.