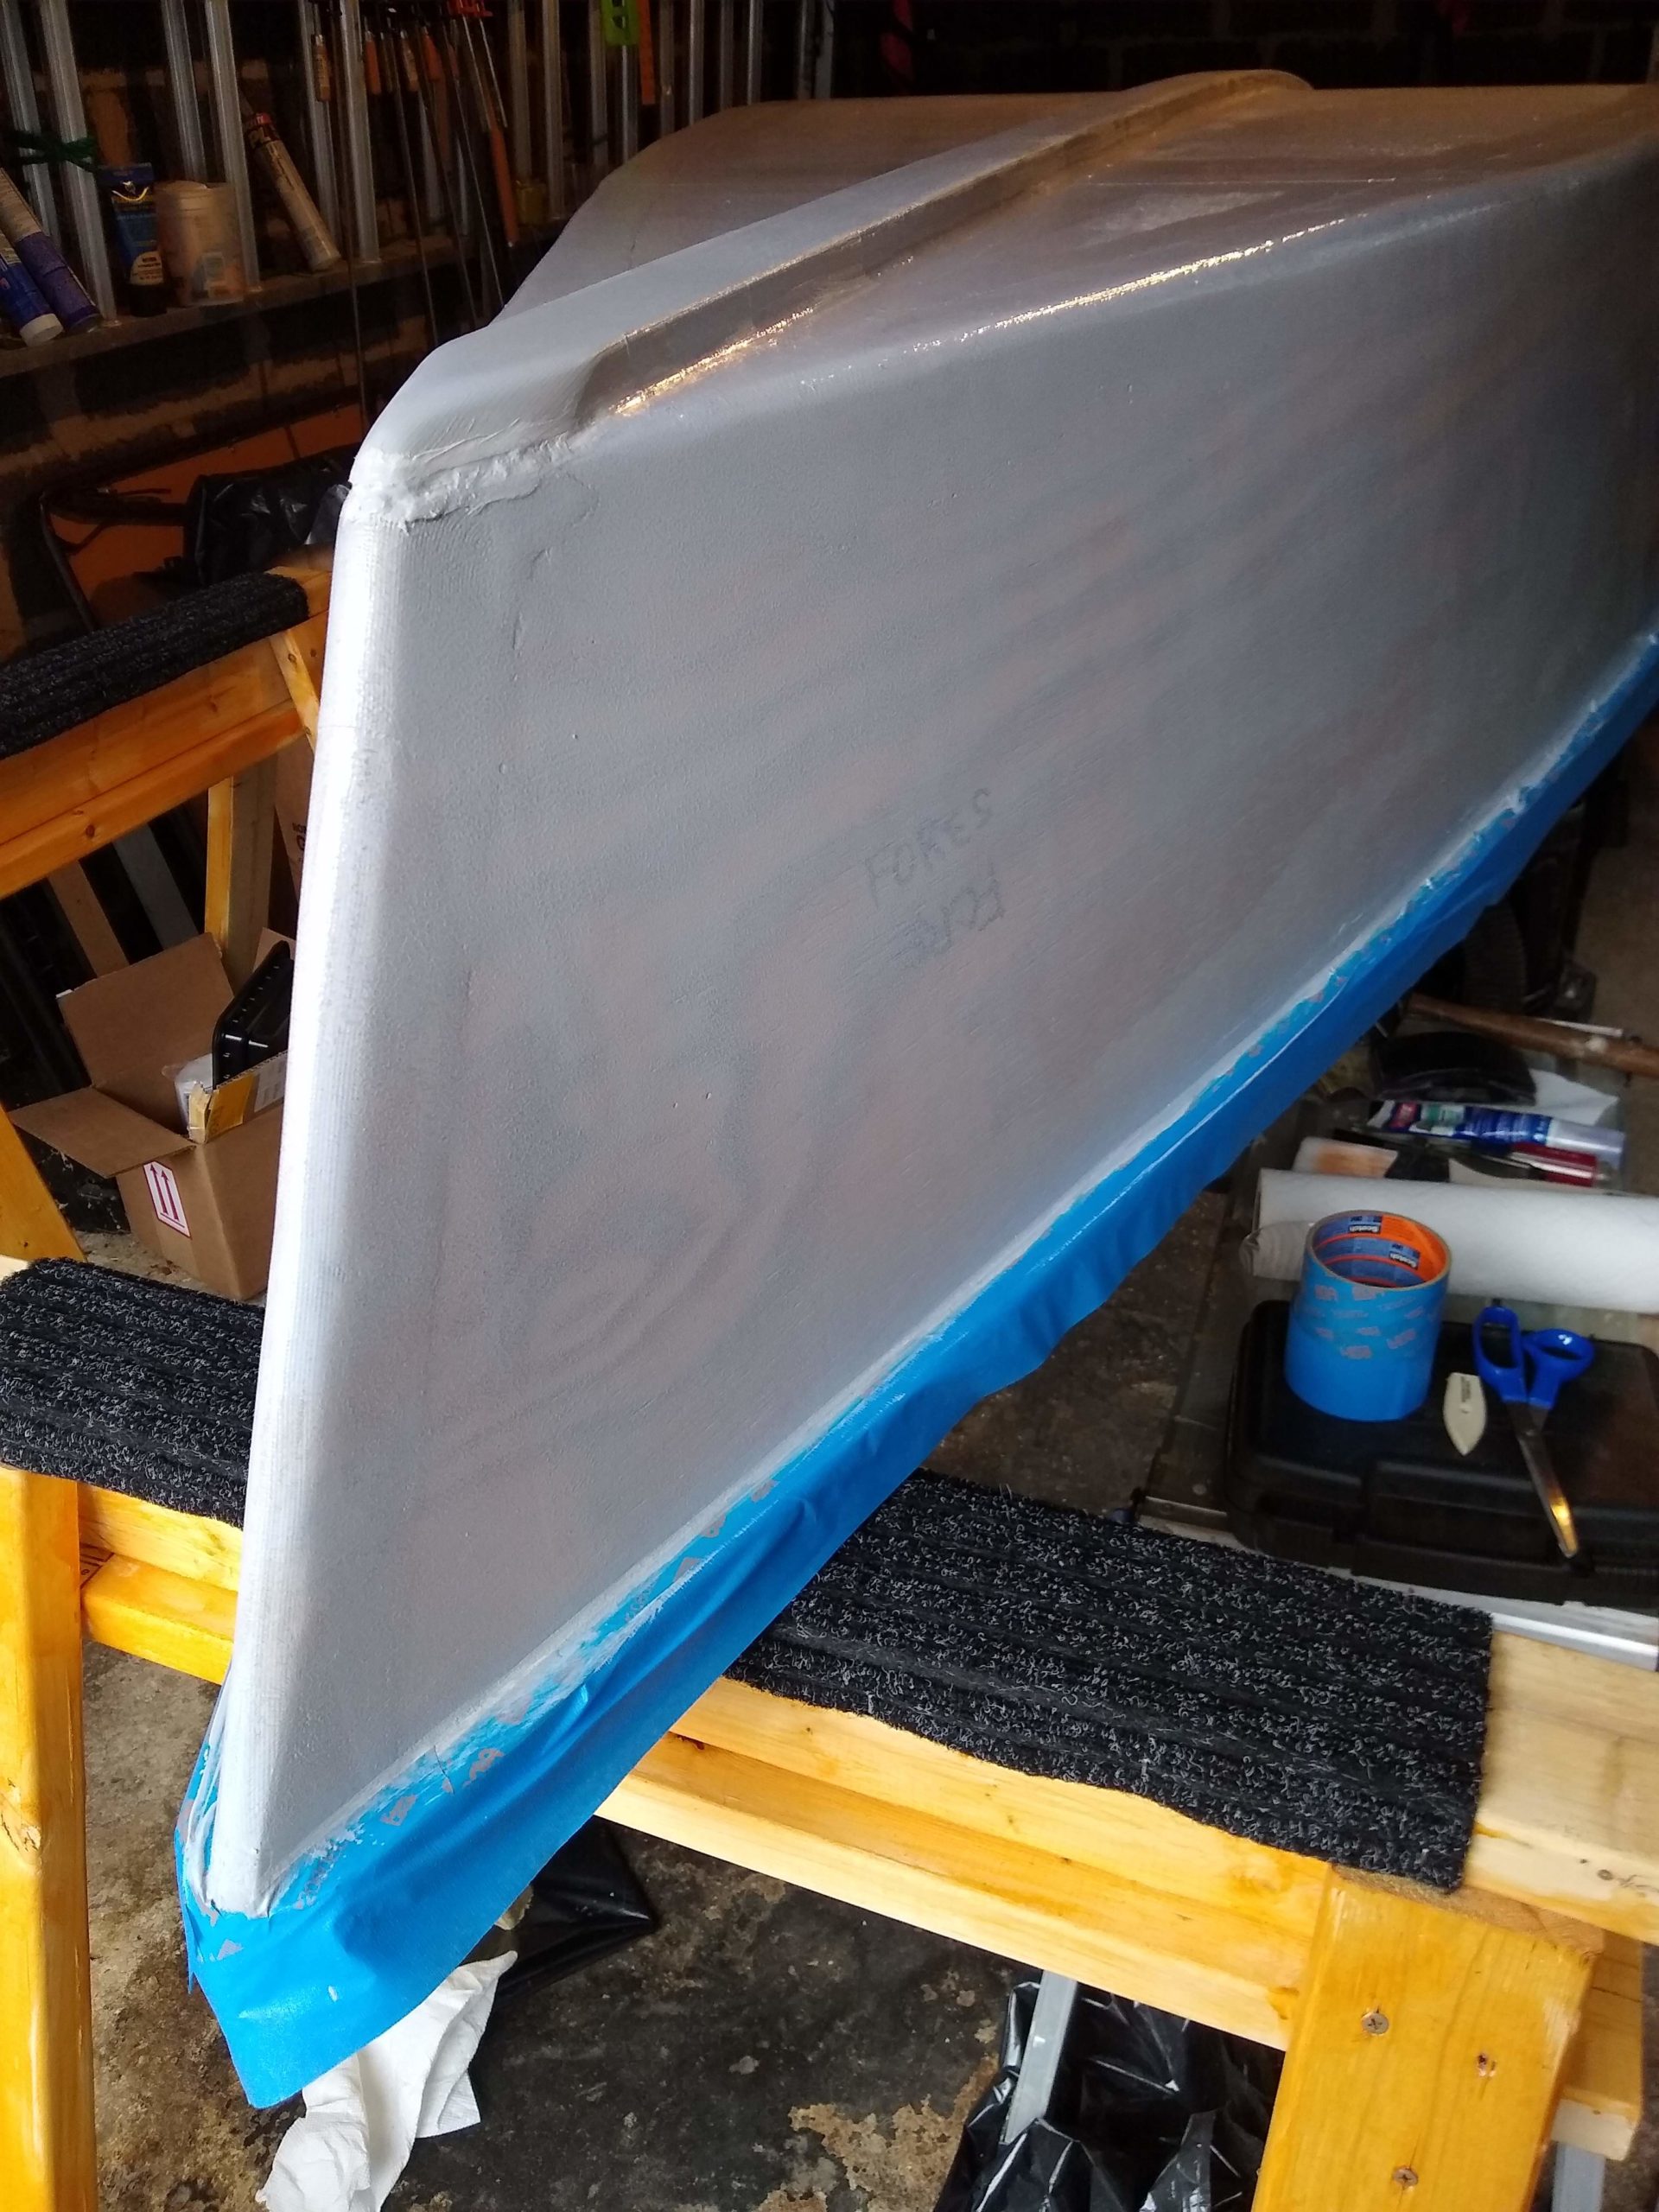
Yep, I need wheels on my boat.
I’ve long contemplated just how exactly I’m going to get the boat from home to the water, and then how to get the boat into and out of the water. I’ve been using an old furniture dolly (see Week 37 entry) to move the boat around and in and out of the garage, but I need something more robust to move the boat any further.
I’ve searched the web and seen various examples of carts that guys have built, and the best I found was Kevin Falvey’s for his very own Summer Breeze skiff. Imagining building a similar cart, I’ve always been on the lookout for old bicycle wheels maybe set out for trash or recycling. I never did pick up a pair, though.

More recently, I came across this video for a wheel system that I really liked, so I decided to build it, after adapting it, in many, many SketchUp renders, to my transom.

But, honestly, even after all the work I did there, all credit to BOR Fishing for his great, great video.
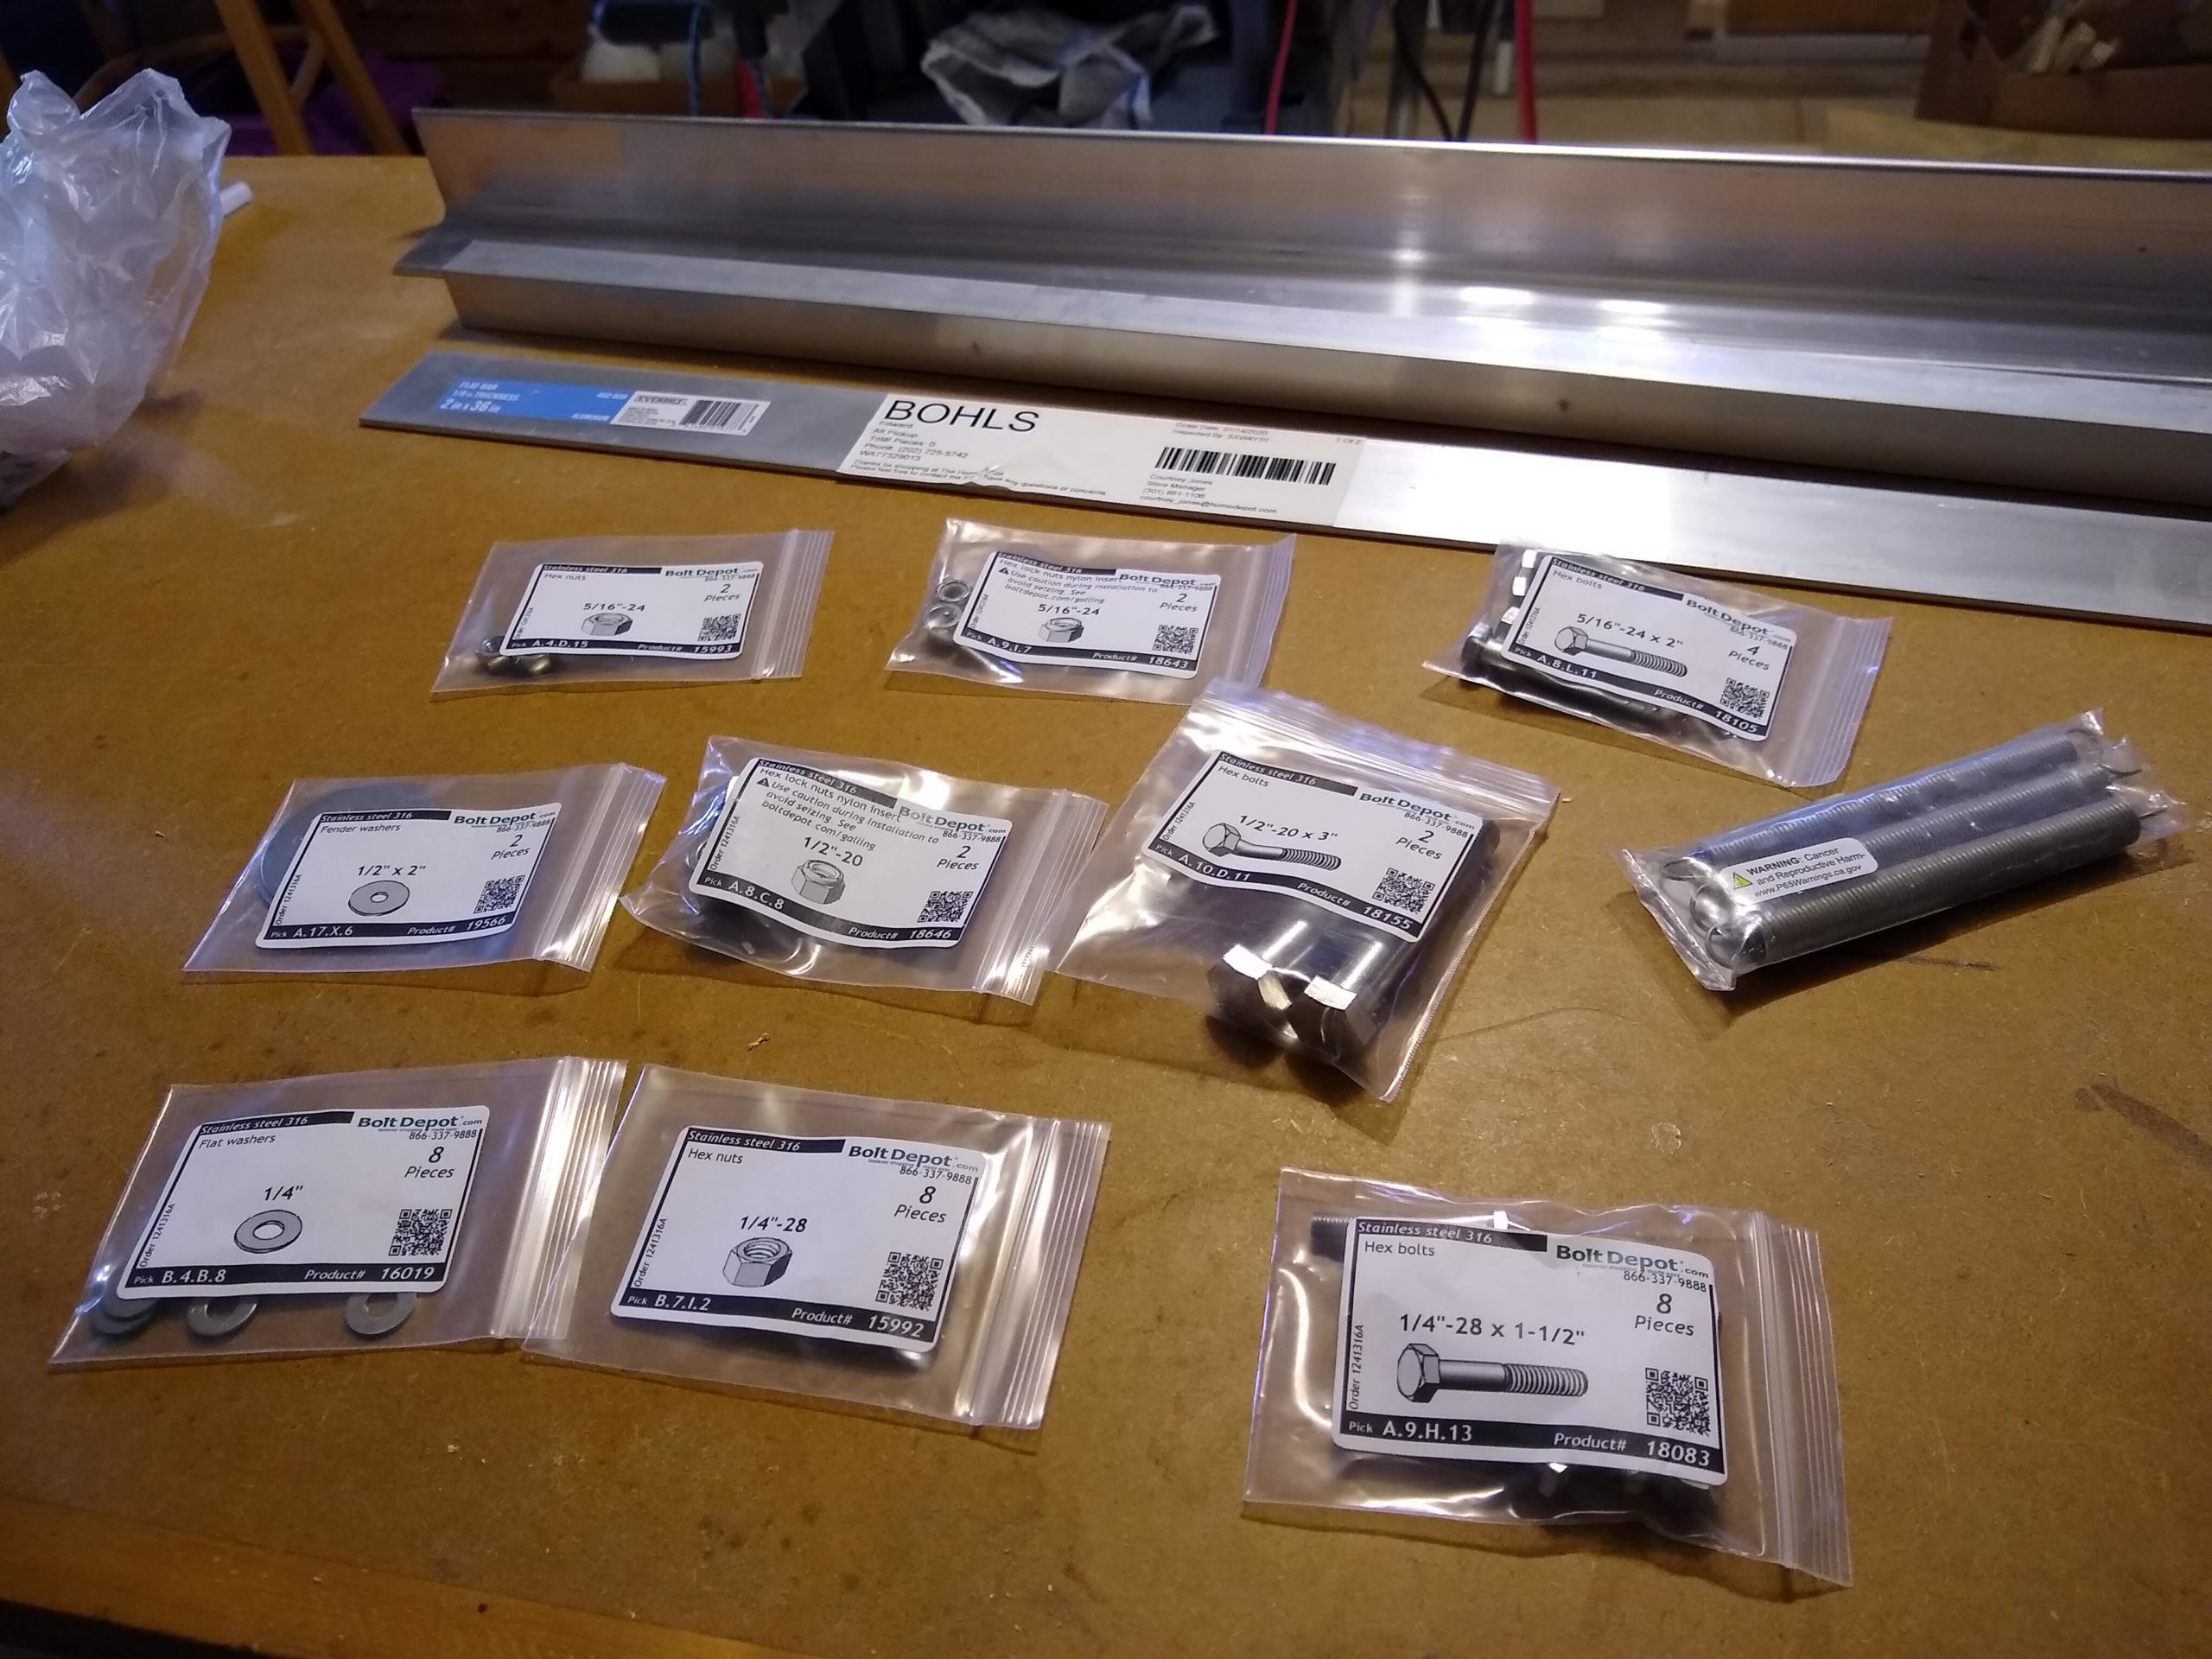
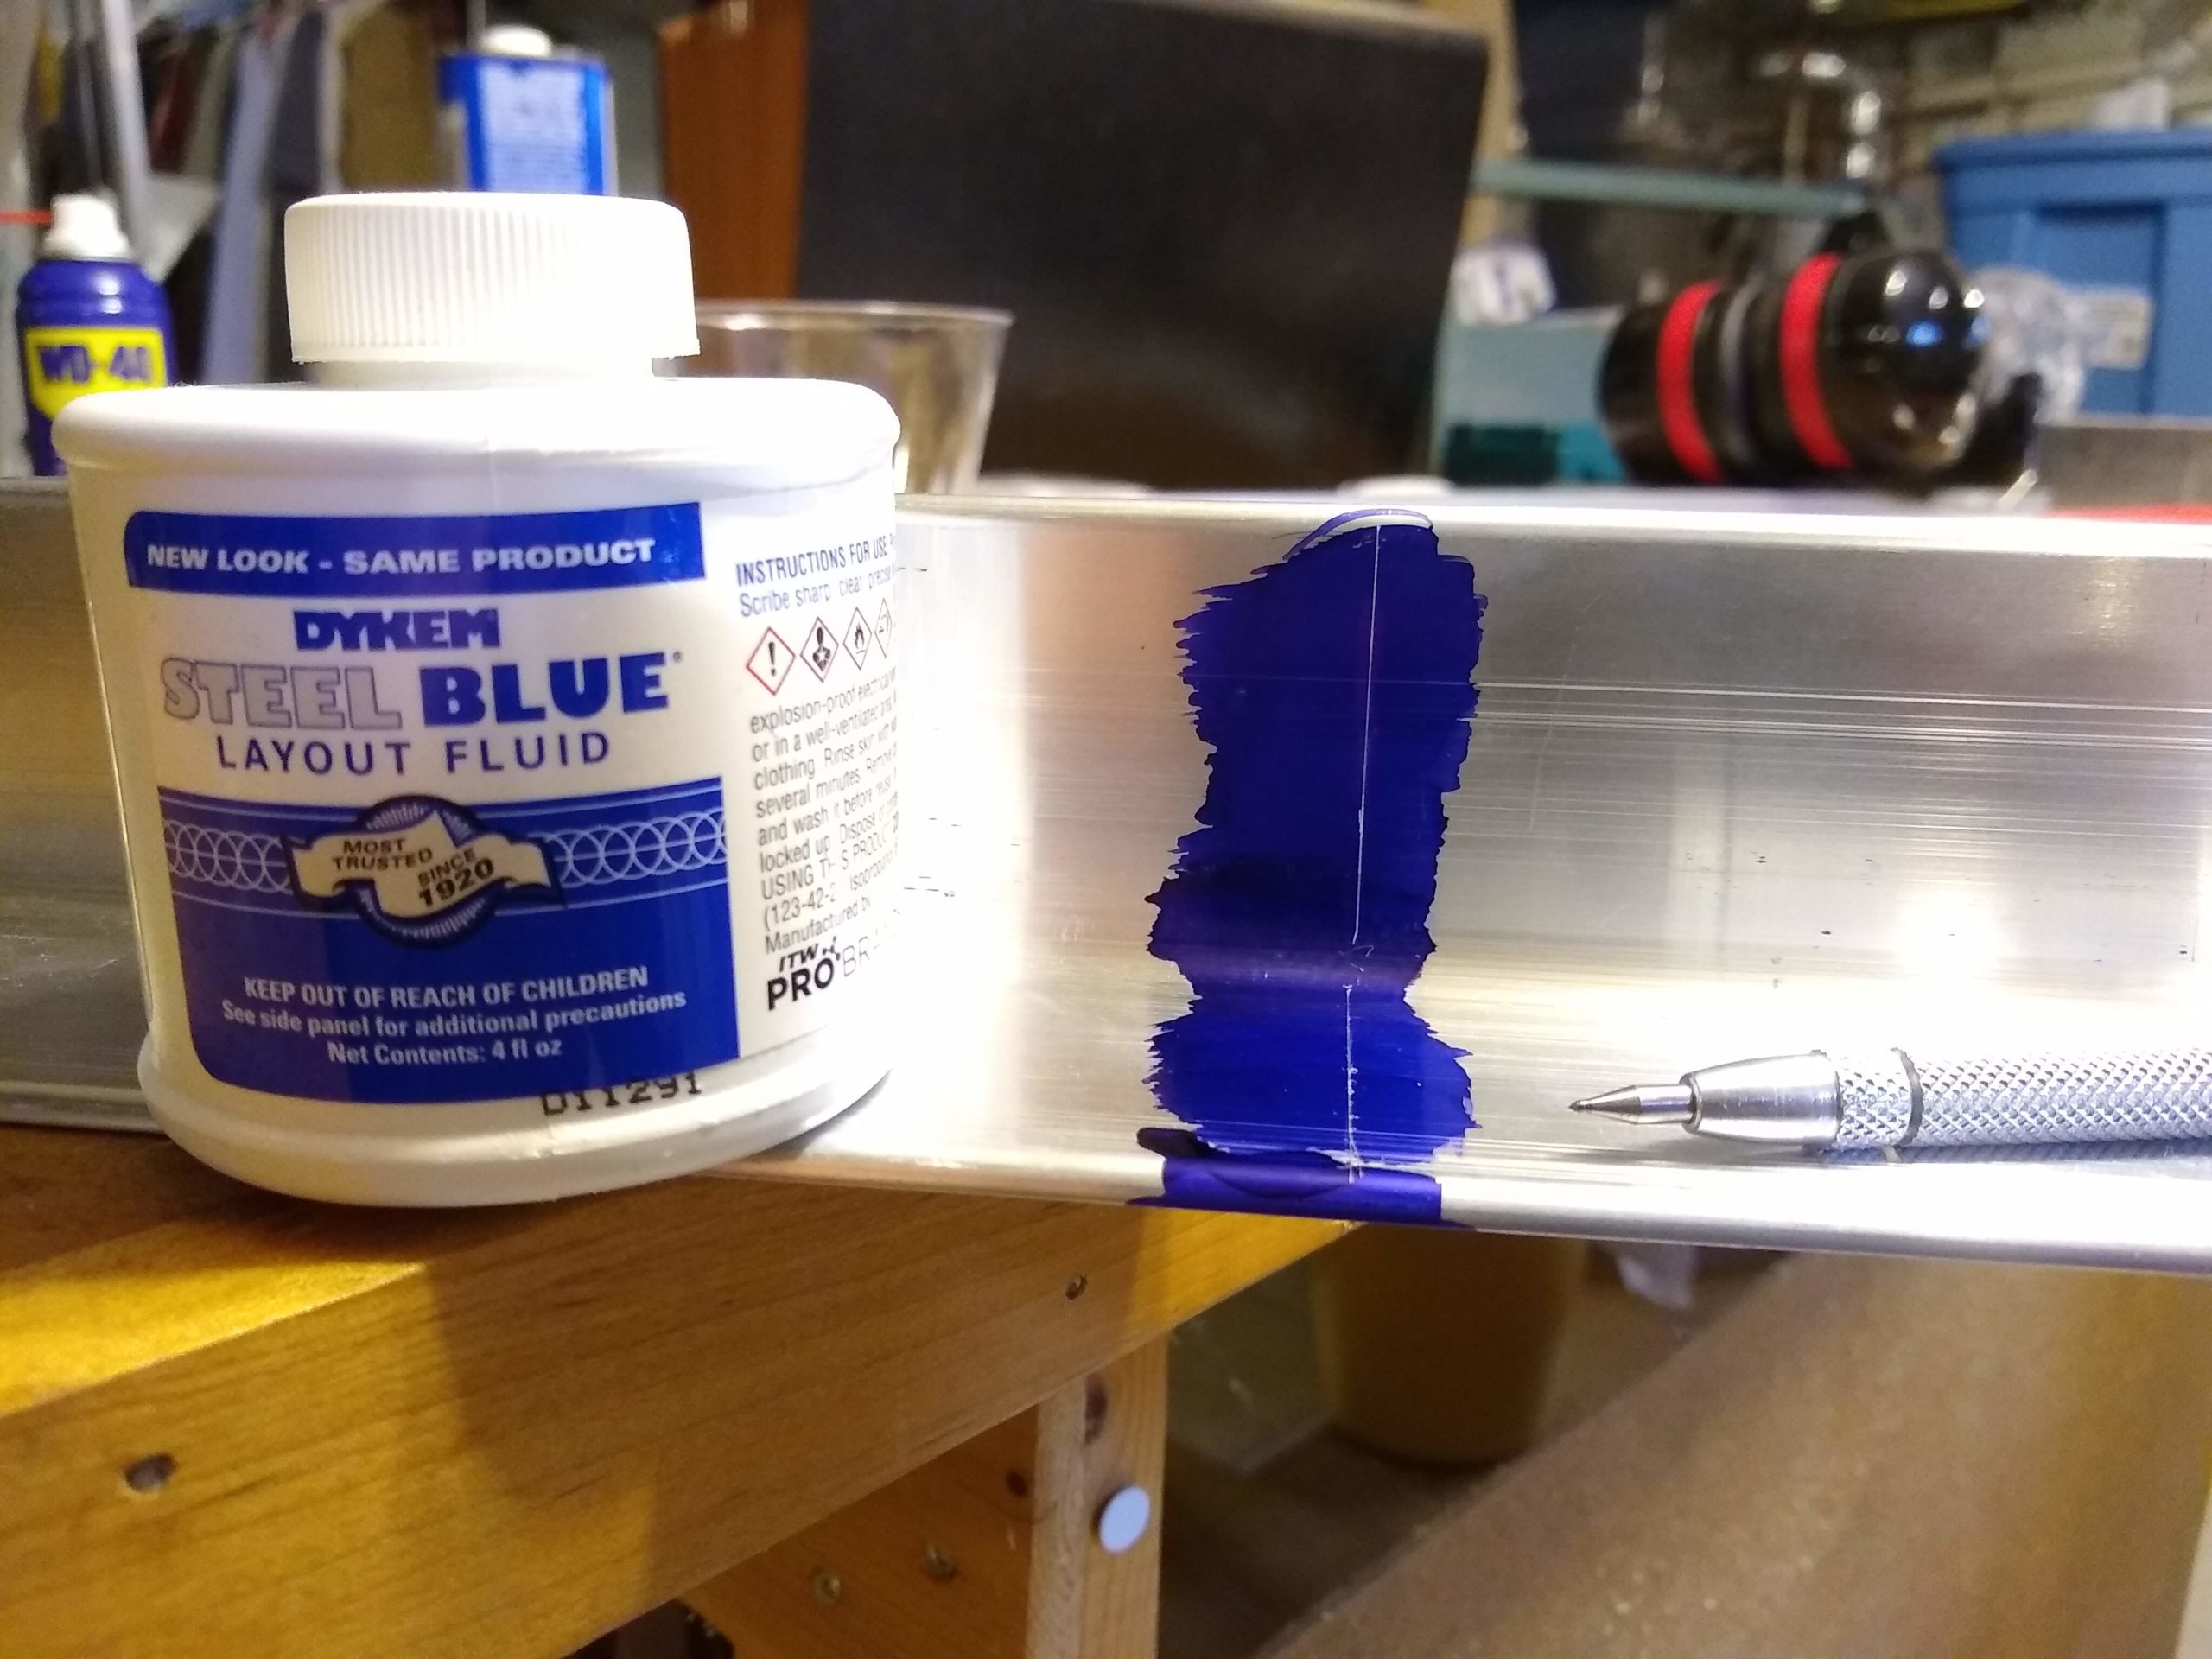
I ordered all the stainless steel bolts, nuts, and washers from Bolt Depot, the aluminum angle & square tube and stainless steel springs from Grainger, and steel wheels and a length of aluminum flat bar from Home Depot. I also ordered a metal chop saw wheel and a set of titanium drill bits from Amazon. After laying out and cutting the first length of angle, I went ahead and ordered a metal scribe and some layout fluid from Amazon. That was a huge help.
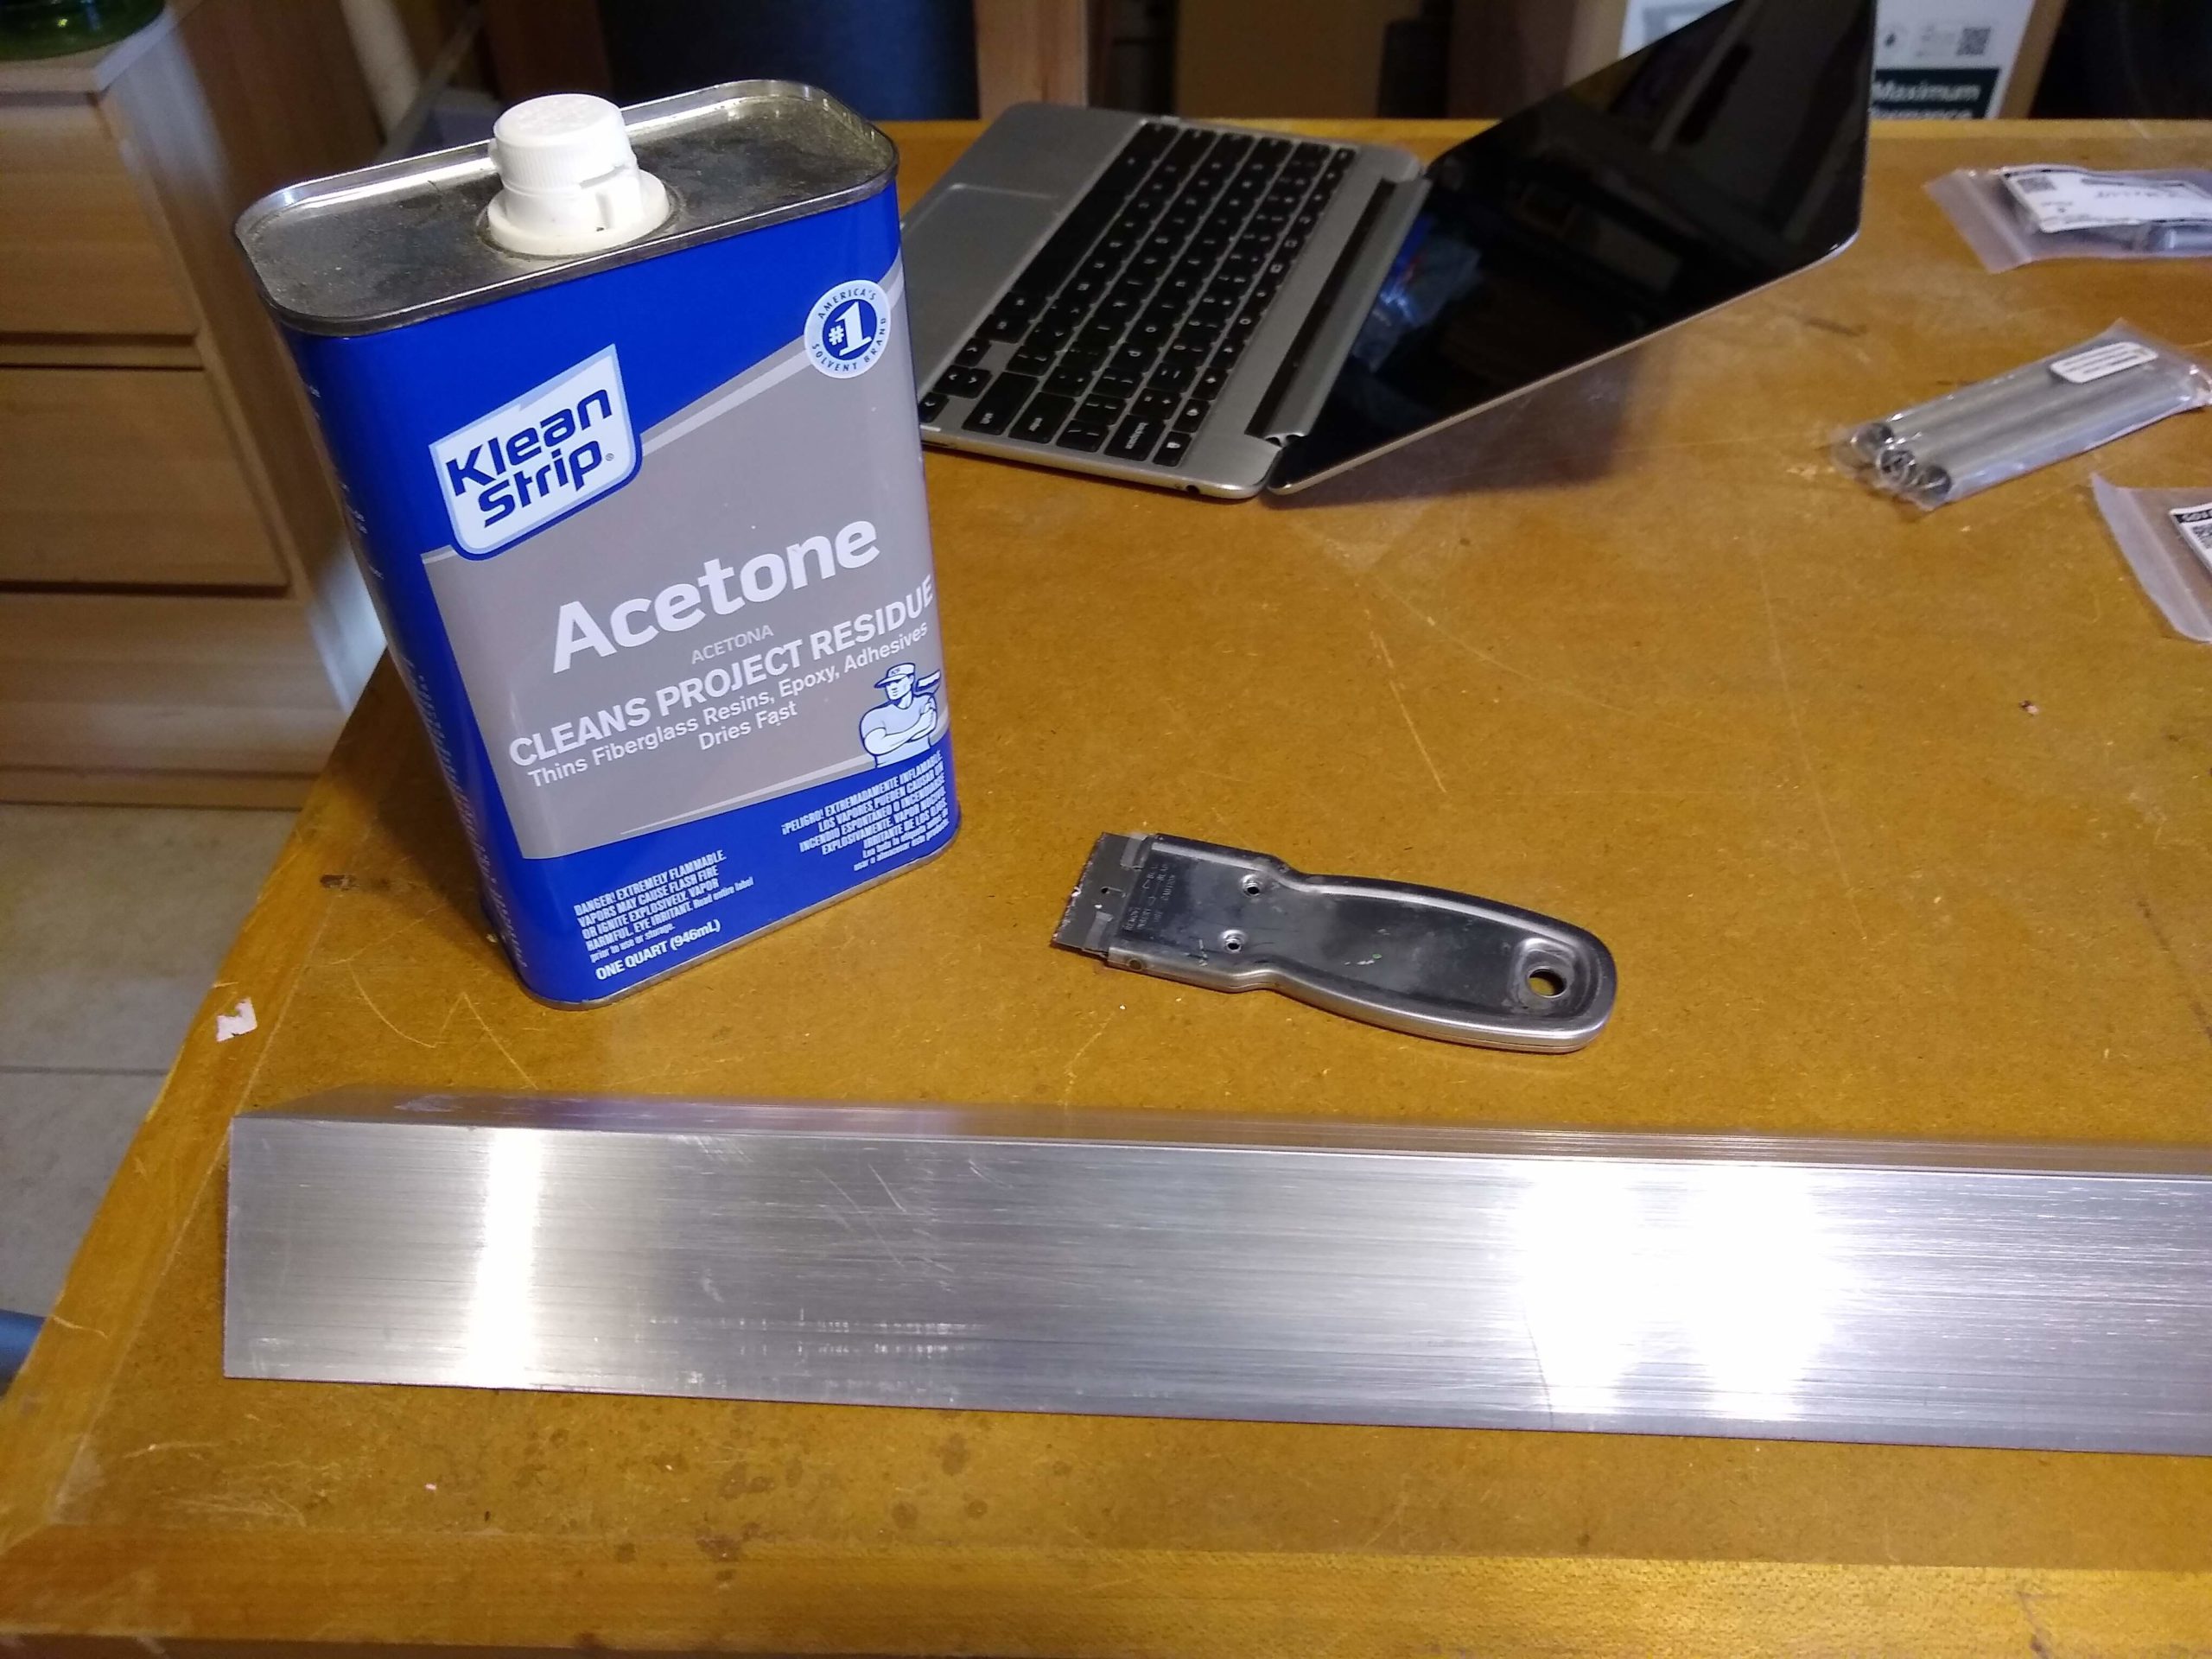
All the aluminum pieces had various stickers on them. While not hard to scrape off with a razor blade, there was still left annoying adhesive. A cloth and some acetone removed that fairly quickly, though.
Getting to real work, I cut two lengths of angle to 11″ and two more to 9″. I cut the square tube to two lengths of 12-7/8″. (I really wanted 13″ or so, but I superstitiously avoided the number 13.) The chop saw made for some serious rough cuts. I had to file the edges to cut off the sharp jagged bits left over. Luckily I have some metal files that I hardly ever use, a big 10″ flat file and and a little 8″ triangular taper file. The taper file was a huge help for the aluminum tube, since the big ass flat file wouldn’t fit inside.
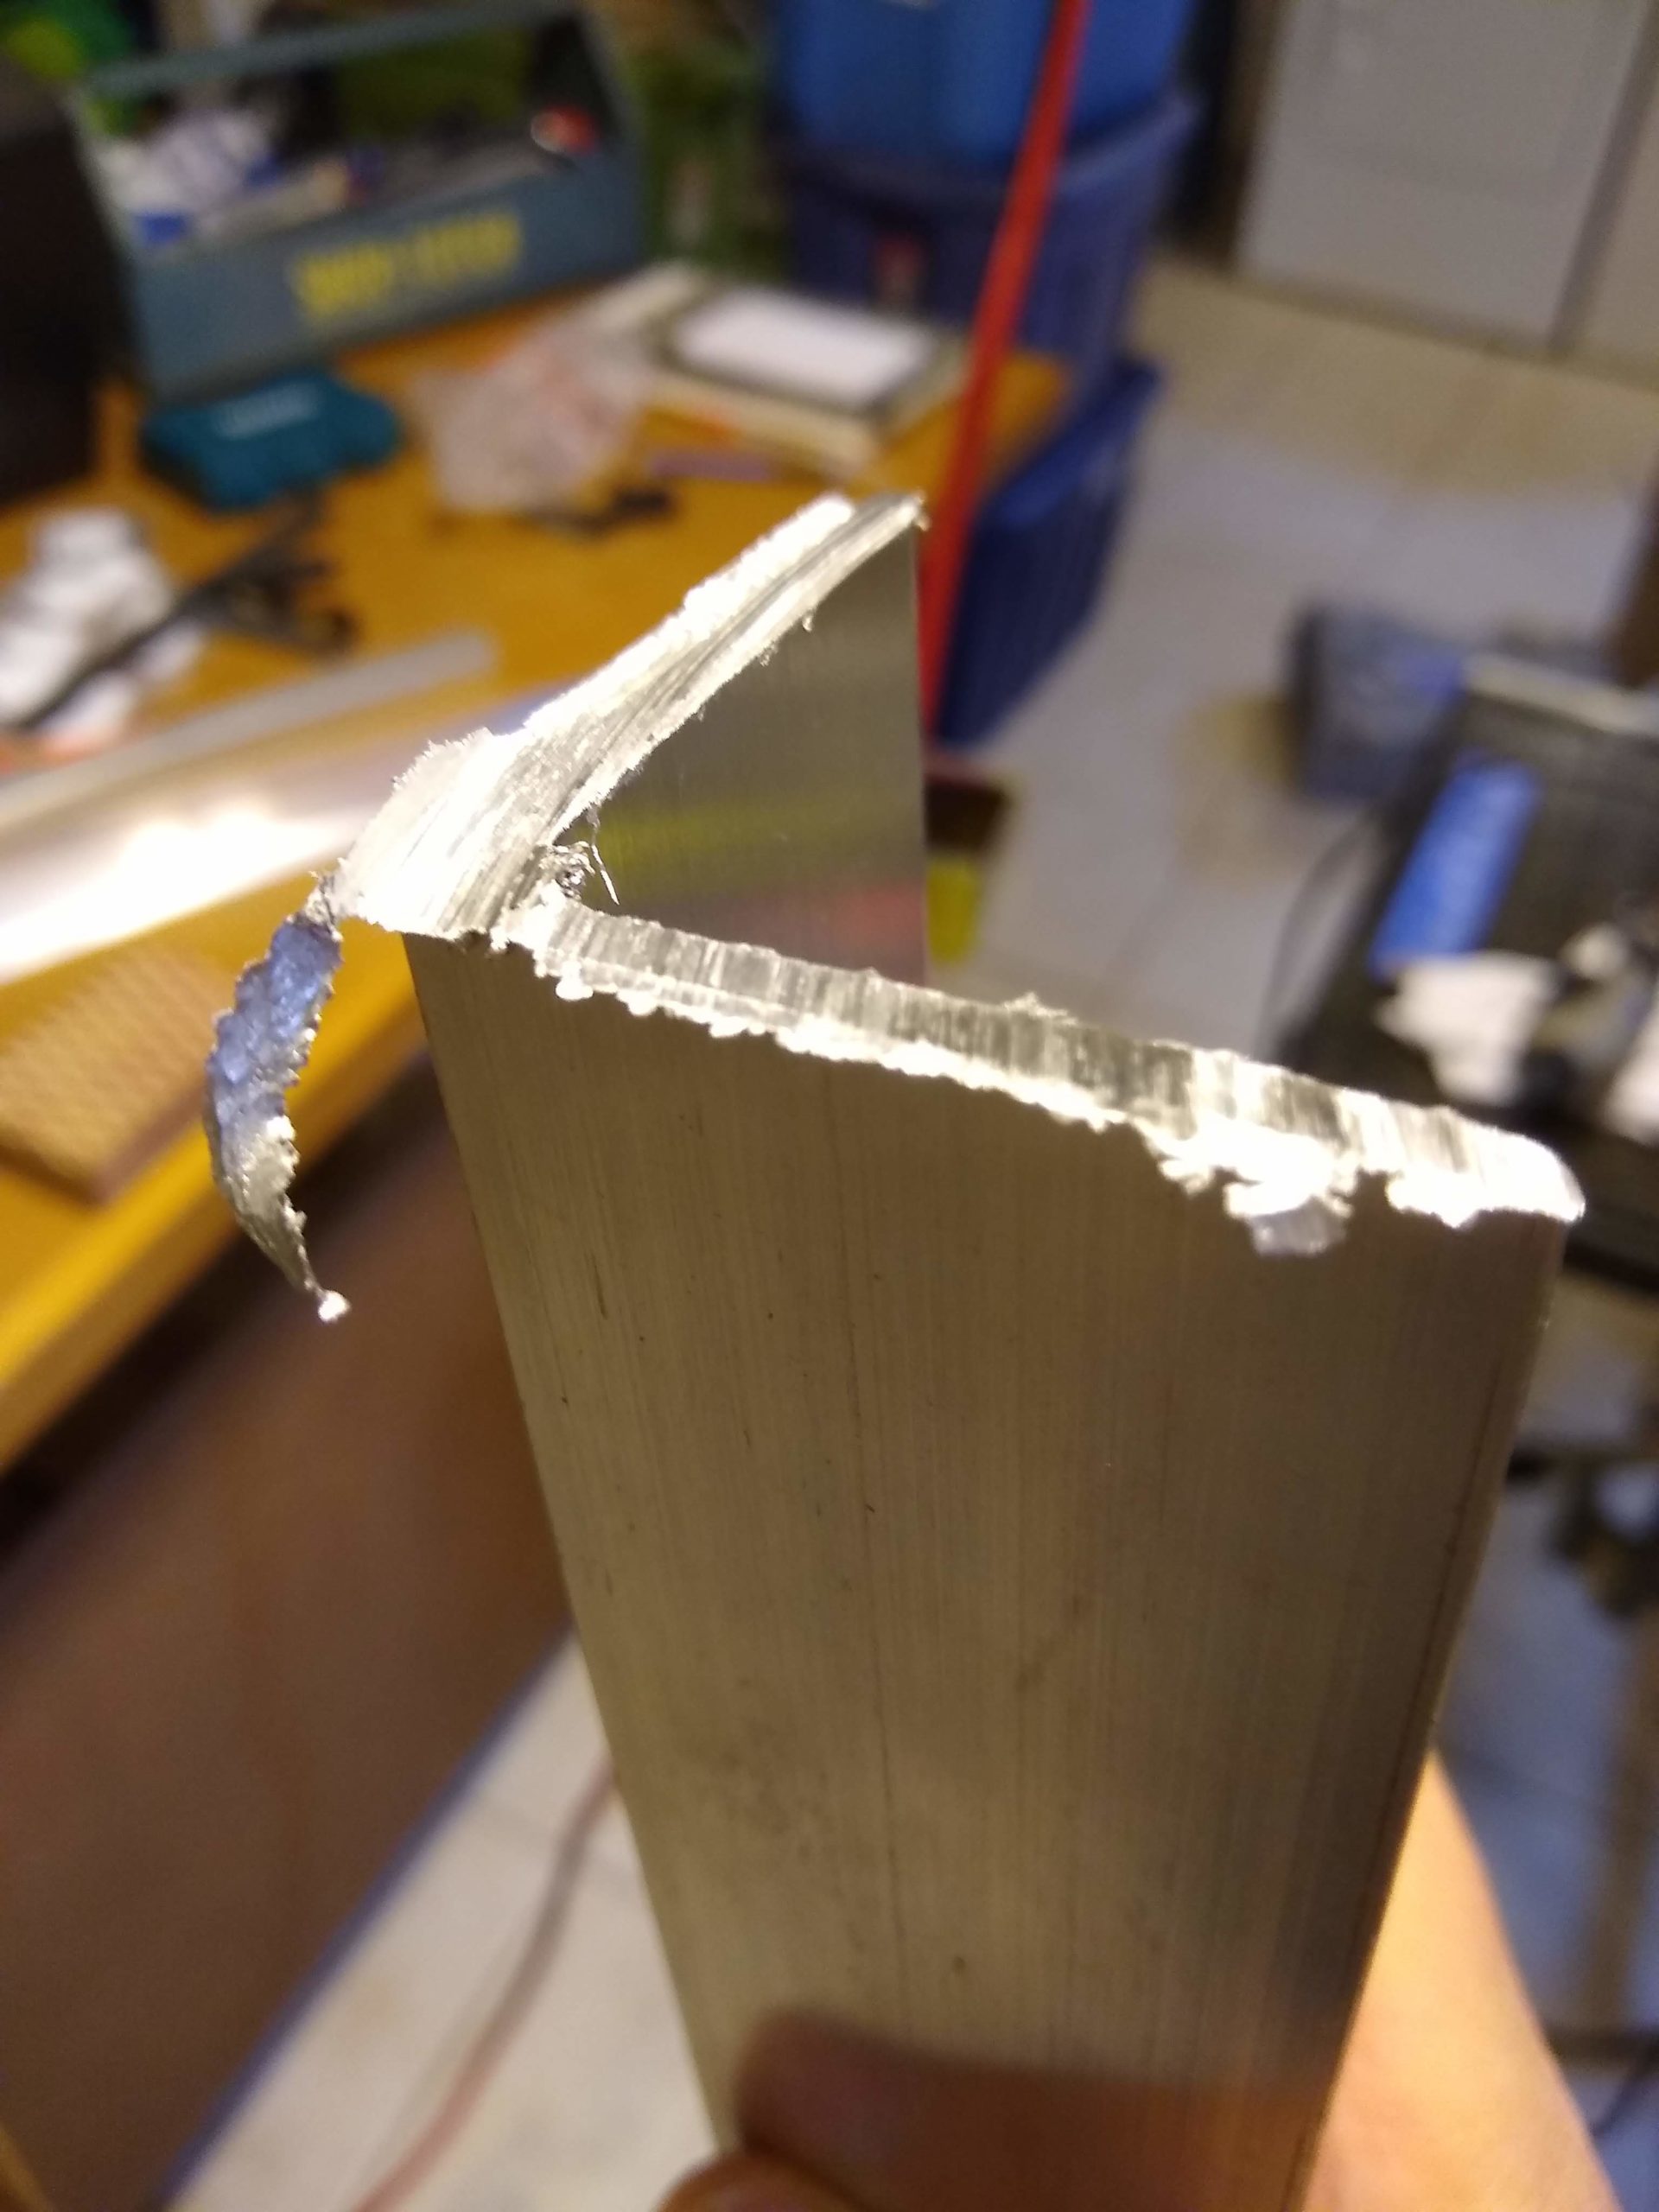
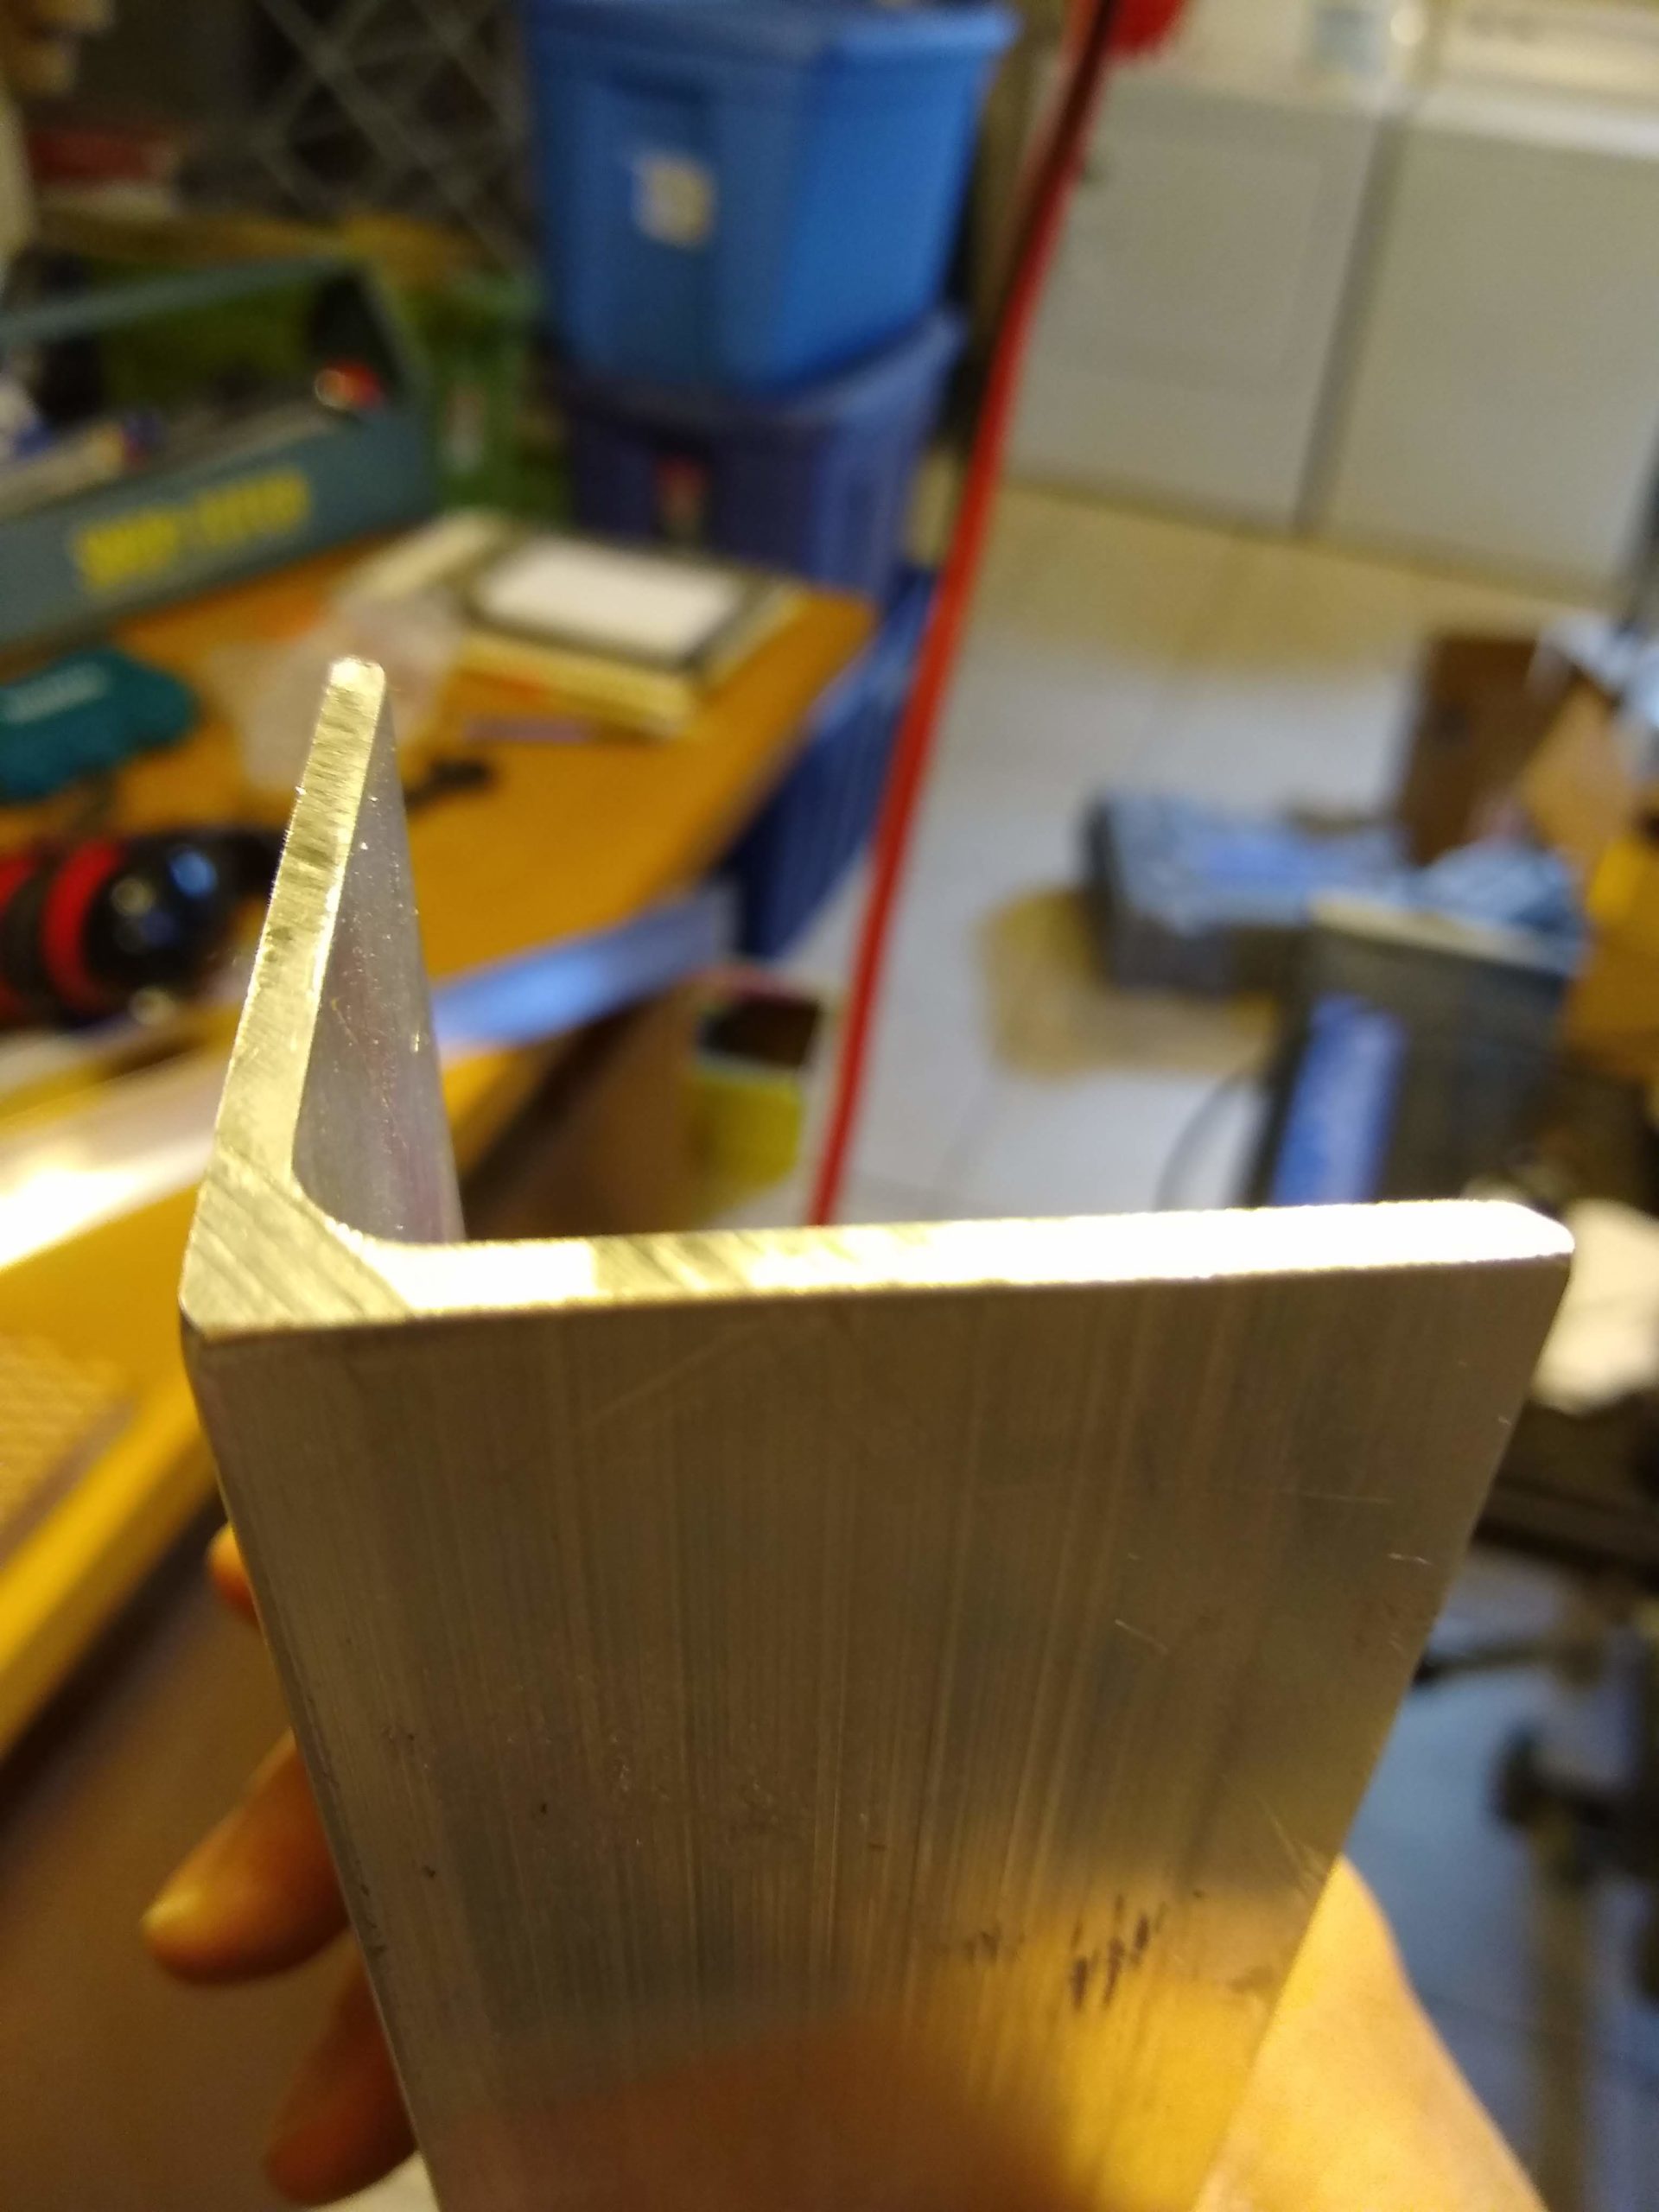
Then I went to work marking the holes. Each length of angle had a 5/16″ hole centered from each end (5-1/2″ and 4-1/2″) and 1/2″ down from the top edge. Then the long angle pieces got another 5/16″ hole at each end, set 5-1/16″ away from the center holes and filed to make notches instead of holes. The holes, while not nearly as rough as the saw cut, also required some filing. I made a plan to run up to Home Depot to get a little round rat tail file before I finally found mine in the garage tool box.
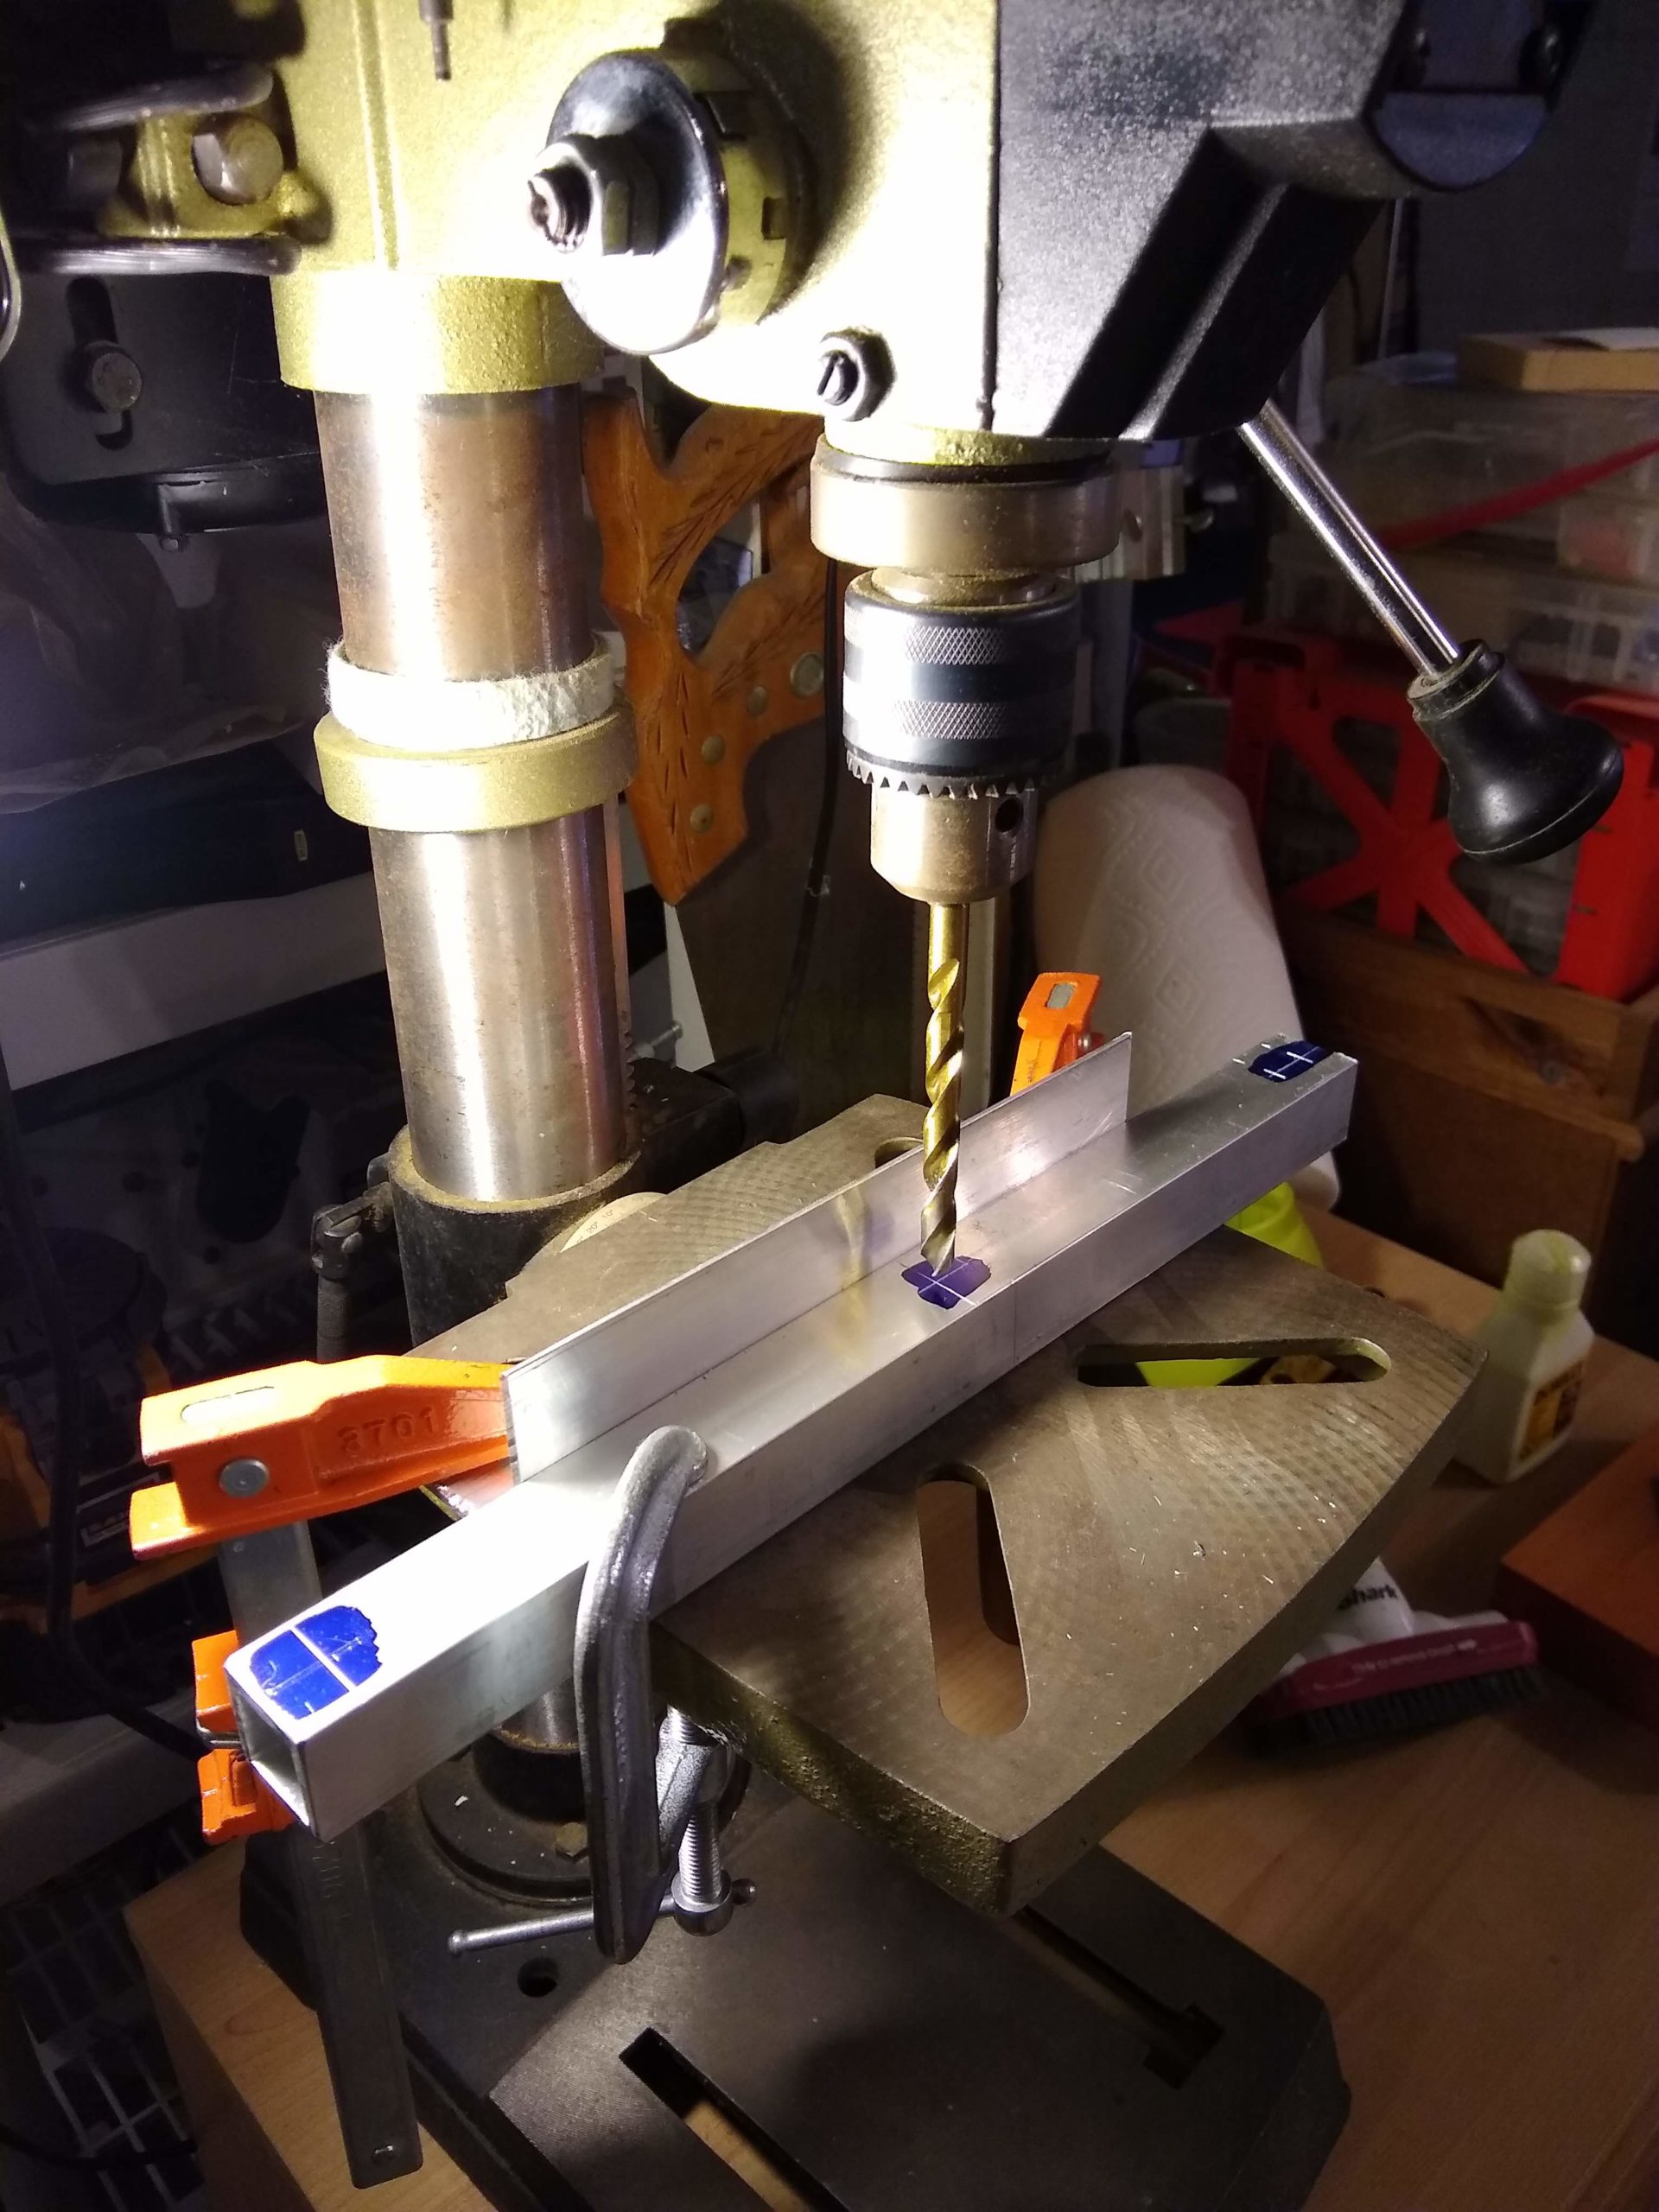
The square tubes each got a set of 5/16″ holes on one end 3/8″ apart (and 7/32″ from the end) to make a slot 13/16″ long. Then, like the angle pieces, there was a corresponding 5/16″ hole 5-1/16″ away.
I was excited when I got done with the first set of angle and tube and immediately assembled it with the bolts and spring and … disaster. It was completely wrong. There was no way the wheel was going to fit on the tube and clear the angle. How could I have screwed up the measurements so badly?
I took the assembly back upstairs to fire up the laptop to check everything again in SketchUp. But, even before the OS finished loading, I realized my mistake. It wasn’t the plan or the measurements. It was the assembly. I had reversed the tube, what serves as the strut for the wheel, putting the pivot pin bolt into the hole in the center and the stopper pin bolt in the slot.
So I reversed the strut and, voila, it was much, much better. I clamped it to the workbench and tested it. It works!
With both assemblies tested, I went ahead and drilled 1/2″ holes at the other ends of the struts for the bolts that’ll serve as wheel axles, and I drilled 1/4″ holes centered on the angles for the bolts that’ll attach the assemblies to the transom.

The 1/2″ holes were quite a bear to drill. I really should have drilled them in stages, maybe starting with 1/4″ then 3/8″ then 1/2″. I was worried, though, about the piece or the table moving between bits, when I would be changing drill bits, since the tubes are 1″ thick and I had to start with the bit so close to the drill point. So, instead, I just slowly, slowly lowered the drill press arm while drilling. I timed the second one and it took five minutes from start to finish.
It was funny, though, how the far side of the 1/2″ hole produced a round little hanging chad of aluminum. I don’t know why that tickled me so.

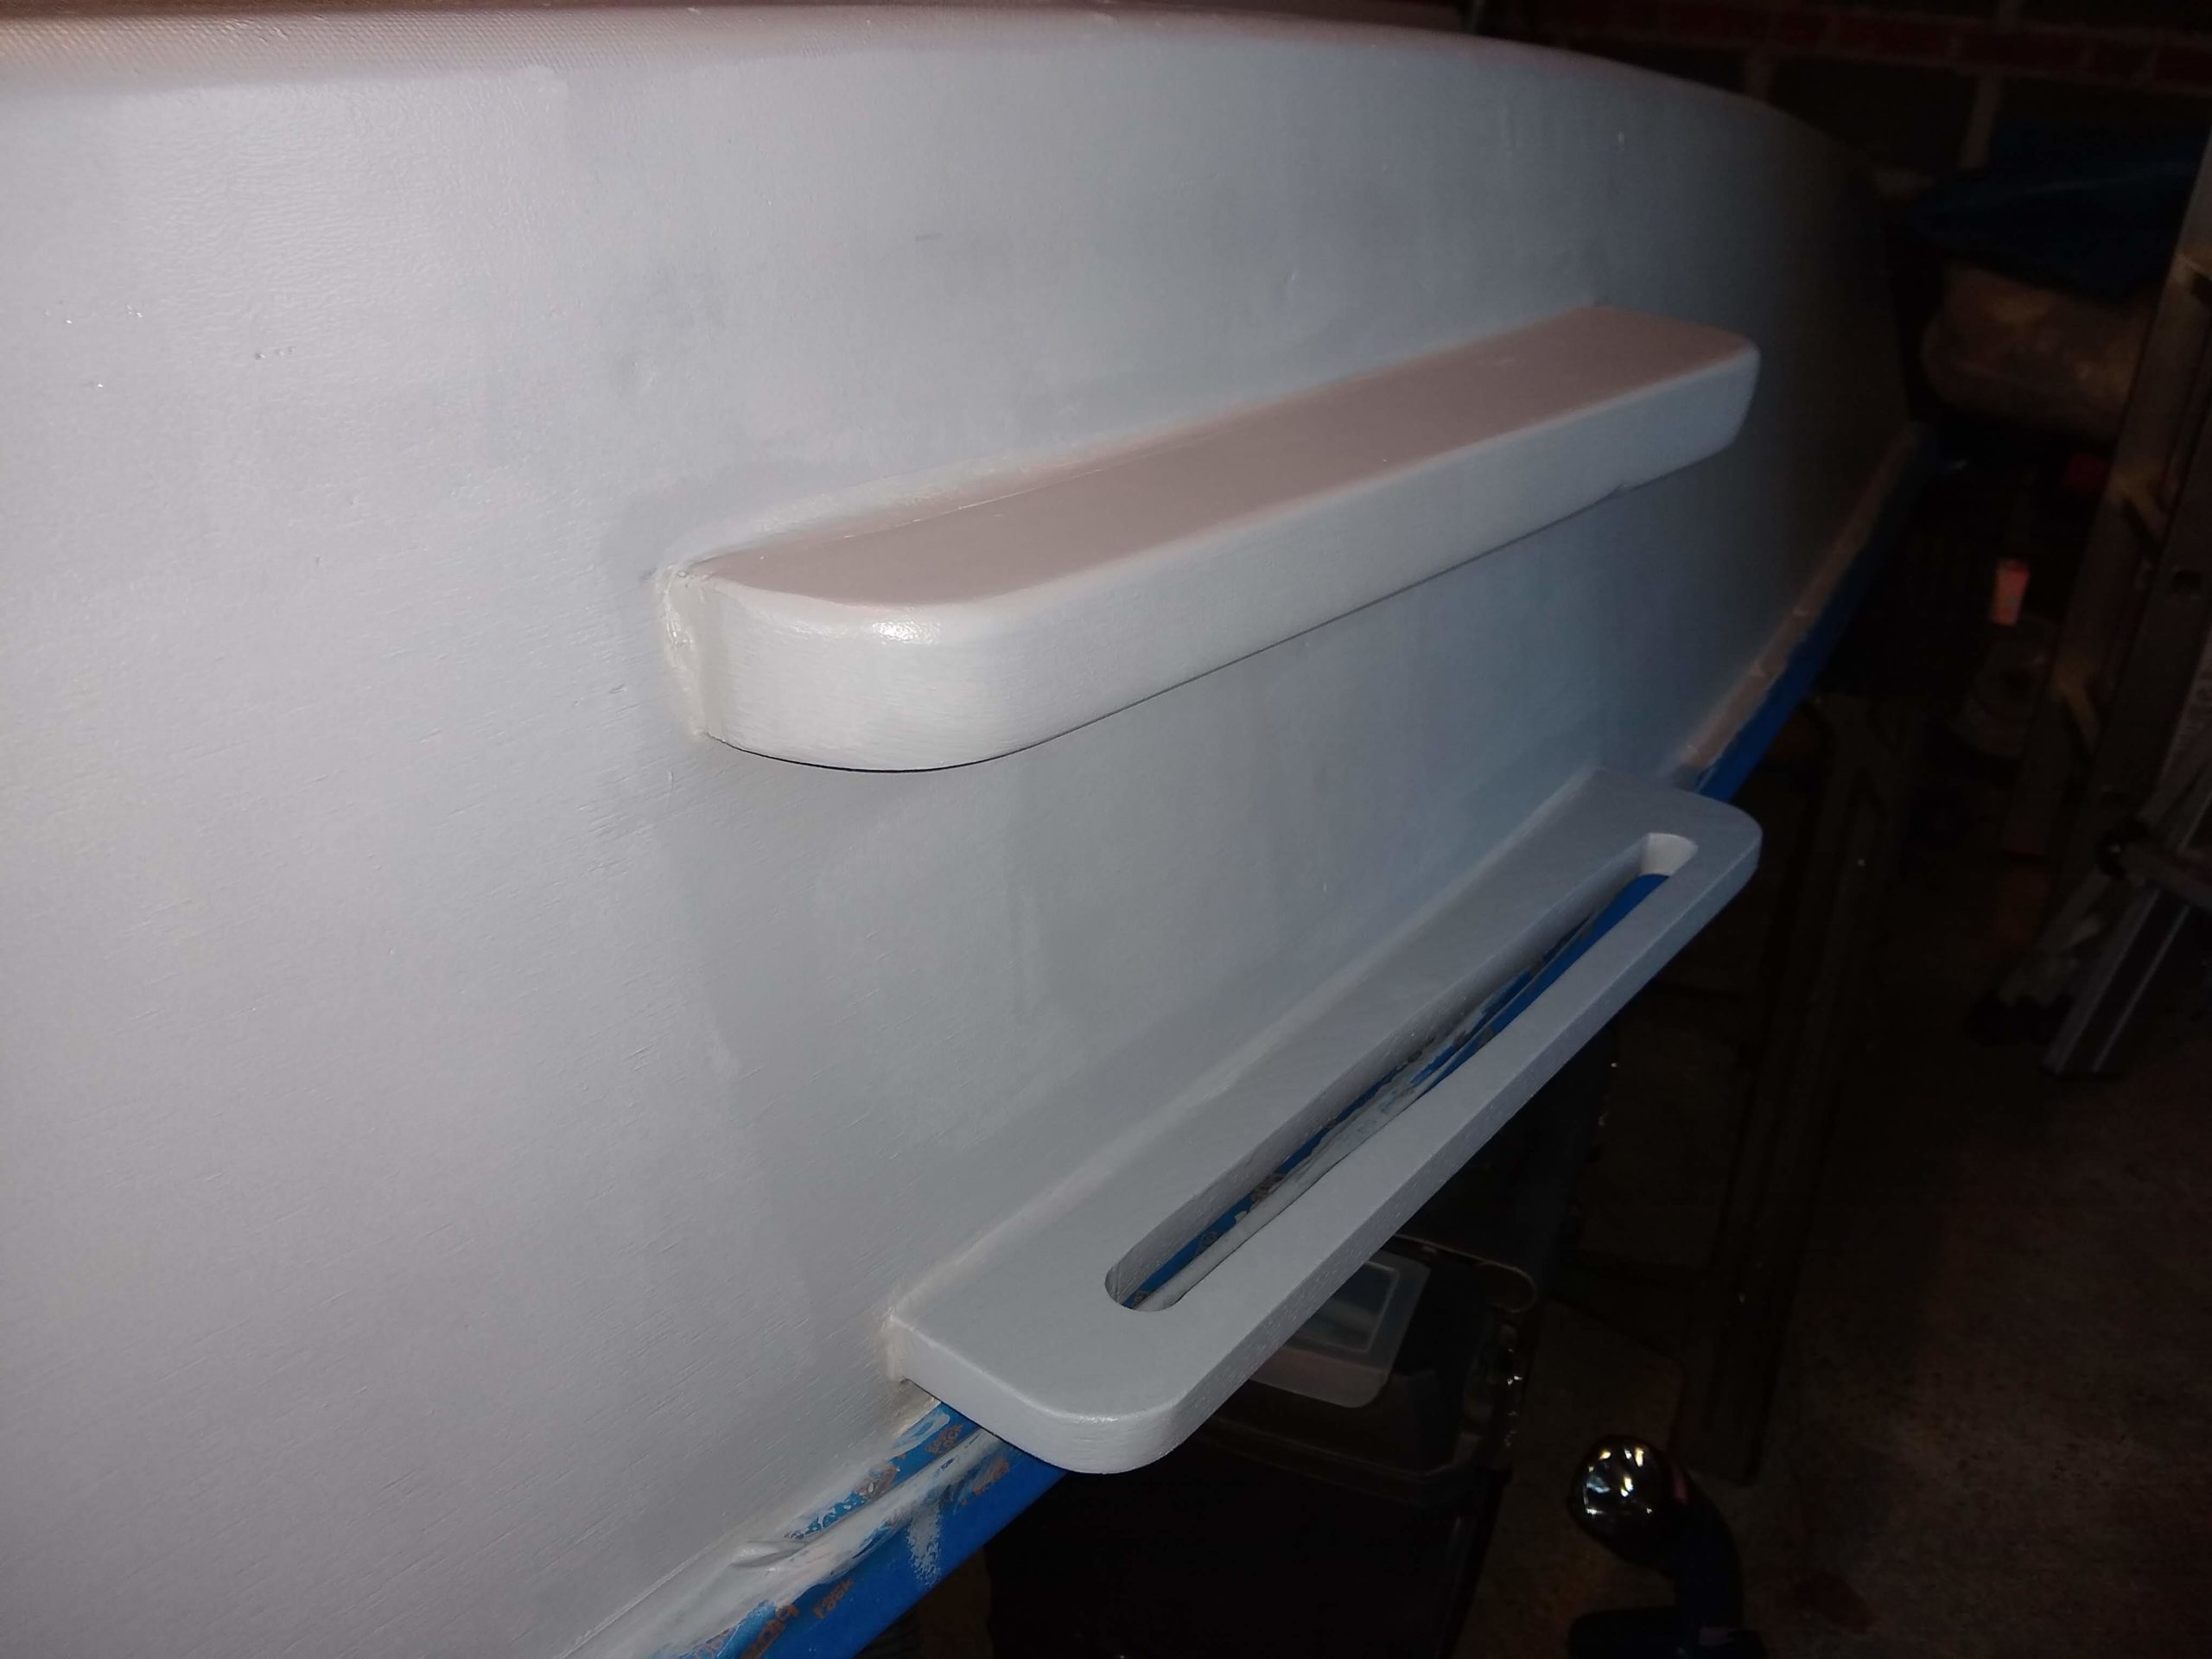
I had a little bit of time to start to lay out where on the transom all of this is going to be mounted, but it got too dark and we had to walk the dogs. We’ll see next week if this all works.