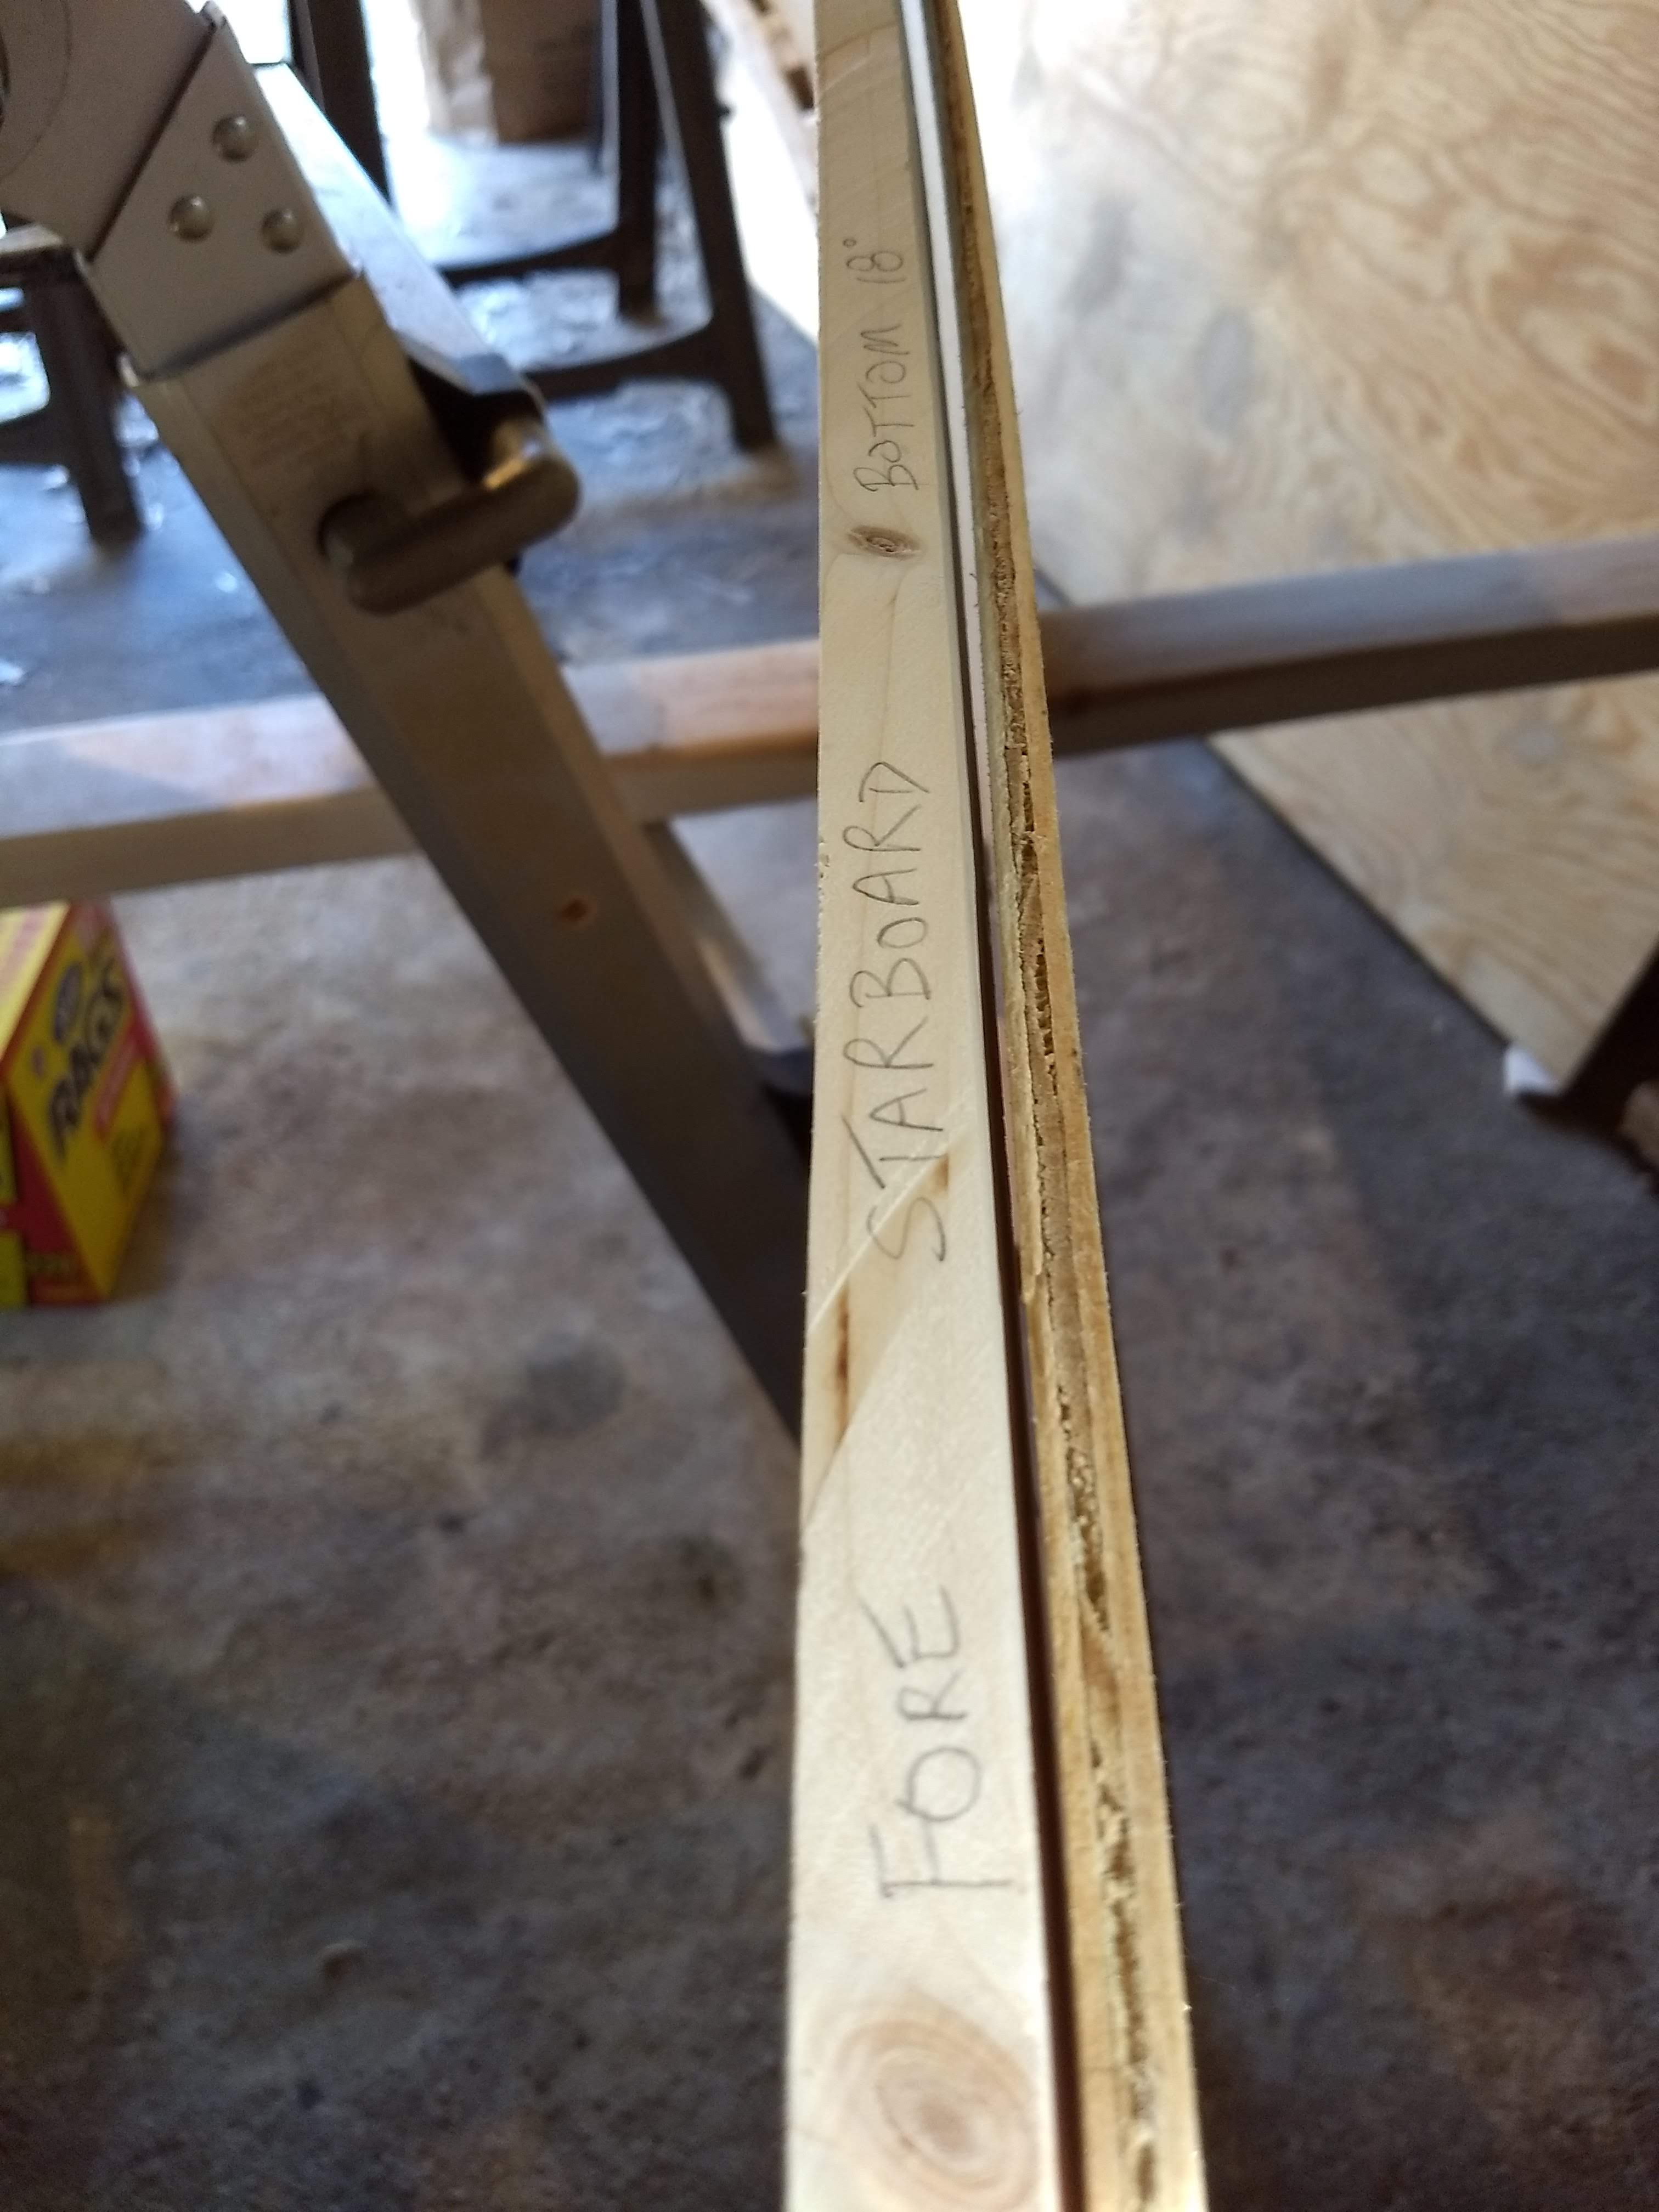
Week 26: Chines and Beyond

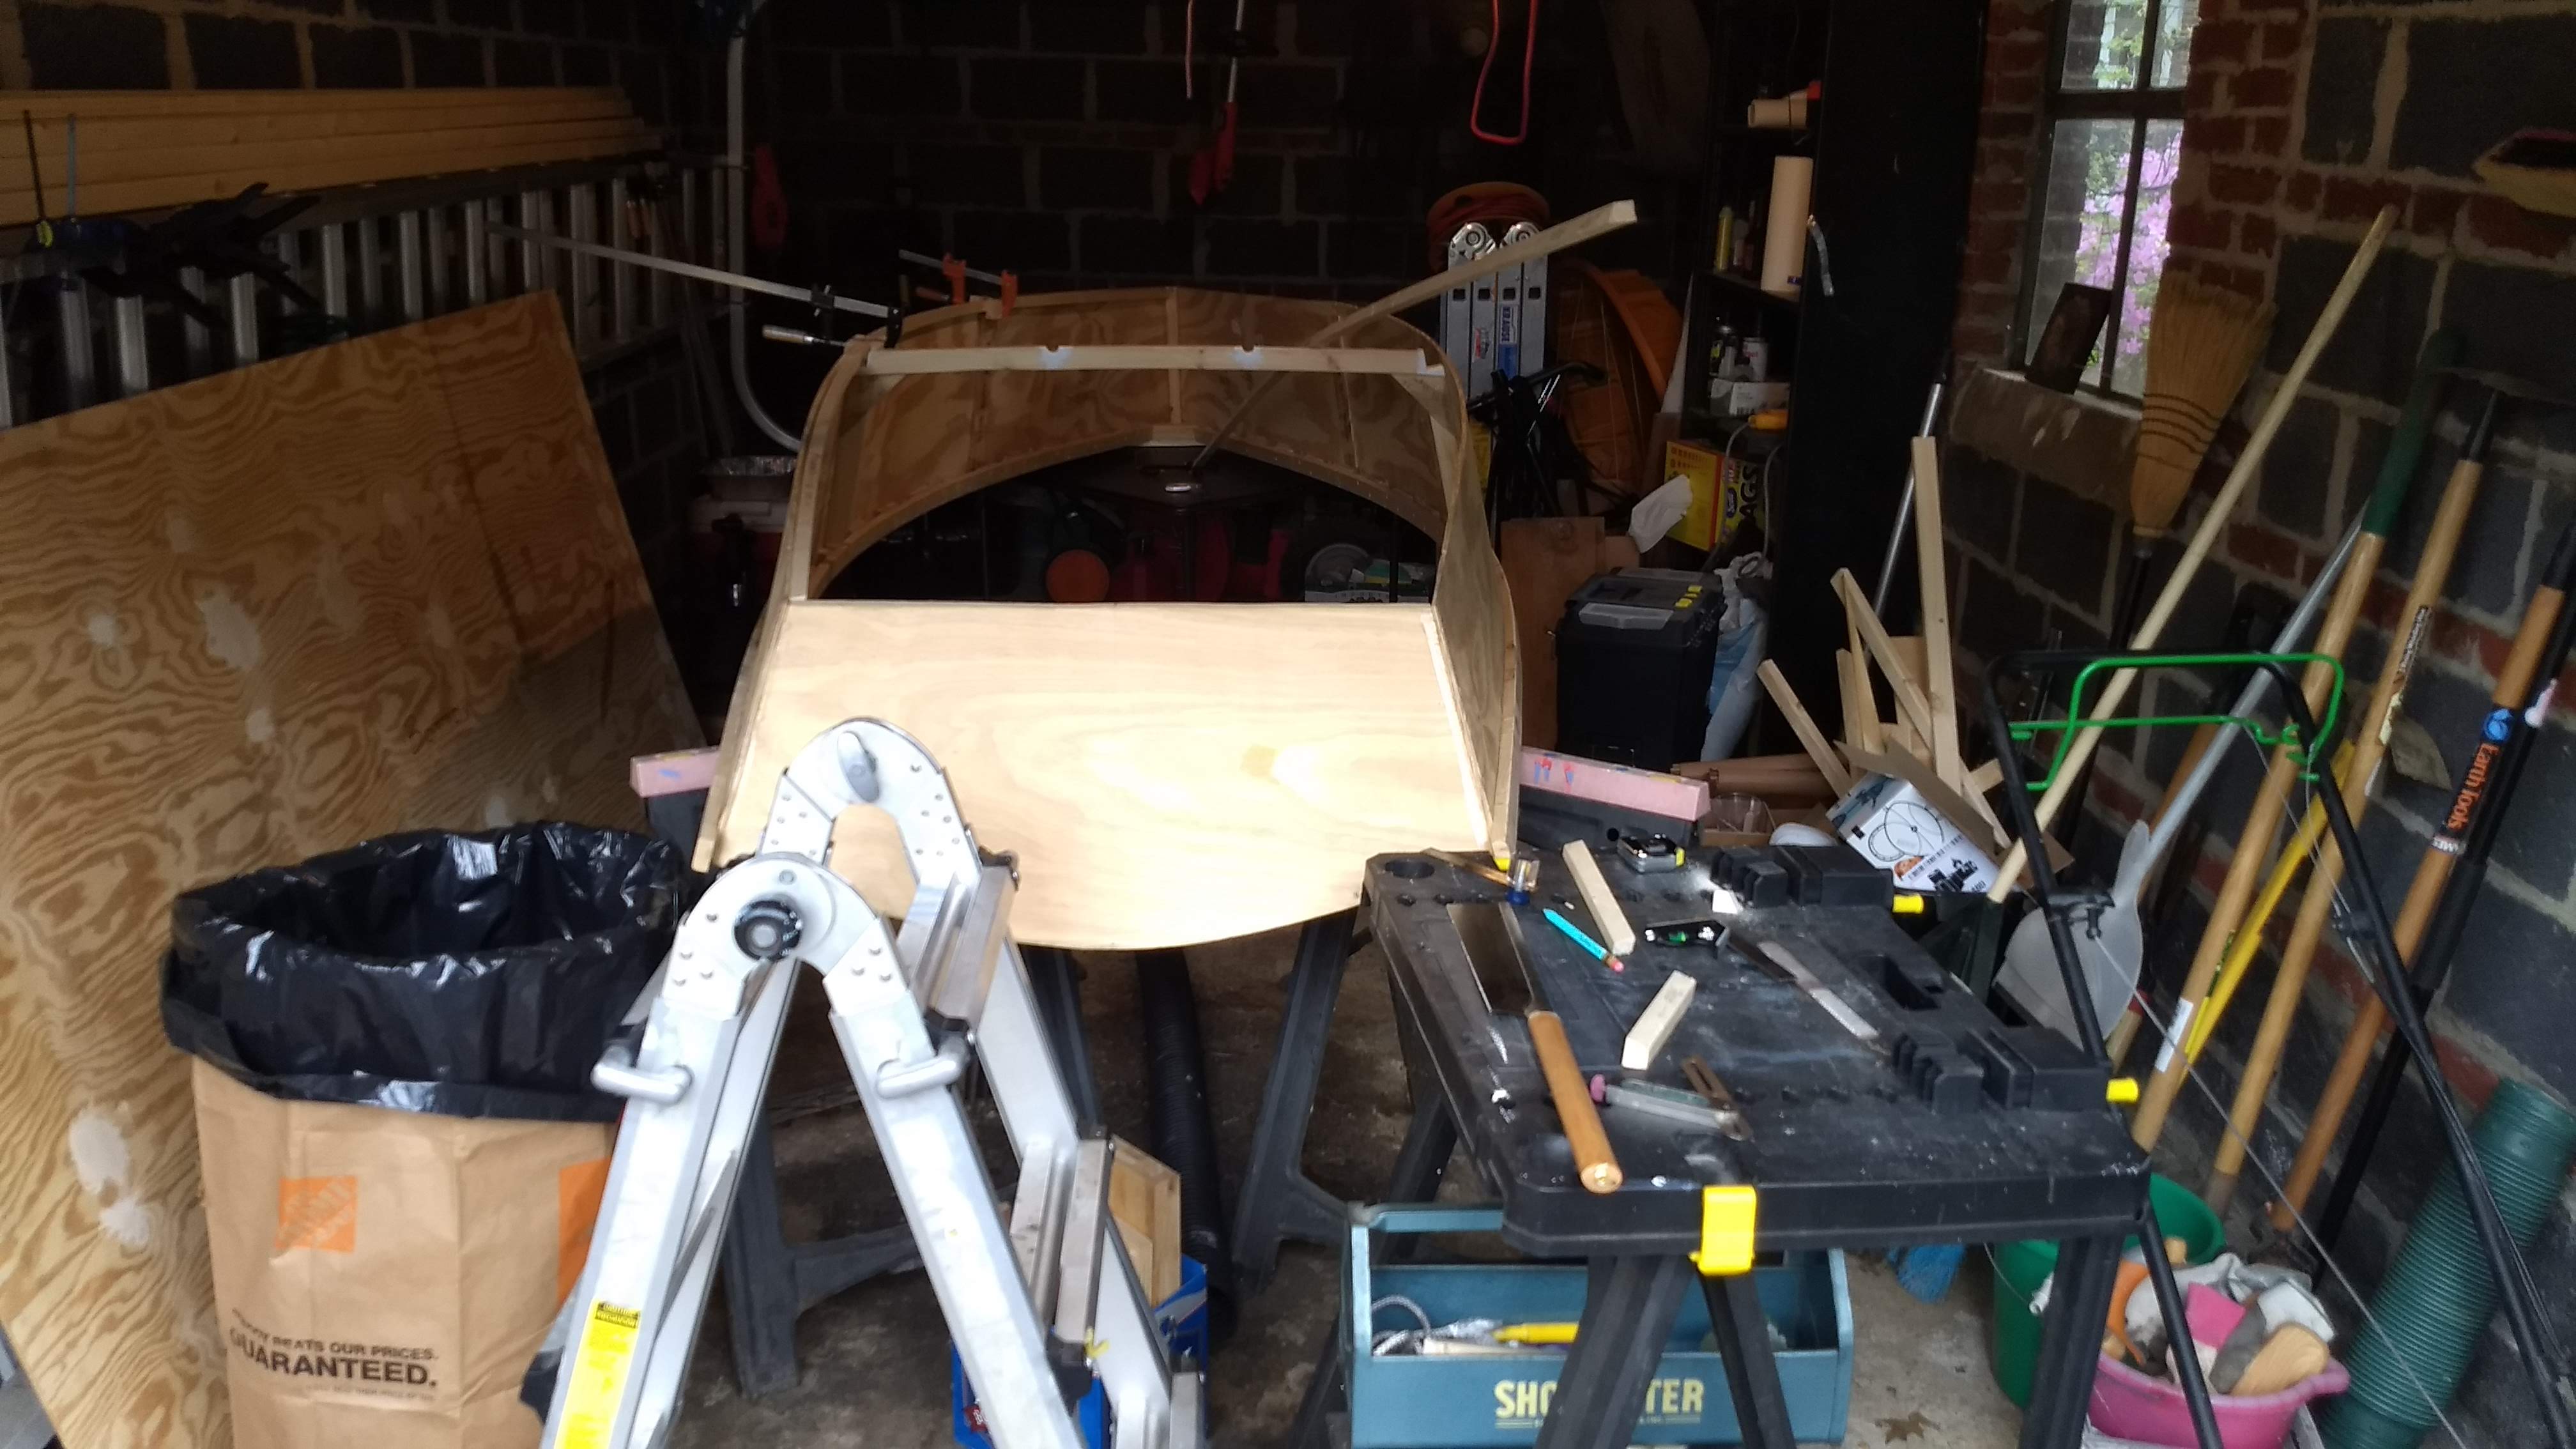
The chines are installed! The chines are installed!
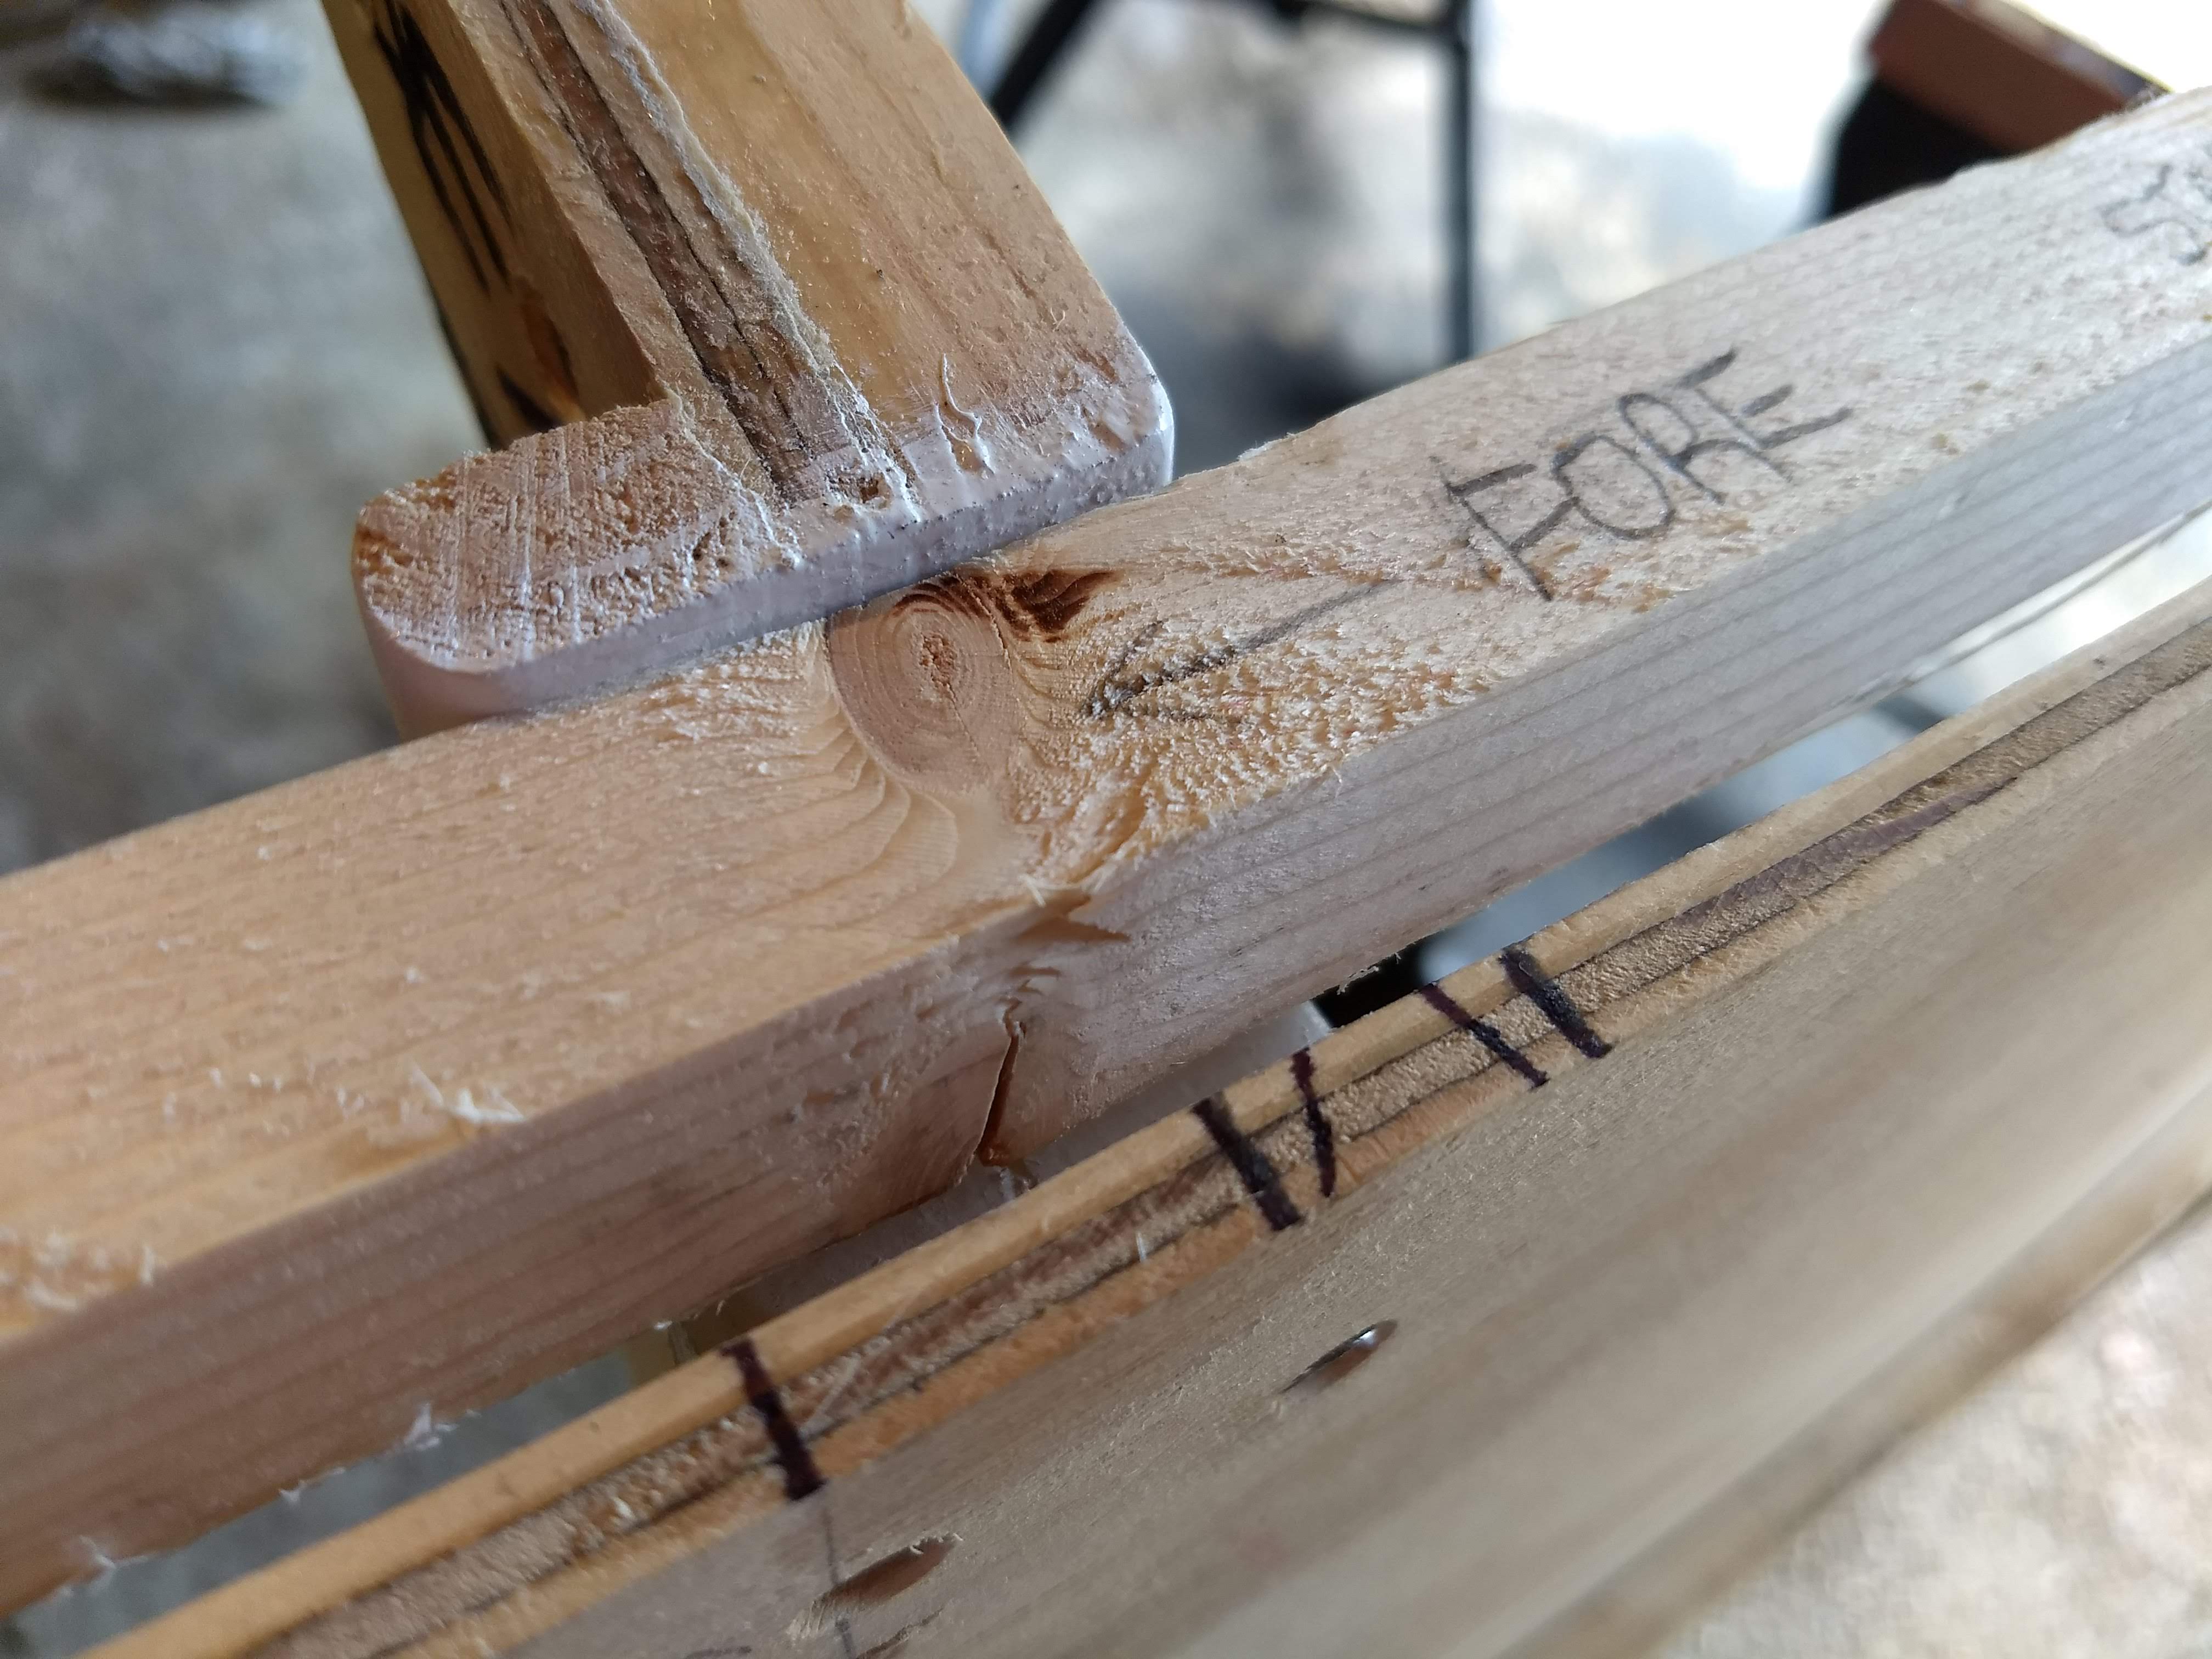
Worrisome knot in starboard chine that resulted in it becoming the port chine

Saturday was very busy, with the Hyattsville parade in the morning, then chores in the afternoon, our anniversary dinner at Shagga in the evening, and then back to celebrating Hyattsville with music and fireworks in the park.
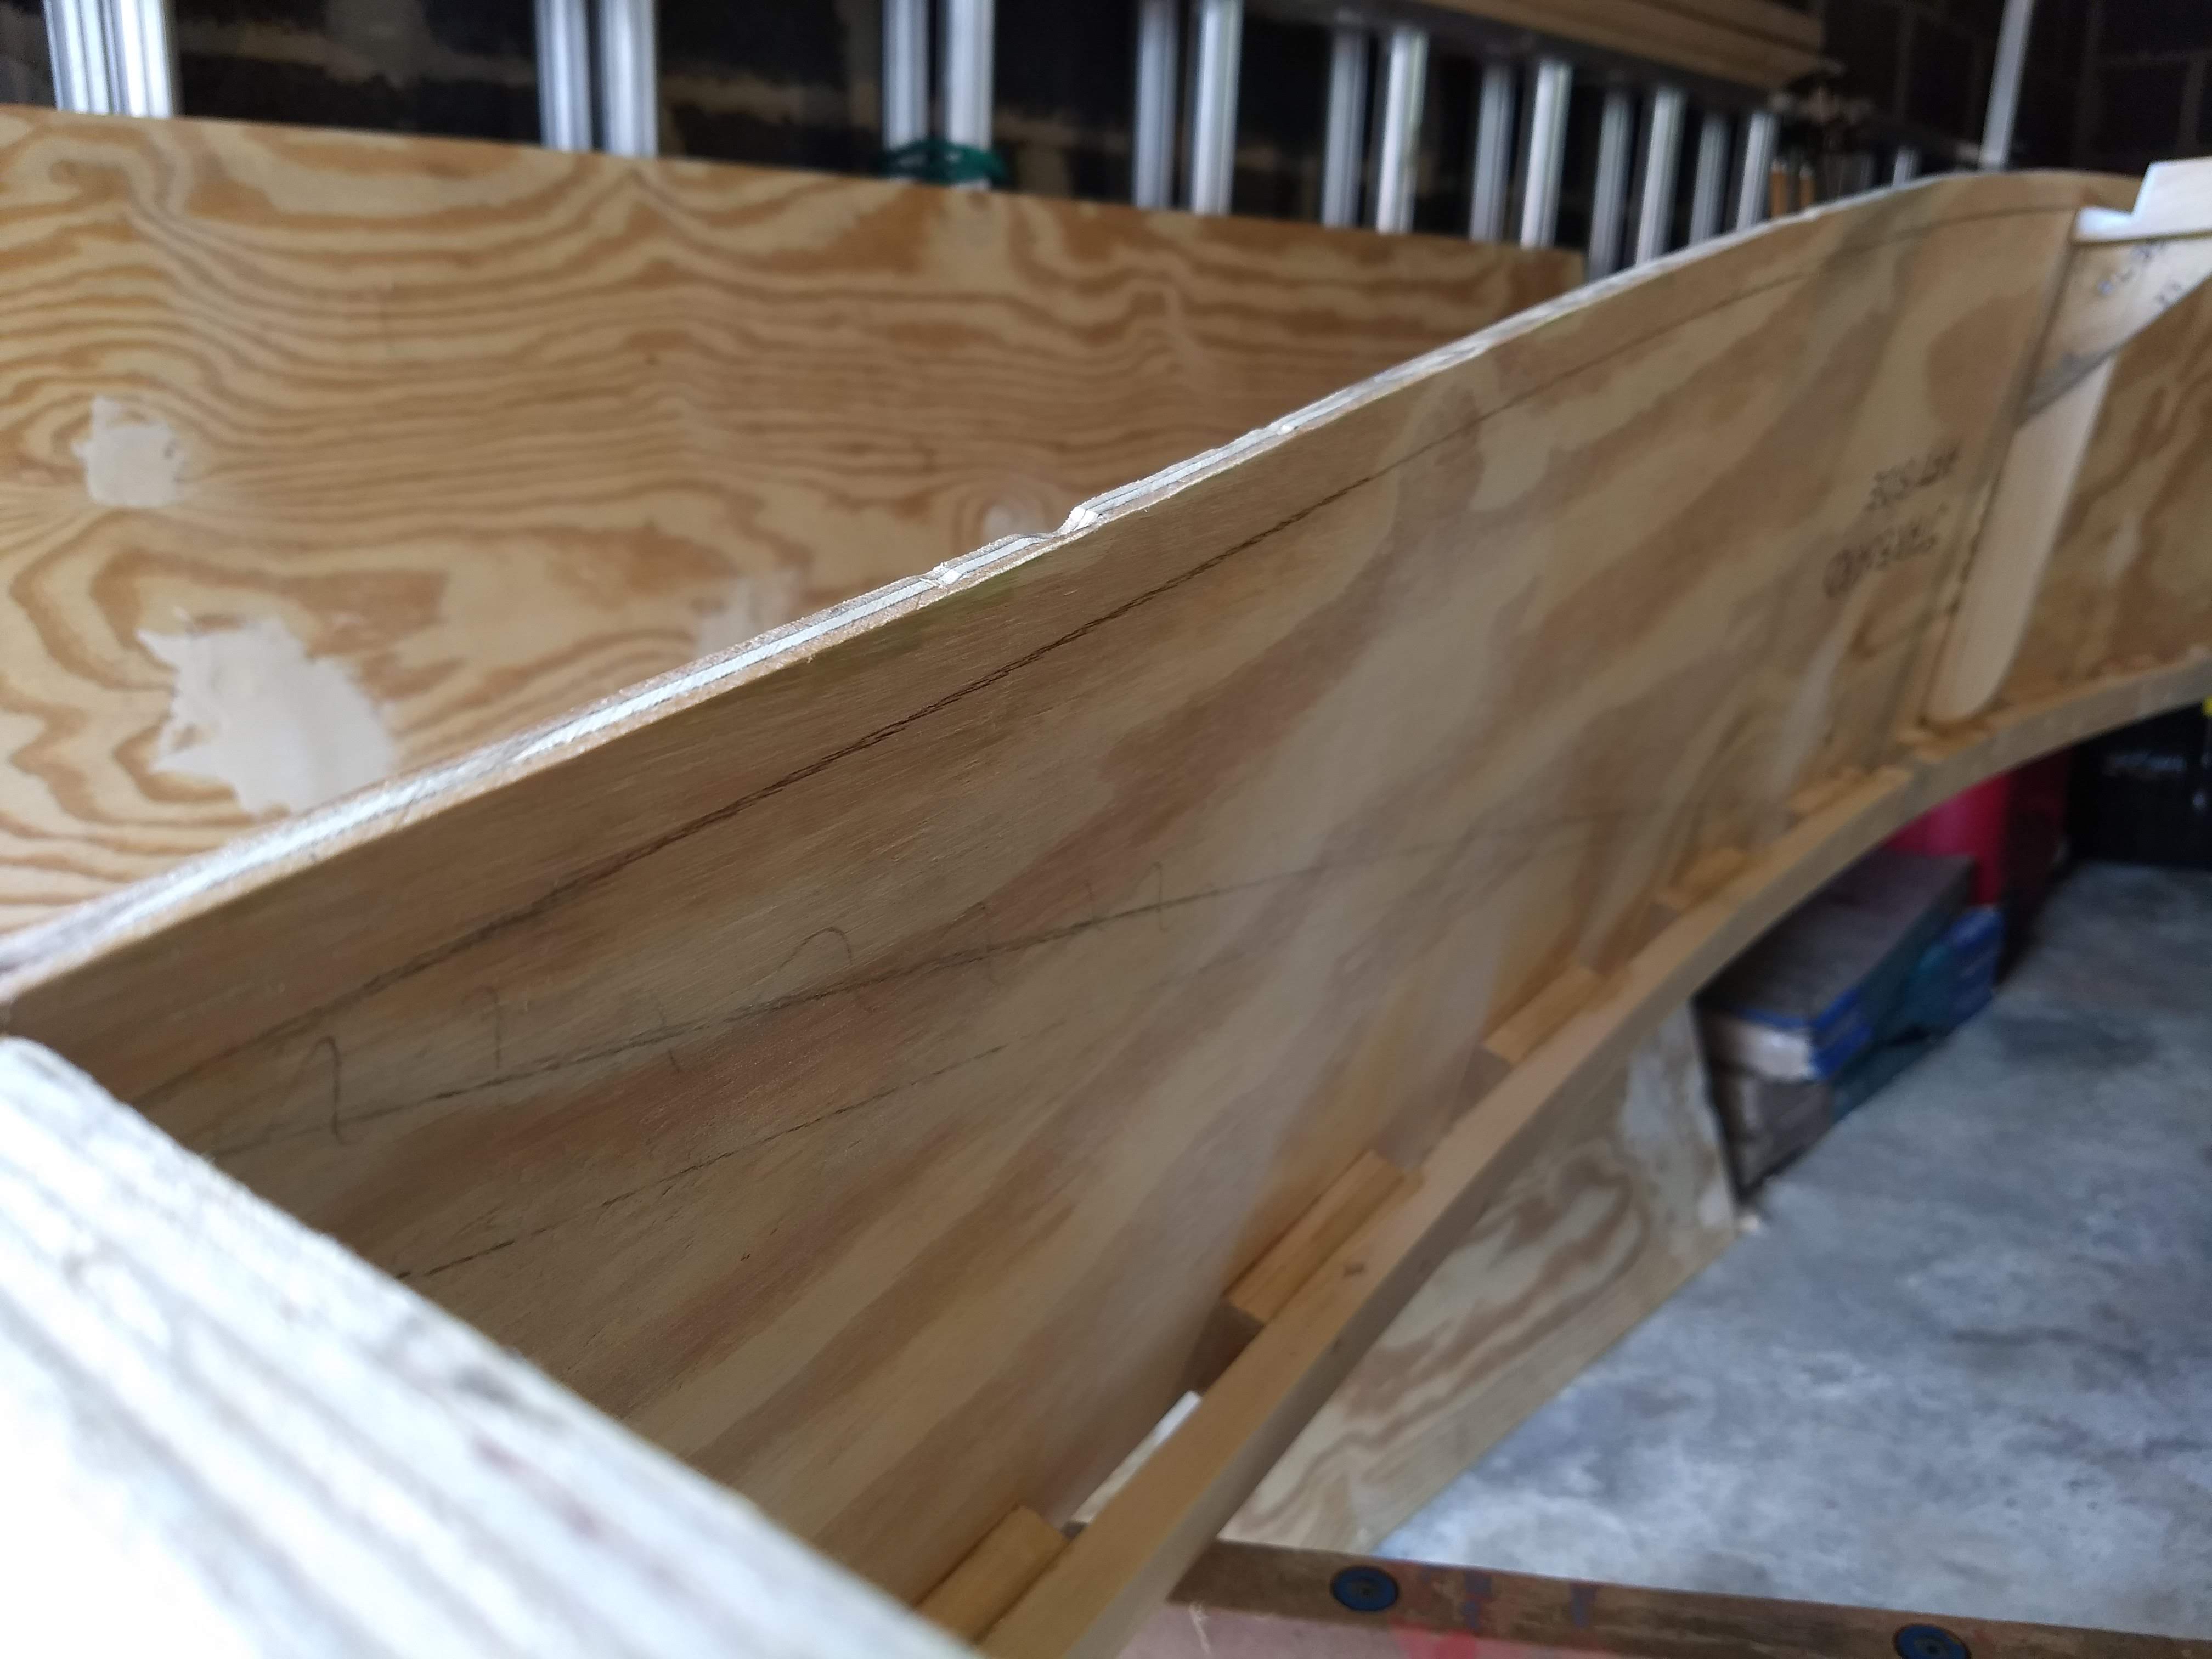
Pencil line to show area where to apply bead of glue

But Sunday I was able to devote almost all afternoon to the boat. And, yes, I glued and screwed the chines in place. That long national nightmare is finally over.
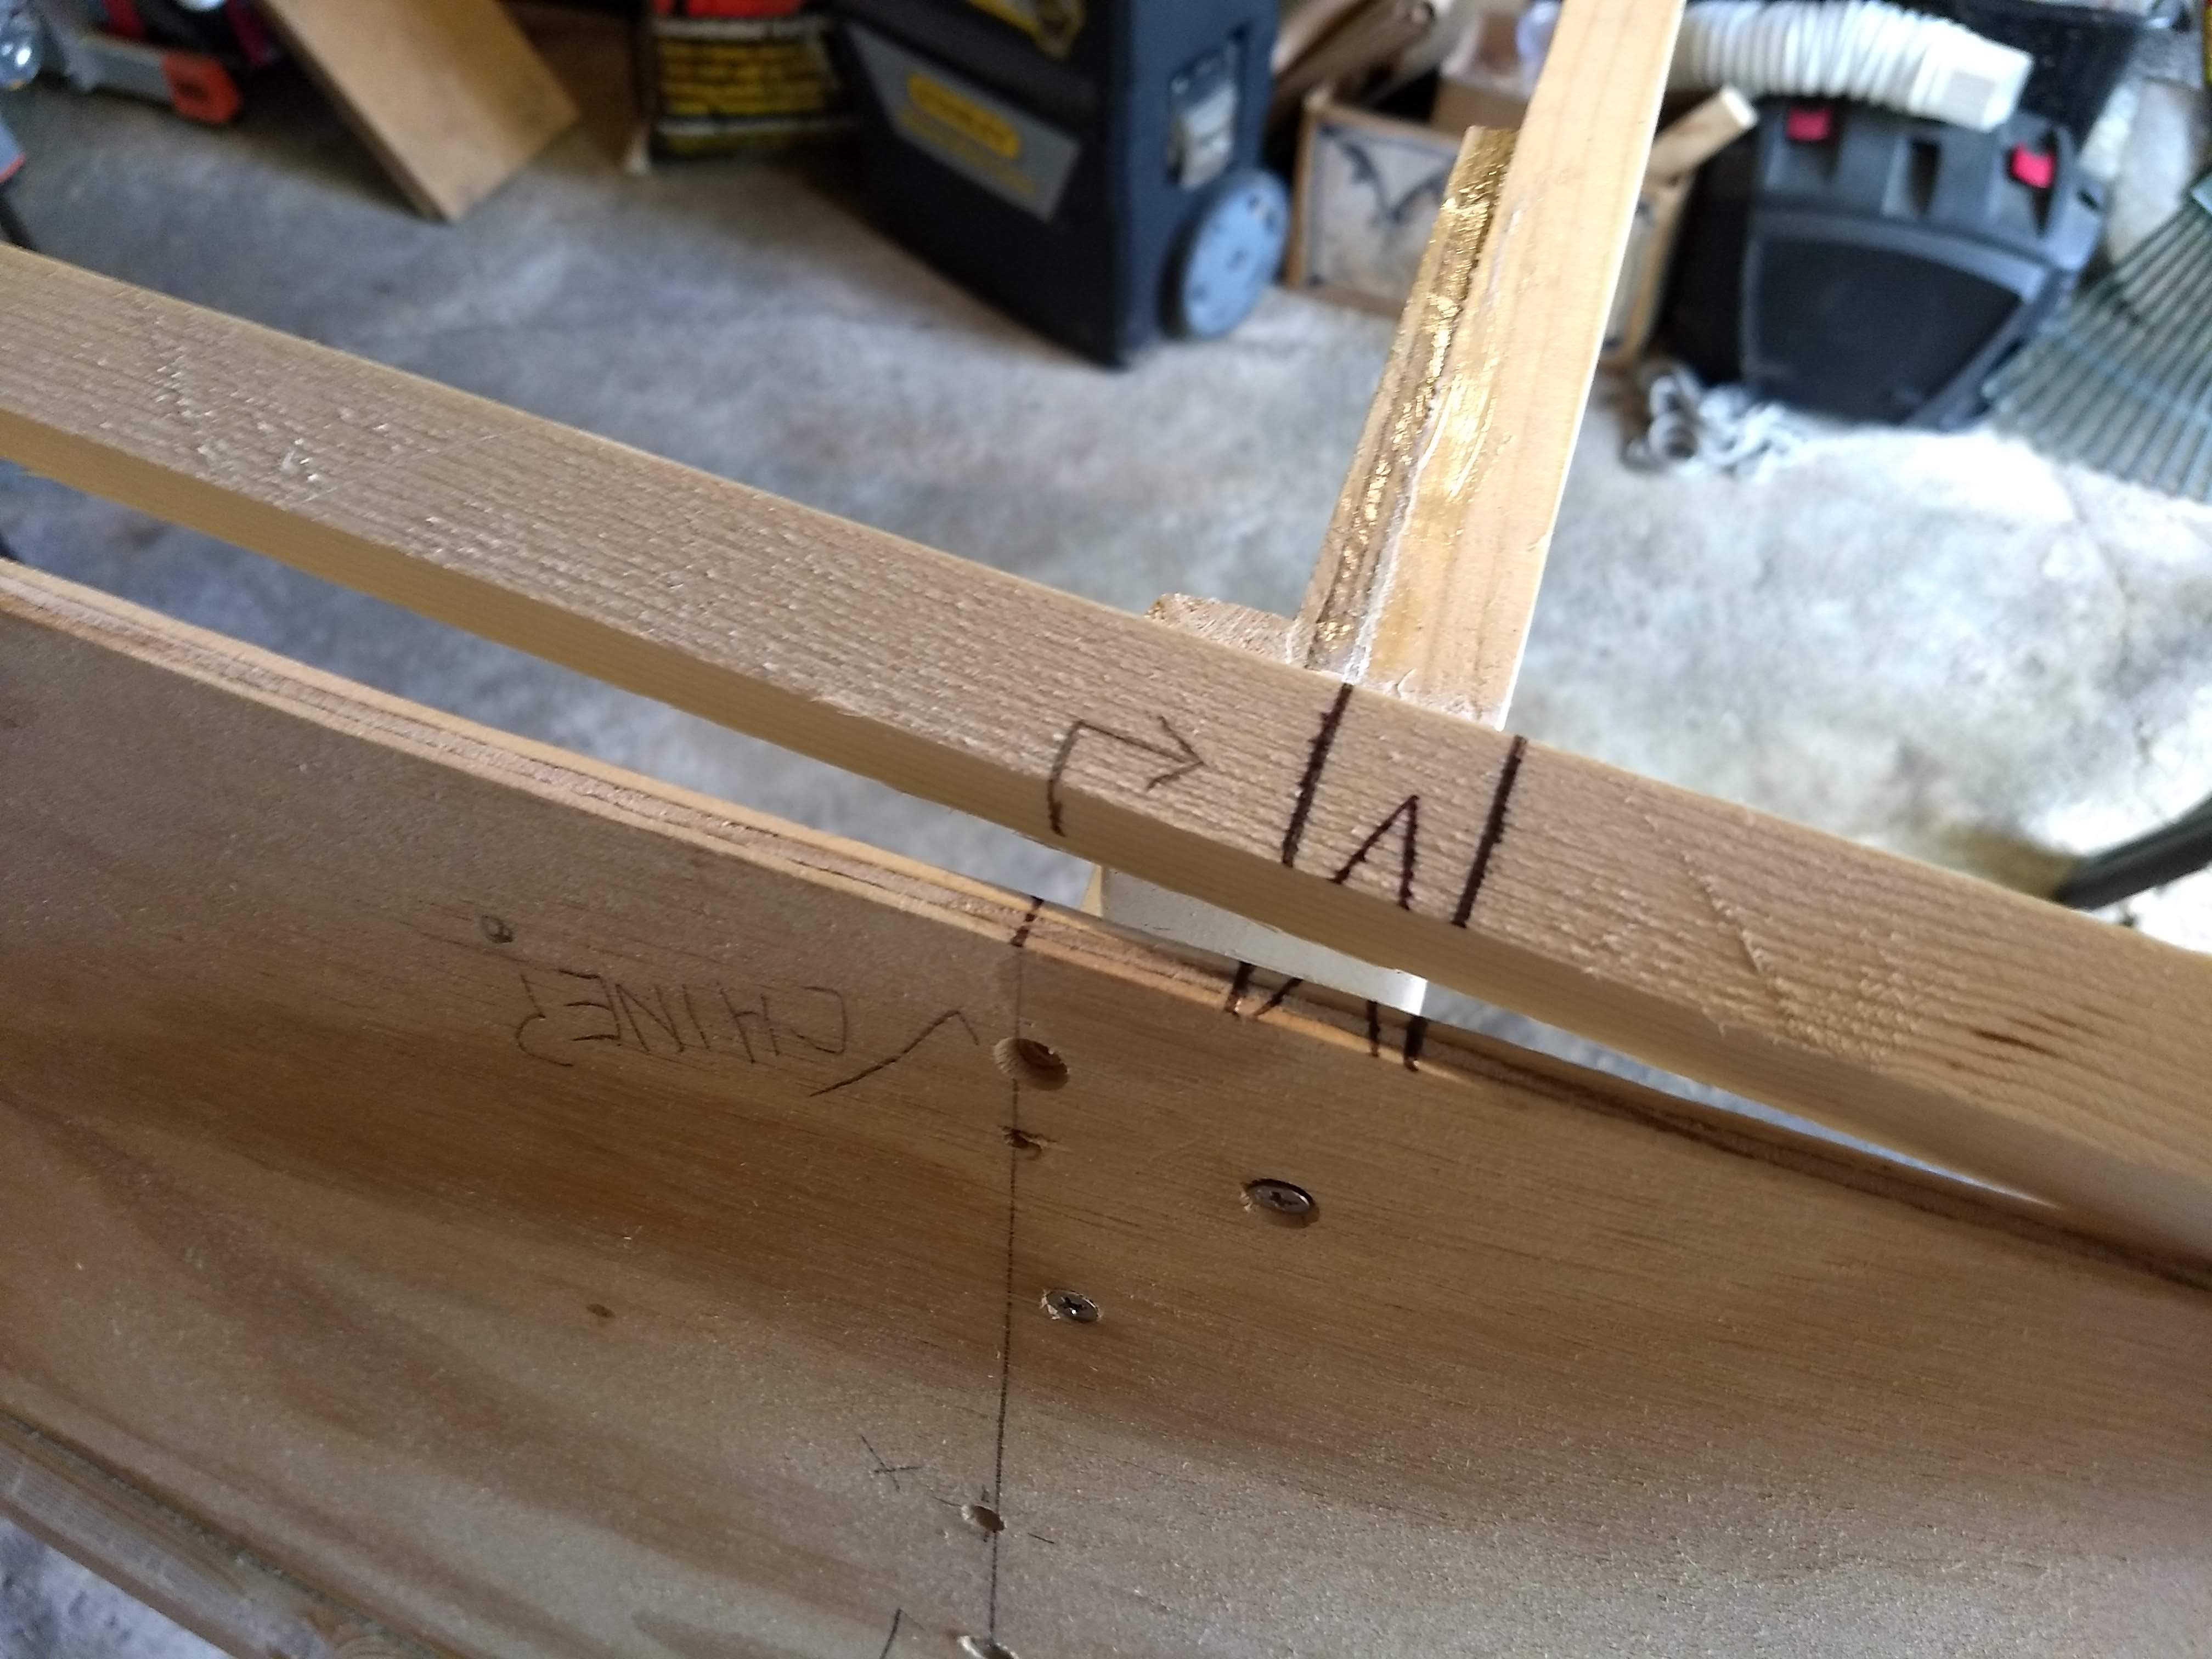
Lines and cabinet-maker-esqe triangle to align port chine

For each side, I clamped the chines in place and drew a pencil line underneath to show where the glue line needed to be. Then I applied a bead of PL Premium and spread it as even as I could with a half of a craft stick. Then I wrestled the chine in place and aligned it with the lines and triangles I had drawn on them and the side plywood edges. Then I started with the drilling and screwing, same as I’d done with the wales.

Port chine installed. Also, note the caulk gun with the PL Premium tube under the boat, behind the craft stick halves and thermometer on the table. To the right are the drill/driver and extra screwdrivers.

It didn’t go quite as smoothly as I’d hoped. Switching between the drill bit and the driver bit, I could have used a third hand. And I got glue all over my hands and the drill and the driver sleeve. But, in the end, I got them installed.
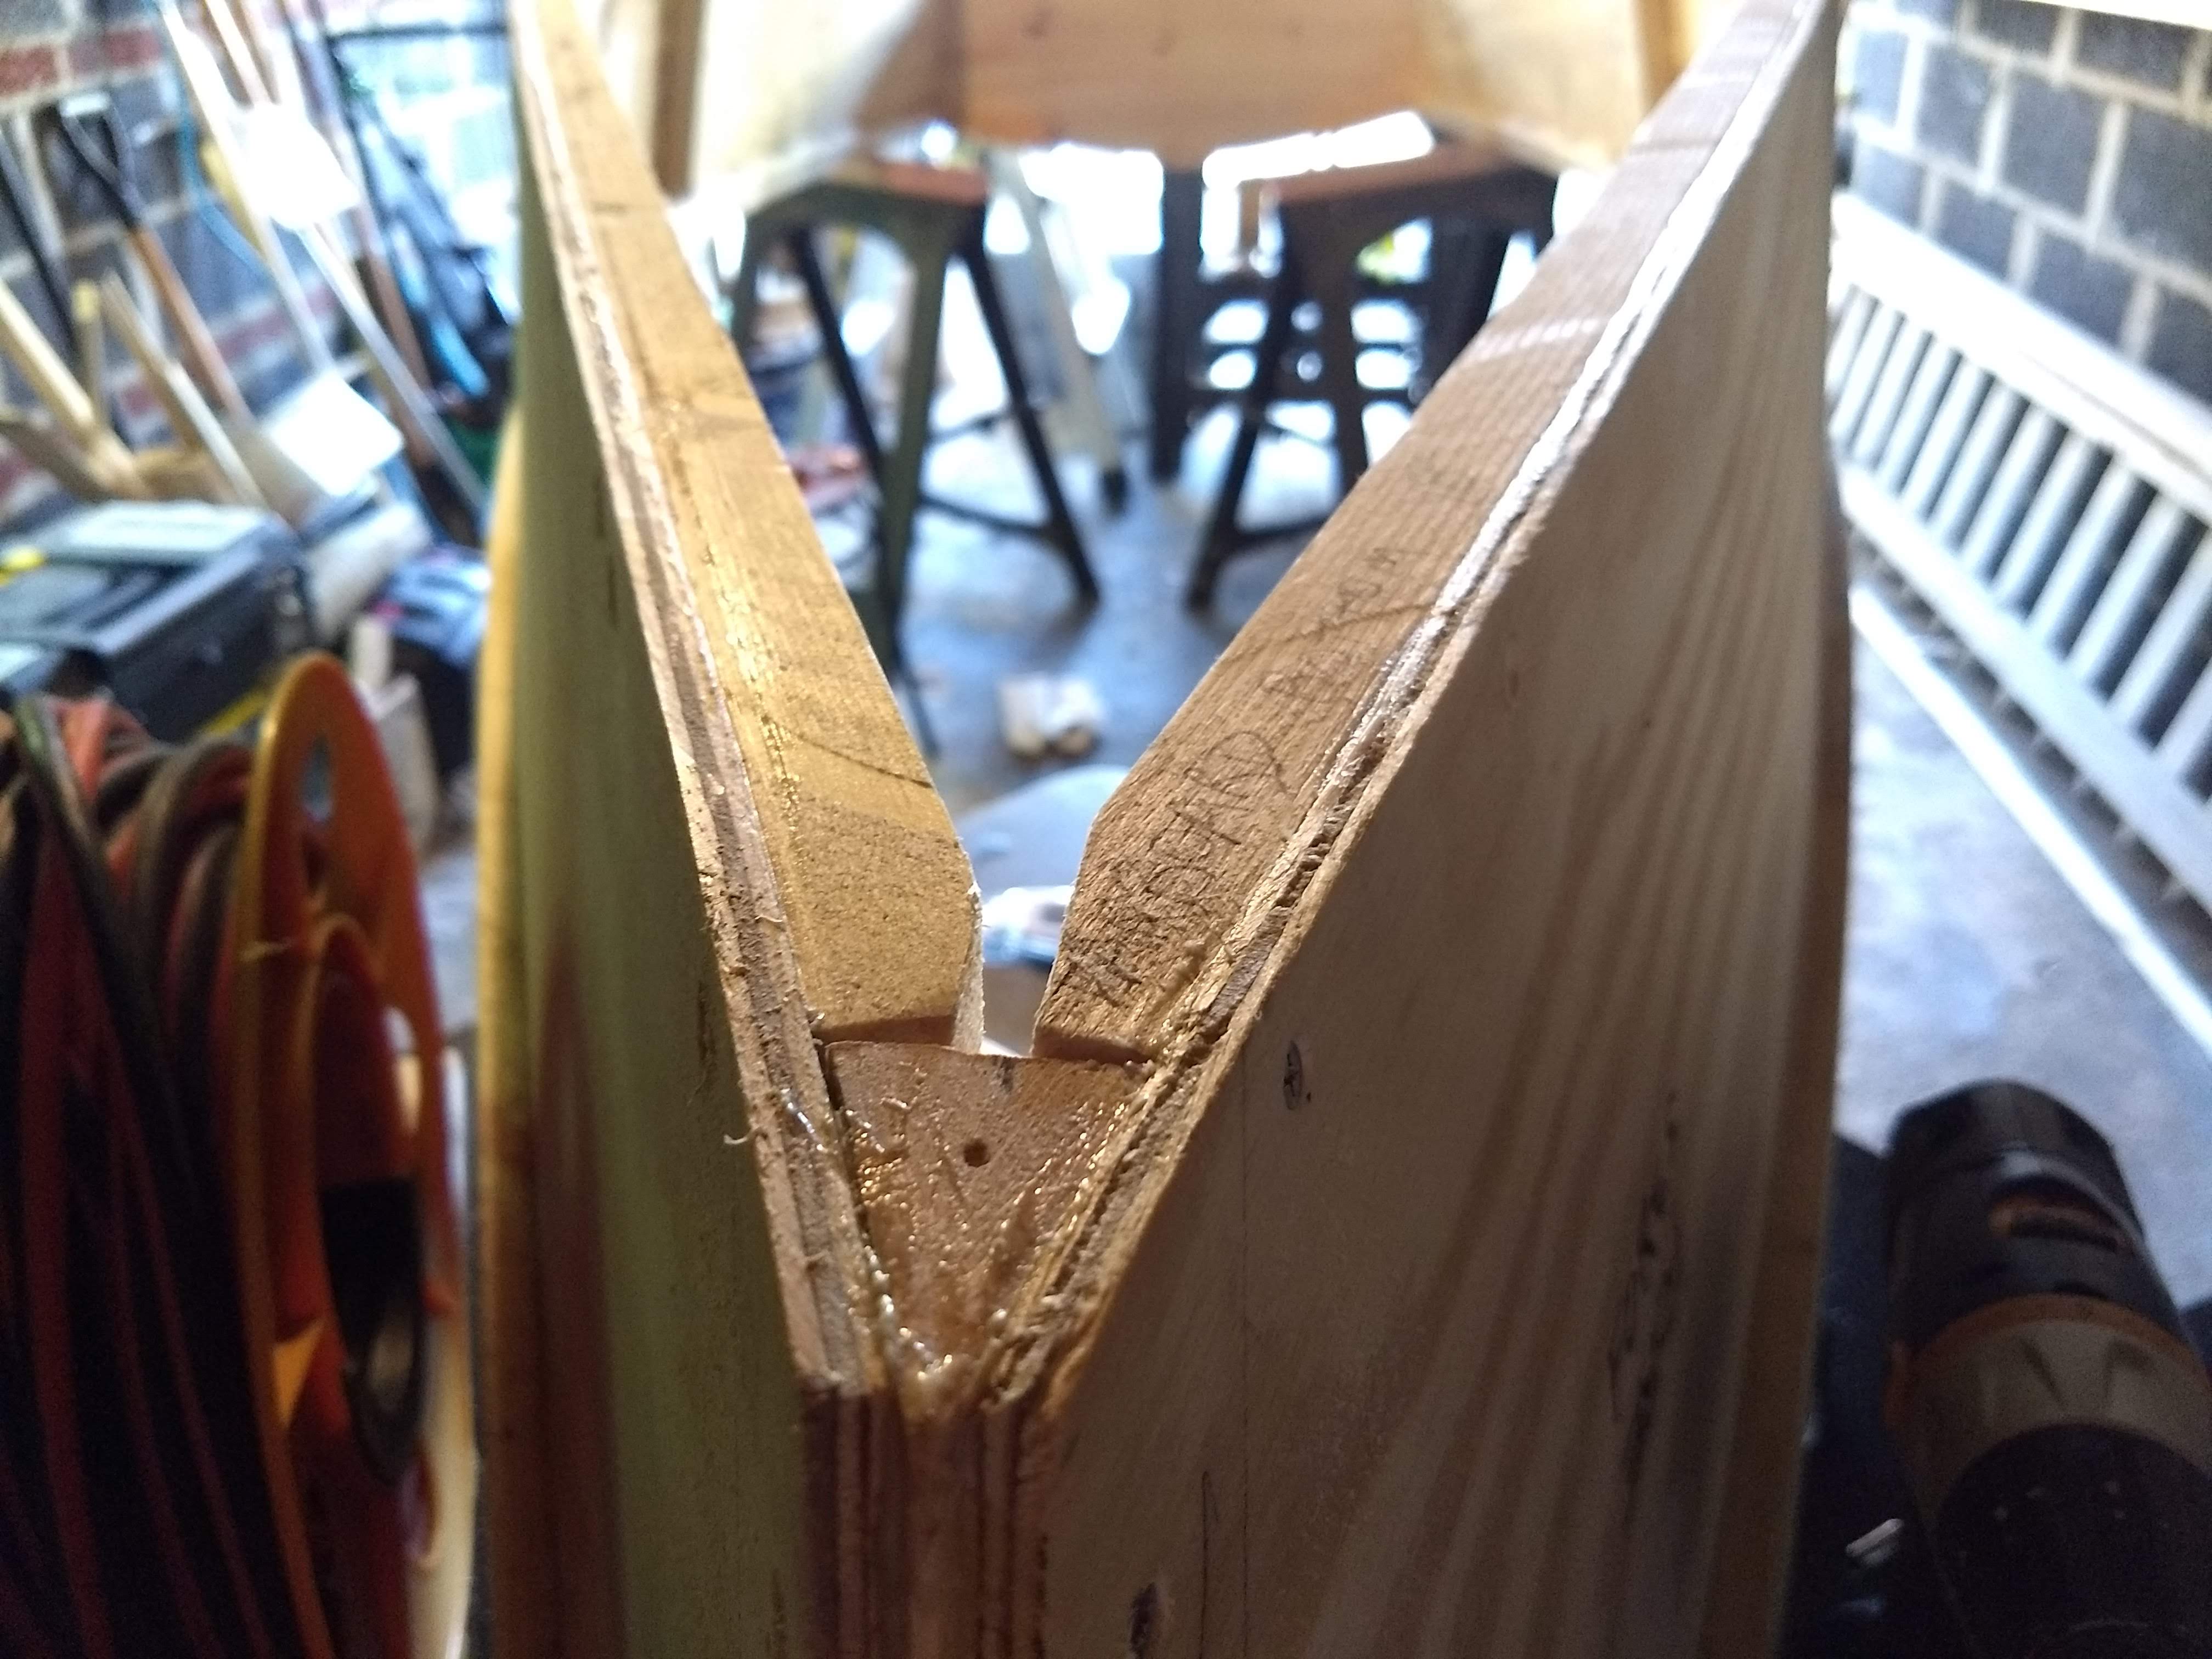
Both chines are installed! Can you tell that I’m relieved?

And then I had some time to think and work past these seemingly never-ending chines, time to measure and mark some on the second sheet of plywood, the one that’s going to be the bottom of the boat.
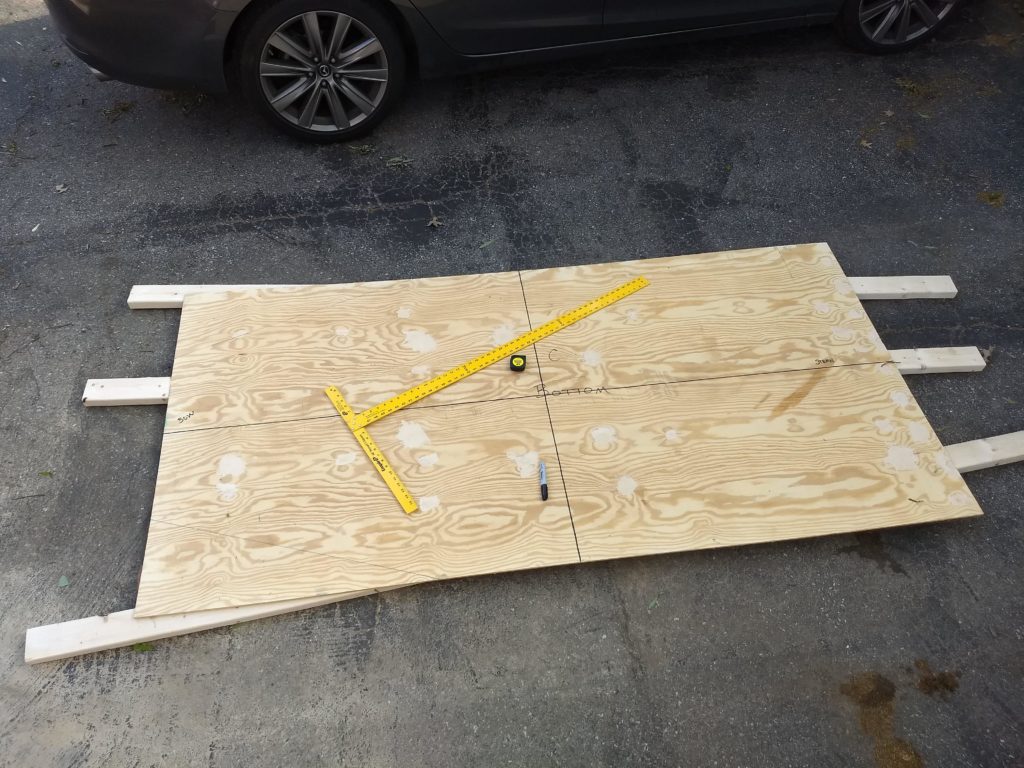
Measuring and marking plywood sheet #2. This shows the center lines and one triangle for the bow.

I had time to draw the center lines on both sides, which will hopefully help guide me to screwing the middle of the bottom to the center frame inside the boat. I then was able to pencil in the bow triangles and the one butt block and corner where the gussets would have come from if I hadn’t made the gussets out of the oar blades from sheet #1. Then it was time to walk the dogs and have dinner, before I could draw the leeboard backing plates and the corner where the mast step pieces and the breast hook (which, like the gussets, I made from other material).

I feel like things are moving again, after having been stalled with chines for so long. Next week I’m hoping to cut the parts out of the second sheet and glue the bow triangles to the bottom blank with butt blocks. We’ll see.

Week 25: Third Chines are Charming

Having been hanging with weights for a week, the new chine blanks were ready to cut and fit into place.

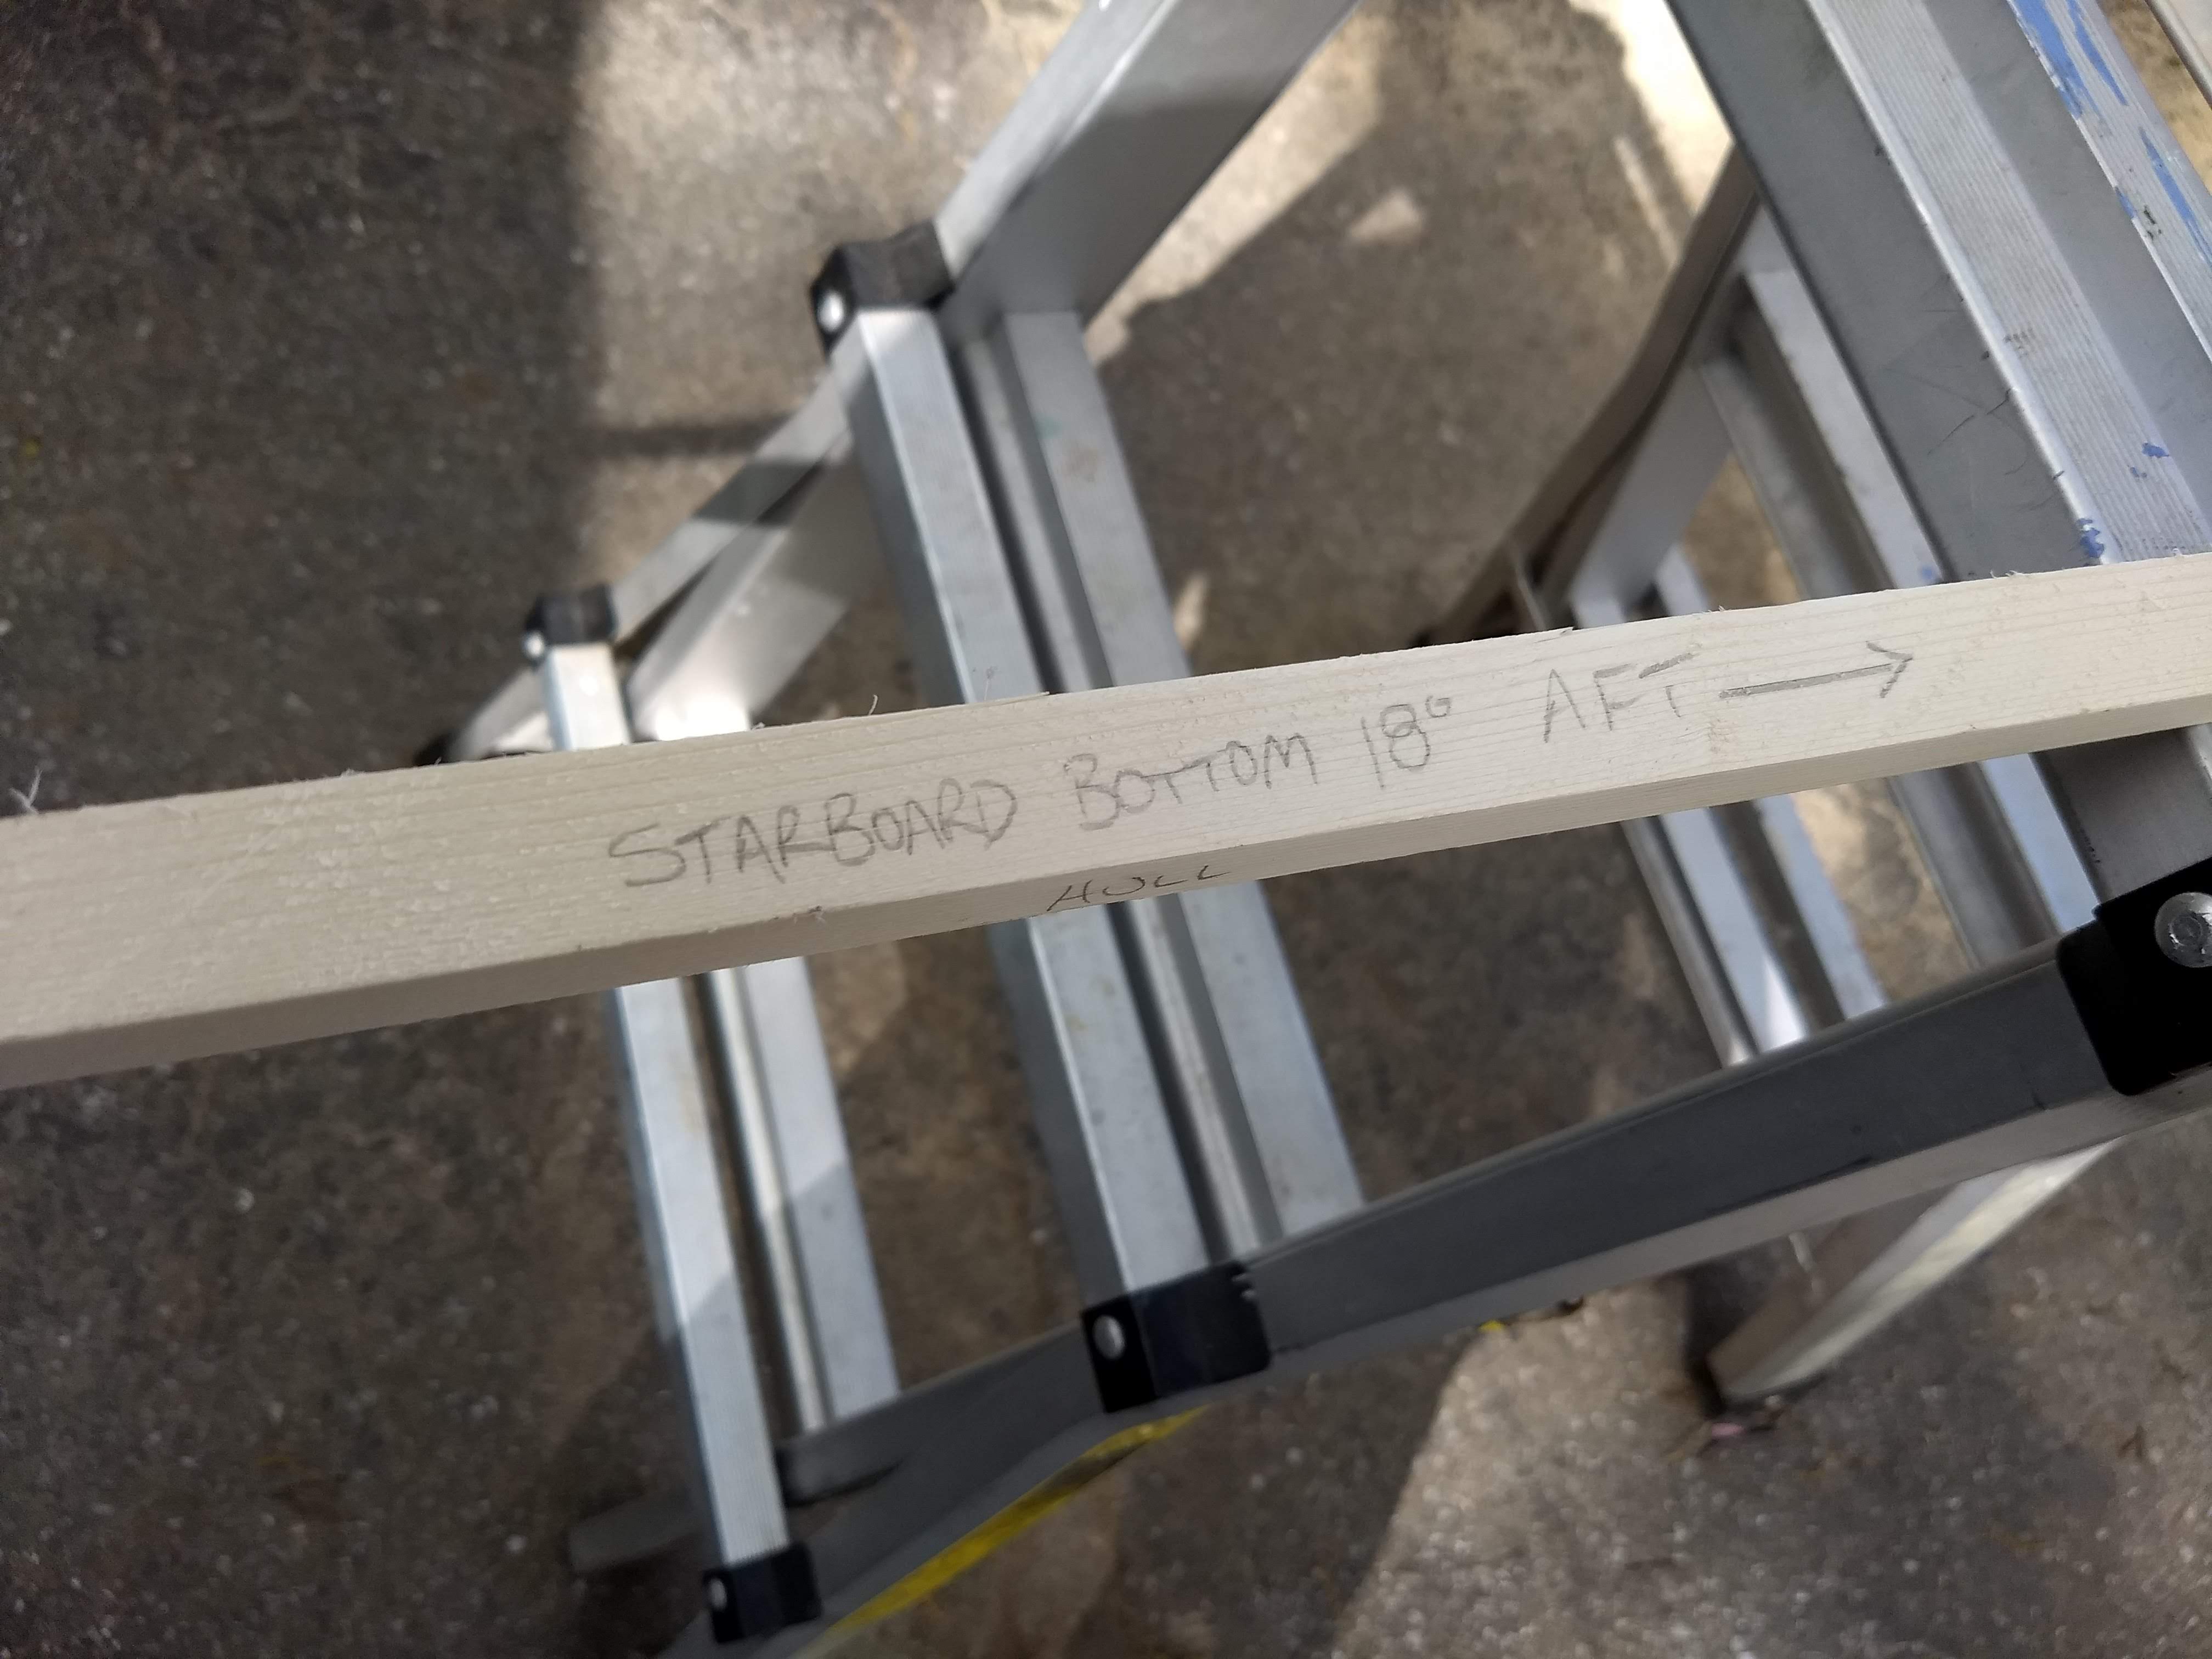
Chines in order of production. Doesn’t that third set, on the right, looks so pretty with their pre-bent curves?

Funny thing, though, was a knot in the starboard chine, in a bad place as far as the curve behind the frame toward the stern was concerned. I was worried that it was going to break, despite its own pre-bending.

The starboard chine …

So I swapped the port and starboard chines.

… becomes the port chine.

After that it was a matter of measuring angles and cutting and fitting, which I’d already done once before with an earlier set of chines. So that went pretty smoothly.

Chines are ready.

They are ready to be installed. I’m really, really ready to get that done.

Week 24: Chines again. Seriously.

I feel like there’s a pun here somewhere, between me making my third set of chines and the old saying about the third time’s a charm. But I can’t quite find the joke. Third chine’s a charm? Third time’s a chine? Something like that.

I sorted through the lumber myself this time, making sure to get straight and true lengths.

In any case, I went to Home Depot to buy a 1×6 to use for another set of chines, plus extra for the keel. While I was there, I bought three 10′ lengths of 2×4, at least two of which should end up as the mast, yard, and boom. In the meantime, I plan to use them to prop up the second plywood sheet as I cut it into the pieces that will become the bottom of the boat. (I had used the second sheet as a bench for the first sheet, but, obviously, it can’t be its own bench.)

Thank heavens the 10′ lengths fit in the car, since I took forever to tie the 12′ length to the top.

This was all on Saturday, when I had to mow the lawn after I got home, so I just stashed the new wood in the garage for the day.

New wood safely home

On Sunday I had time to cut the chine pieces. The table saw was still set at 18˚ from the last set of chines I had cut, so I sawed off the left edge of the 1×6, re-set the blade at 0˚, and sawed off the left edge again. This was similar to how I made the stem, except I didn’t have to turn the piece over or around for the cut. (The two stem pieces were identical, while the two chines are mirror images of each other.)

I went out to the garage to fit the chines in place, but first I took a picture of all the chine pieces. I think I’m being slightly ridiculous with these chines. You think?

I have made a lot of chines in my time.

Anyway, I went to bend one of the chines into place, but I heard some ominous cracking noises. And I very much did not want to break a chine like I broke an inwale. So, then, instead of cutting them to fit in place today, I decided to bend them gently to fit the curve first.

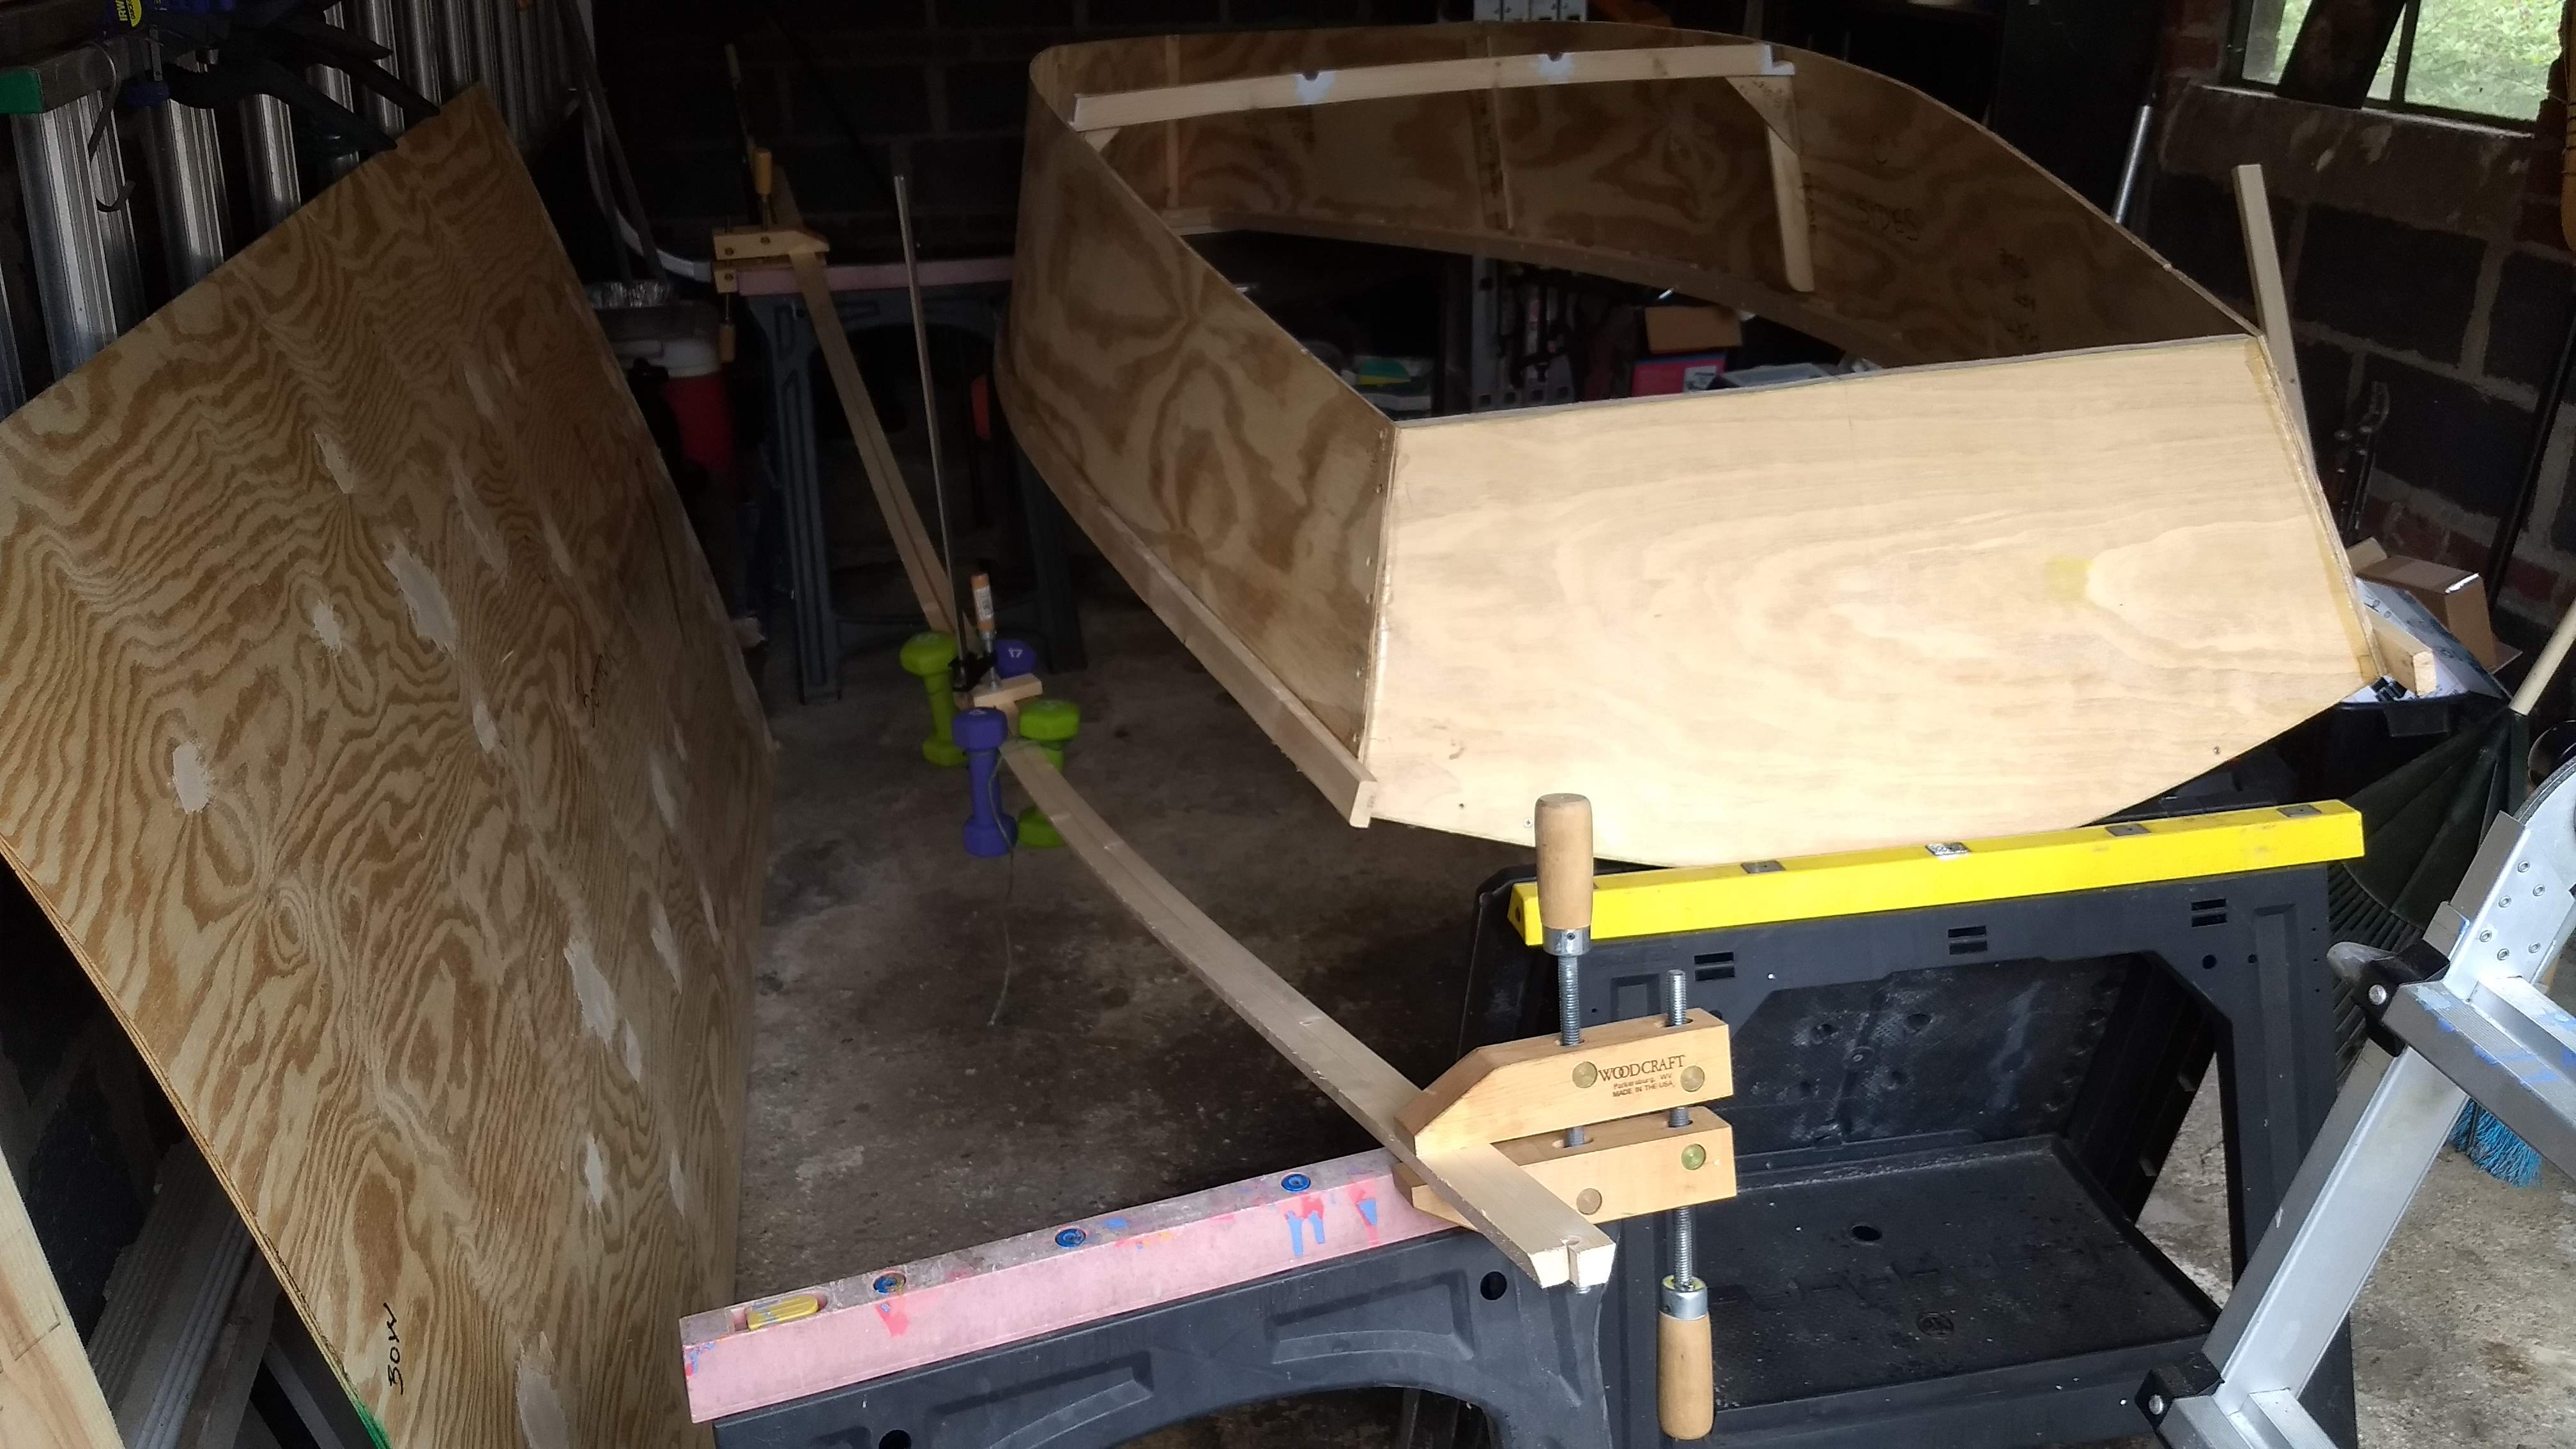
Bending station

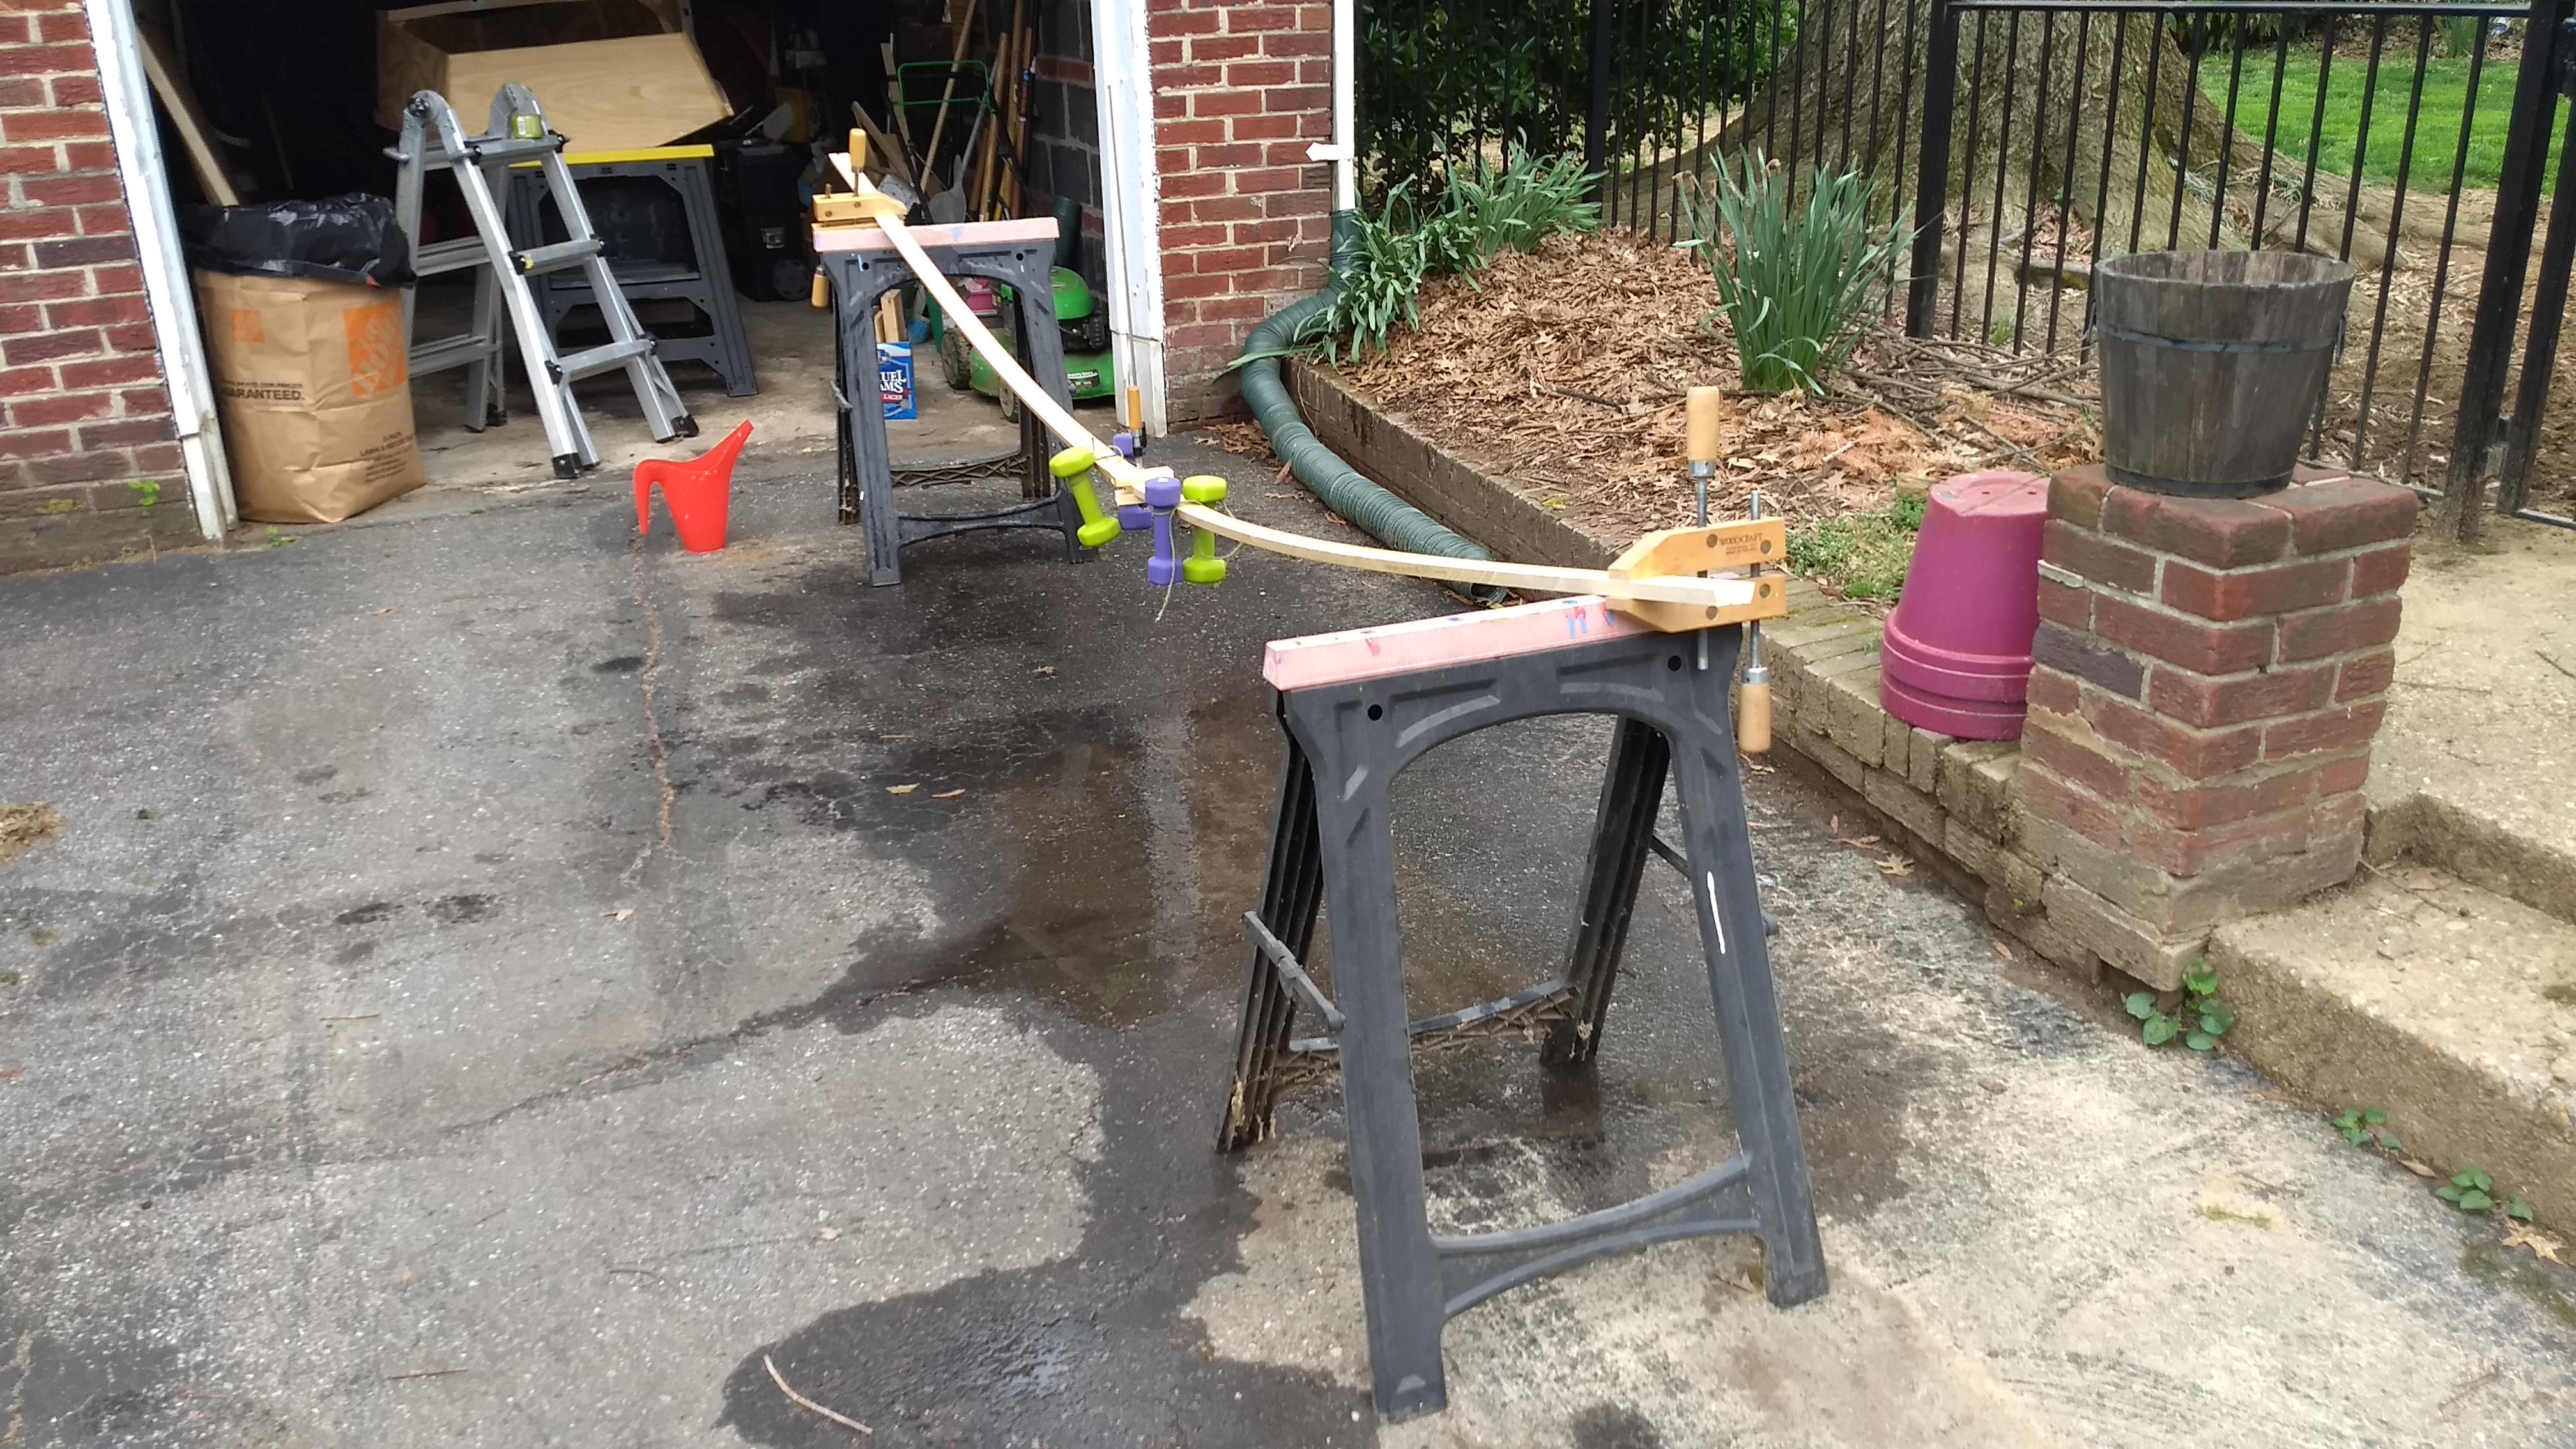
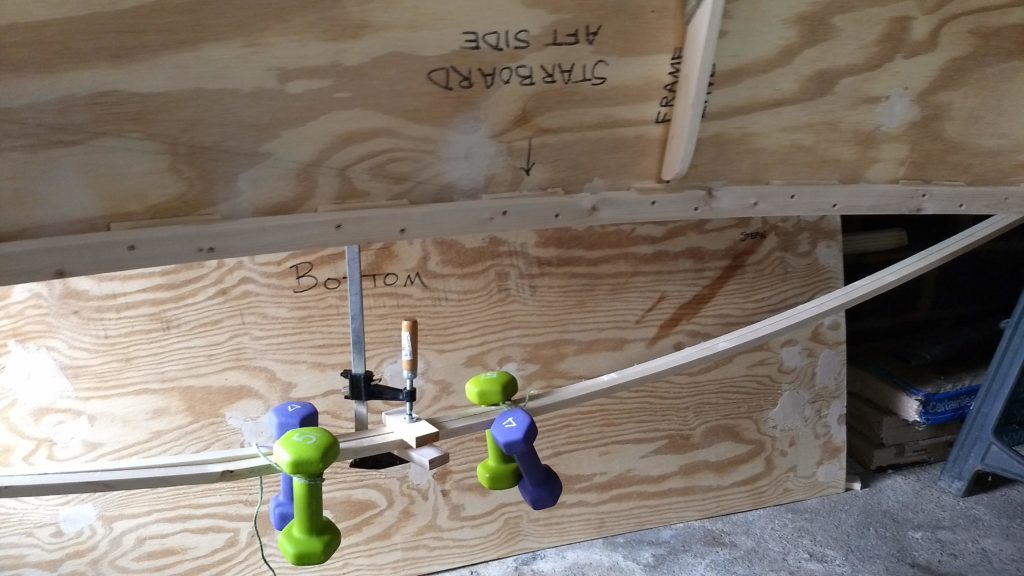
I got the boat itself off of its sawhorses and stretched the new chine pieces between the sawhorses. I then filled Dawn’s watering can with hot water and poured those over the chines and hung weights in the middle. Because of the shape of the chines, though, they didn’t want to stay upright and bend in the right orientation that I wanted. So I clamped them together at the ends and in the middle, then re-watered and re-weighted them.

Dawn was annoyed again that I was using her weights.

I left them that way for a couple of hours, then very gently moved the whole assembly into the garage to dry … overnight? All week?

Inside to dry

Probably all week. We’re going out of town on a mini spring break vacation this week. I hope to have time to cut and fit the newly bent pieces into place next Sunday.

I liked the angle of this shot, showing the weights on the chines with the bottom plywood sheet waiting in the background. The bottom will attach to these chines eventually.

Week 23: Regroup

Nothing in the way of progress this weekend. We had a busy Saturday, what with a special early dinner and then a trip into the city to see the Washington Ballet. And Sunday we kicked off the spring yard season, where Dawn did lots of weeding and I mowed the lawn 1-1/2 times.

I actually didn’t think the lawnmower would even start, as I hadn’t drained it of the gas at the end of the season last year. I usually end the year by using the mower to mulch the leaves in the yard after I’ve cleaned the leaves out of the gutters. But we expected the roofing company to put on the new roof, so I was leaving the gutters alone until they did that. And they never did until well into the new year.

And so I had expected to have to rebuild the carburetor on Sunday and thus not have any time for the boat. So, turned out, what with the mower starting right up, I would have had time.

But also I’ve decided to not go with the chines I’ve cut already but rather cut new ones. Same goes with the keel. I’m going to spring for $16 to buy a 12′-long 1×6 to make these parts. So I didn’t have that on hand either.

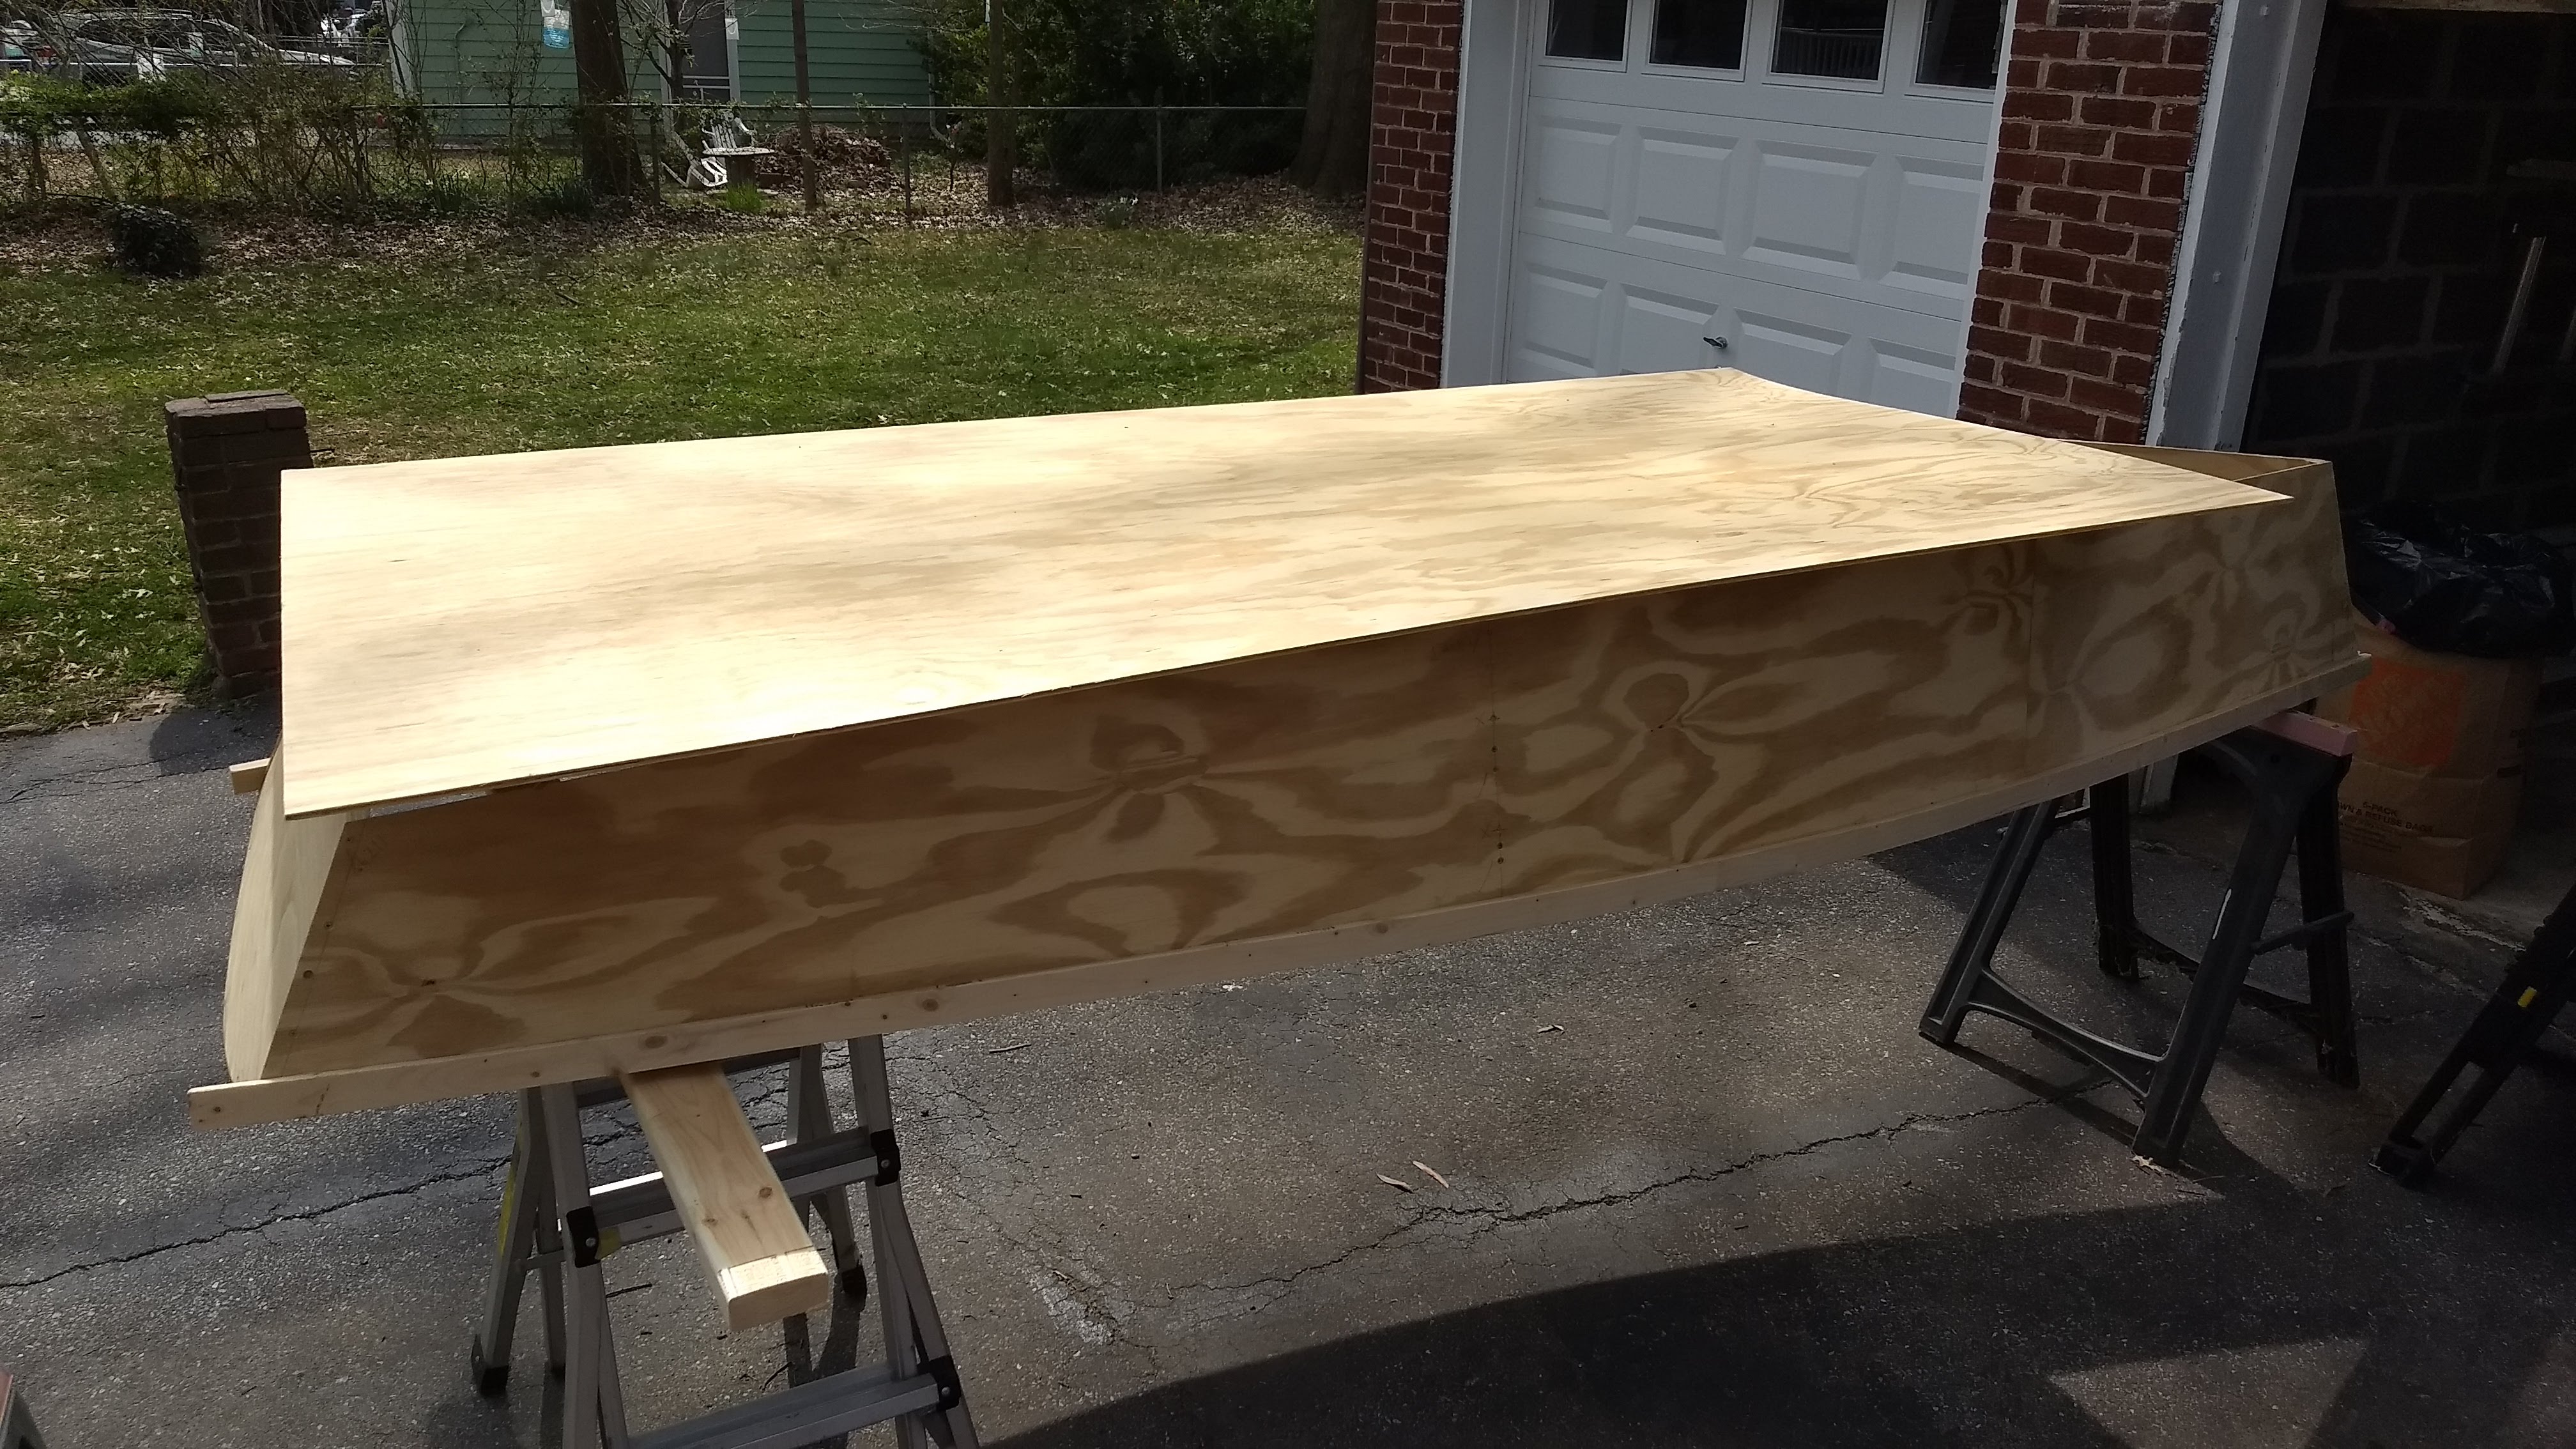
I did have to enlist Dawn to help me move the boat out of the garage in order to get to the lawnmower in the back. So I tried previewing the 1/4″ plywood sheet that’s destined to be the bottom of the boat. I wanted to see if it bent well enough over the curve of the rocker and across the frame. It did.

Awesome.

This is the beginning of the bottom of the boat.

Week 22: Cutting & Fitting Chines

I had raided my 12′ piece of 5/8″ × 1-1/2″ chine piece for the starboard inwale, so I wasn’t sure what I was going to use for chines. I had two options: (1) a different 5/8″ × 1-1/2″ stick at 12′ long that was less than stellar, having some serious splits or wanes along the edge, but that I could split for the chines, or (2) two pieces of 12′ long maybe 1/2″ × 1-1/2″ left over from the 2×4 that I cut for the keel that could be a chine apiece.

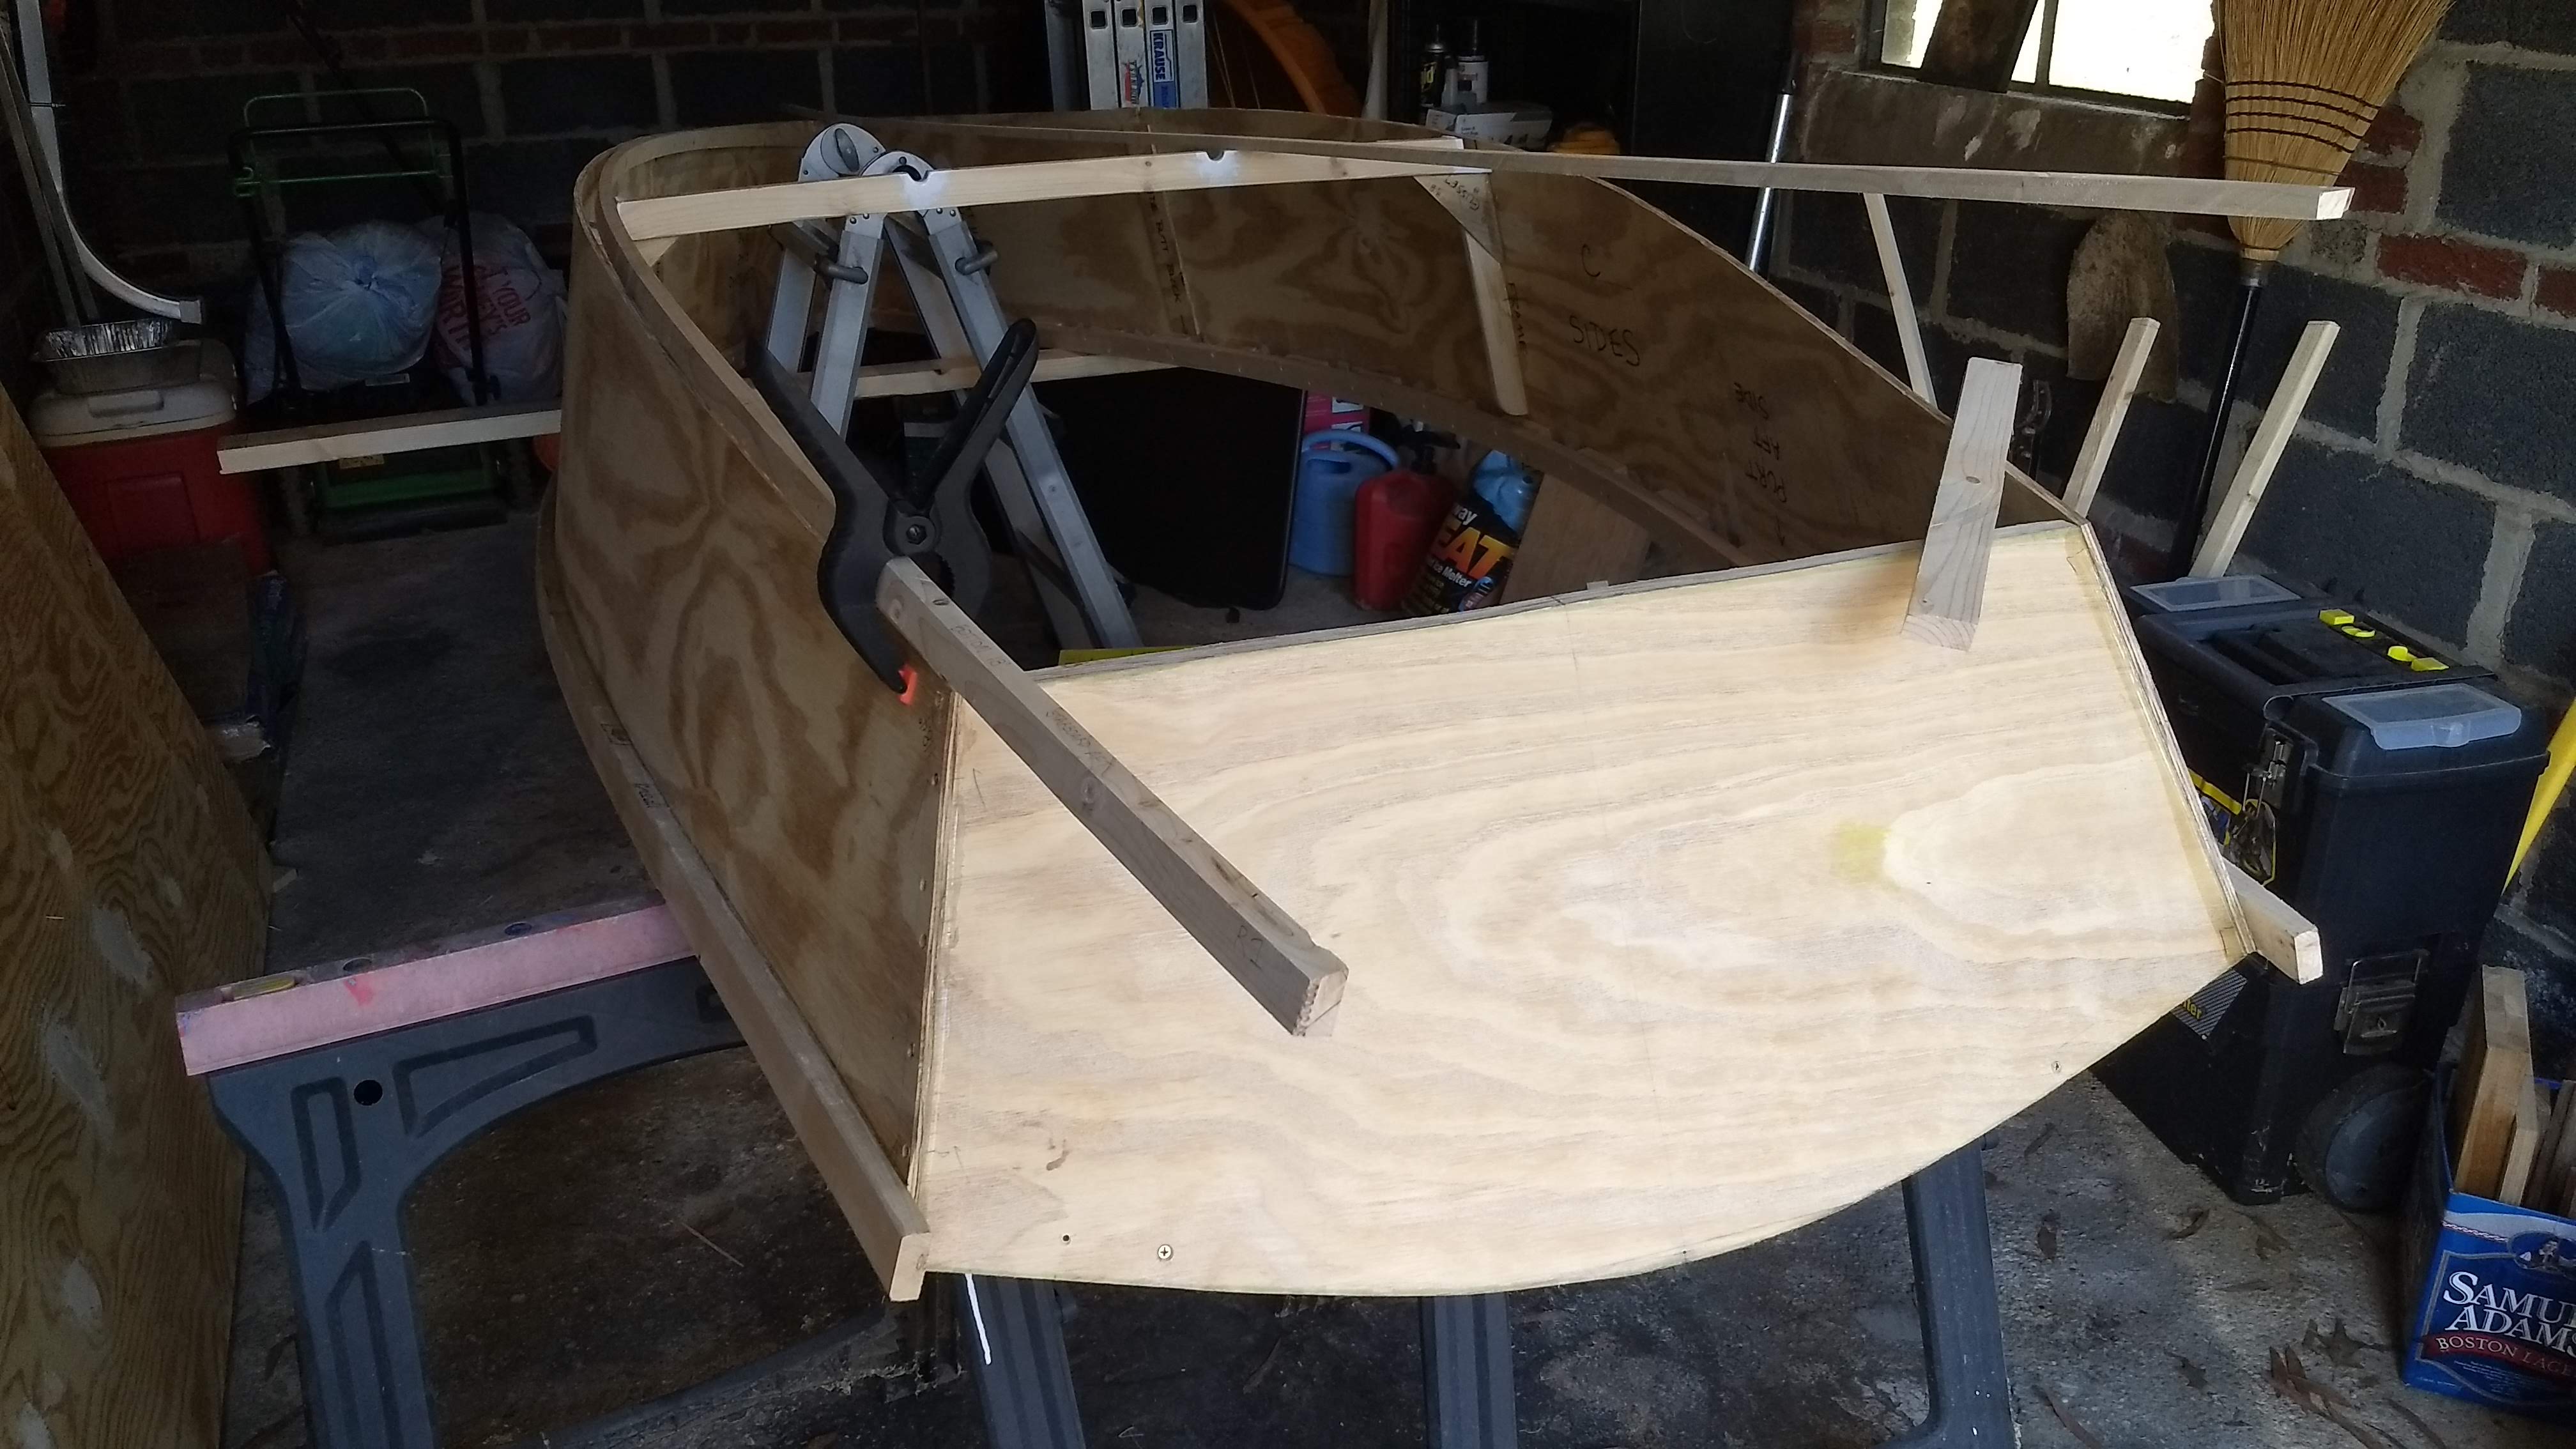
Fitting the starboard chine in the upside down boat

I decided to cut both options at the 18˚ angle and see which looked better. For the first piece, I split it in the middle at 18˚, while the other two pieces I shaved off an edge at 18˚ on each of them. I decided I liked the larger chines that resulted from the two pieces instead of the single split piece. So I took those out to the garage to start cutting them to length.

Clearly labelled port chine

First thing out in the garage, though, was to turn the boat upside down. I tried a couple different hand holds and angles to try to do it myself, but in the end I enlisted Dawn and we turned it over as a team. The boat is definitely getting too big and heavy to maneuver by myself. I’m going to need to build a cart to move it around at some point.

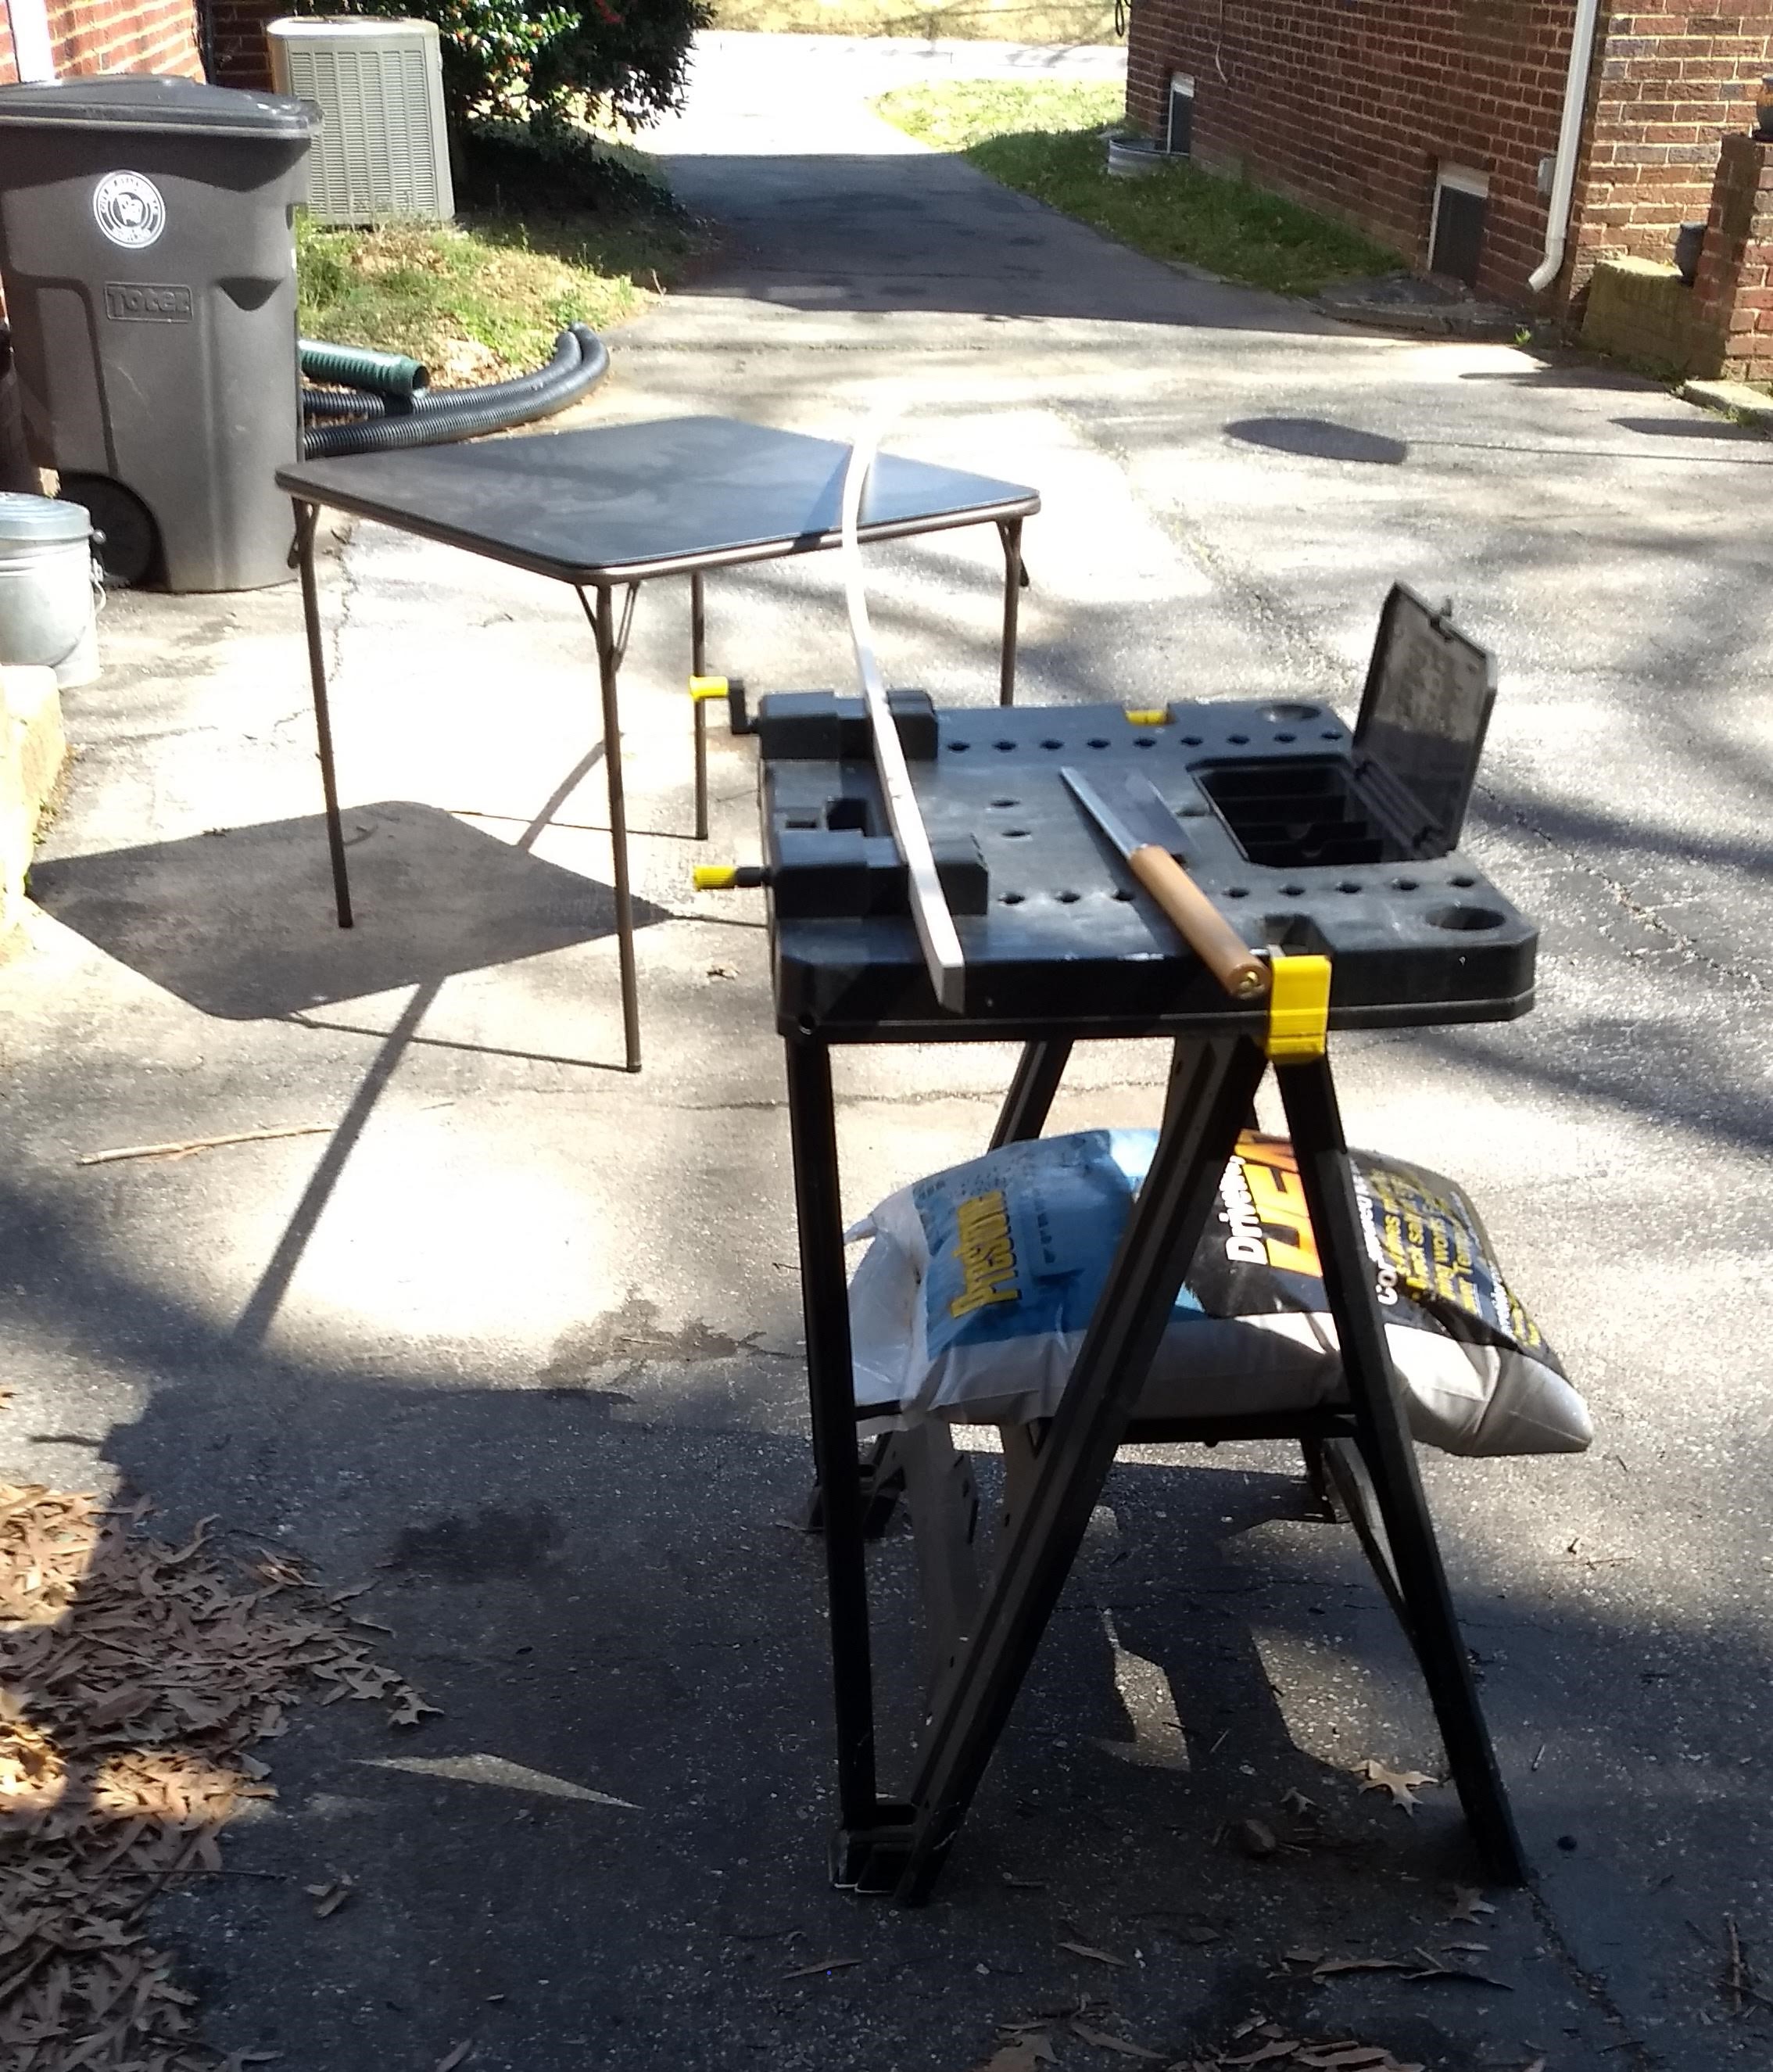
Driveway sawing station

Fitting and cutting the chine pieces themselves was a bit of a dance, since, like the inwales, they won’t fit inside the boat until they’re cut to the right length, but, then again, you don’t really know what the right length is until they’re cut. So you have to cut and shove one end in place at a time.

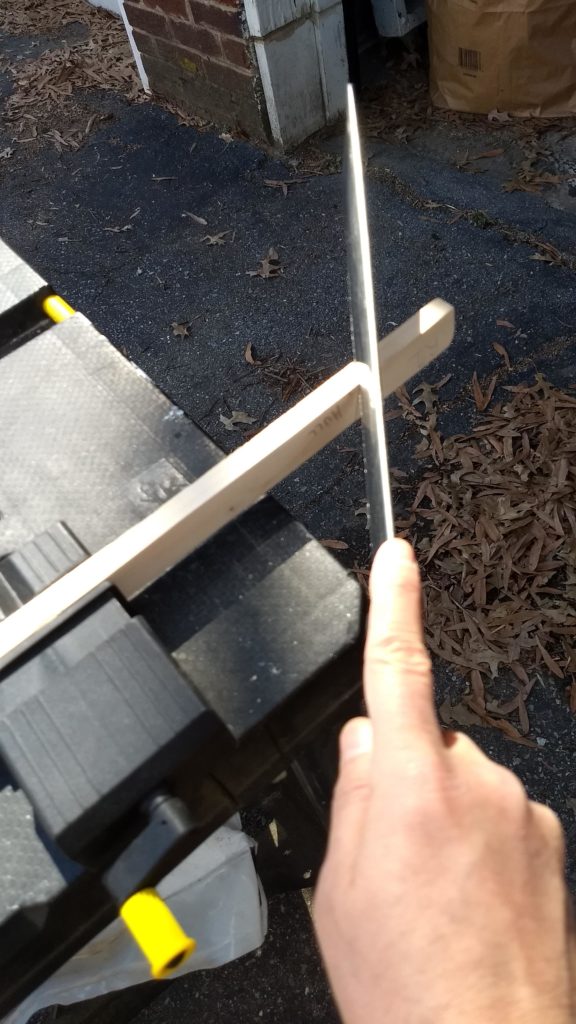
Sawing a compound angle

And each end has to be cut at compound angles, given that none of the angles between the sides and the stem and the transom is square. I used a bevel gauge to measure and transfer each angle from the boat to the piece, after first clearly labeling each piece and which side was which. It was so easy to get turned around.

Starboard chine in place

Luckily it was a fairly nice afternoon, so I was able to cut at a station I set up in the driveway. It would have been really tight to cut next to the boat in the garage. I did get turned about a couple times anyway, though, between what was up and down on the chine piece, and I cut the wrong angle. Maybe a few times even. But this was all figuring out the angles of the cuts, rather than the final length.

Fitting the port chine at the transom

I might have had time to glue and screw the chines in place, but for the room for the chines under the notches in the frame not being big enough. I had cut the notches, a little over-sized even, but for the original chines sized from cutting a single 5/8″ × 1-1/2″ in half. My two pieces that I used are each bigger than the originally planned halves. So I either have to make the frame notches bigger or shave off some from the chines where they go under the frame.

Chines squished together at the stem

The frame is attached to the sides and those notches are already painted, so I’m opting for shaving some spots on the chines. Maybe next week I can get that done and then get the chines attached. It’d be nice to finally get a bottom on this boat.