Week 13: Milling Stock

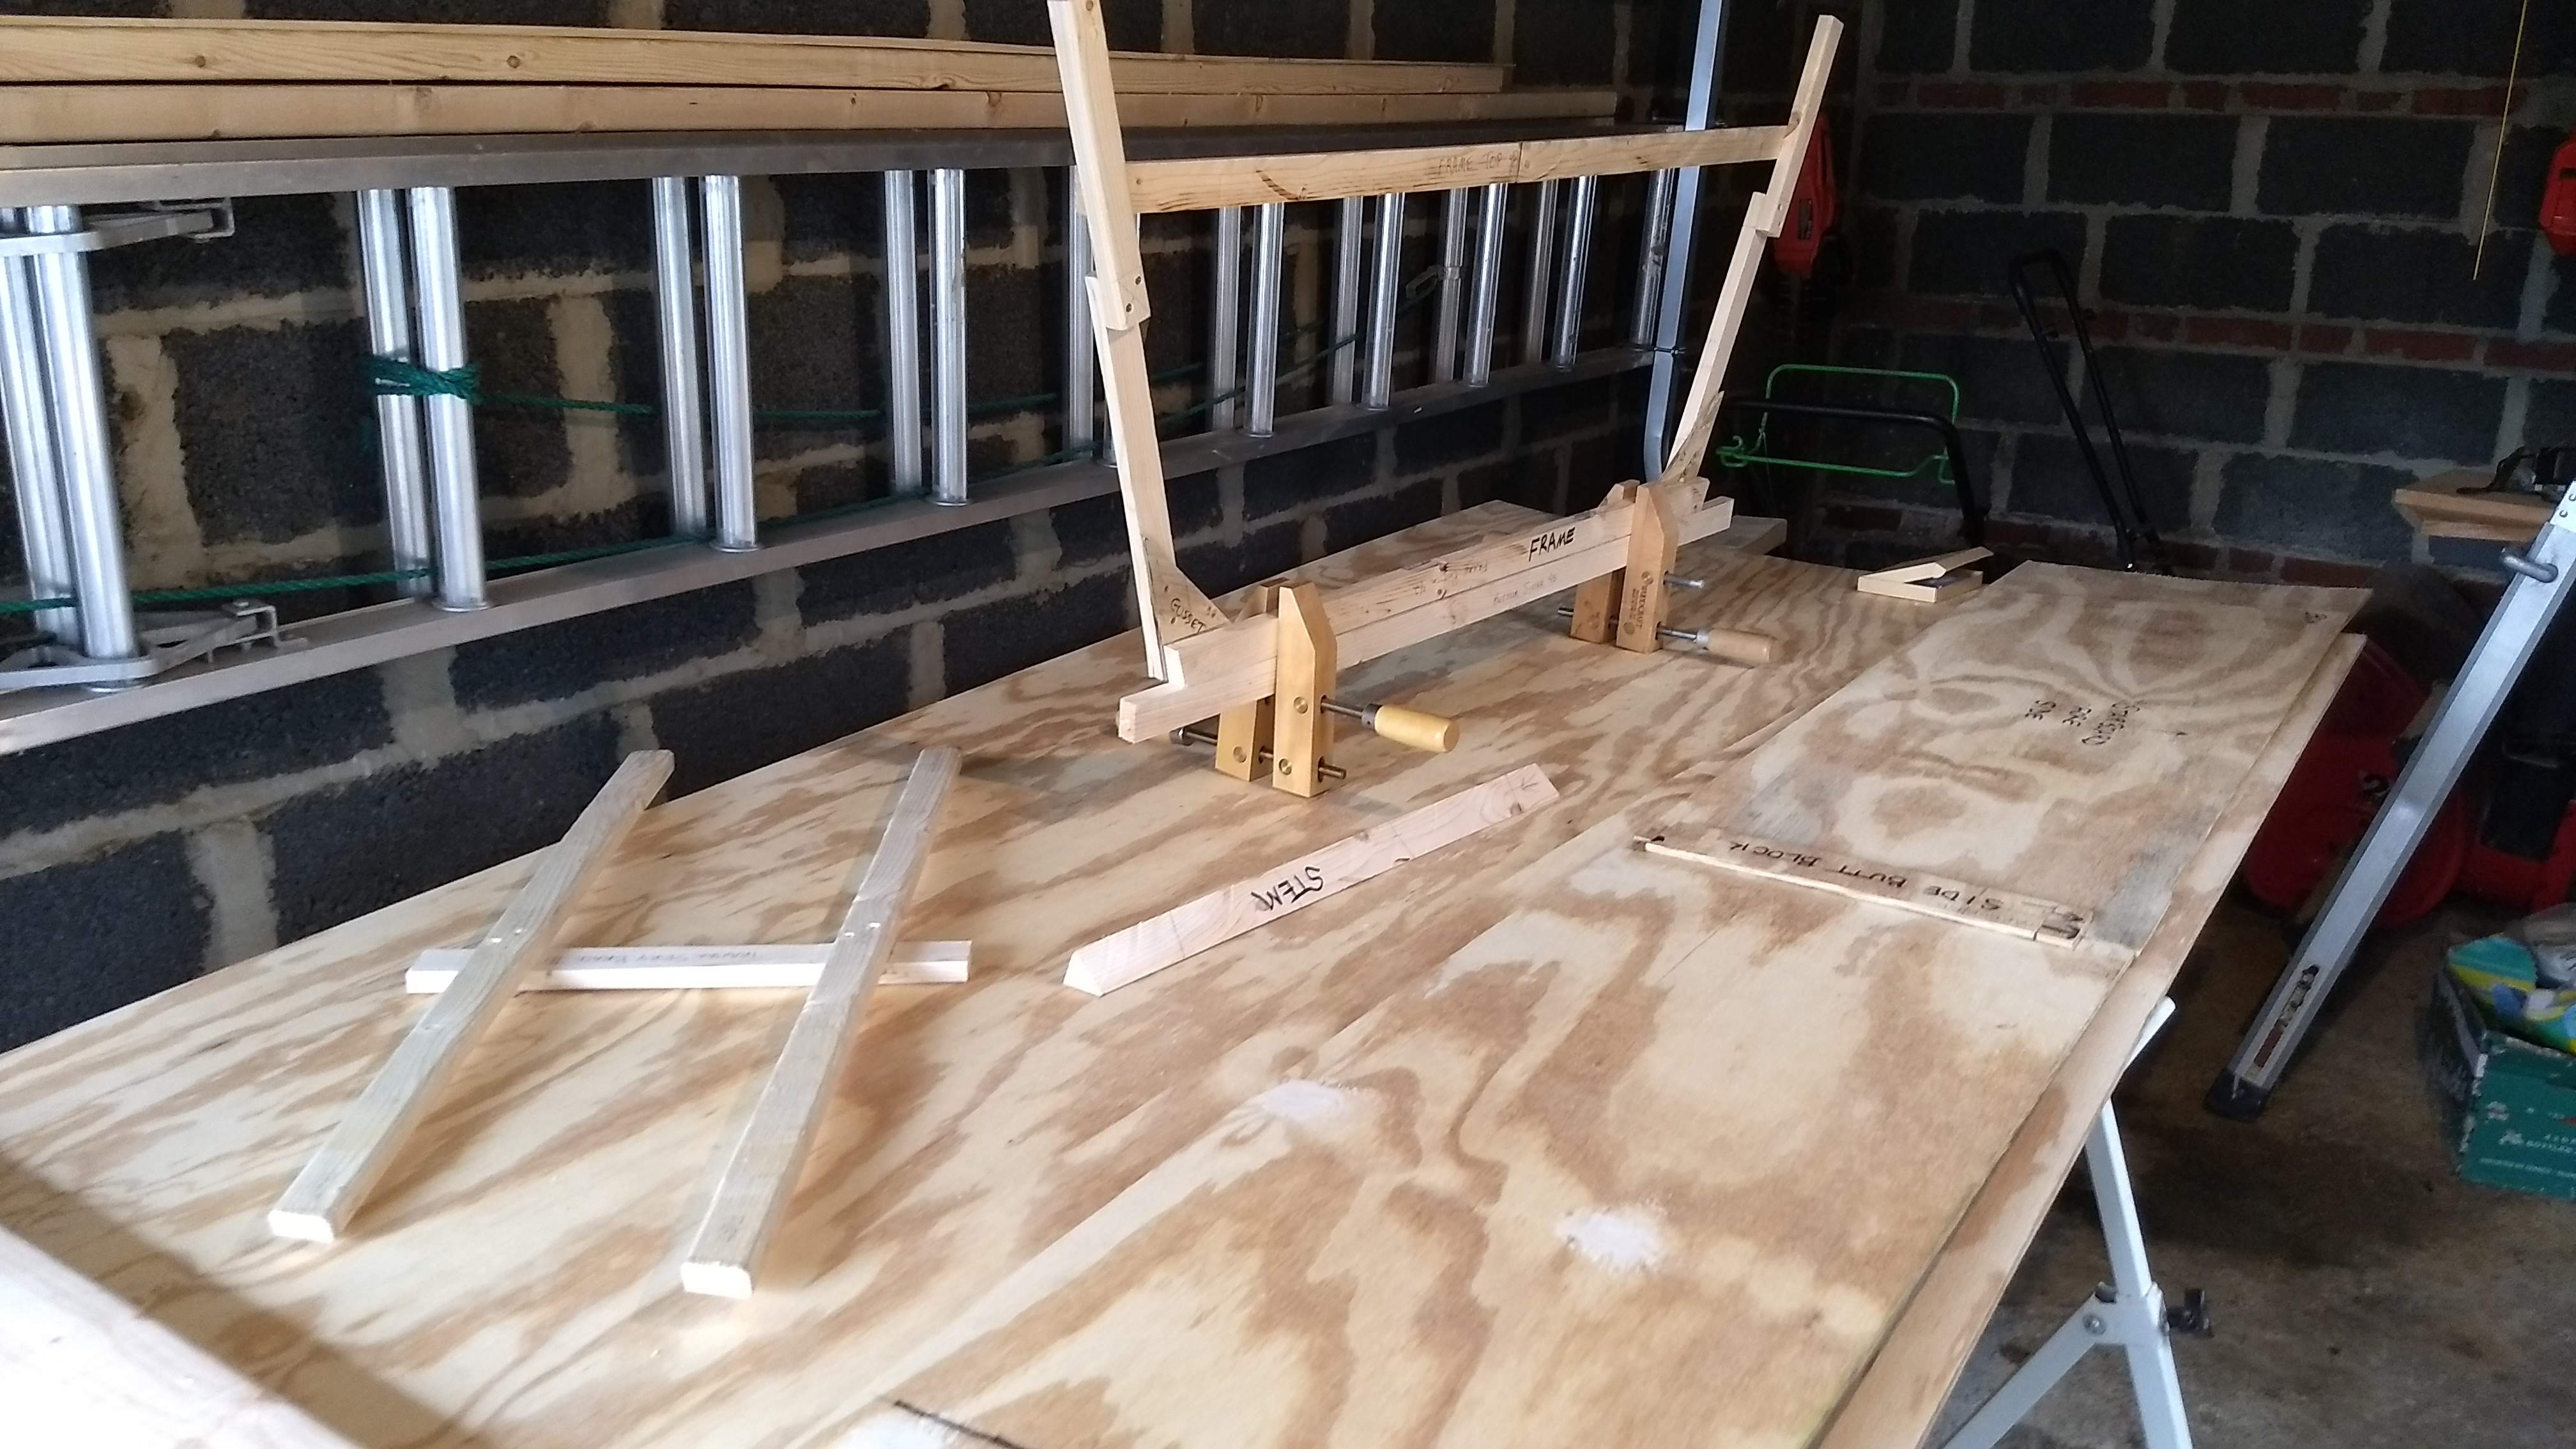
Was finally time to make all the 1×2s for wales and chines. Not the most exciting of days, but necessary.

My plan initially called for choosing one 12′ 2×4 for wales and then a second 12′ 2×4 for the keel and chines. I had mapped out each cut for each part, and, in a perfect world, I could have made do with the 2 lengths (plus a random length of 2×4, maybe 4′, for the inwale spacers, since I need 30 at 4″ each, which is a total of 120″).

But my stock was far from perfect. There were some serious checks and chips at the ends of the lengths. But, handily, I had bought three 2×4s, initially thinking that I could cut a single 2×4 into only three 1×2s, but I am actually able to cut a 2×4 into four 1×2s. So, generally, I needed five 12′-lengths of 1×2, which I could pick out the best 5 from the twelve 12′-lengths of 1×2 I cut from the three 12′ 2×4s.

Except that the keel is a 12′ 1×3 instead of a 1×2, so that required a sideways cut of one of the 2×4s, losing out on three 1×2s from that 2×4. So best 5 out of 9. But I did end up with two 12′-lengths of like 1/2″ × 1-1/2″ stock, which I think maybe I’ll use for bottom runners on either side of the keel. Maybe.

The weather was pleasant (a high of 48˚ on Saturday 1/27/19), so I probably could have cut the 2×4s in the driveway. I had moved the table saw back down to the basement, though, and I really didn’t feel like dragging it back upstairs and outside. It’s portable, on wheels and all, but it weighs 100 lbs. and I ain’t a young man anymore. It’s hard getting it up and down steps.
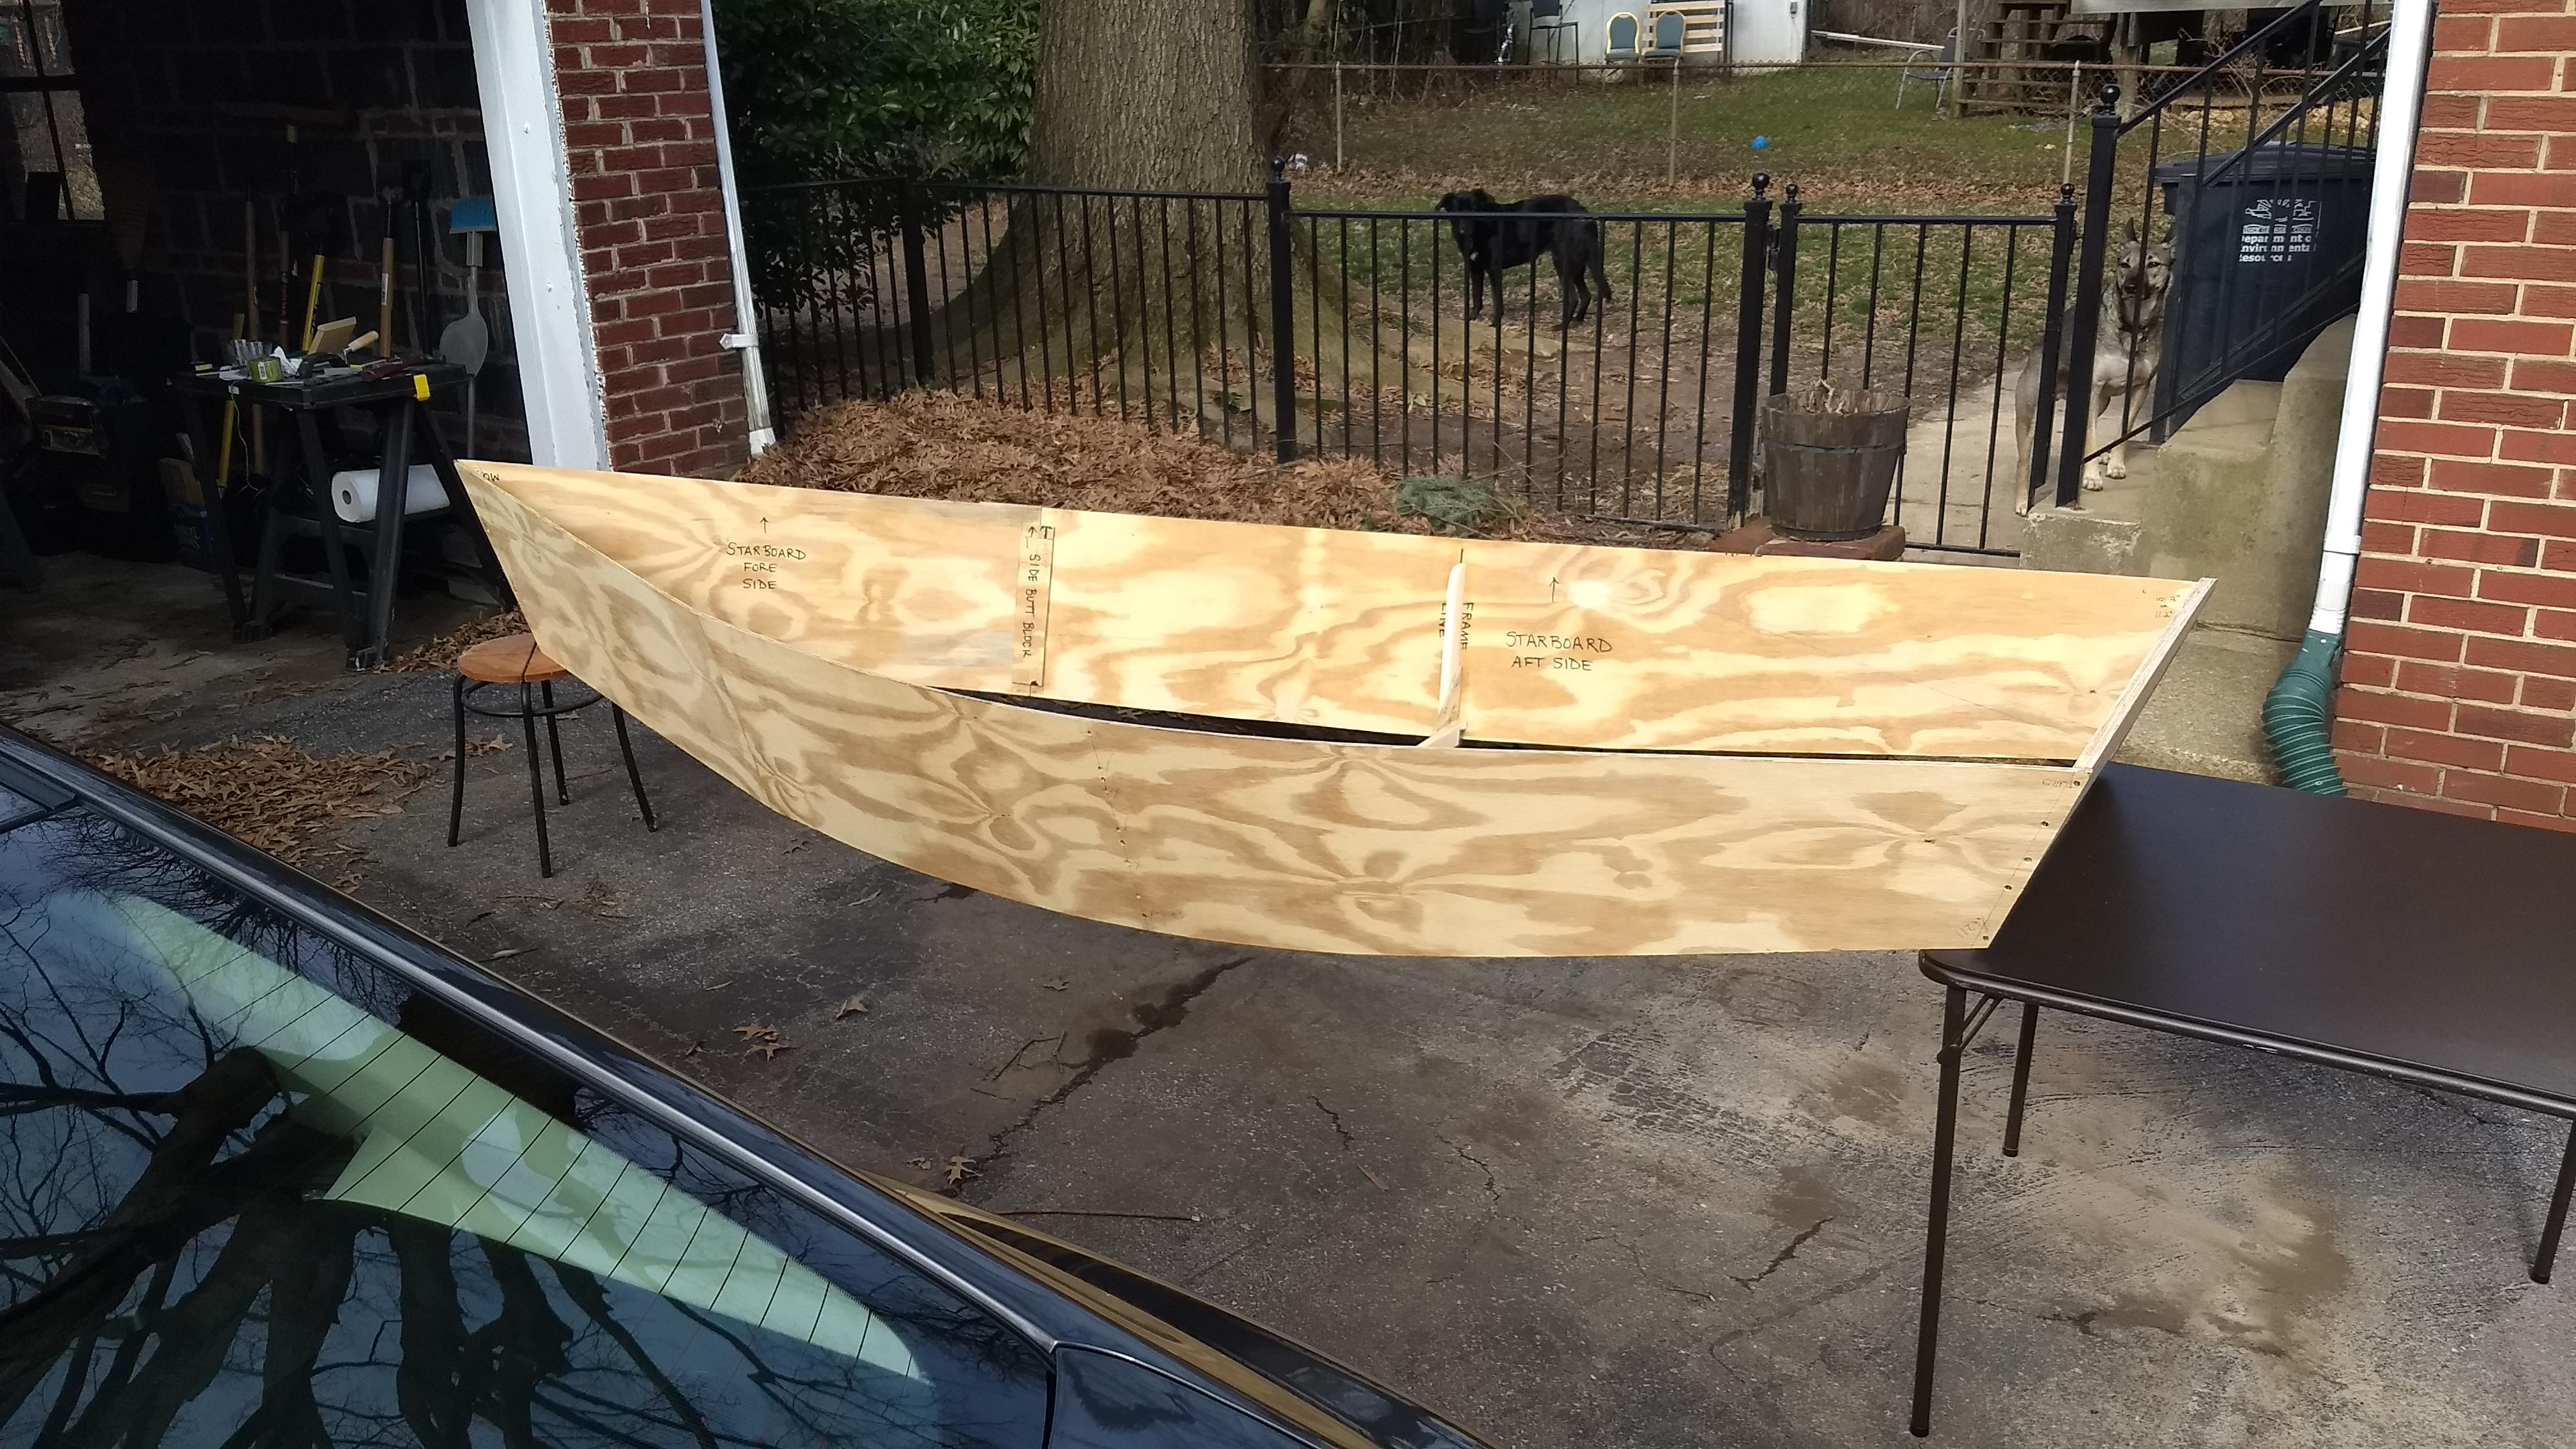
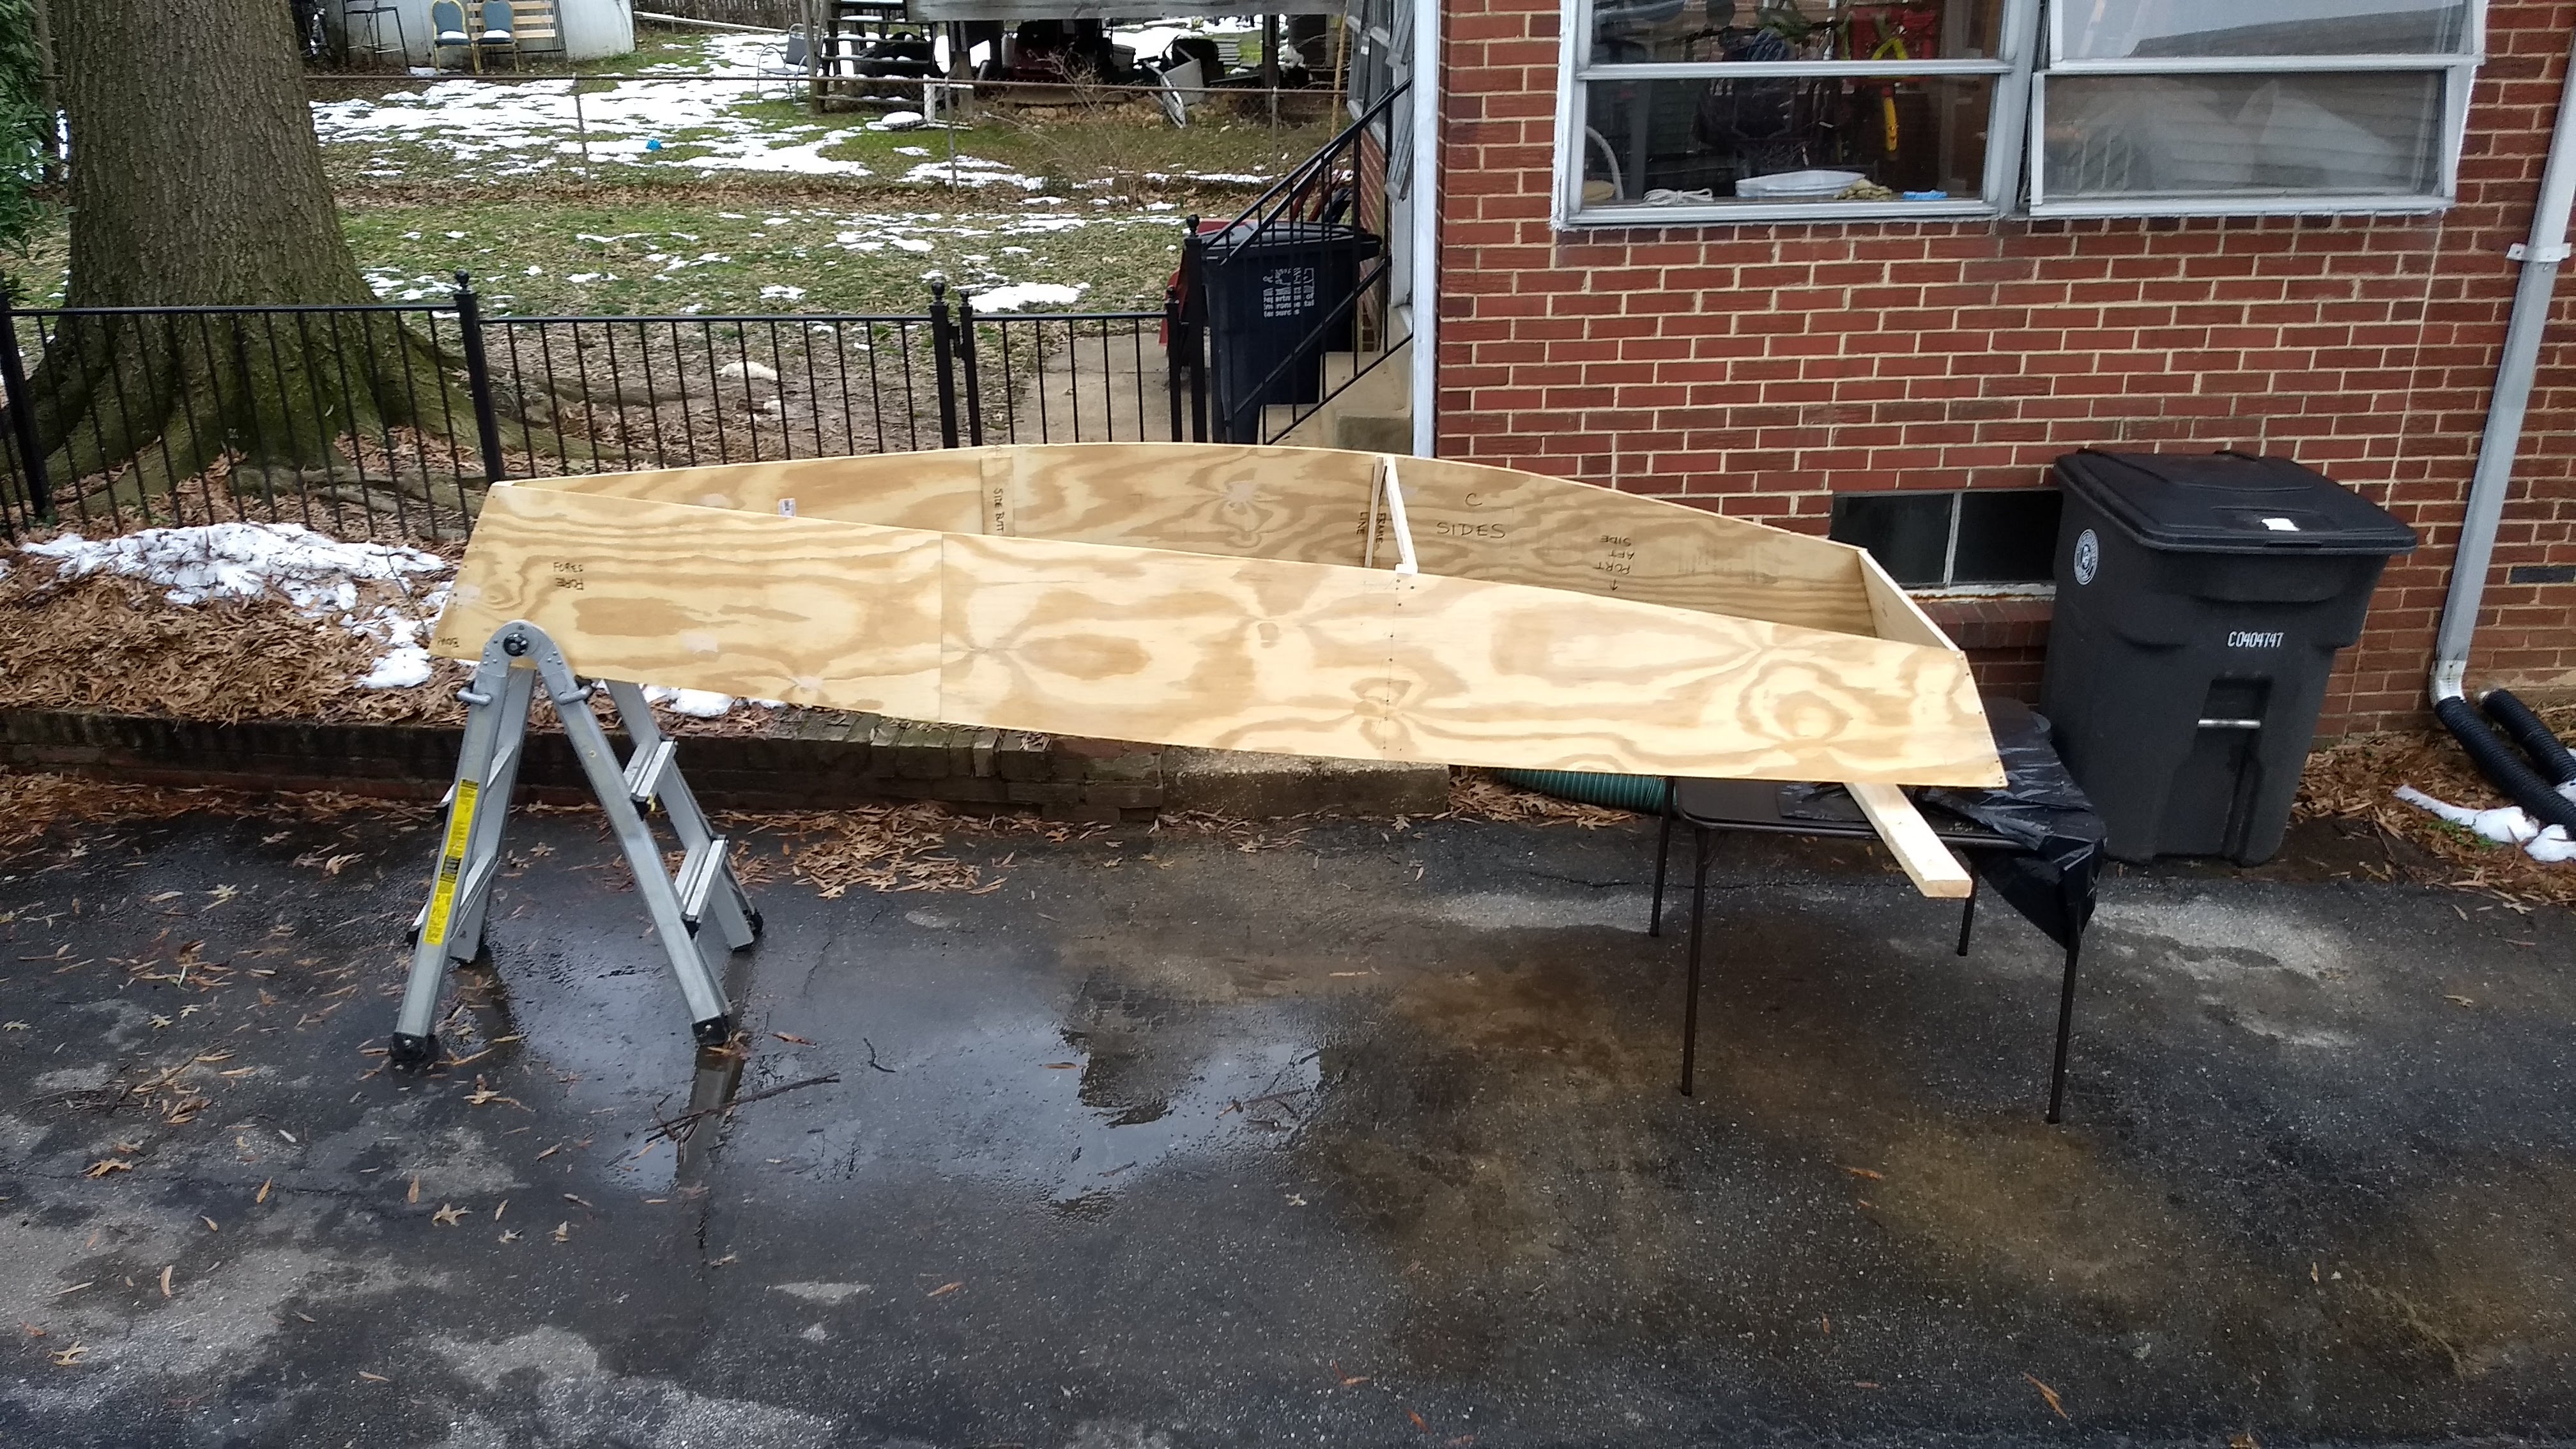
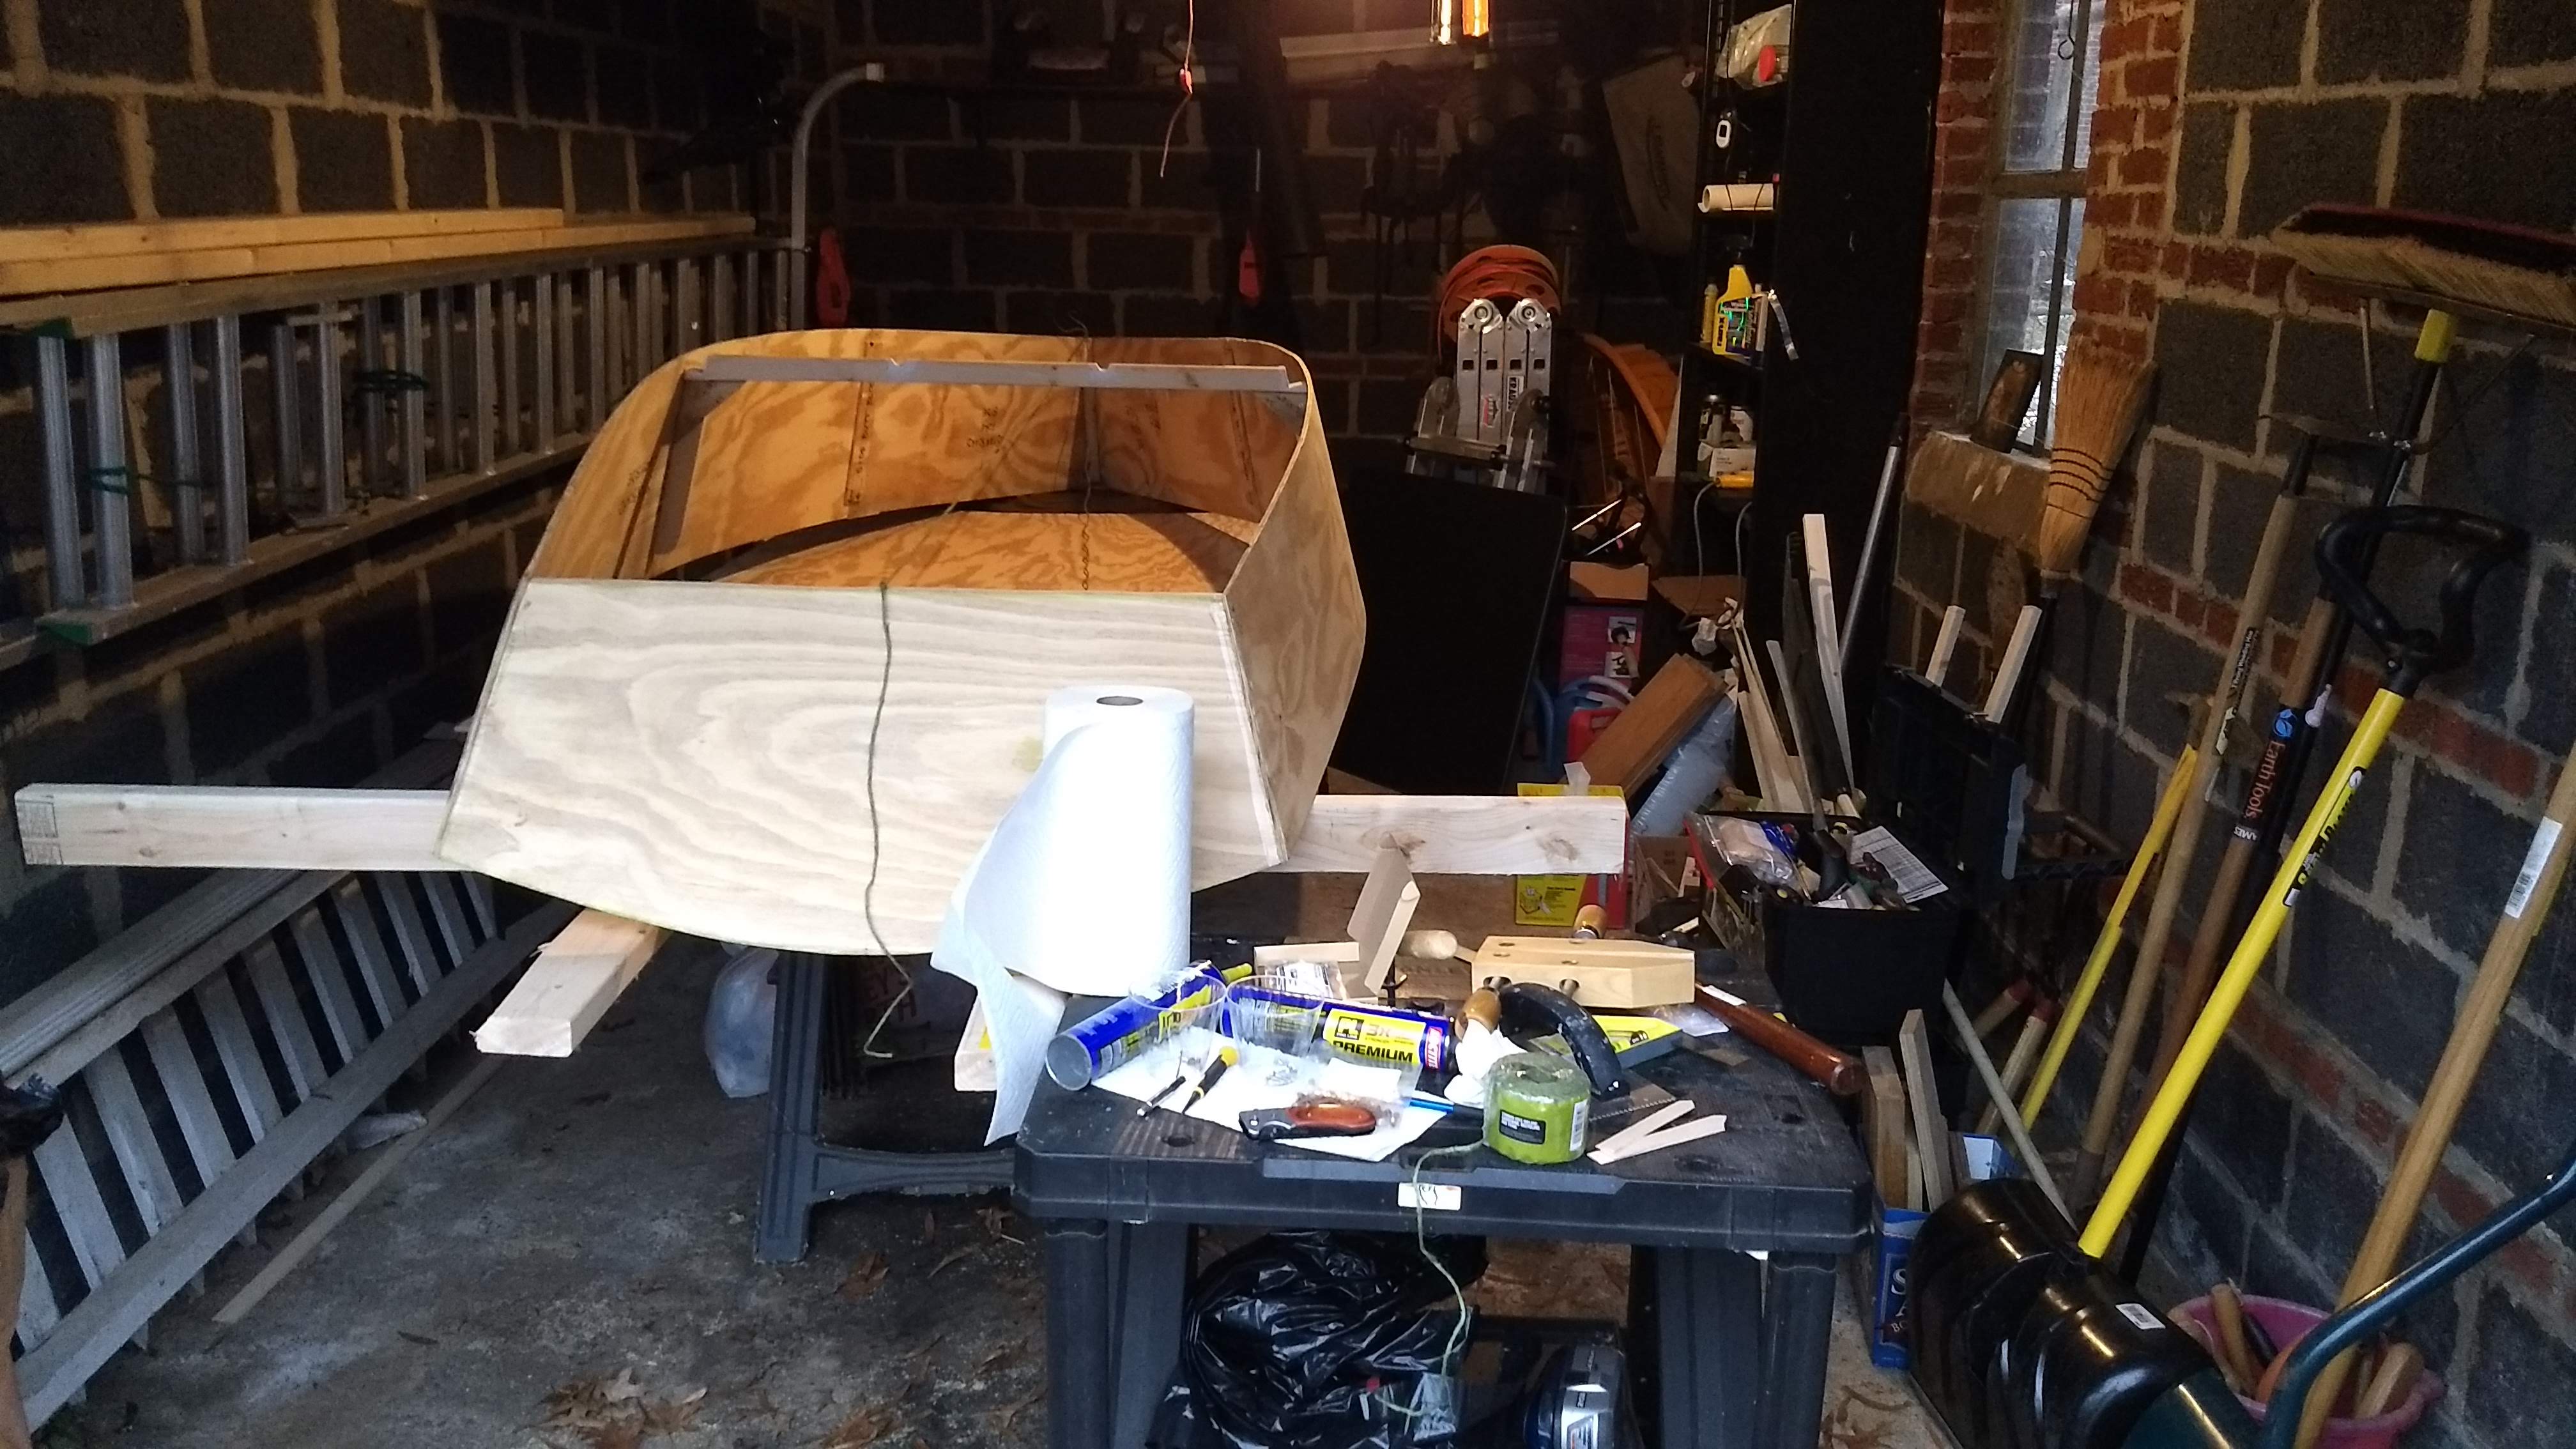
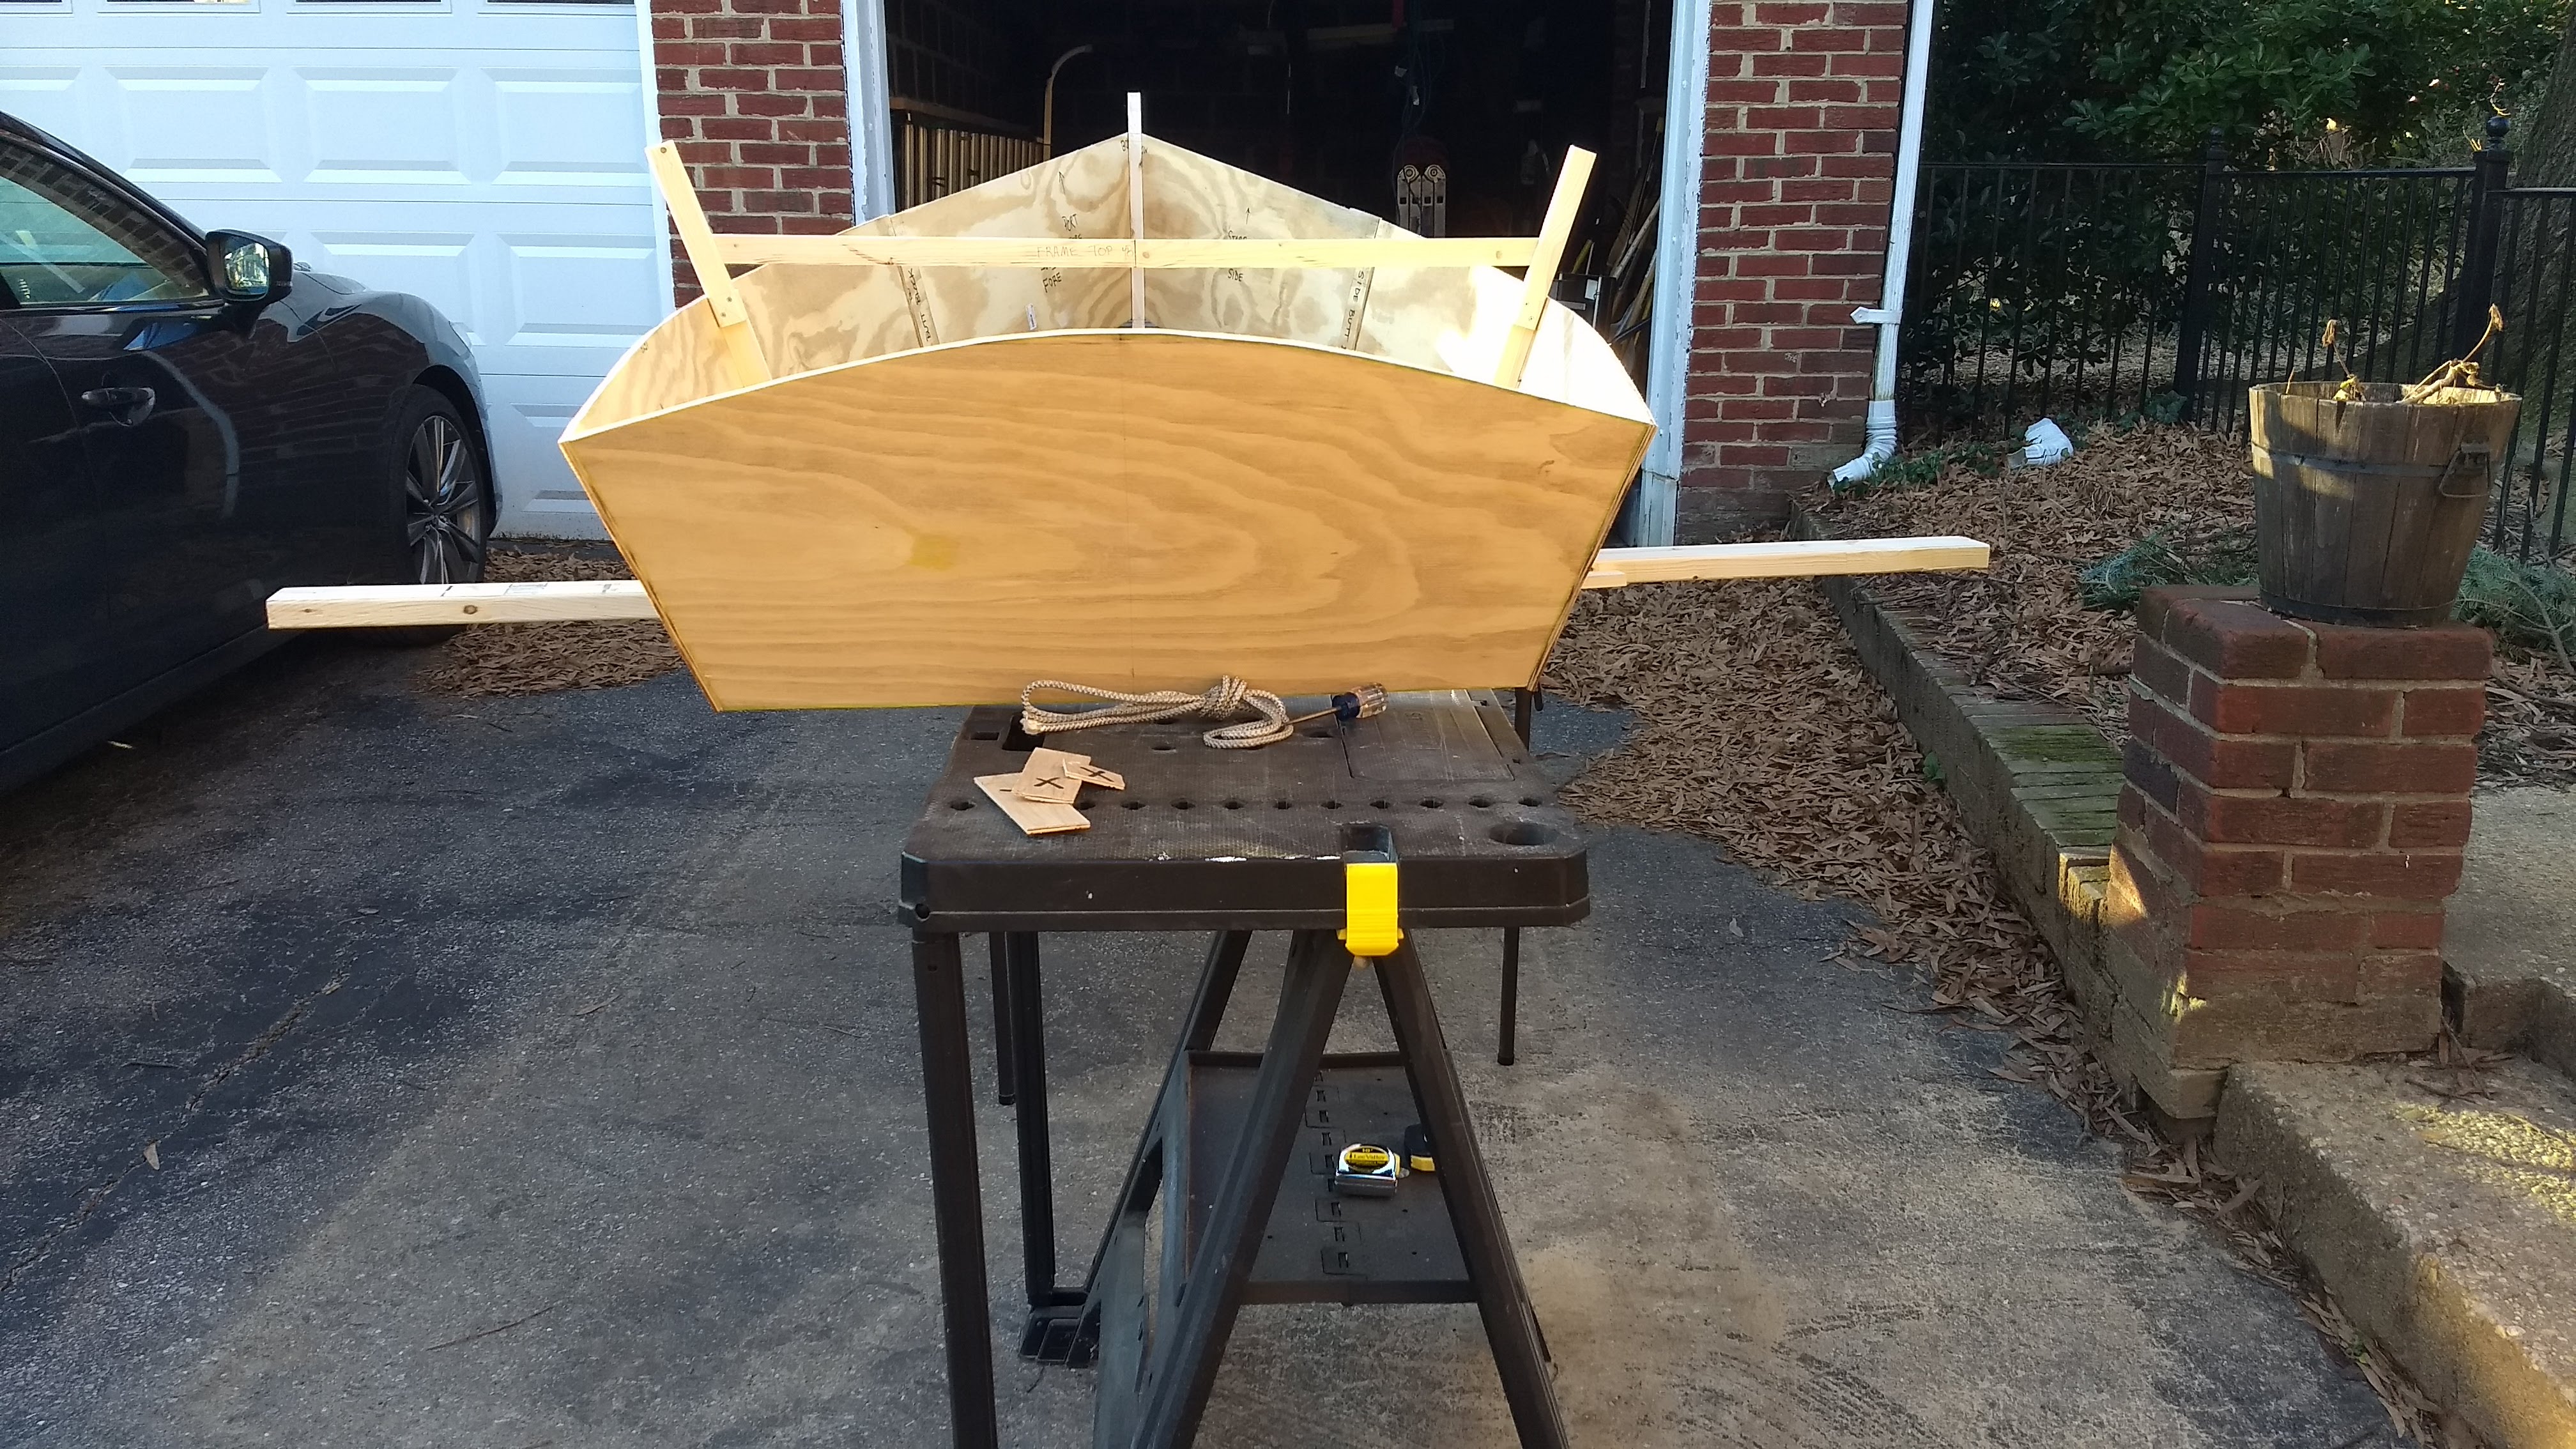
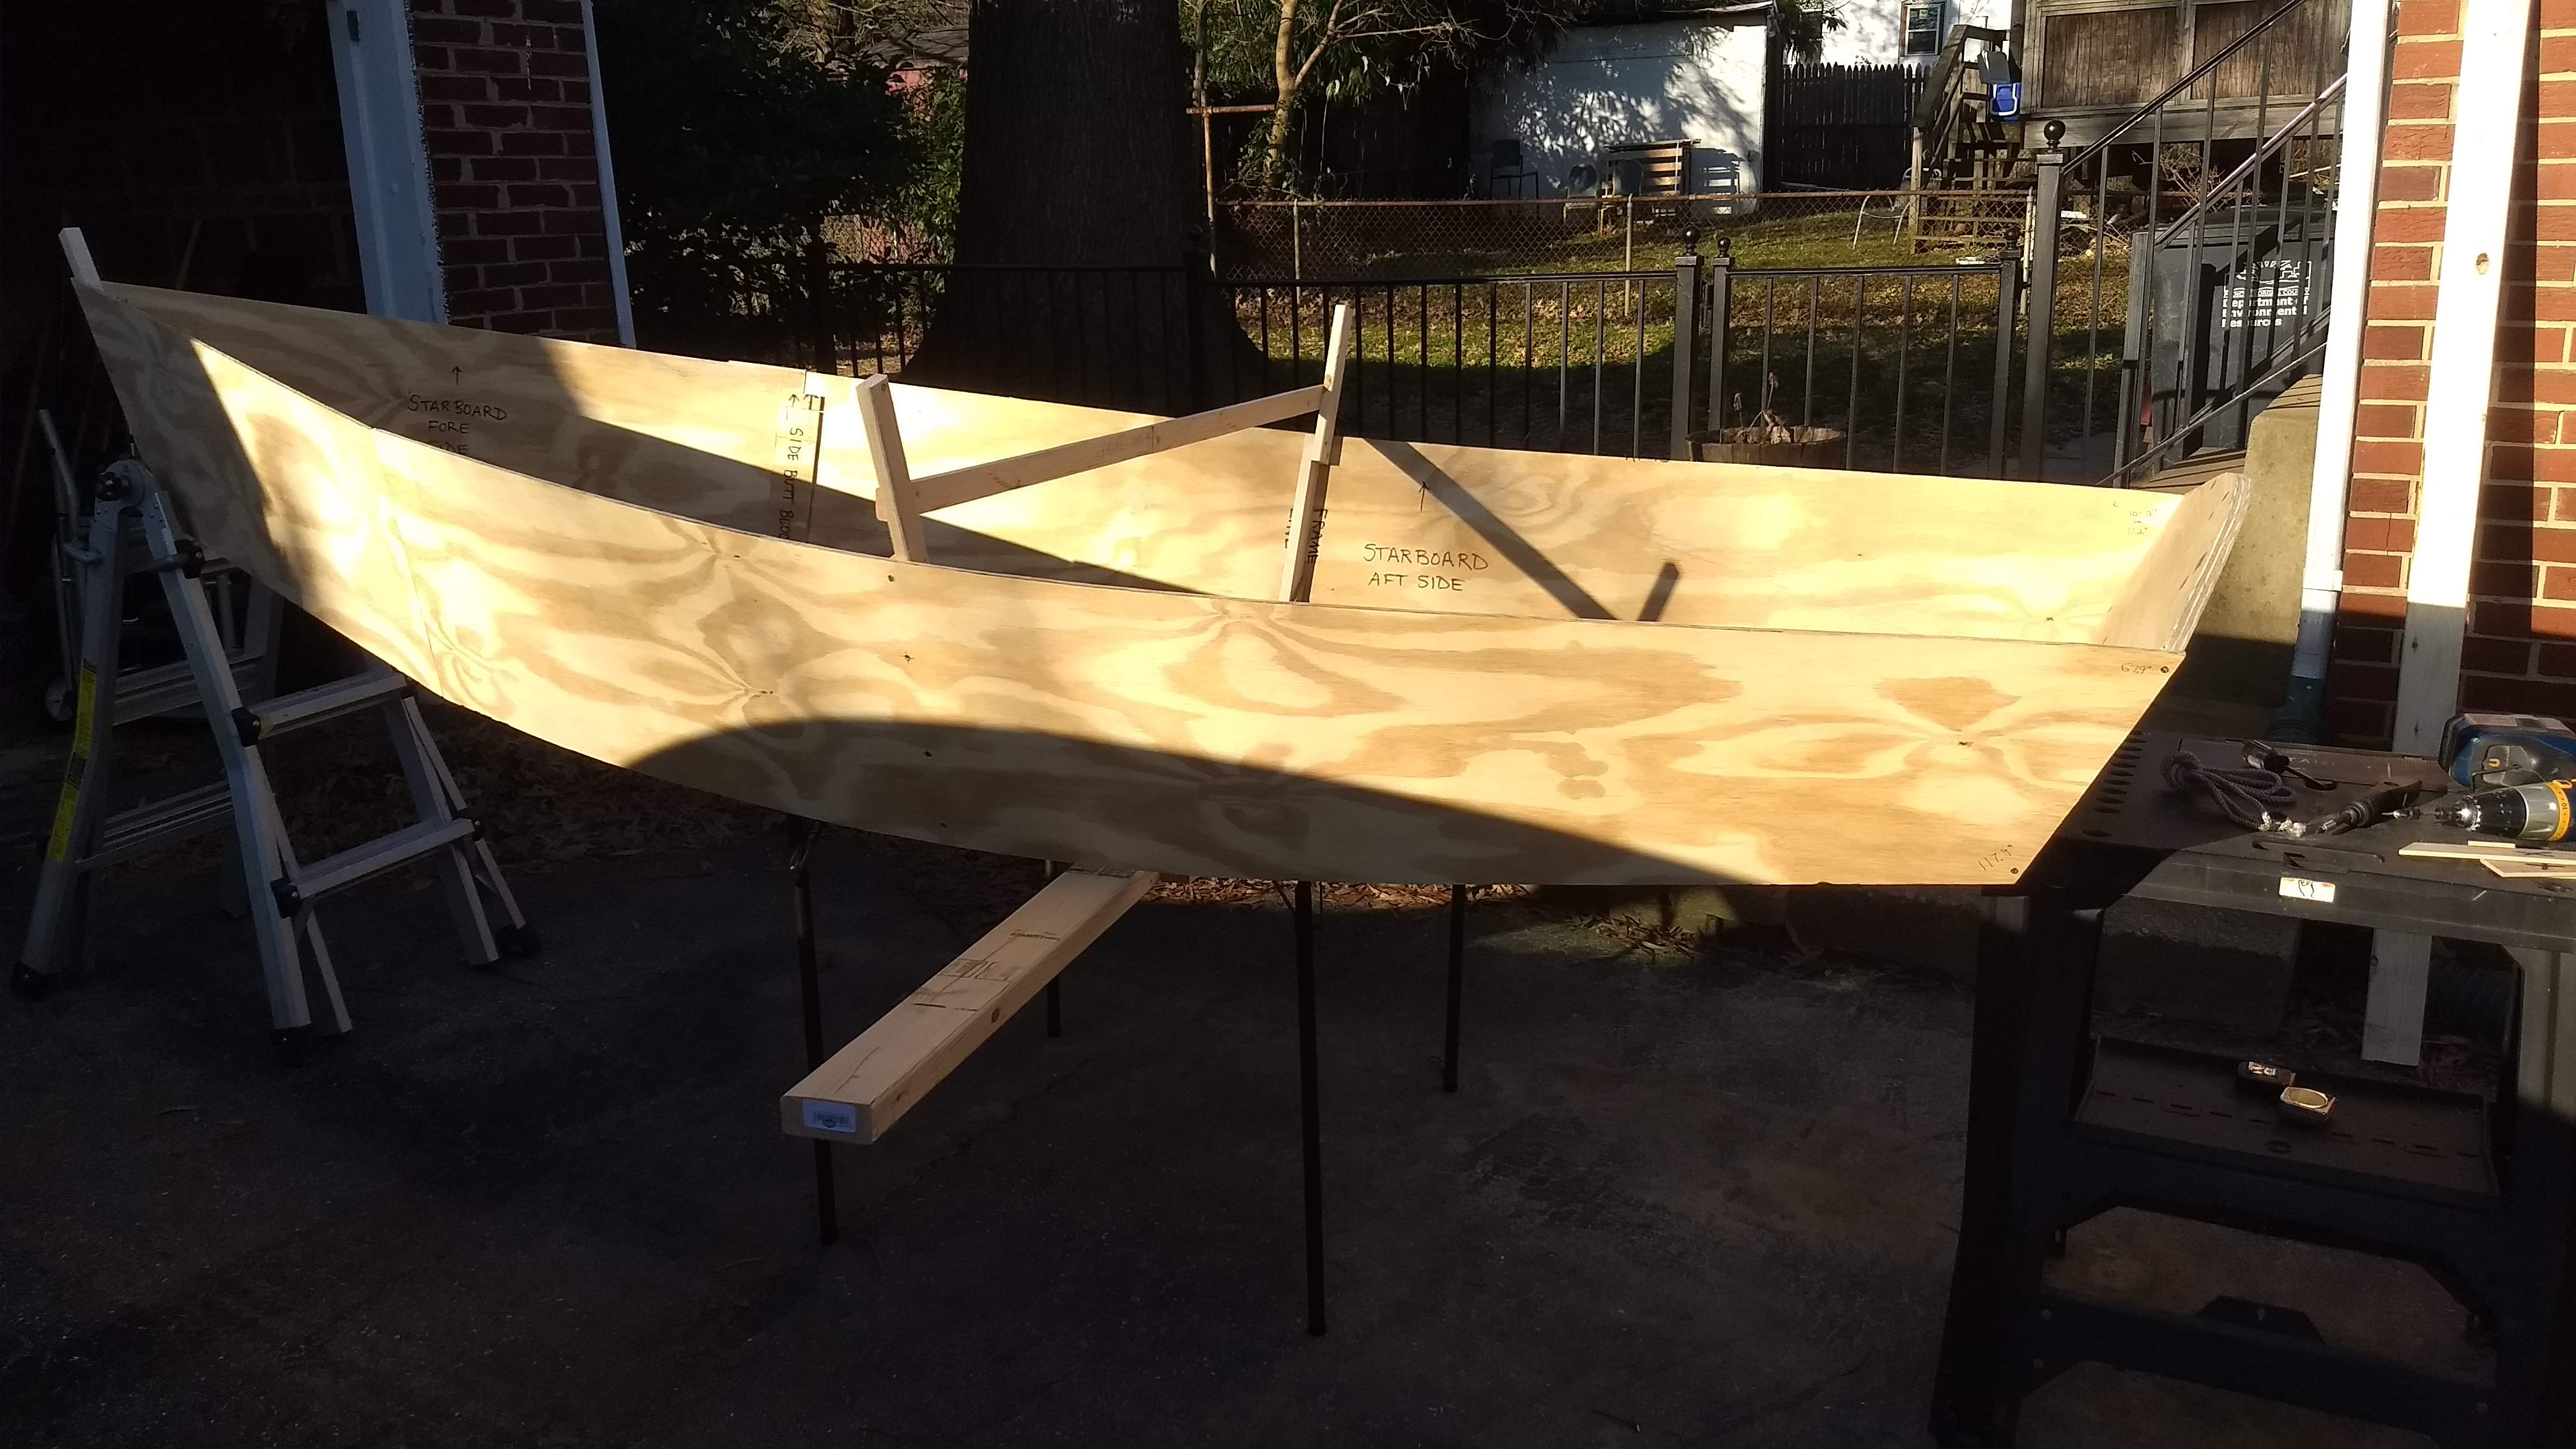
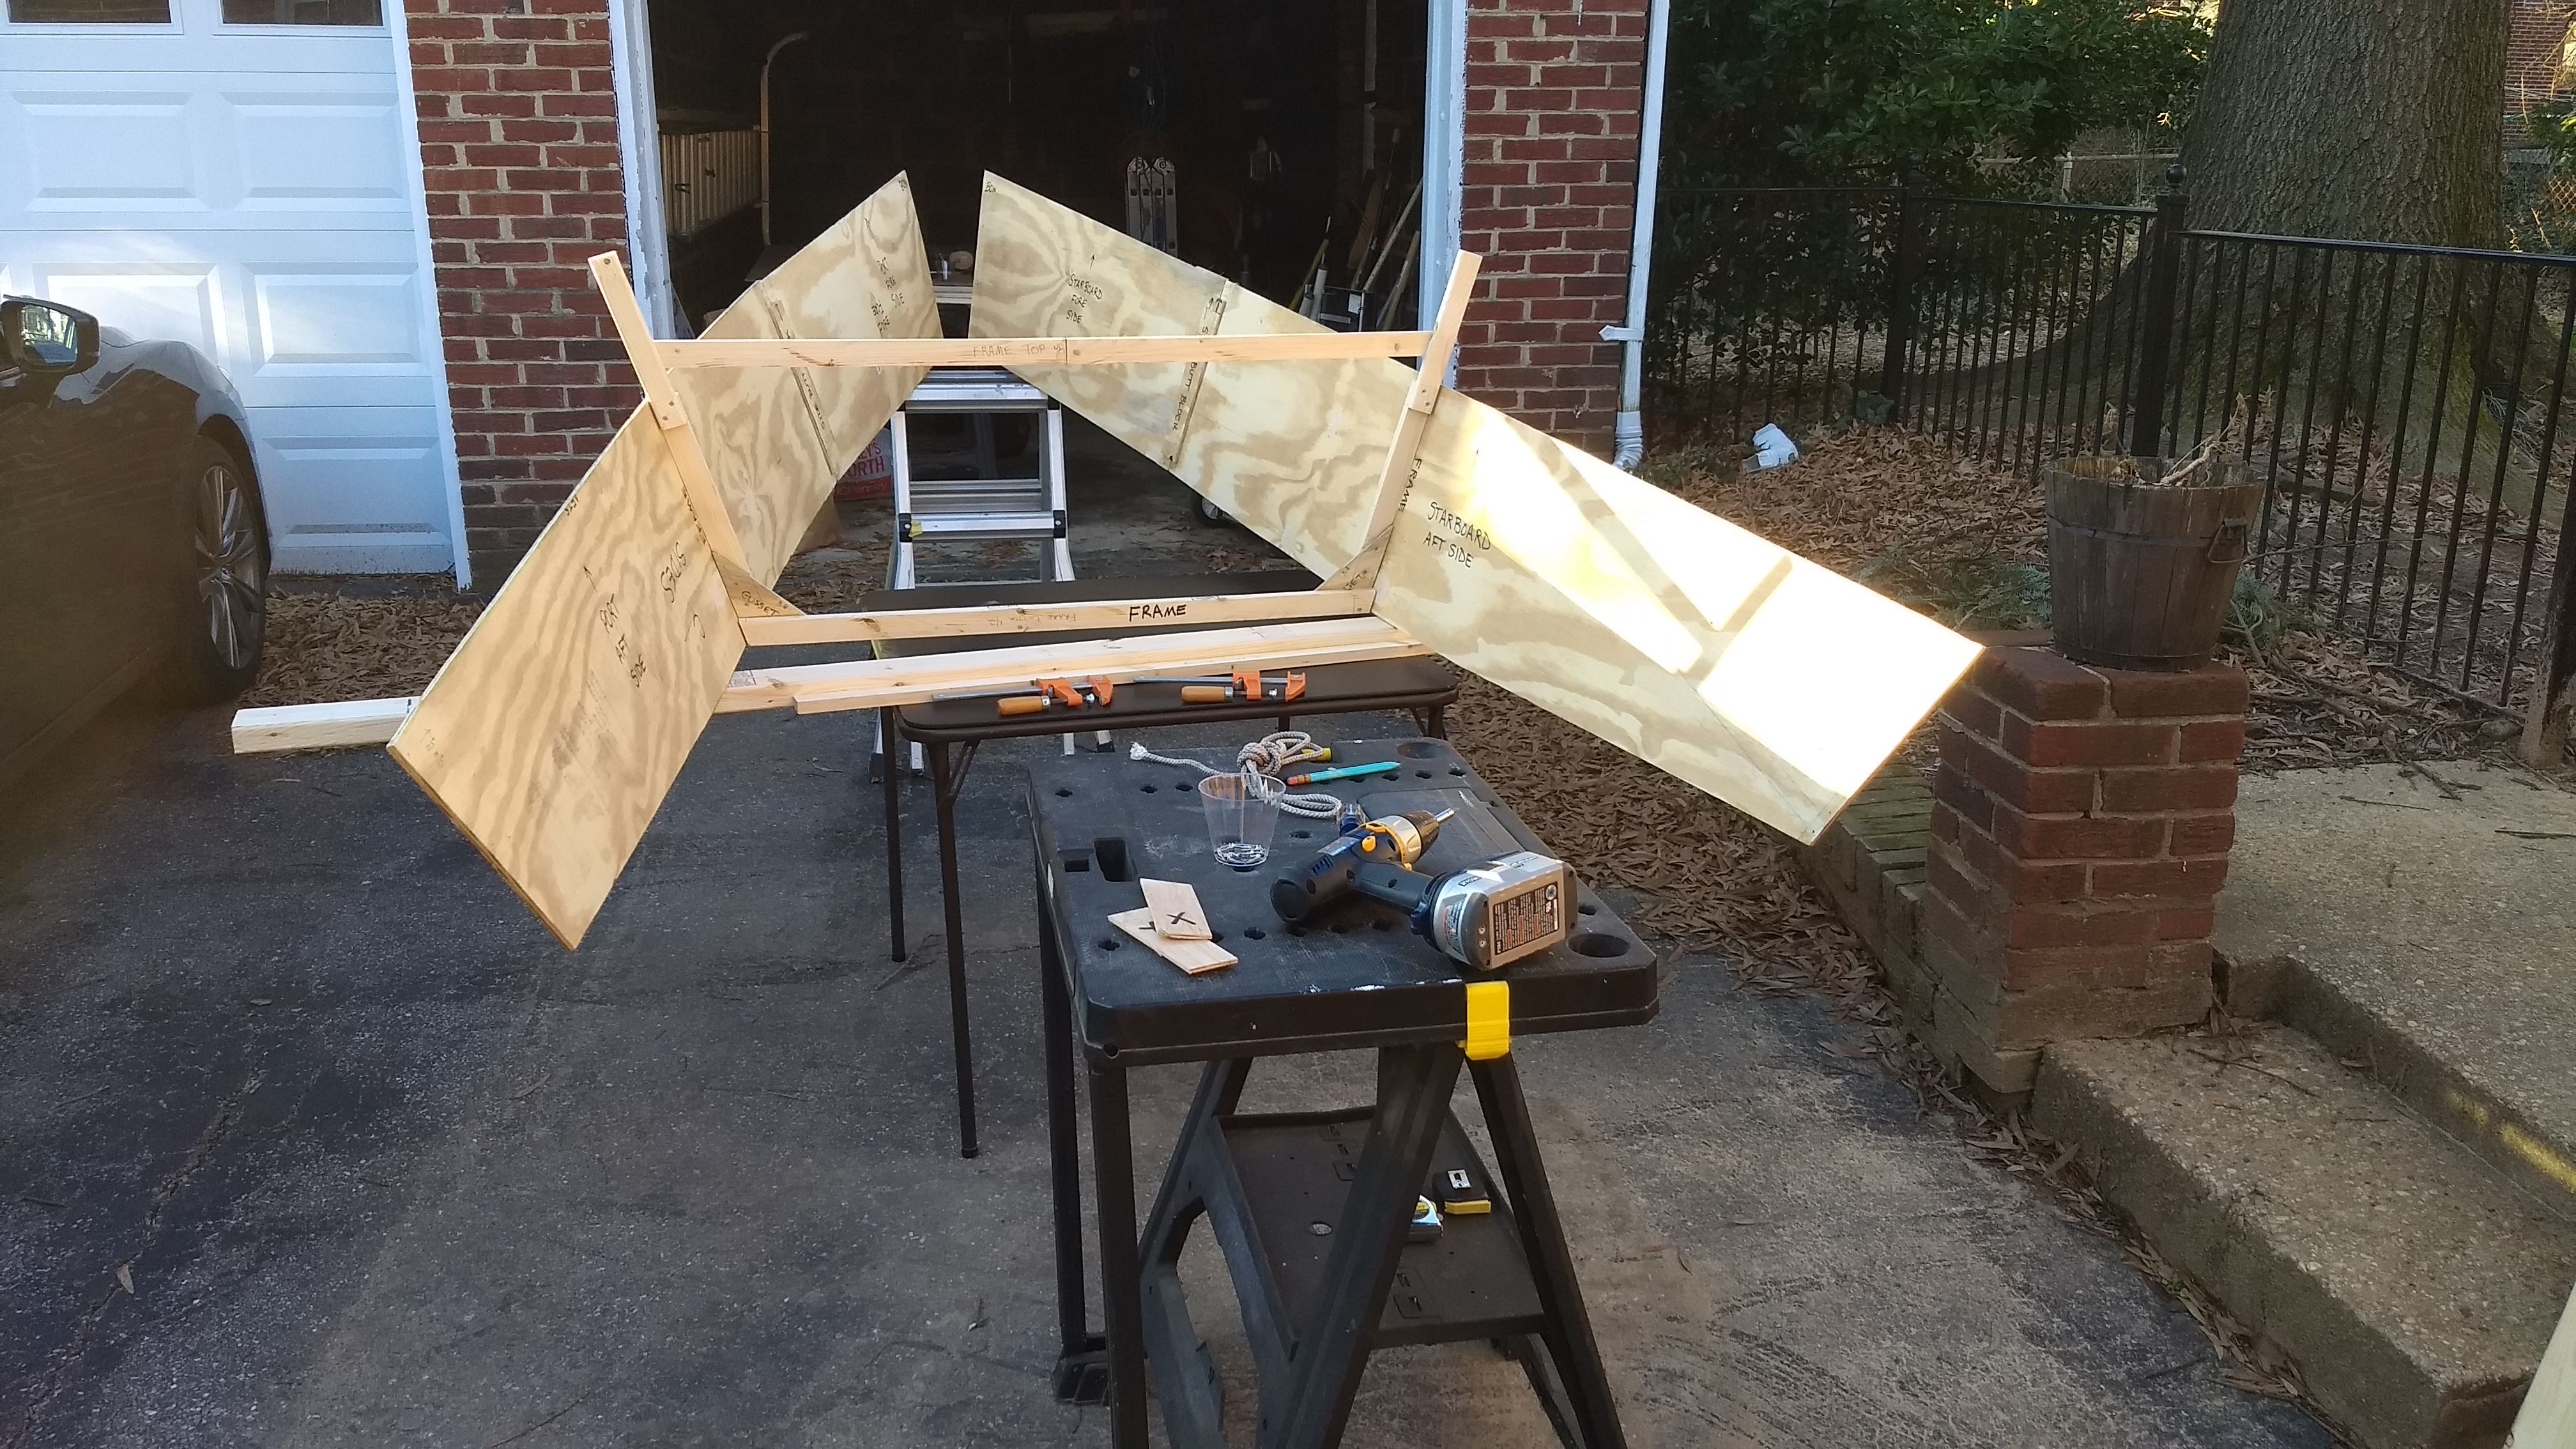
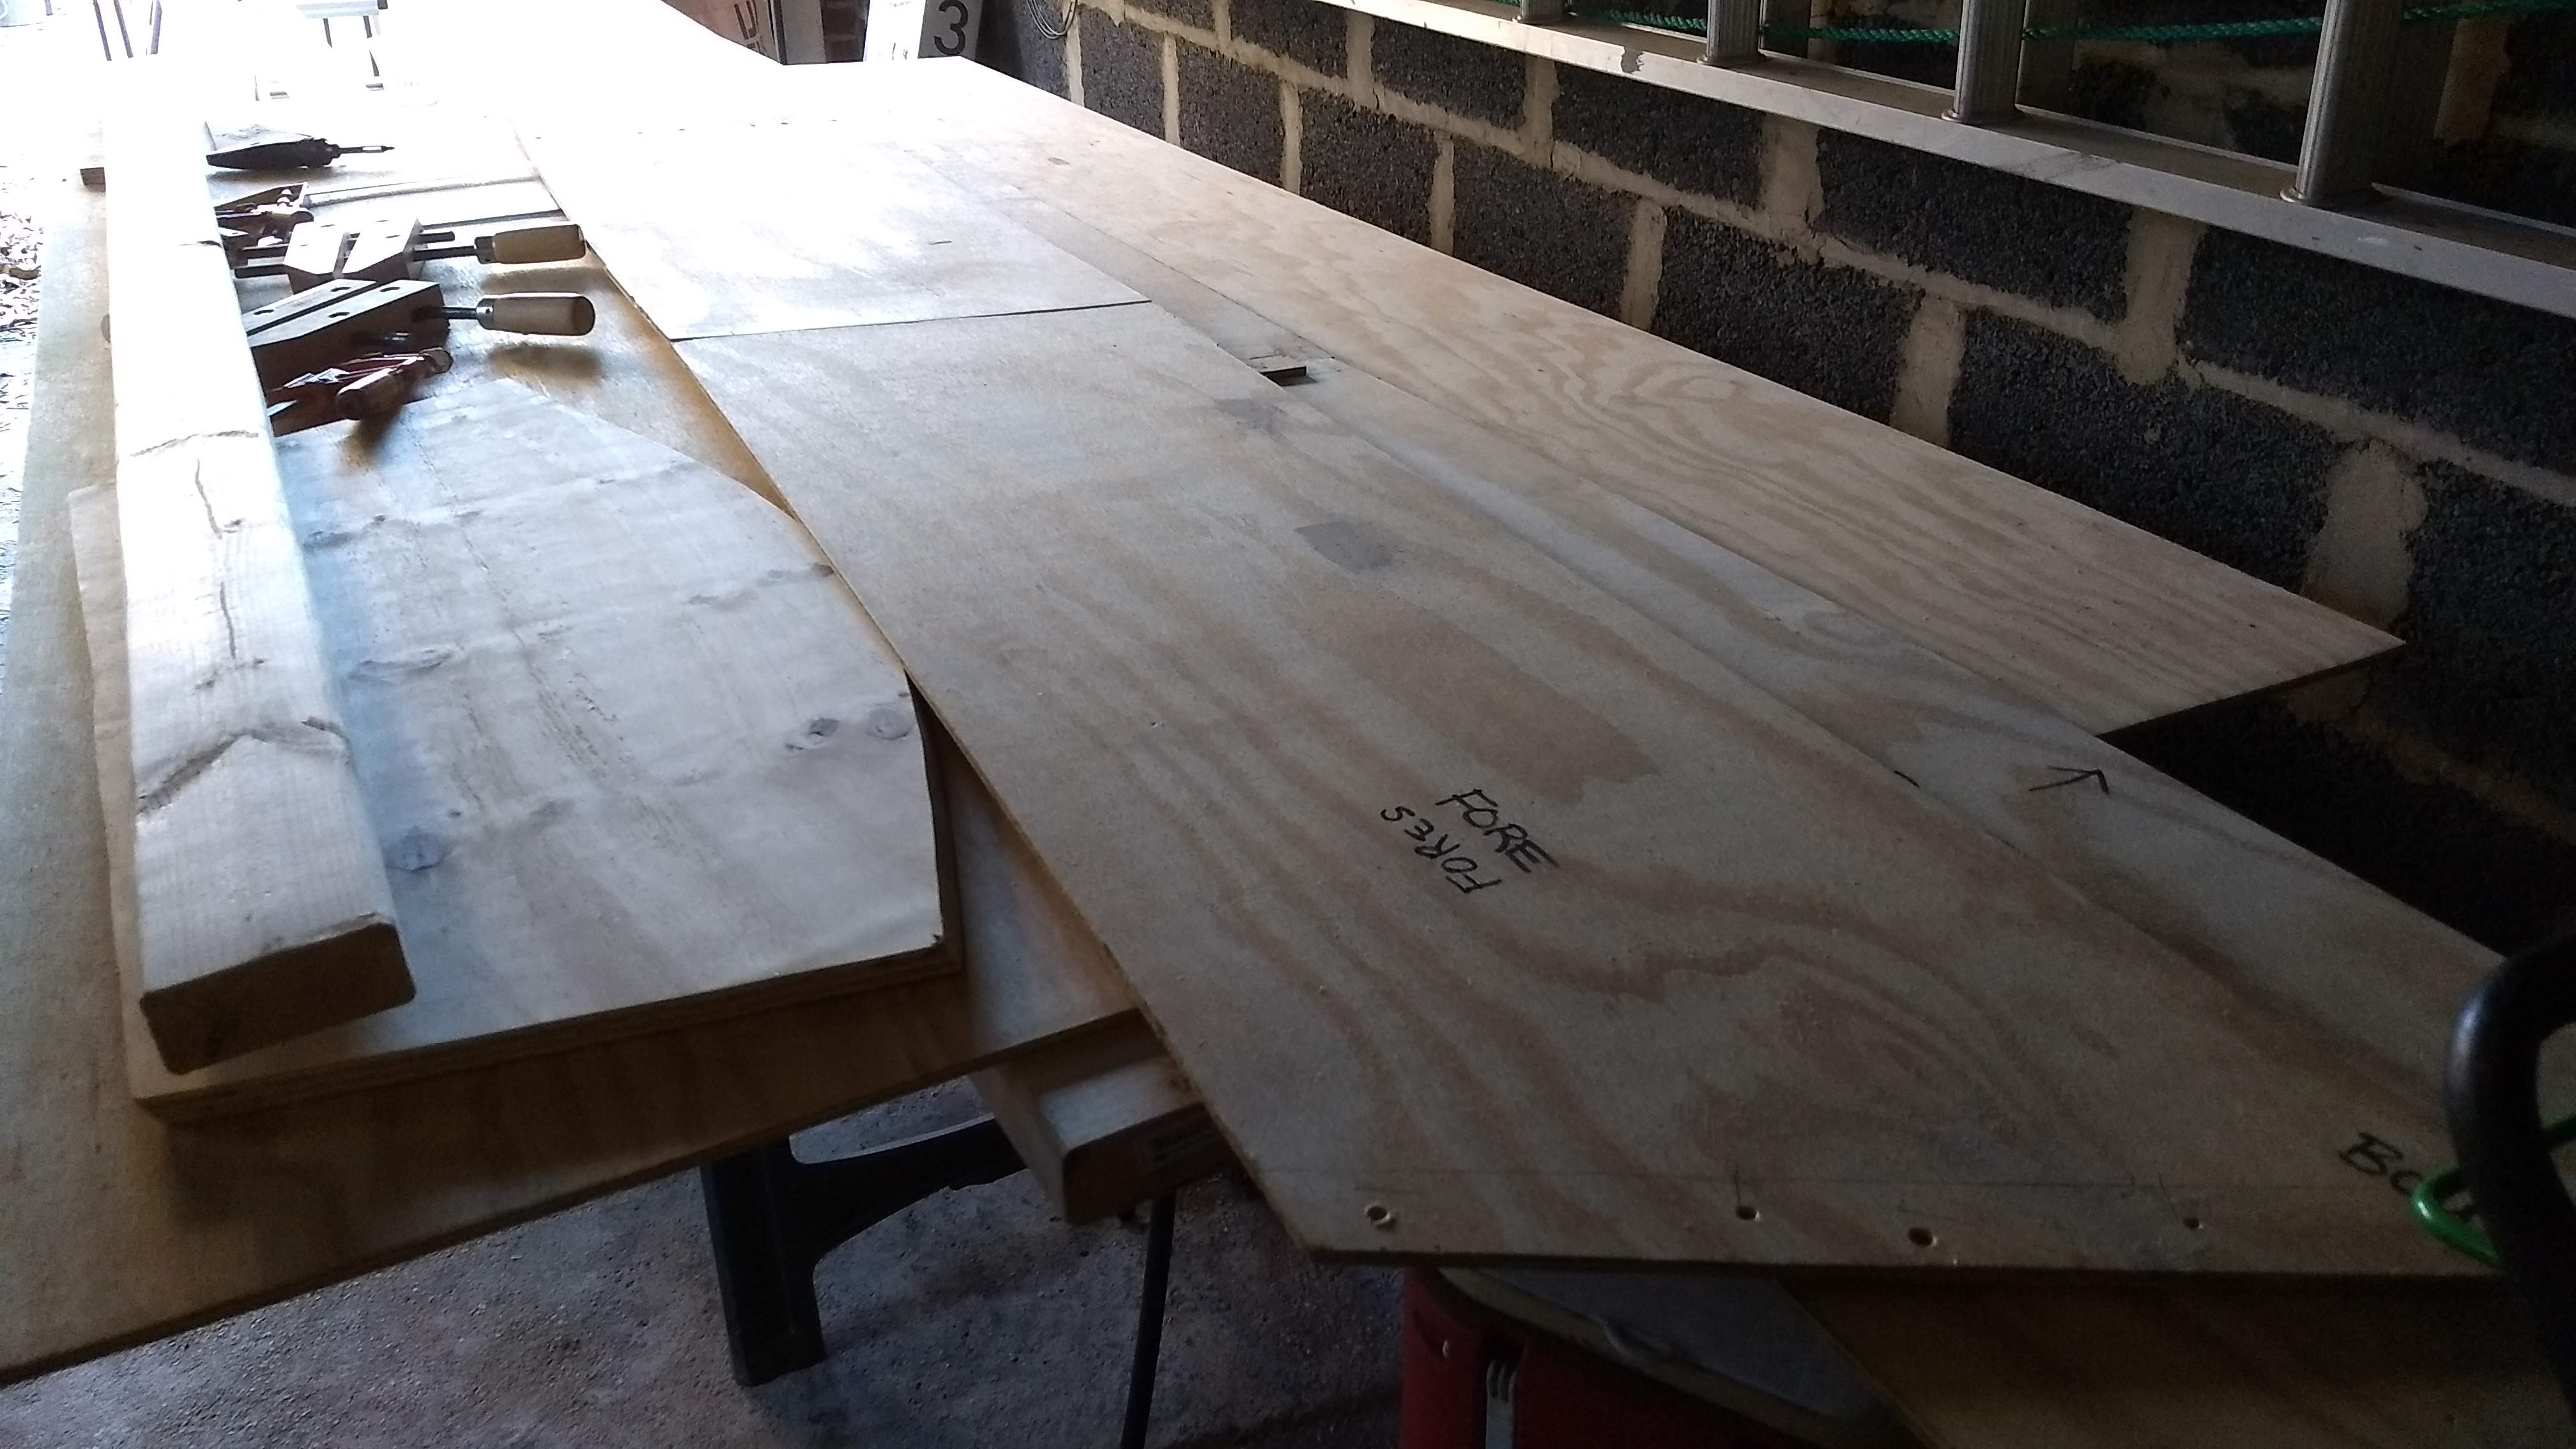
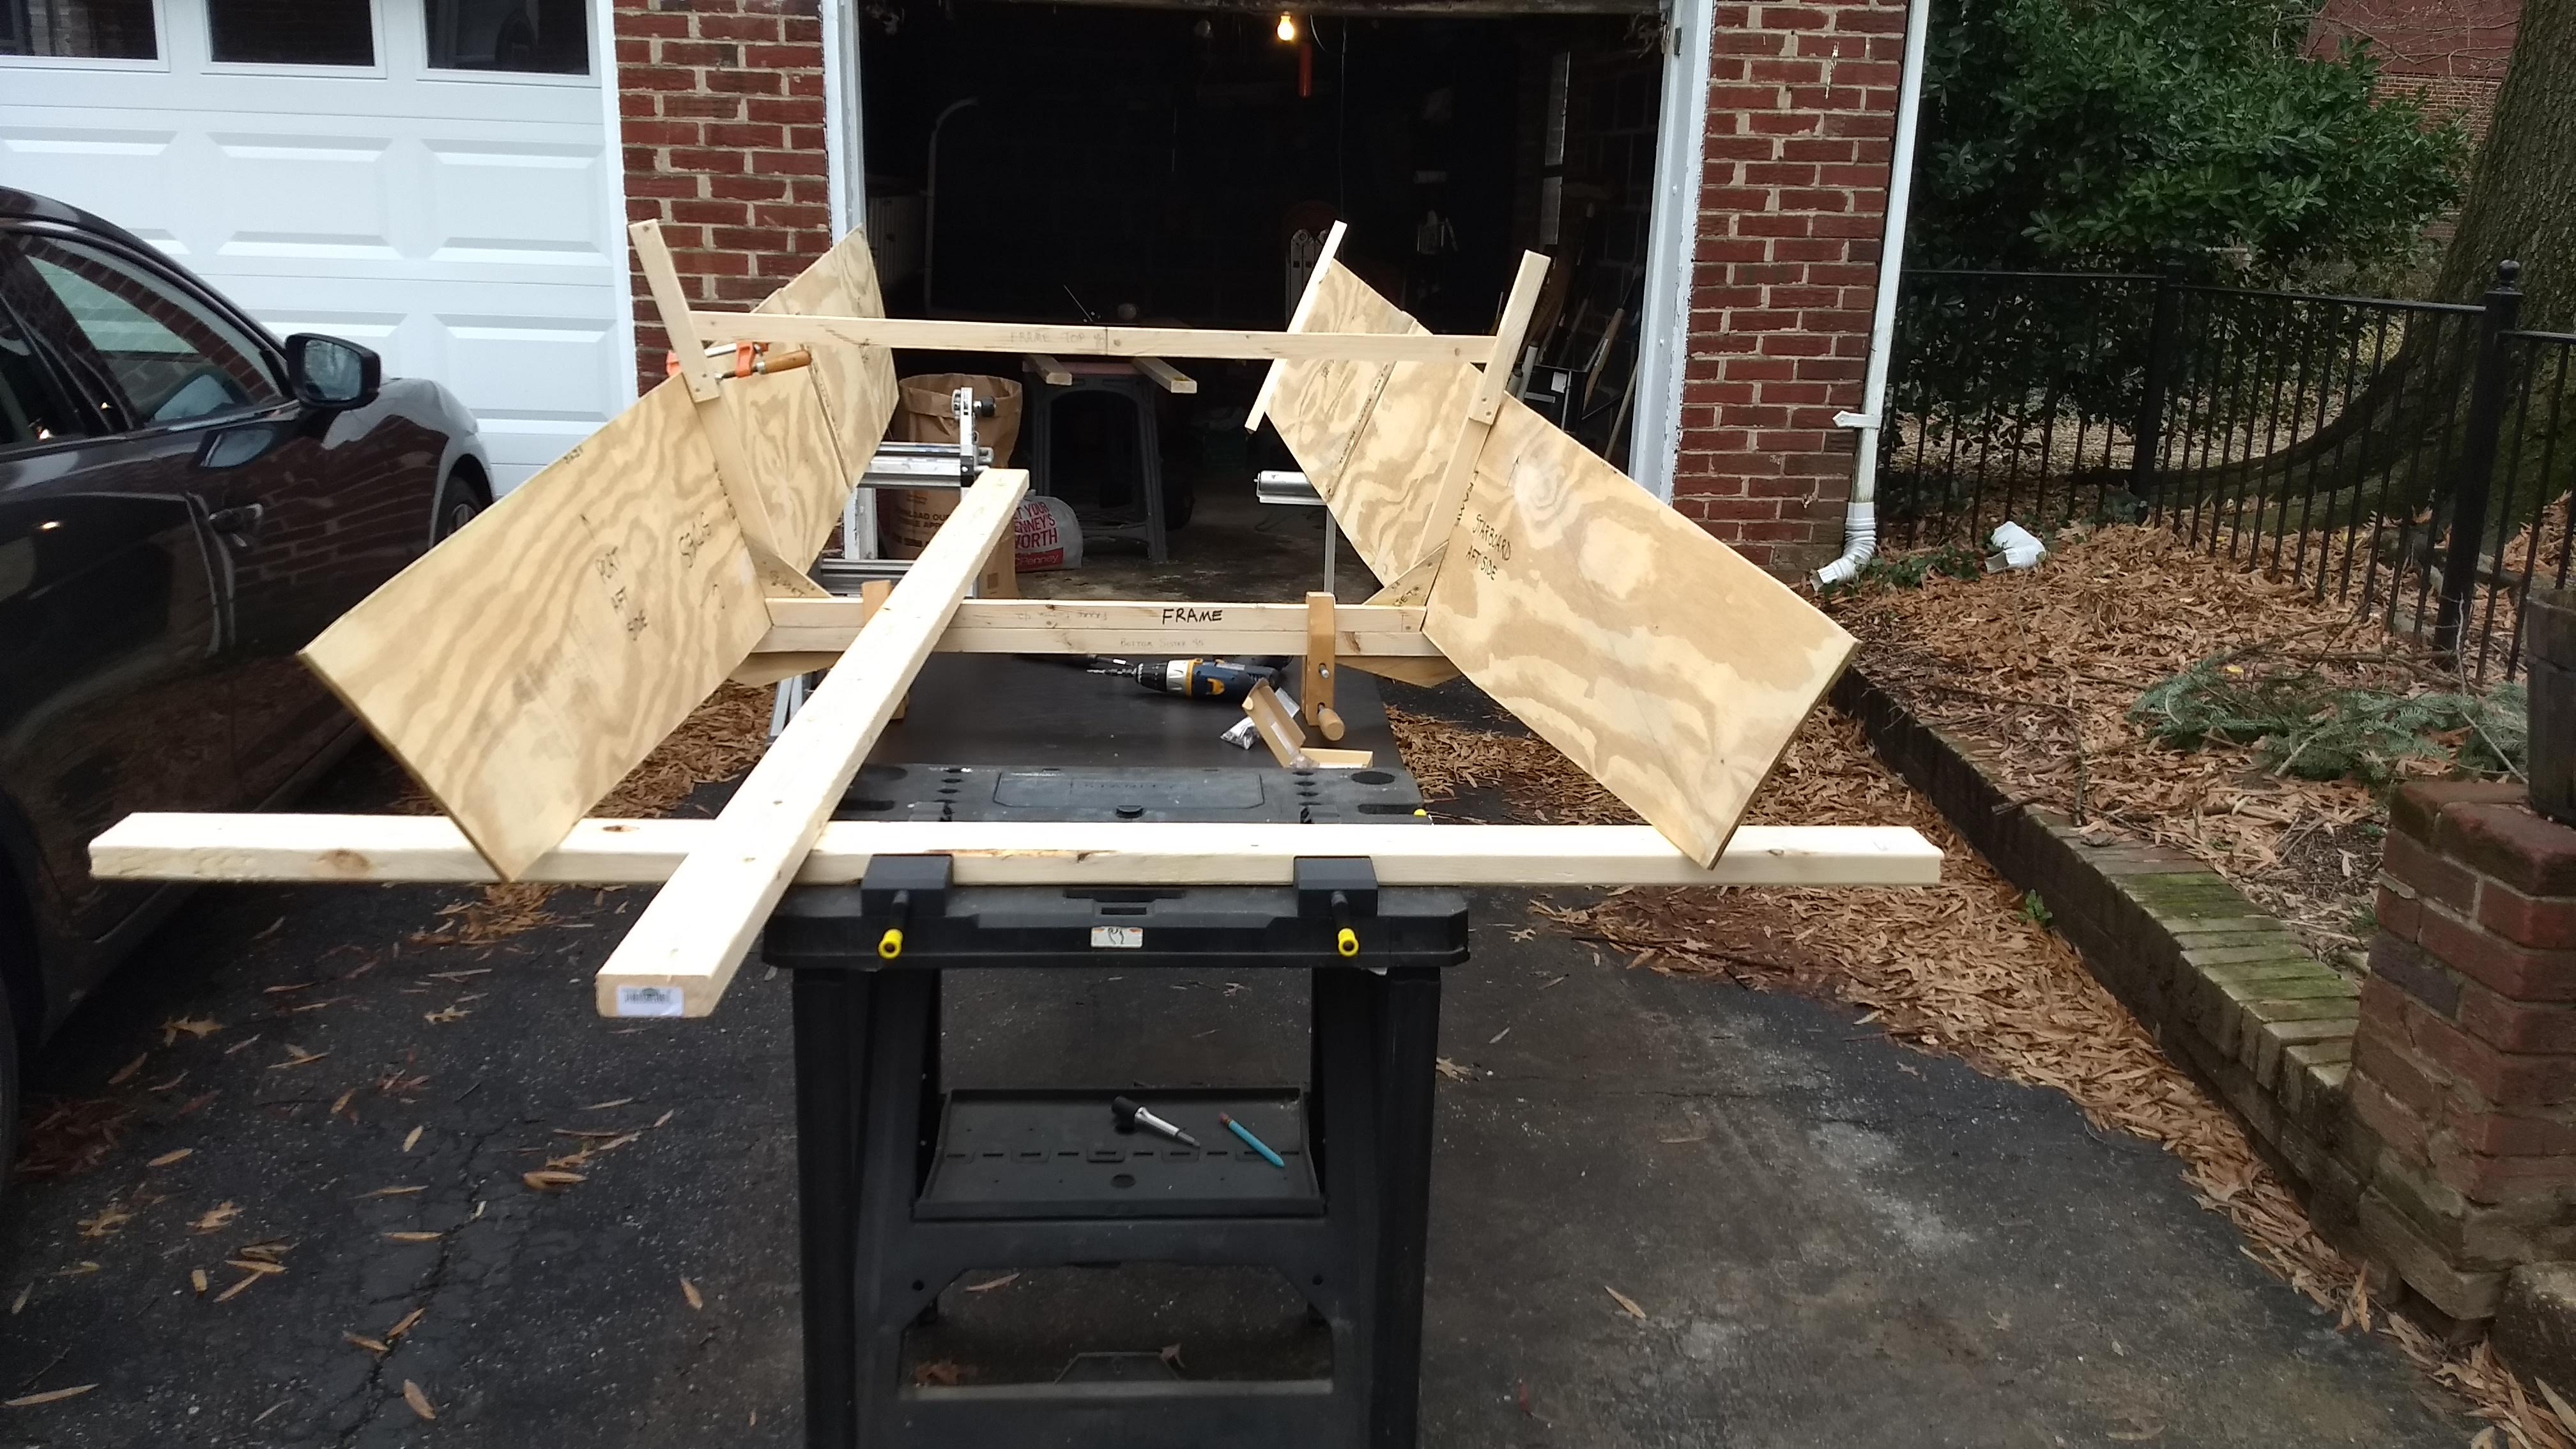
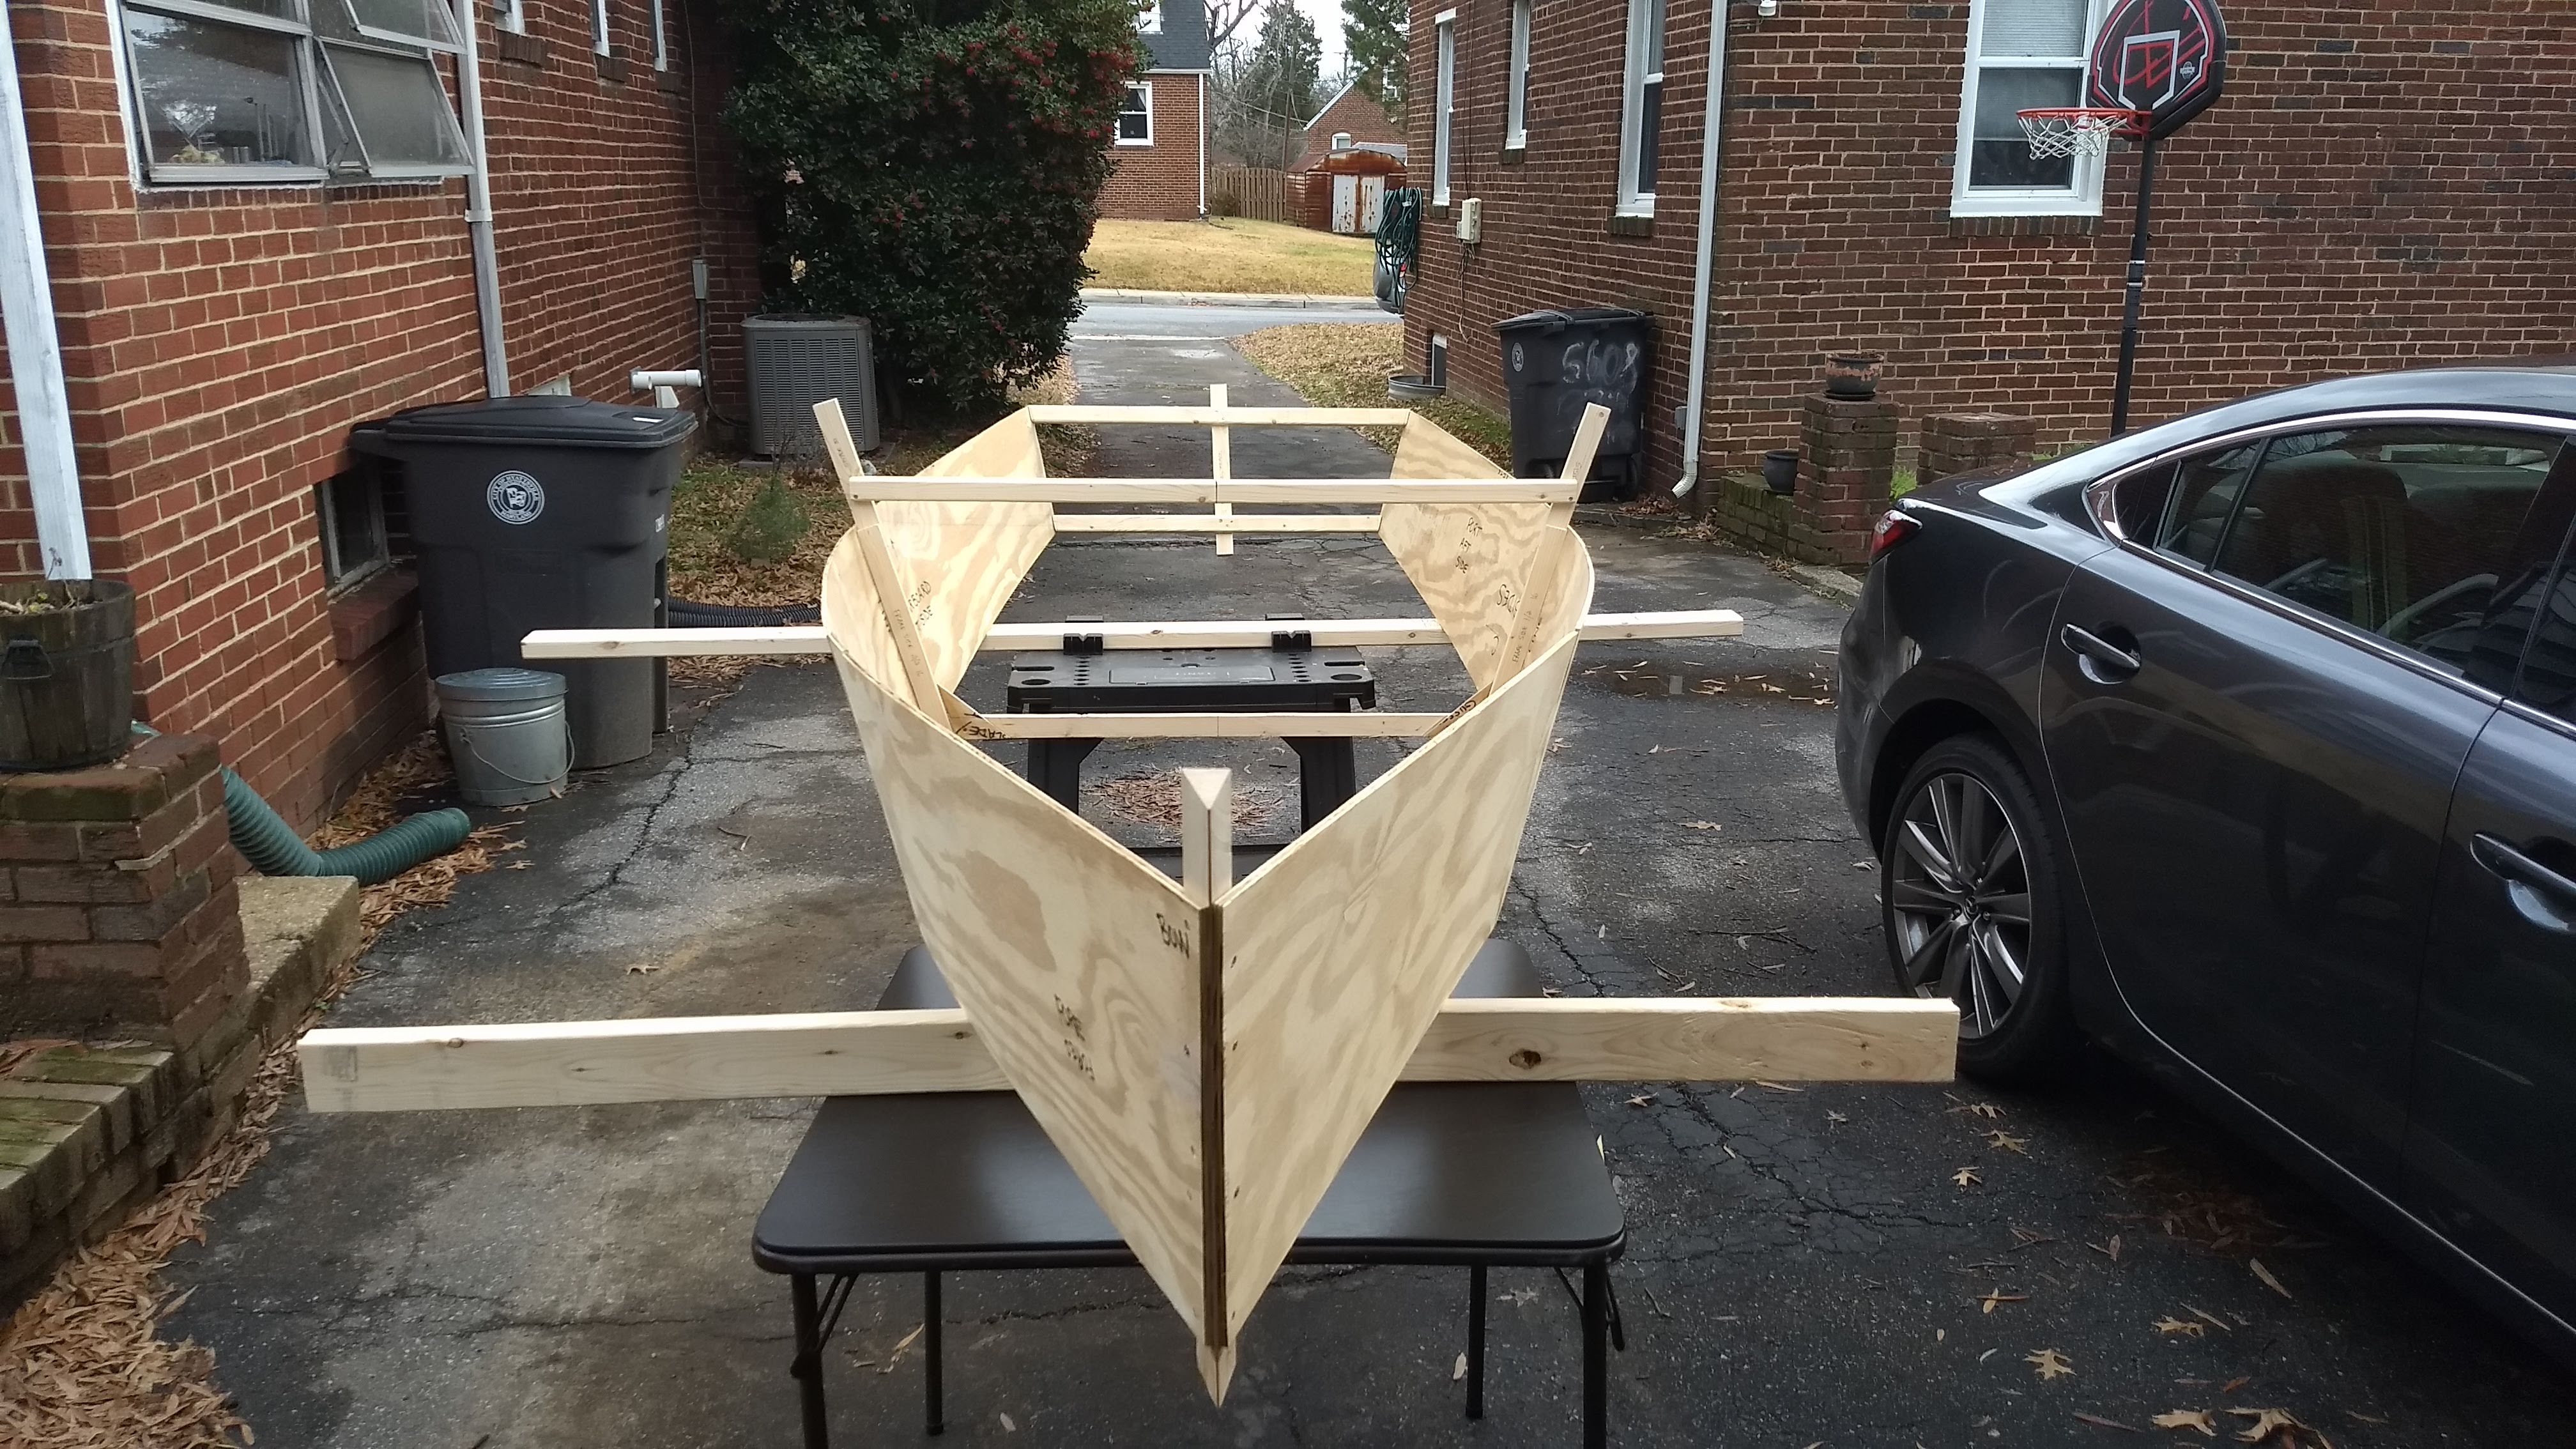
Moving the hull, which had been sitting on a temporary workbench made up of the second plywood sheet atop the 12′ 2×4s that I needed.

And, besides, the planer is in the basement workshop, and that also weighs 100 lbs. and is very much not portable. It’s hard enough just moving it onto a workbench.

So with the stock in the basement, it was time to start cutting. And there’s where my first problem arose, which was the length of the lumber. I needed 12′ on the one side to feed the stock into the saw, and I needed another 12′ on the other side to complete the cut. I hadn’t appreciated before that I would need 24′ of room just to work. Luckily, the basement is 30′ long, so I had just enough room to work.
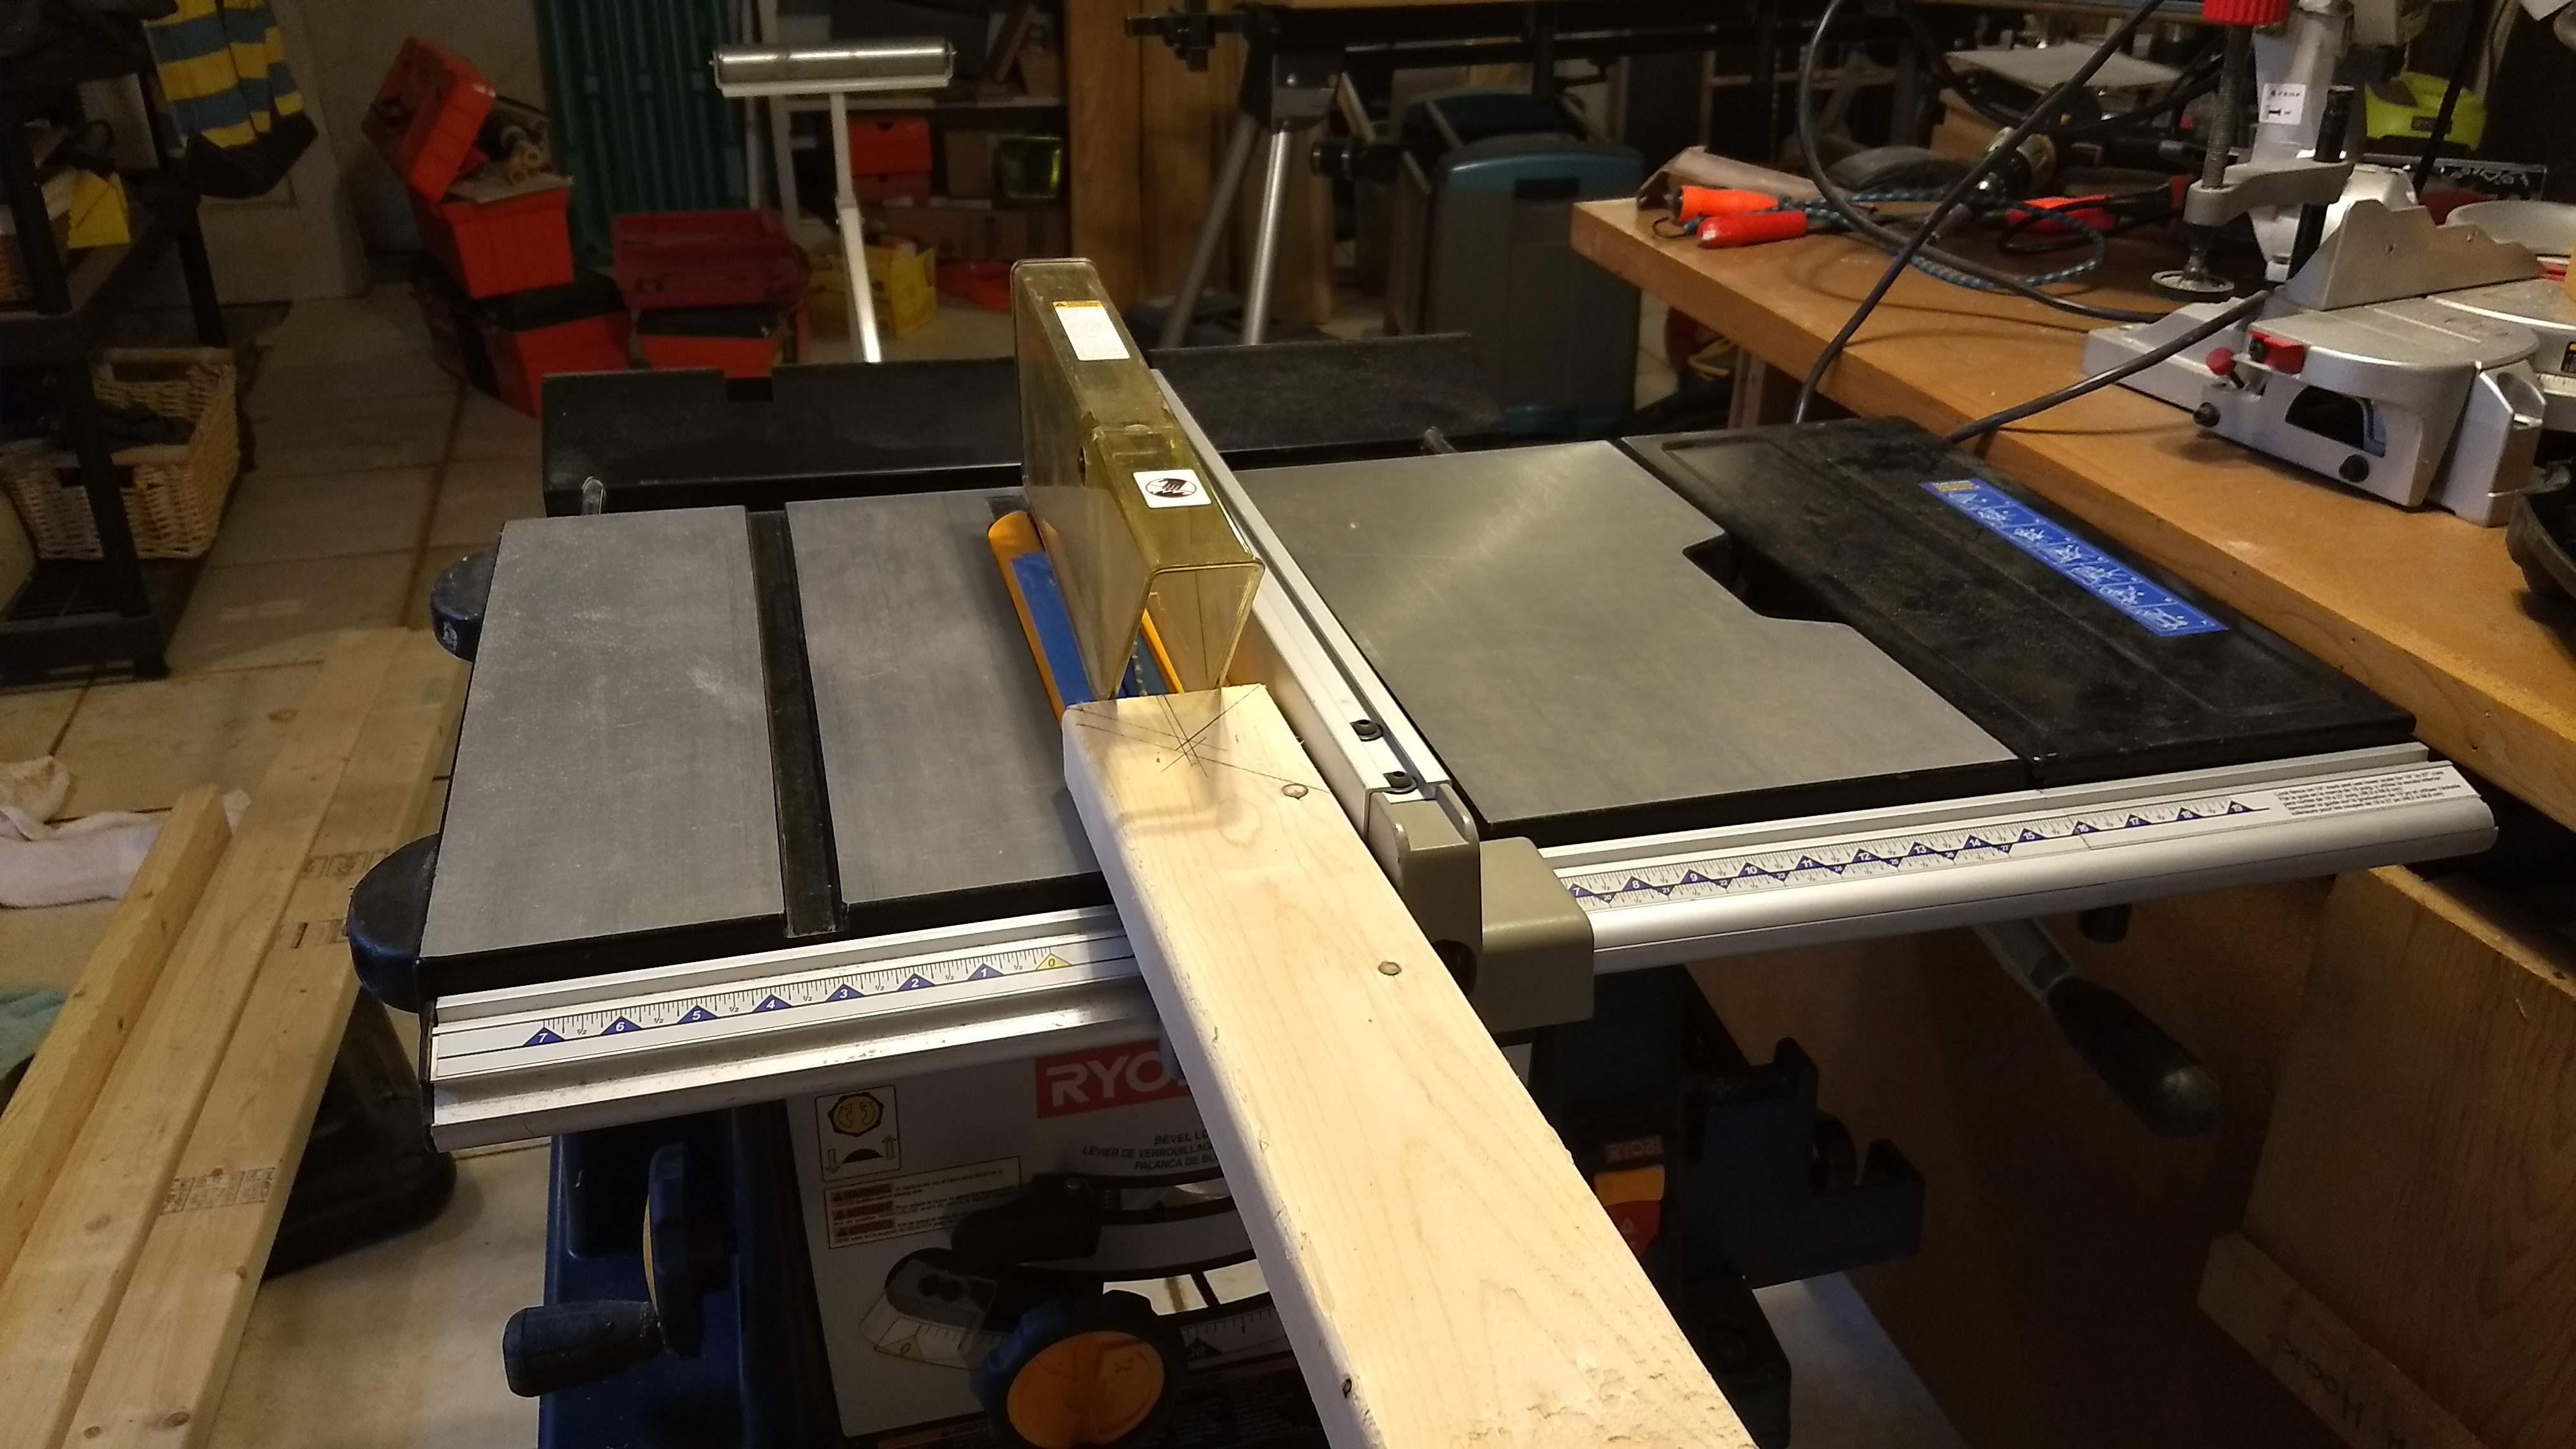
Starting the first cut. Note the roller stand halfway to the far wall to catch the extra-long stock.

Barely, since it meant that the washing machine served as an infeed table. But, hey, whatever works.
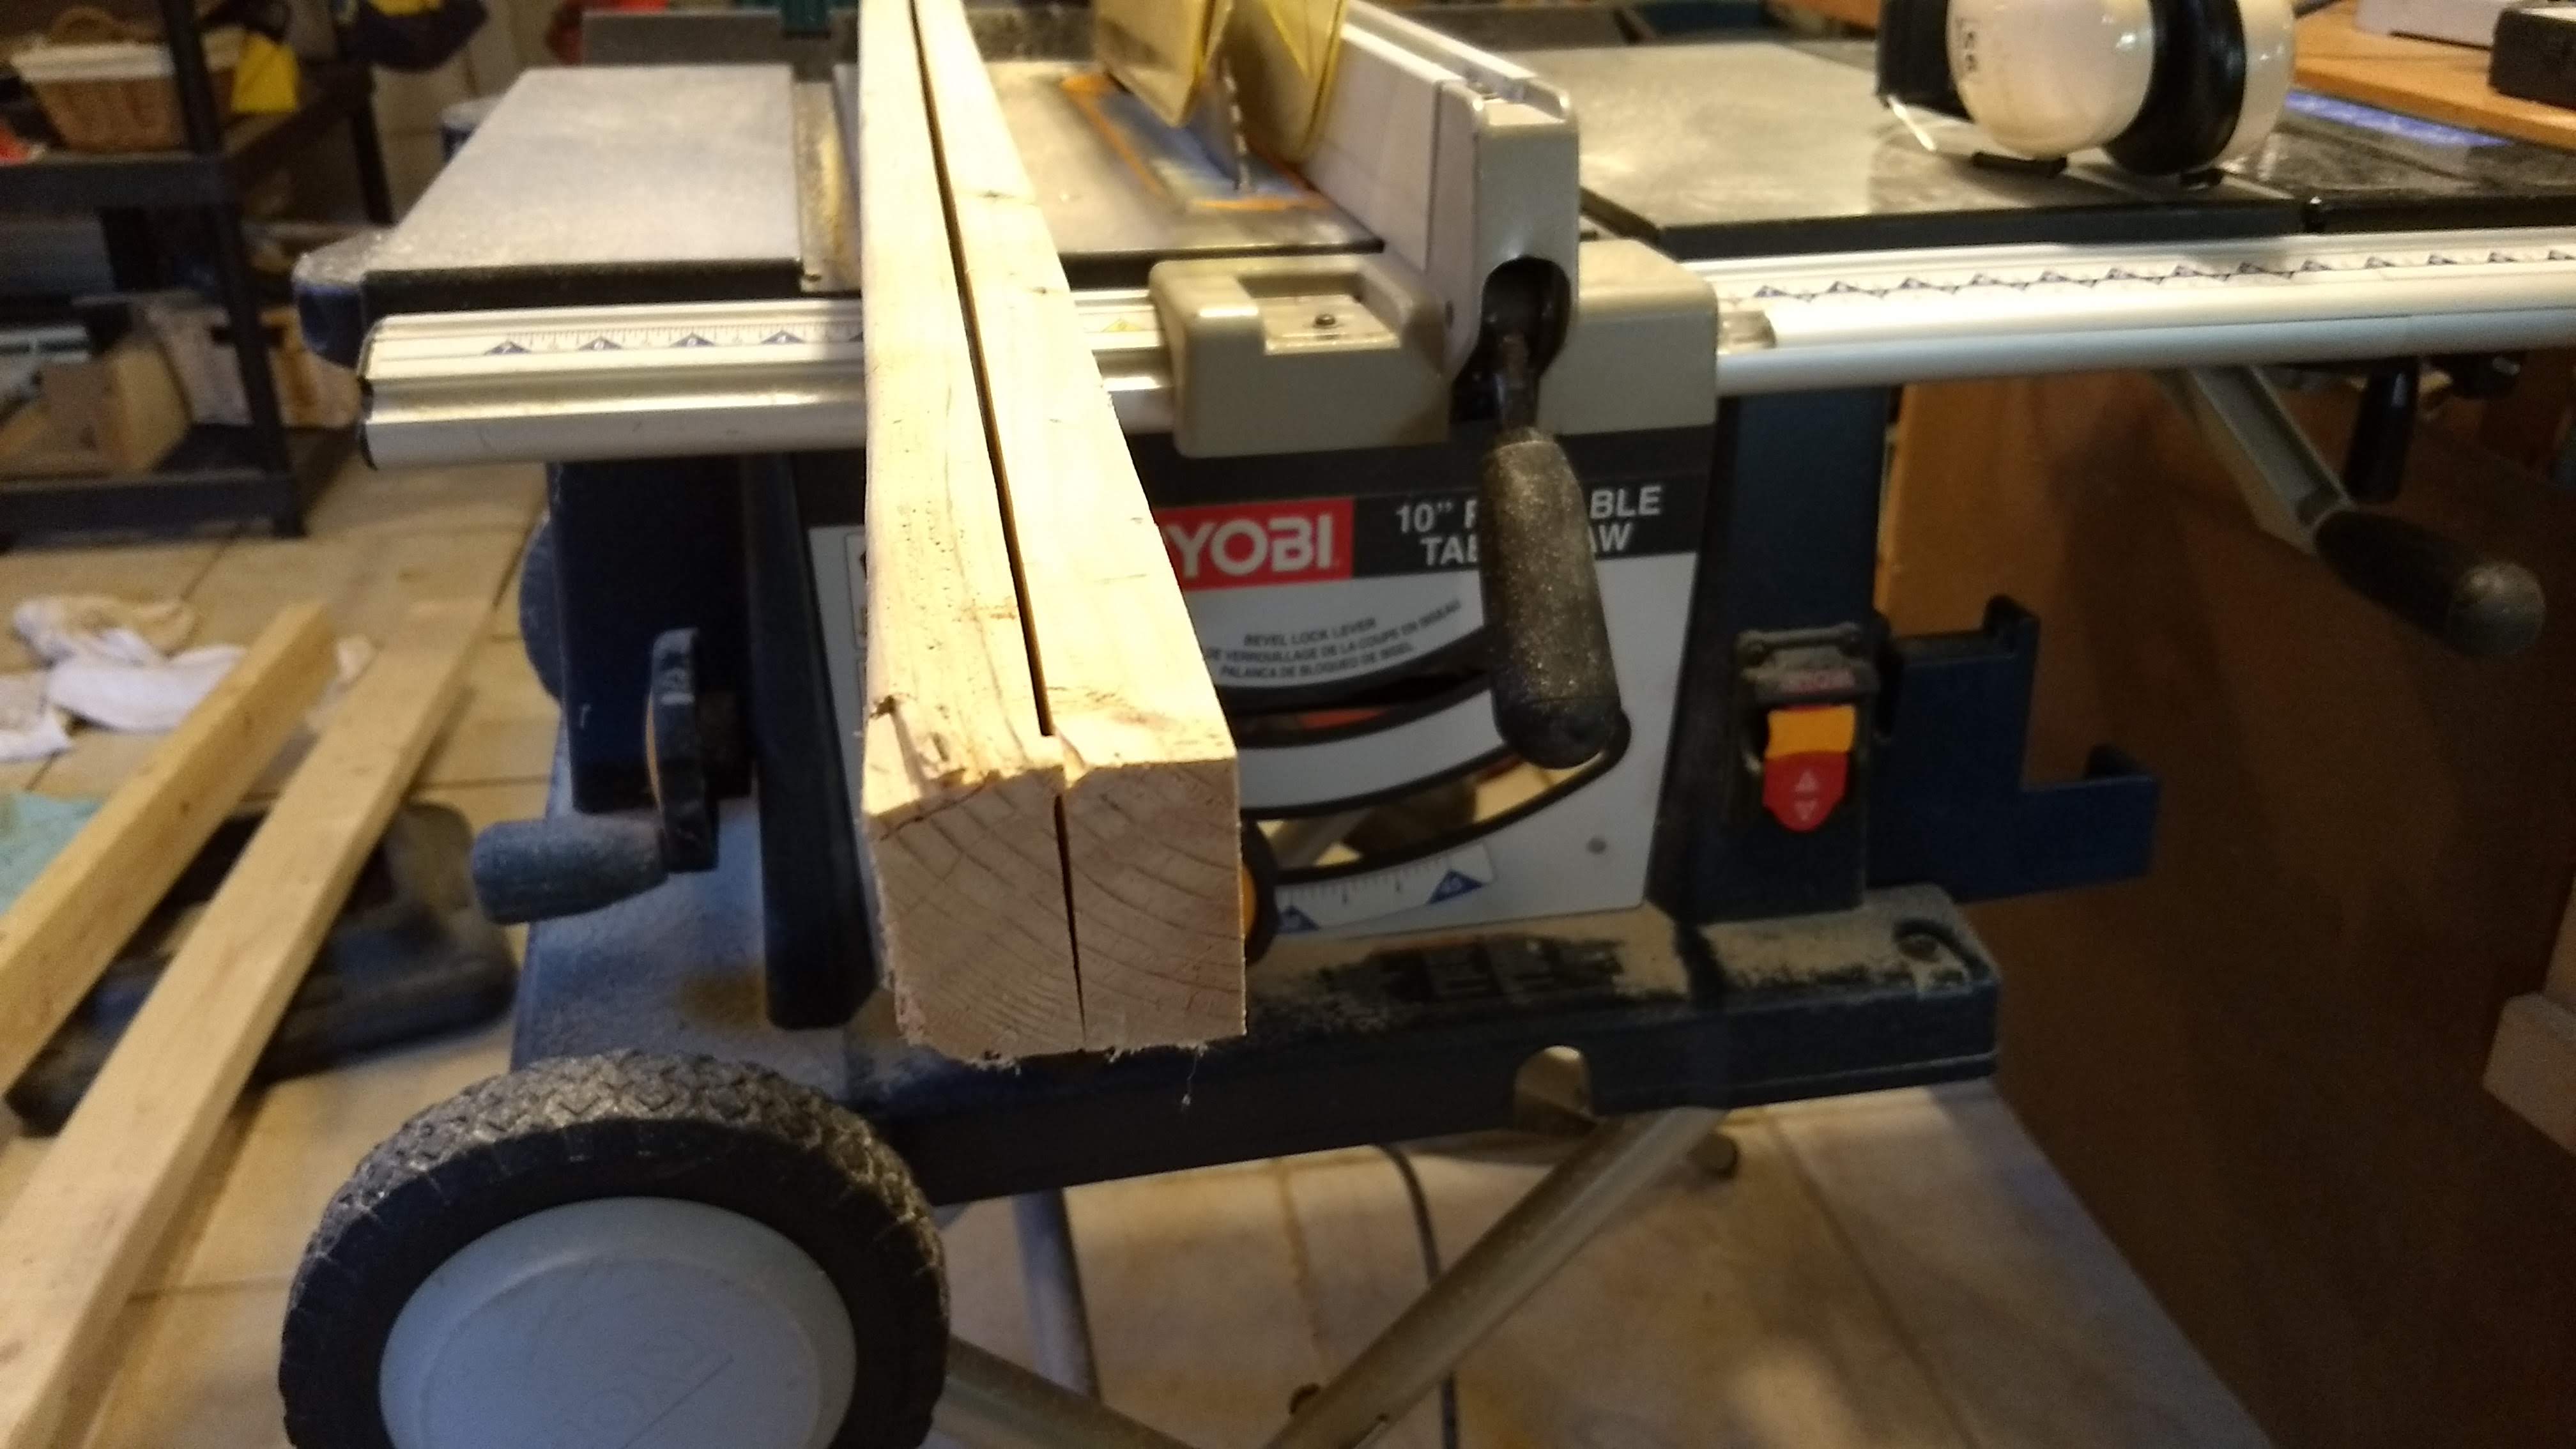
First cut complete. Note the example of a chipped and checked end. Is why I’m glad I had three 2×4s instead of just two.

After I cut all the stock, I planed it on both sides down to 5/8″ thickness, roughly. It was rather easier feeding stock through the planer than the saw, since the planer has its own feeder rollers, plus the planer sits on the miter saw stand that I have, which miter saw stand has extension arms. The arms are made for up to 9′ stock, alas, not 12′, so I still had to use the washing machine as an infeed table as well as the outfeed roller stand. But, again, somewhat easier.
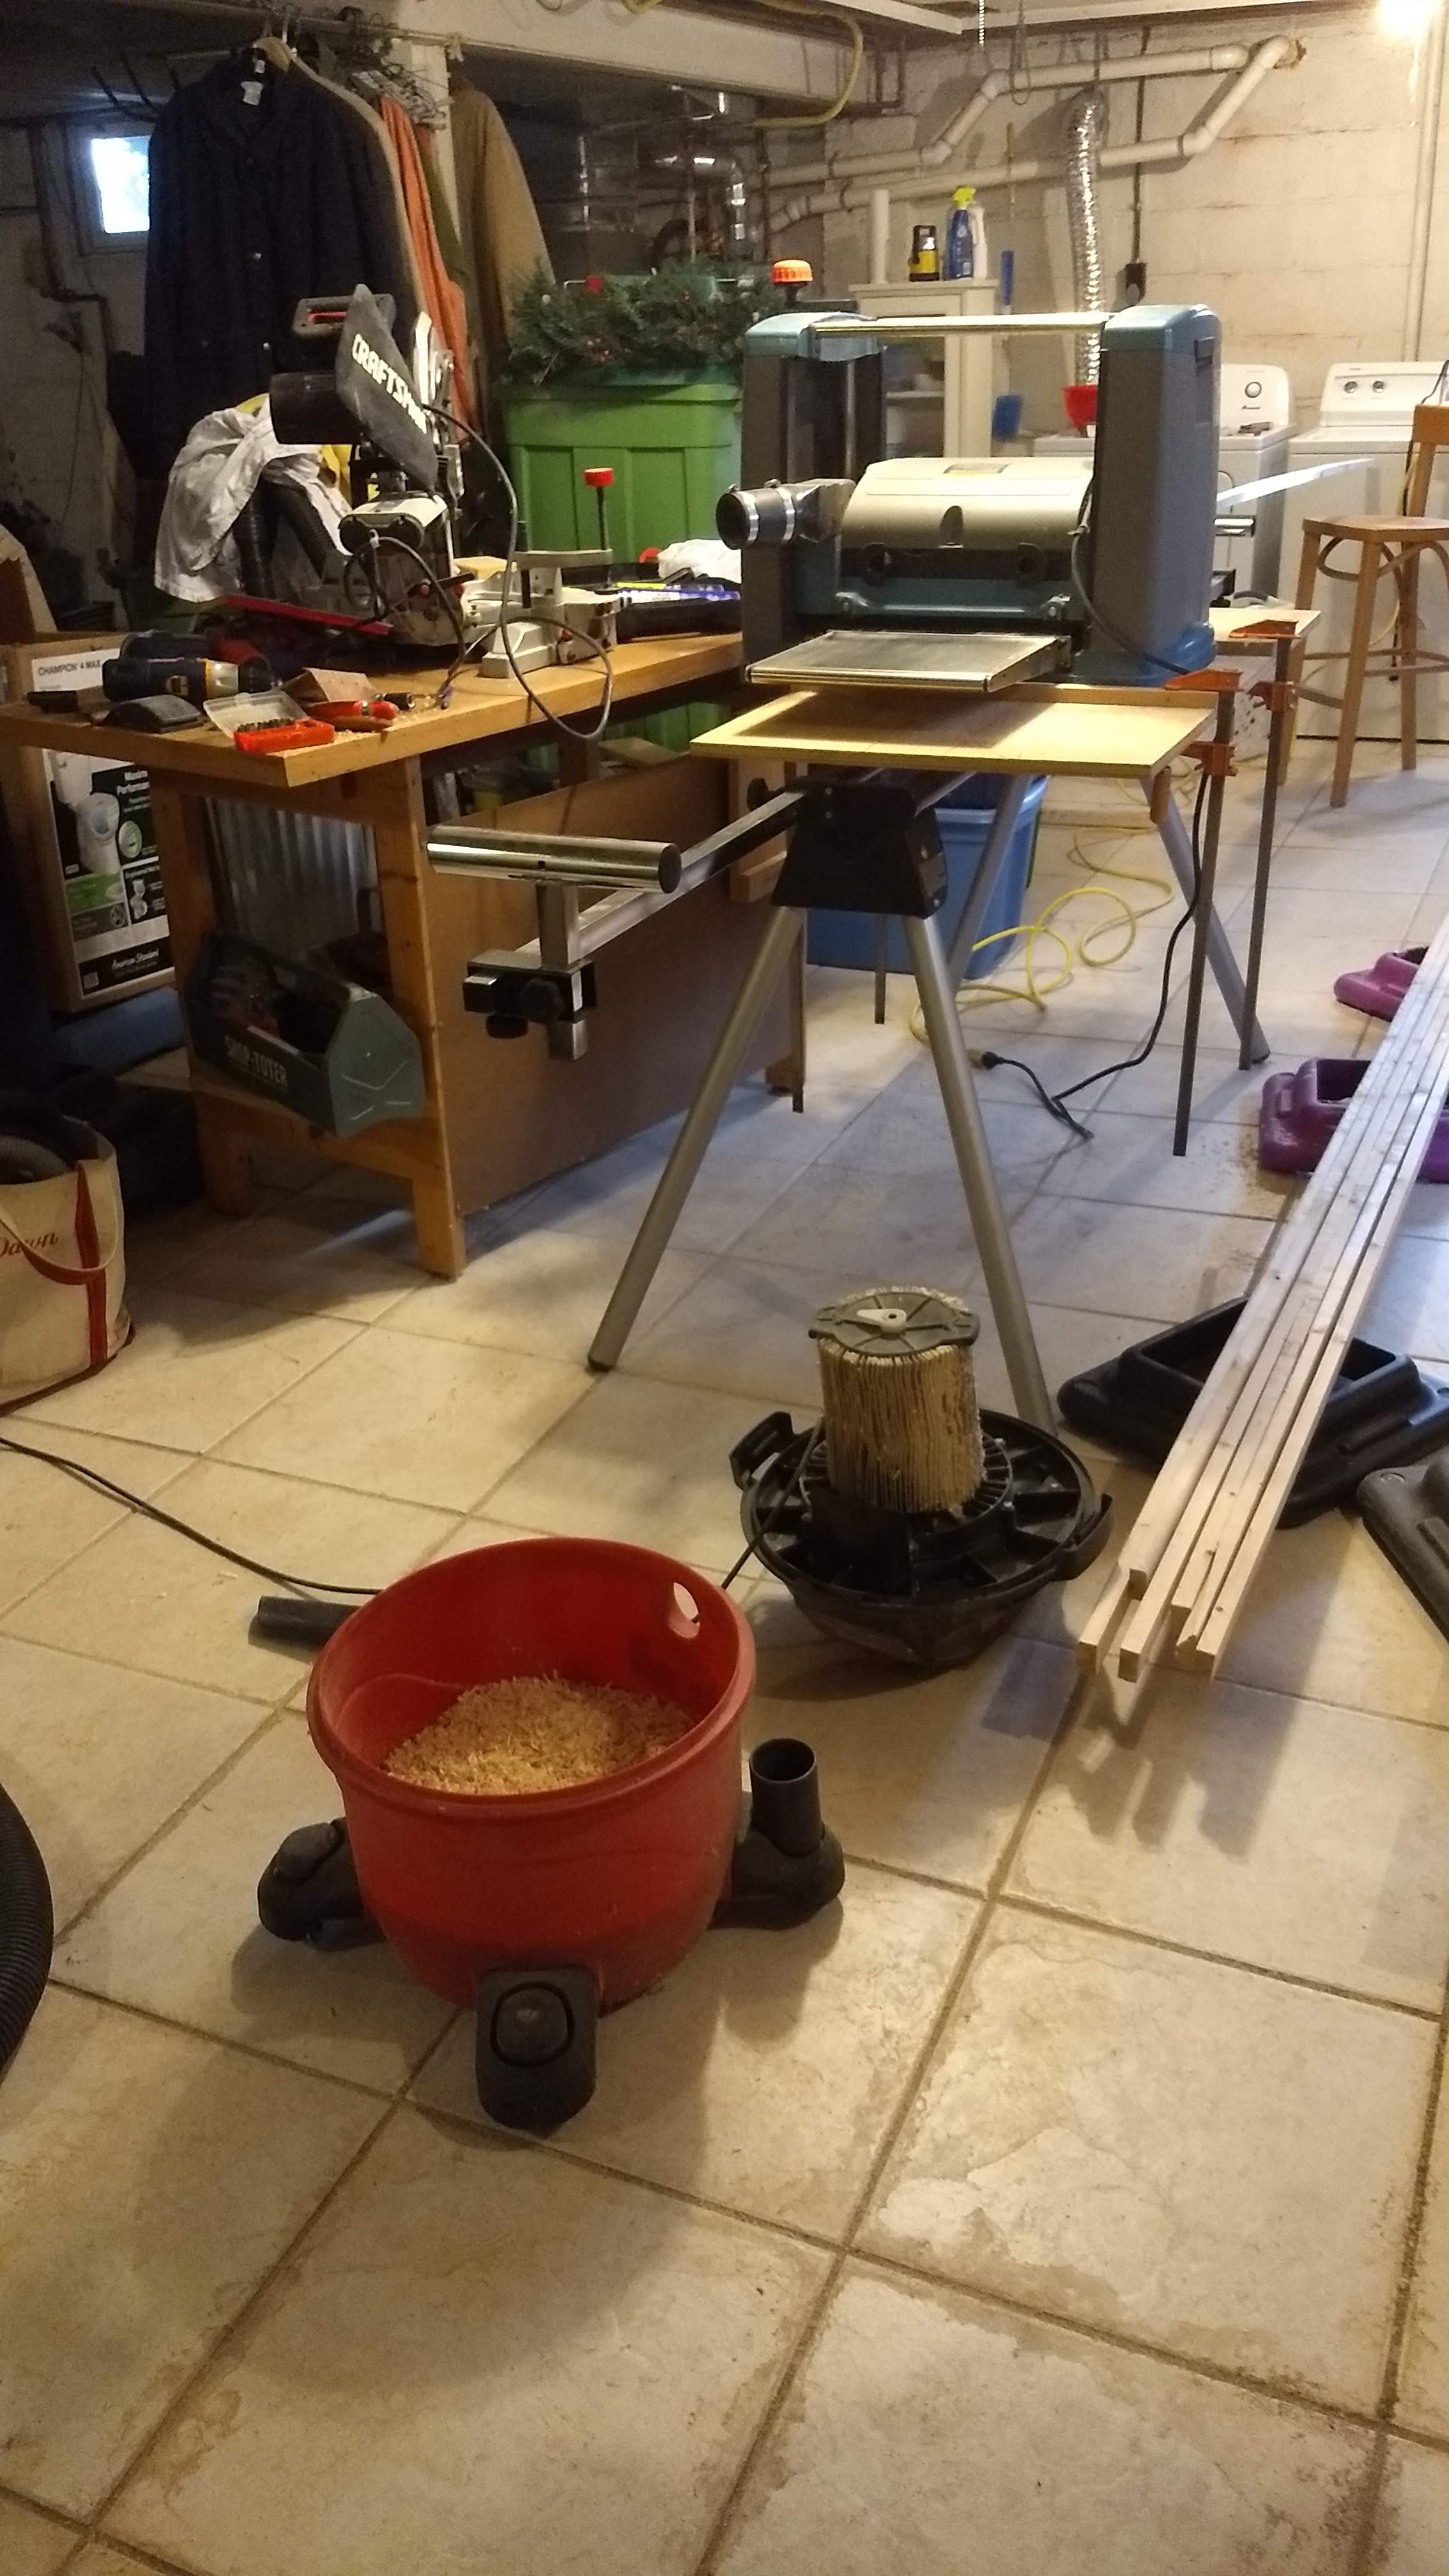
Planing, and the resulting chips in the shop vac. I filled it and emptied it maybe half a dozen times. I should have used the two-stage 30 gal. trash can setup that I have (and that you can see in the background, if you know where to look).

So, then, in the end, I had 12′ 1×2s for gunwales, inwales, and chines, as well as various lengths of 1×2 to chop into 4″ lengths for inwale spacers. And I had my 12′ 1×3 for the keel, although it’s nowhere near straight enough, I think. It’s got a mighty serious crook to it, serious enough that I might spring for another $7 for another 12′ 2×4.
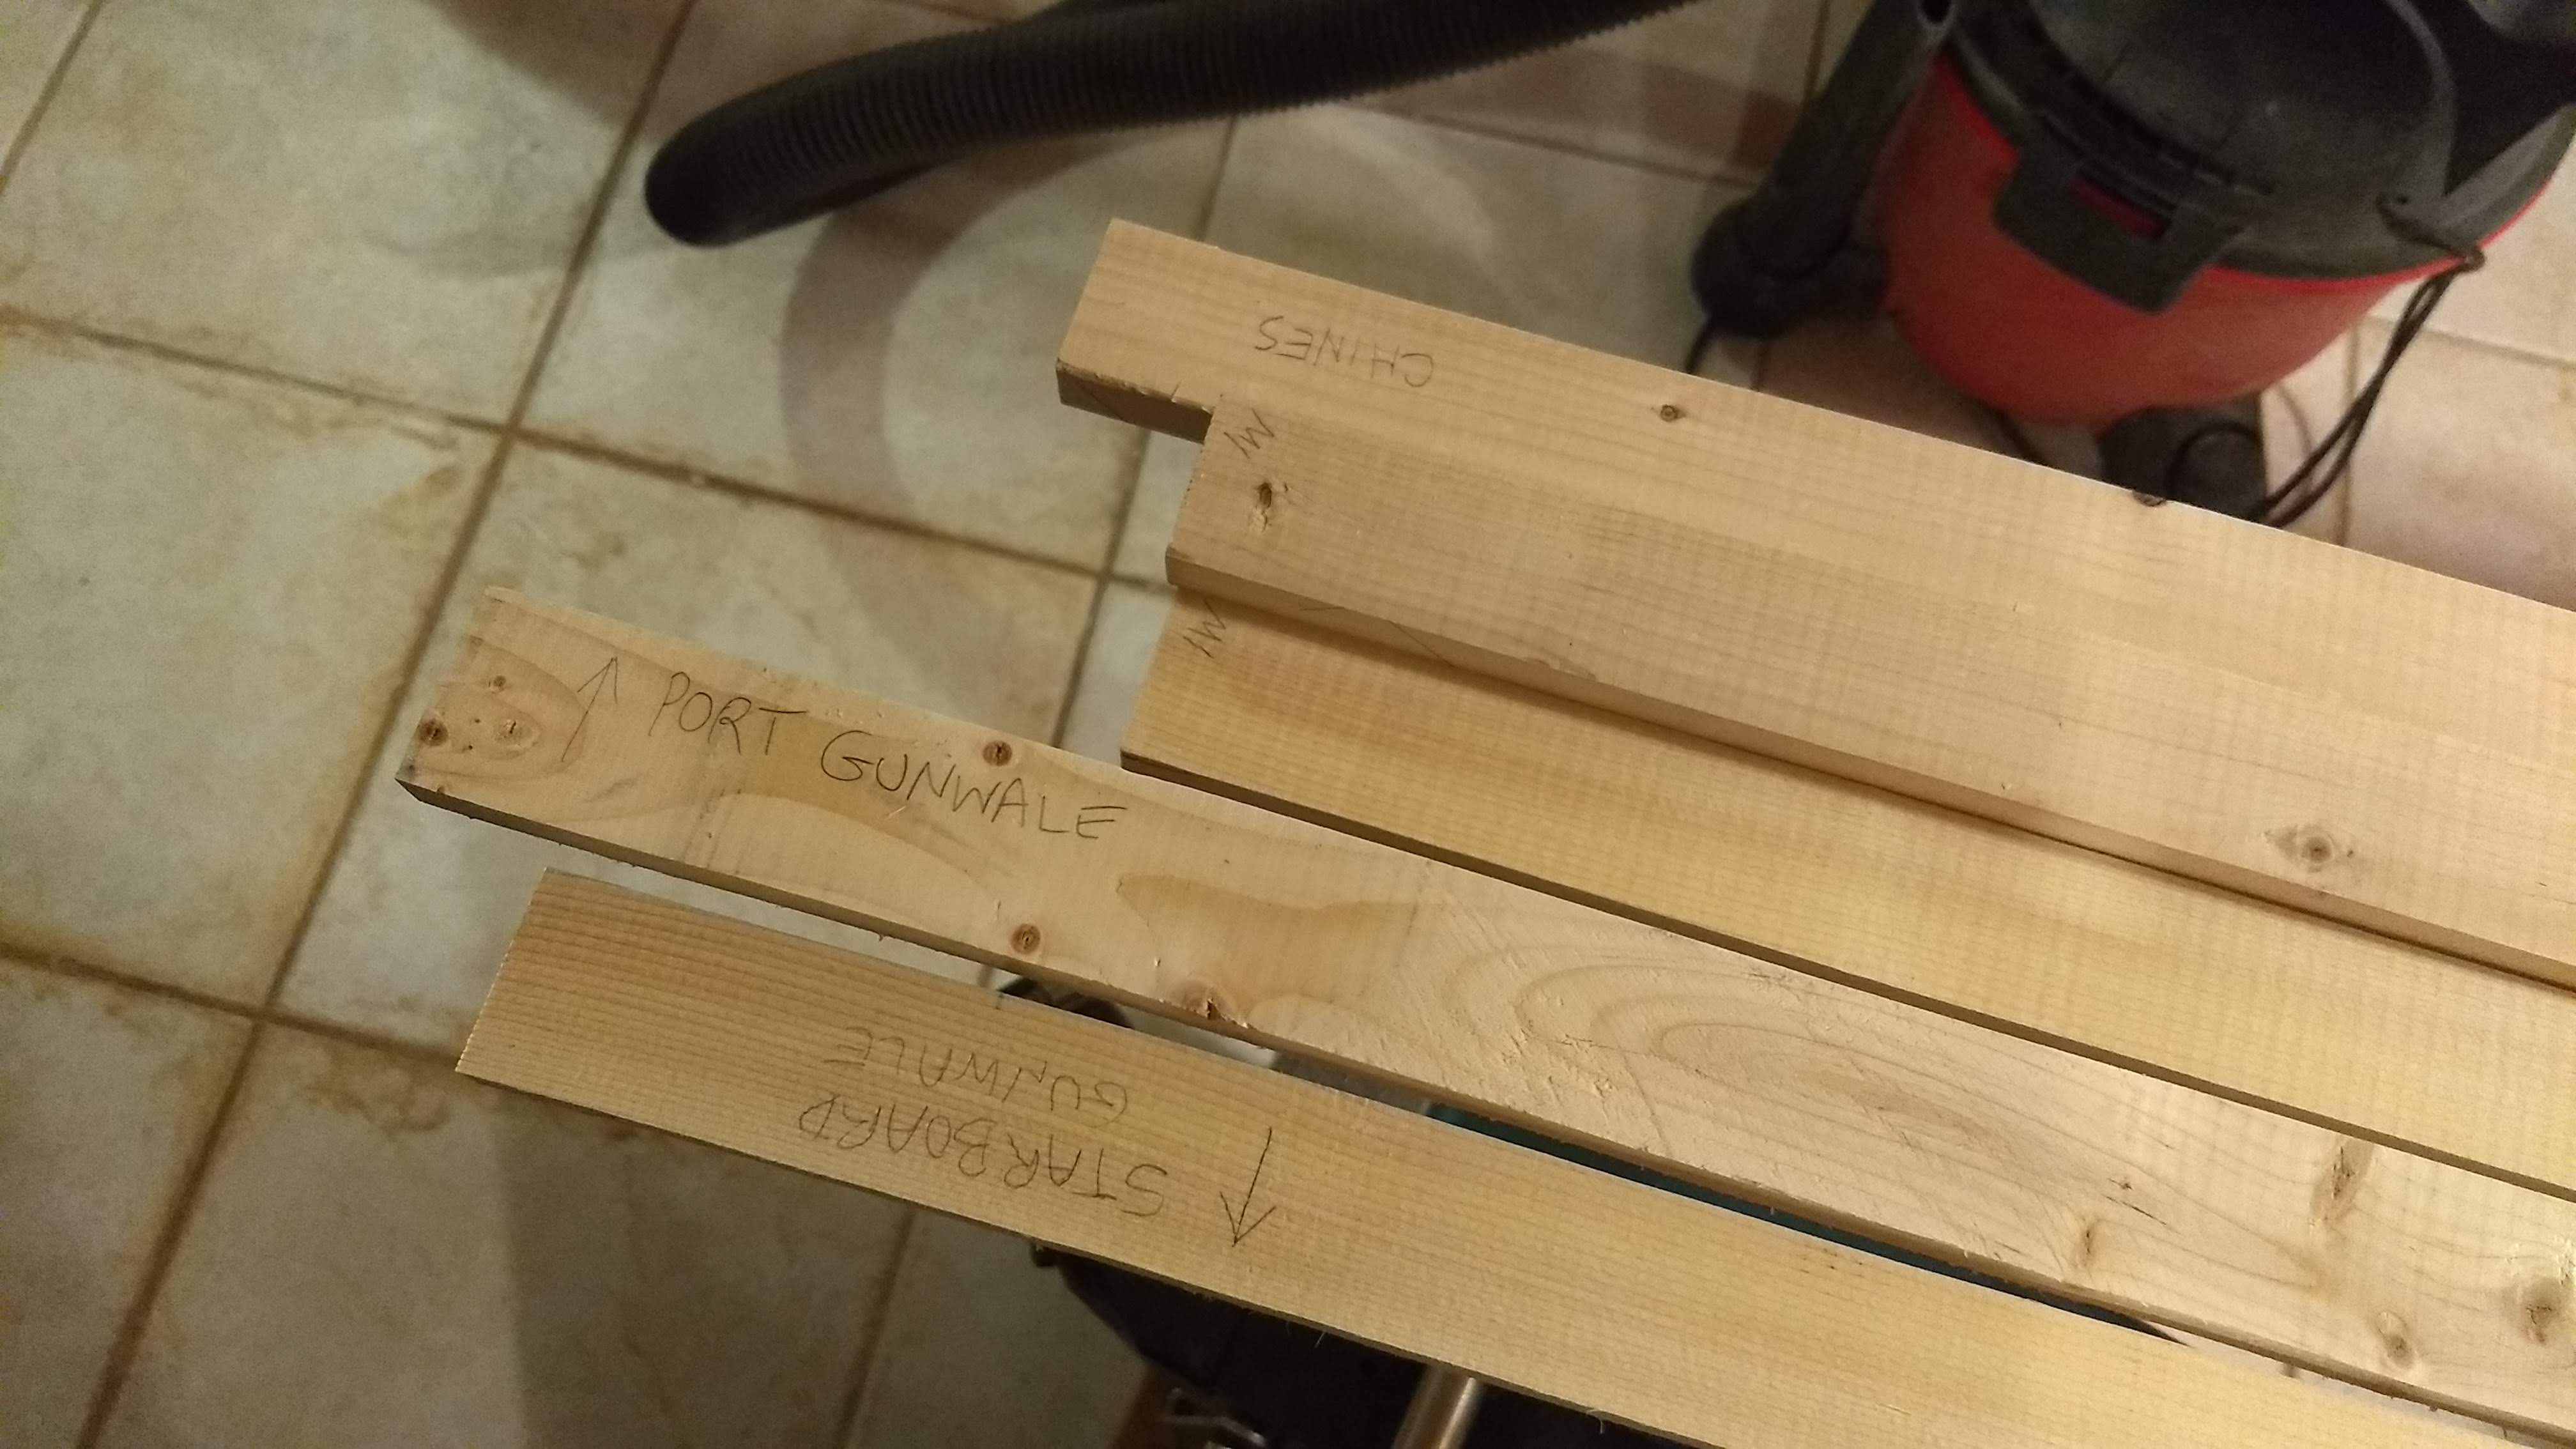
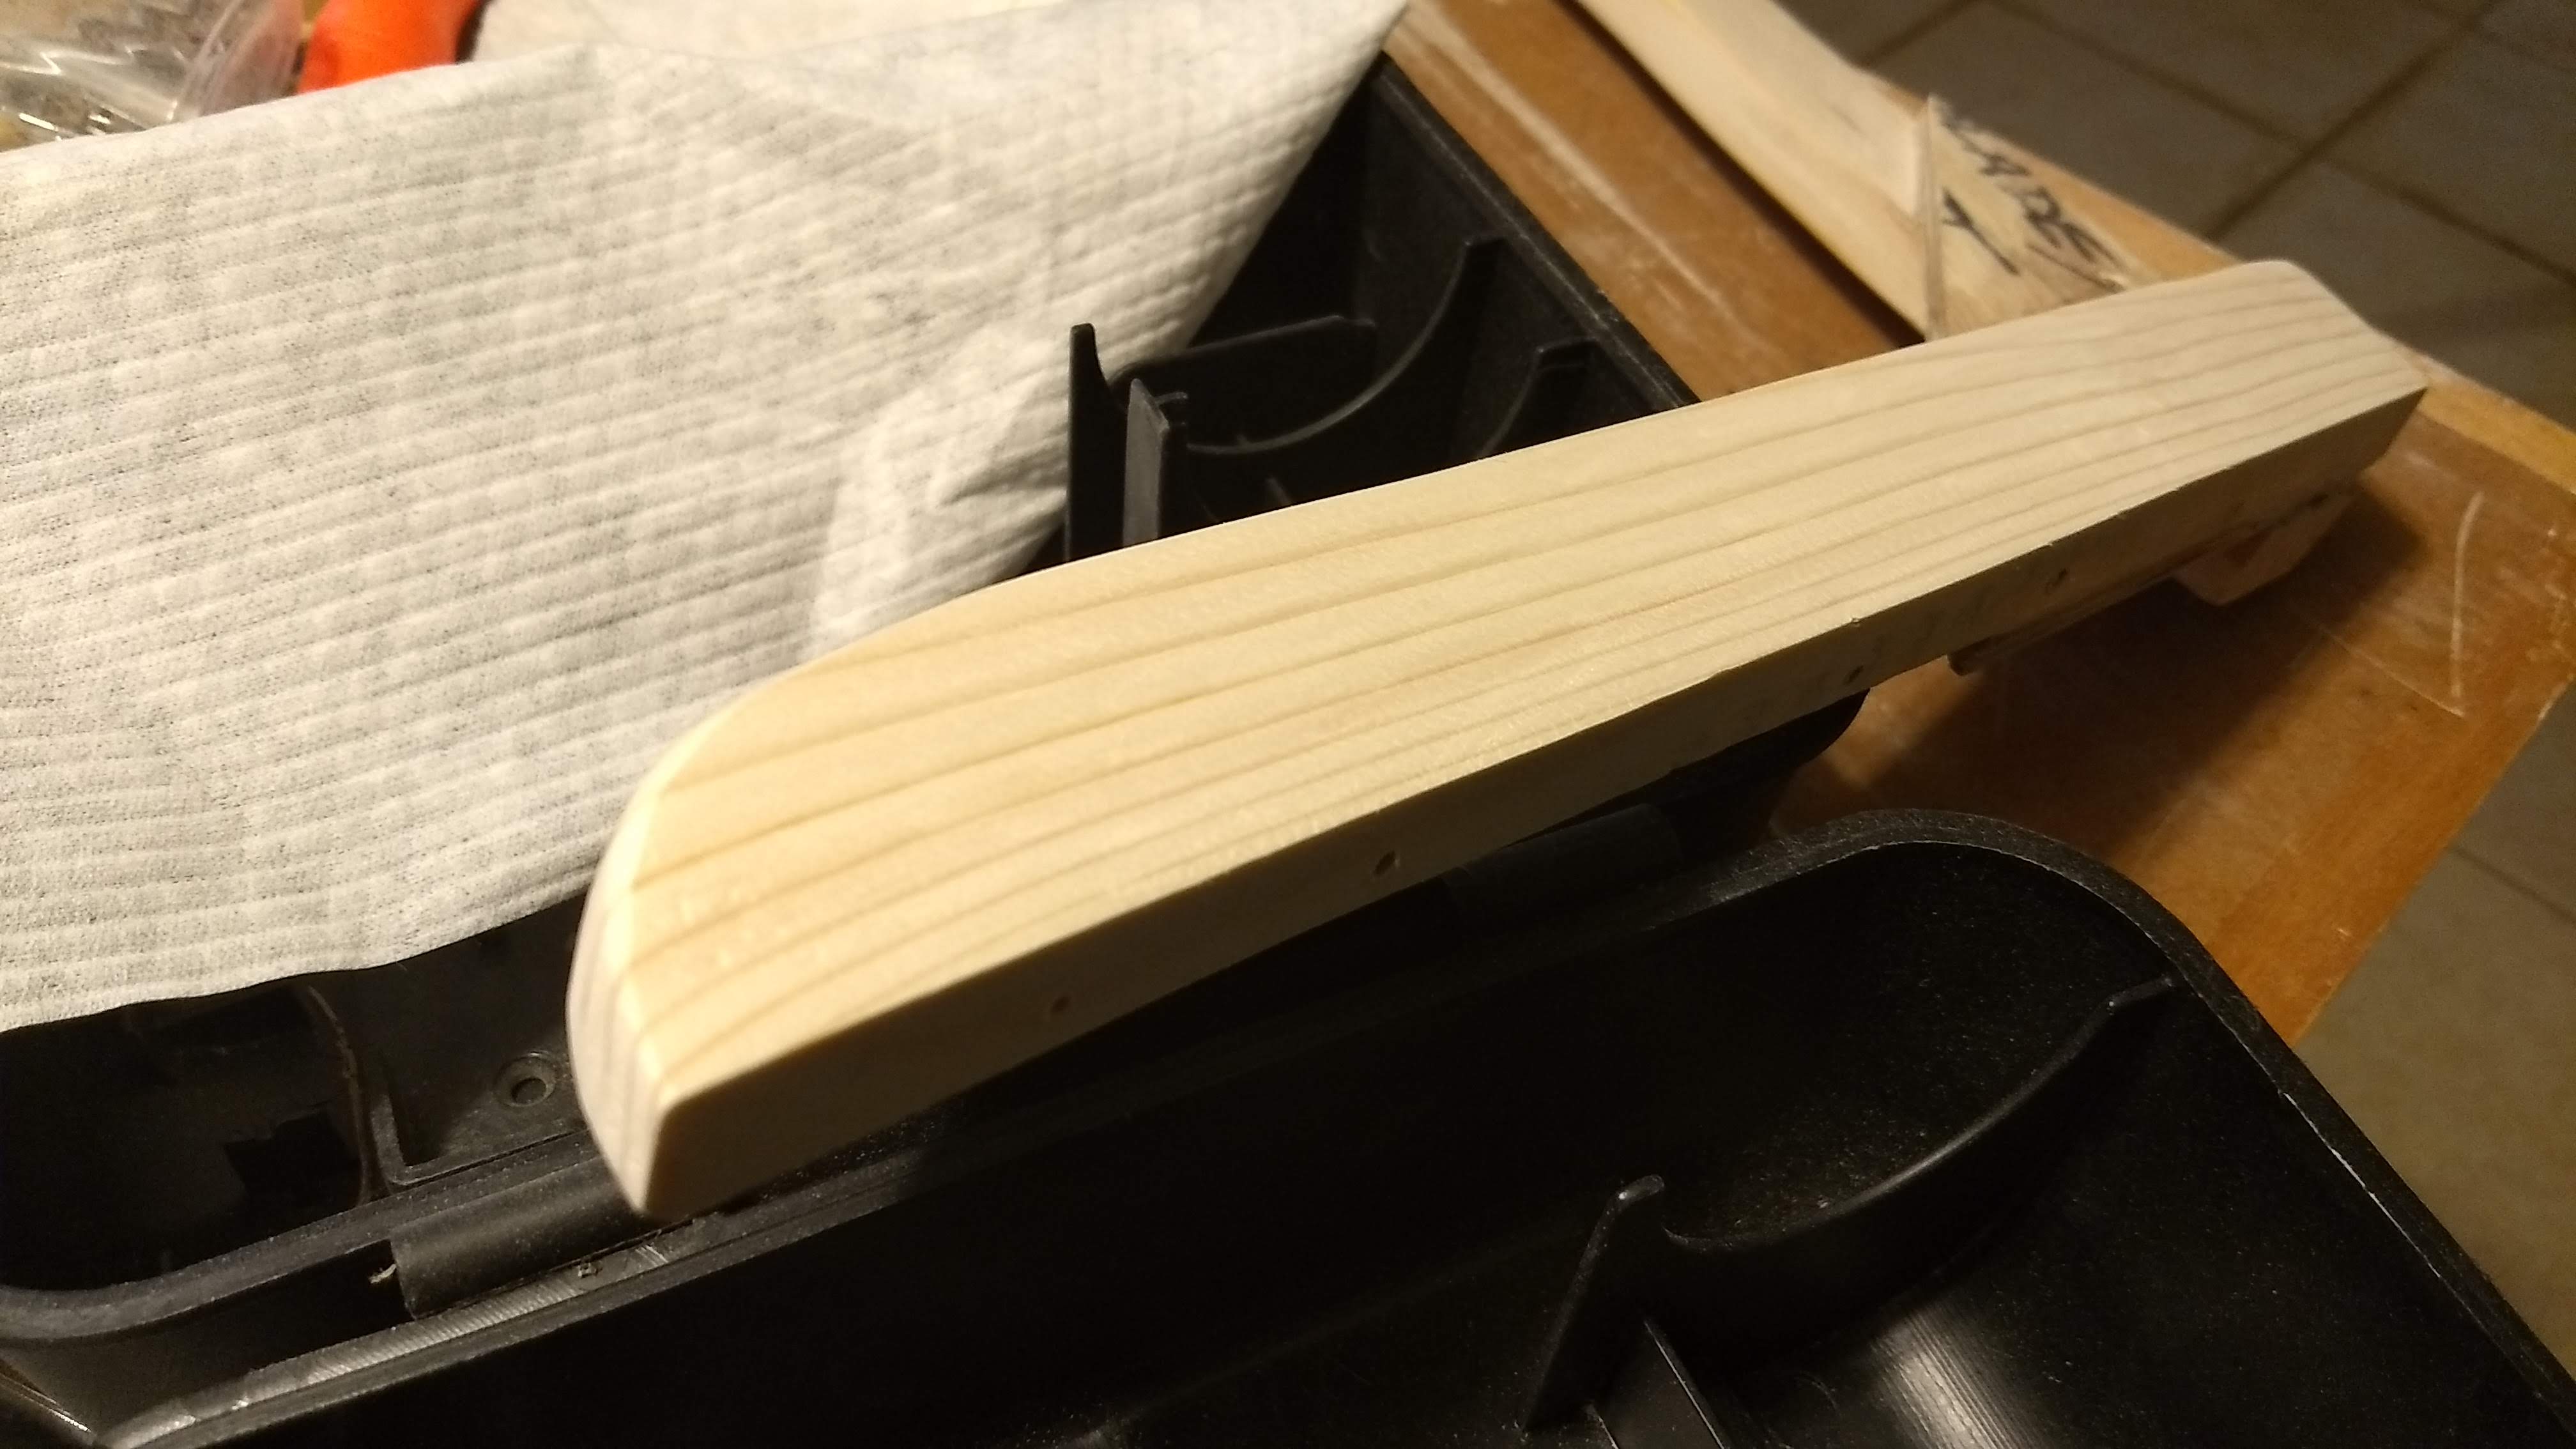
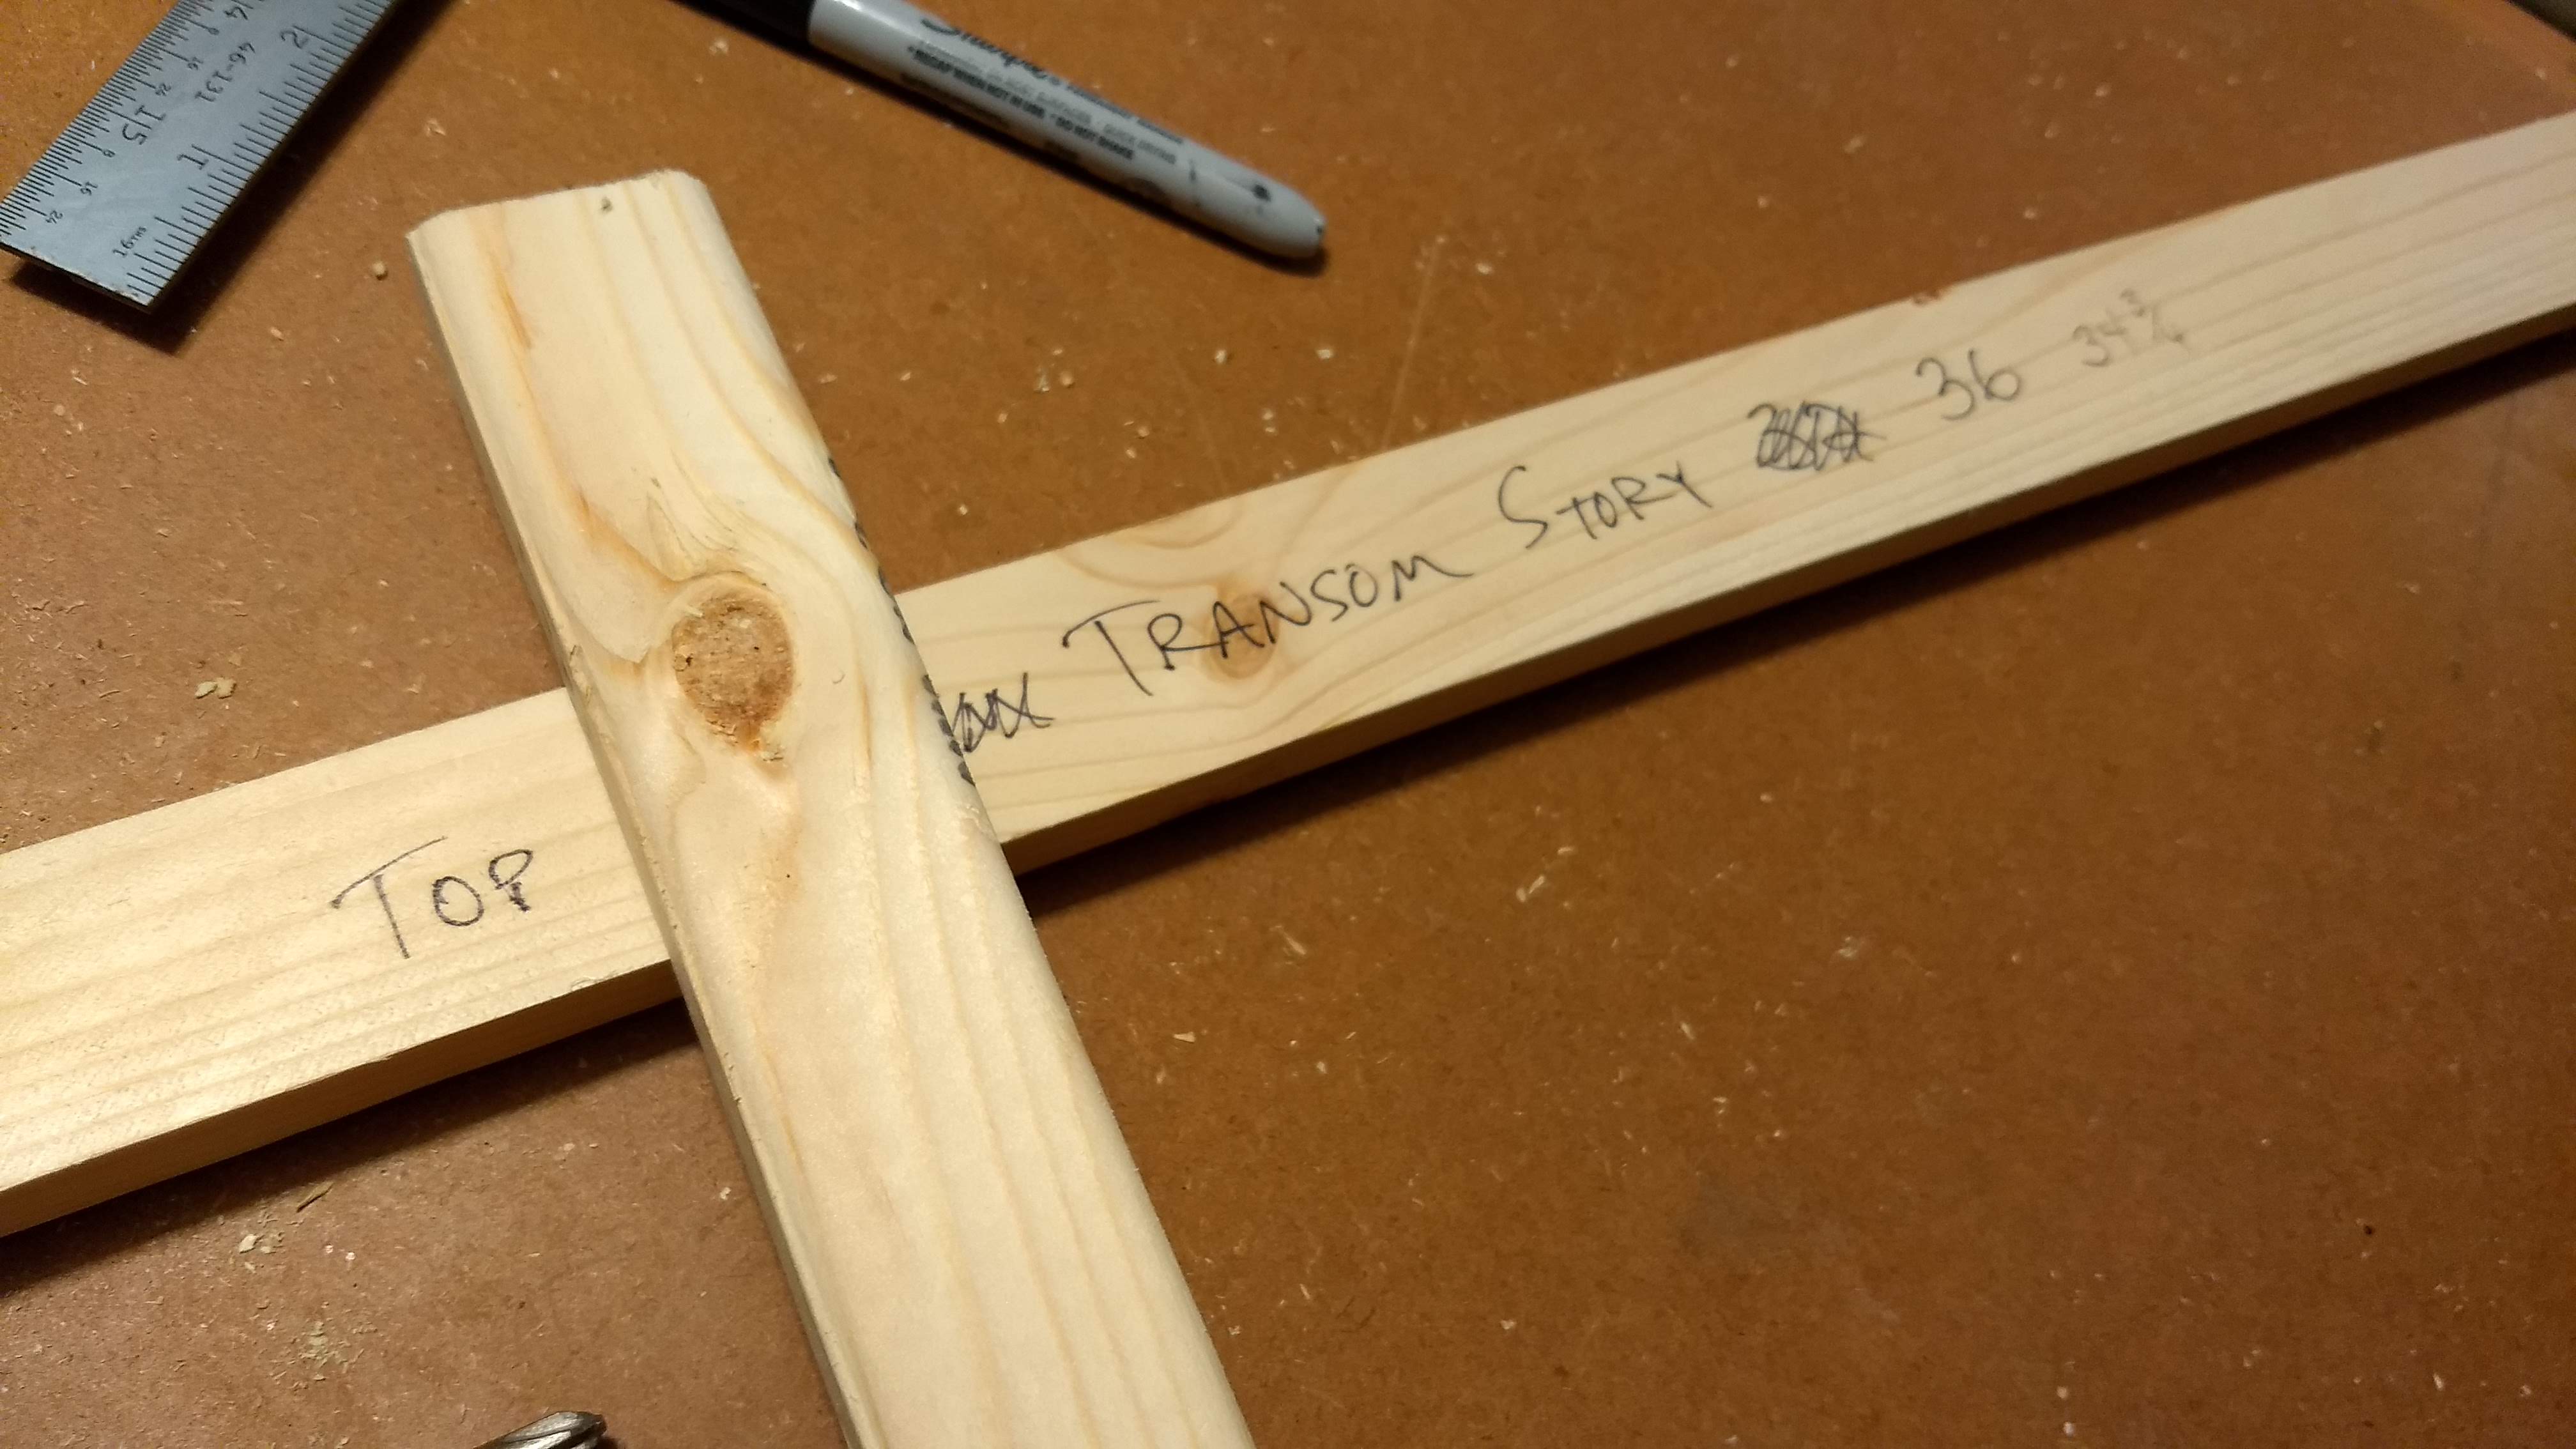
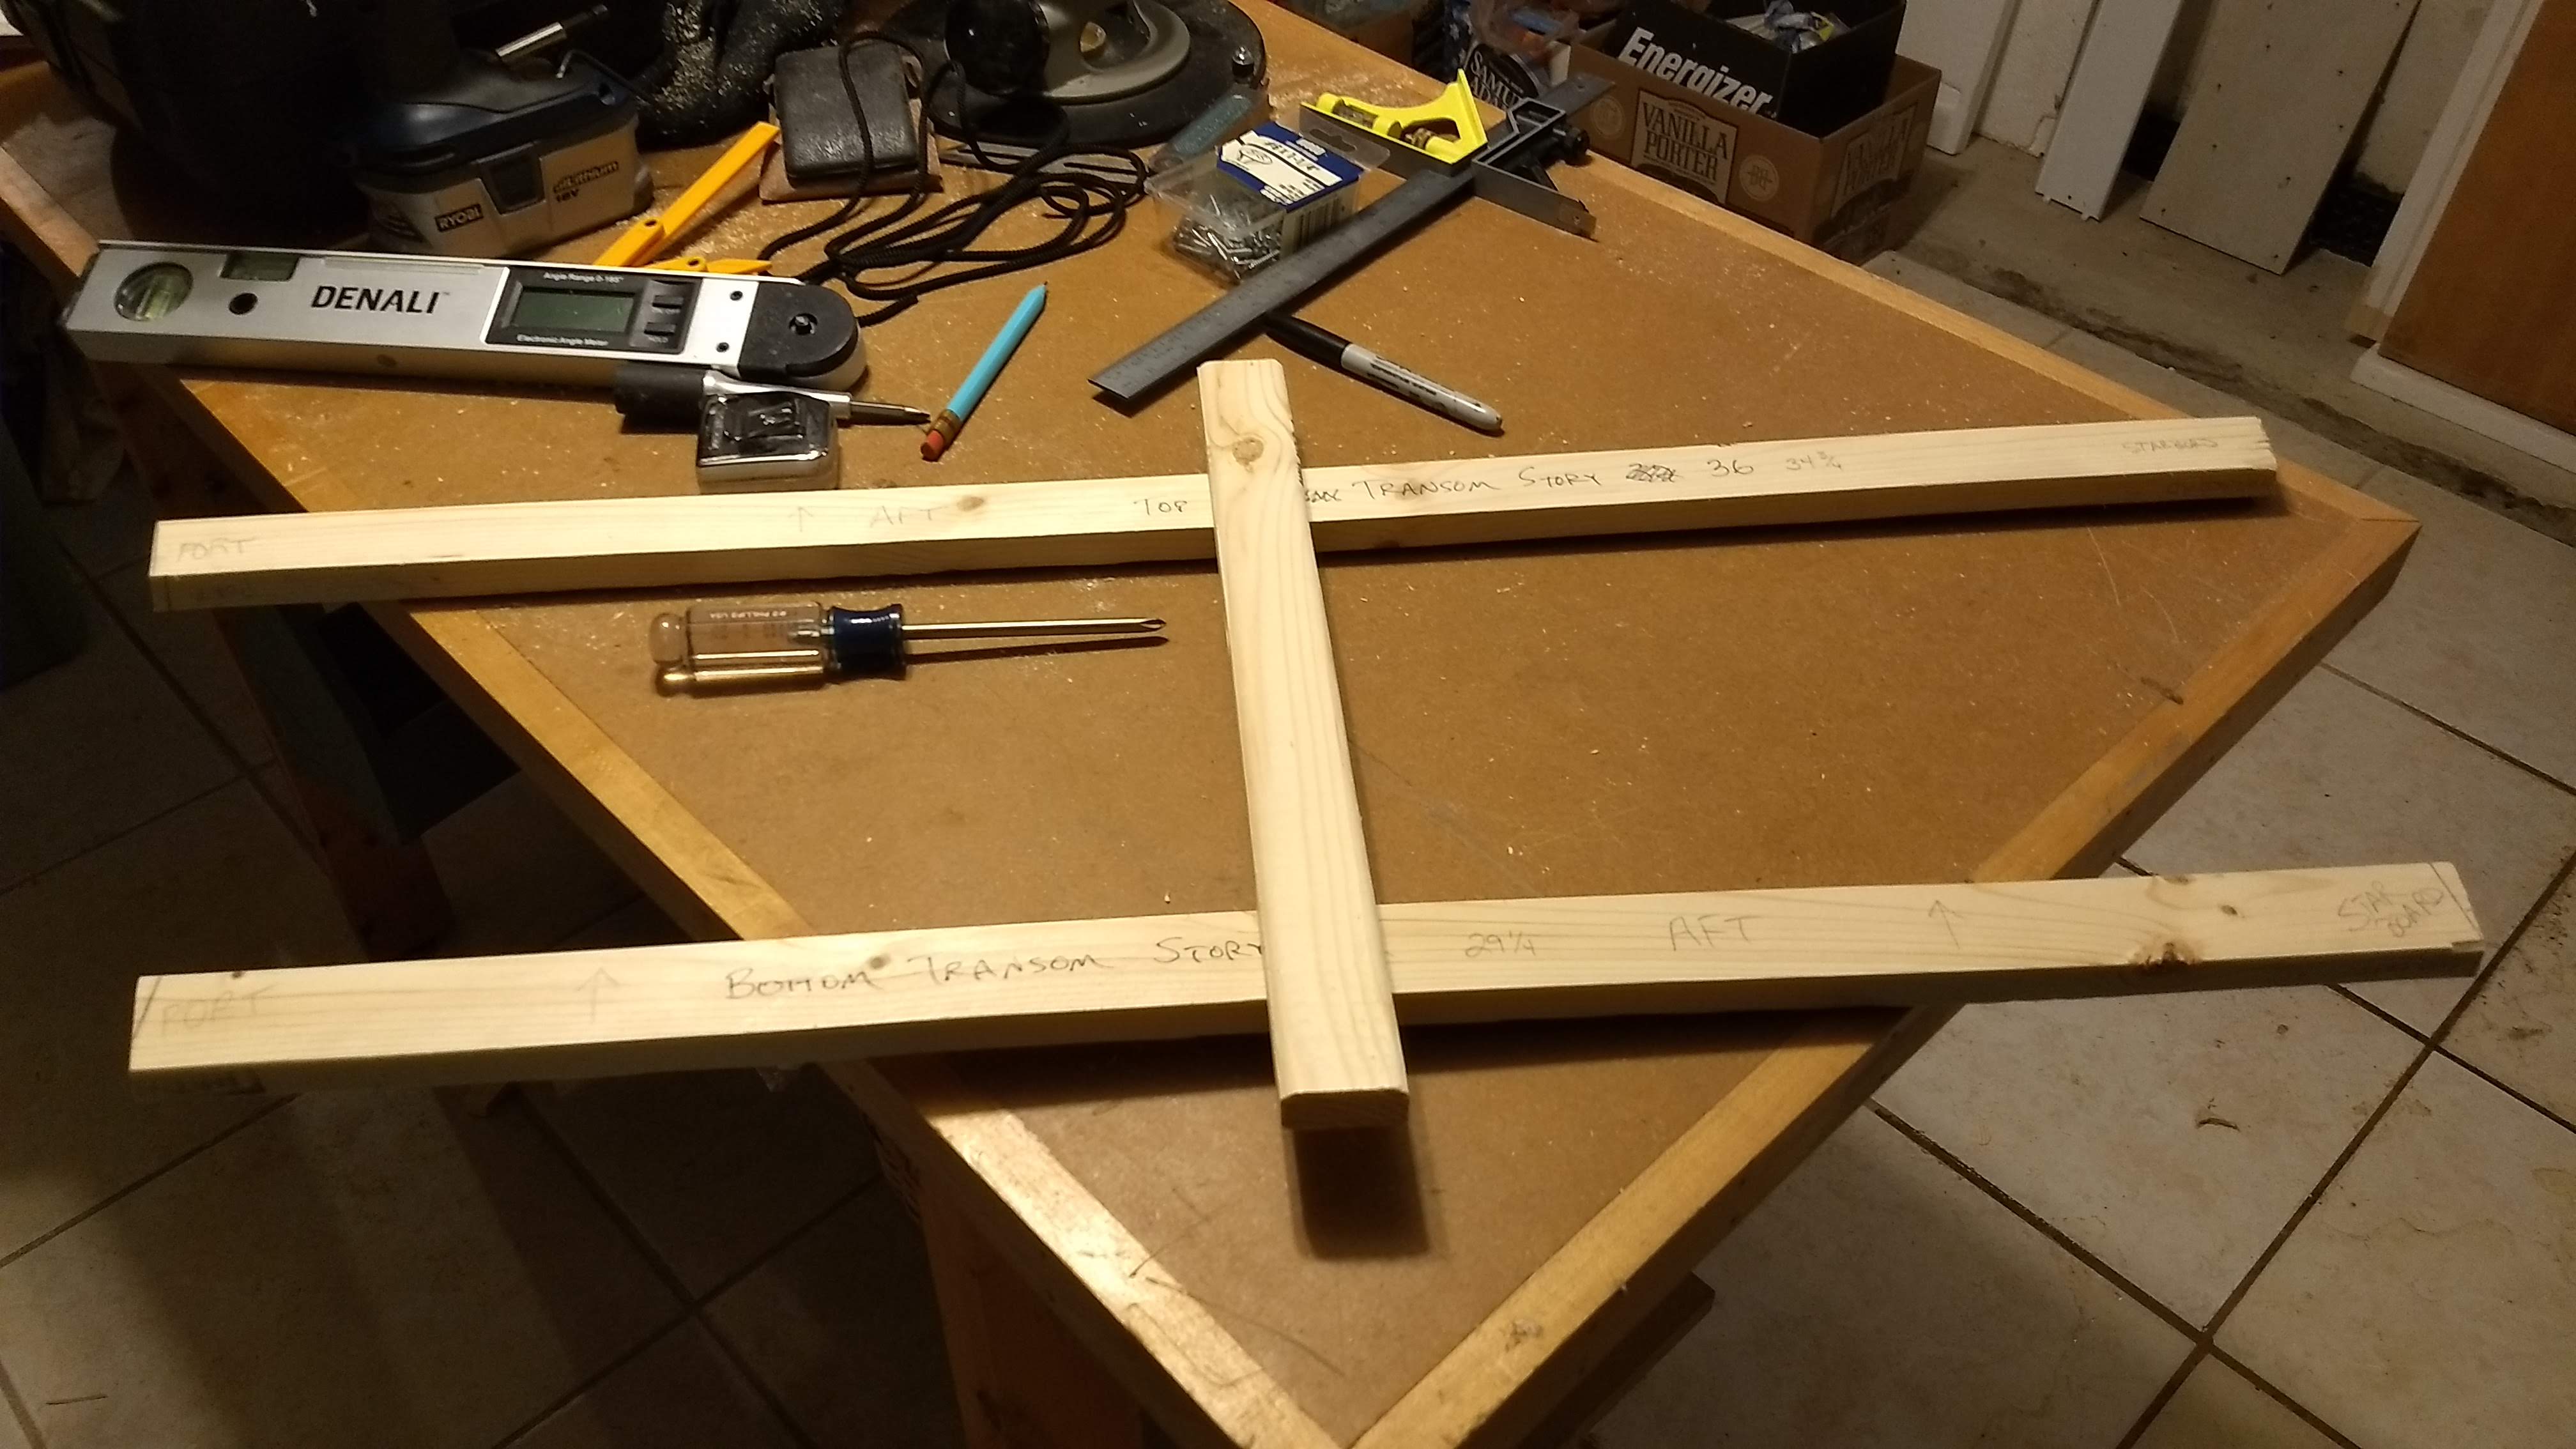
Wale and chine 1×2s.

I still have to cut the chine piece lengthwise at 18˚ for the two chines, as well as cut the inwale spacers. But, generally, the greater part of milling is behind me.

Week 12: Building the Hull

How exciting! Gluing the hull together!

It was hard. It was, for a while, a complete disaster. I learned a lot along the way.

It was another weekend with weather, rain this time instead of last week’s snow, so I first set up to do the big glue up in the garage. I moved the “workbench”, the still-unused plywood sheet for the boat bottom set up on saw horses, to the middle of the garage so that I could access both sides of the hull.

Set up in the garage. Disaster looming …

Then the first step was to glue the frame to both hull sides. That was when the distaster started.

First problem was that I spread glue on the frame leg itself. When I went to join the hull side to the frame leg, I could no longer see where the pre-drilled screw holes were in the frame side. They were covered with glue. I smeared a lot of the glue on the hull side trying to find those holes and screw the parts together. That wasn’t too hard to fix, though. Just wiped up the excess glue. Okay, so, starboard side done. Check.

Starboard hull side glued to frame. Disaster still looming …

The real problem came when I went over to do the same thing to the port side. Again smearing the glue on the frame leg, what with having trouble finding the screw holes in the leg, I screwed to port side hull into the wrong holes on the frame leg. I only noticed this when I was done with all three screws.

Damn. Disaster.

But I very deliberately tried not to panic. I took a deep breath, told myself that all I could do was take it apart and re-seat it properly. I had some working time before the glue set, much less cured. So I un-screwed the port side, whereupon the frame and the starboard hull parts promptly went tumbling off the other side of the workbench.

More disaster.

Luckily the parts didn’t shatter or anything, but I decided to move to a more stable working area, on the ground in the driveway. That way I wouldn’t have to worry about anything falling very far anymore. And the best thing about this decision was that I turned the boat upside down here as well, so that the hull sides were leaning in toward the frame //—-\\ rather than away \\—-//. I could see the bottom of the frame lining up on both sides better, and the sides weren’t falling away from the frame every time I moved.

So, finally, the sides were attached to the hull frame. I moved this partial assembly back up off the ground, still upside down though so that the stem and transom could lean in against the assembly instead of falling away.

Off the wet driveway

Lifting the assembly, I managed to cut my palm on a splinter, getting blood on the port side bow, so now my blood is literally in this boat.

And I finally learned to smear the glue on the inside of the hull side, so that I could see where the screws coming through the hull needed to go. Definitely the biggest lesson I’ve learned in my very brief boat building career.

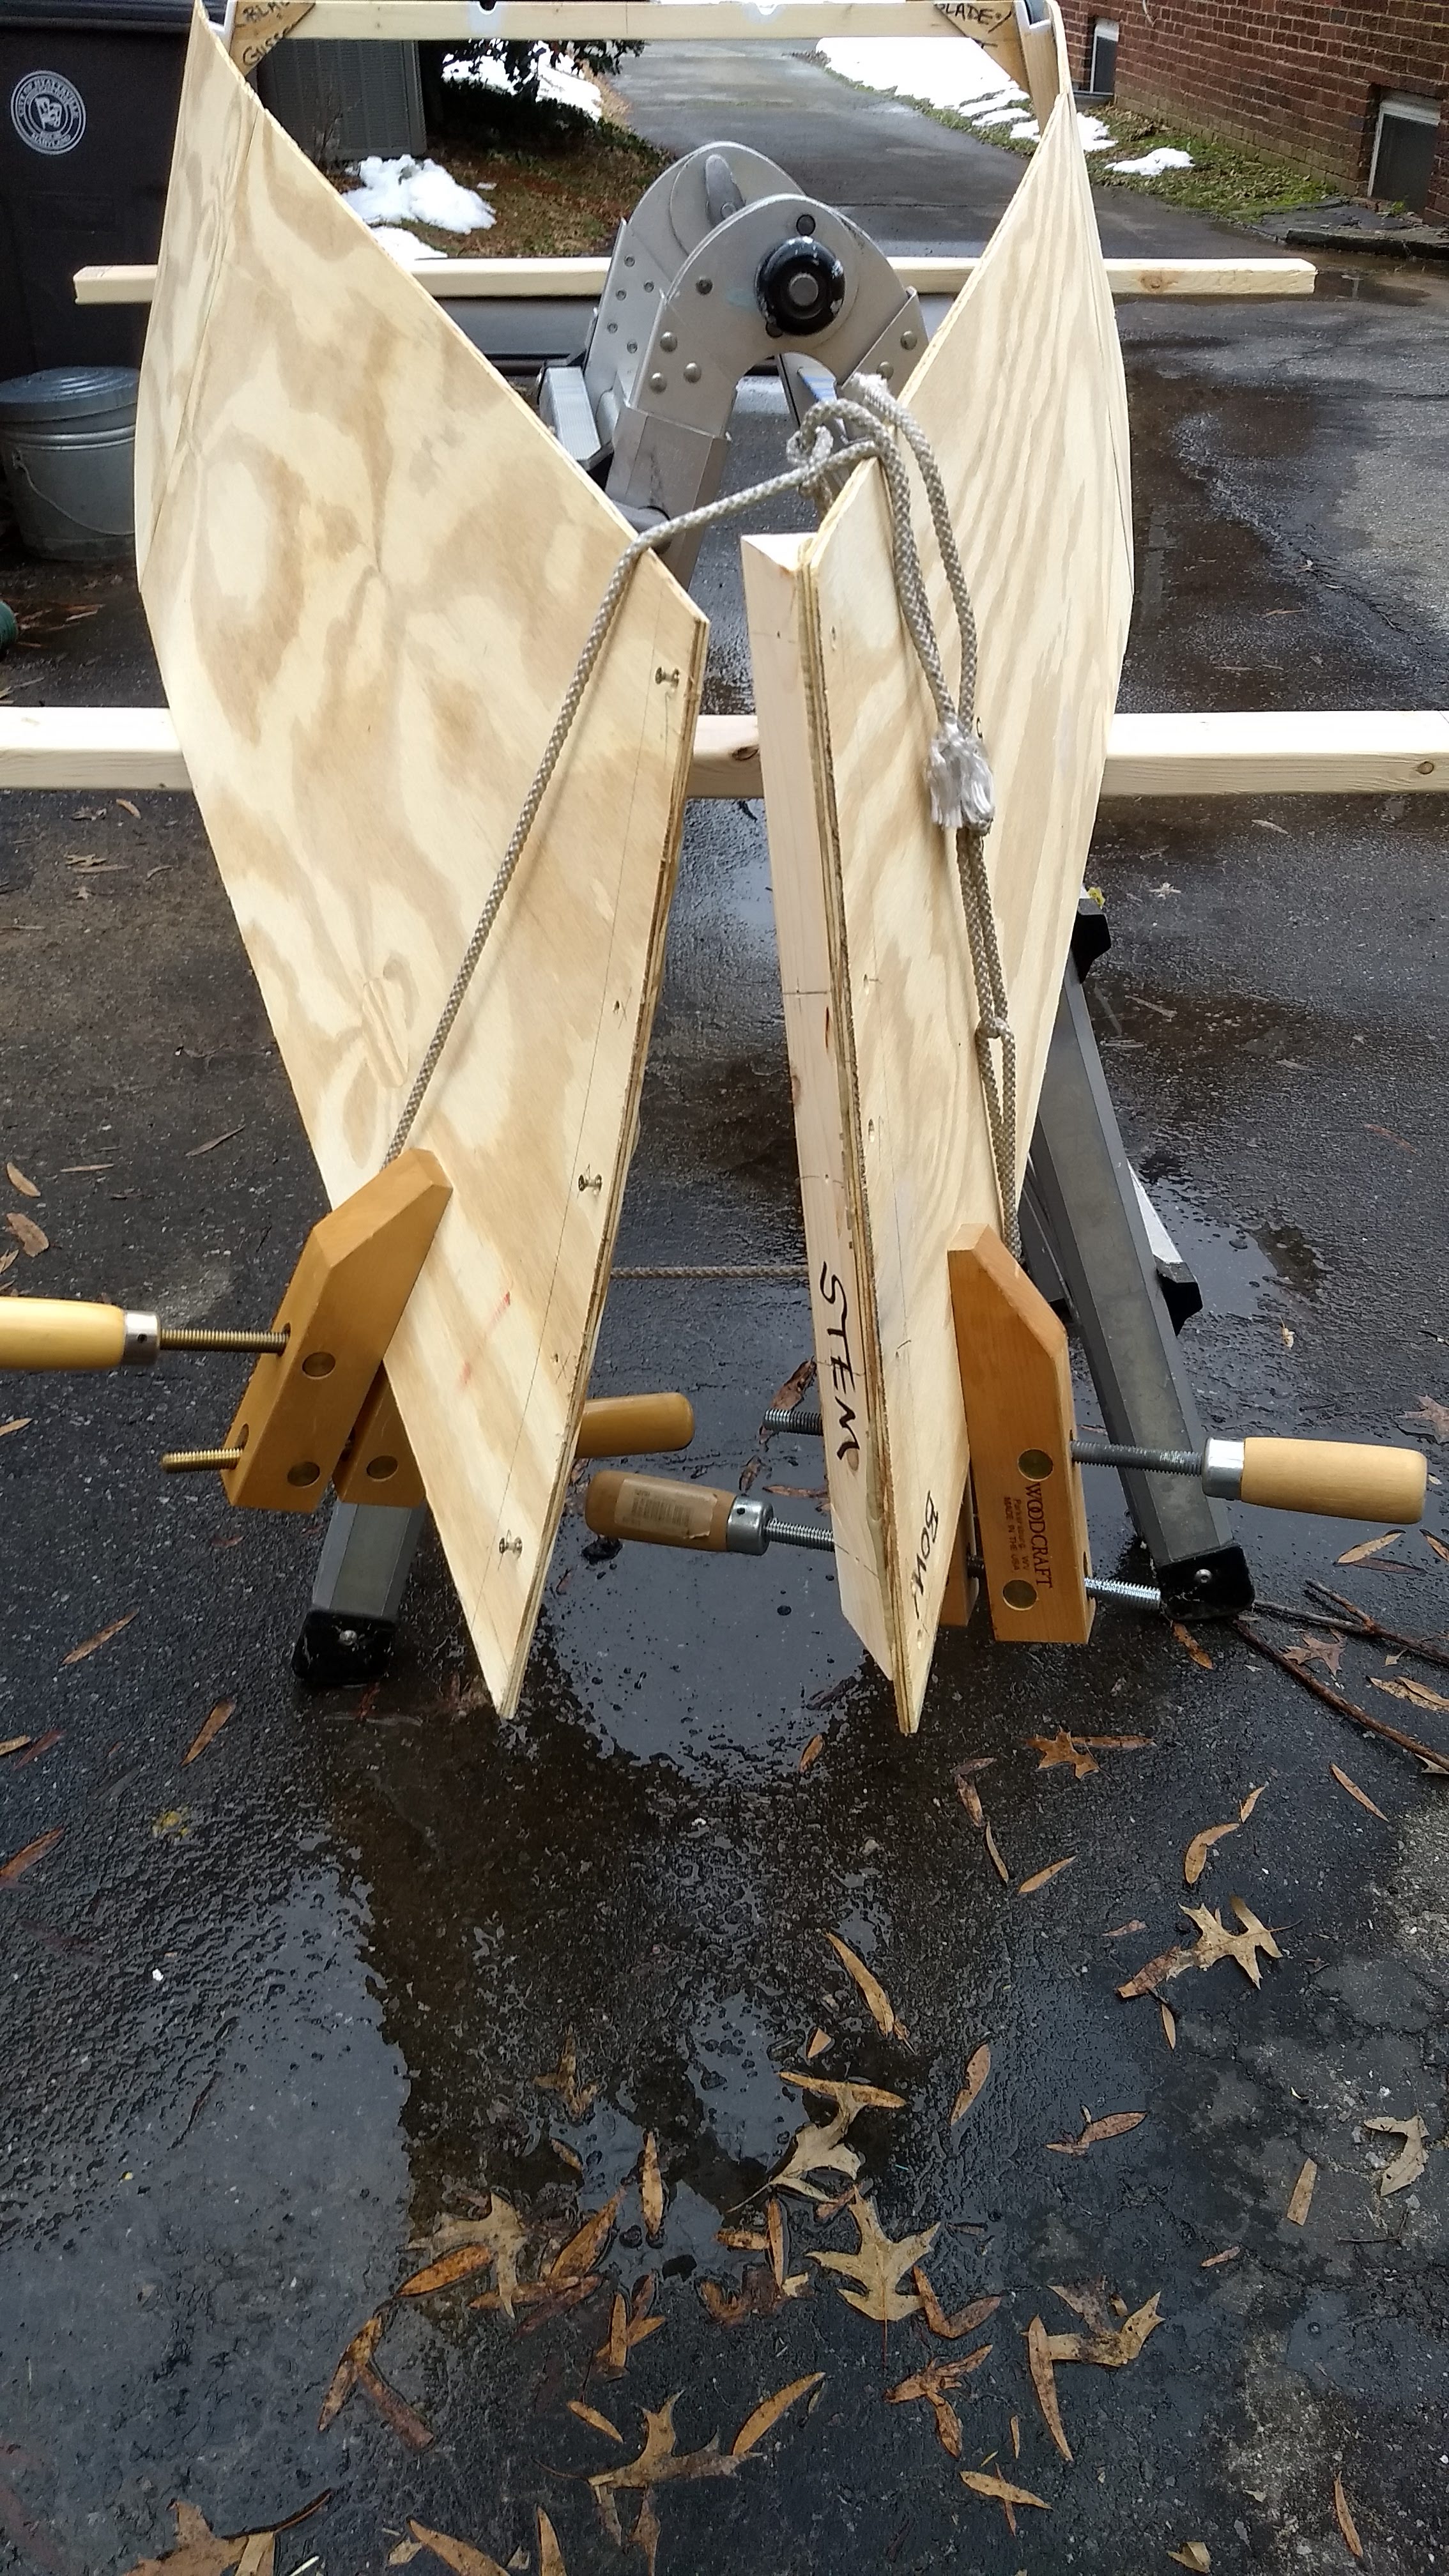
I was able to bend the bow together by myself with rope to glue the stem to each side, but I had to enlist Dawn the hold the transom to finish that.

Stem bending, although those clamps got in their own way and I had to remove them.

So, finally, the hull was glued together. Disaster mostly averted. Whew.

Does that look like an upside boat or what?

I carried the assembly back into the garage myself, thinking Dawn had left to walk the dogs.

Back in the garage …

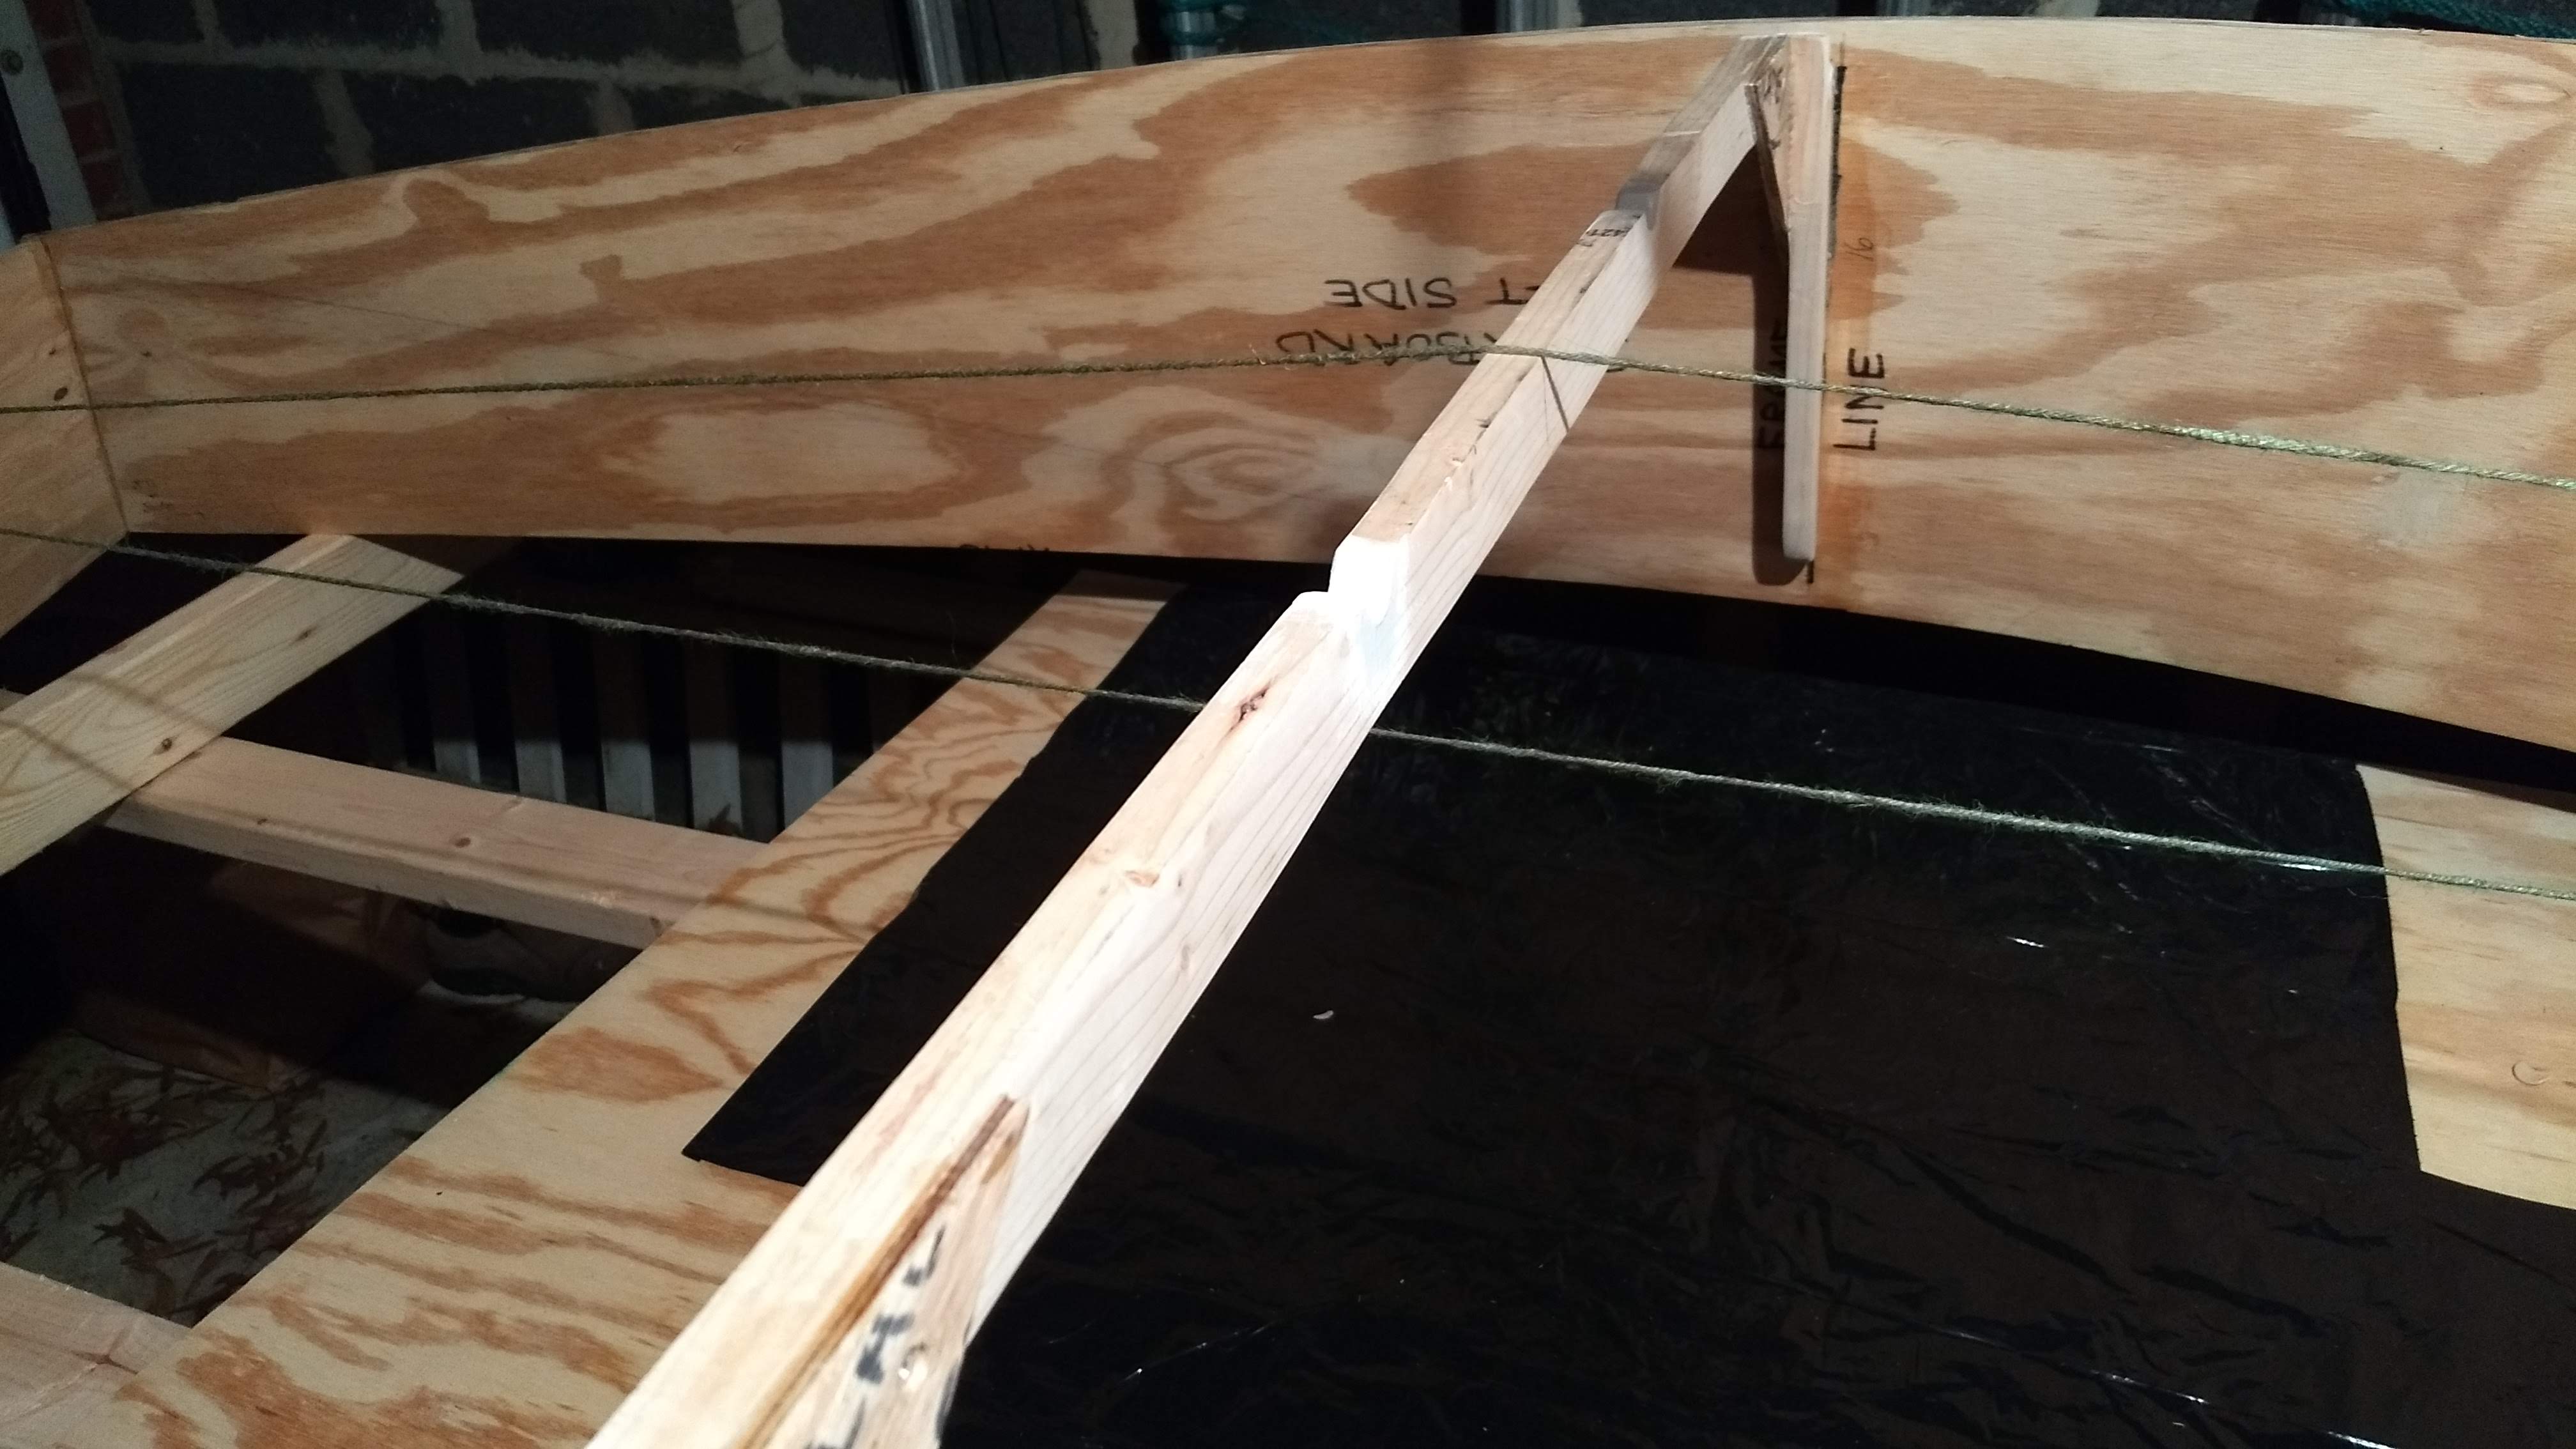
Turns out Dawn hadn’t left to walk the dogs, so I quickly cleaned up and stretched some string to check stem and frame and transom alignment, then finished up. And then went to walk the dogs.

Alignment strings

The work is really progressing. Next up is milling 12′ lengths of 1×2 for gunwales and inwales.

Week 11: Finishing the Frame and Stem

I meant to reassemble the hull this weekend, this time with glue, to build the hull for real. I did not build the hull this weekend. It snowed instead. A lot of snow. Damn. I finished the frame and stem, though. That’s something.

Working in the basement workshop, I removed the temporary braces from the top of the frame and cut the tops of the frame sides down to 14″, rounding over the top edges so’s they’ll look nice in the boat.

Cutting the curves with the handheld jigsaw, the curves weren’t especially even or attractive, so I decided to sand them a bit. I got them a little more even, a little more attractive, so much so that I thought I’d sand the sides some, thinking that I wouldn’t be able to sand them as easily once they were attached to the sides and bottom of the boat.

Smooth and pretty

I kinda got carried away with sanding, but, hey, the frame looks pretty terrific now. If I do say so myself. I sanded away much of the writing on the parts, the labels showing what parts they were. I don’t mind all the writing on the boat. It adds to the rough homemade feeling about everything, but all that writing’s going to be painted over anyway.

One purely functional thing about the sanding that I did was knocking down the sharp edges of the parts. I think a bit of rounding looks better, but it’ll also prevent splitting (I think) and/or me or anybody else cutting themselves on any sharp edges (I think).

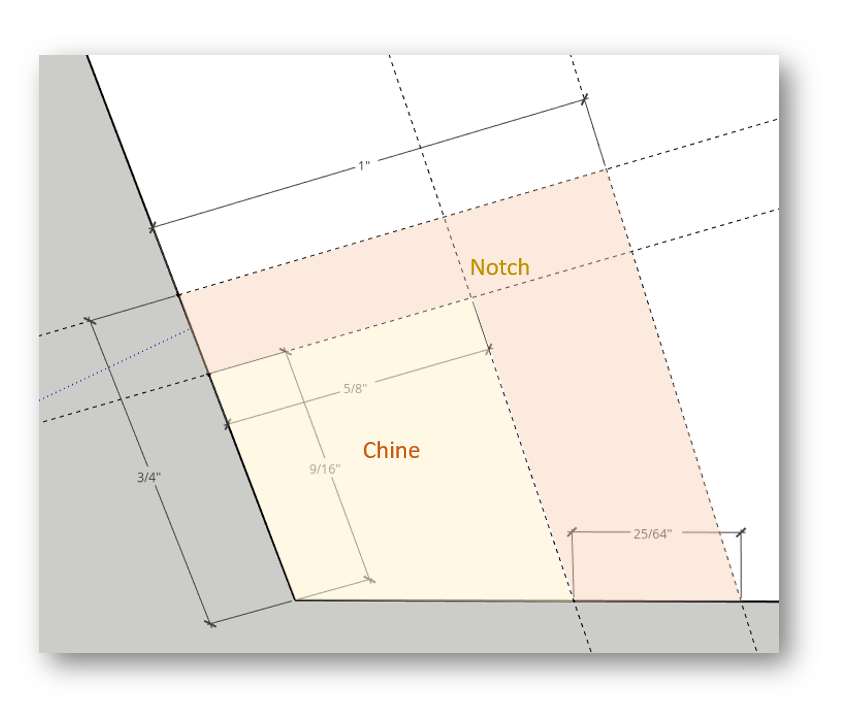
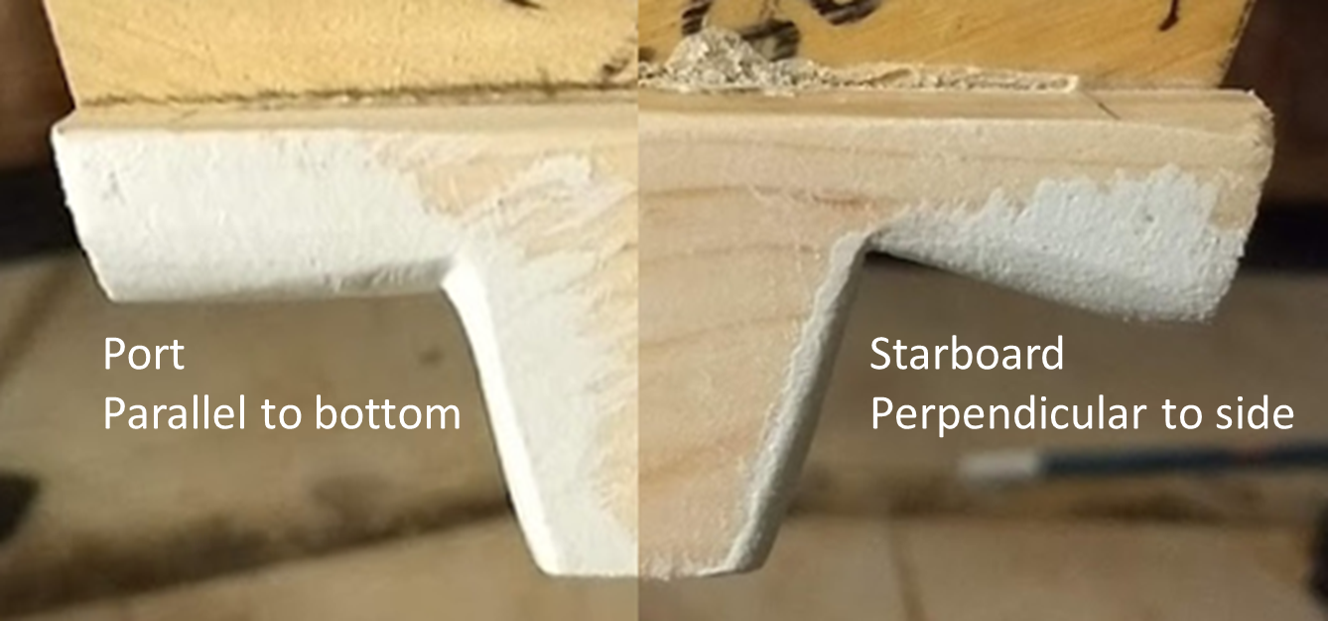
I also cut out the notches in the frame for the chine logs. Which I did not do the same on both sides, dammit. Measure once, cut twice, as usual. I was supposed to measure up 3/4″ from the bottom corner of the frame to accommodate the 9/16″ side of the chine, then measure out 1″ at a 90° angle perpendicular to the side of the frame, to accommodate the 5/8″ top of the chine.

Chine and notch calculations

I did indeed measure out 90° on the starboard side but absent-mindedly measured out 1″ on the port side merely parallel to the frame bottom instead of perpendicular to the side. I don’t think that leaves enough room for the chine at that point.

Very much not symmetrical

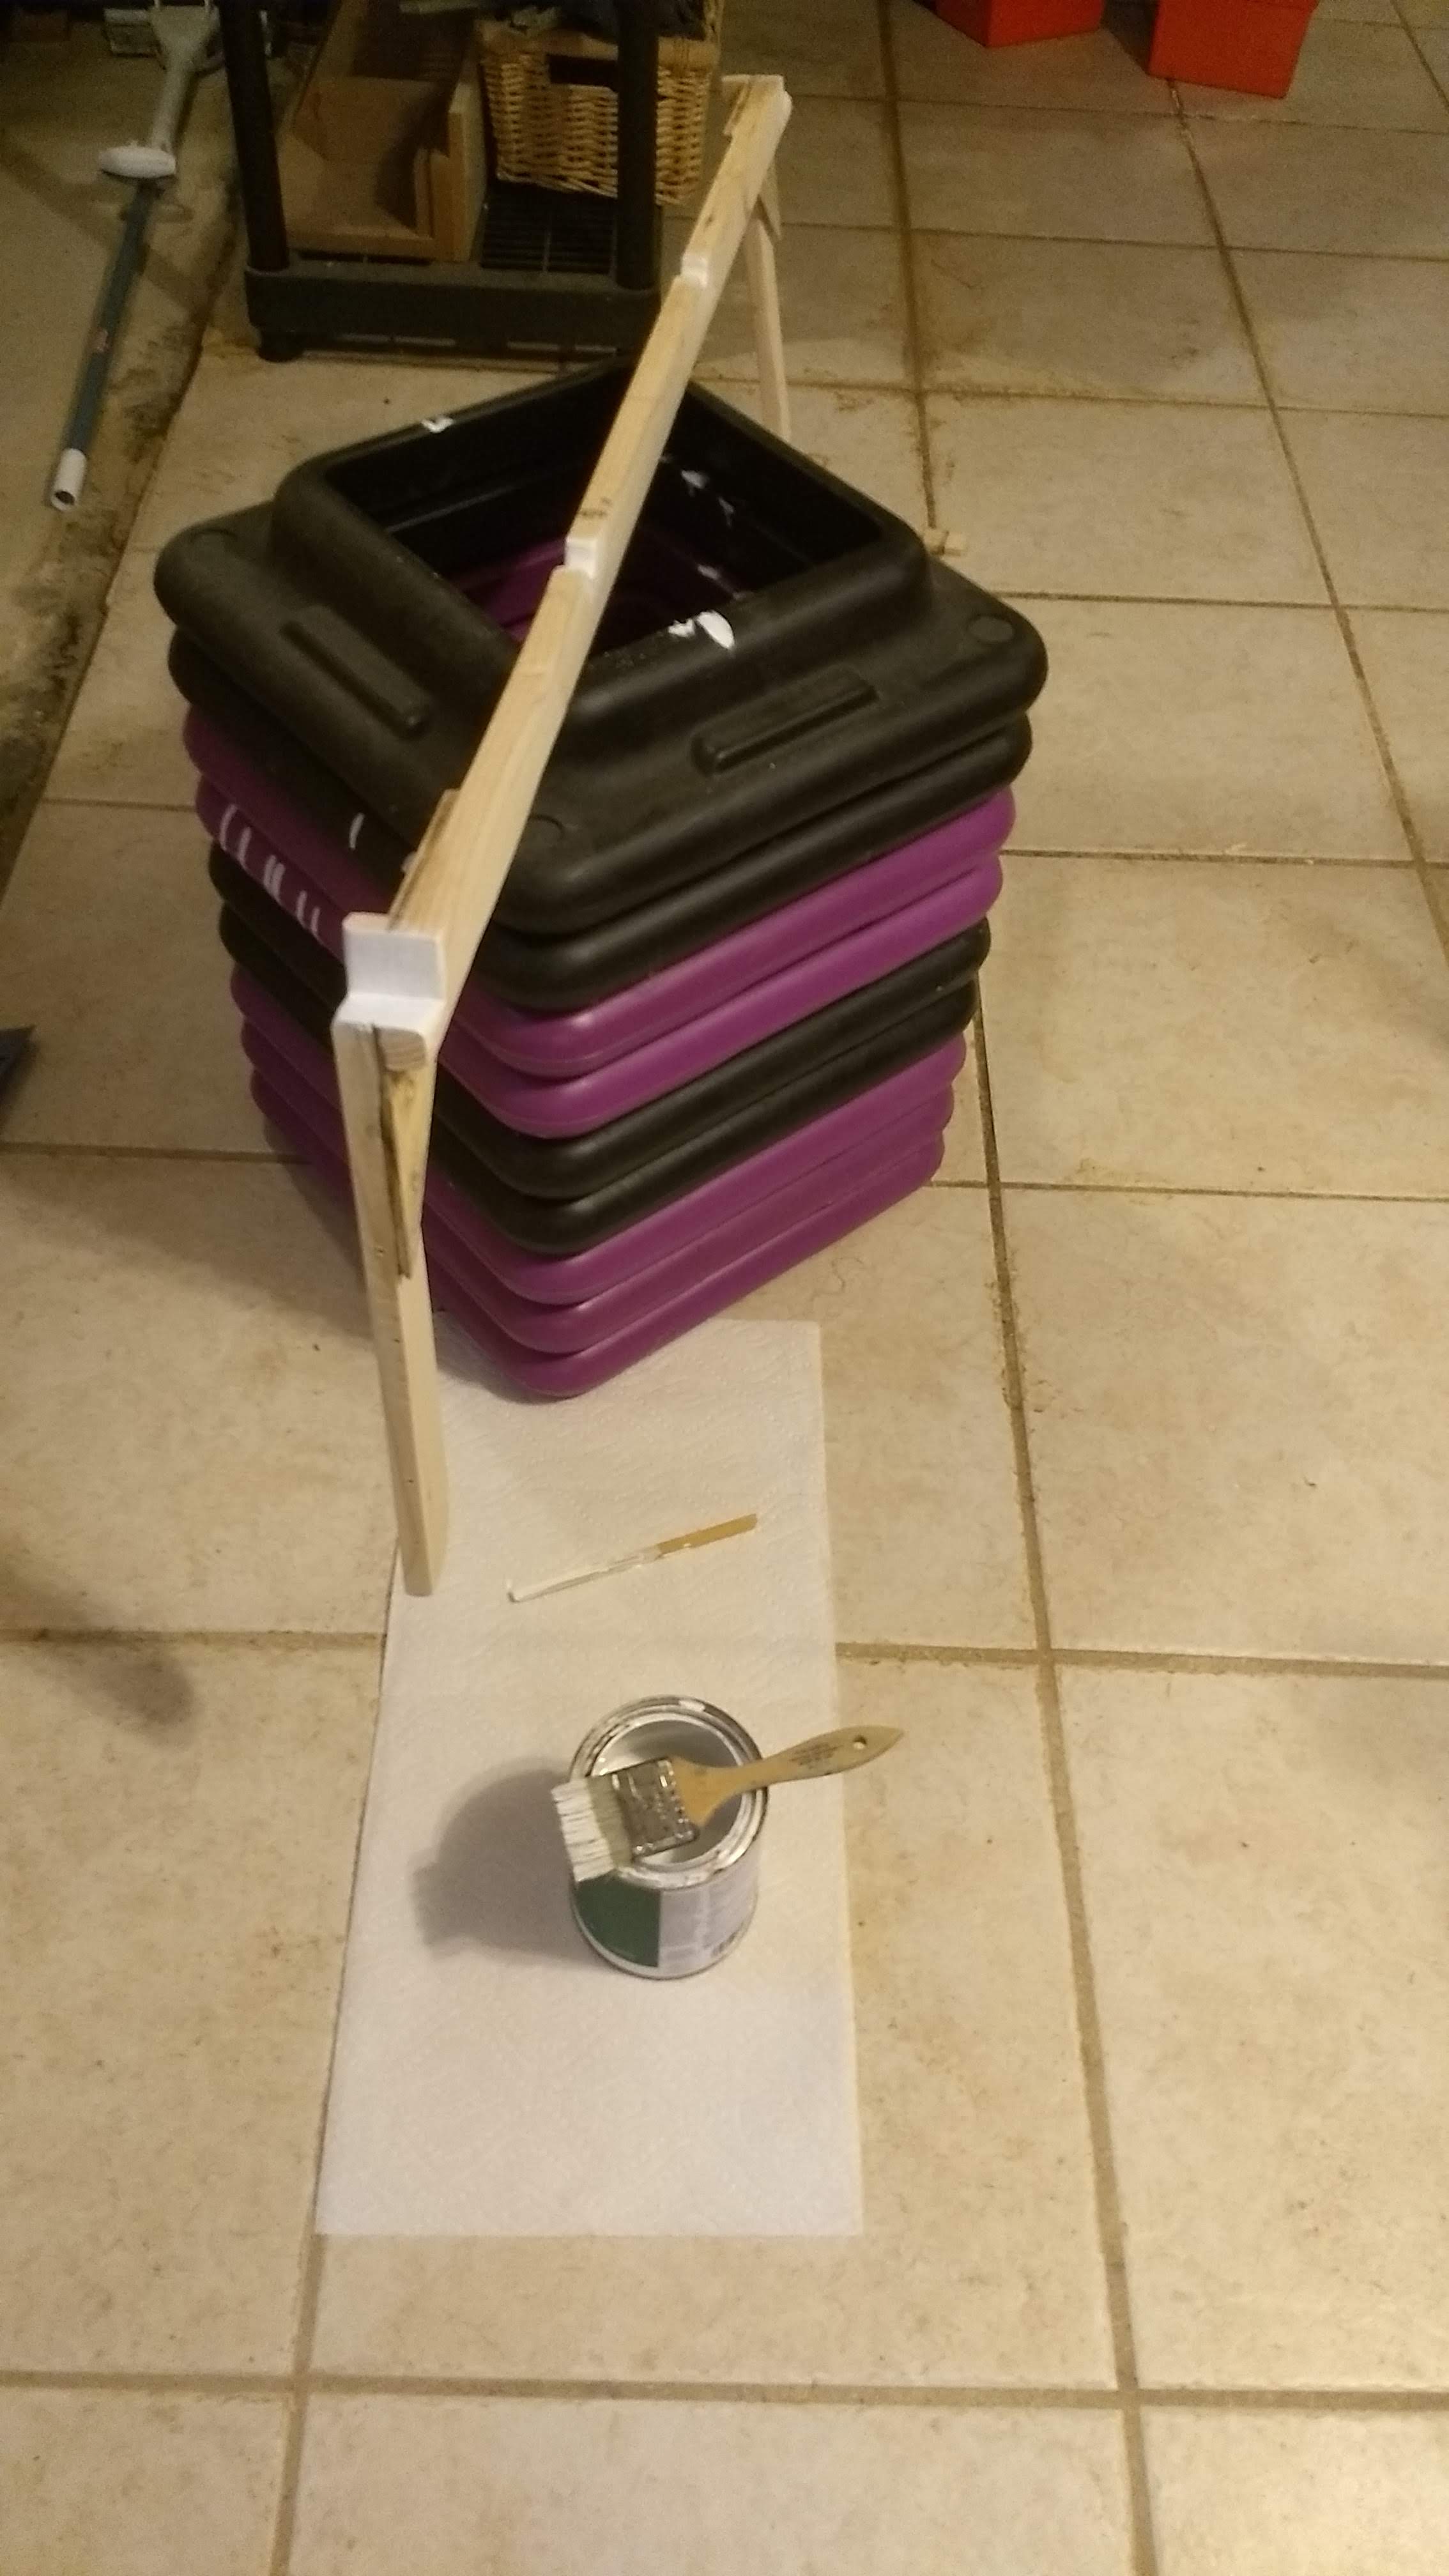
I painted the notches with 3 coats of the white paint that we used for the bathroom wainscoting that we put up recently. It’s not especially durable exterior acrylic paint or anything, like I’m going to use on the rest of the boat when time comes to paint it, but I haven’t bought that durable exterior acrylic paint yet, so I used what I had. It won’t be especially possible to paint those notches once they’re in place, is why I painted them now, is why I painted them with whatever paint I have now. And the particular areas on the parts painted now shouldn’t have to deal with much water, inside the boat as they’ll be. But they needed a little paint.

Painting the frame chine notches and limber holes

But now I’m thinking of re-cutting that port notch, despite the paint. All this snow on the ground, I don’t think I’m building the hull until it all melts. I guess I have time to repaint one notch.

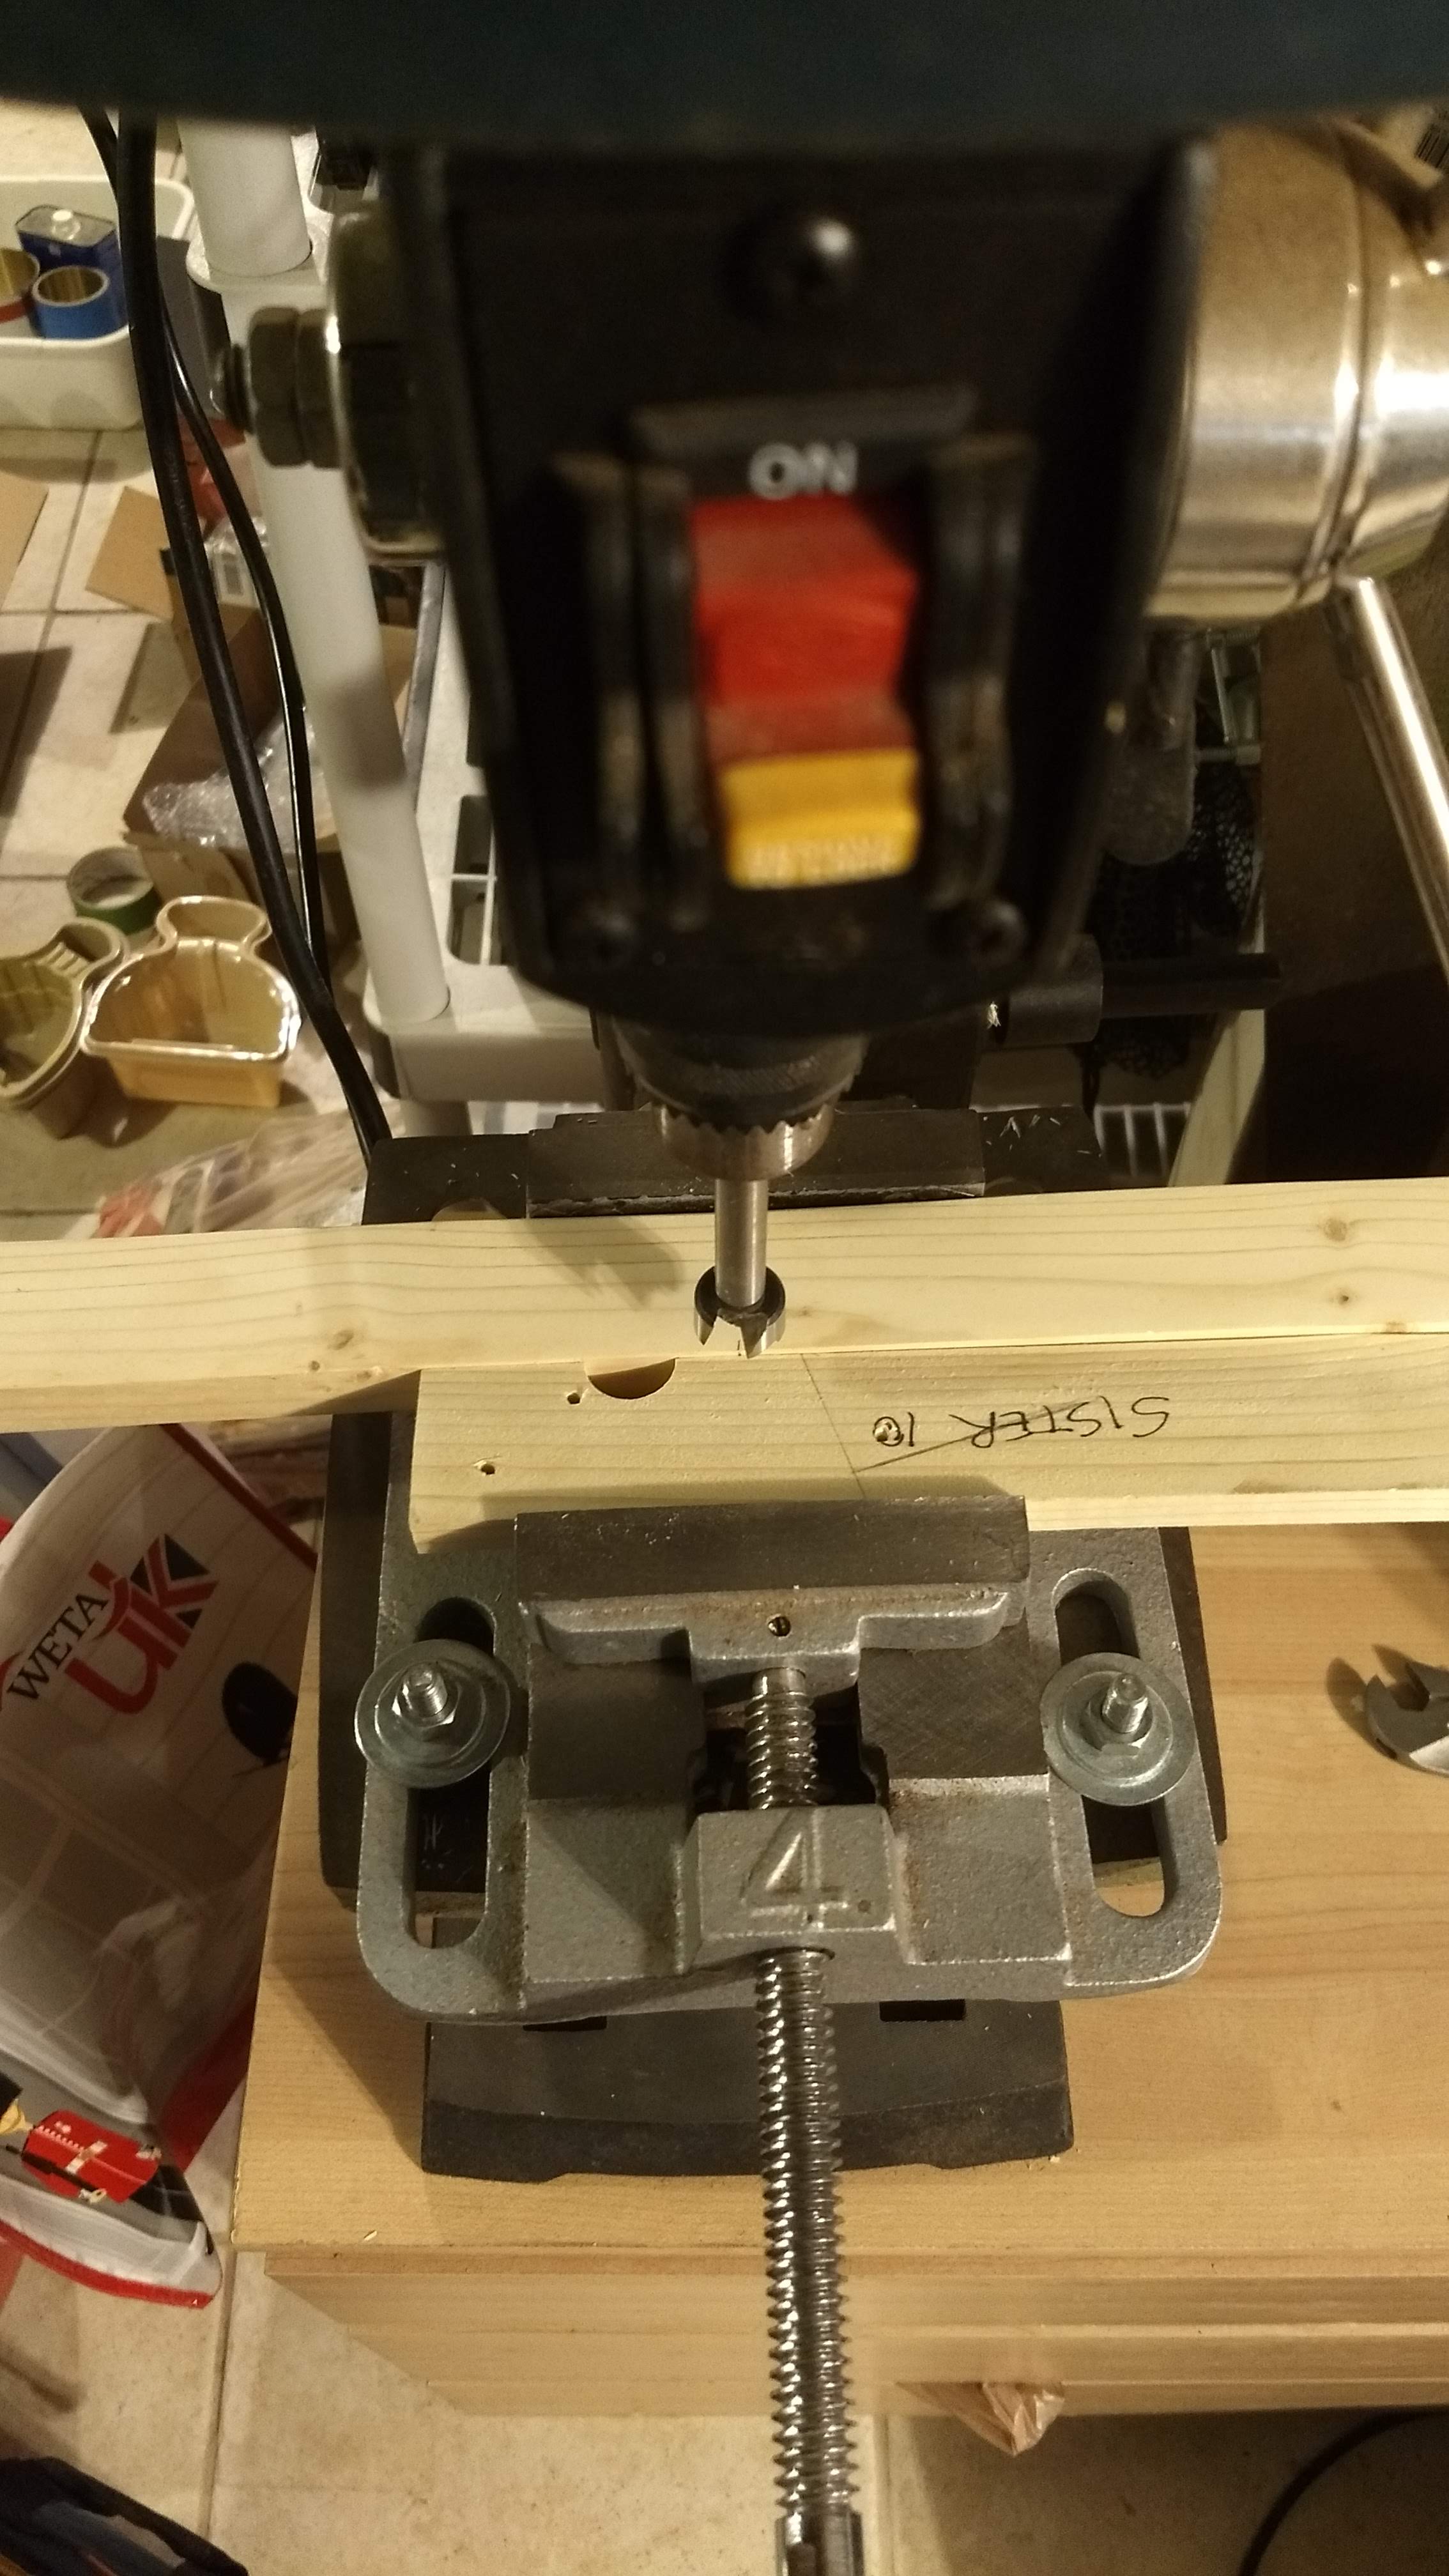
I cut two limber holes in the frame bottom as well. I don’t think they’ll be much needed, but I don’t guess they hurt either. And it was fun setting up the drill press and the drill press vise to do the cuts with a 3/4″ Forstner bit.

It’s always satisfying to use a drill press

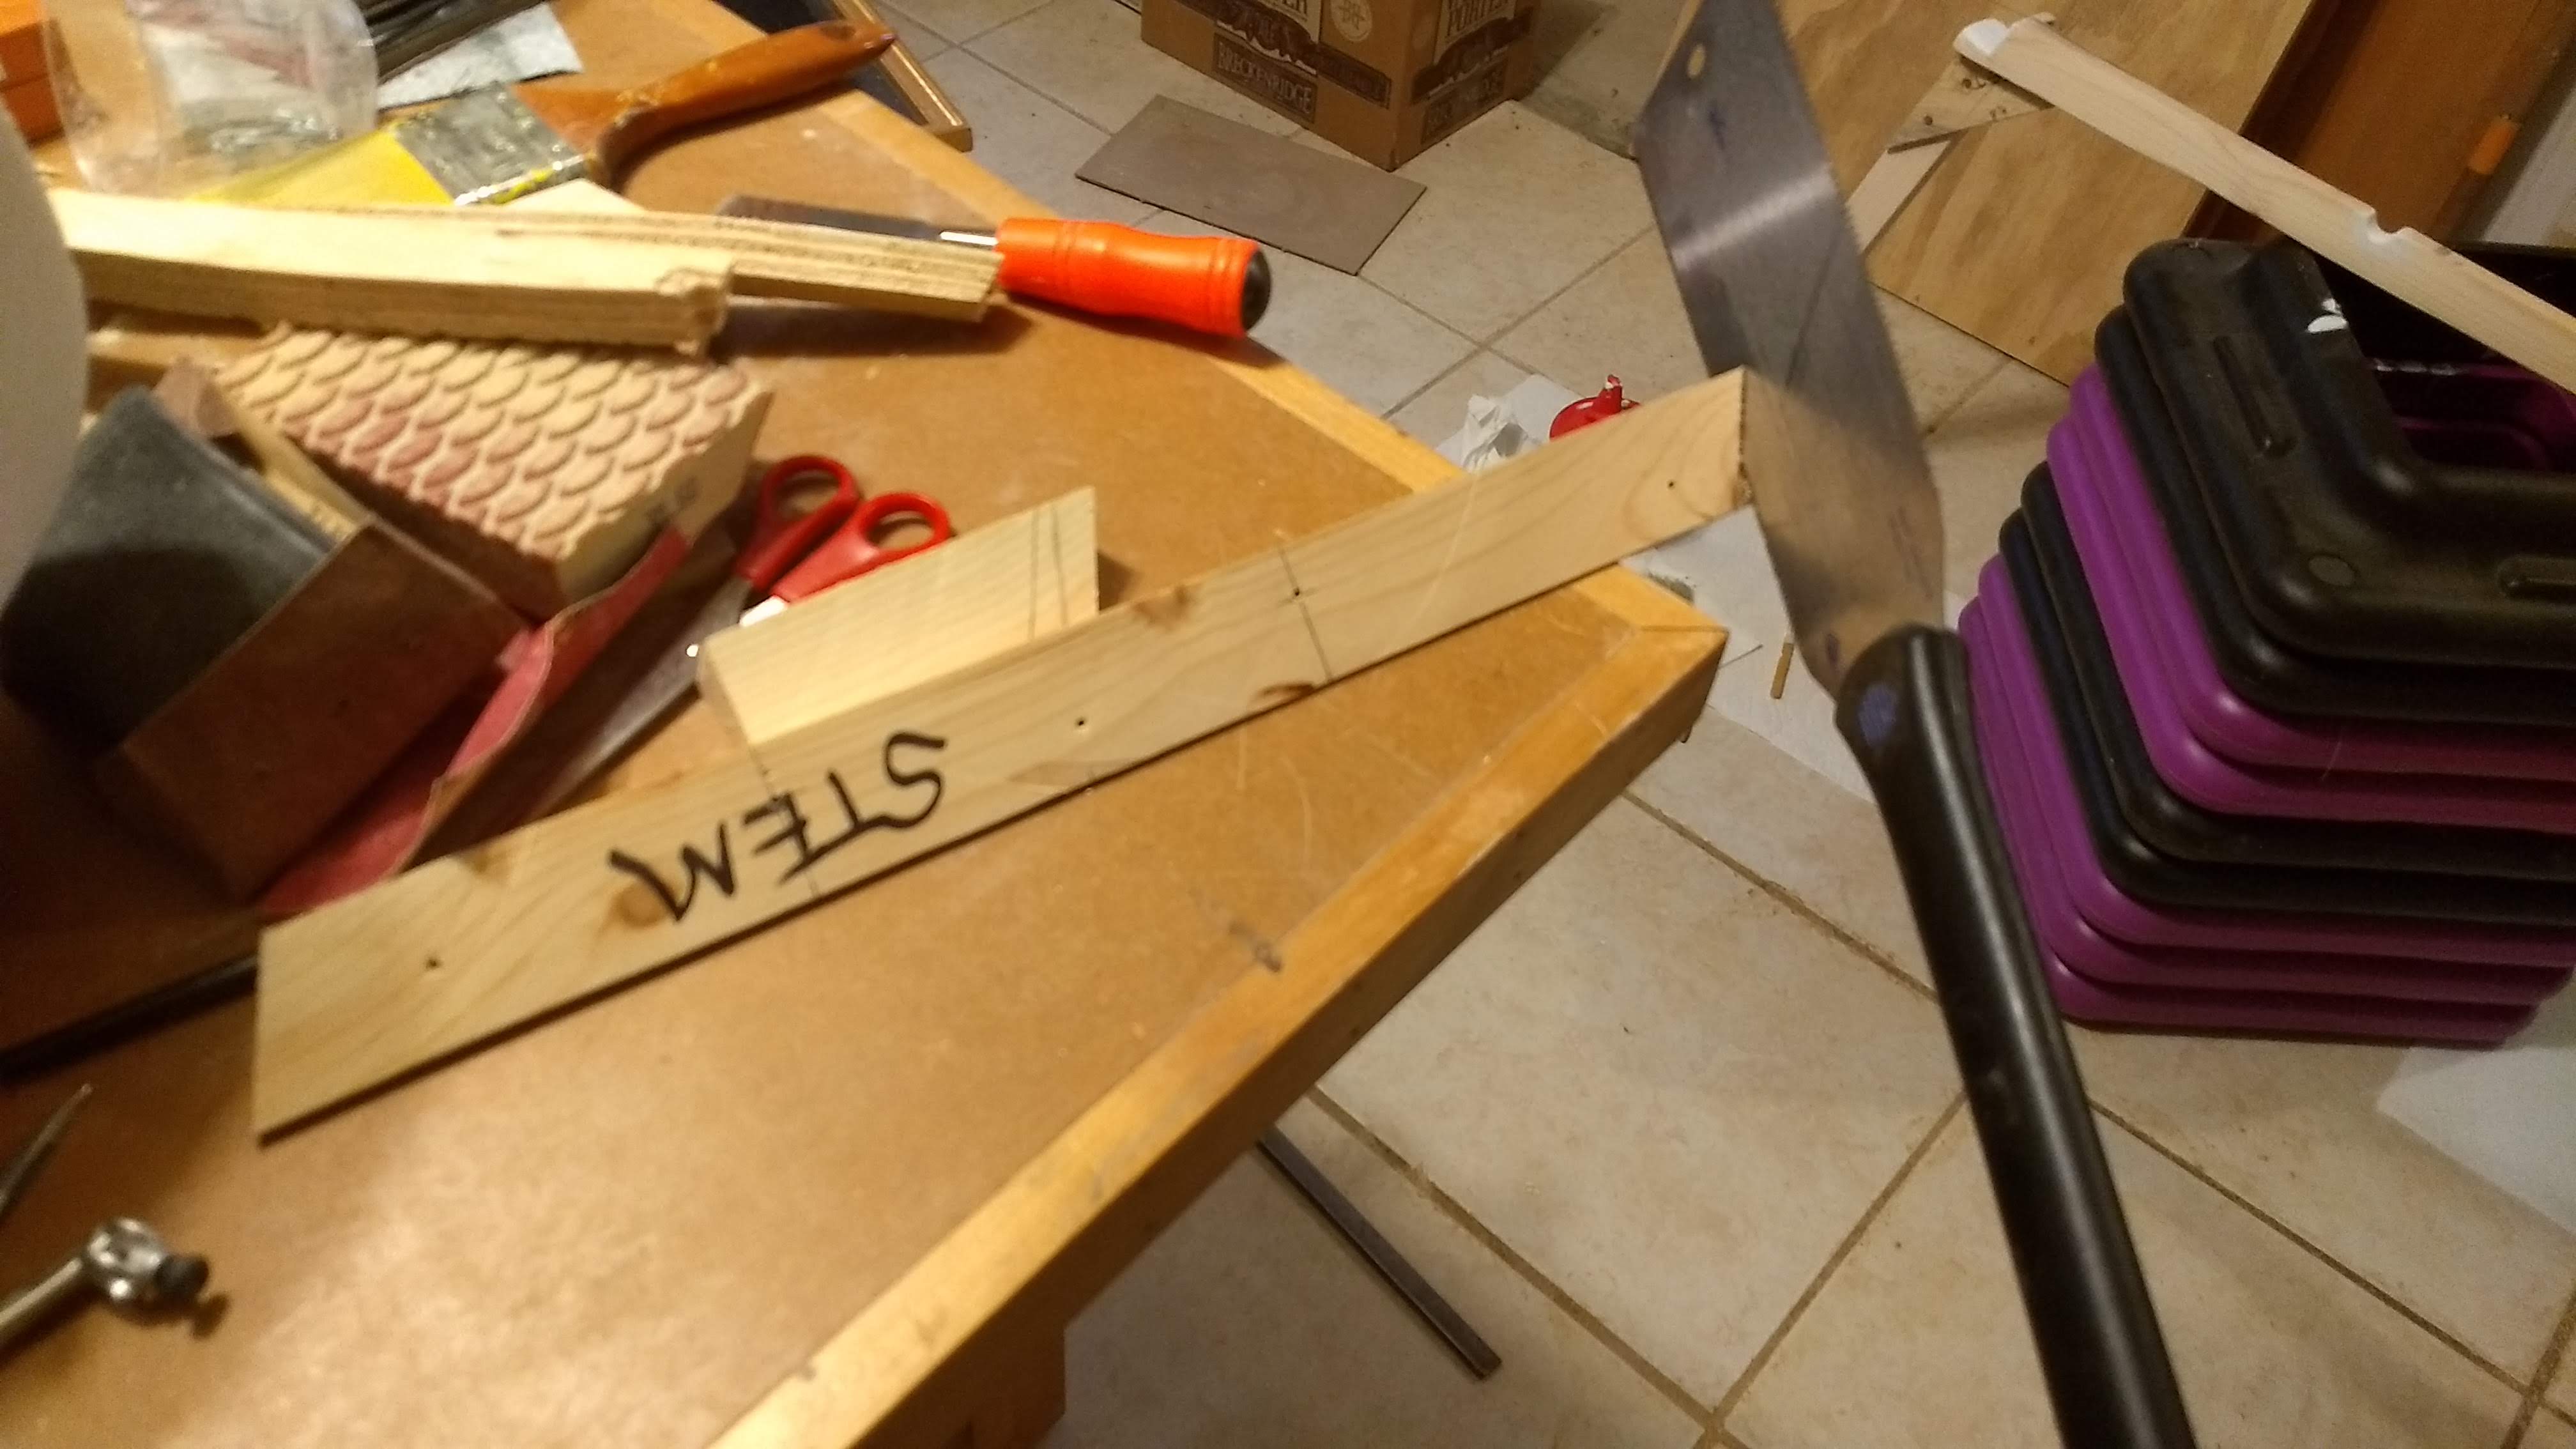
And I cut the excess off the stem. That turned out to be trickier than I imagined, as these things do. But I think the cuts look fine and will work.

Sawing off the excess parts of the stem

Next weekend I want to build the hull. It’s a holiday weekend, so there’s an extra day. But we’re hosting Mother Dillon as well. So we’ll see. I had hoped to have the hull built in time for her visit, but I guess she can help build it while she’s here.

Update: I fixed the port side chine notch.

Cut to correct proportions and painted with first of three coats

Week 10: Transom

I have literally spent hours calculating dimensions and angles on the transom, and now, finally, I have built the damn thing.

First step was driving to Home Depot to buy a 2’×4′ board of 3/4″ BC exterior plywood. This turned out to be my first purchase of boat building material since October. Heck, it was my first purchase of boat building anything since I bought a 2-pack of 5/64″ drill bits for $5 back in November. At all of $17.84 plus tax, this board brings my total outlay for the boat to $225.20 so far, which ain’t too shabby.

This board dreams of becoming a transom.

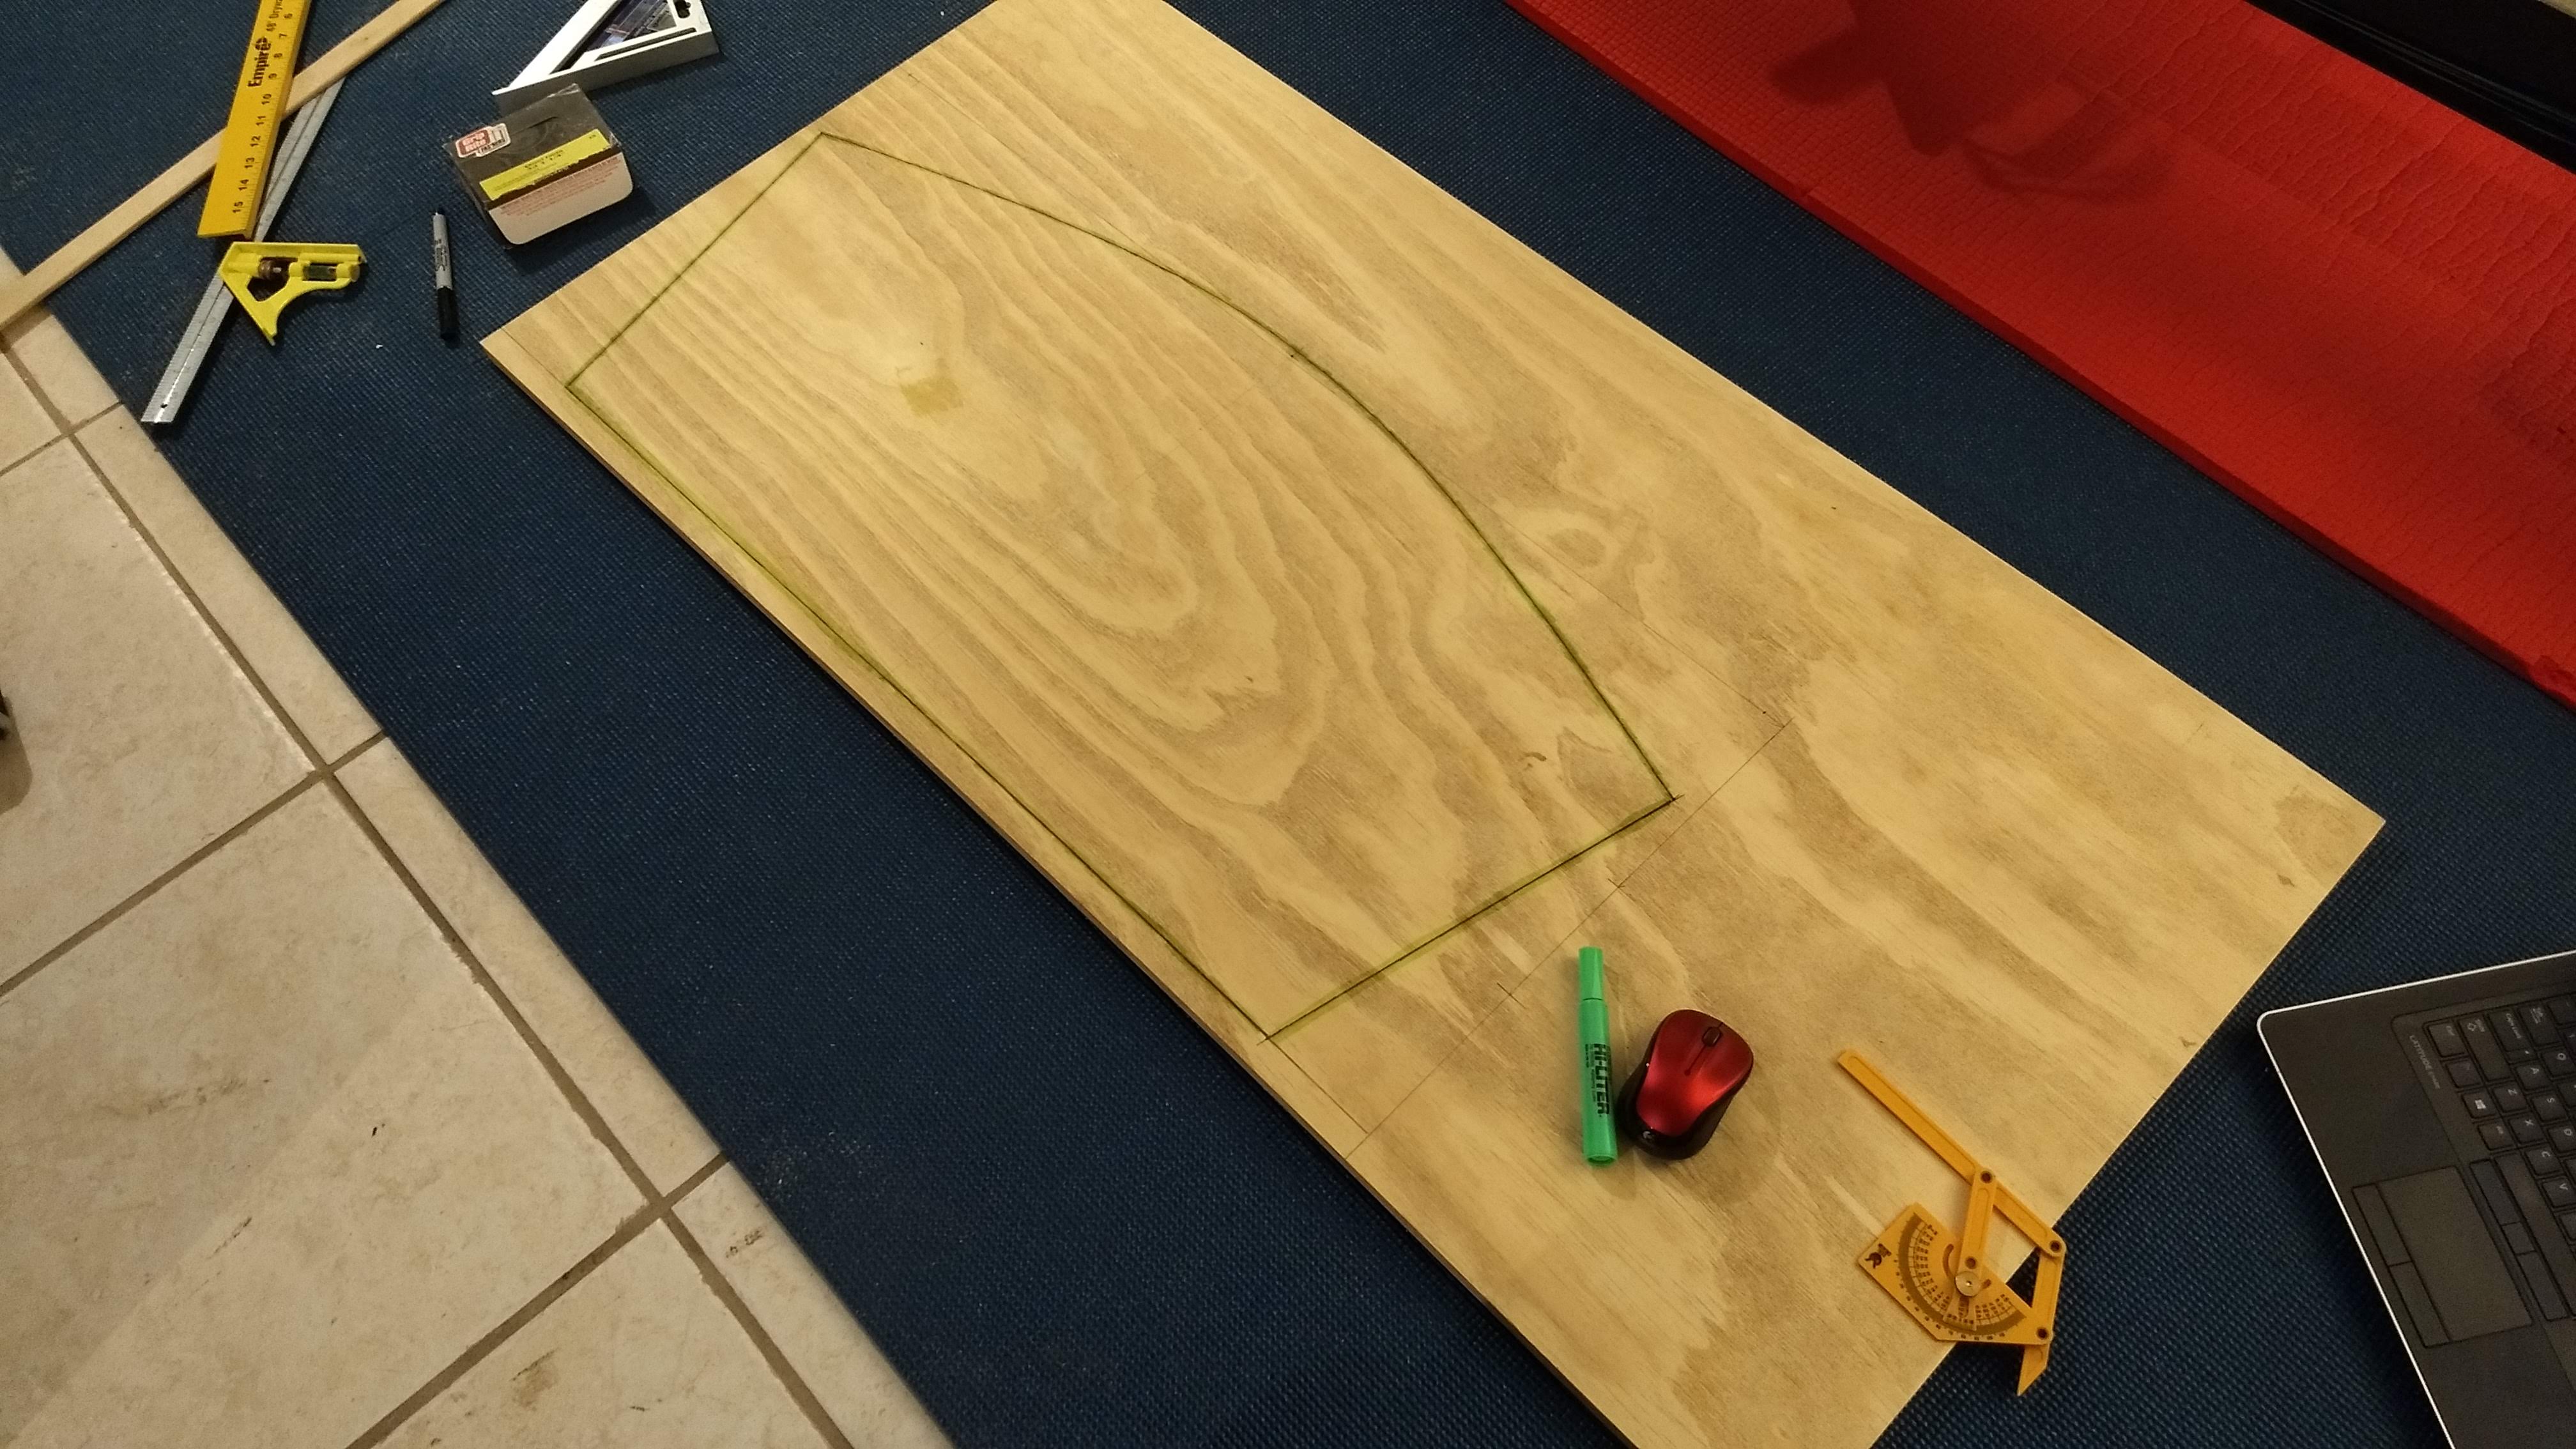
Next step was layout, which I did in the basement workshop. Okay, so, honestly, I did it on Dawn’s rowing machine mat, so technically I did it in the basement gym. Going back and forth between the basement gym and the garage and the workbench in the basement workshop, I tracked a lot of sawdust on Dawn’s fancy ginormous workout mat. She was pissed.

Encroaching on Dawn’s space …
… but ain’t that pretty?

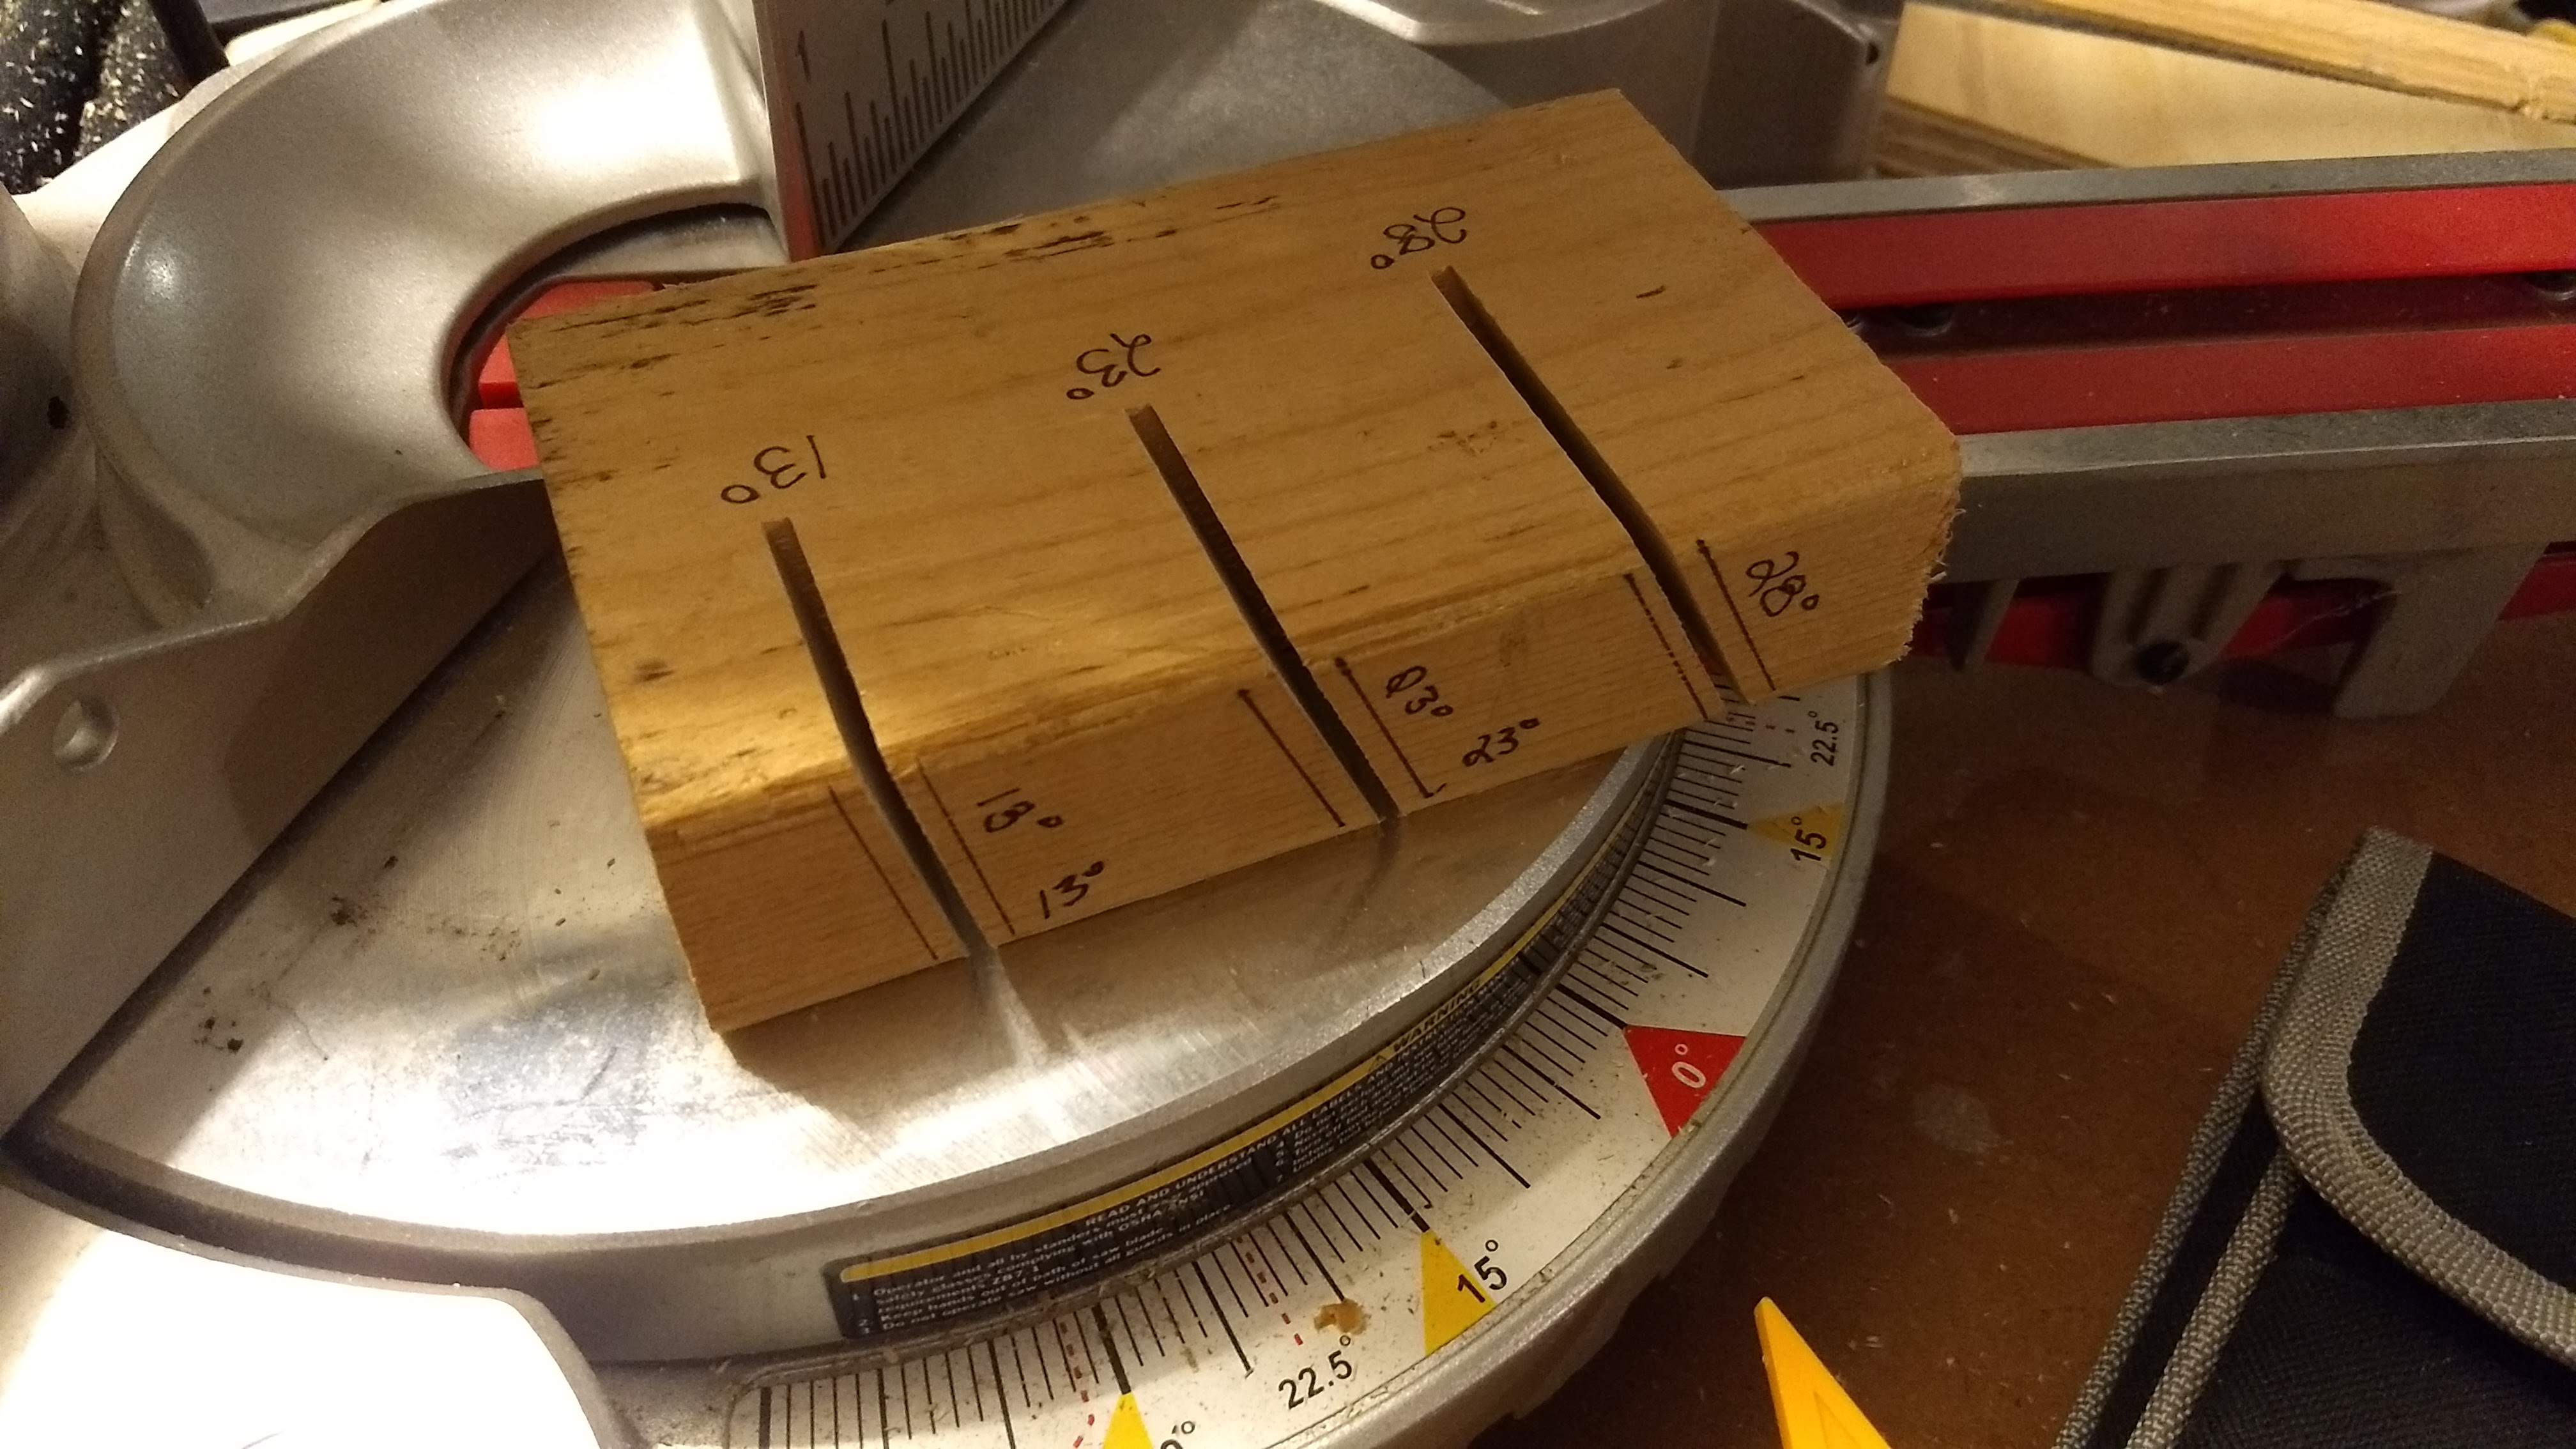
But anyway, I got the transom laid out on the board, then I clamped the board to the workbench and used the jig saw to cut it out. The trickiest part was figuring out how to angle the saw just so, depending on the cut. The bottom of the transom has to angle 28° from aft to fore, the sides at 13° aft to fore, and the top at 23° fore to aft. But I cleverly made a simple jig, lopping off a 6″ piece of 2×4 and using the miter saw to cut three slots in it at the respective angles. Then I could just use the jig to align the jig saw blade for whichever cut.

A jig for a jig saw
Cutting out the transom with the jig and the jig saw

Honestly, making the transom took far less time than all the calculating and worrying that I put into planning it, which I’d like to think was because of all the calculating and worrying and planning. Once again, the things that I think are going to be hard turn out to be easier, whereas so many of the other things turn out to be harder than I imagine. There’s a rule for life there somewhere, probably.

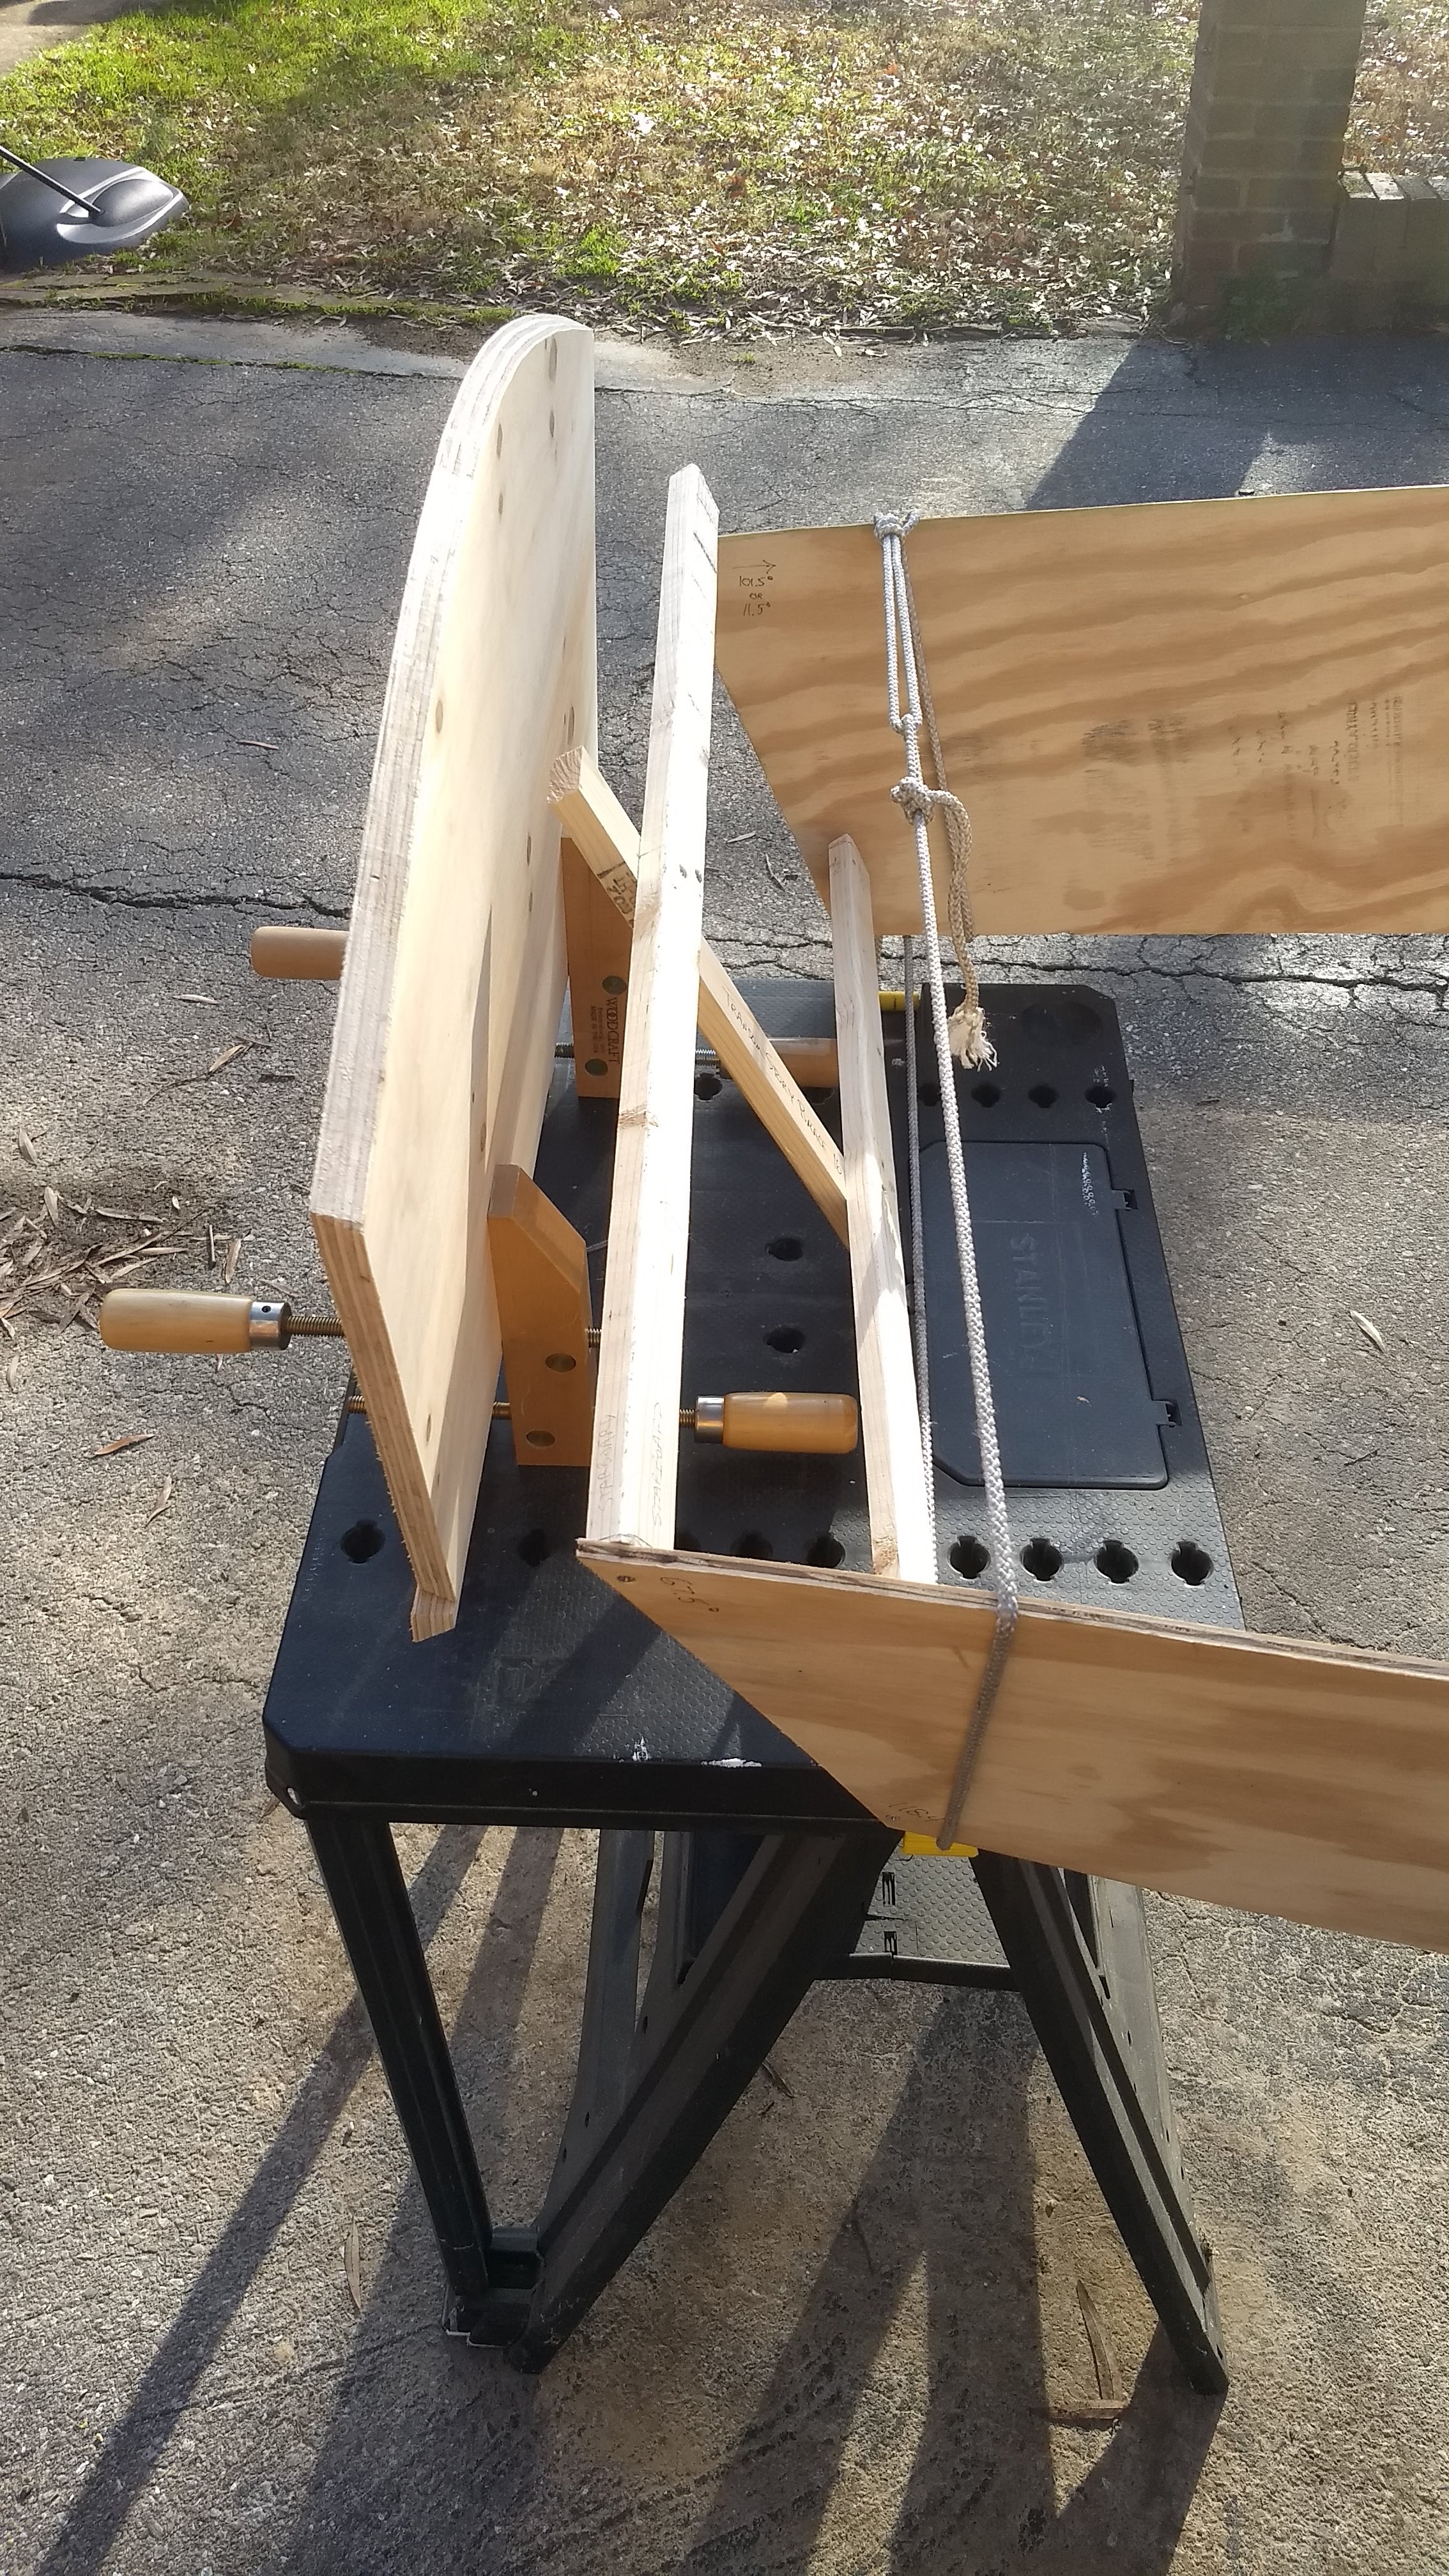
Next step was to pull the boat assembly back out of the garage and replace the temporary transom assembly (TTA) with the actual honest to God transom. Which, per that life rule, turned out to be way harder than I thought it would be.

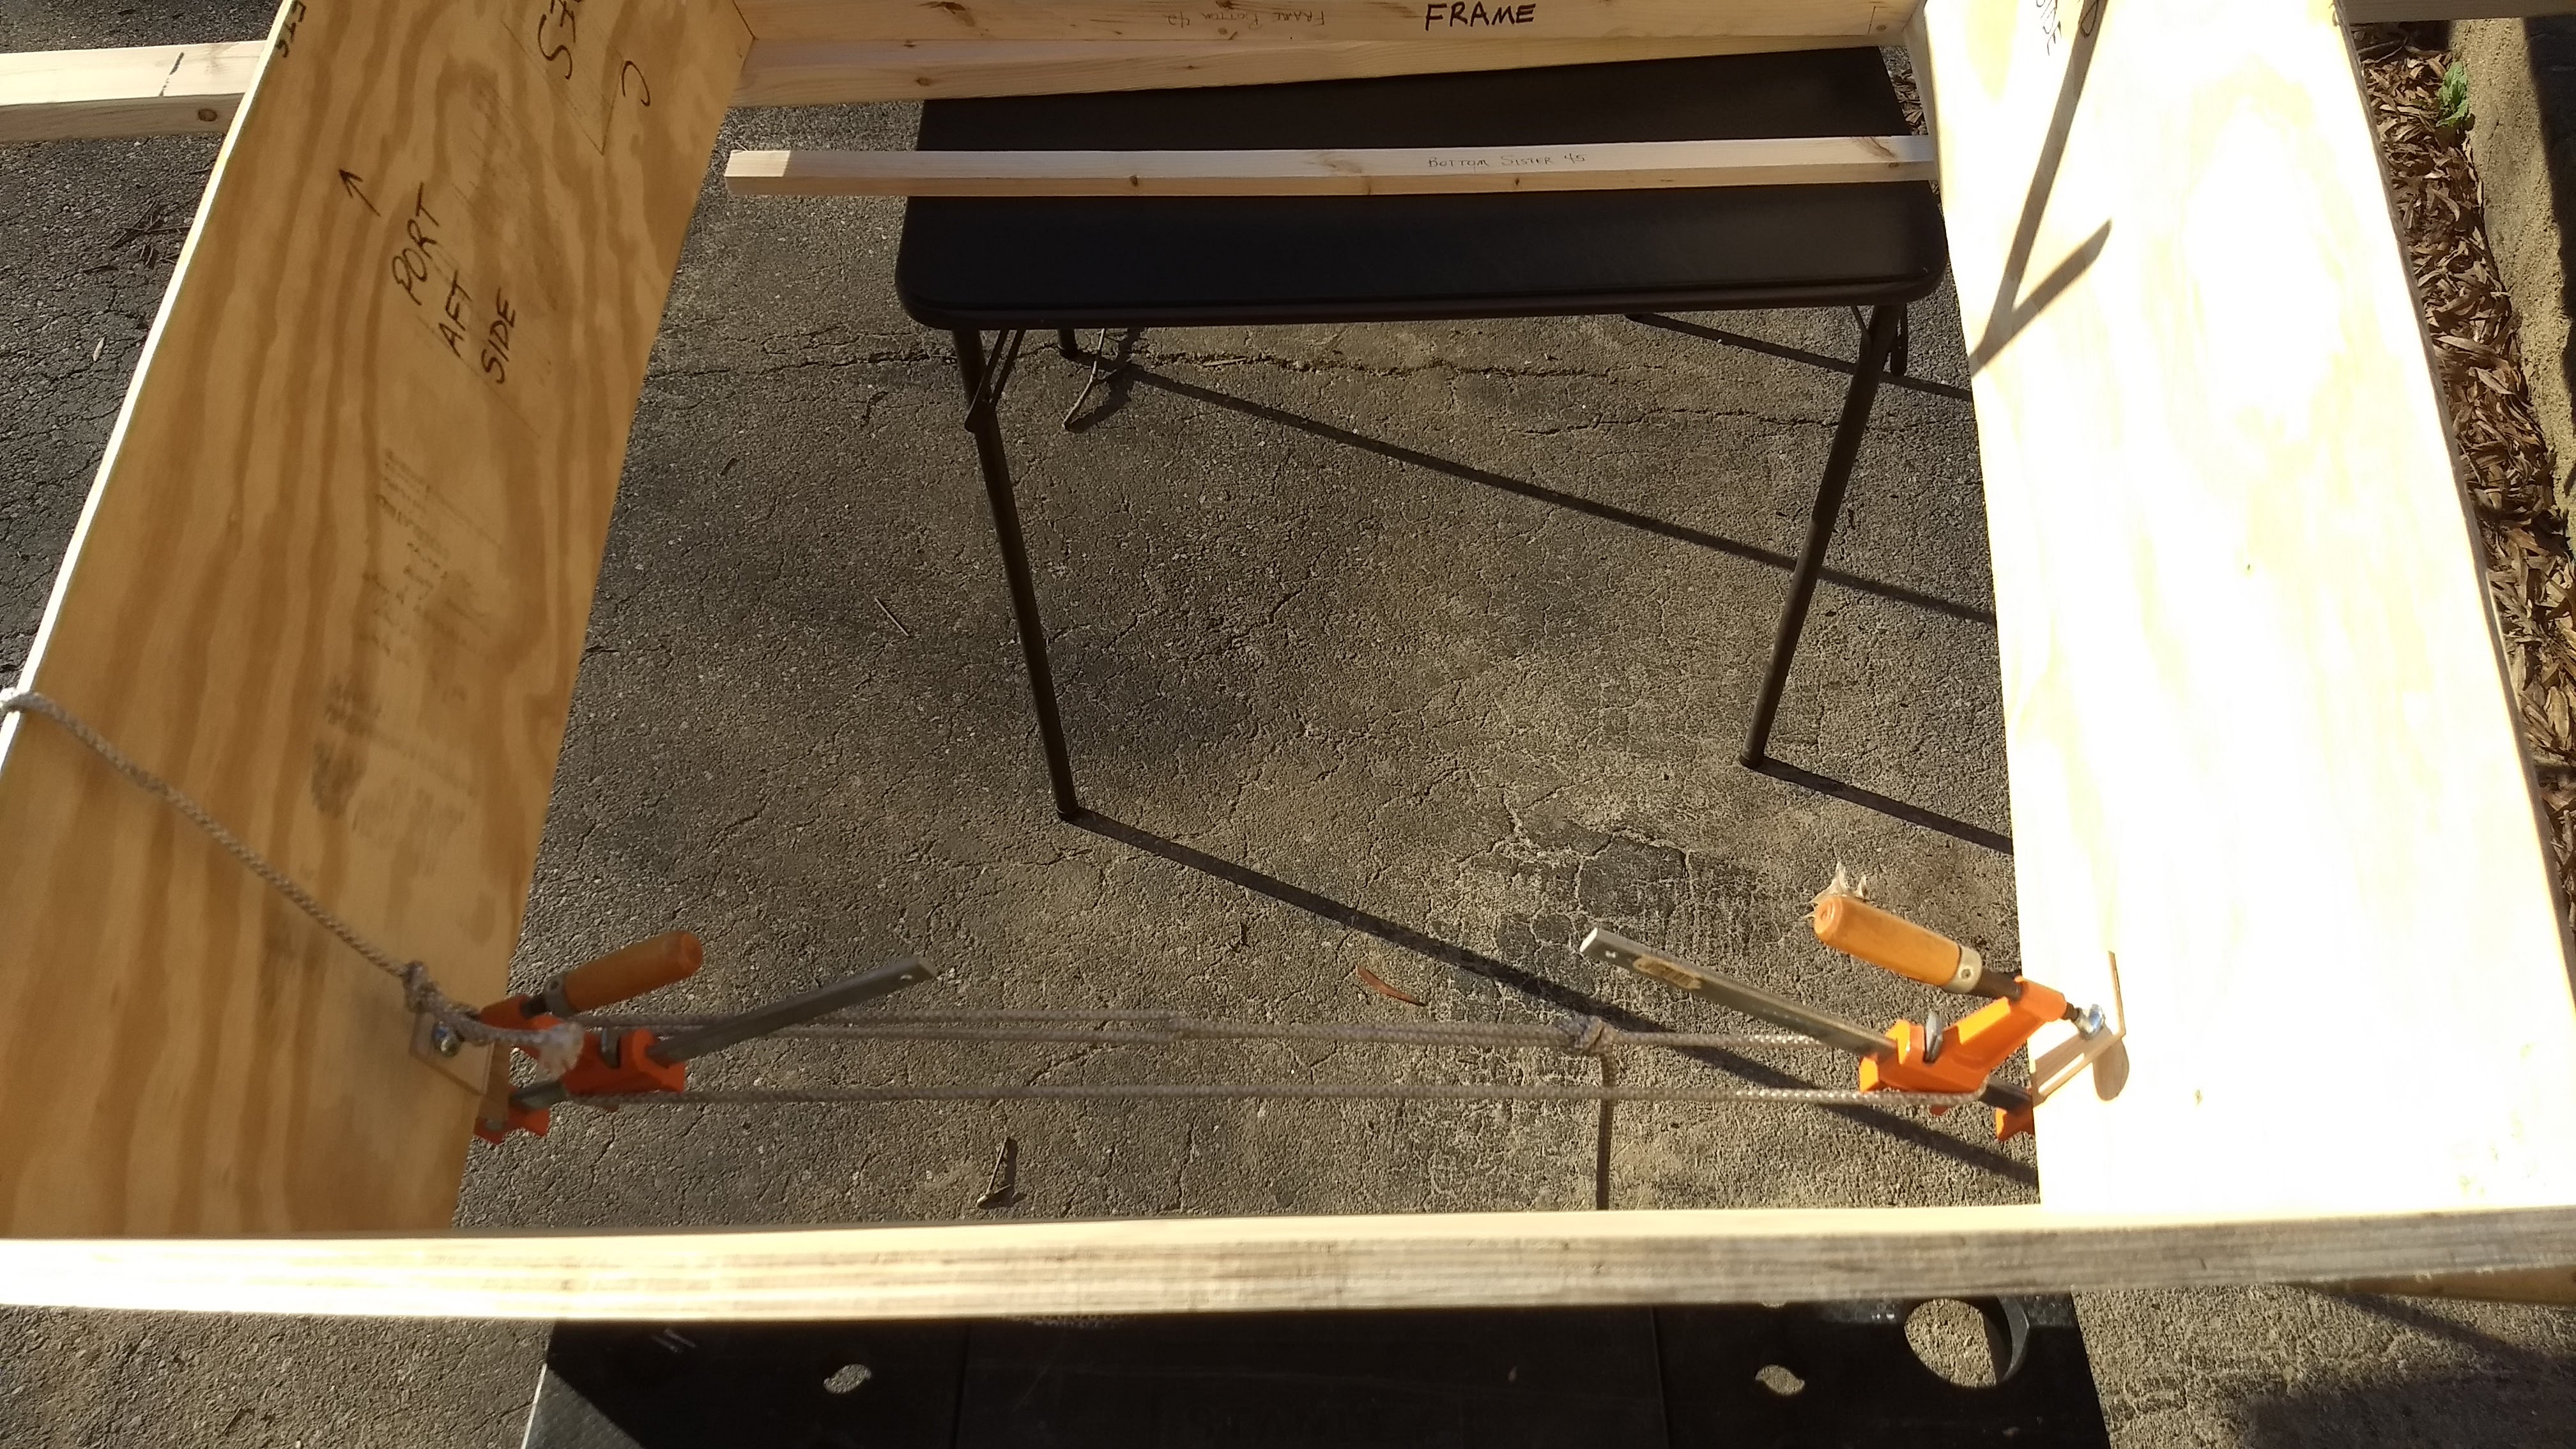
My first attempt was with the wood screws just like I had done with the frame, using the angled bottom piece that I had cut off as the bottom sister stick. And a length of rope for the usual trucker’s hitch windlass. It didn’t work very well.

The first, unsuccessful attempt at replacing the TTA with the transom

I was eventually able to get the transom on, but I wasn’t entirely thrilled with the results. The port side was okay, although the side stood a little proud out the aft end, but within reasonable limits. The starboard side, though, wasn’t symmetrical at all with the port side on the up and down axis. I had to re-seat that side. I tried a different method using clamps just on the bottom edge of the sides.

Second attempt

That worked a bit better. The transom was in place!

Now I’m thinking that arched crown is too high.
The afternoon sun made the lighting all uneven for photos, but this gives at least a view of the whole boat. Again, does that look like a boat, or what?

So then I took it all apart, of course.

Un-becoming a boat. Becoming an un-boat?

This build has all been a dry fit, to get everything ready for gluing. I have a little bit of fussing to do with the stem and frame, cutting them to final shape a bit smaller than they’ve been so far to help with the dry build. Next step after that is gluing, which I’m really, really determined to do before Mother Dillon visits us in mid-January. Let’s hope the weather cooperates next weekend.

Back in pieces in the garage

Week 9: Going into the 3rd dimension

Last week on Boat Therapy:

Next up is drilling matching holes for the screws to hold the stem and transoms (temporary assembly and final part) and frame. Then turning these flat parts sideways to attach to those parts and each other and finally start looking like an actual boat.

http://www.bohls.org/boat/2018/12/28/week-8-symmetricizing-the-sides/

You know what? That’s exactly what I did. Woo hoo!

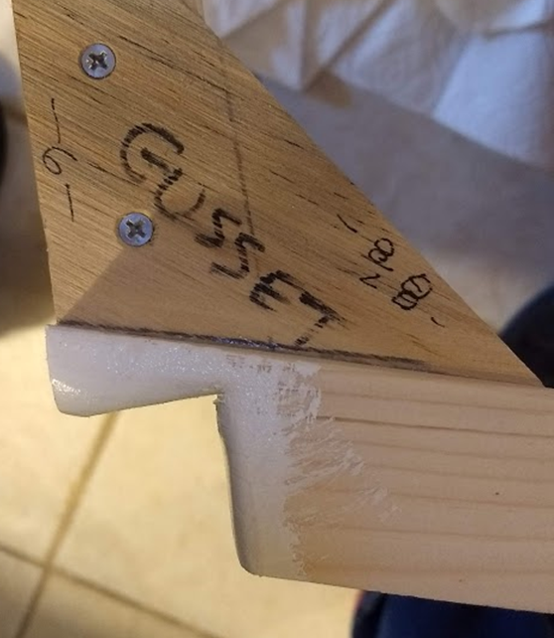
First step of the week was finishing the temporary transom assembly (TTA) by affixing the vertical brace to the top and bottom sticks. Like most things, that turned out to be trickier than I imagined. I thought I could just stick it anywhere, as long as the measure from the top of the top stick to the bottom of the bottom stick was exactly 11-5/8″. No reason, I thought, that the brace had to be centered or perpendicular or anything. Upon actually putting the assembly together, though, I quickly saw that the angled ends of the top and bottom sticks had to align, as the eventual solid transom obviously will. They’d be seriously out of alignment if I just slapped the brace on willy-nilly.

Stick and brace

So then the easiest way to align the angled ends of the top and bottom sticks was to attach the brace exactly in the middle and exactly perpendicular to the sticks. Et voila.

Temporary Transom Assembly (TTA)

Then, when I took the assembly out to the garage, I started thinking how I was going to attach the assembly evenly to the un-symmetricized aft ends of the boat side assemblies. (They’d been left unsymmetrical because neither was especially straight enough to serve as a guide for the router to make the other straight and symmetrical to it.) But then, looking down at this dilemma with the transom assembly in my hand, I realized that either of the long sticks on this assembly was certainly straight enough to serve. I clamped it underneath and it worked perfectly.

TTA as router guide

And now the stern is perfectly straight.

Straight as can be

Next step was finishing the temporary parts of the frame assembly. Back in the basement workshop, I screwed the two sisters to the frame sides. Then I clamped the bottom sister to the bottom of the frame, opting for clamping instead of screwing, which would’ve involved drilling through the 1-1/2″ stick and using like a 2″ screw or such. The wood screws as clamps were instant, and they turned into a handy stand for the whole assembly.

I had allowed a full 48″ for the top of the temporary frame assembly (TFA), which disappointingly turned out to be too short to go all the way at the top. So I screwed it as high as I could get it, which turned out to be just fine. Whew.

Back in the garage, while the sides were still clamped together for symmetricizing, I used the stem as a gauge for drilling the pilot holes in the bow, and, likewise, I used the TTA to drill the pilot holes at the stern. I had long ago marked the lines in the sides for the frame, so I drilled those too.

Now I had the stem, the frame, and the (temporary) transom ready. I had pilot holes in the sides. Time to go 3D.

TTA, TFA, and Stem all ready

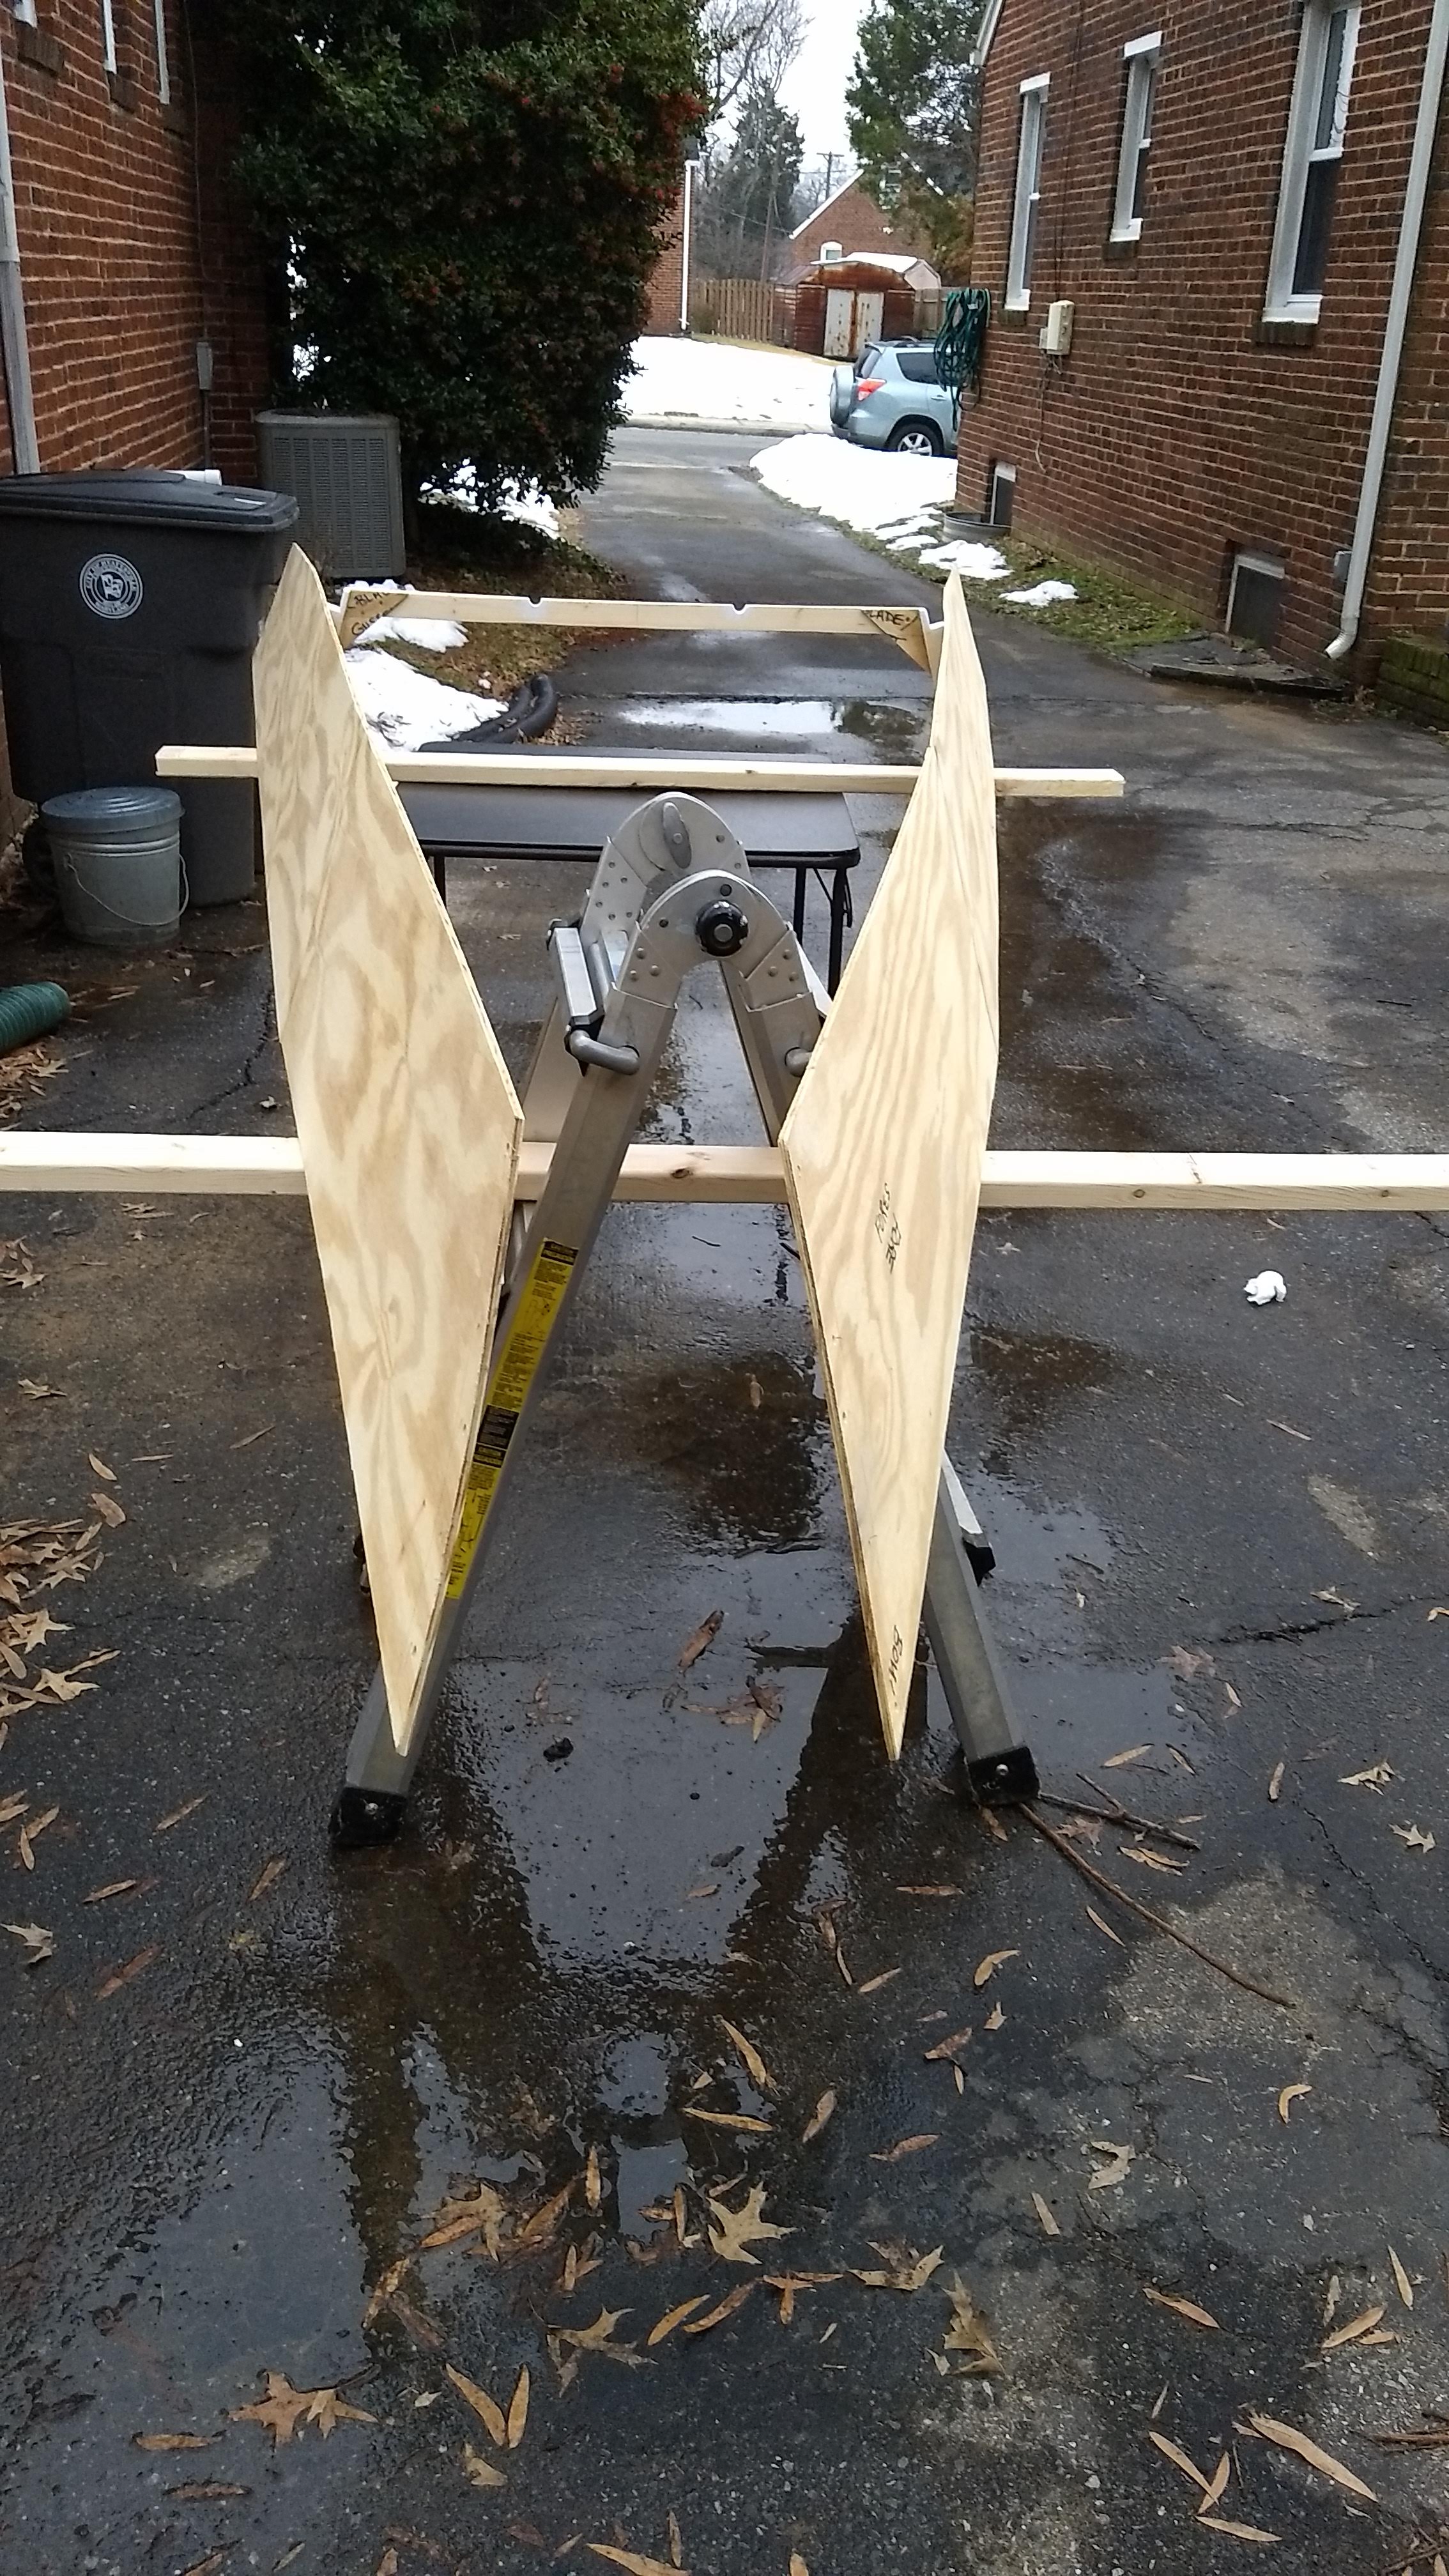
I had realized that I wouldn’t be able to easily access both sides of the boat on the plywood “workbench” in the garage (it’s actually the second sheet of plywood for the boat, what’s going to end up being the bottom of the boat, resting on sawhorses), so I moved the car and set up shop in the driveway, on my old Stanley folding workbench along with a folding card table and, it turned out, a roller stand and multi-position ladder. Oh, and a couple of 2×4s. And ropes for windlasses using trucker’s hitches.

Ready to wrestle

Either David Beede or Gavin Atkin had described this step, trying to attach the ends of two wobbling plywood sheets together, as wrestling an octopus. I had asked Dawn to help me with this step, but then I couldn’t wait and did it myself. It went really well, surprisingly, considering how many things have turned out to be harder than I imagine. This one was easier.

A few minutes later, it looked like a boat. Amazing.

Does that look like a boat, or what?

Dawn helped me move it back into the garage, and off we went to Joe & Devon’s New Year’s Day Open House. Next up is buying a 24×48 piece of 3/4″ plywood and using about half of that to make the transom. Then taking apart the whole boat and re-assembling it with glue. Like wrestling a sticky octopus.

I took a lot of pictures, but this is my favorite.