
I have literally spent hours calculating dimensions and angles on the transom, and now, finally, I have built the damn thing.
First step was driving to Home Depot to buy a 2’×4′ board of 3/4″ BC exterior plywood. This turned out to be my first purchase of boat building material since October. Heck, it was my first purchase of boat building anything since I bought a 2-pack of 5/64″ drill bits for $5 back in November. At all of $17.84 plus tax, this board brings my total outlay for the boat to $225.20 so far, which ain’t too shabby.

Next step was layout, which I did in the basement workshop. Okay, so, honestly, I did it on Dawn’s rowing machine mat, so technically I did it in the basement gym. Going back and forth between the basement gym and the garage and the workbench in the basement workshop, I tracked a lot of sawdust on Dawn’s fancy ginormous workout mat. She was pissed.

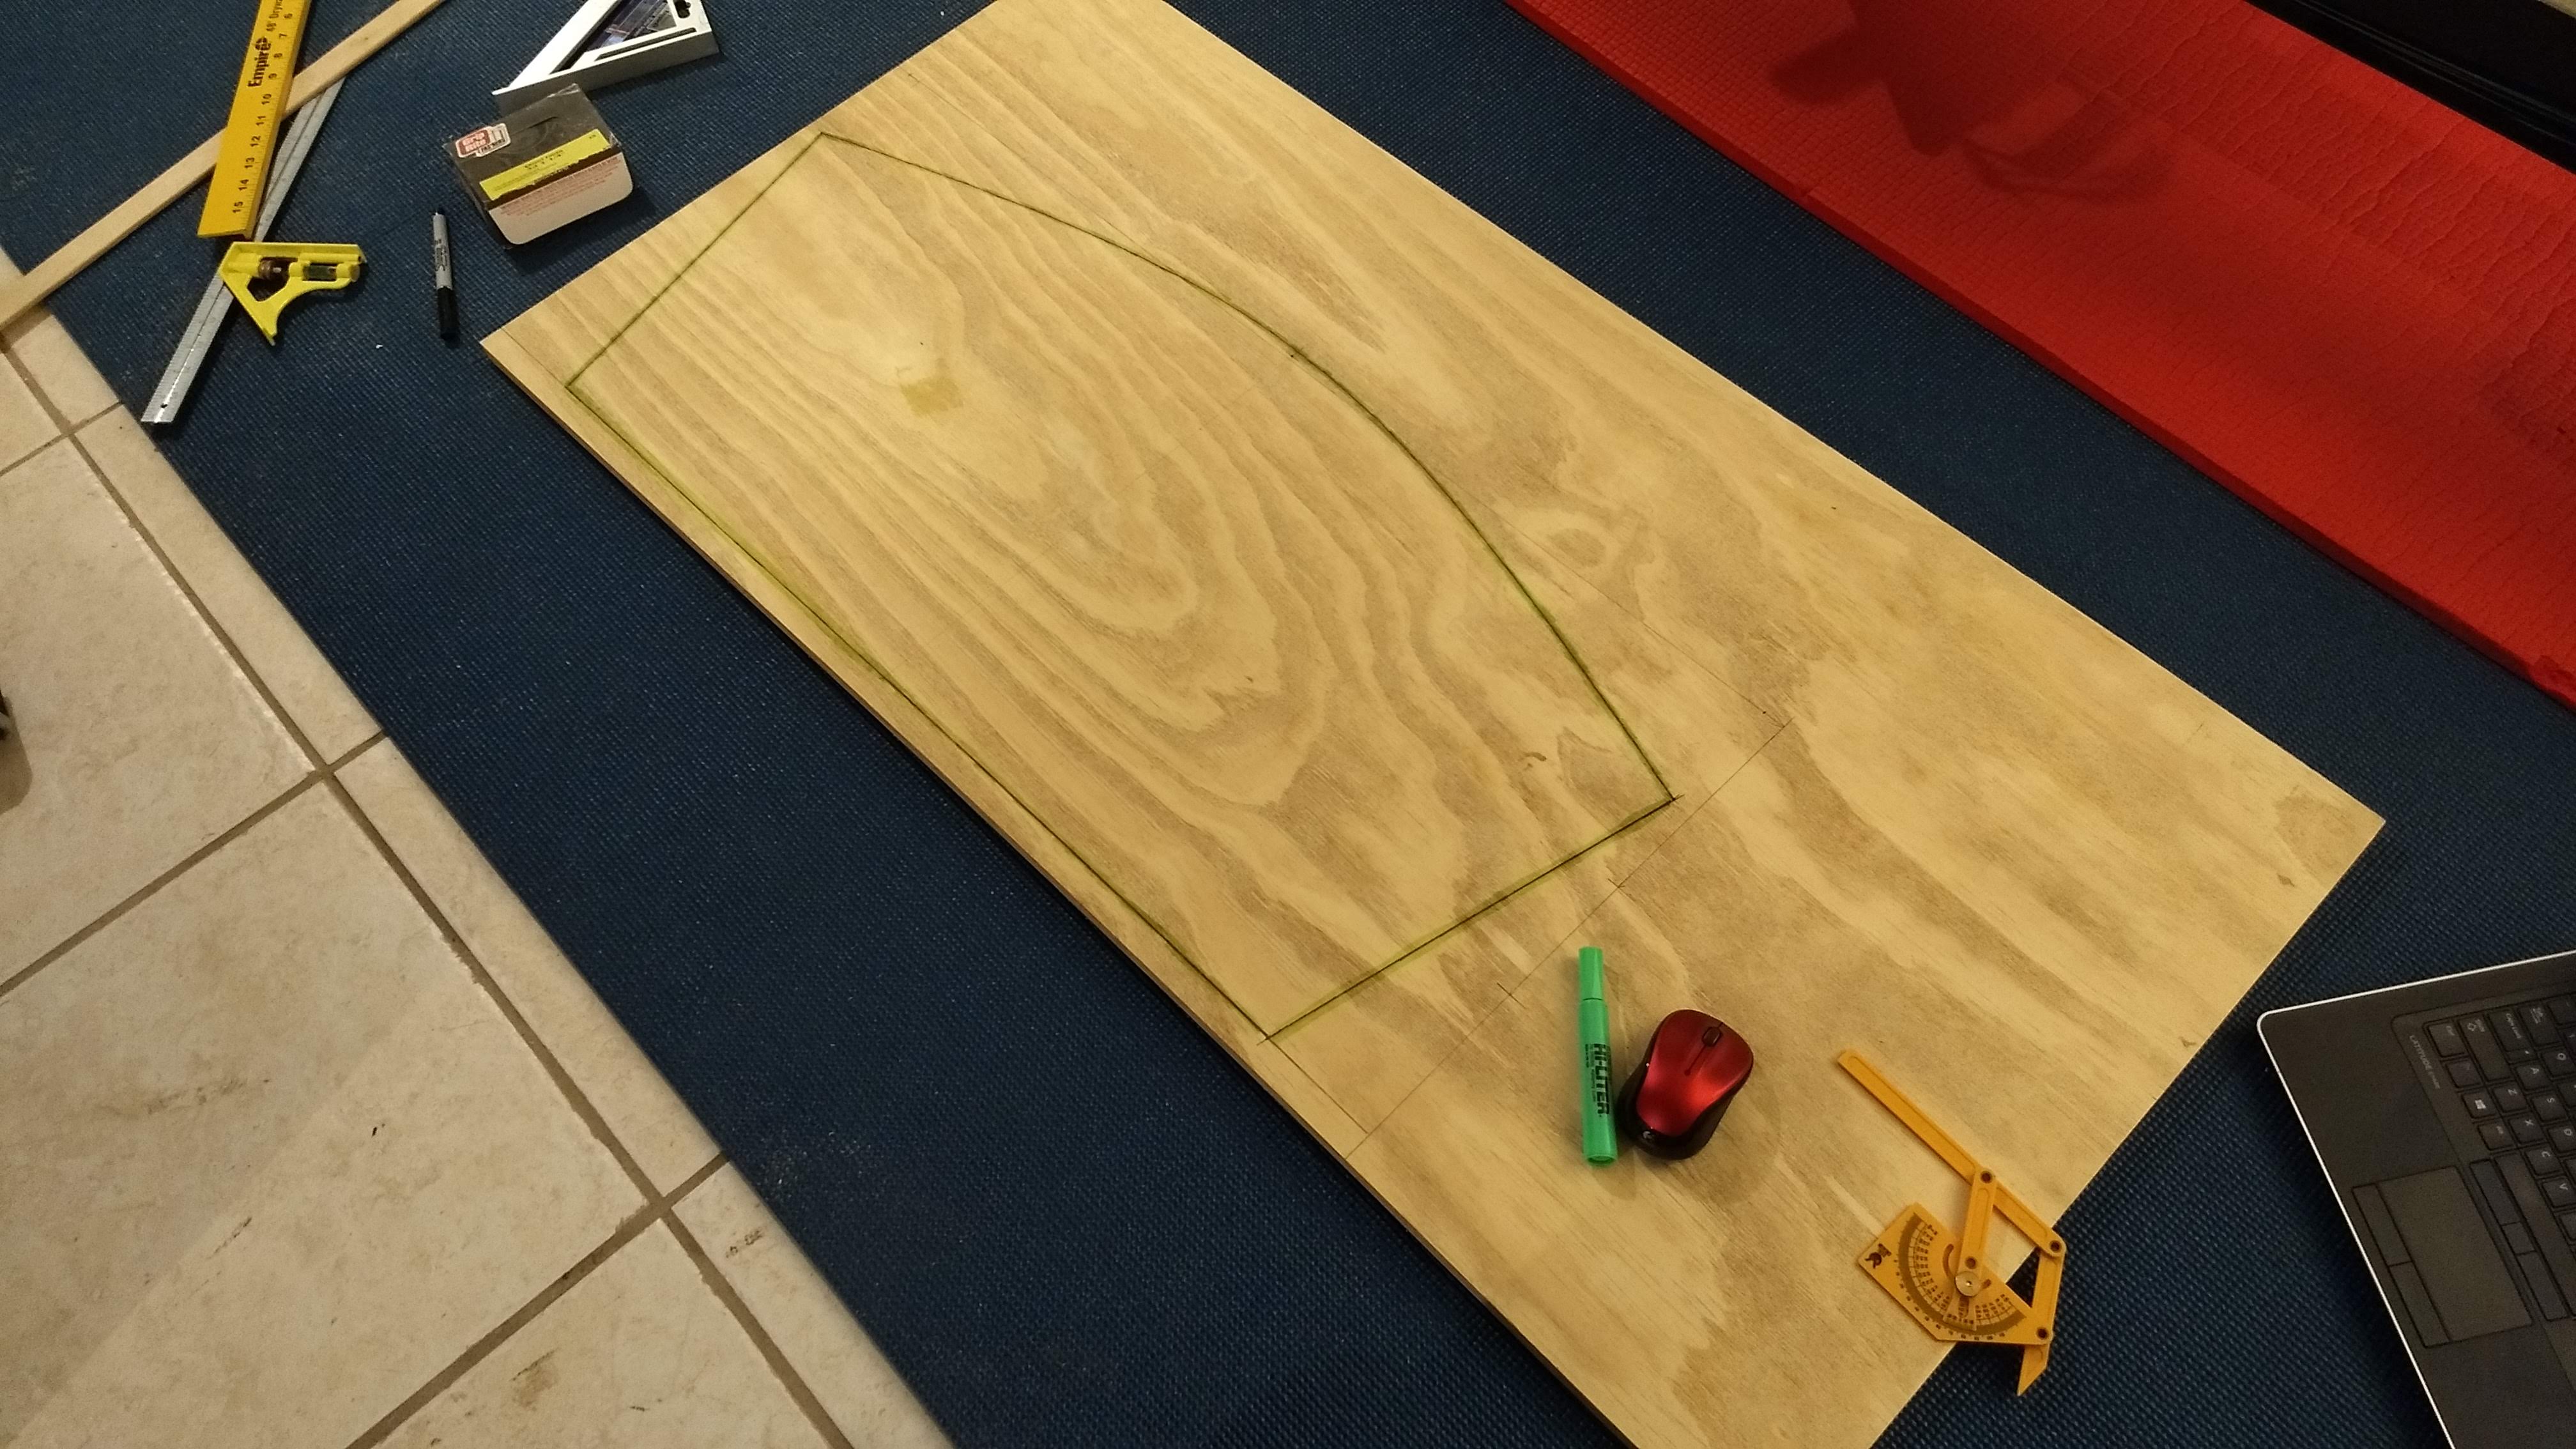
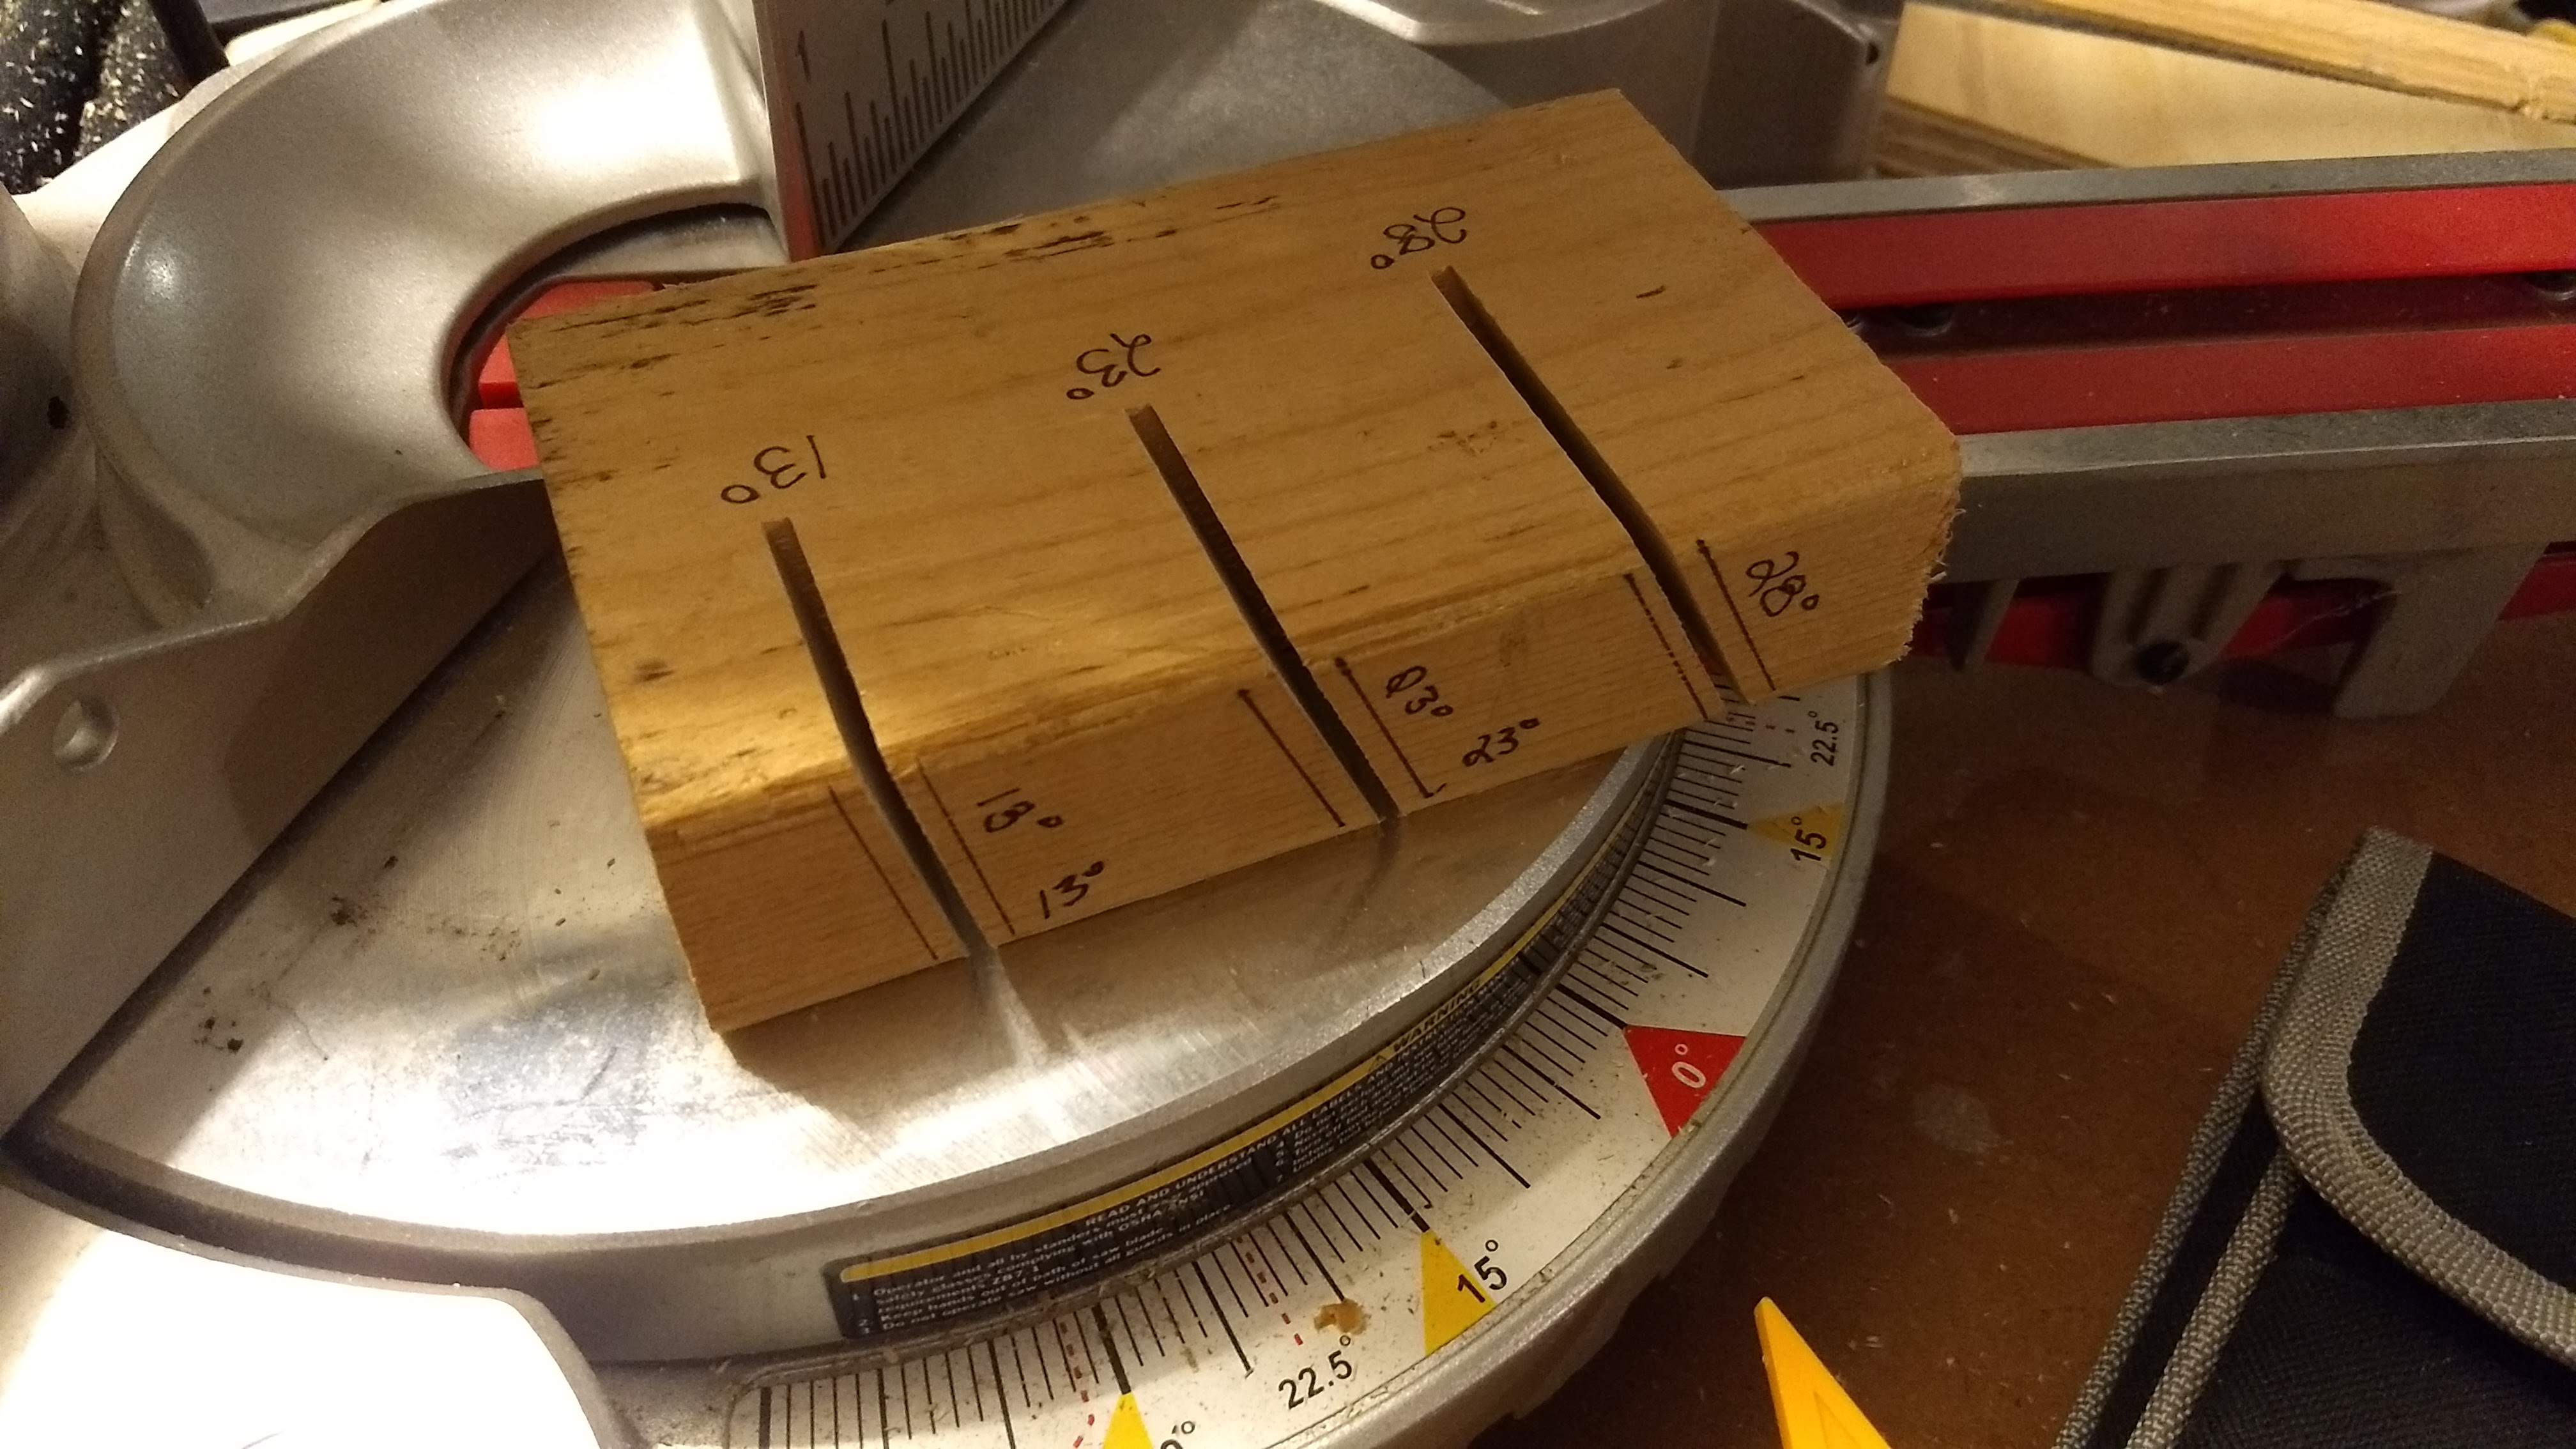
But anyway, I got the transom laid out on the board, then I clamped the board to the workbench and used the jig saw to cut it out. The trickiest part was figuring out how to angle the saw just so, depending on the cut. The bottom of the transom has to angle 28° from aft to fore, the sides at 13° aft to fore, and the top at 23° fore to aft. But I cleverly made a simple jig, lopping off a 6″ piece of 2×4 and using the miter saw to cut three slots in it at the respective angles. Then I could just use the jig to align the jig saw blade for whichever cut.

Honestly, making the transom took far less time than all the calculating and worrying that I put into planning it, which I’d like to think was because of all the calculating and worrying and planning. Once again, the things that I think are going to be hard turn out to be easier, whereas so many of the other things turn out to be harder than I imagine. There’s a rule for life there somewhere, probably.
Next step was to pull the boat assembly back out of the garage and replace the temporary transom assembly (TTA) with the actual honest to God transom. Which, per that life rule, turned out to be way harder than I thought it would be.
My first attempt was with the wood screws just like I had done with the frame, using the angled bottom piece that I had cut off as the bottom sister stick. And a length of rope for the usual trucker’s hitch windlass. It didn’t work very well.
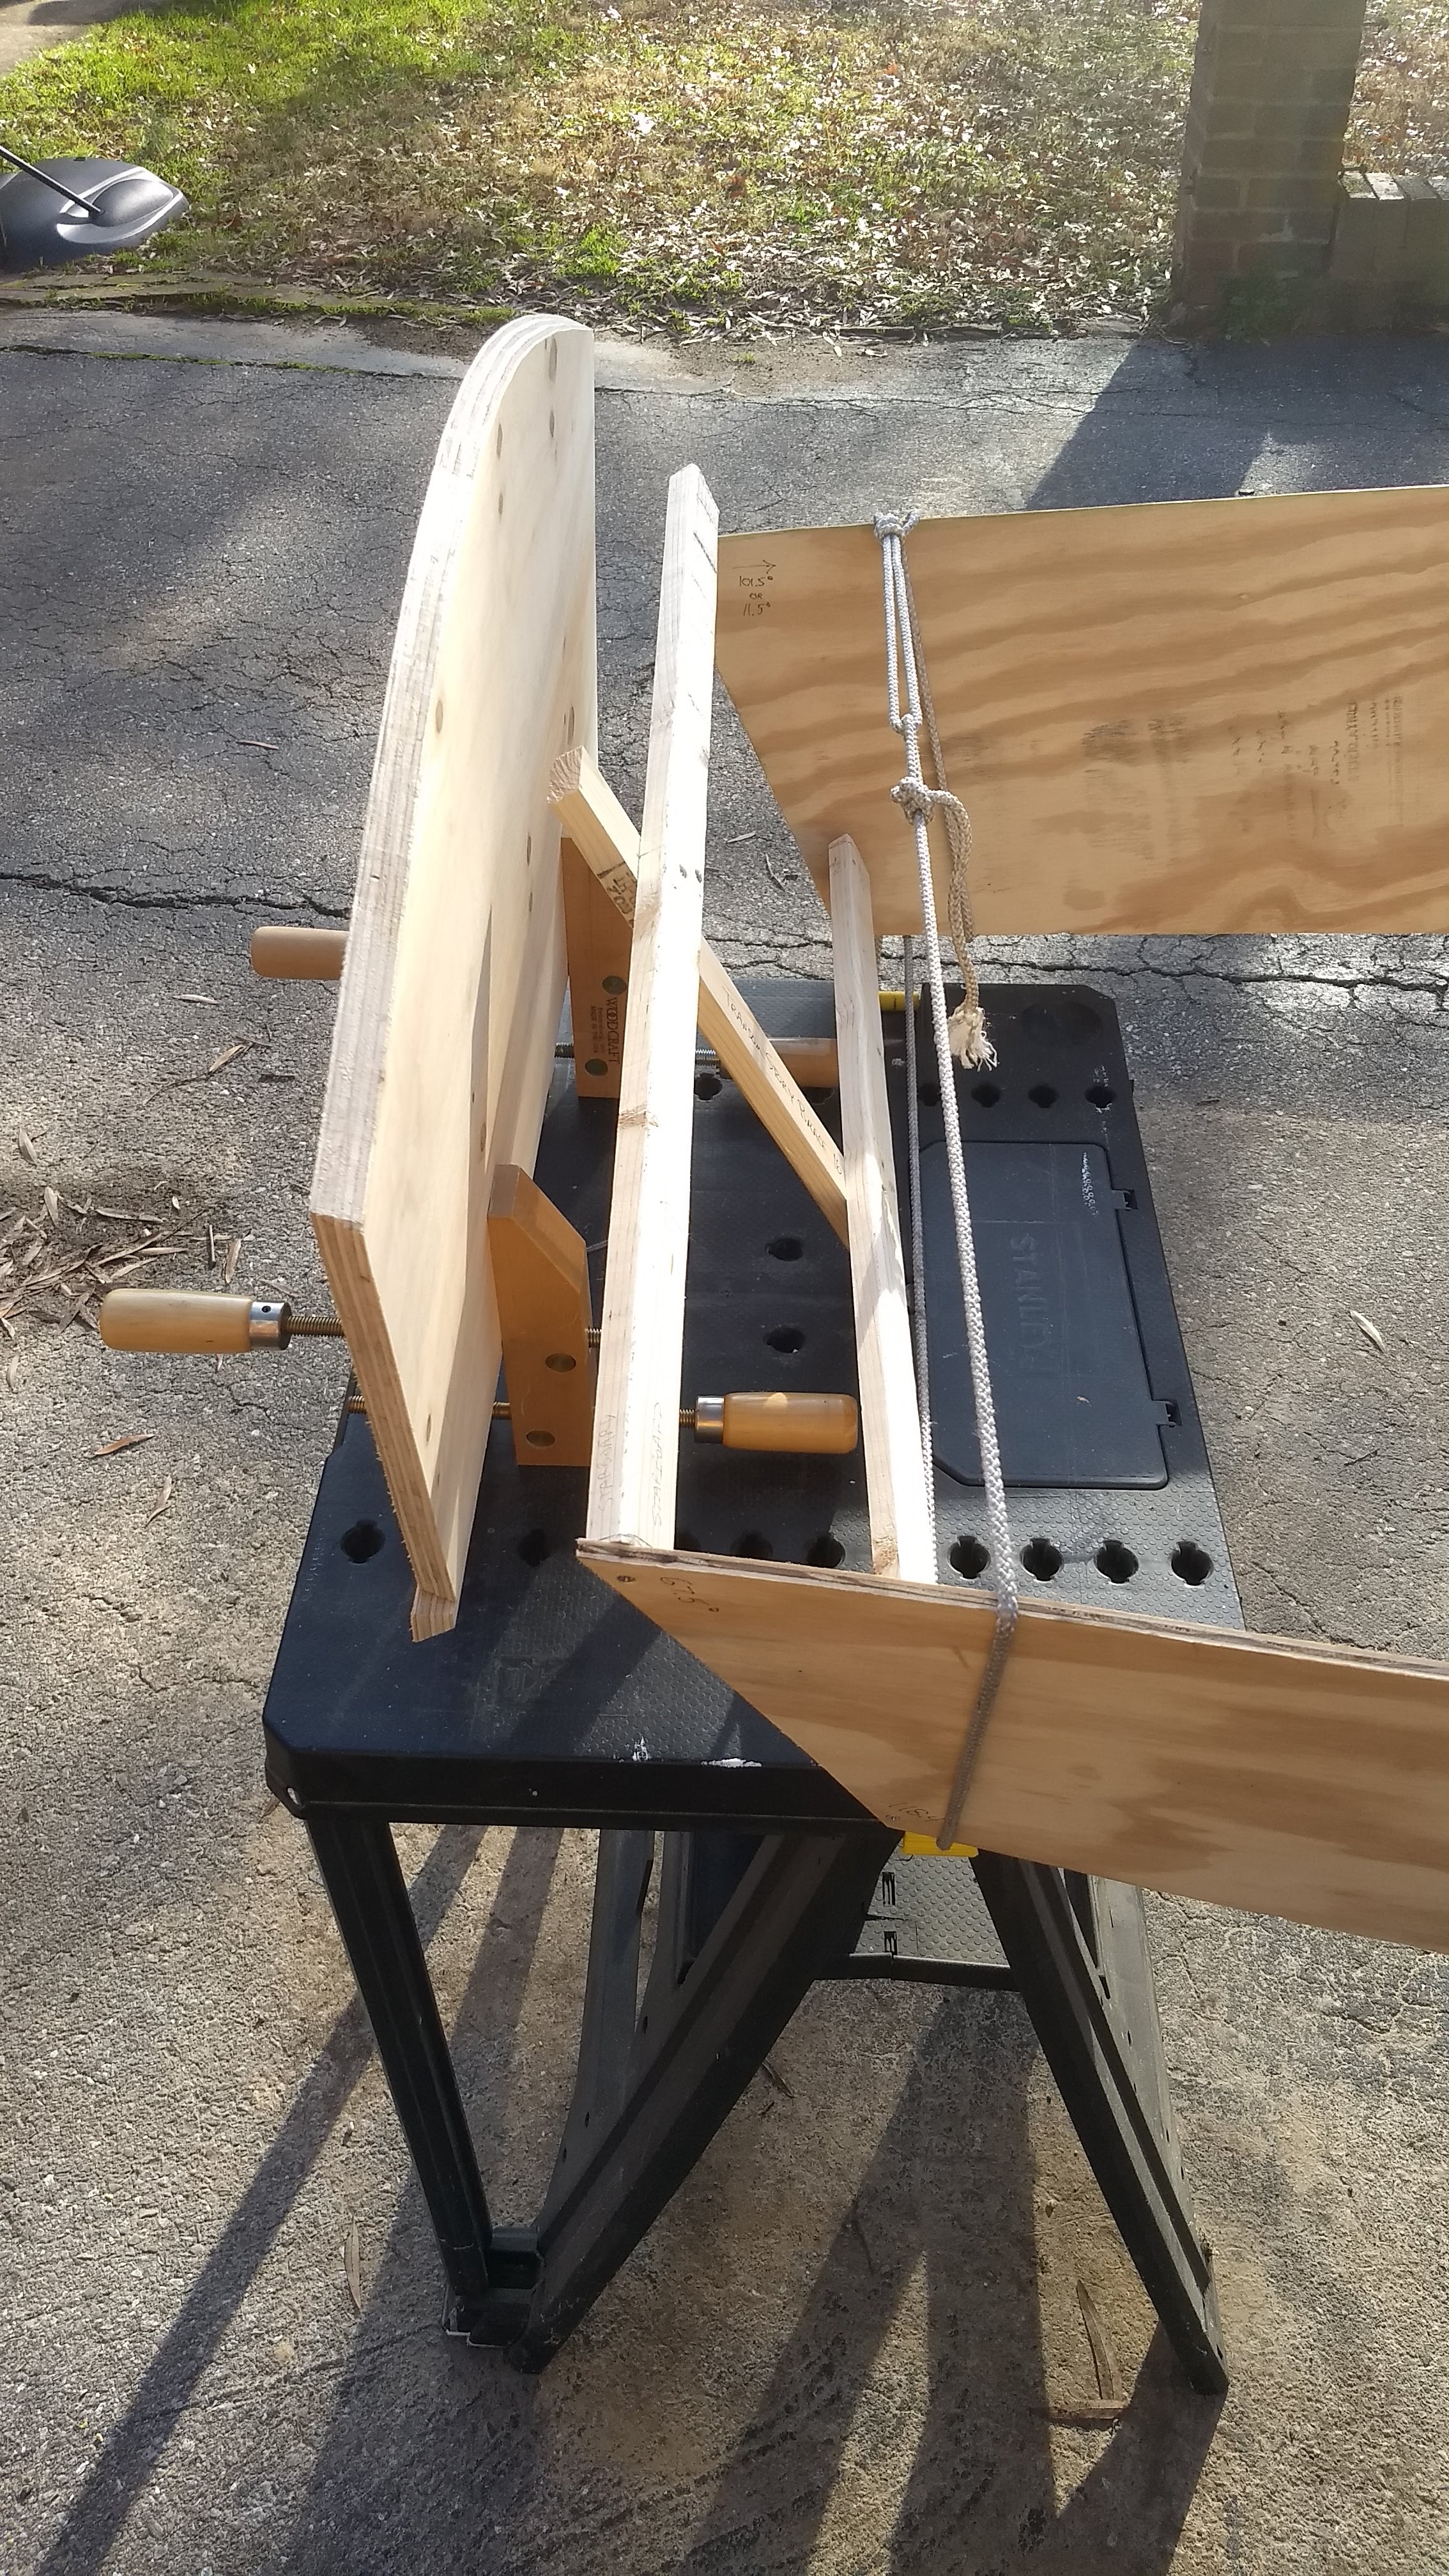
I was eventually able to get the transom on, but I wasn’t entirely thrilled with the results. The port side was okay, although the side stood a little proud out the aft end, but within reasonable limits. The starboard side, though, wasn’t symmetrical at all with the port side on the up and down axis. I had to re-seat that side. I tried a different method using clamps just on the bottom edge of the sides.
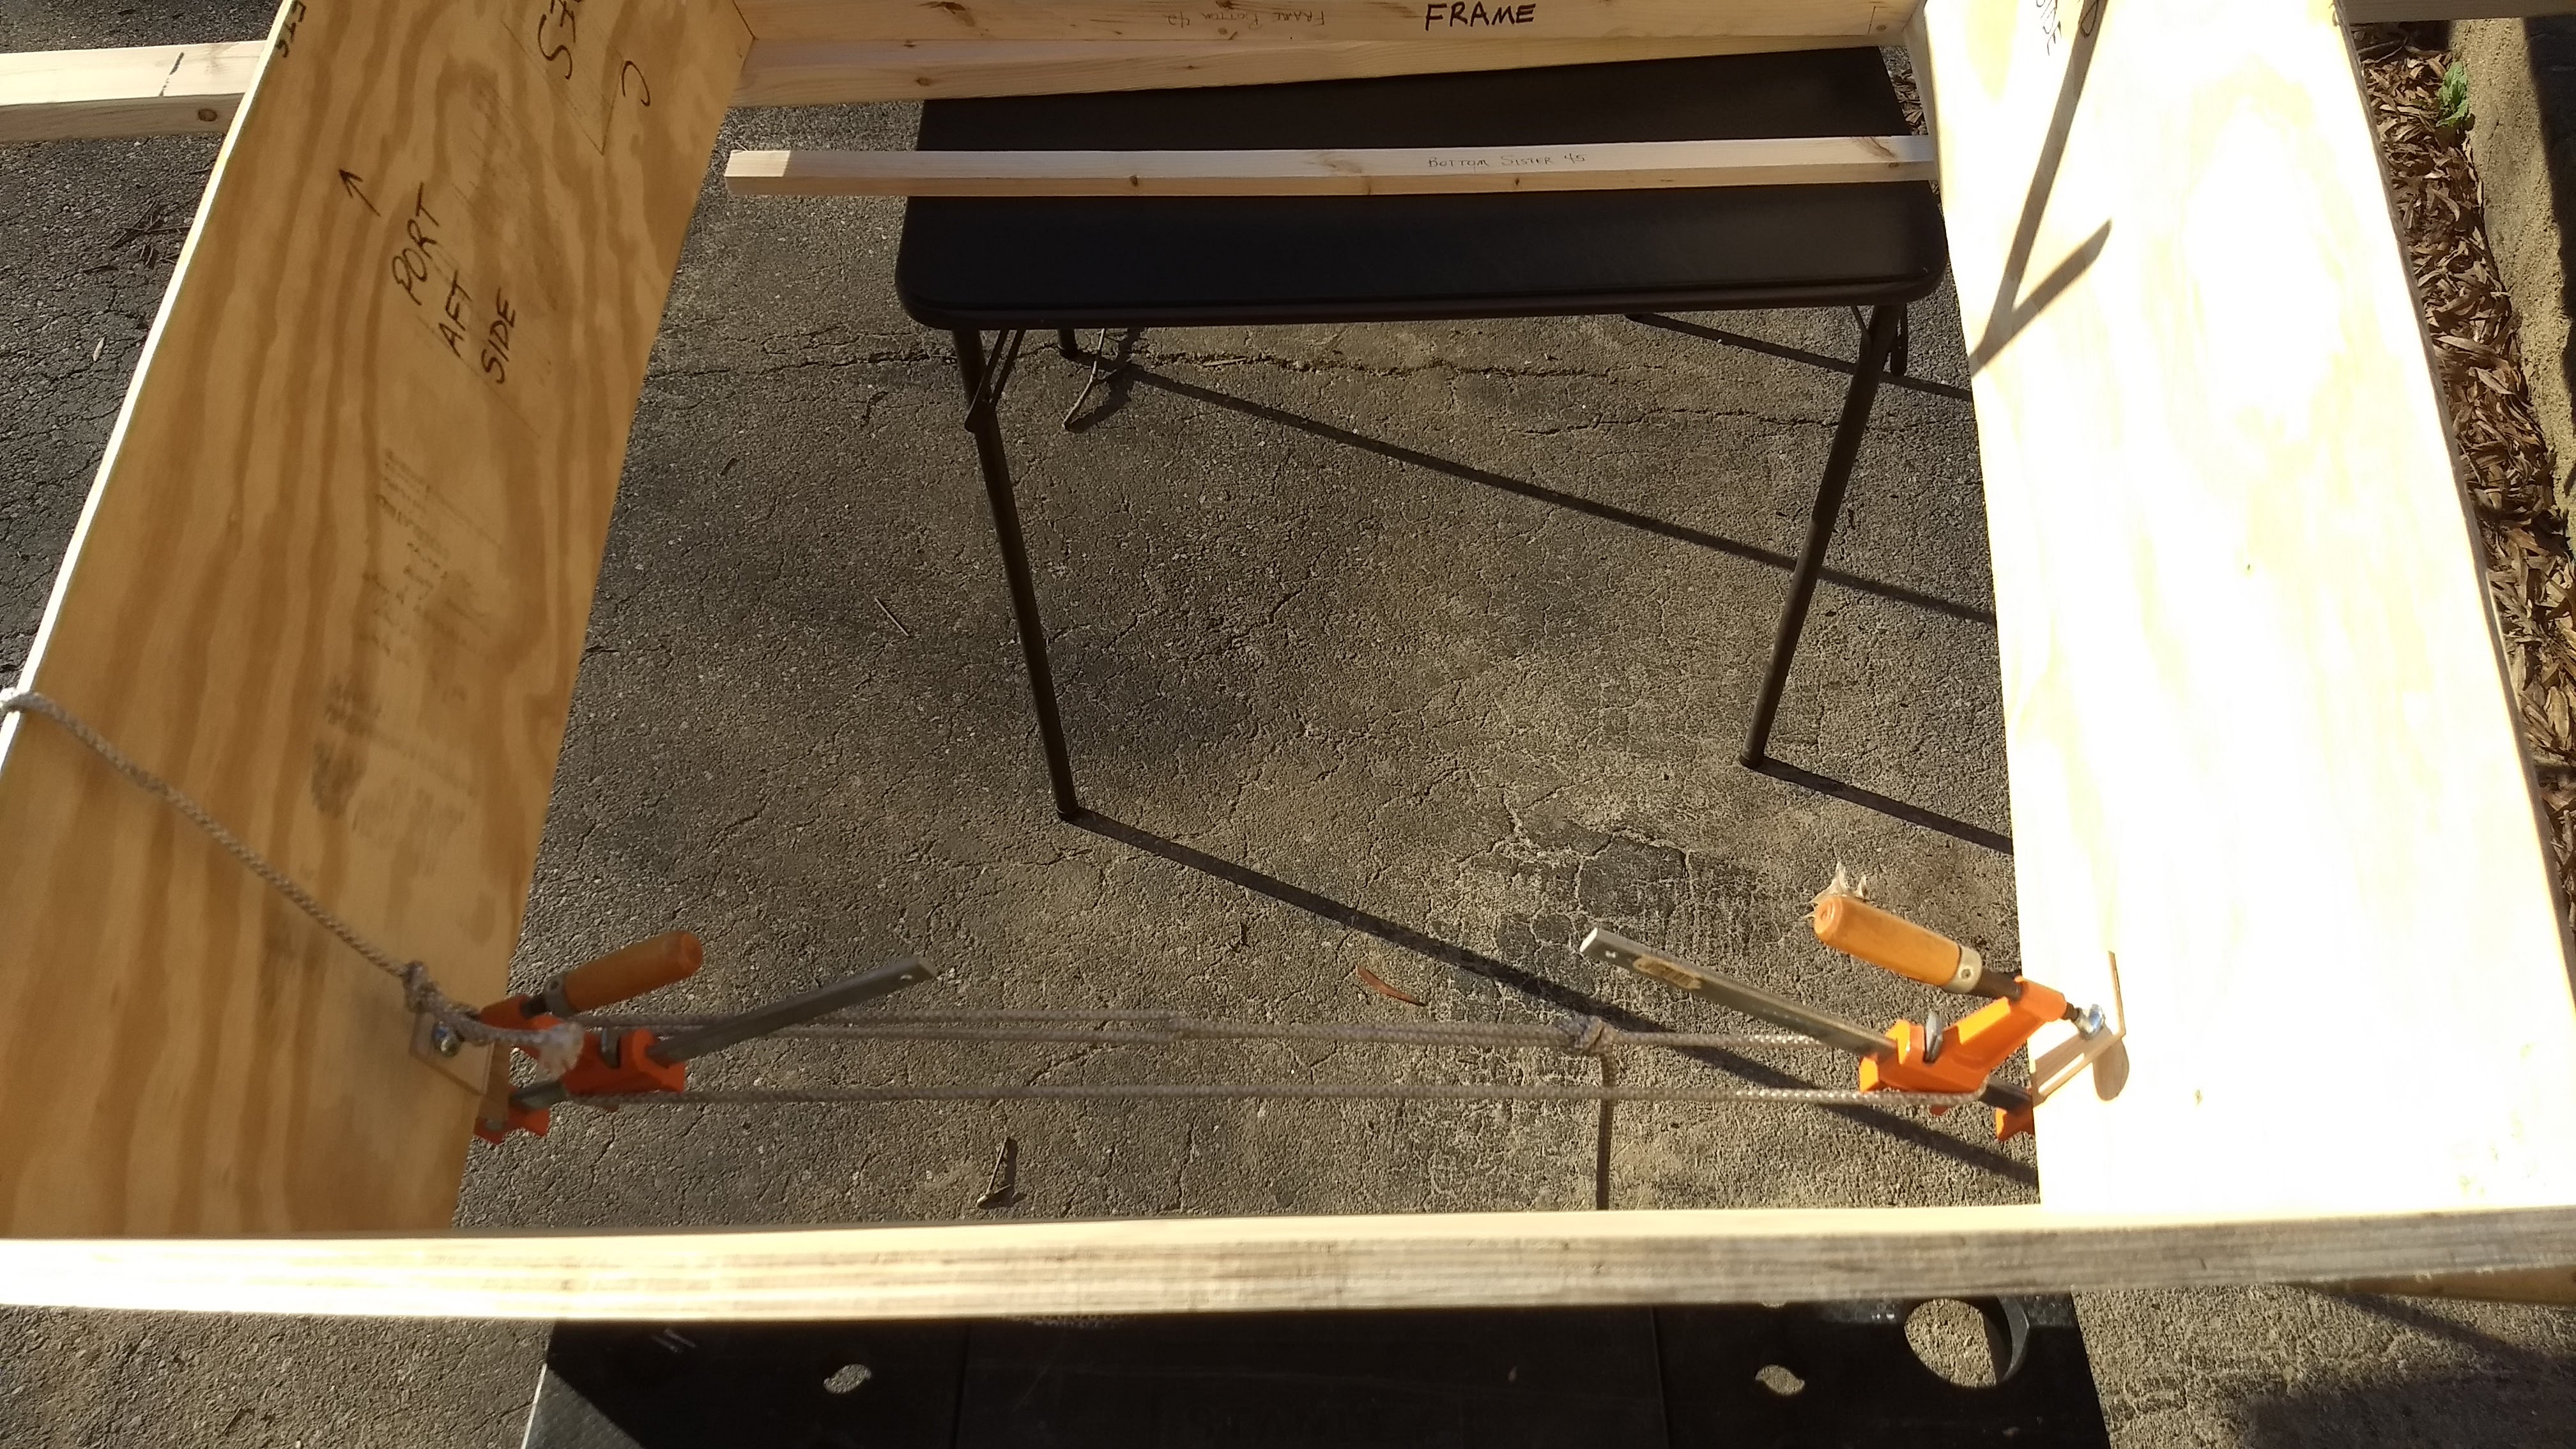
That worked a bit better. The transom was in place!
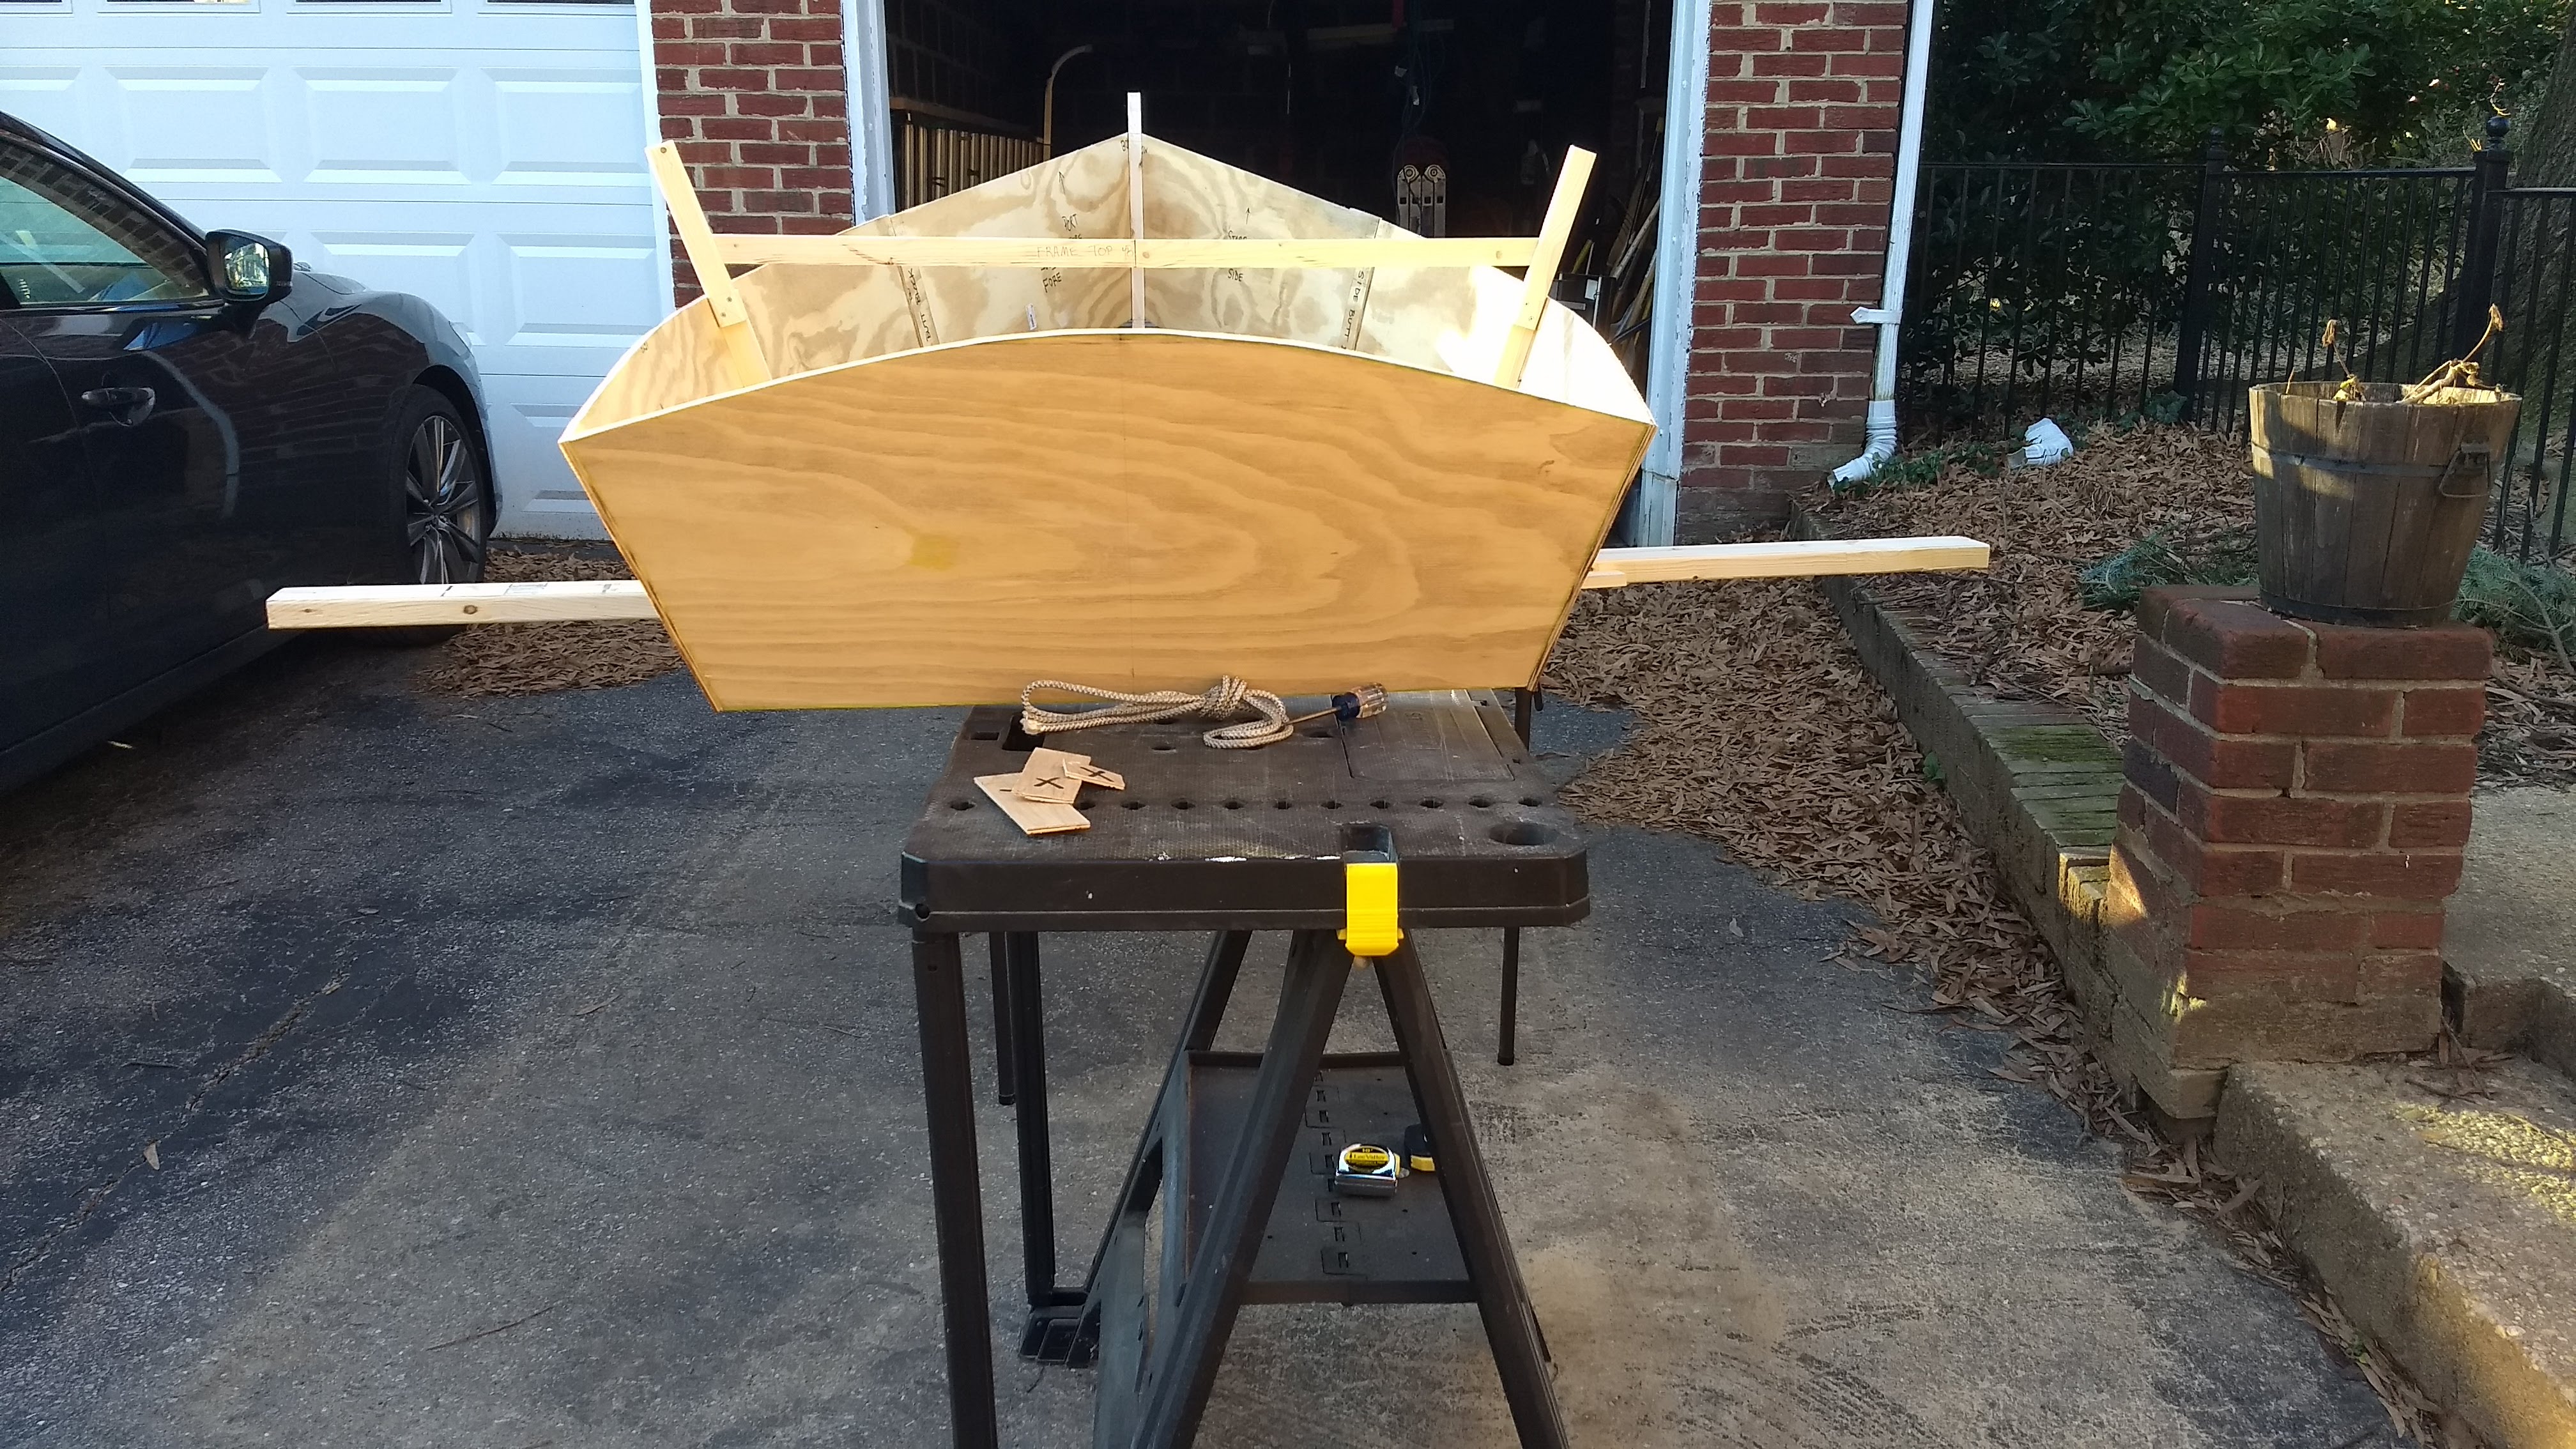
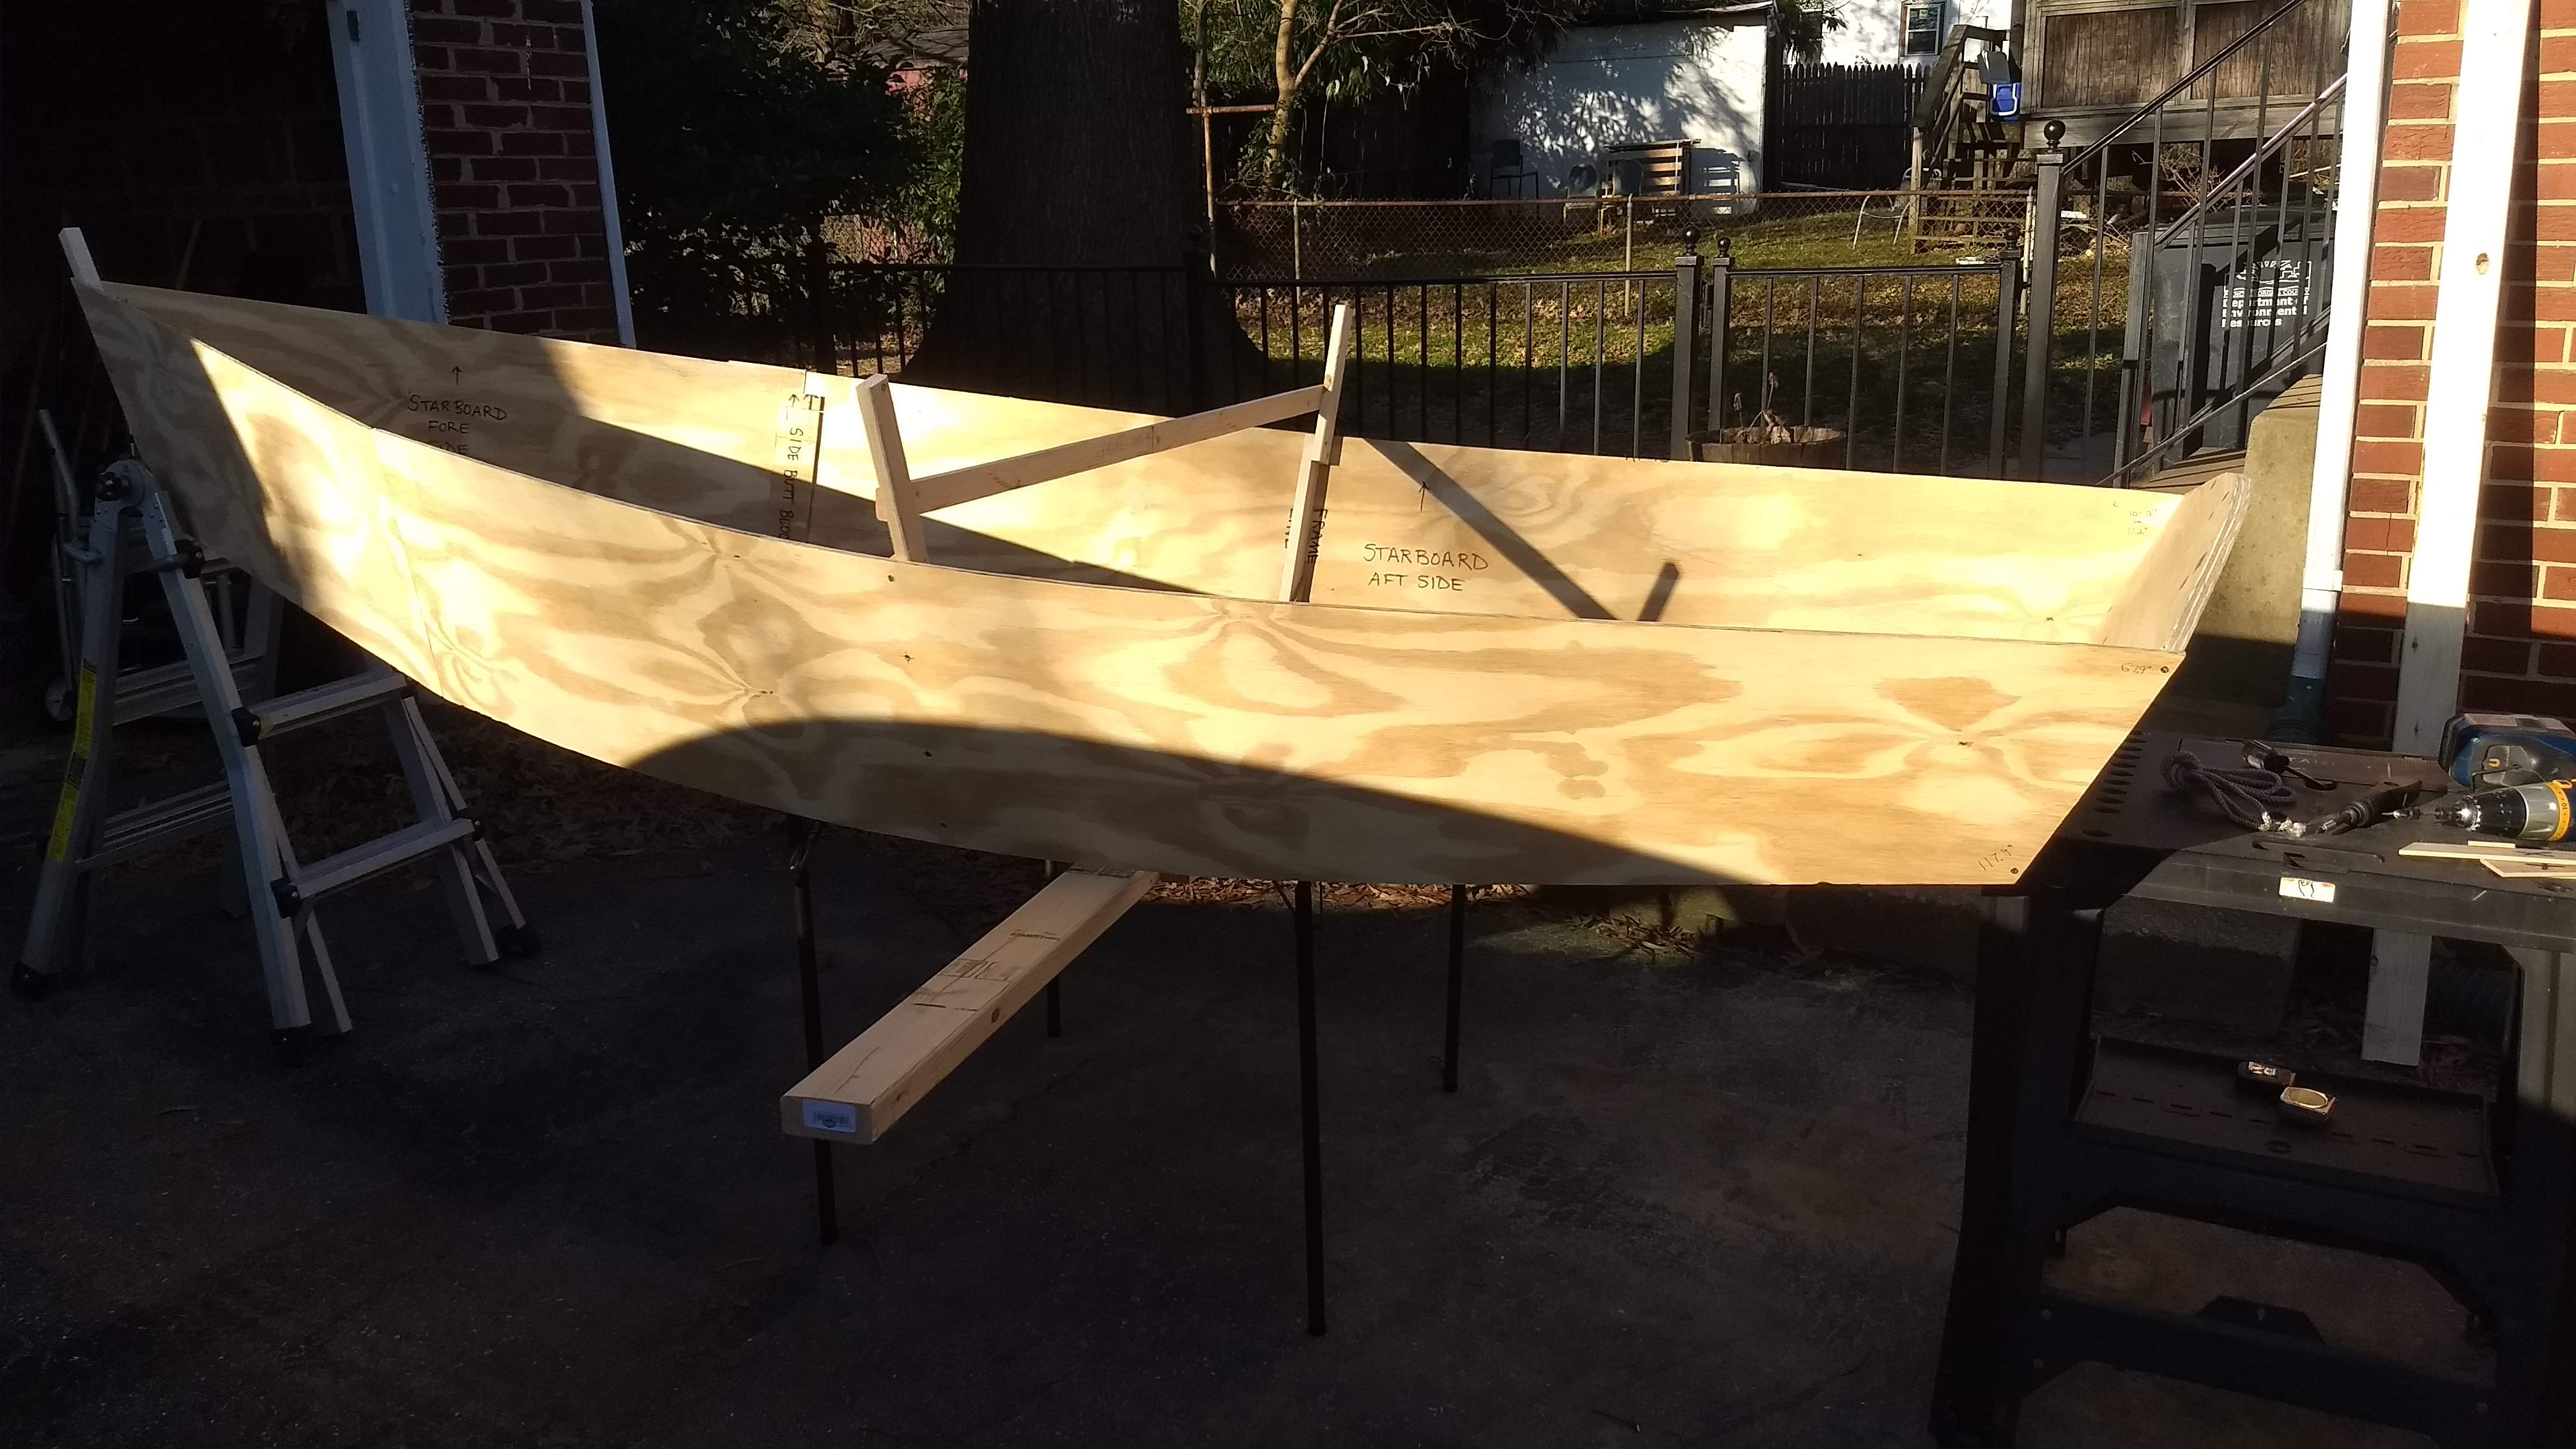
So then I took it all apart, of course.
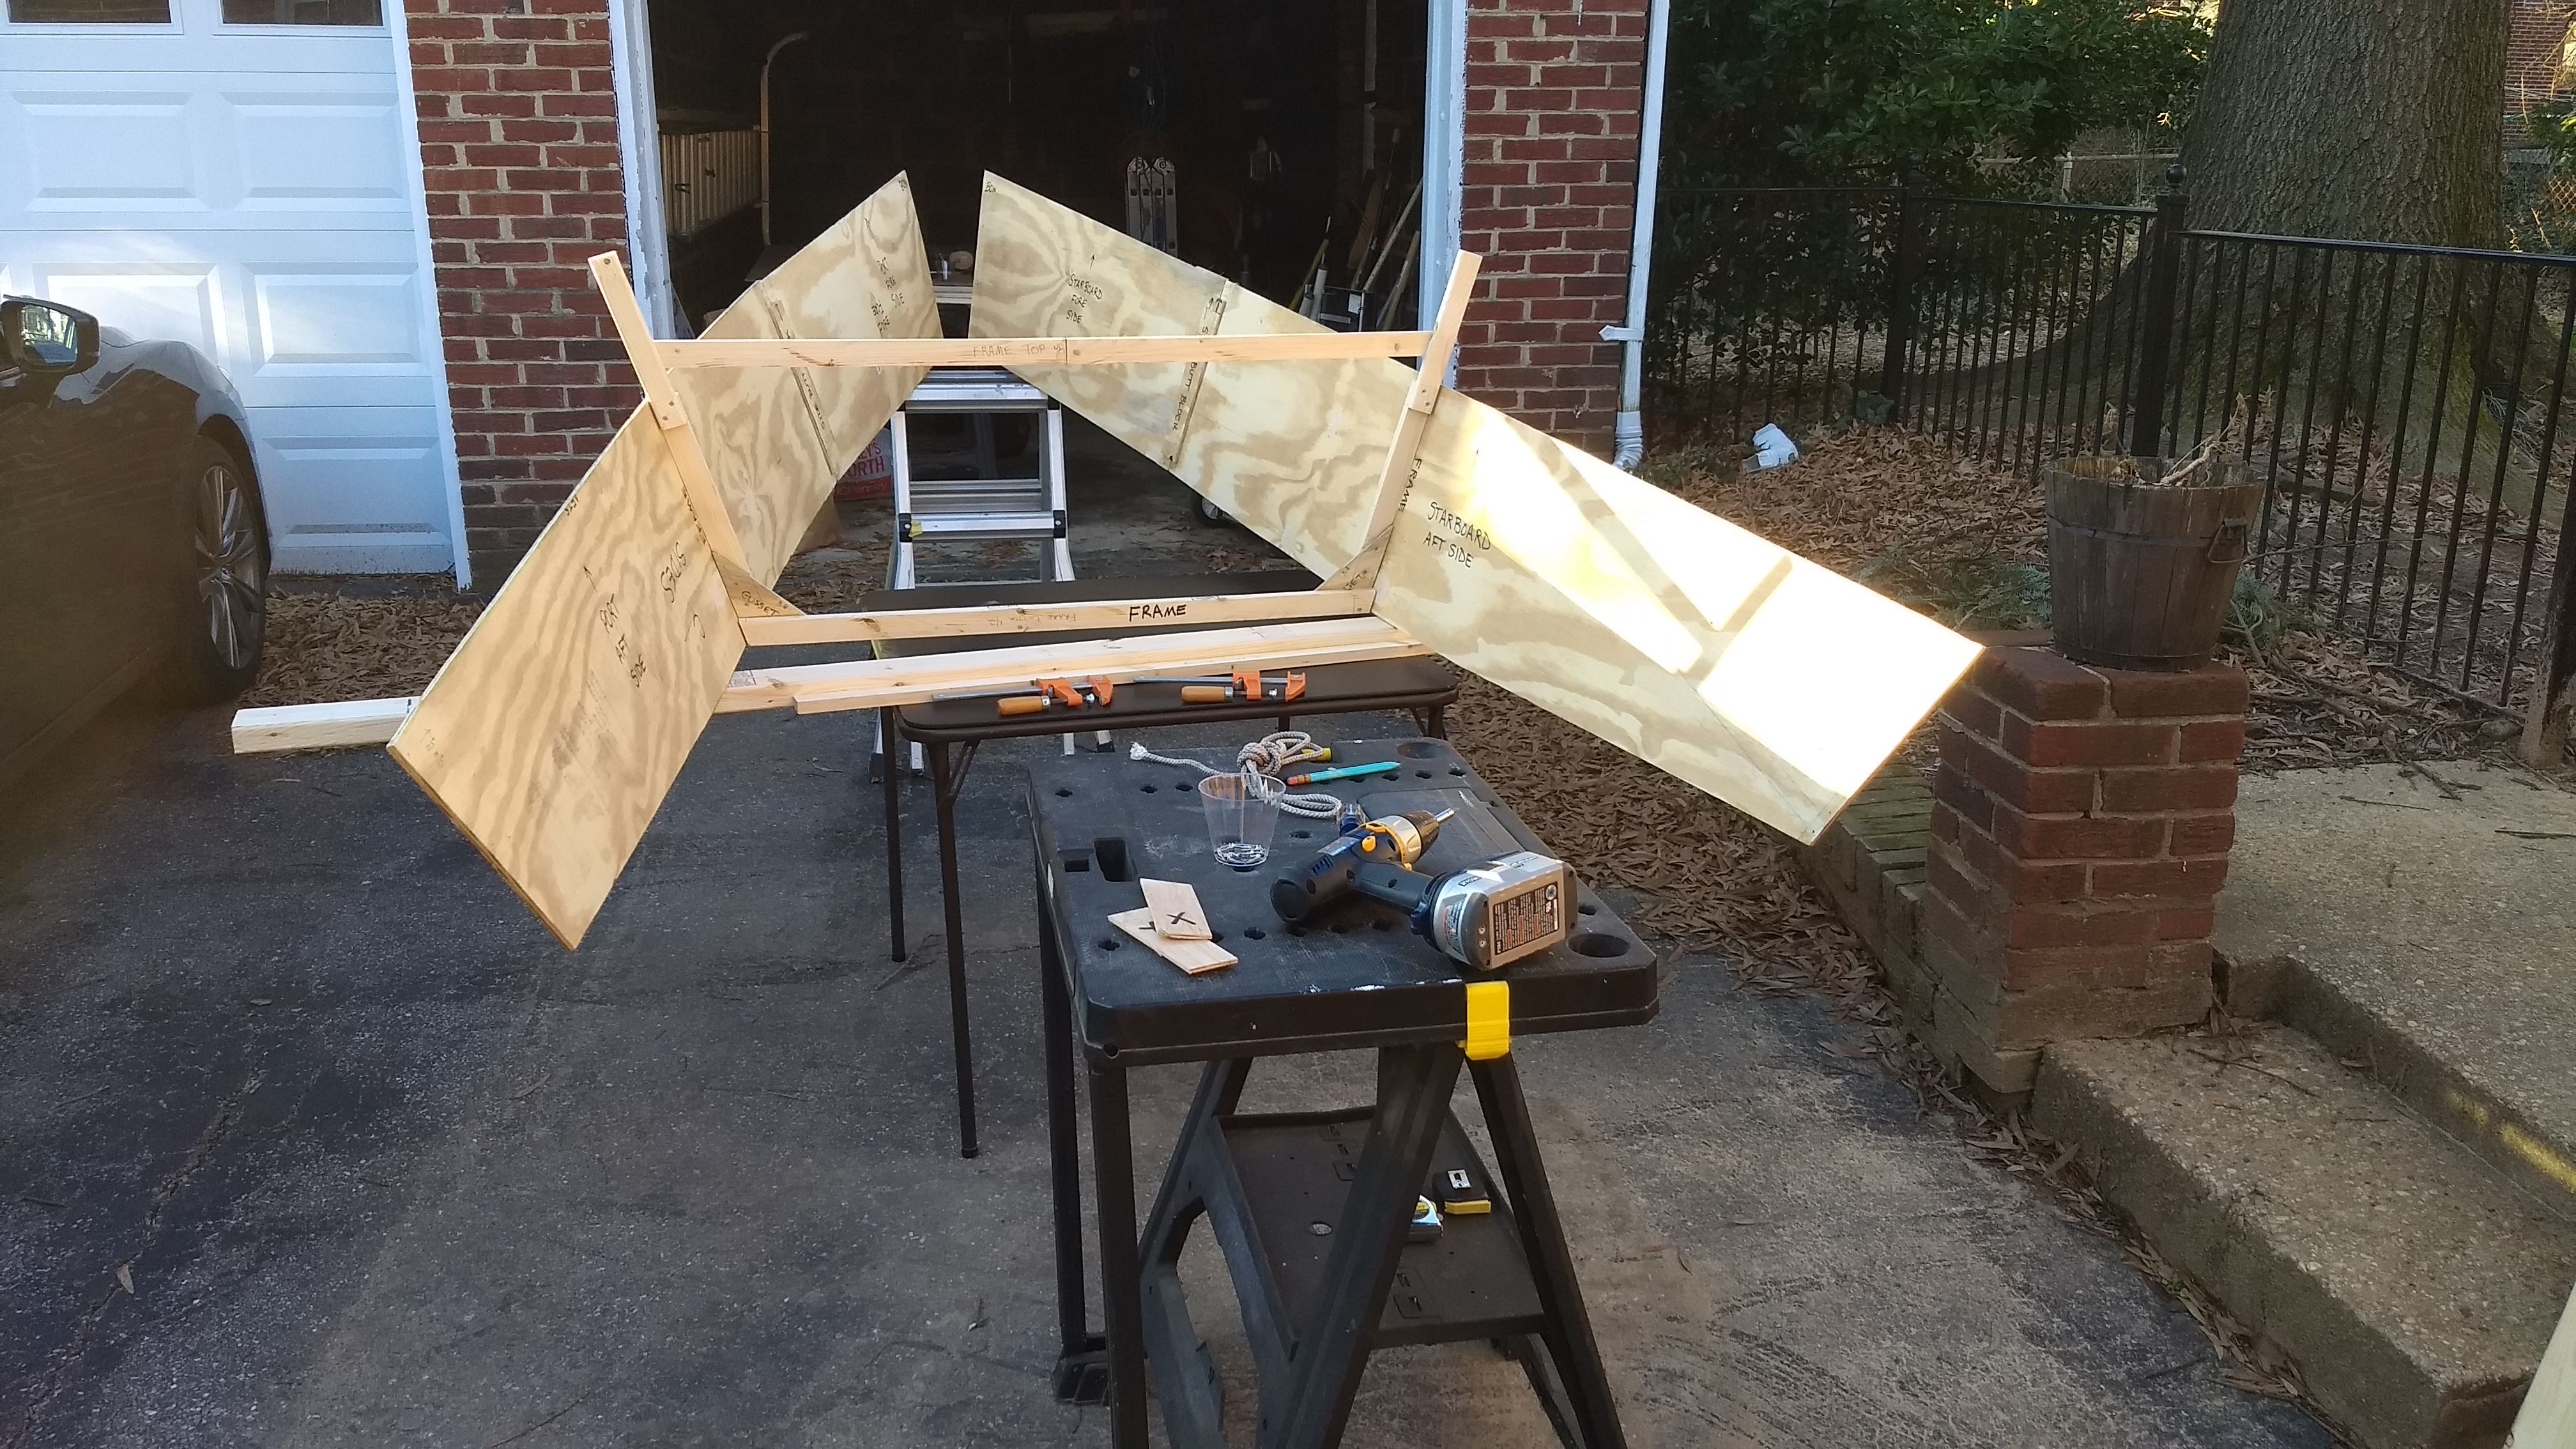
This build has all been a dry fit, to get everything ready for gluing. I have a little bit of fussing to do with the stem and frame, cutting them to final shape a bit smaller than they’ve been so far to help with the dry build. Next step after that is gluing, which I’m really, really determined to do before Mother Dillon visits us in mid-January. Let’s hope the weather cooperates next weekend.
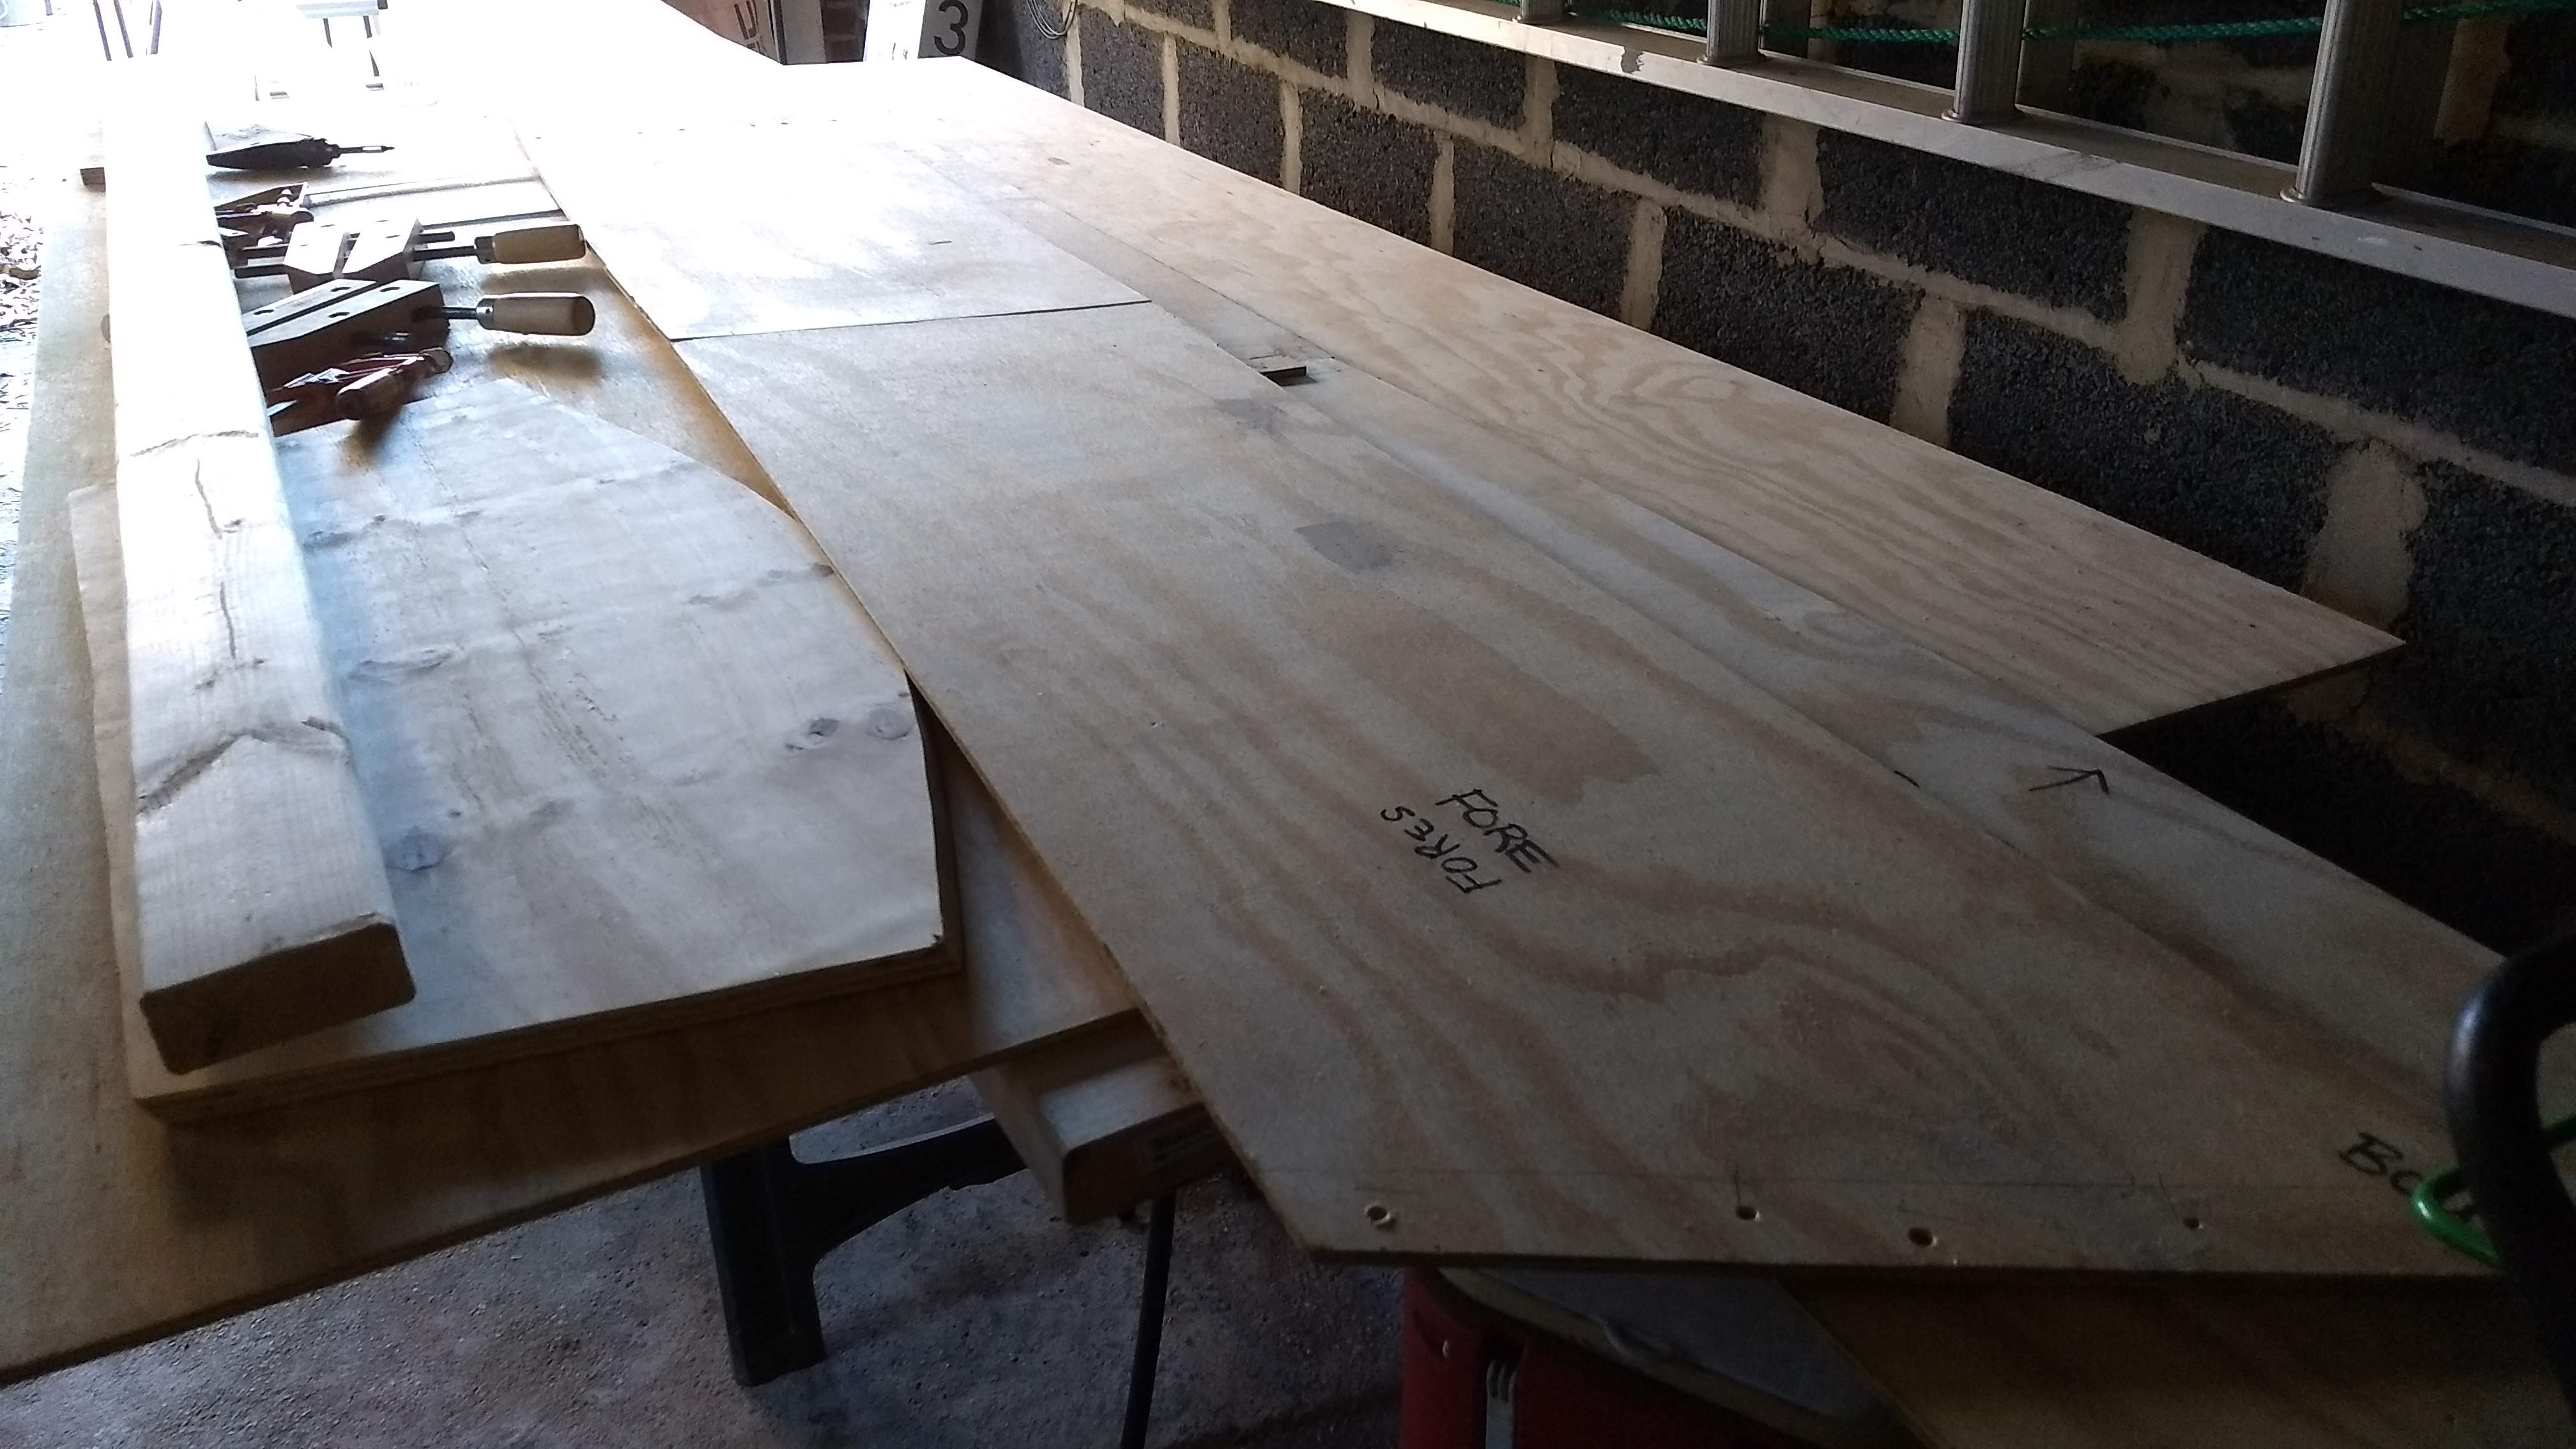
Lesson 1: Jig saw vs. circular saw
The jig saw cuts plywood slower but more accurately than the circular saw. I wish I’d used it on the first sheet of plywood.
Or maybe I’m just more conscious of the layout and cutting since I was so disappointed with my results on that first sheet. I’d still like to try that compact 4-1/2″ circular saw, but that’s another purchase for another boat someday.