
Last week on Boat Therapy:
Next up is drilling matching holes for the screws to hold the stem and transoms (temporary assembly and final part) and frame. Then turning these flat parts sideways to attach to those parts and each other and finally start looking like an actual boat.
http://www.bohls.org/boat/2018/12/28/week-8-symmetricizing-the-sides/
You know what? That’s exactly what I did. Woo hoo!
First step of the week was finishing the temporary transom assembly (TTA) by affixing the vertical brace to the top and bottom sticks. Like most things, that turned out to be trickier than I imagined. I thought I could just stick it anywhere, as long as the measure from the top of the top stick to the bottom of the bottom stick was exactly 11-5/8″. No reason, I thought, that the brace had to be centered or perpendicular or anything. Upon actually putting the assembly together, though, I quickly saw that the angled ends of the top and bottom sticks had to align, as the eventual solid transom obviously will. They’d be seriously out of alignment if I just slapped the brace on willy-nilly.
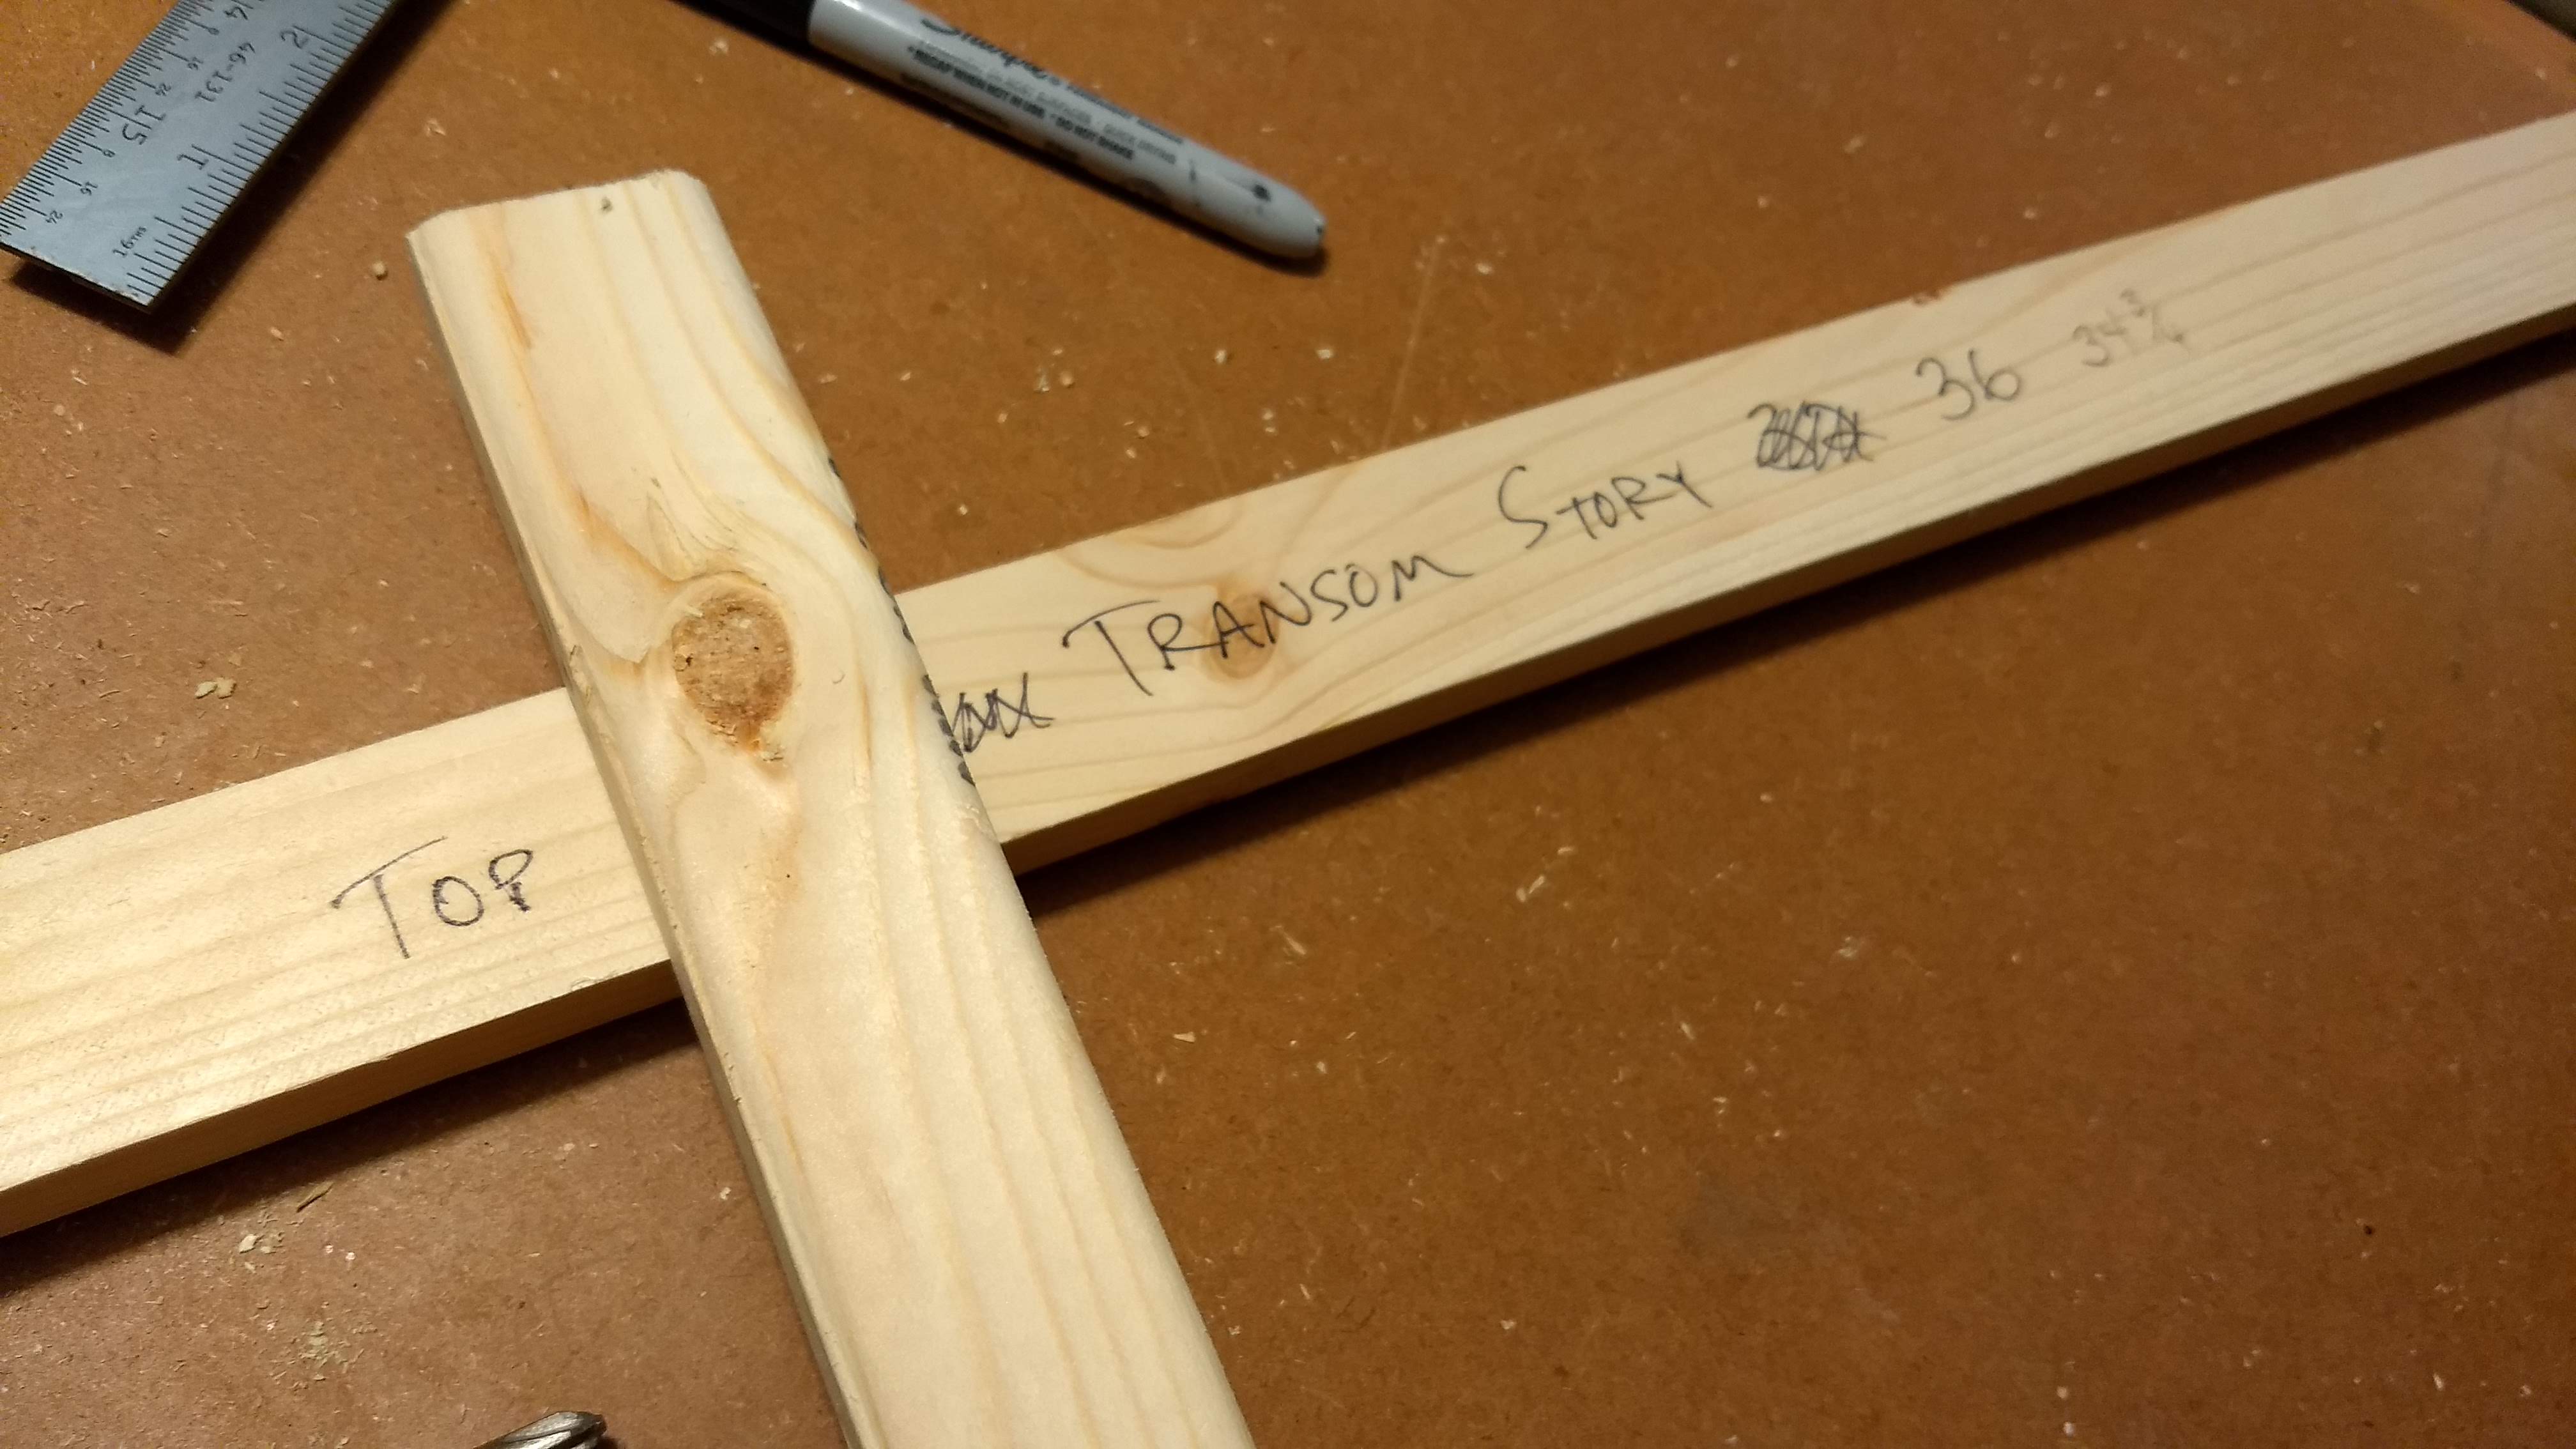
So then the easiest way to align the angled ends of the top and bottom sticks was to attach the brace exactly in the middle and exactly perpendicular to the sticks. Et voila.
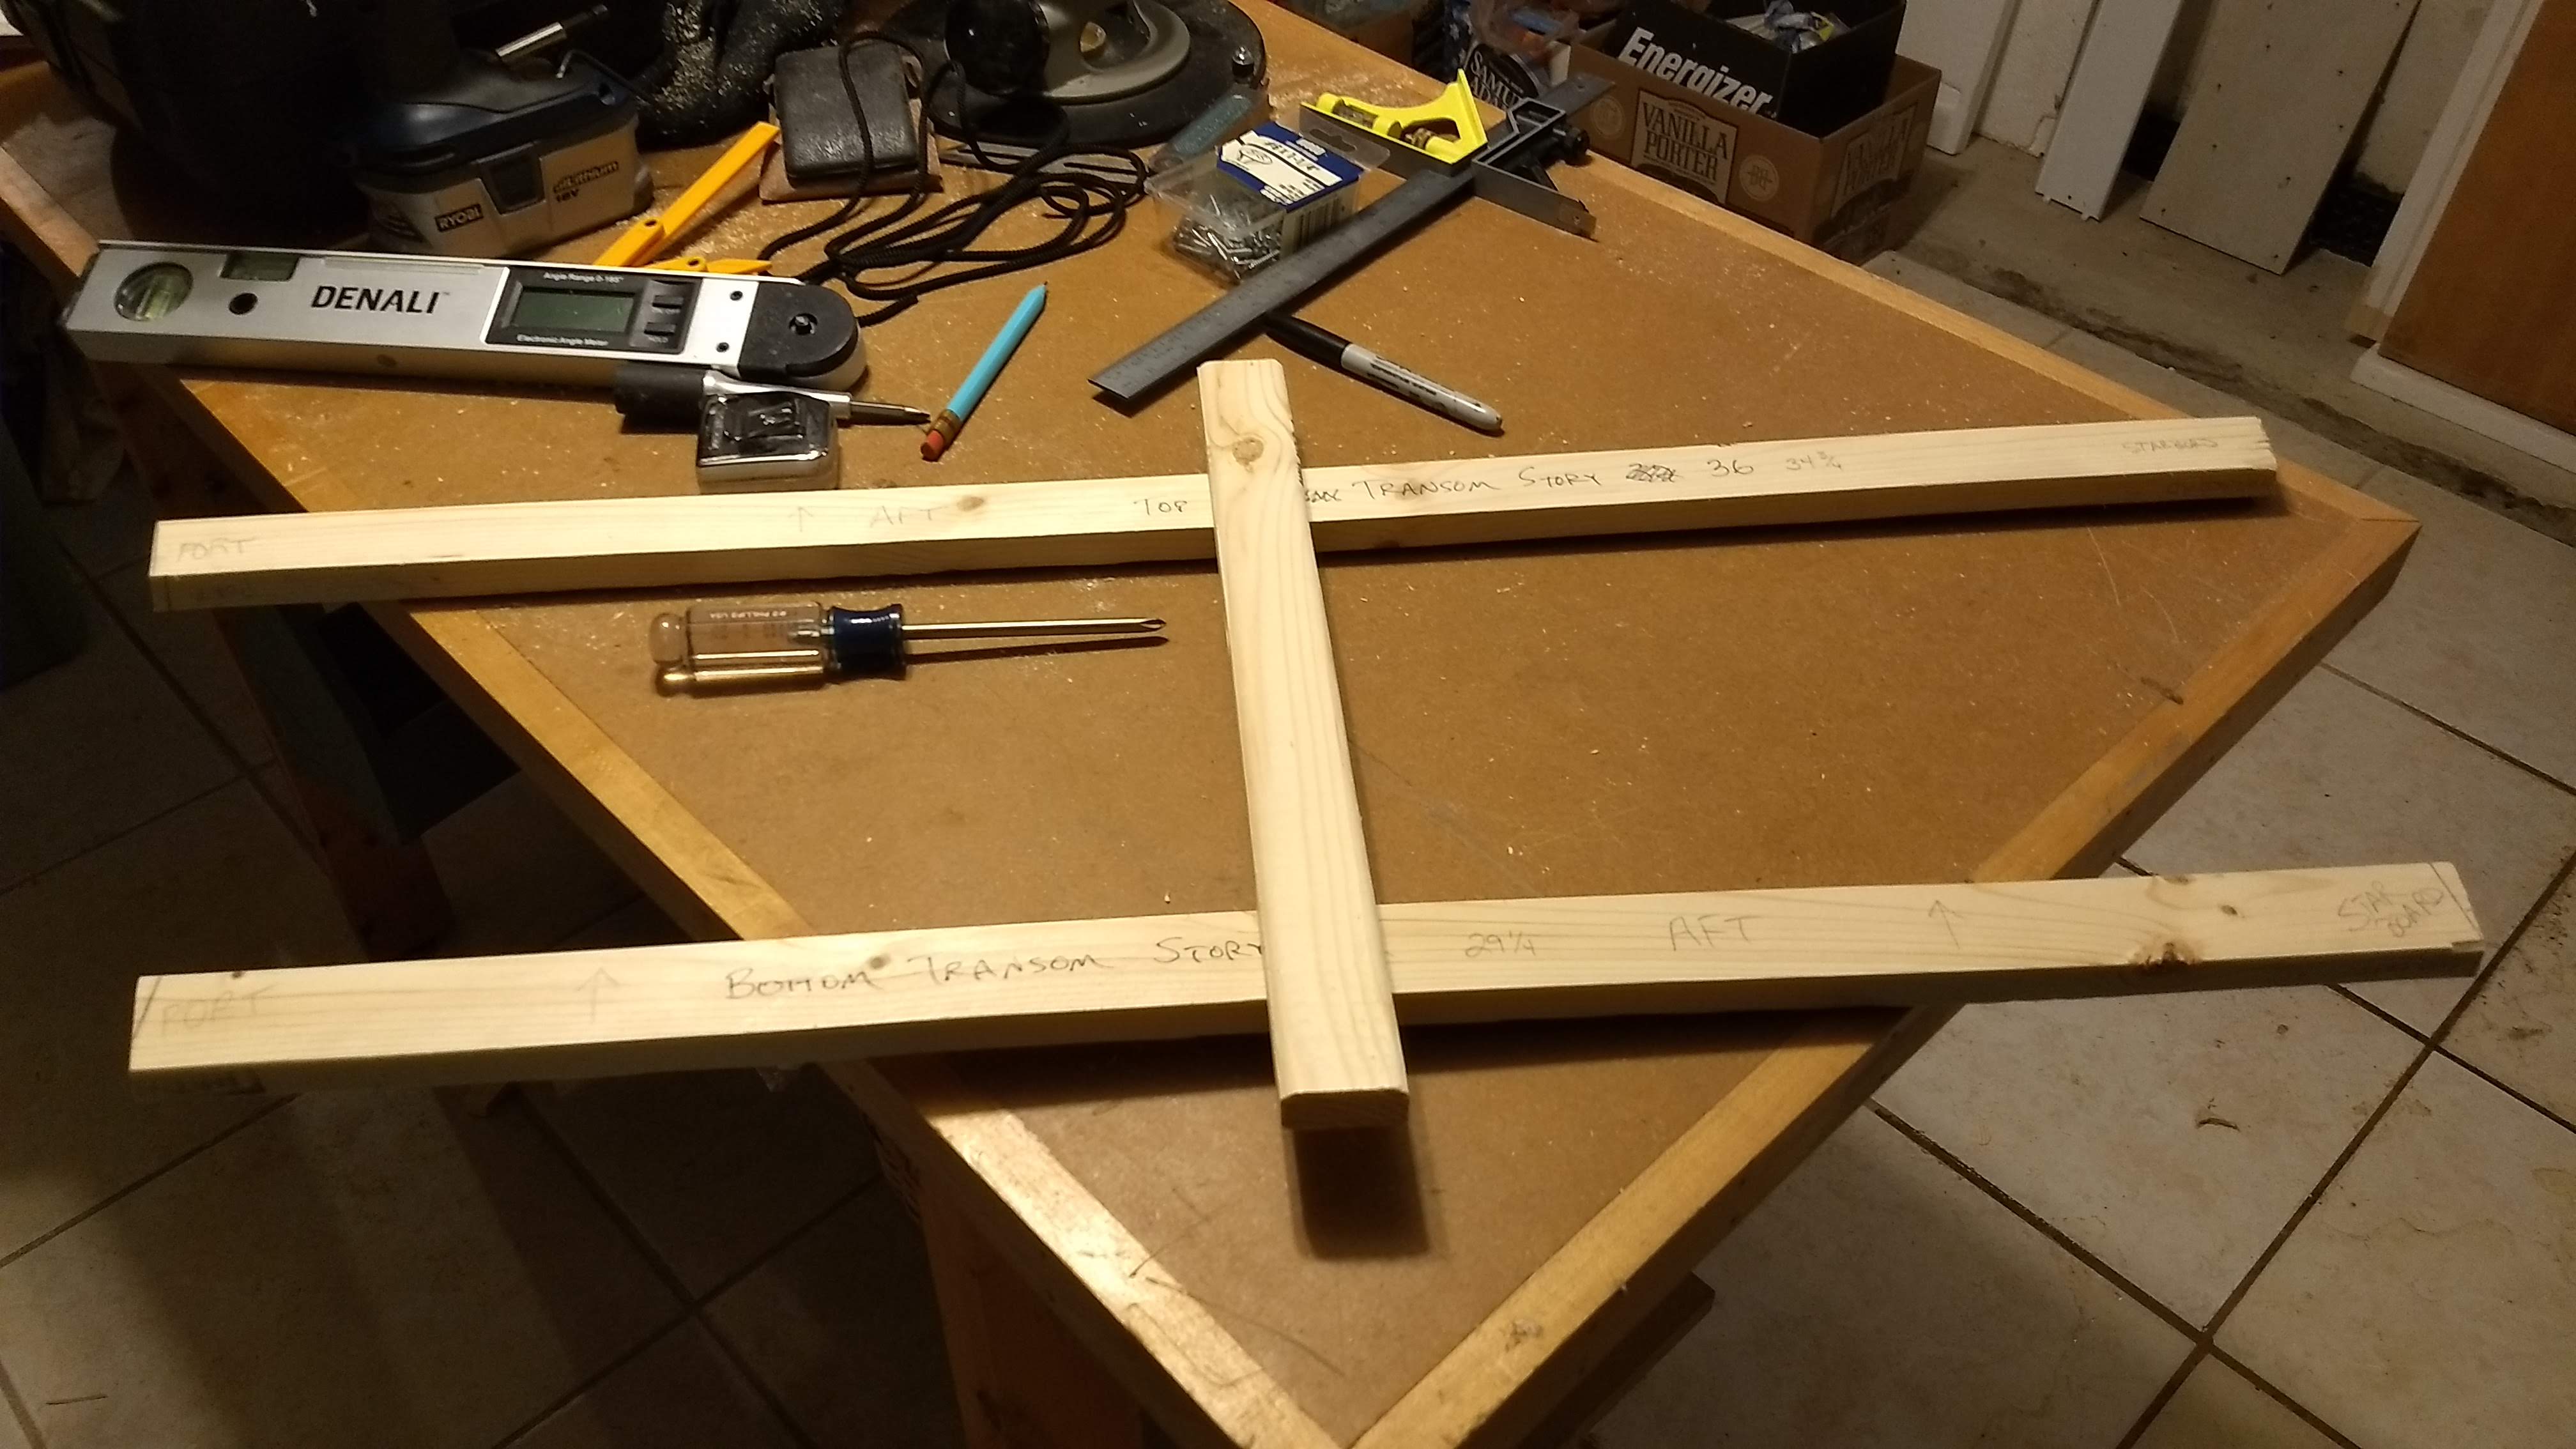
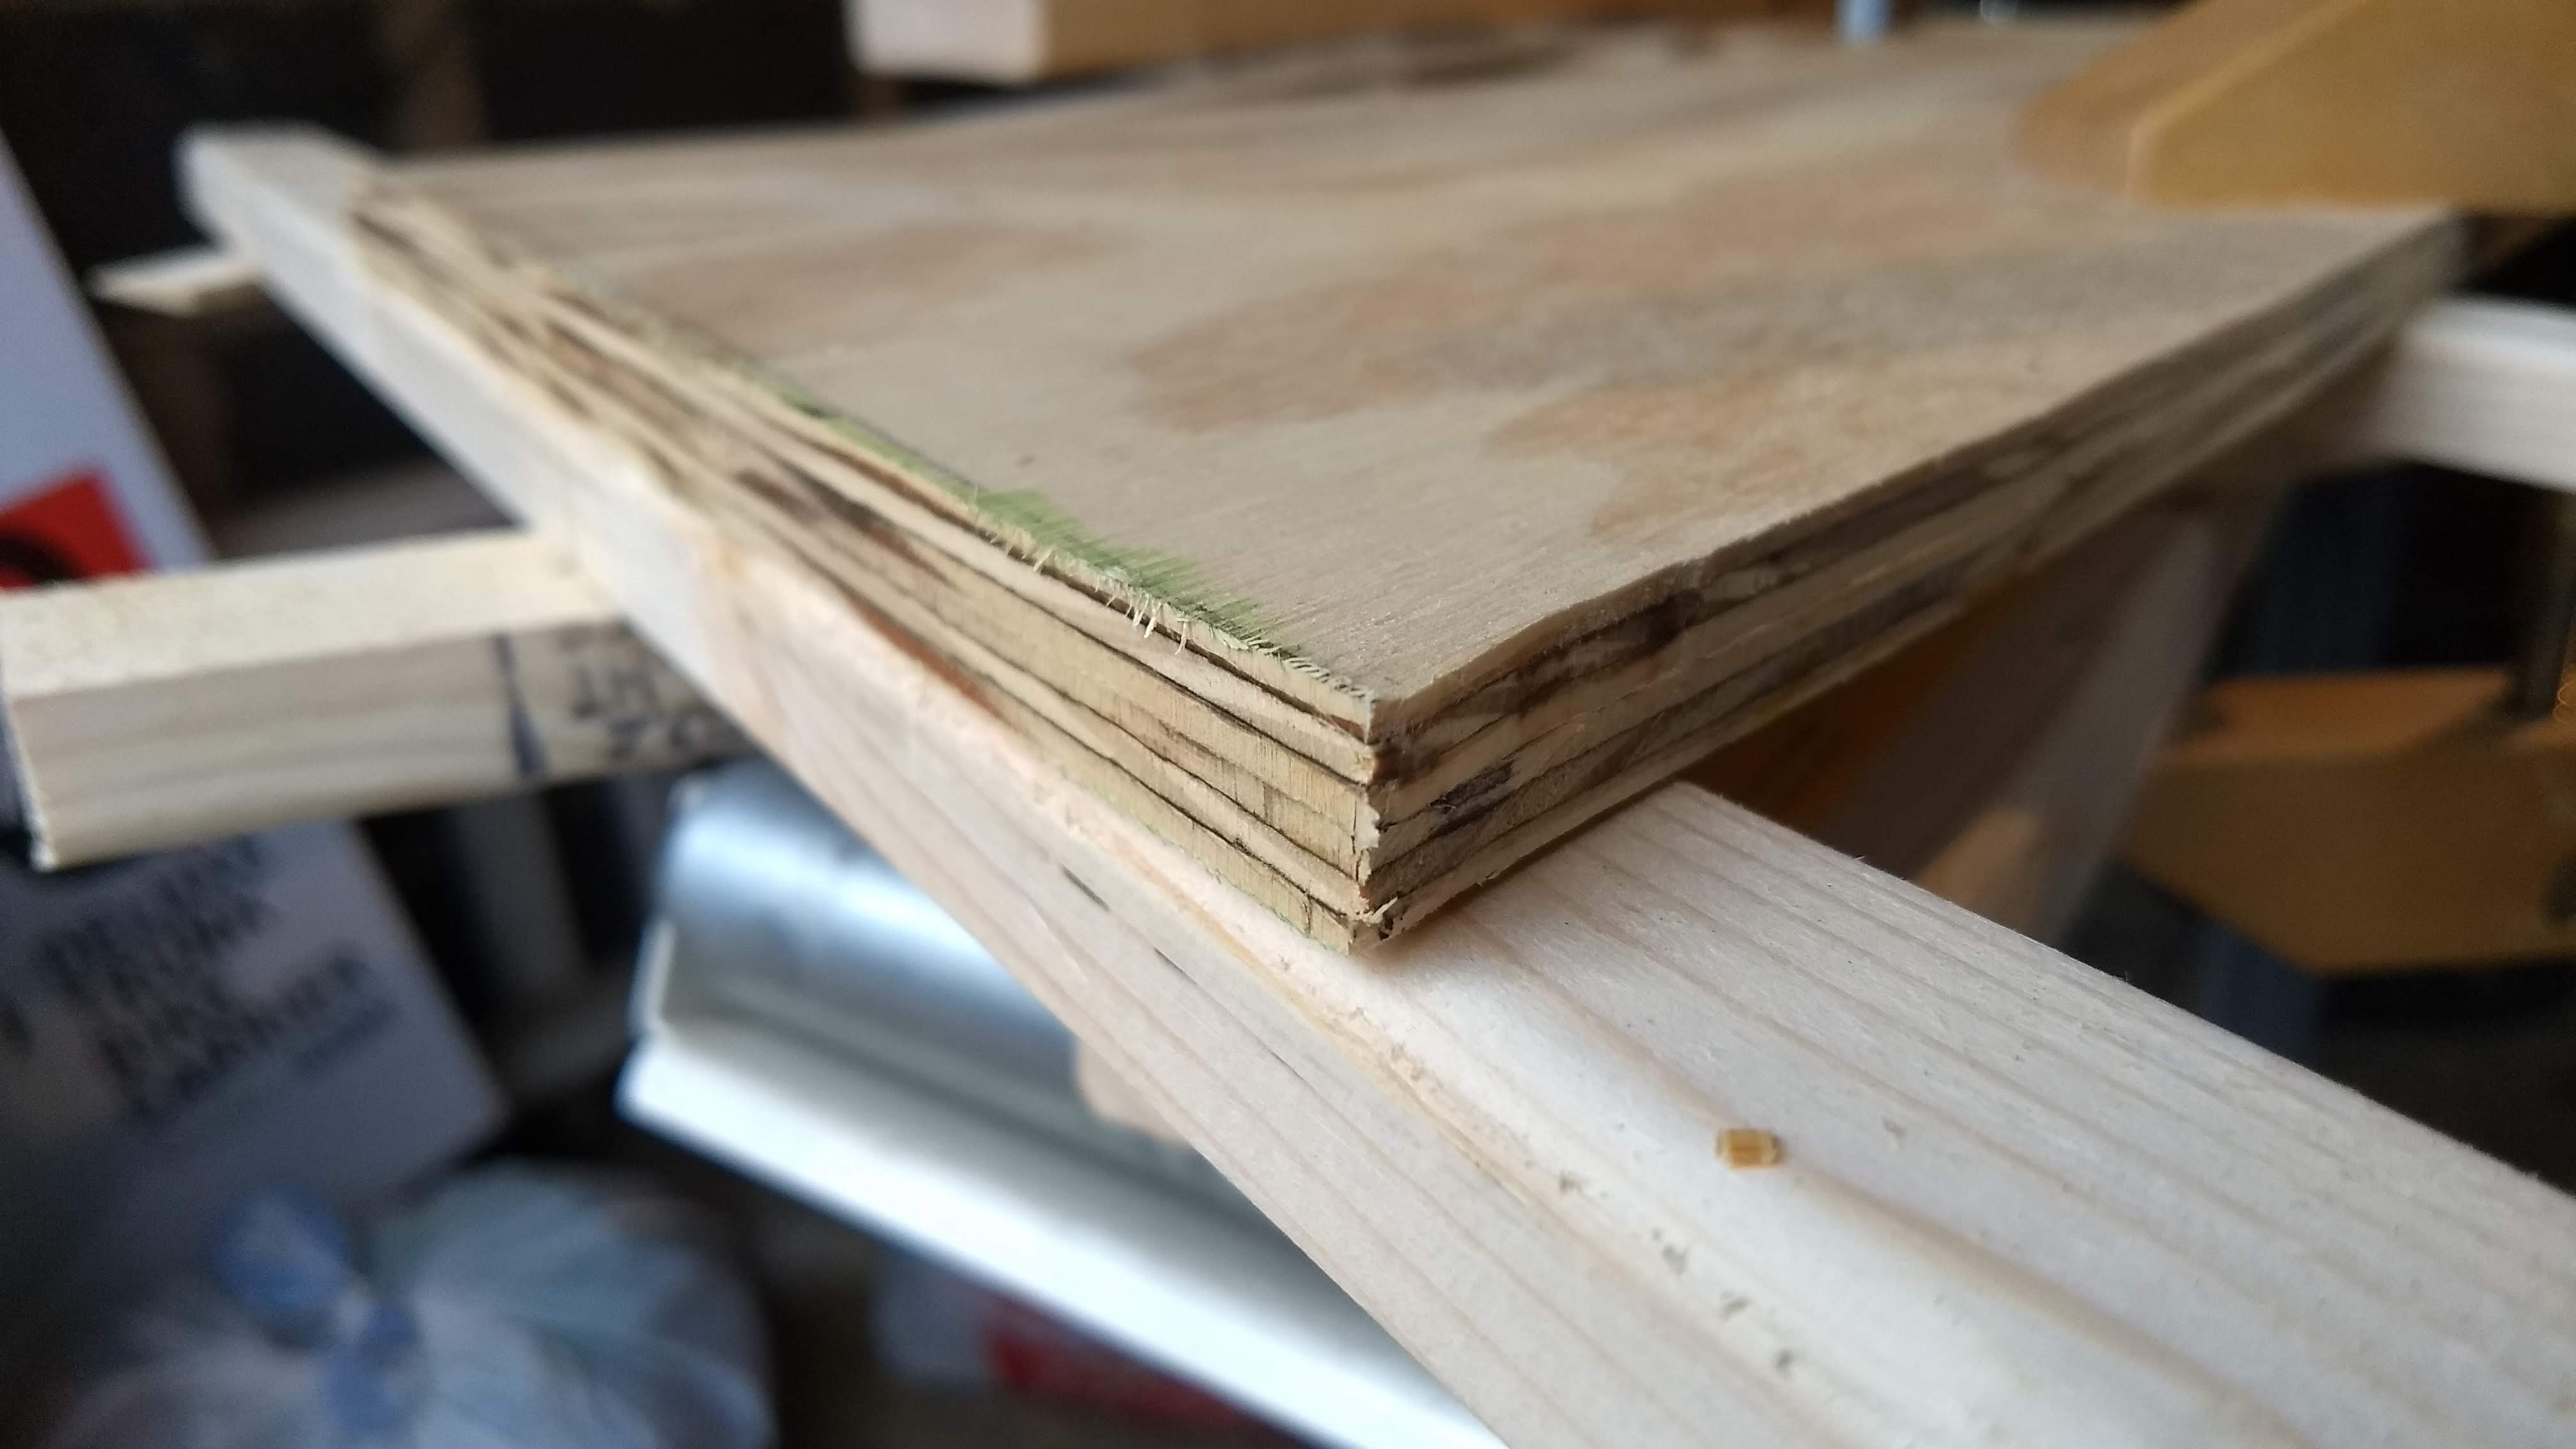
Then, when I took the assembly out to the garage, I started thinking how I was going to attach the assembly evenly to the un-symmetricized aft ends of the boat side assemblies. (They’d been left unsymmetrical because neither was especially straight enough to serve as a guide for the router to make the other straight and symmetrical to it.) But then, looking down at this dilemma with the transom assembly in my hand, I realized that either of the long sticks on this assembly was certainly straight enough to serve. I clamped it underneath and it worked perfectly.

And now the stern is perfectly straight.
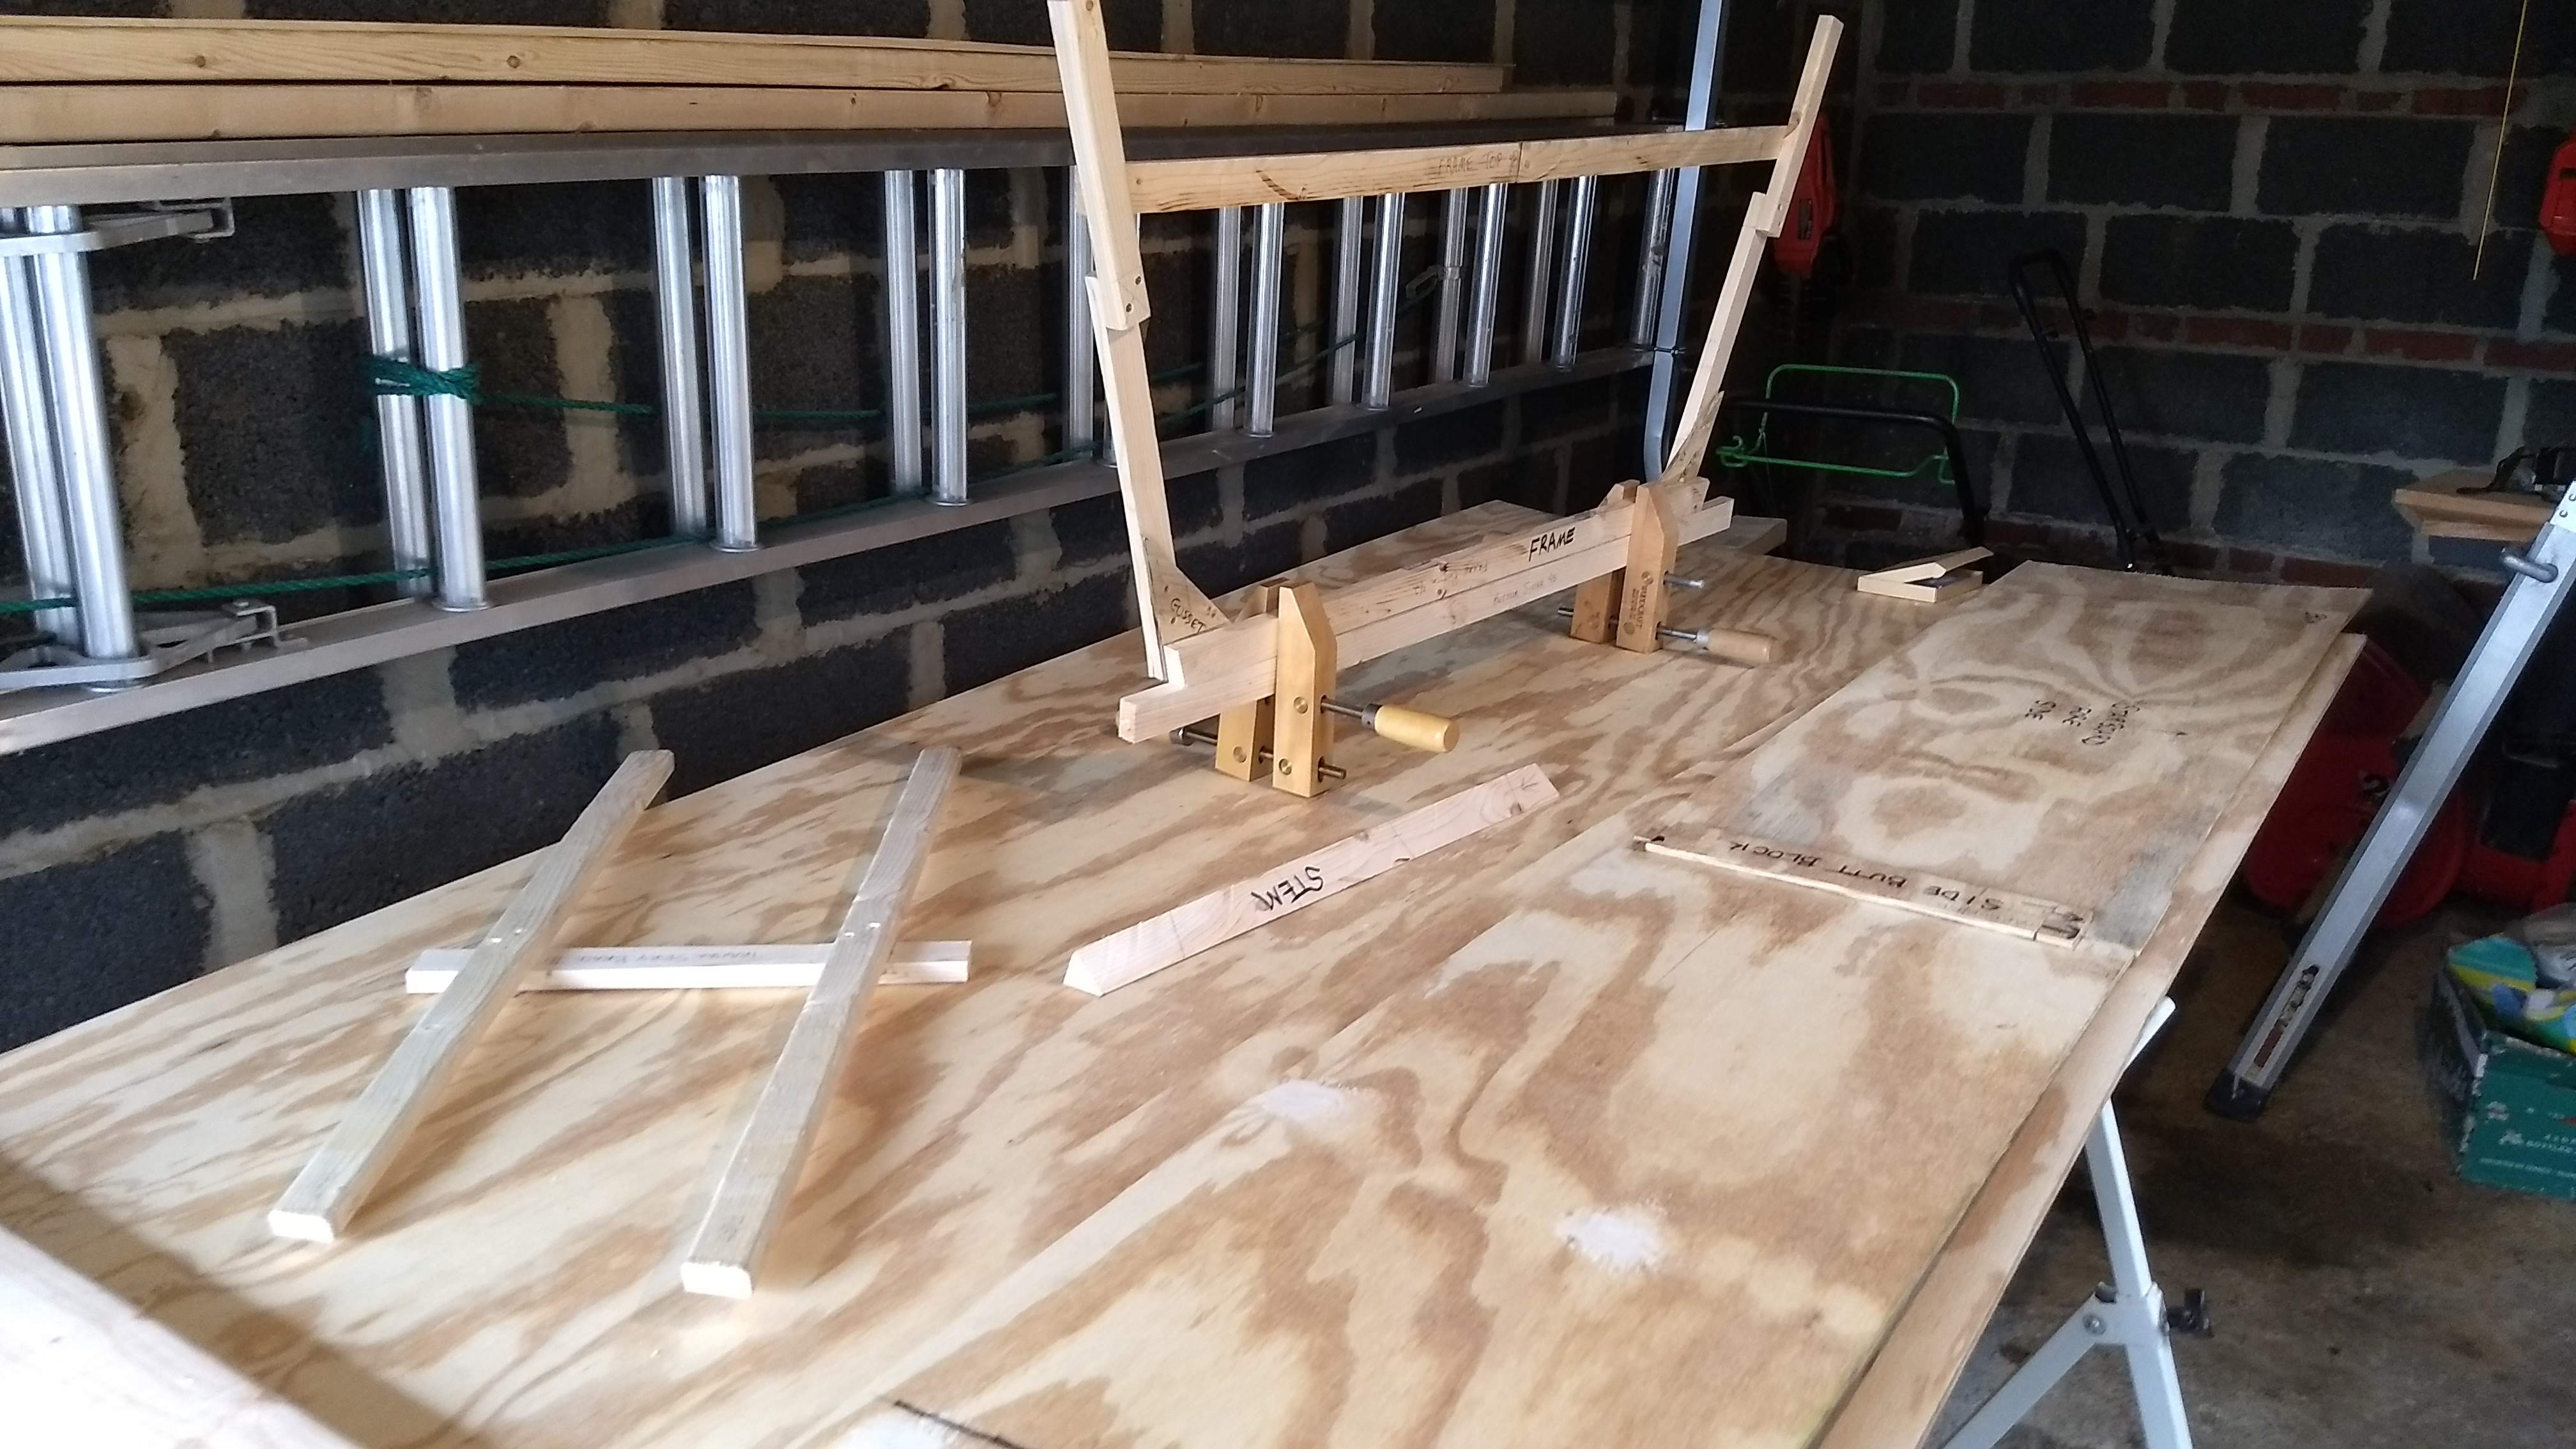
Next step was finishing the temporary parts of the frame assembly. Back in the basement workshop, I screwed the two sisters to the frame sides. Then I clamped the bottom sister to the bottom of the frame, opting for clamping instead of screwing, which would’ve involved drilling through the 1-1/2″ stick and using like a 2″ screw or such. The wood screws as clamps were instant, and they turned into a handy stand for the whole assembly.
I had allowed a full 48″ for the top of the temporary frame assembly (TFA), which disappointingly turned out to be too short to go all the way at the top. So I screwed it as high as I could get it, which turned out to be just fine. Whew.
Back in the garage, while the sides were still clamped together for symmetricizing, I used the stem as a gauge for drilling the pilot holes in the bow, and, likewise, I used the TTA to drill the pilot holes at the stern. I had long ago marked the lines in the sides for the frame, so I drilled those too.
Now I had the stem, the frame, and the (temporary) transom ready. I had pilot holes in the sides. Time to go 3D.
I had realized that I wouldn’t be able to easily access both sides of the boat on the plywood “workbench” in the garage (it’s actually the second sheet of plywood for the boat, what’s going to end up being the bottom of the boat, resting on sawhorses), so I moved the car and set up shop in the driveway, on my old Stanley folding workbench along with a folding card table and, it turned out, a roller stand and multi-position ladder. Oh, and a couple of 2×4s. And ropes for windlasses using trucker’s hitches.
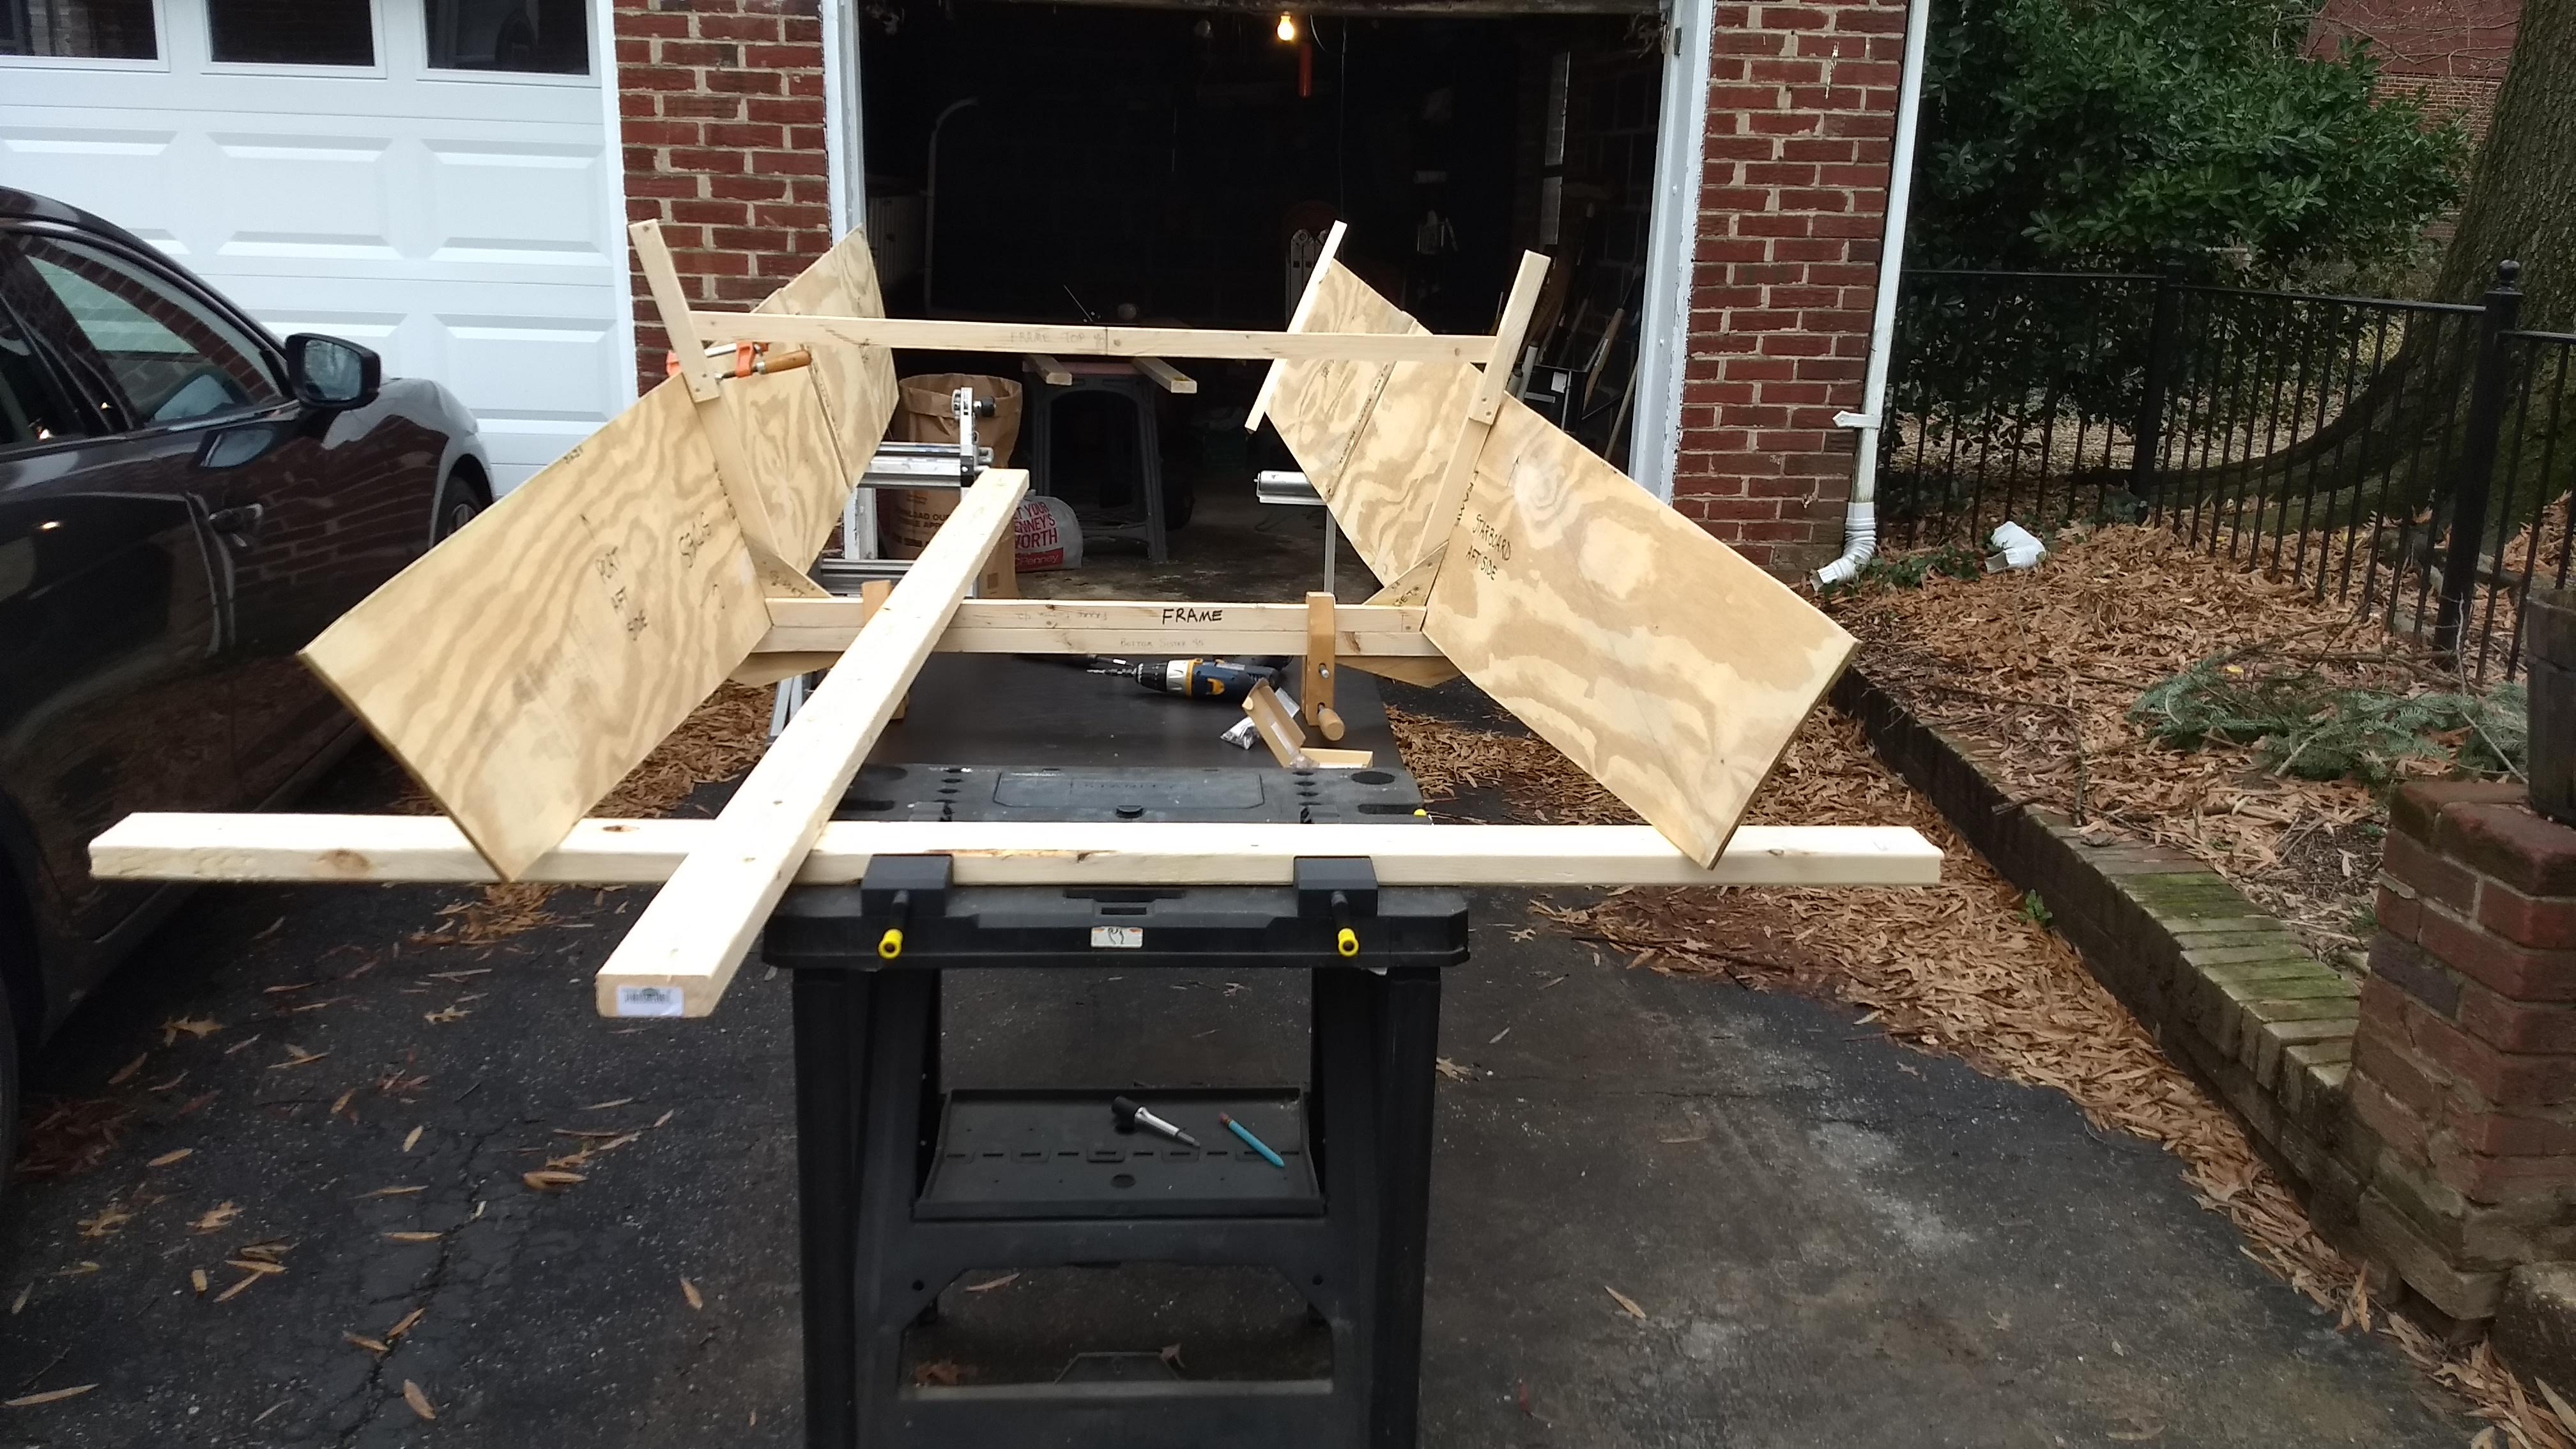
Either David Beede or Gavin Atkin had described this step, trying to attach the ends of two wobbling plywood sheets together, as wrestling an octopus. I had asked Dawn to help me with this step, but then I couldn’t wait and did it myself. It went really well, surprisingly, considering how many things have turned out to be harder than I imagine. This one was easier.
A few minutes later, it looked like a boat. Amazing.

Dawn helped me move it back into the garage, and off we went to Joe & Devon’s New Year’s Day Open House. Next up is buying a 24×48 piece of 3/4″ plywood and using about half of that to make the transom. Then taking apart the whole boat and re-assembling it with glue. Like wrestling a sticky octopus.
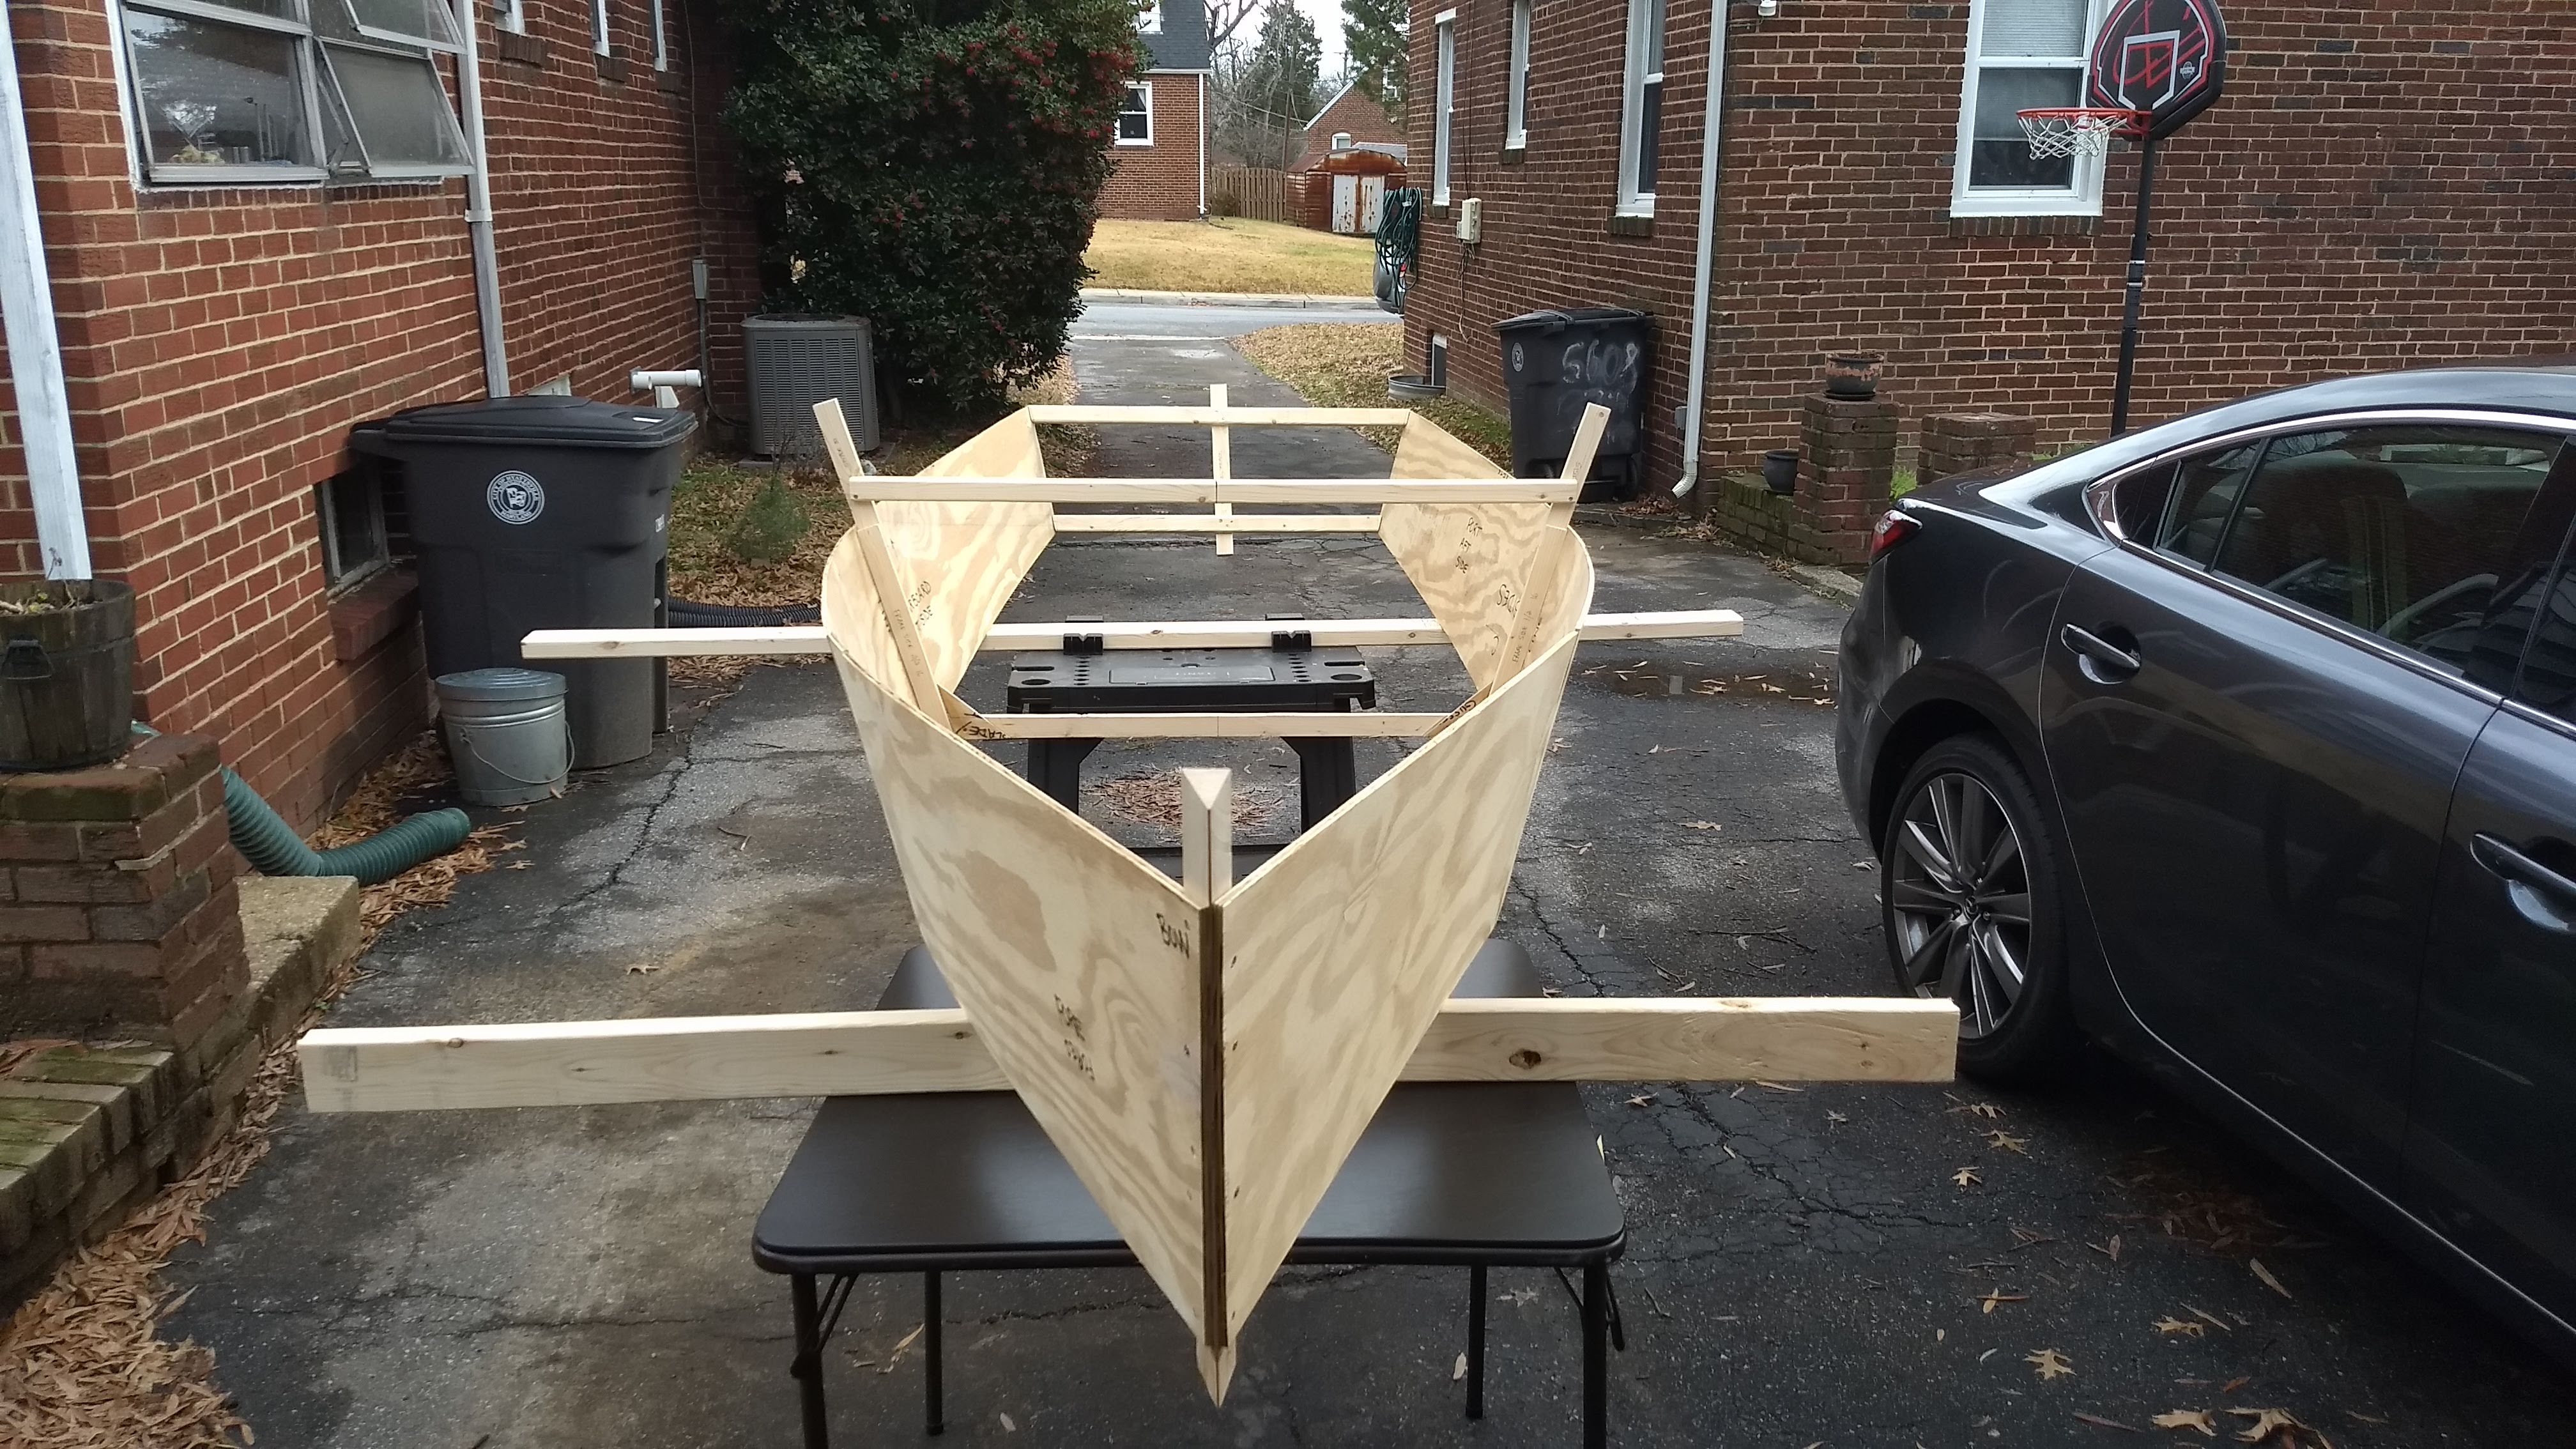
Lesson 1: Re-set the damn countersink bit!
The worst thing that I did was drill holes into the frame and stem using the countersink while it was still set to its default storage position. The drill bit is tapered, dammit. You have to set it to the length of the screw for the screw to fit properly.
It turned out to be no big deal, thankfully, except that I did wonder a while why some of the screws were stripping when I screwed them in, especially since I was screwing them in with a hand-ratcheting screwdriver rather than the Rockler Insty-Drive sleeve using the power driver. I thought I had learned that lesson. Once I had figured out the problem, though, I just set the depth correctly and drilled new holes. I’ll have to fill the other holes but, hey, again, no big deal.
Lesson 2: No matter how carefully you measure …
The stem didn’t go on exactly symmetrical from top to bottom. I thought I had measured the holes on the stem itself on both sides to match the pre-drilled holes in the symmetrical sides. But apparently not.
It’s barely, barely noticeable as it is. Such a small drift from top to bottom. And I think it won’t be seen at all after I glass the seam and then paint it. We’ll find out, though, won’t we?
Lesson 2.5: I should probably fill that seam anyway
A fillet of thickened epoxy would be much better than just glassing the seam with tape and epoxy.