Terrific three-day weekend for Memorial Day, which was also my birthday, and wow did I get a lot done.
Having deemed the chines flat enough for the bottom, it was time to actually cut the second plywood sheet that will be the bottom. Here I finally got a chance to use the new 4-1/2″ circular saw that I’d bought, along with a plywood cutting blade. I’d made such a hash of the first sheet of plywood with the 7-1/4″ saw with a standard blade, but I didn’t want to make such long cuts with the jigsaw. So new saw it was to be.

But the plywood cutting blade was terrible! It cut awfully slowly, and it burned the wood as it went. I switched back to the 24-tooth blade that came with the saw and that worked much better. I had worried that I’d get a lot of tearing out with the regular blade, is why I bought the plywood blade, but the regular blade was fine.

And it was a lot easier to saw to the layout lines with the 4-1/2″ saw versus the 7-1/4″, although that may also have had to do with working on the ground, with the plywood sheet on some 2×4s instead of on saw horses like with the first sheet that I’d cut way back when.
Or maybe having worked most weekends on the boat for the last 6 months has made me improve somewhat, so that I’m a bit better at sawing. But, whatever the cause, I was very happy with all the cuts.
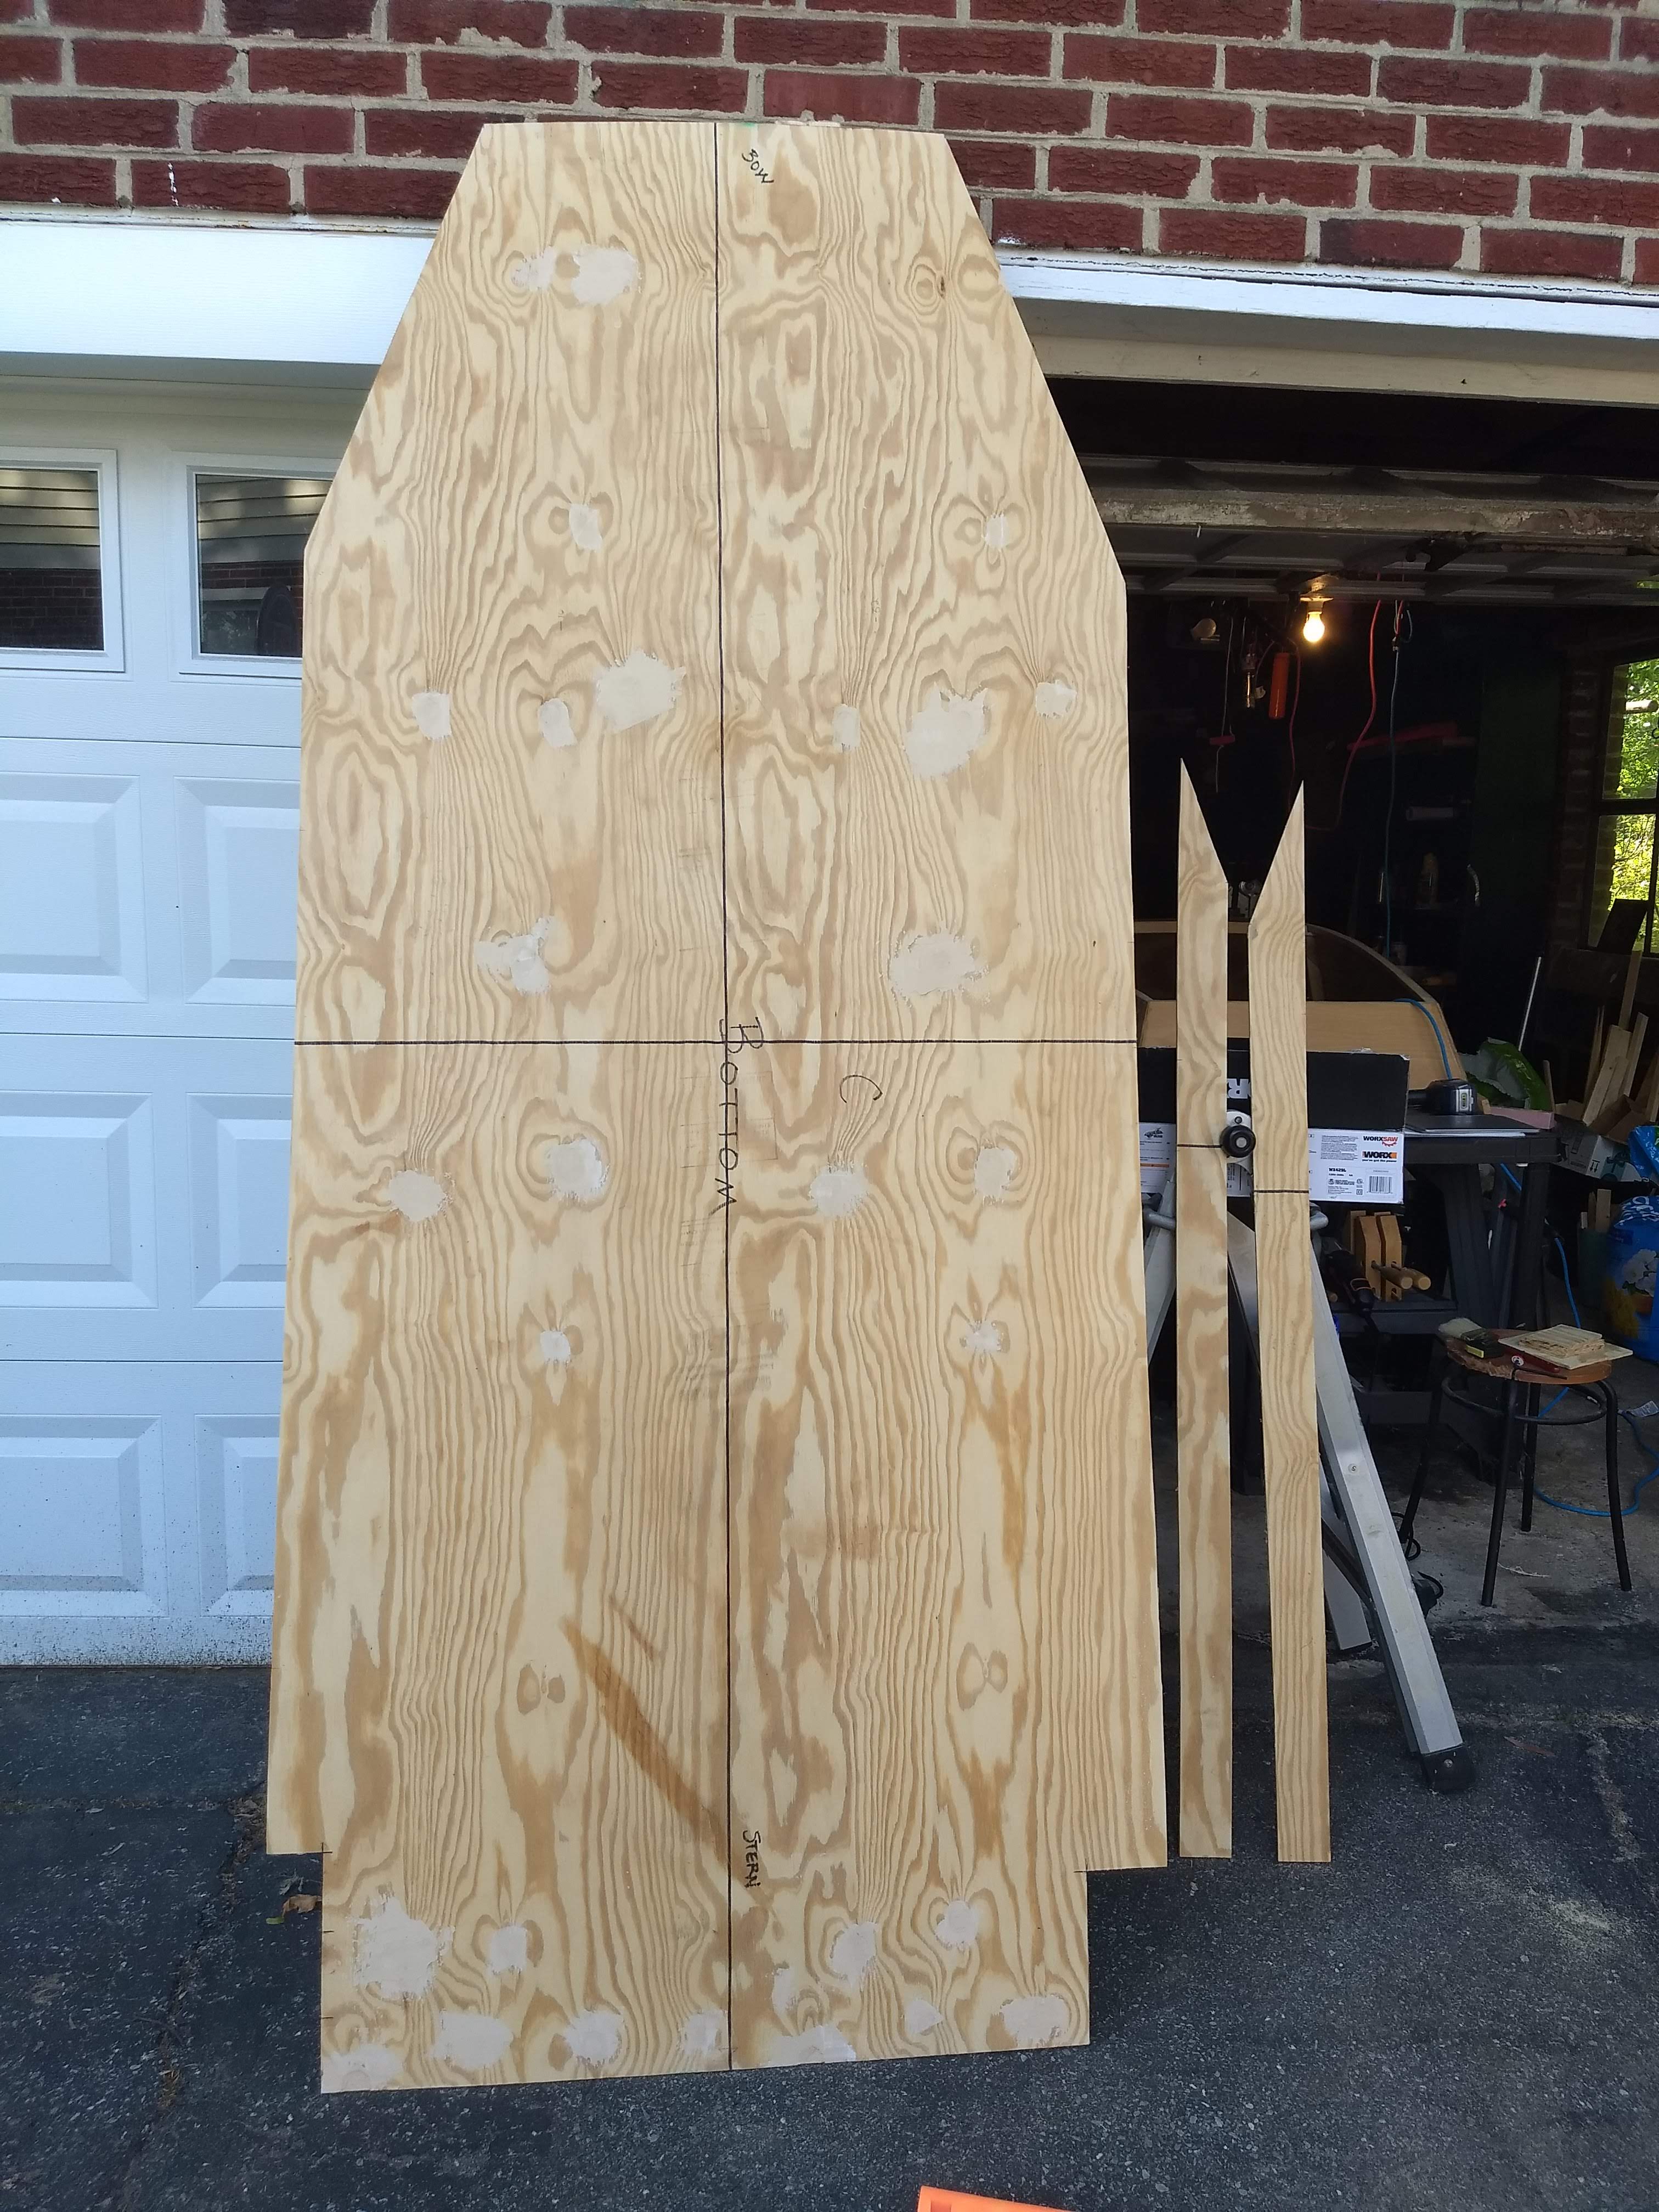
Next step was to make room on the garage floor for gluing the bow points onto the remains of the second sheet to for the hull bottom. That involved moving the boat out of the garage and into the driveway. I grabbed the little furniture dolly that I keep my surface planer on, what with the planer being so very heavy. The dolly turned out to be a not-too-shabby way to maneuver the boat one-handed.

And with the boat in the driveway, I was able to set up the bottom for gluing on the garage floor. I didn’t use any staples this time with the butt blocks, remembering how terribly the staples have been in other pieces. I just used weights. Lots of weight.


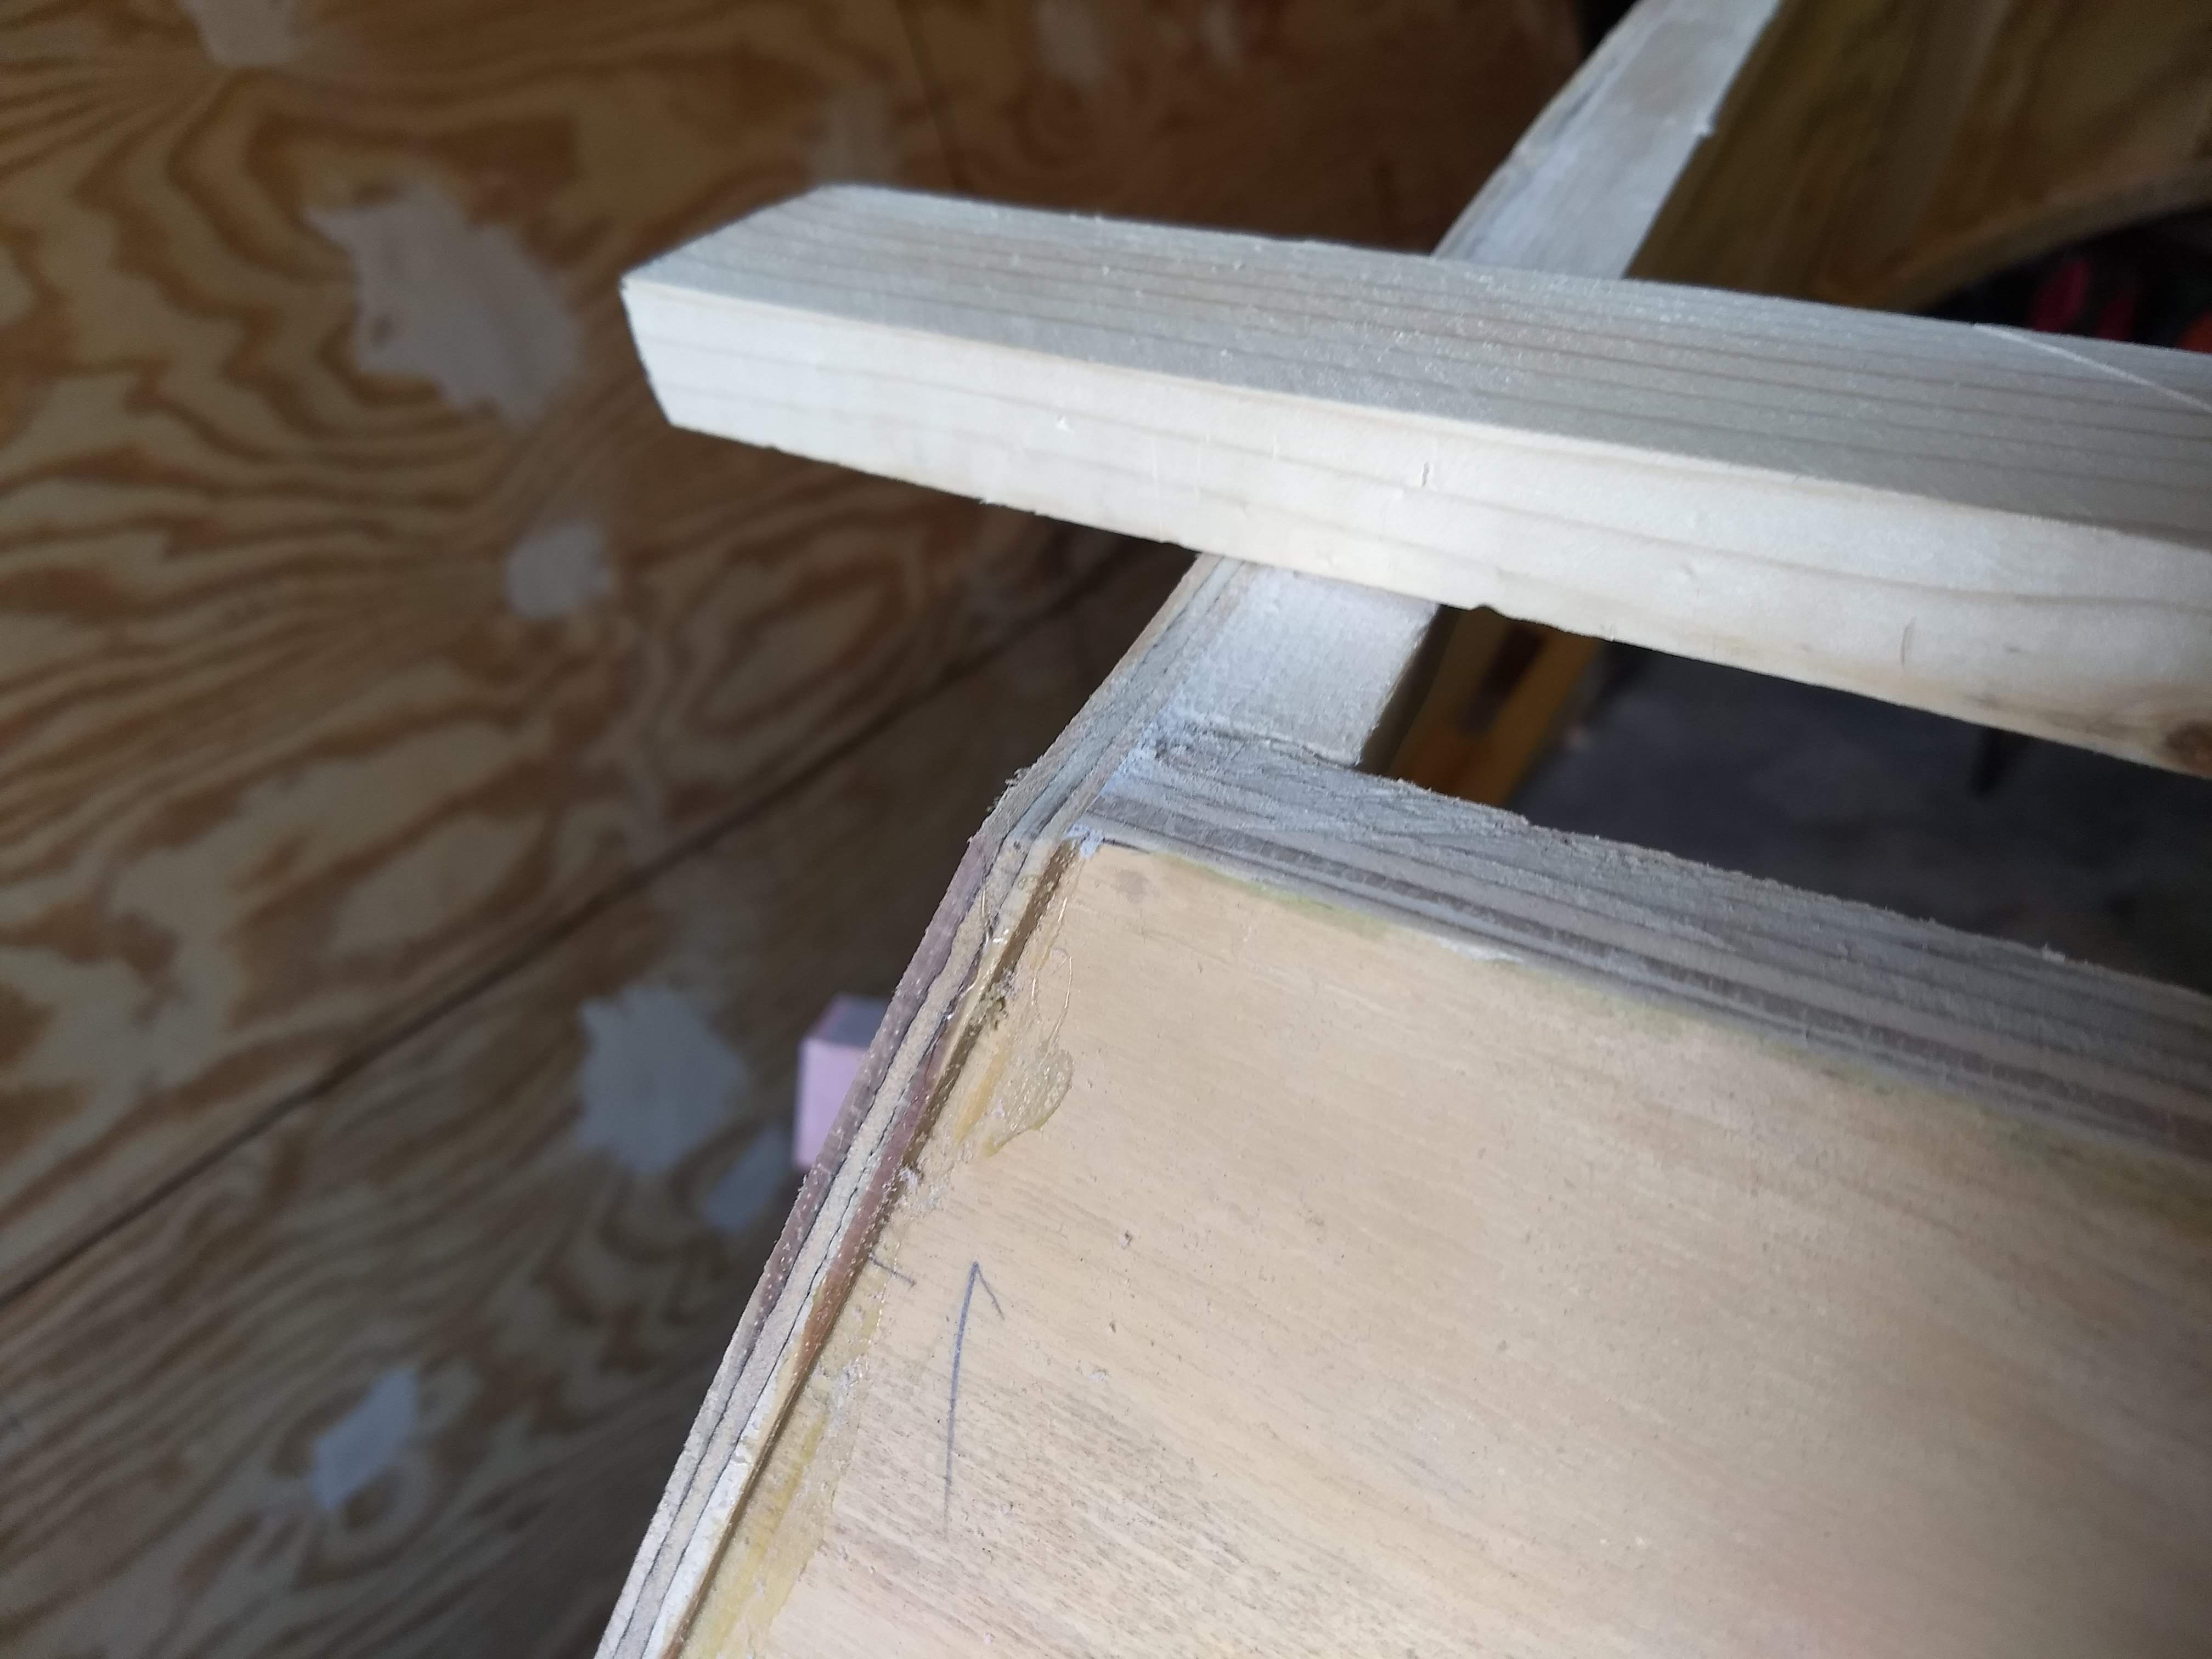
I also took some time to straighten the frame in the middle of the boat that the bottom is going to get glued and screwed to in addition to the chines. I hadn’t really appreciated before how much the frame had bowed due to the compression force of the sides between the stem and the transom. I figured that I could bend the bottom over the bowed frame enough to attach the bottom, but I also figured that the 2-1/2″ wide keel that I’m going to glue and screw to the bottom would very much not bend enough to fit evenly.
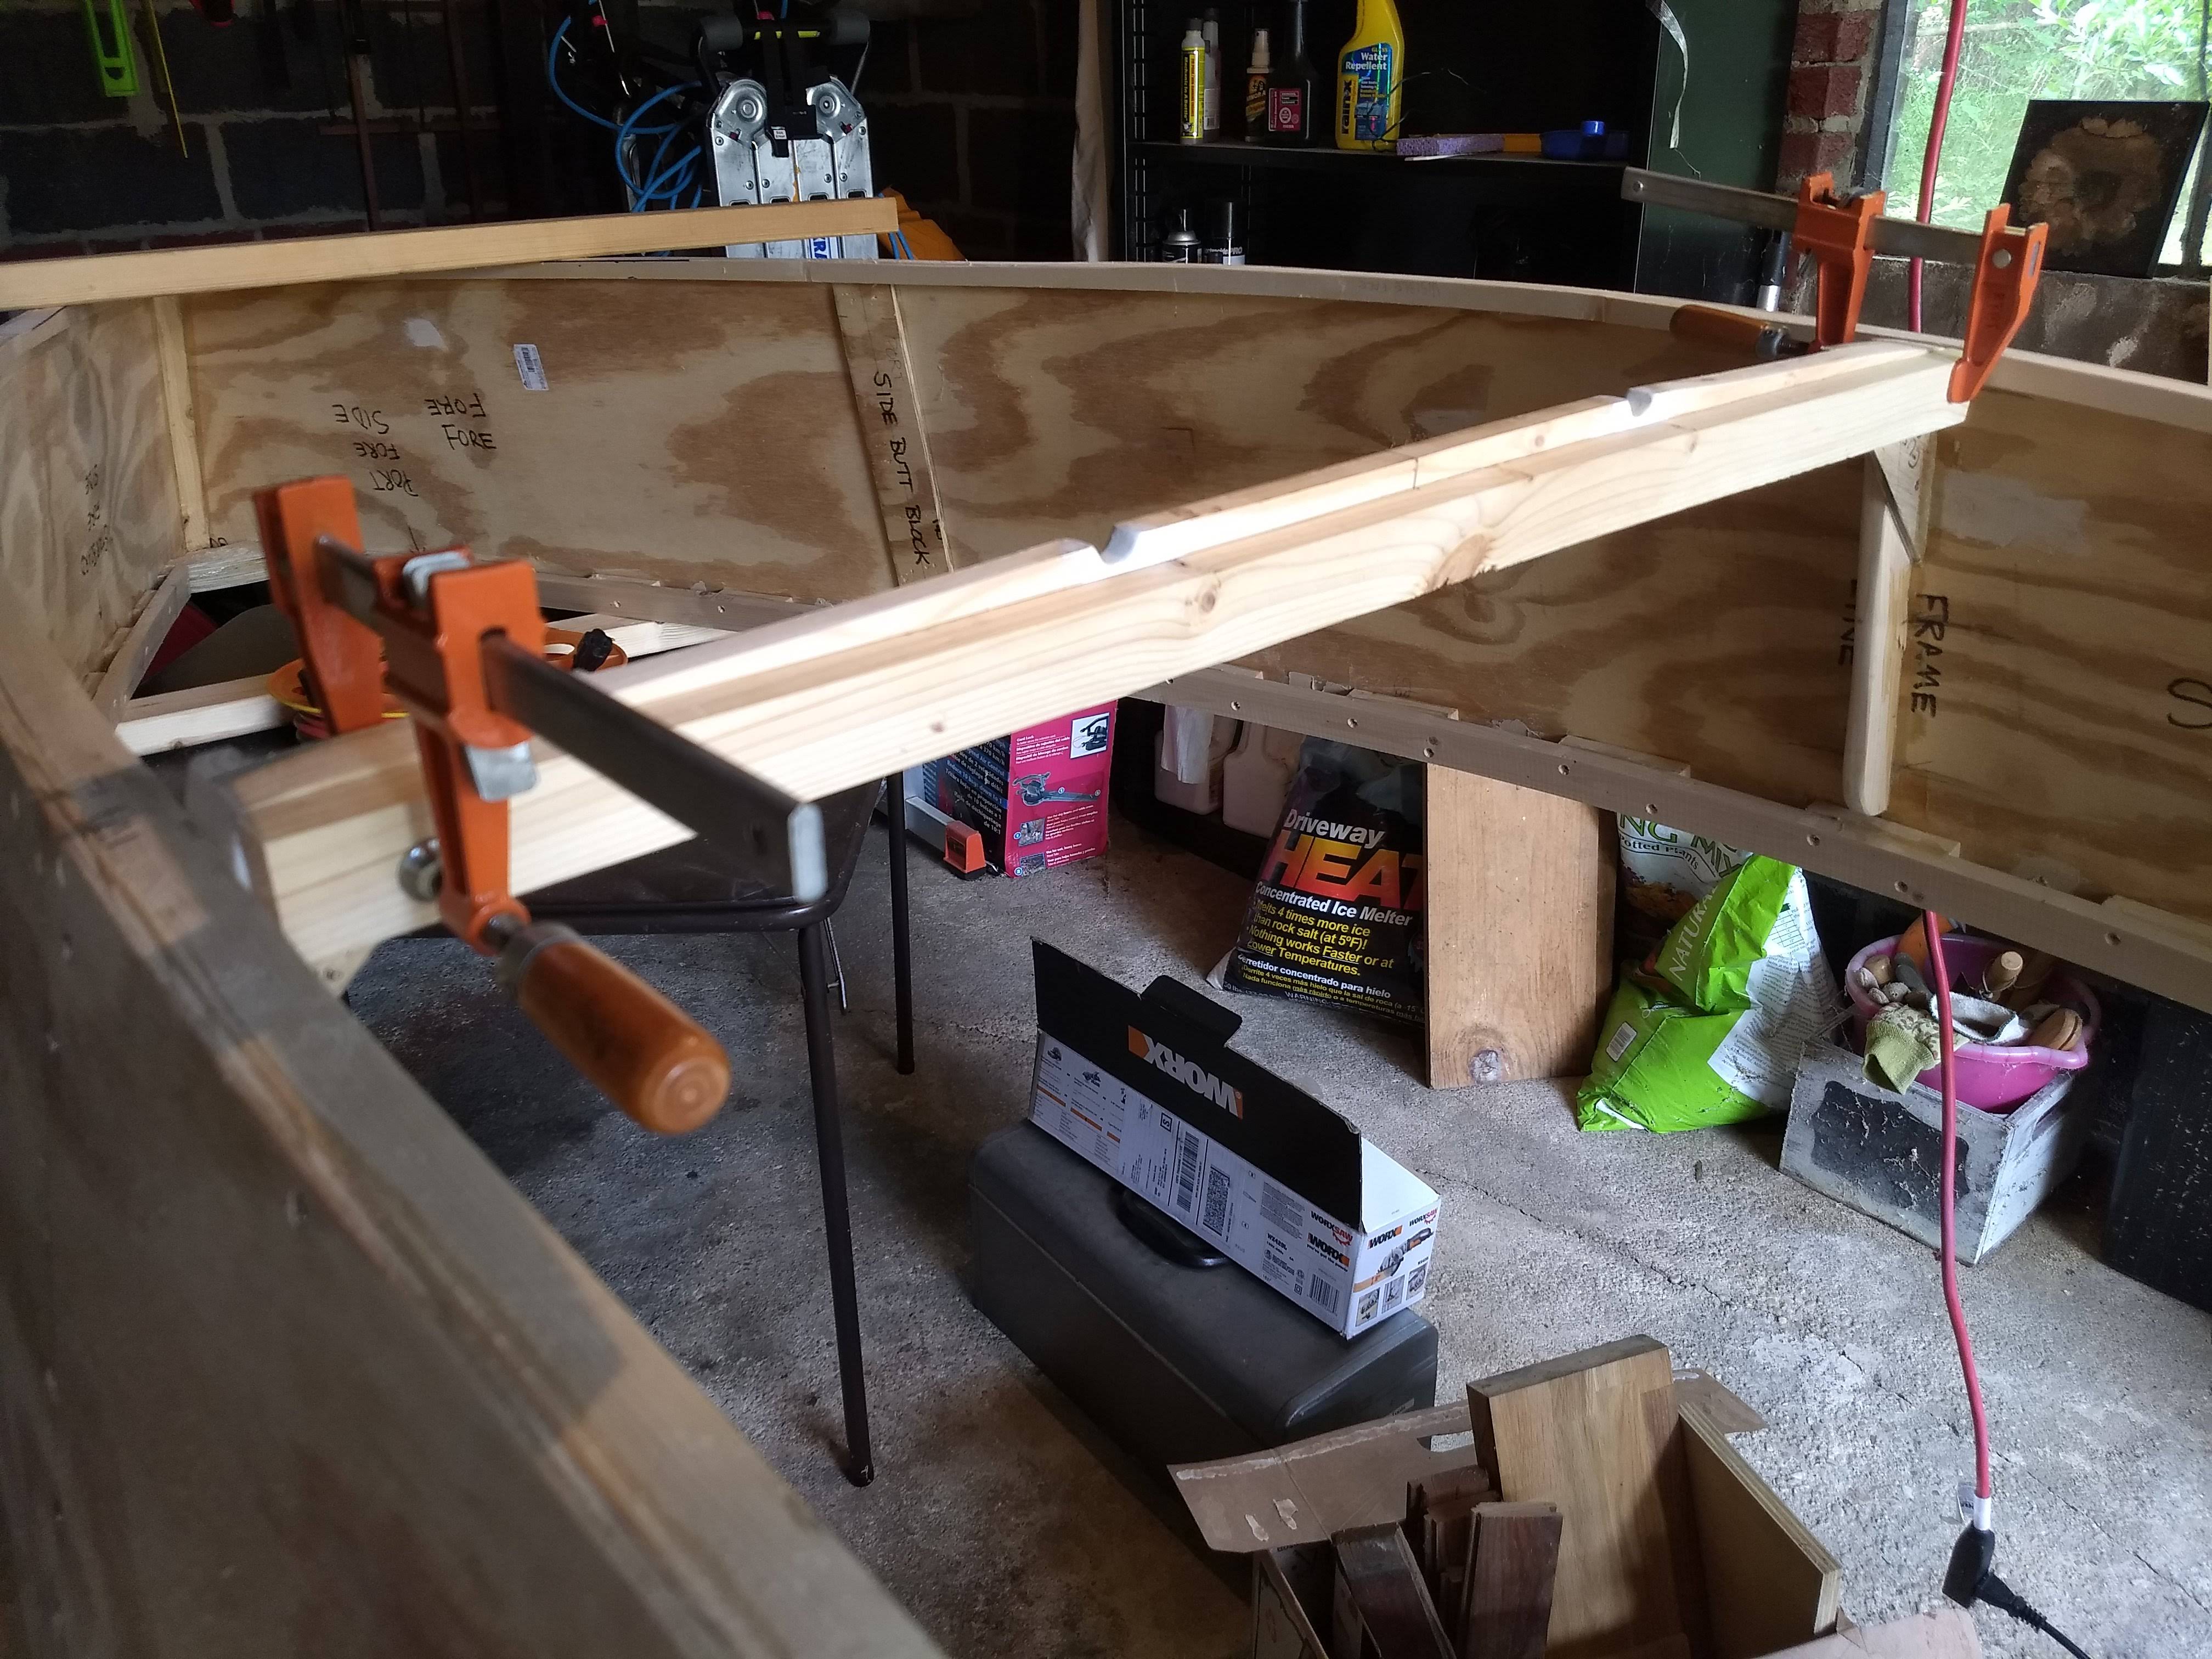
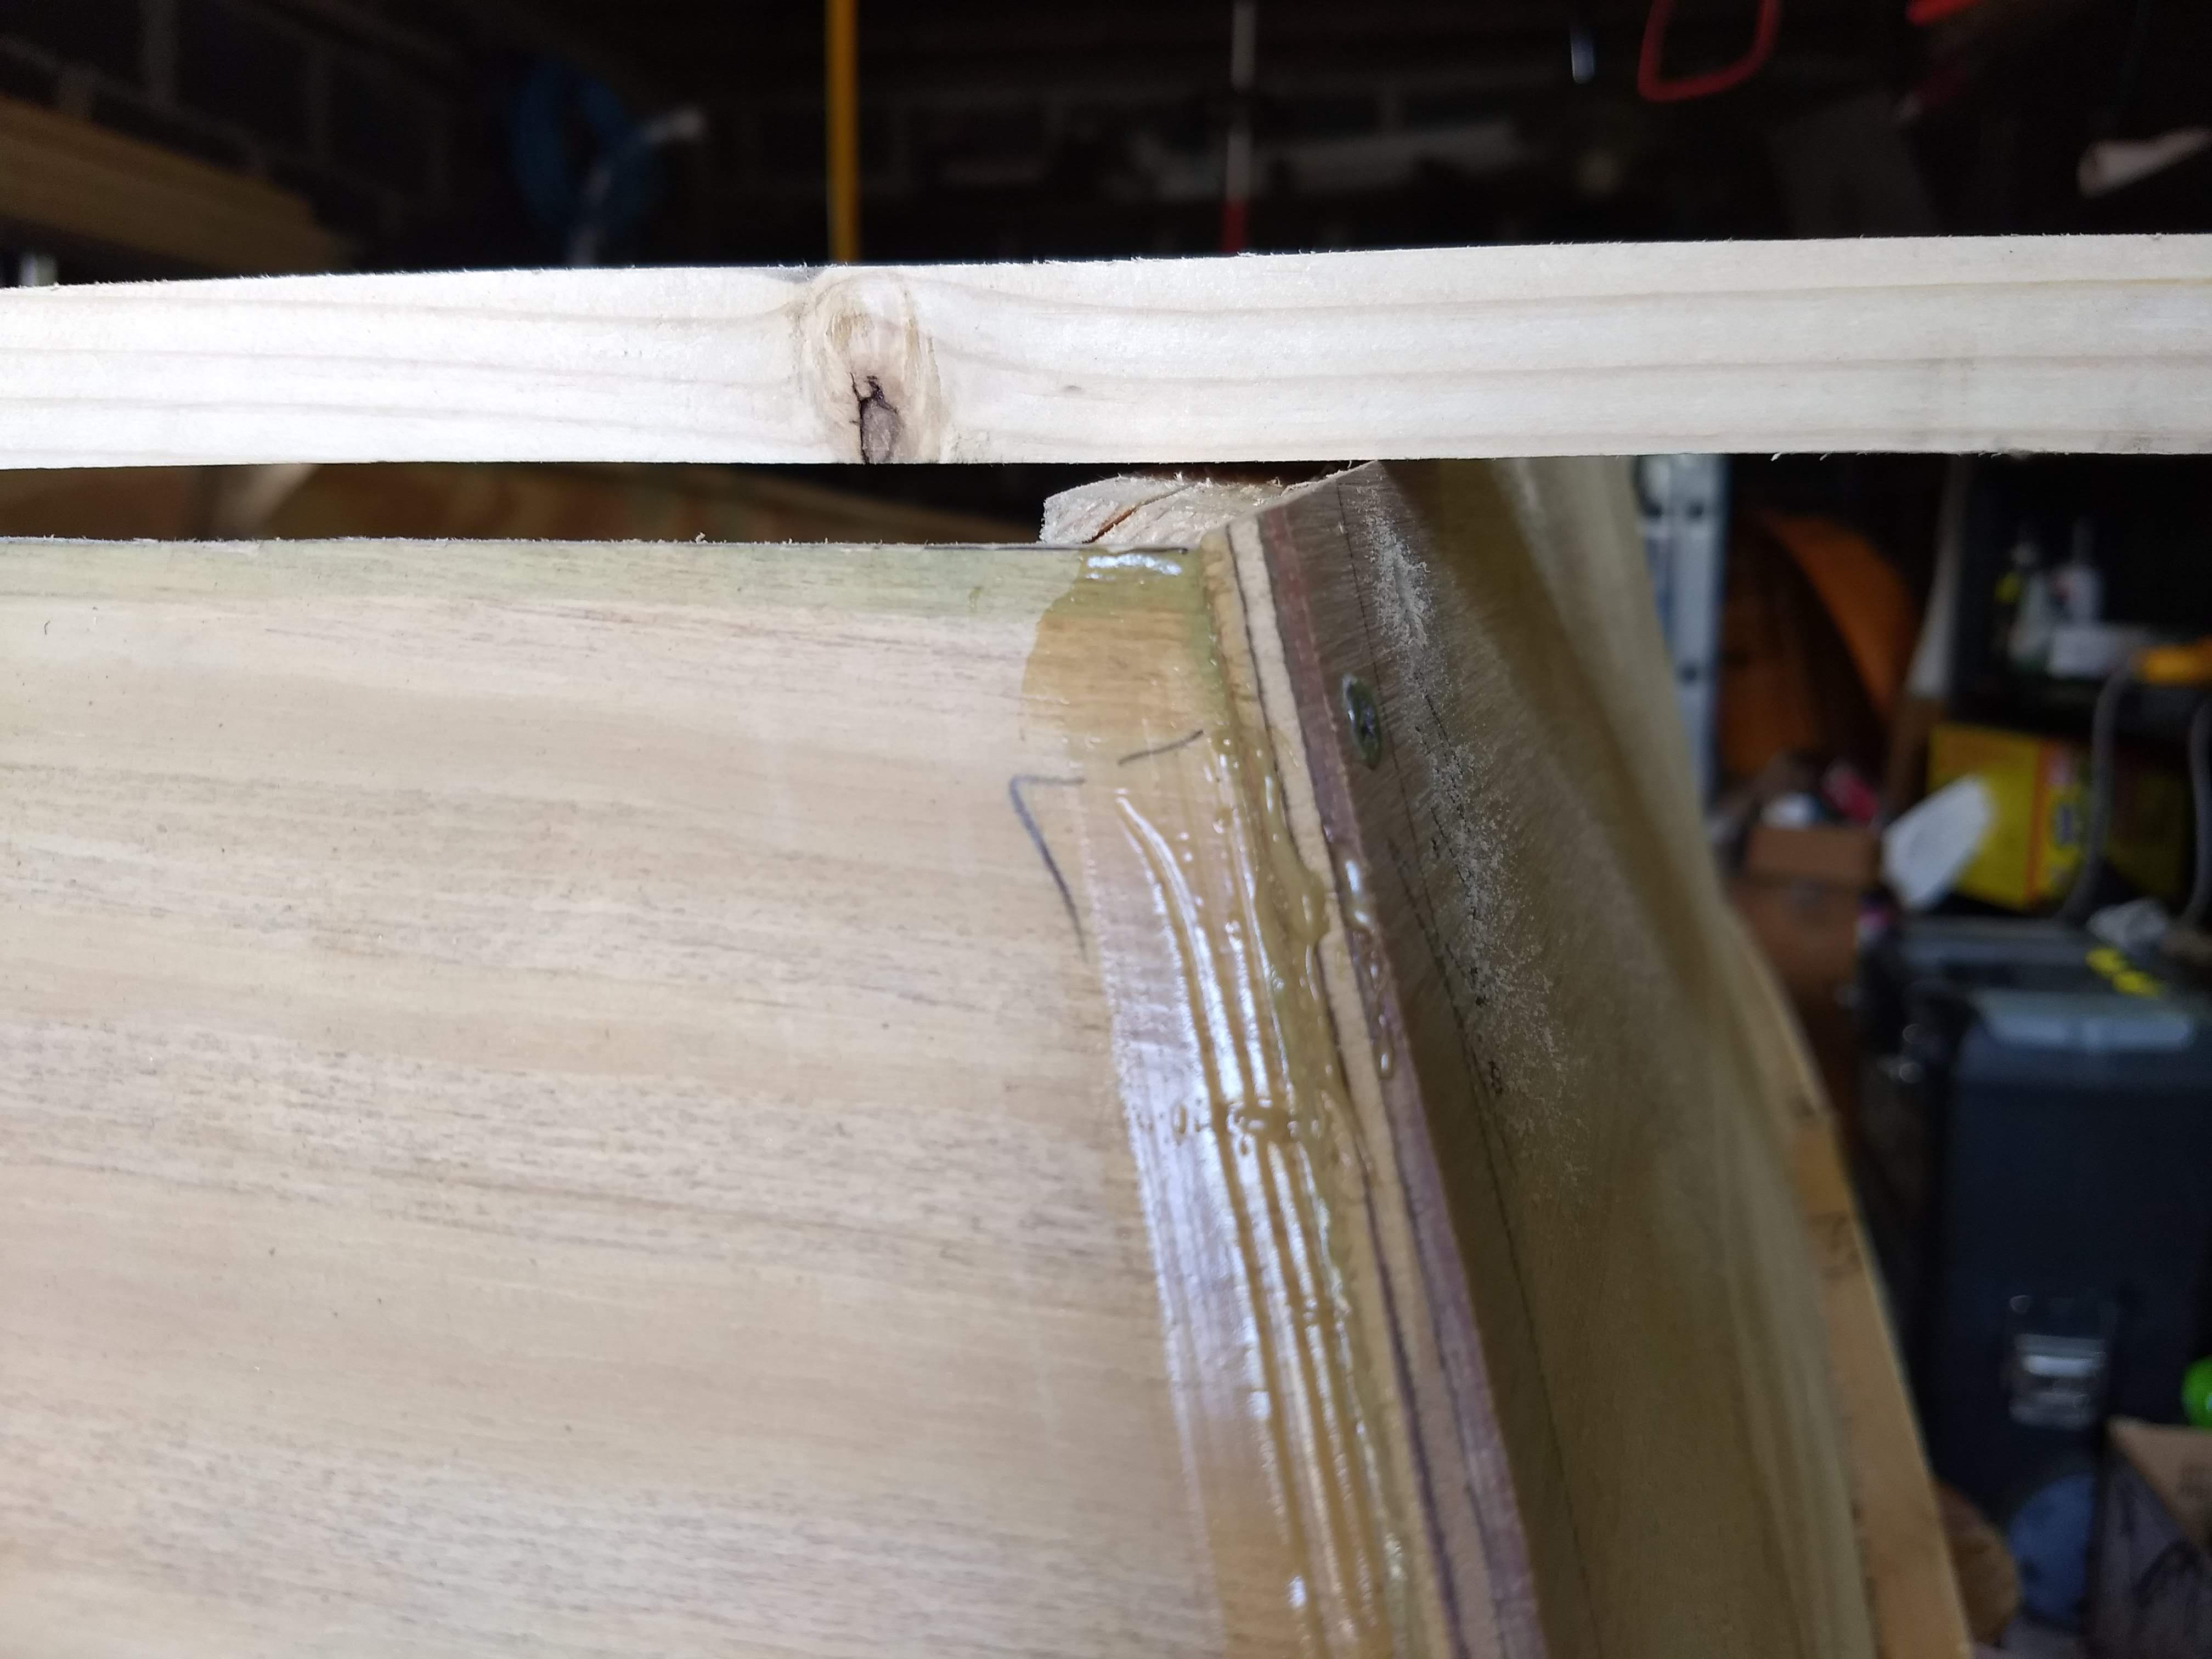
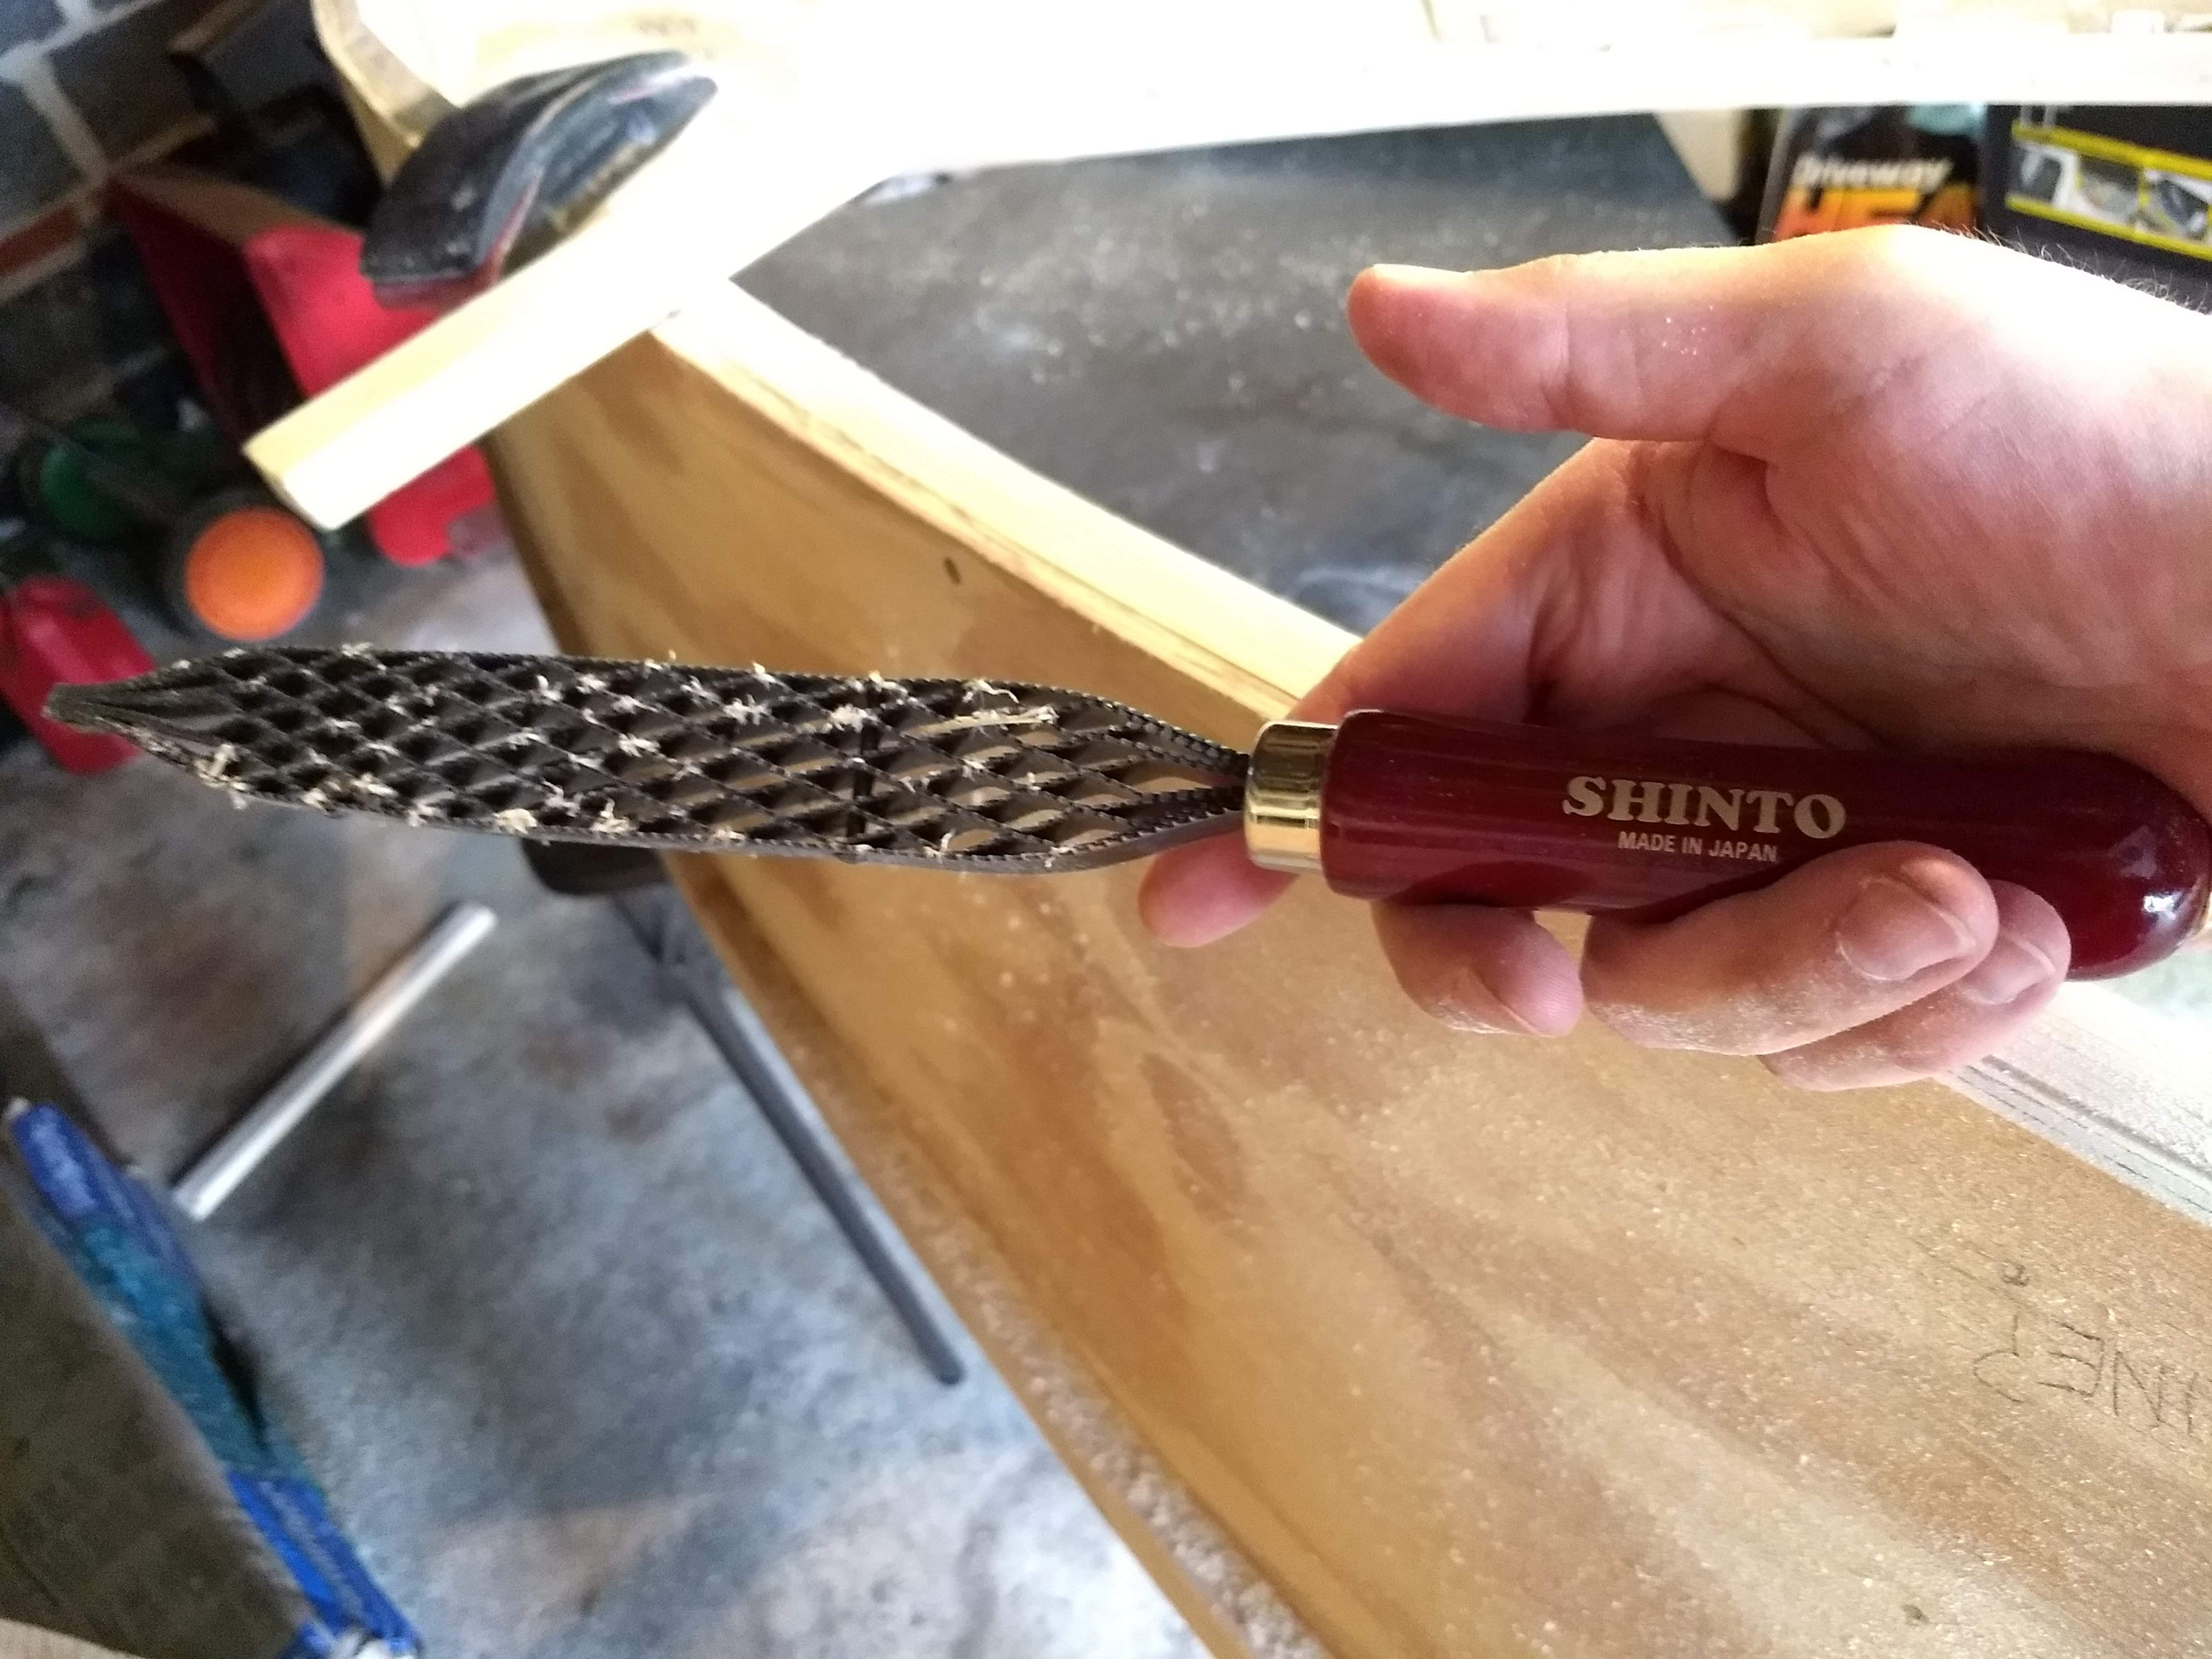
I used a sister piece, the very same one that I had used as the bottom sister piece when I was originally installing the frame, to establish a straight line athwart the beam. Then I used a number of tools to make the existing frame even with the new straight piece. First up was the compact circular saw, plunge cut into the middle of the frame and using the parallel guide to remove some, but not all, of the stock in the middle. Then I used the jigsaw to remove stock closer to the ends. Then I screwed the new piece across and used the RotoZip as a trim router with a flush-cut top-bearing bit. And, finally, I used the rasp at the very ends.
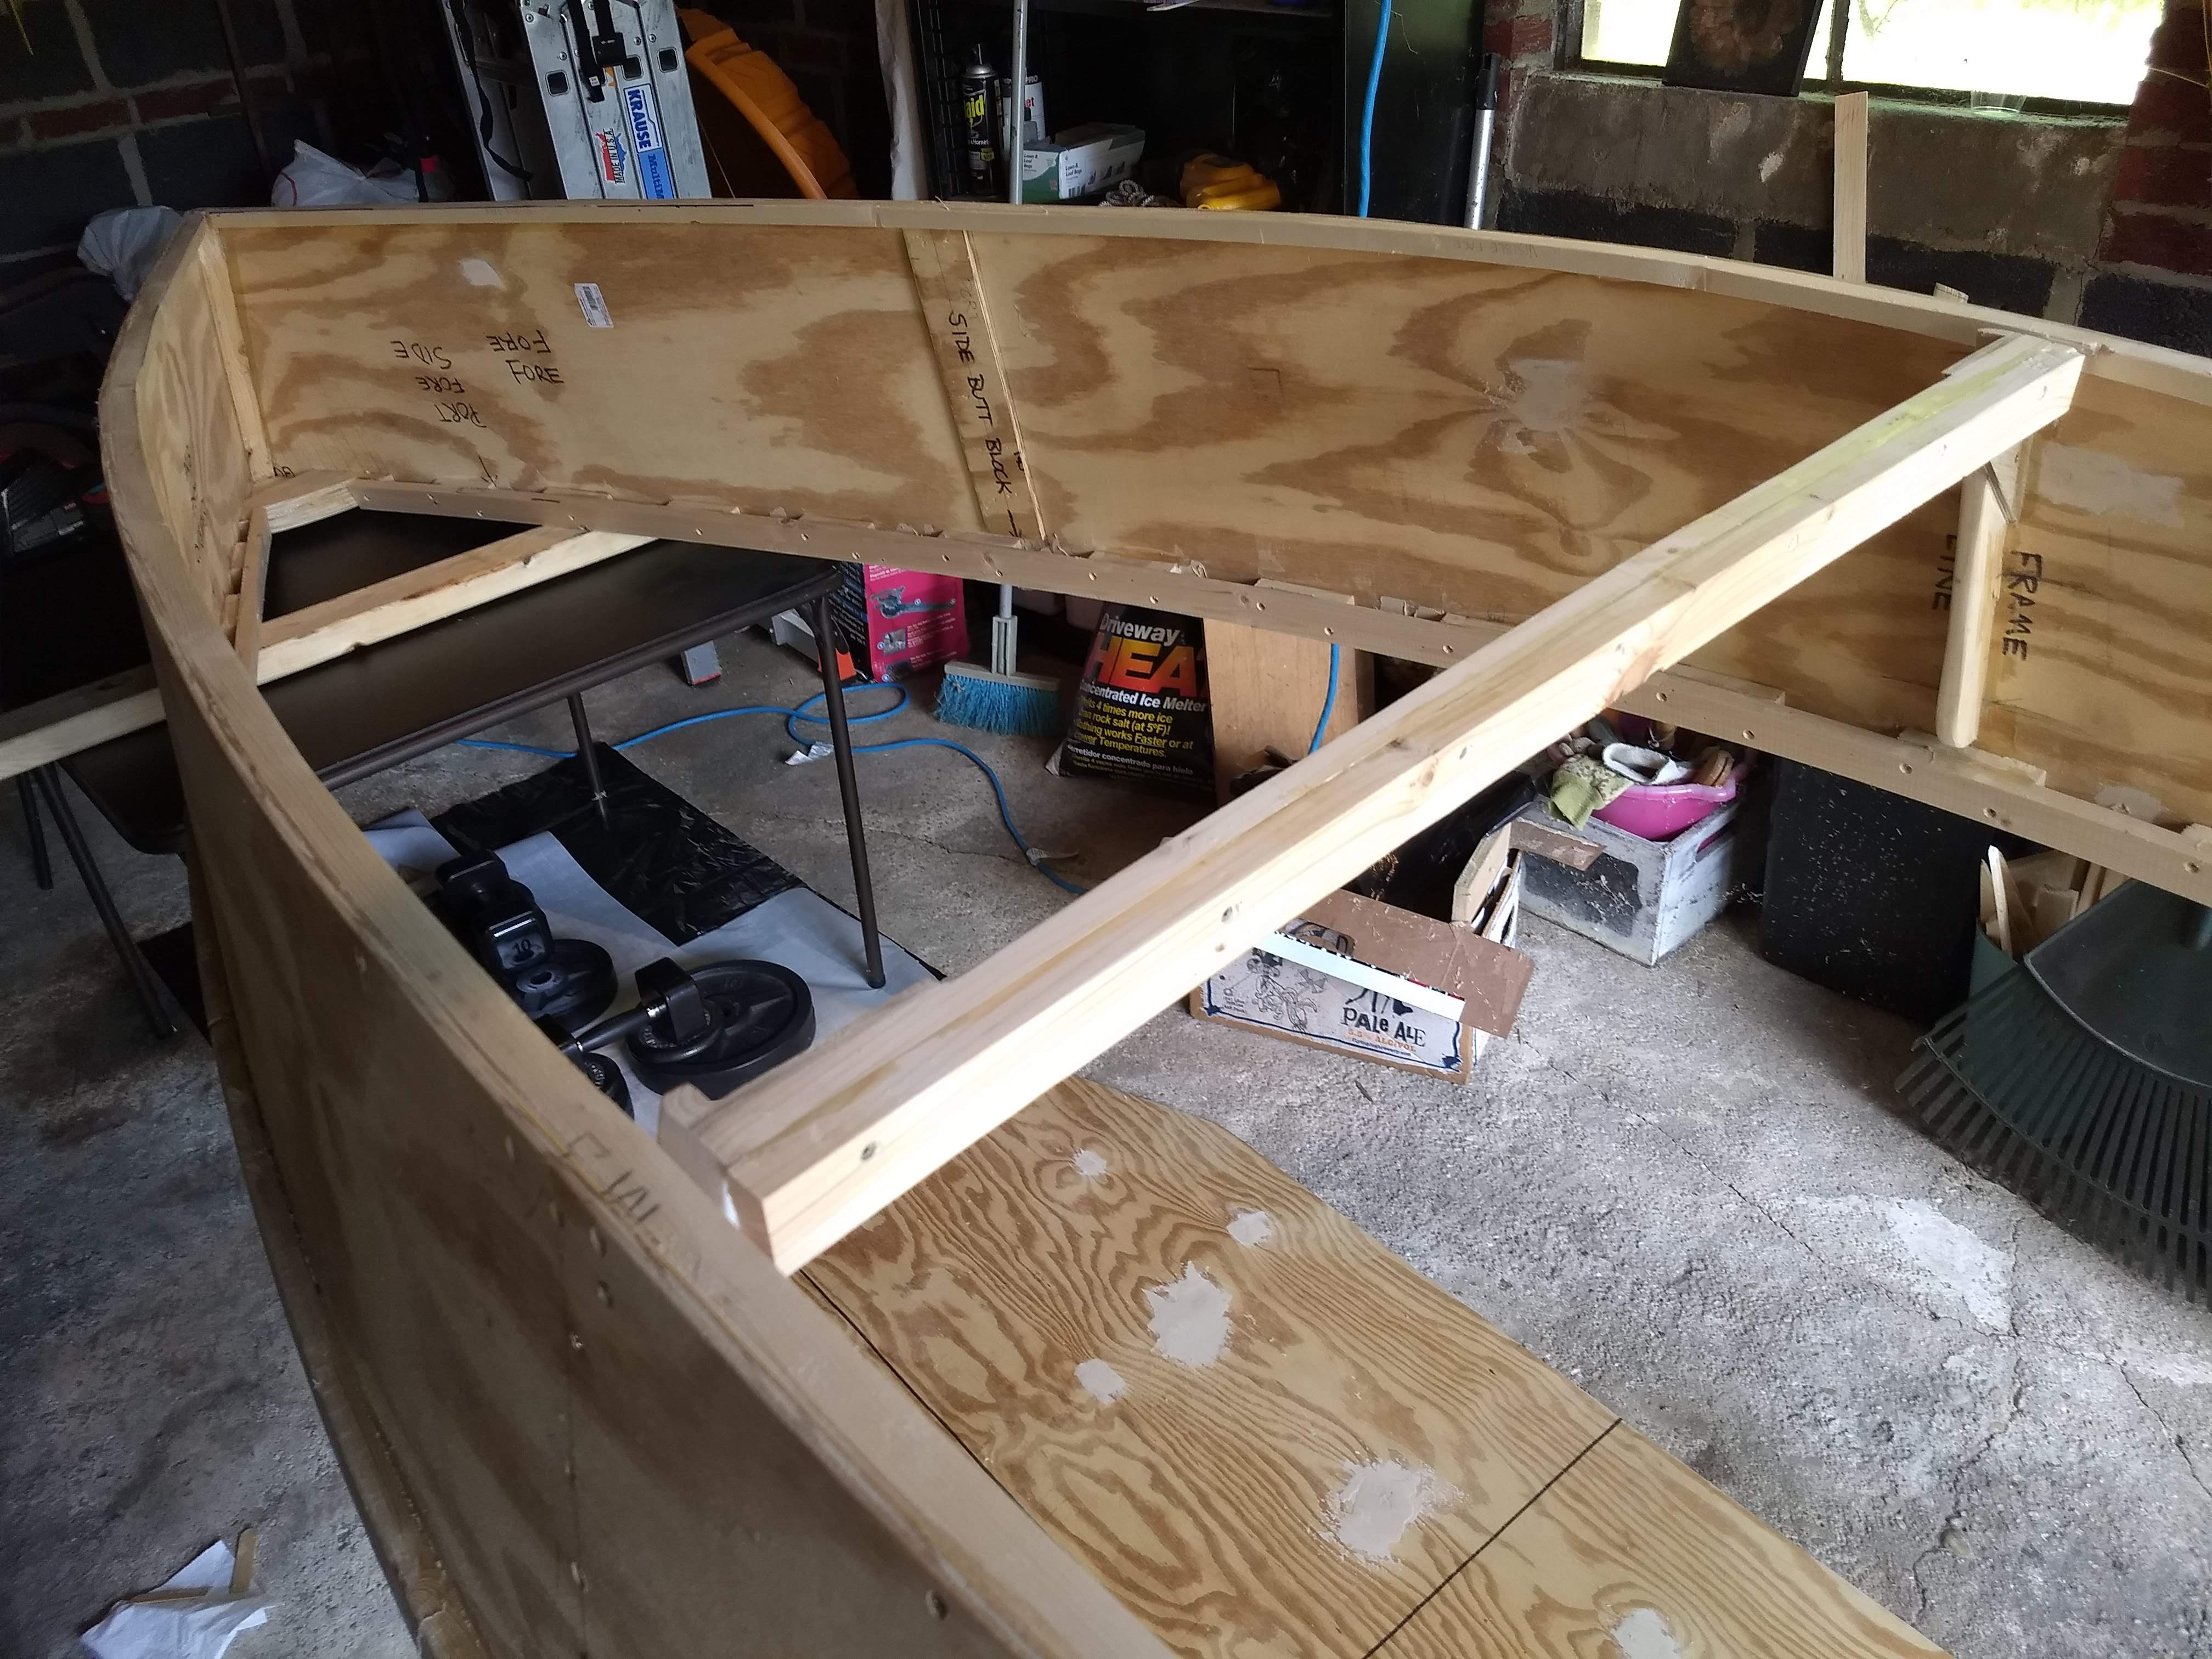
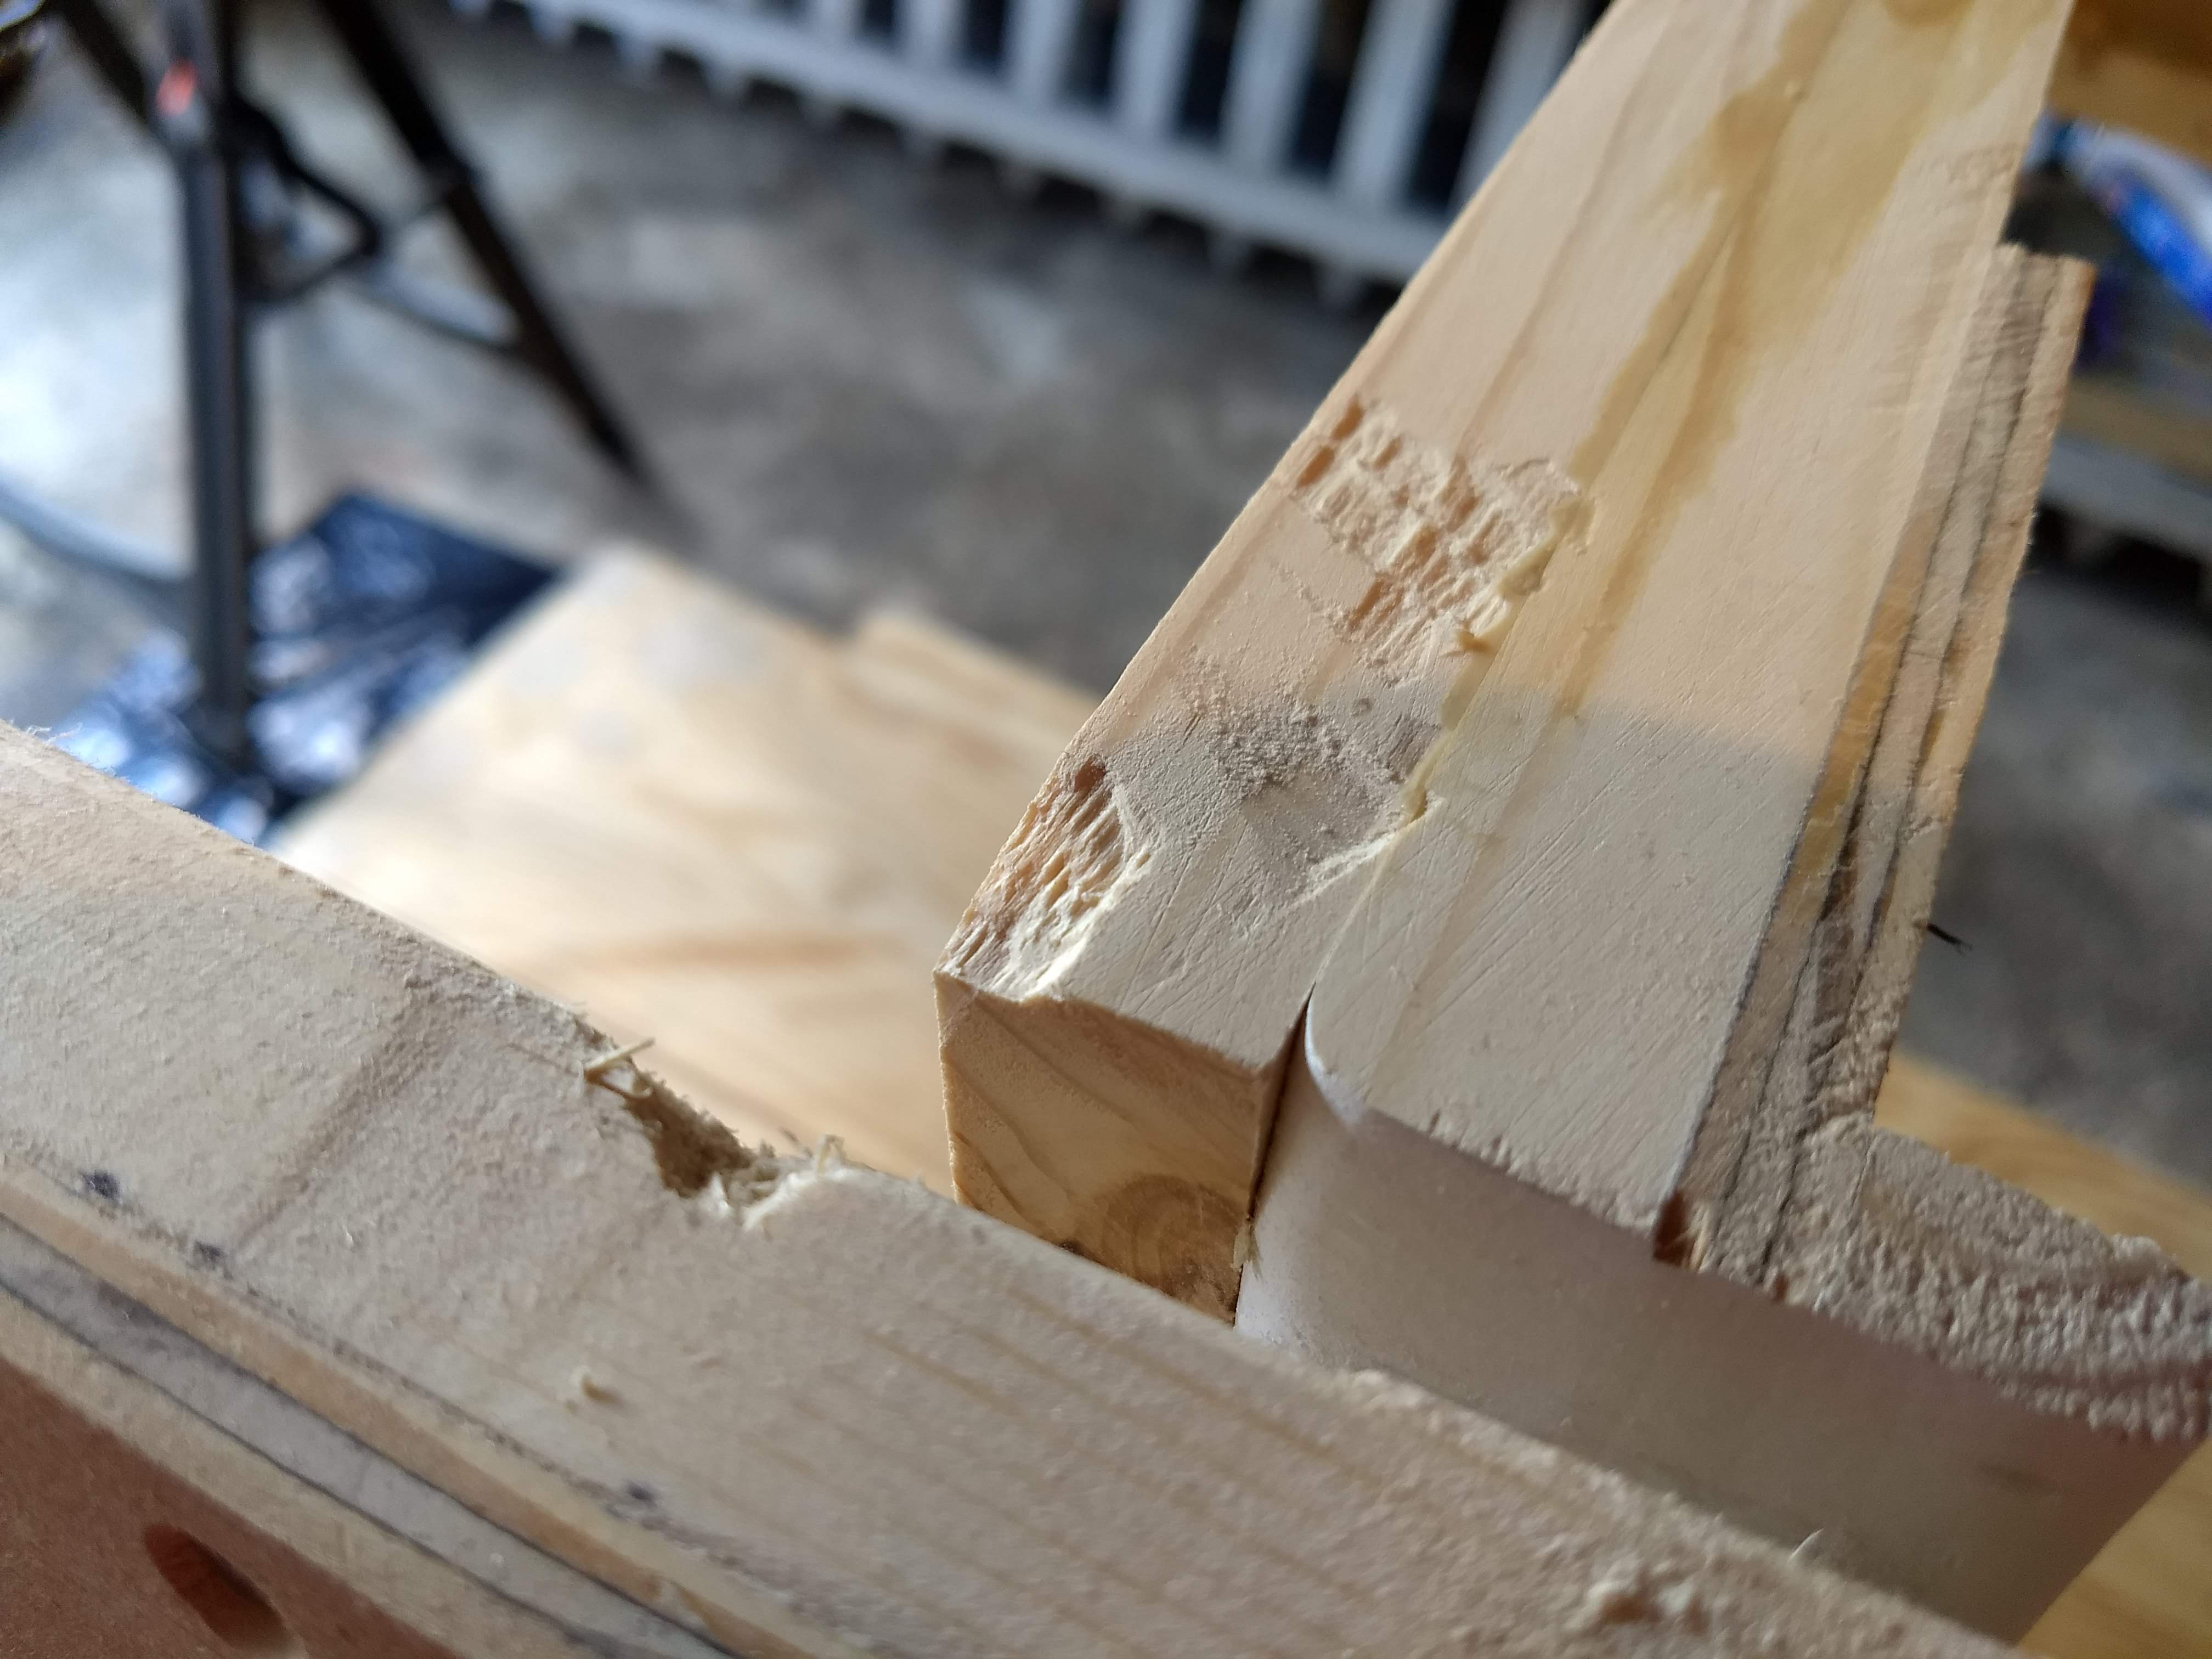
It all worked well. I had been dreading how to fix the bowed frame, but it turned out to be easier than I thought. I did have one slip of the router, though, making a fine bit of gouging in the port chine. Oh well.
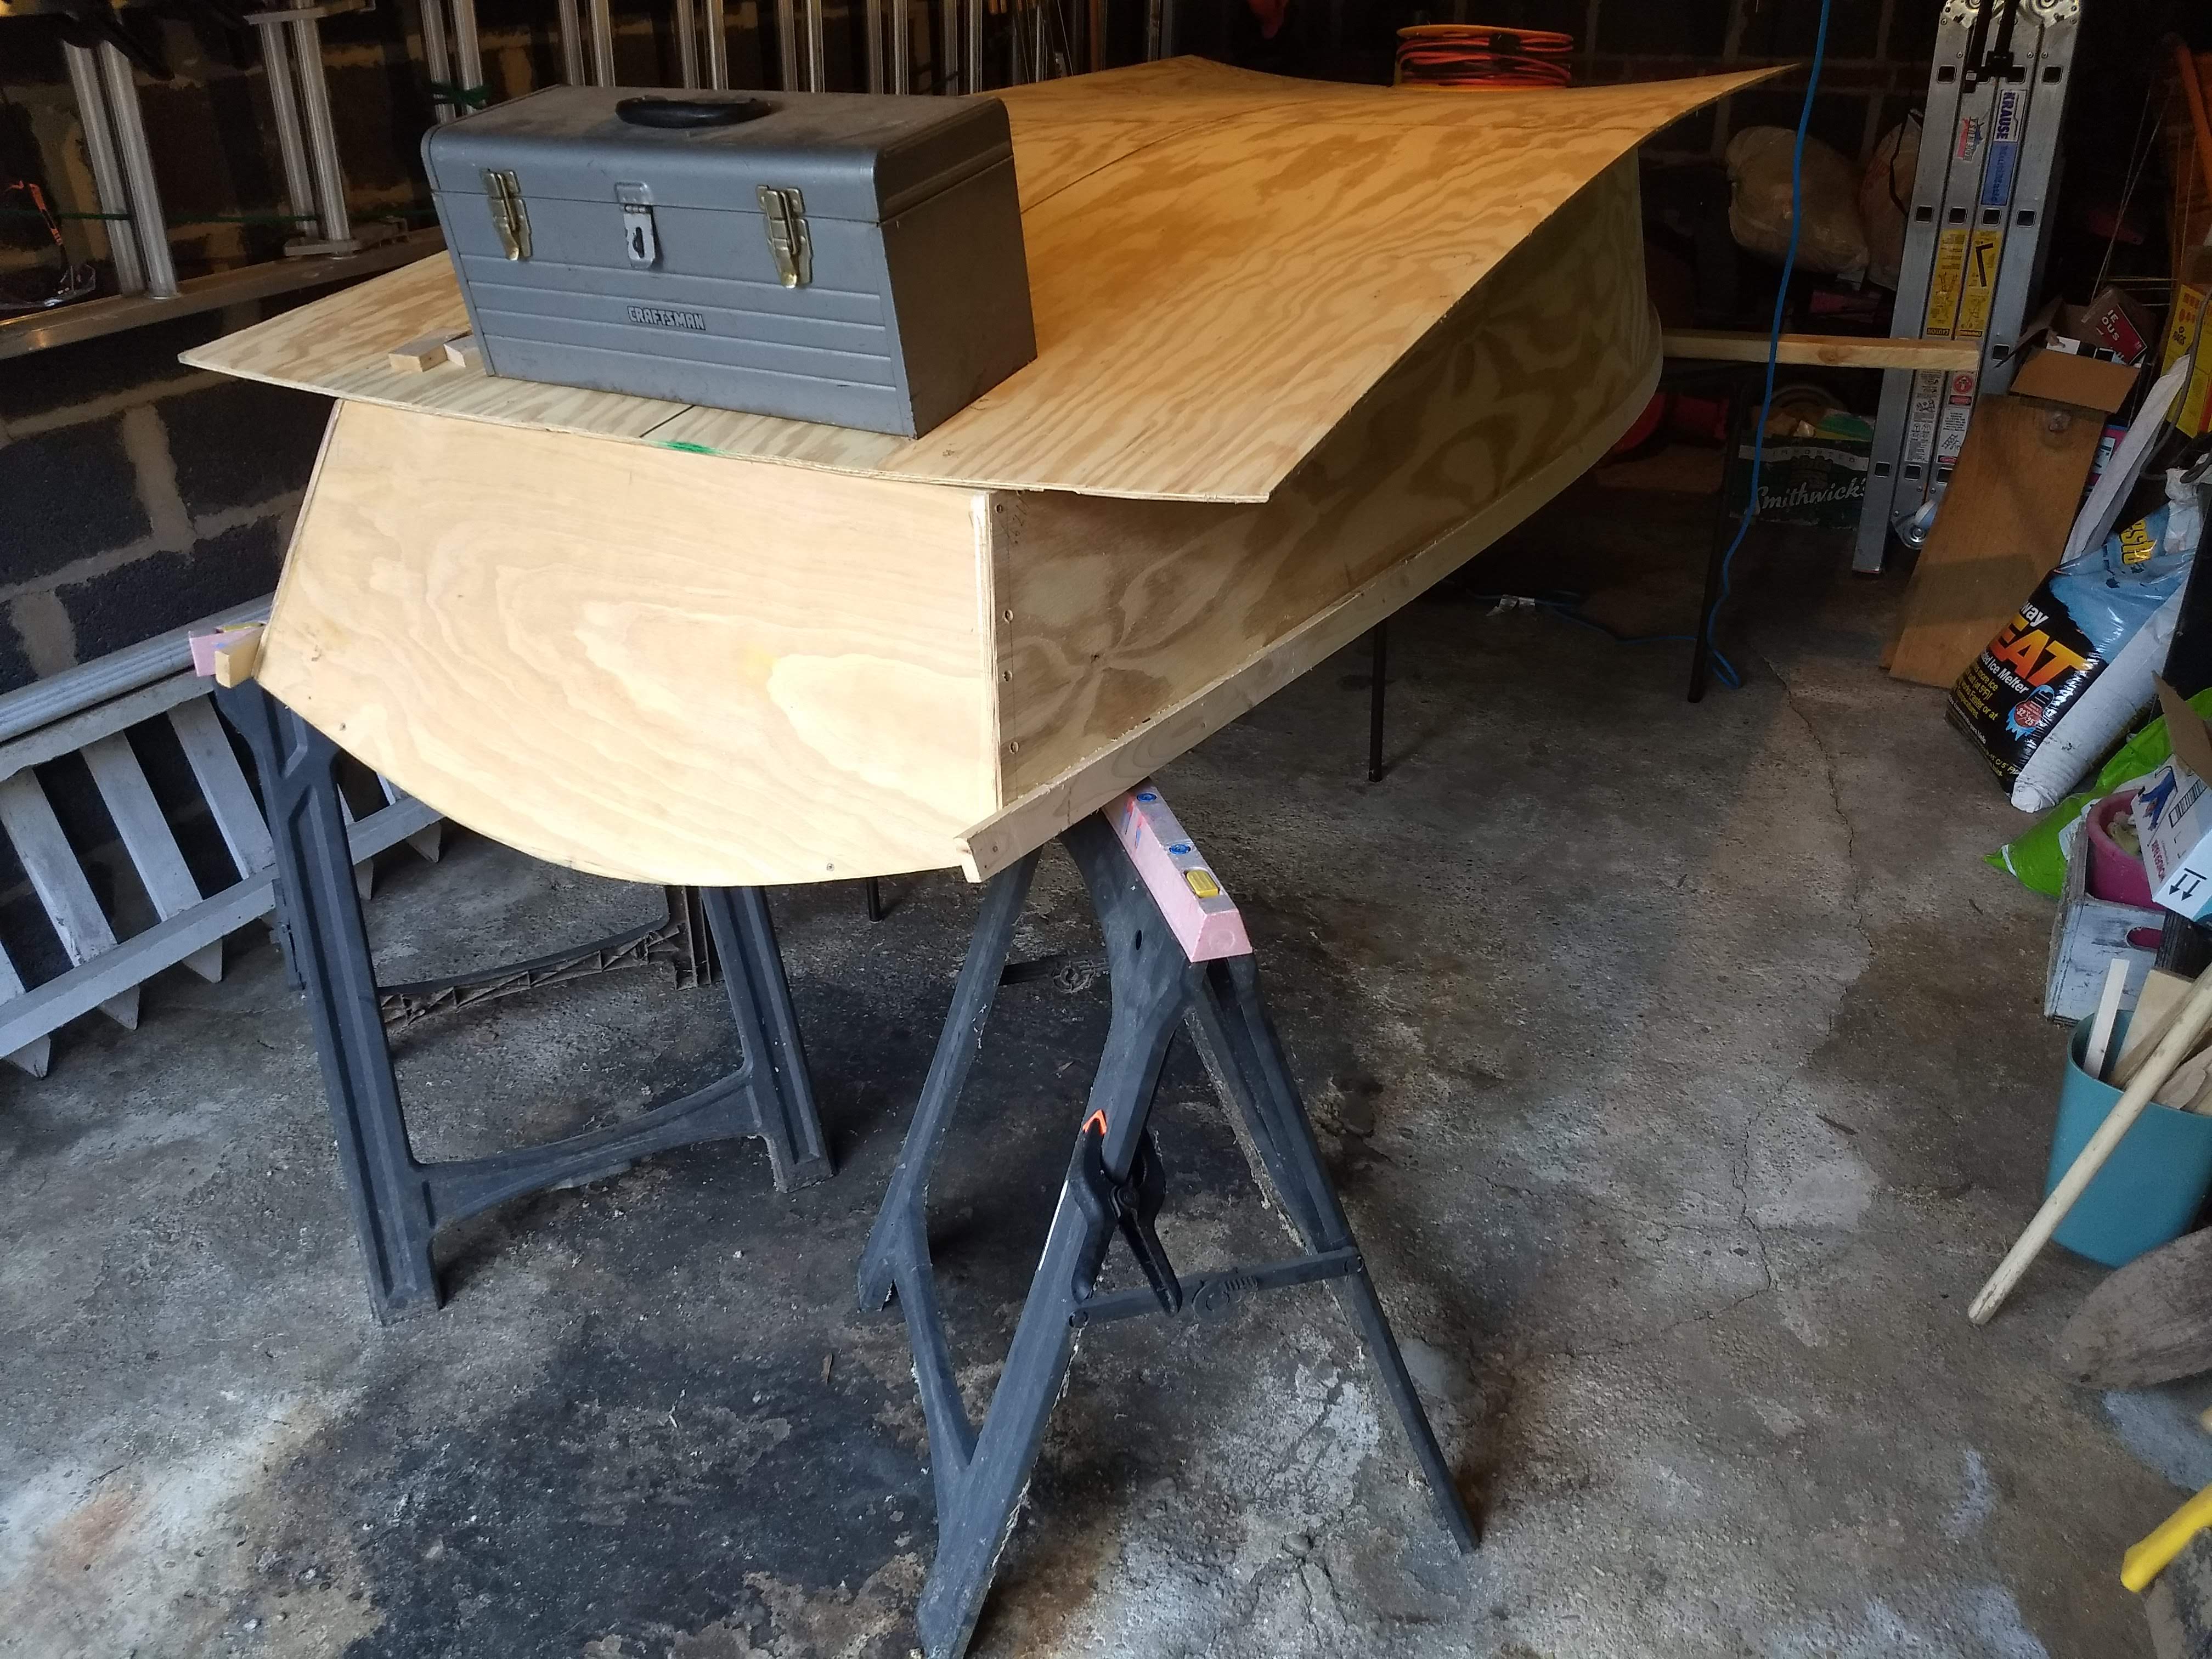
I moved the boat back in the garage above the glued up bottom on the floor. Everything should be ready next weekend to actually attach the bottom to the rest of the hull assembly. Then it’ll be a real boat. Not seaworthy yet, certainly. But an actual honest to goodness boat.