Week 21: Inwales

Having cut and fitted the port inwale last week, and now having poached the 5/8″ × 1-1/2″ × 12′ chine blank to be the starboard inwale, I was almost ready to glue and screw the inwales in place.

First, though, I had to cut the starboard piece to fit. I measured the finished port piece, which I decided I’d made just a smidge too short, to be 126-1/4″, so I first shortened the unfinished starboard stick to 132″. Then I tried to fit it underneath the starboard spacer blocks, as well as the breast hook and quarter knee on that side. But it was still too long for that. So I needed to cut another inch or two. I re-measured the port piece, since I hadn’t written down that 126-1/4″ measurement. And that’s when the tape measure broke. It wouldn’t retract.

So that’s when I stupidly took apart a tape measure. And you know what? There’s a sharp spring inside there. I cut myself on it.
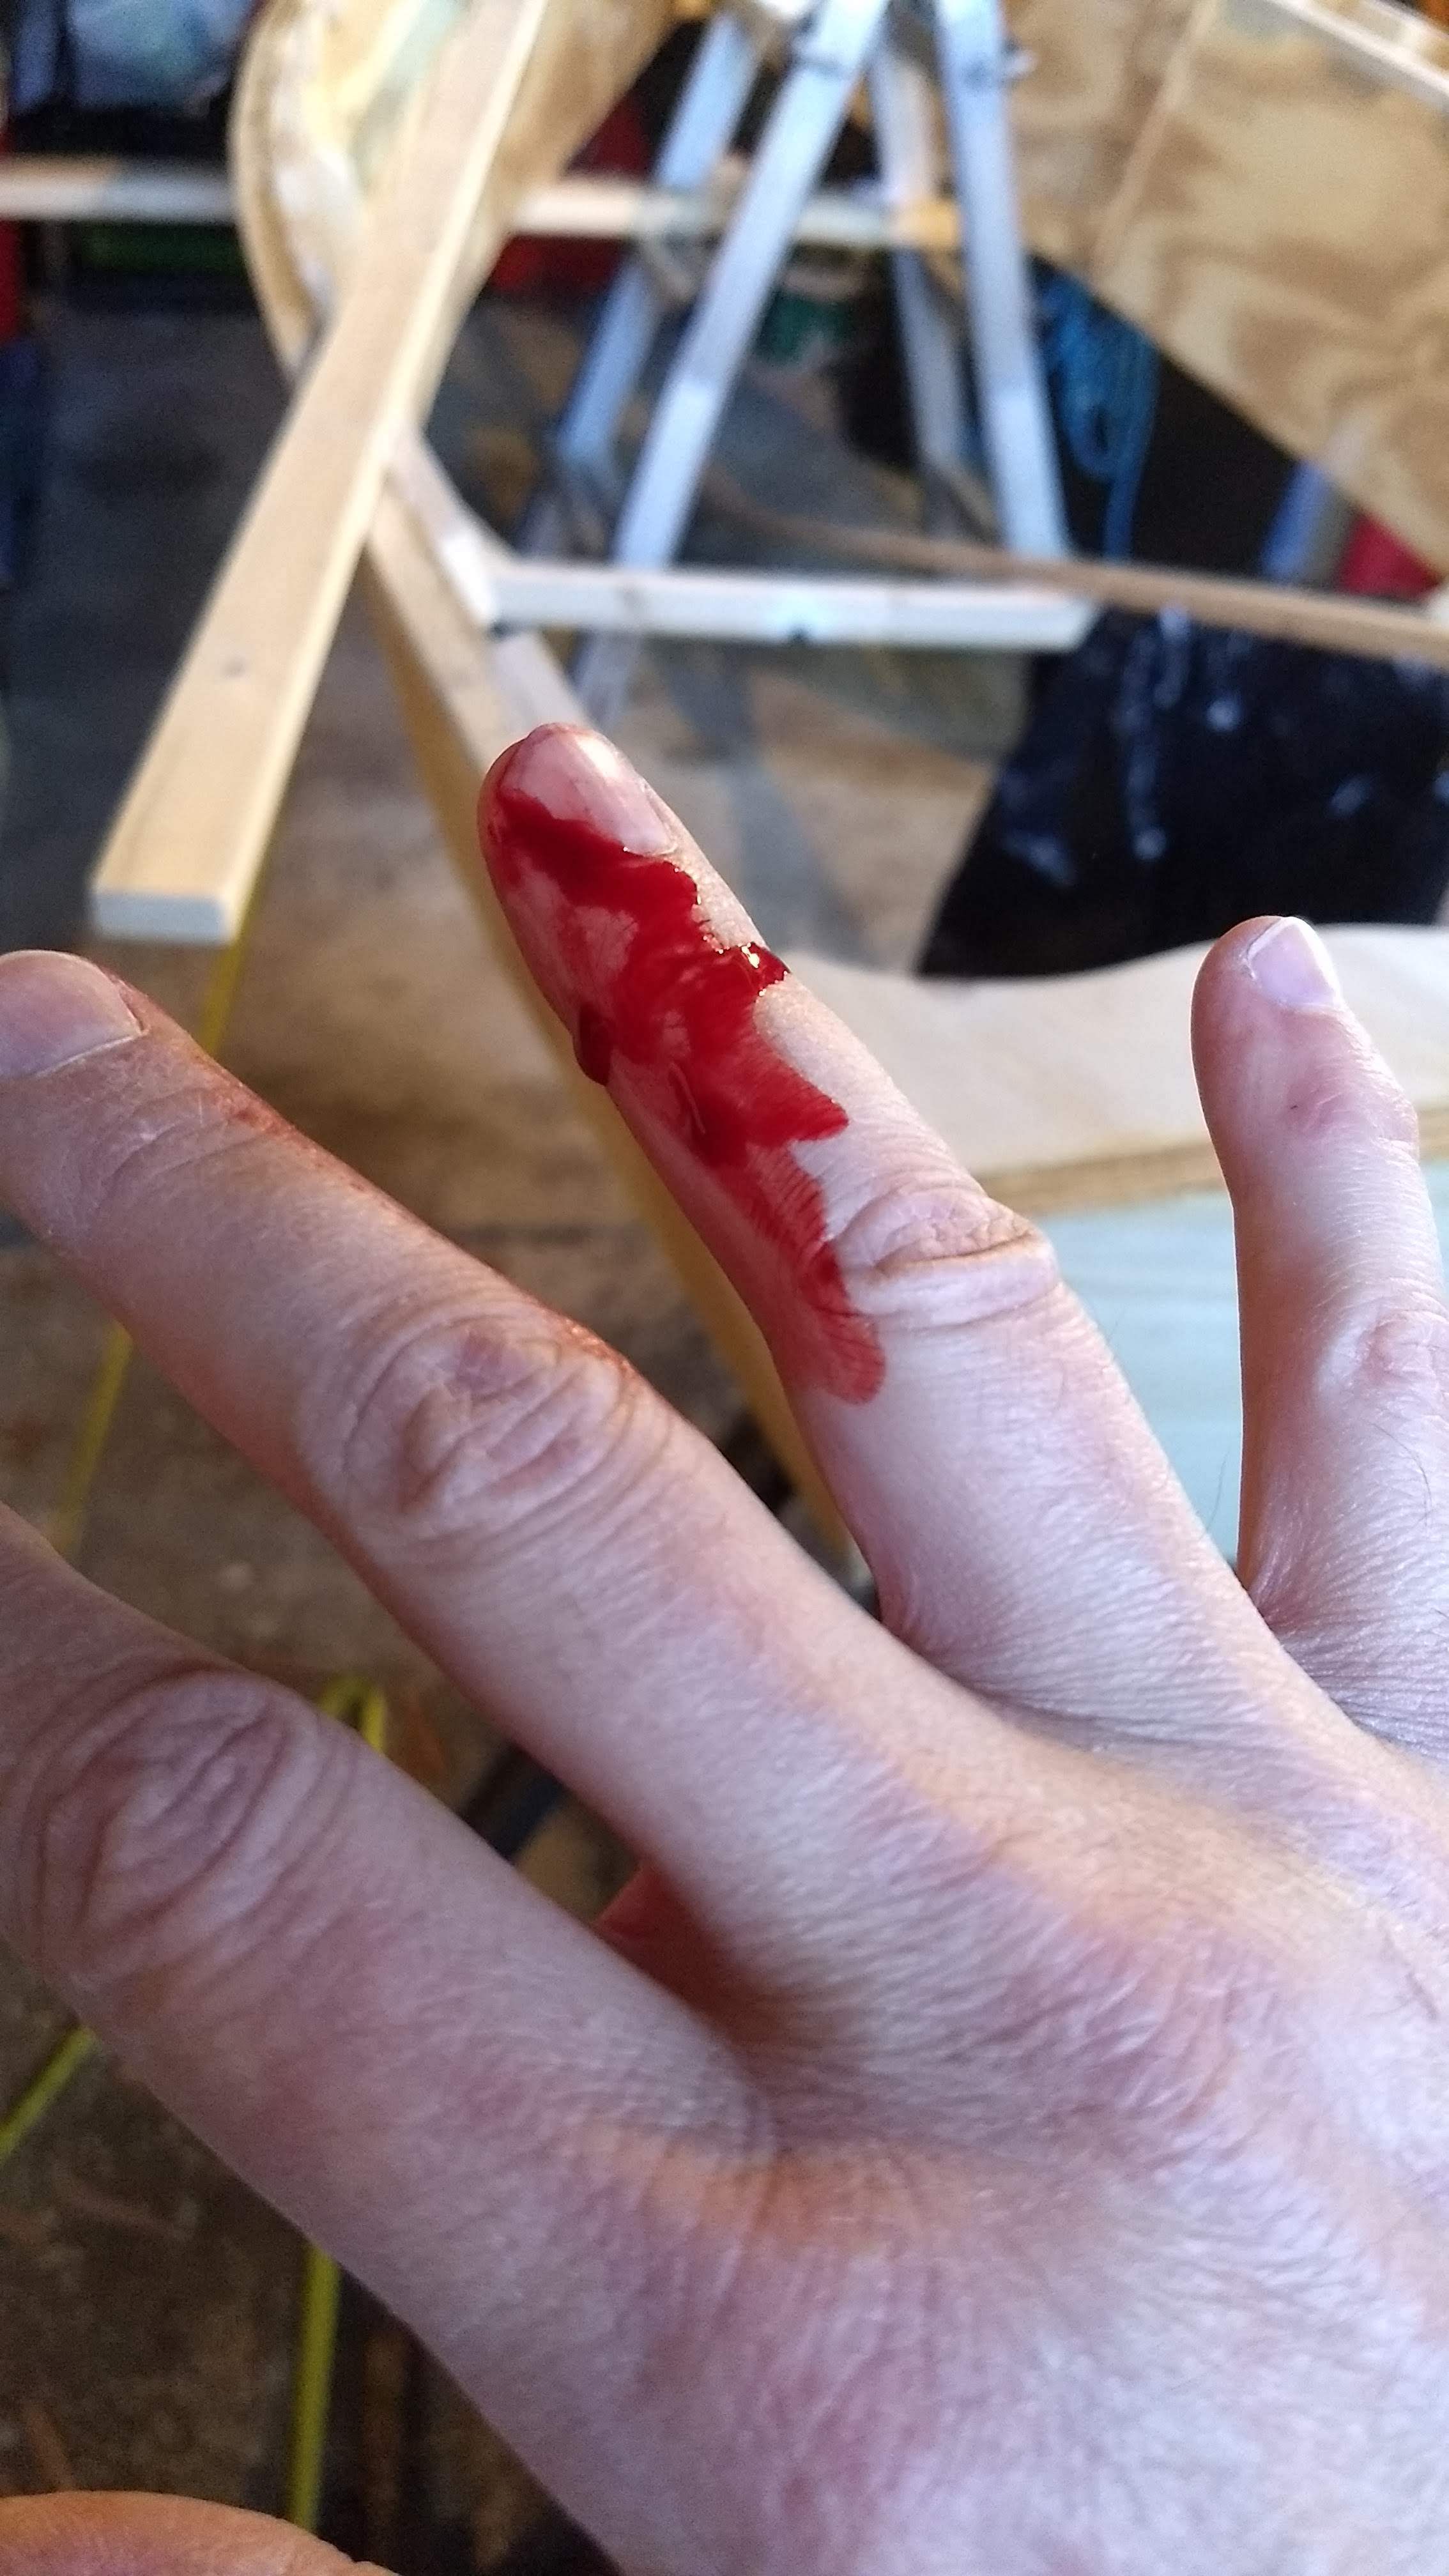
Caution: sharp spring. Do not open.

Twice.

Caution: sharp spring. Do not open.

I finally got all the wounds dressed and got back to the actual boat building.

I’d been fretting about how to get the glue onto all the inwale spacers without making a big mess. The surfaces to be glued together are all vertical surfaces, and wood glue is drippy. I wished I’d bought a few small brushes. And I worried about the glue open time, since I had to brush the glue onto 15 spacer blocks on each side.

It finally dawned on me that it’d be a whole lot easier to use the construction adhesive. It’s thick and sticky, so it doesn’t drip off the vertical surface, and it has an open time about twice as long as the wood glue. I really should have thought of all this a long time before.
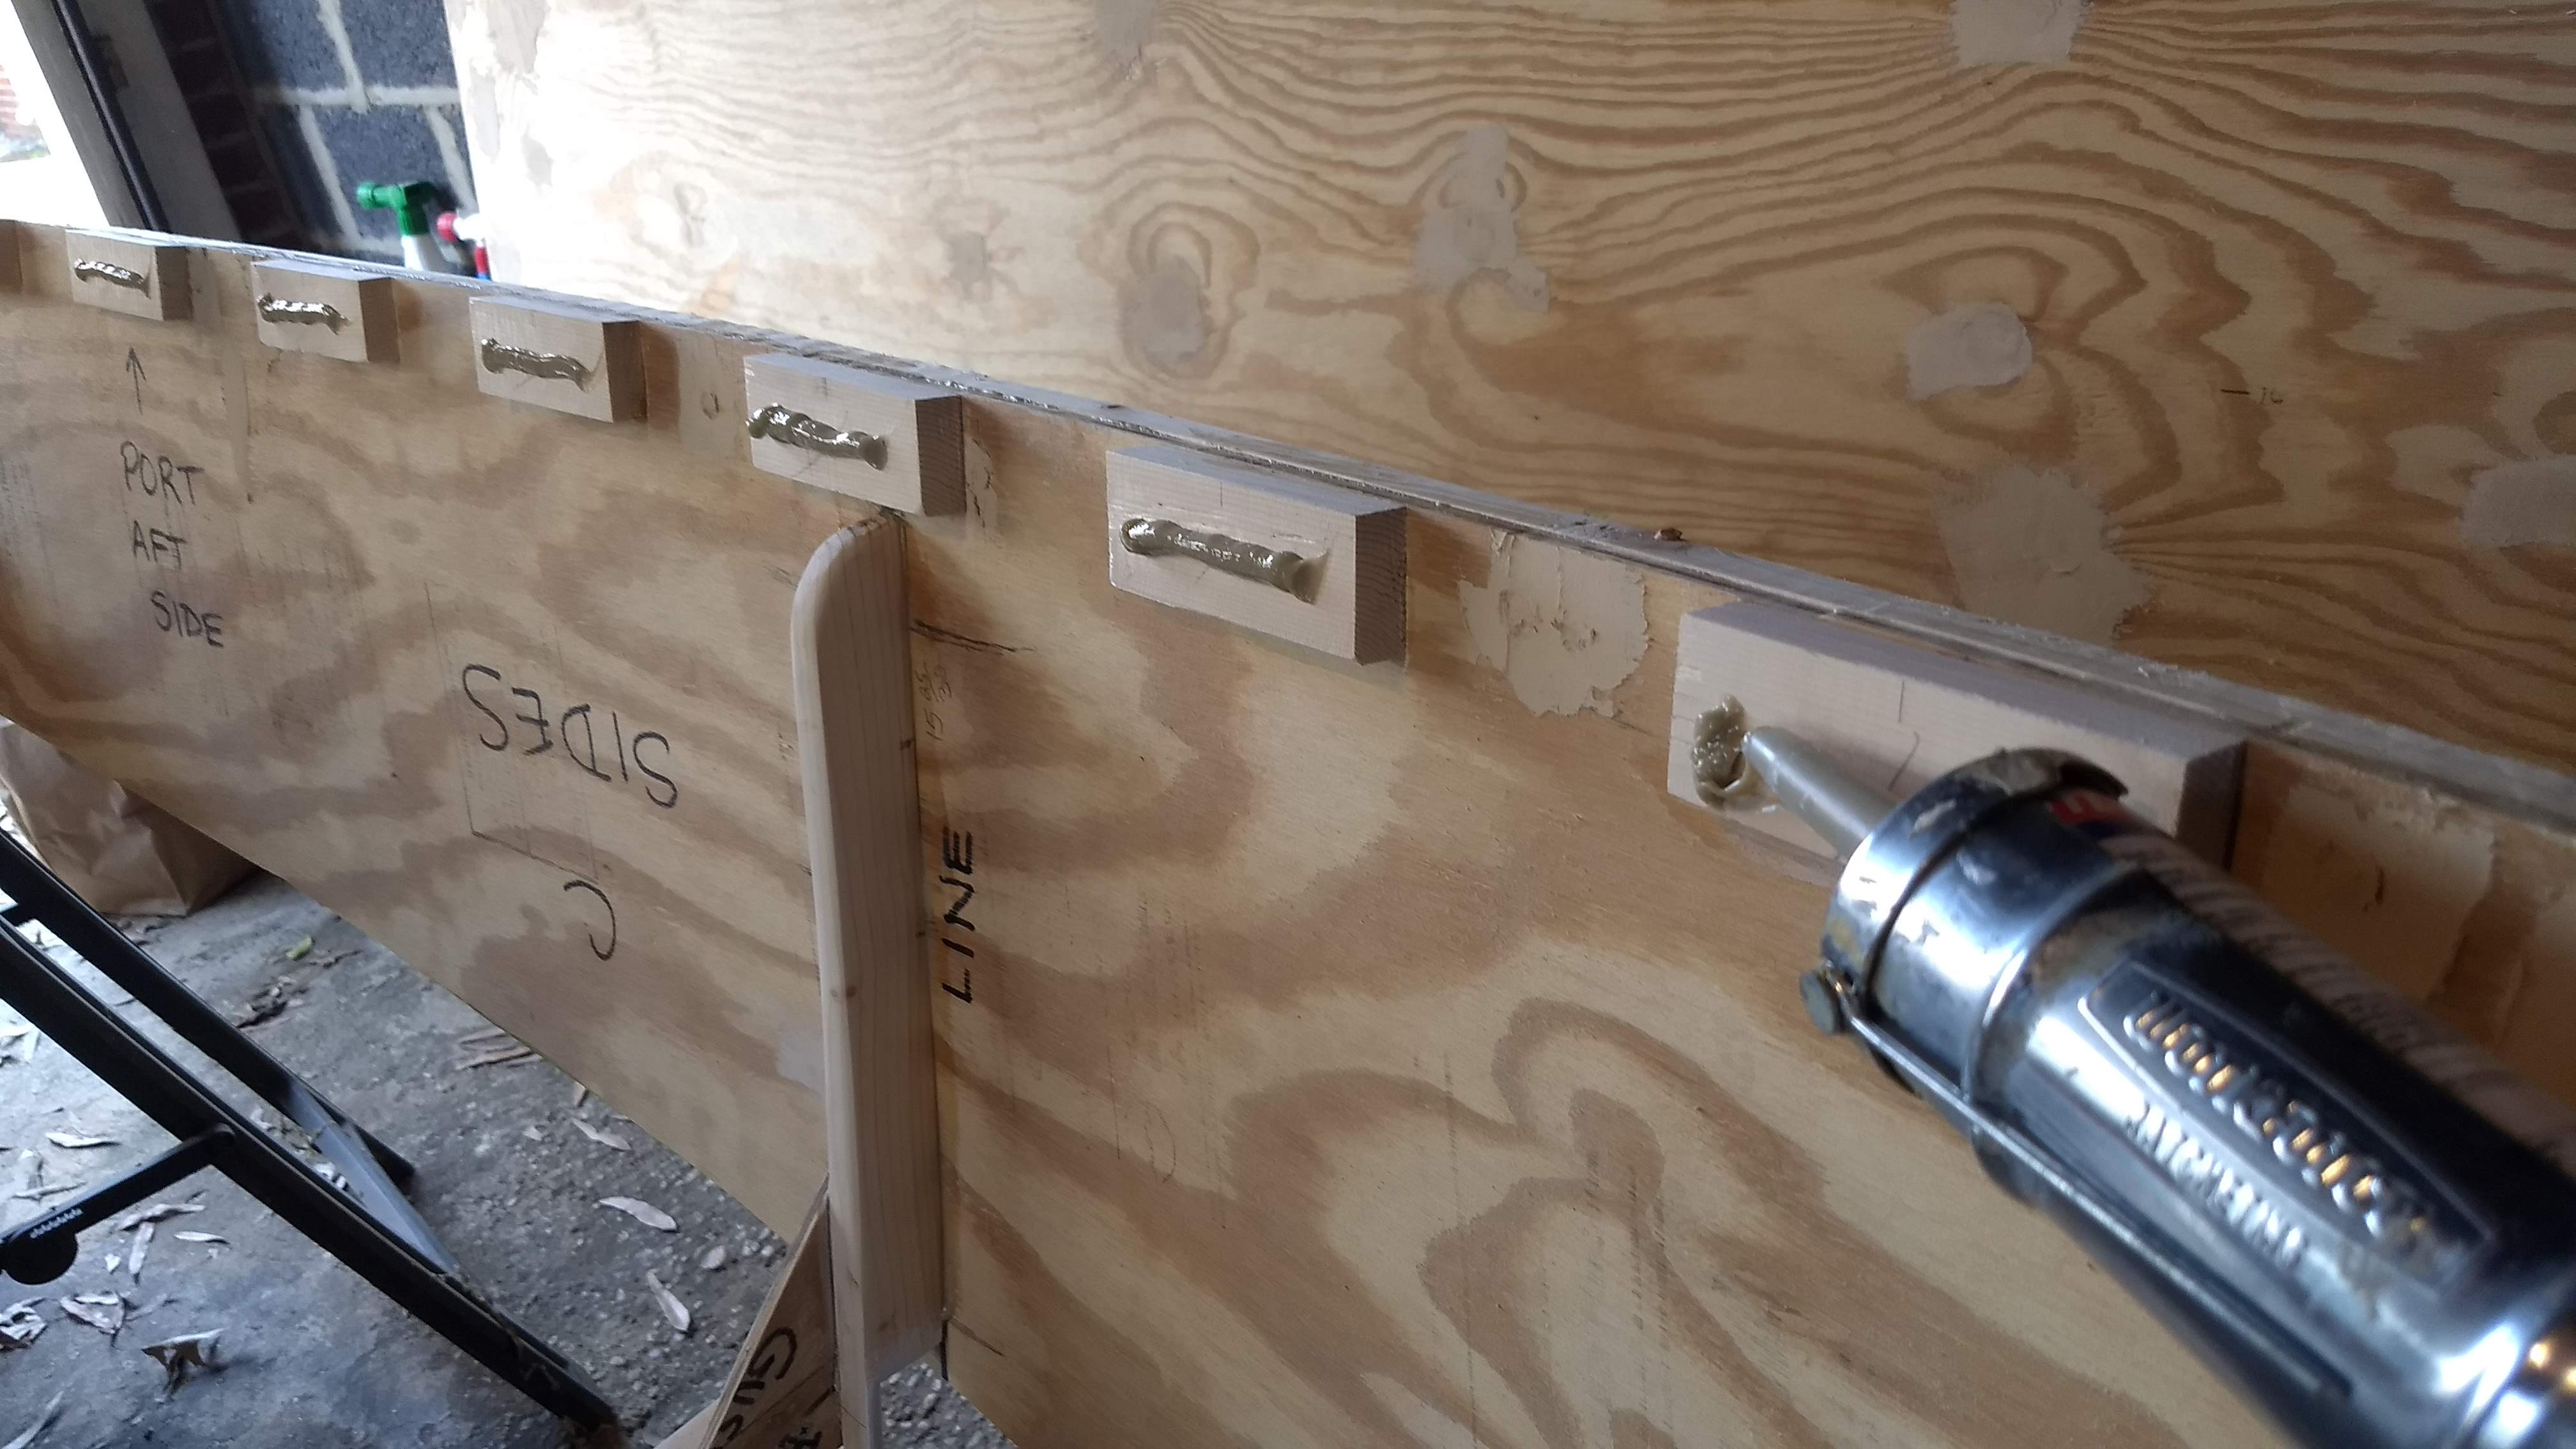
Bead of adhesive per spacer block …

Starting on the port wale, I applied a bead of adhesive to each spacer block, then spread the bead to cover with a craft stick, then fit the wale into position and clamped it in the center. I then drilled and screwed in the middle & at the ends, then I removed the clamp. Now I simply needed to drill and screw the other points into the spacer blocks.

… spread with a popsicle stick

Here I had a little trouble, and made note to do it a little differently on the starboard side. Because of the way the wale bends and stretches as it’s being screwed down, I should have worked my way from the middle to the outsides. I shouldn’t have screwed down the ends so early.

I was able to clamp and force the gaps closed, for the most part. But, again, I made sure to work from the inside out down both sides on the starboard wale. Also, I had planned to use the same jig that I’d used on the spacer blocks, to drill in the top left and lower right corners, so as to avoid screws interfering with each other. But I was worried enough about the open time of the glue, so I ended up just eyeballing this side. I think it’ll be fine. I sure didn’t feel like I drilled into any existing screws.

And I’m FINALLY done with installing the wales.

I did run out of 1″ screws, though. I’d bought 48 of them for the 30 spacer blocks. I guess I thought that I’d use only one screw for many of the blocks, but I used two screws for most blocks. I switched to 1-1/4″ screws after I ran out of the 1″. No big deal.

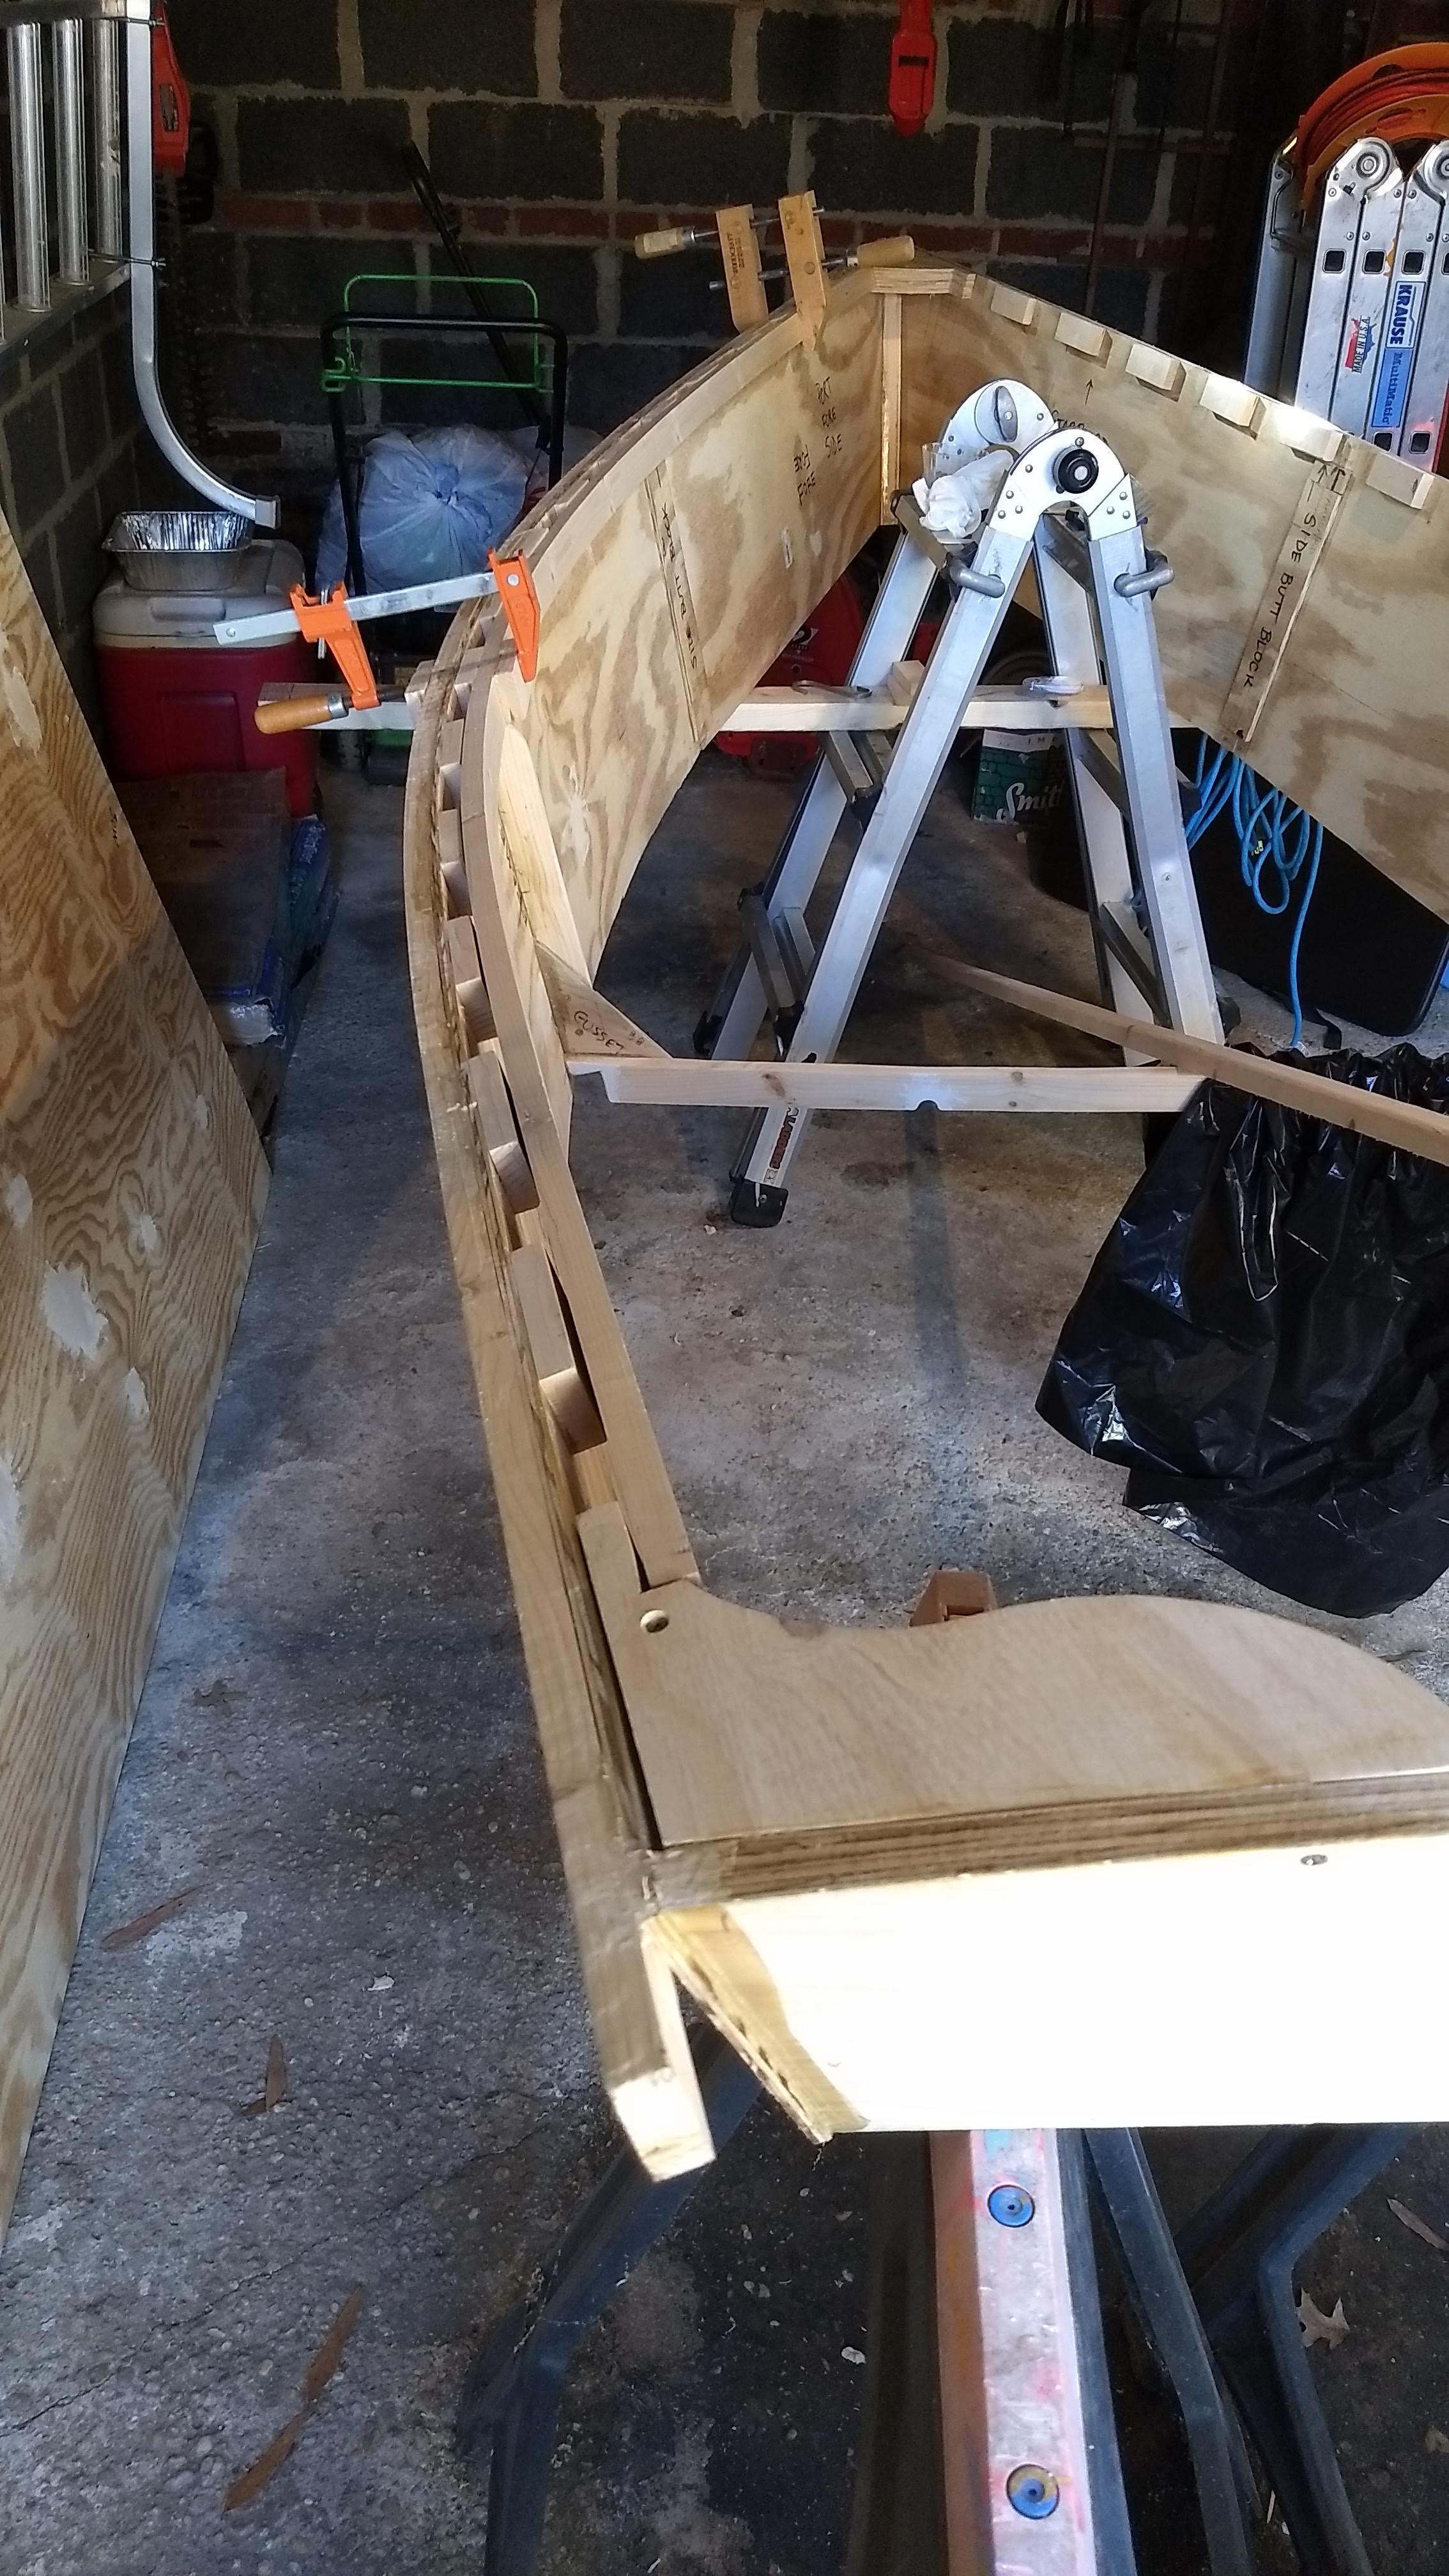
And the wales don’t fit on the spacer blocks, or into the breast hook and quarter knees, nearly as smoothly as I planned. But, once again, I’m reminded that I’ve never built a boat before. This is a learning experience. Embrace the roughness.
Week 20: Inwale Disaster

The plan this weekend was to glue & screw the inwales in place. I got to work finally on late Saturday afternoon. I was able to cut and fit the port side okay, but the starboard piece broke in two places as I was bending it to fit.

Port inwale fitted

Ugh.

Starboard inwale in pieces

I kind of gave up on the boat for the weekend. We went hiking in Greenbelt Park with the dogs on Sunday. It was great fun.

So then my plan was to cut and glue scarf joints in the starboard inwale, in the basement workshop during the week. My first attempt was comically bad. Neither joint was long enough, given how I overlapped the pieces 5″, figuring 5/8″-thick material and a 1:8 angle gives a 5″ joint. But cutting diagonally across the pieces overlapped by 5″ only gave me a 2-1/2″ joint. The glued joint toward the bow end wasn’t too, too terrible, but the one toward the stern was quite possibly the worst scarf joint ever (WSJE).

So I cut out the WSJE and tried again, making sure to measure a full 5″ on each piece. Then I tried all sorts of ways to align the plain (not nibbed) scarf joint and devise a clamping method. I tried sister pieces and pencil marks and blue painter’s tape, but I never did find a satisfying solution.

So I just finally gave up on the broken piece. I cannibalized the piece destined for chines instead.

Week 19: Gluing Gunwales

The weekend held the promise of warm temperatures, Sunday high in the sixties even, so I looked forward to gluing. And, oh, did I glue.

I did the starboard gunwale first. I screwed it on with 2 of the middle screws, then clamped it at both ends, to draw a line underneath to guide me where to put the PL Premium polyurethane construction adhesive on the hull up near the sheer line. I unclamped and unscrewed the gunwale and put a generous bead all along the hull, spreading it with a tongue depressor craft stick.

Then I started screwing the gunwale back on, first the middle screw, then a clamp, then working out toward the ends. Pretty quickly I noticed that I had screw holes through the hull that didn’t match up with any screw holes in the gunwale. I had mis-aligned the gunwale. Oh, no!

It was a sticky mess to remove. Like the similar disaster when I was gluing the frame to the hull, though, I gave myself a little pep talk and slowly & deliberately fixed the problem instead of panicking.

Once it was screwed and glued the whole way I used more craft sticks, cut in half, to scrape up glue squeeze out above and below the gunwale. And I noticed that there was a bit of a gap at some points along the gunwale, so I drilled a few more places to put in the 1/2″ screws, cinching them tighter to close the gaps.

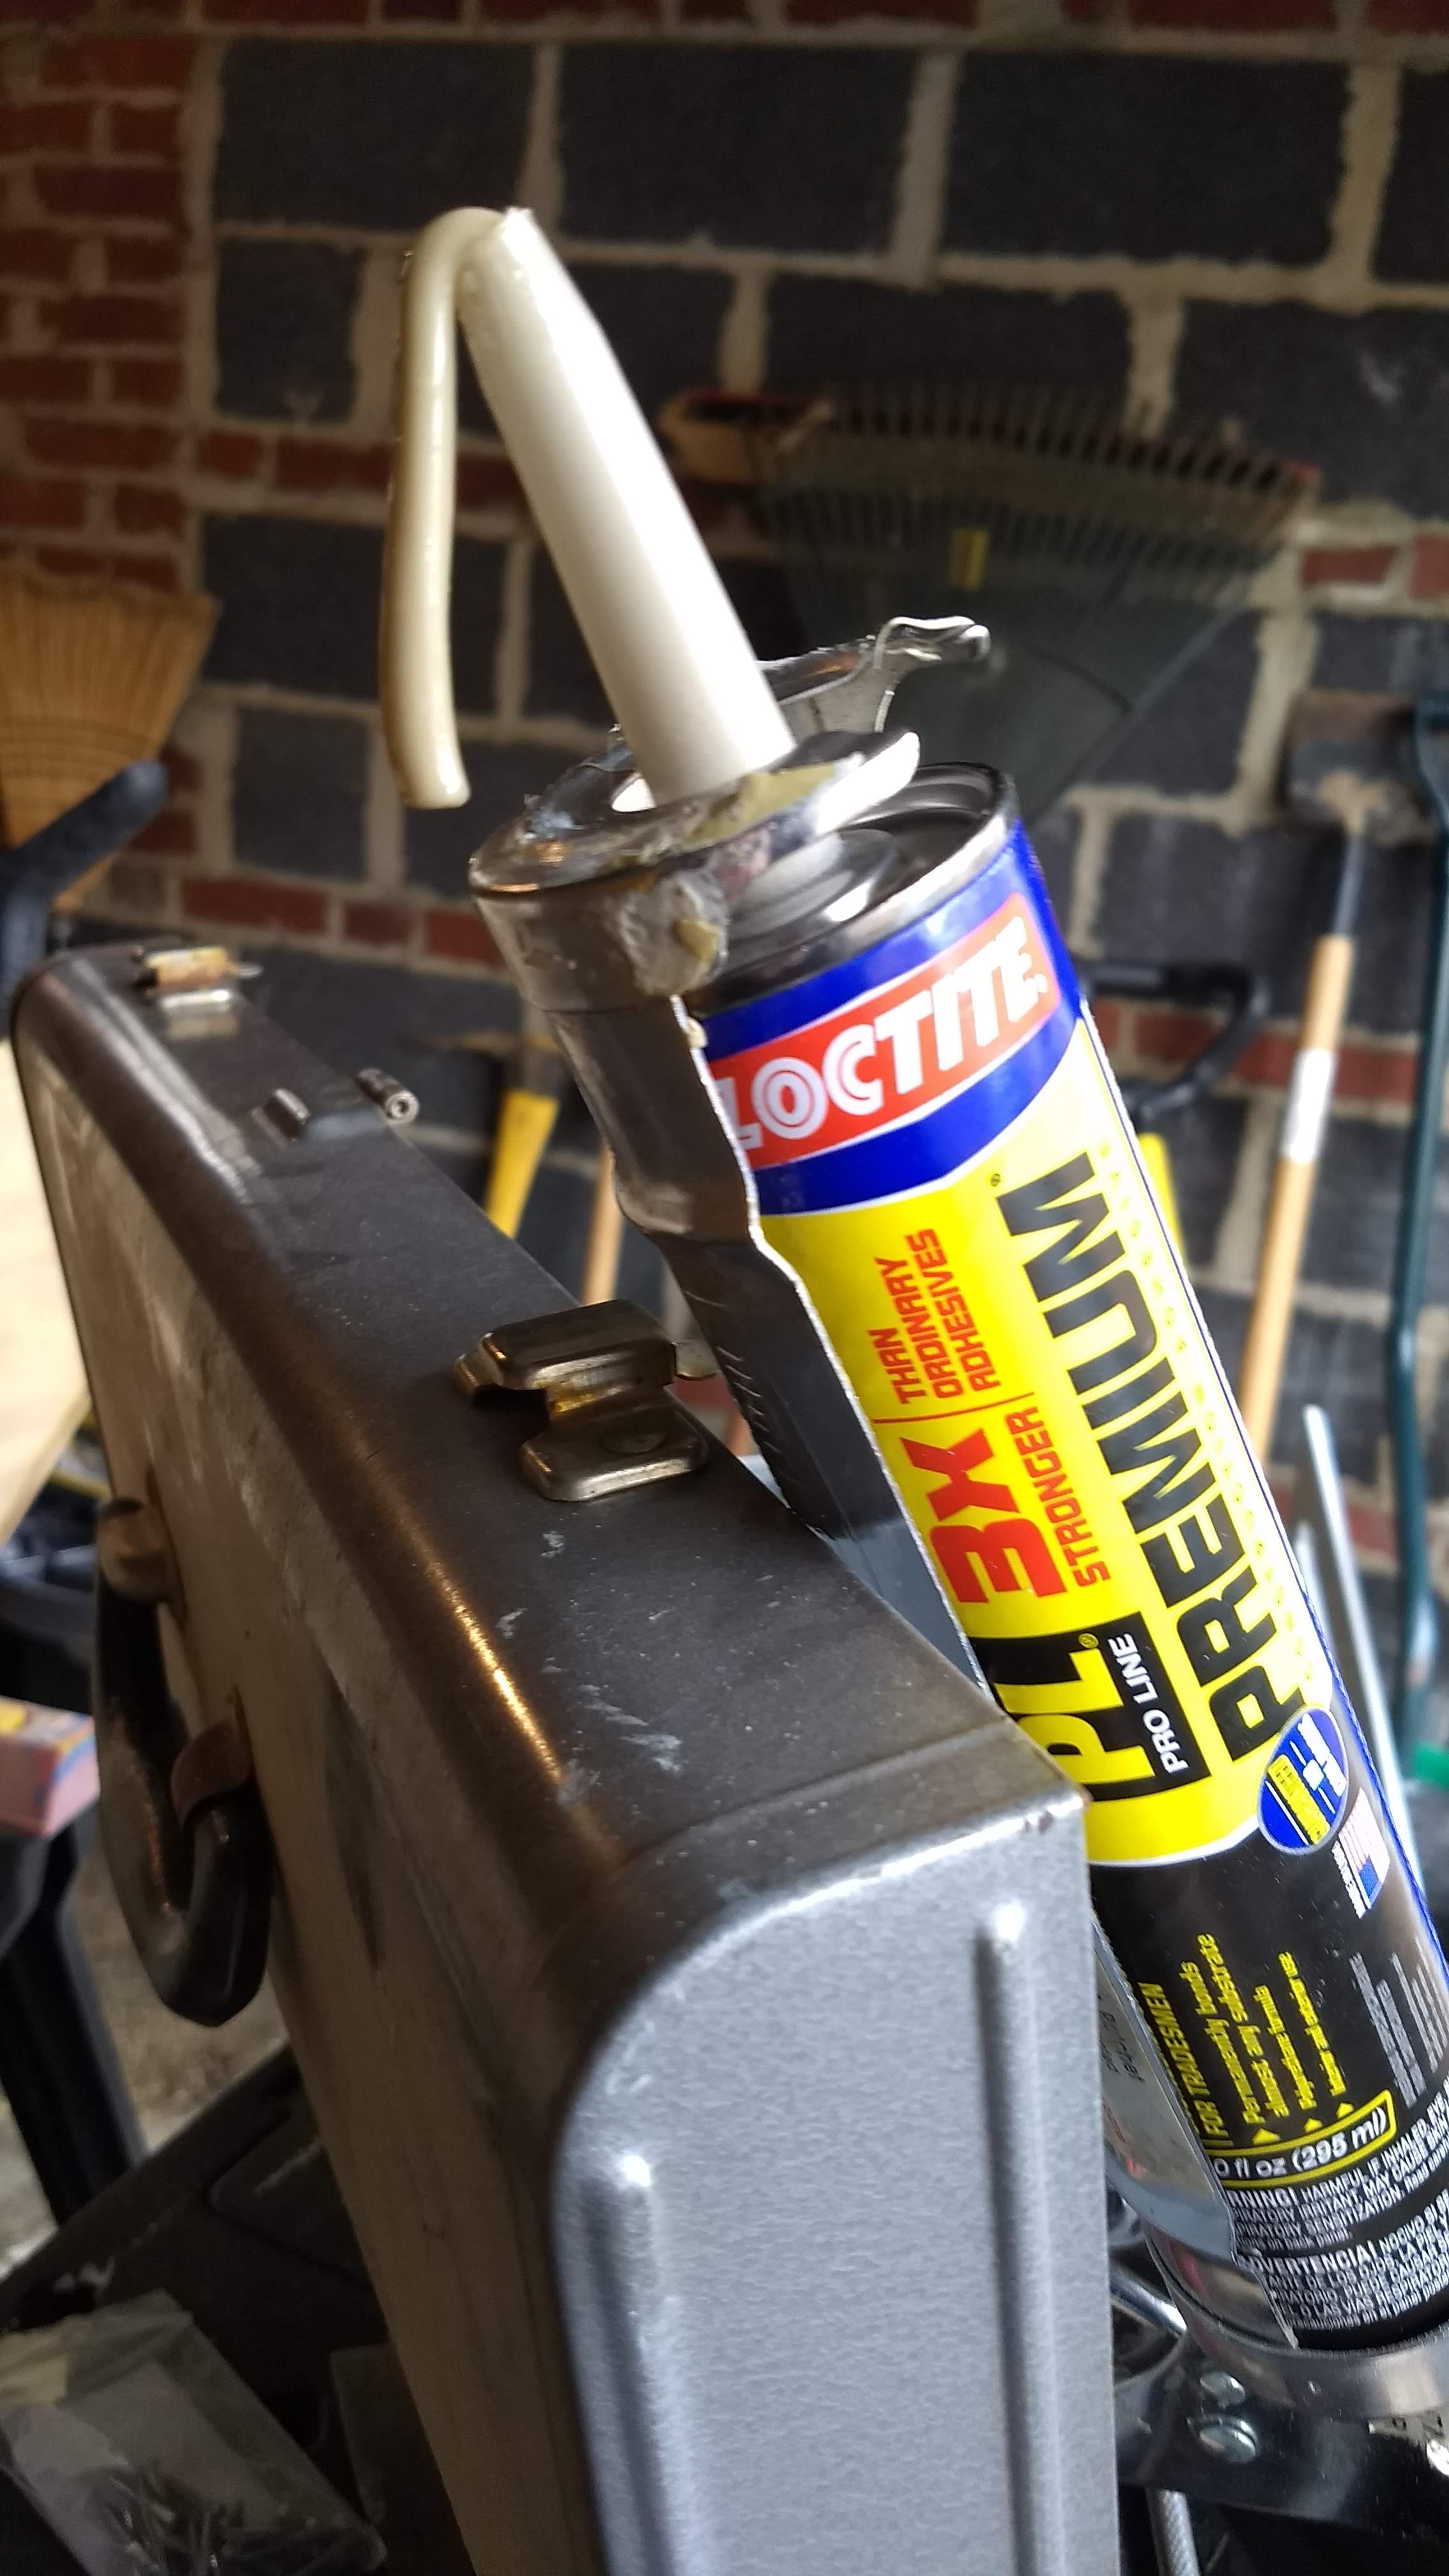
I was too busy actually attaching the gunwales to take pictures of the process, but I did have time to take a quick snap of the glue. It just oozes out no matter what, no matter if you’ve backed off the hook rod. Just keeps oozing.

I got a little lazy on the port side, opting to just draw a line at about the right level below the sheer line for the glue, using the screw points for all the spacer blocks as a guide. That worked okay. I ran out of the first tube of adhesive about 2/3 of the way along the hull, but I had brought another tube out to the garage in case that happened. So I just popped the new one in the caulk gun.

Something about the curve along the port side and the fact that I’m right handed somehow made the port side much harder. The gunwale popped out of a couple screws as I worked my way toward the bow. I cursed a bit but didn’t panic, just kept going and worked the problem. At least I had double- and triple-checked the alignment starting out, so I didn’t have to take the whole wale off and start over like the starboard side.

Like the starboard side, there were some gaps which I closed with more screws. I even ran out of 1/2″ screws and used a few 3/4″. For the record, I had bought a bag of 100 1/2″ screws. Used ’em all.

Port gunwale, glued and screwed and clamped

There were even a couple gaps on the port side that had spacer blocks opposite them, so I couldn’t use screws to close them. I left the screw clamps on the wale in those spots.

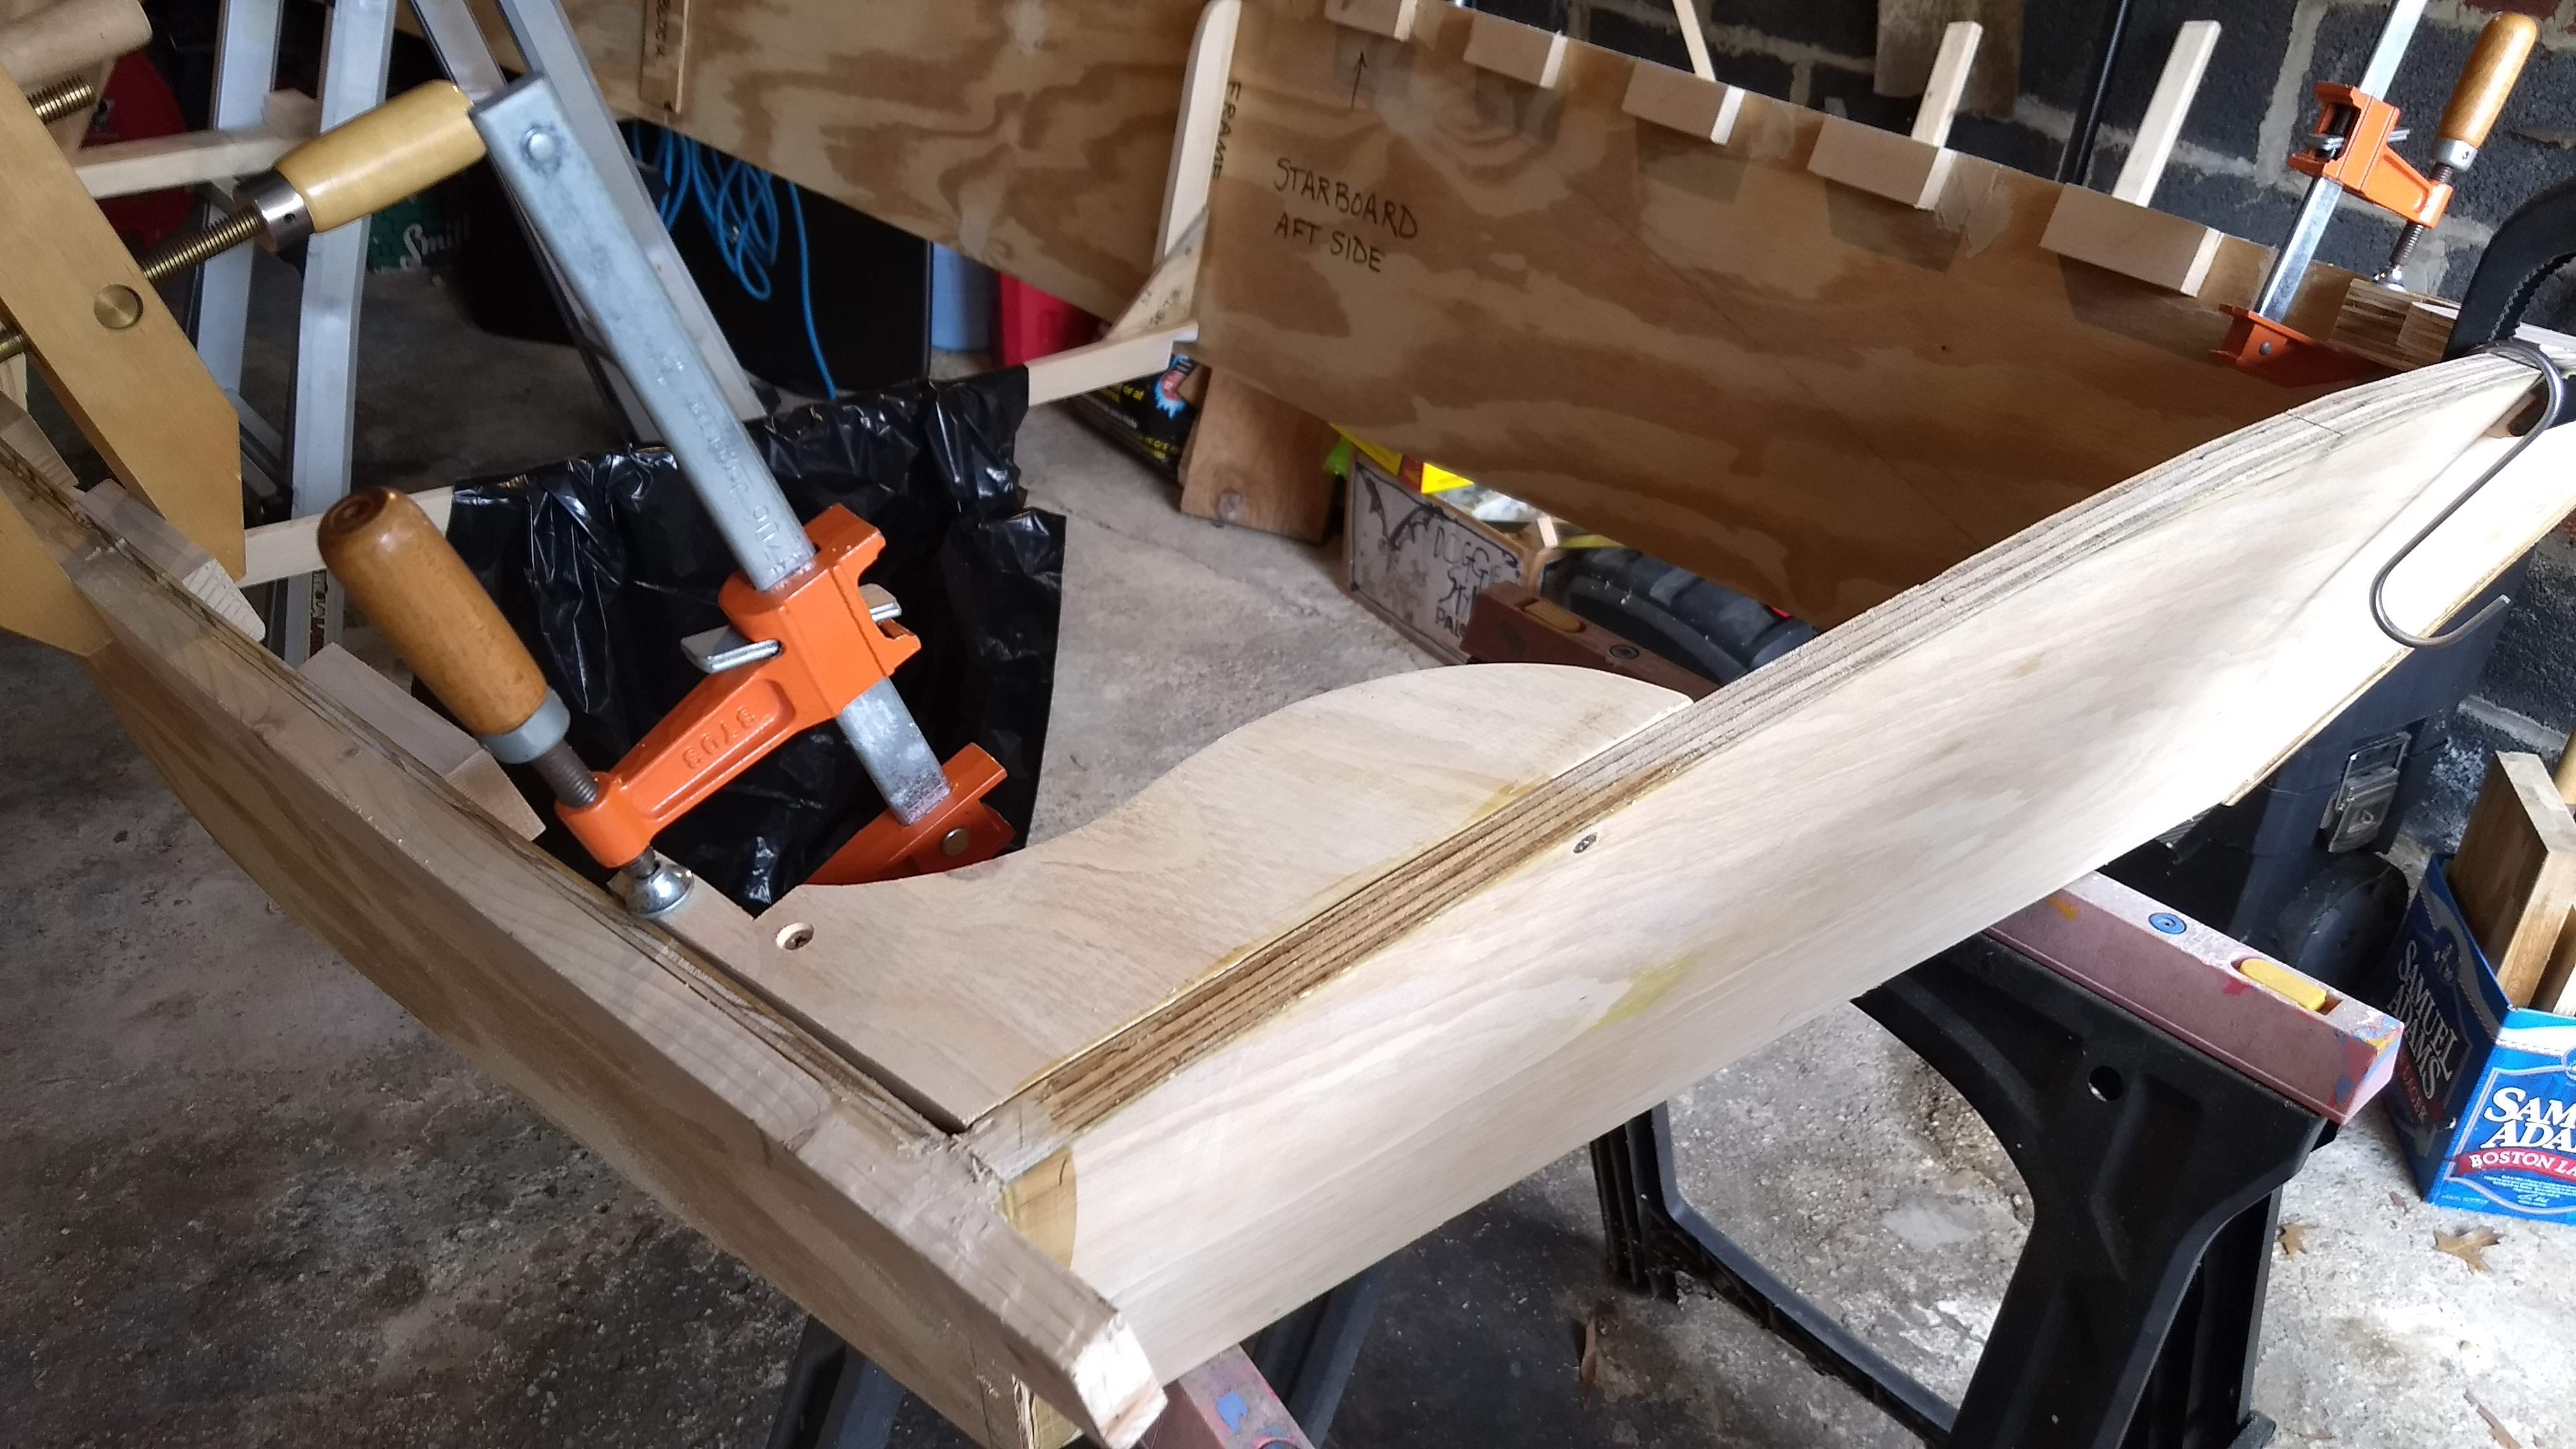
I had time to install the quarter knees and the breast hook, since Mayssa kindly took my place to go with Dawn on the afternoon dog walk. I first started using the plain old wood glue instead of the construction adhesive, but the fit of the starboard quarter knee along the transom wasn’t as tight as I would have wished. So I wiped off the Titebond and spread on the PL Premium.

Starboard quarter knee glued, screwed, clamped

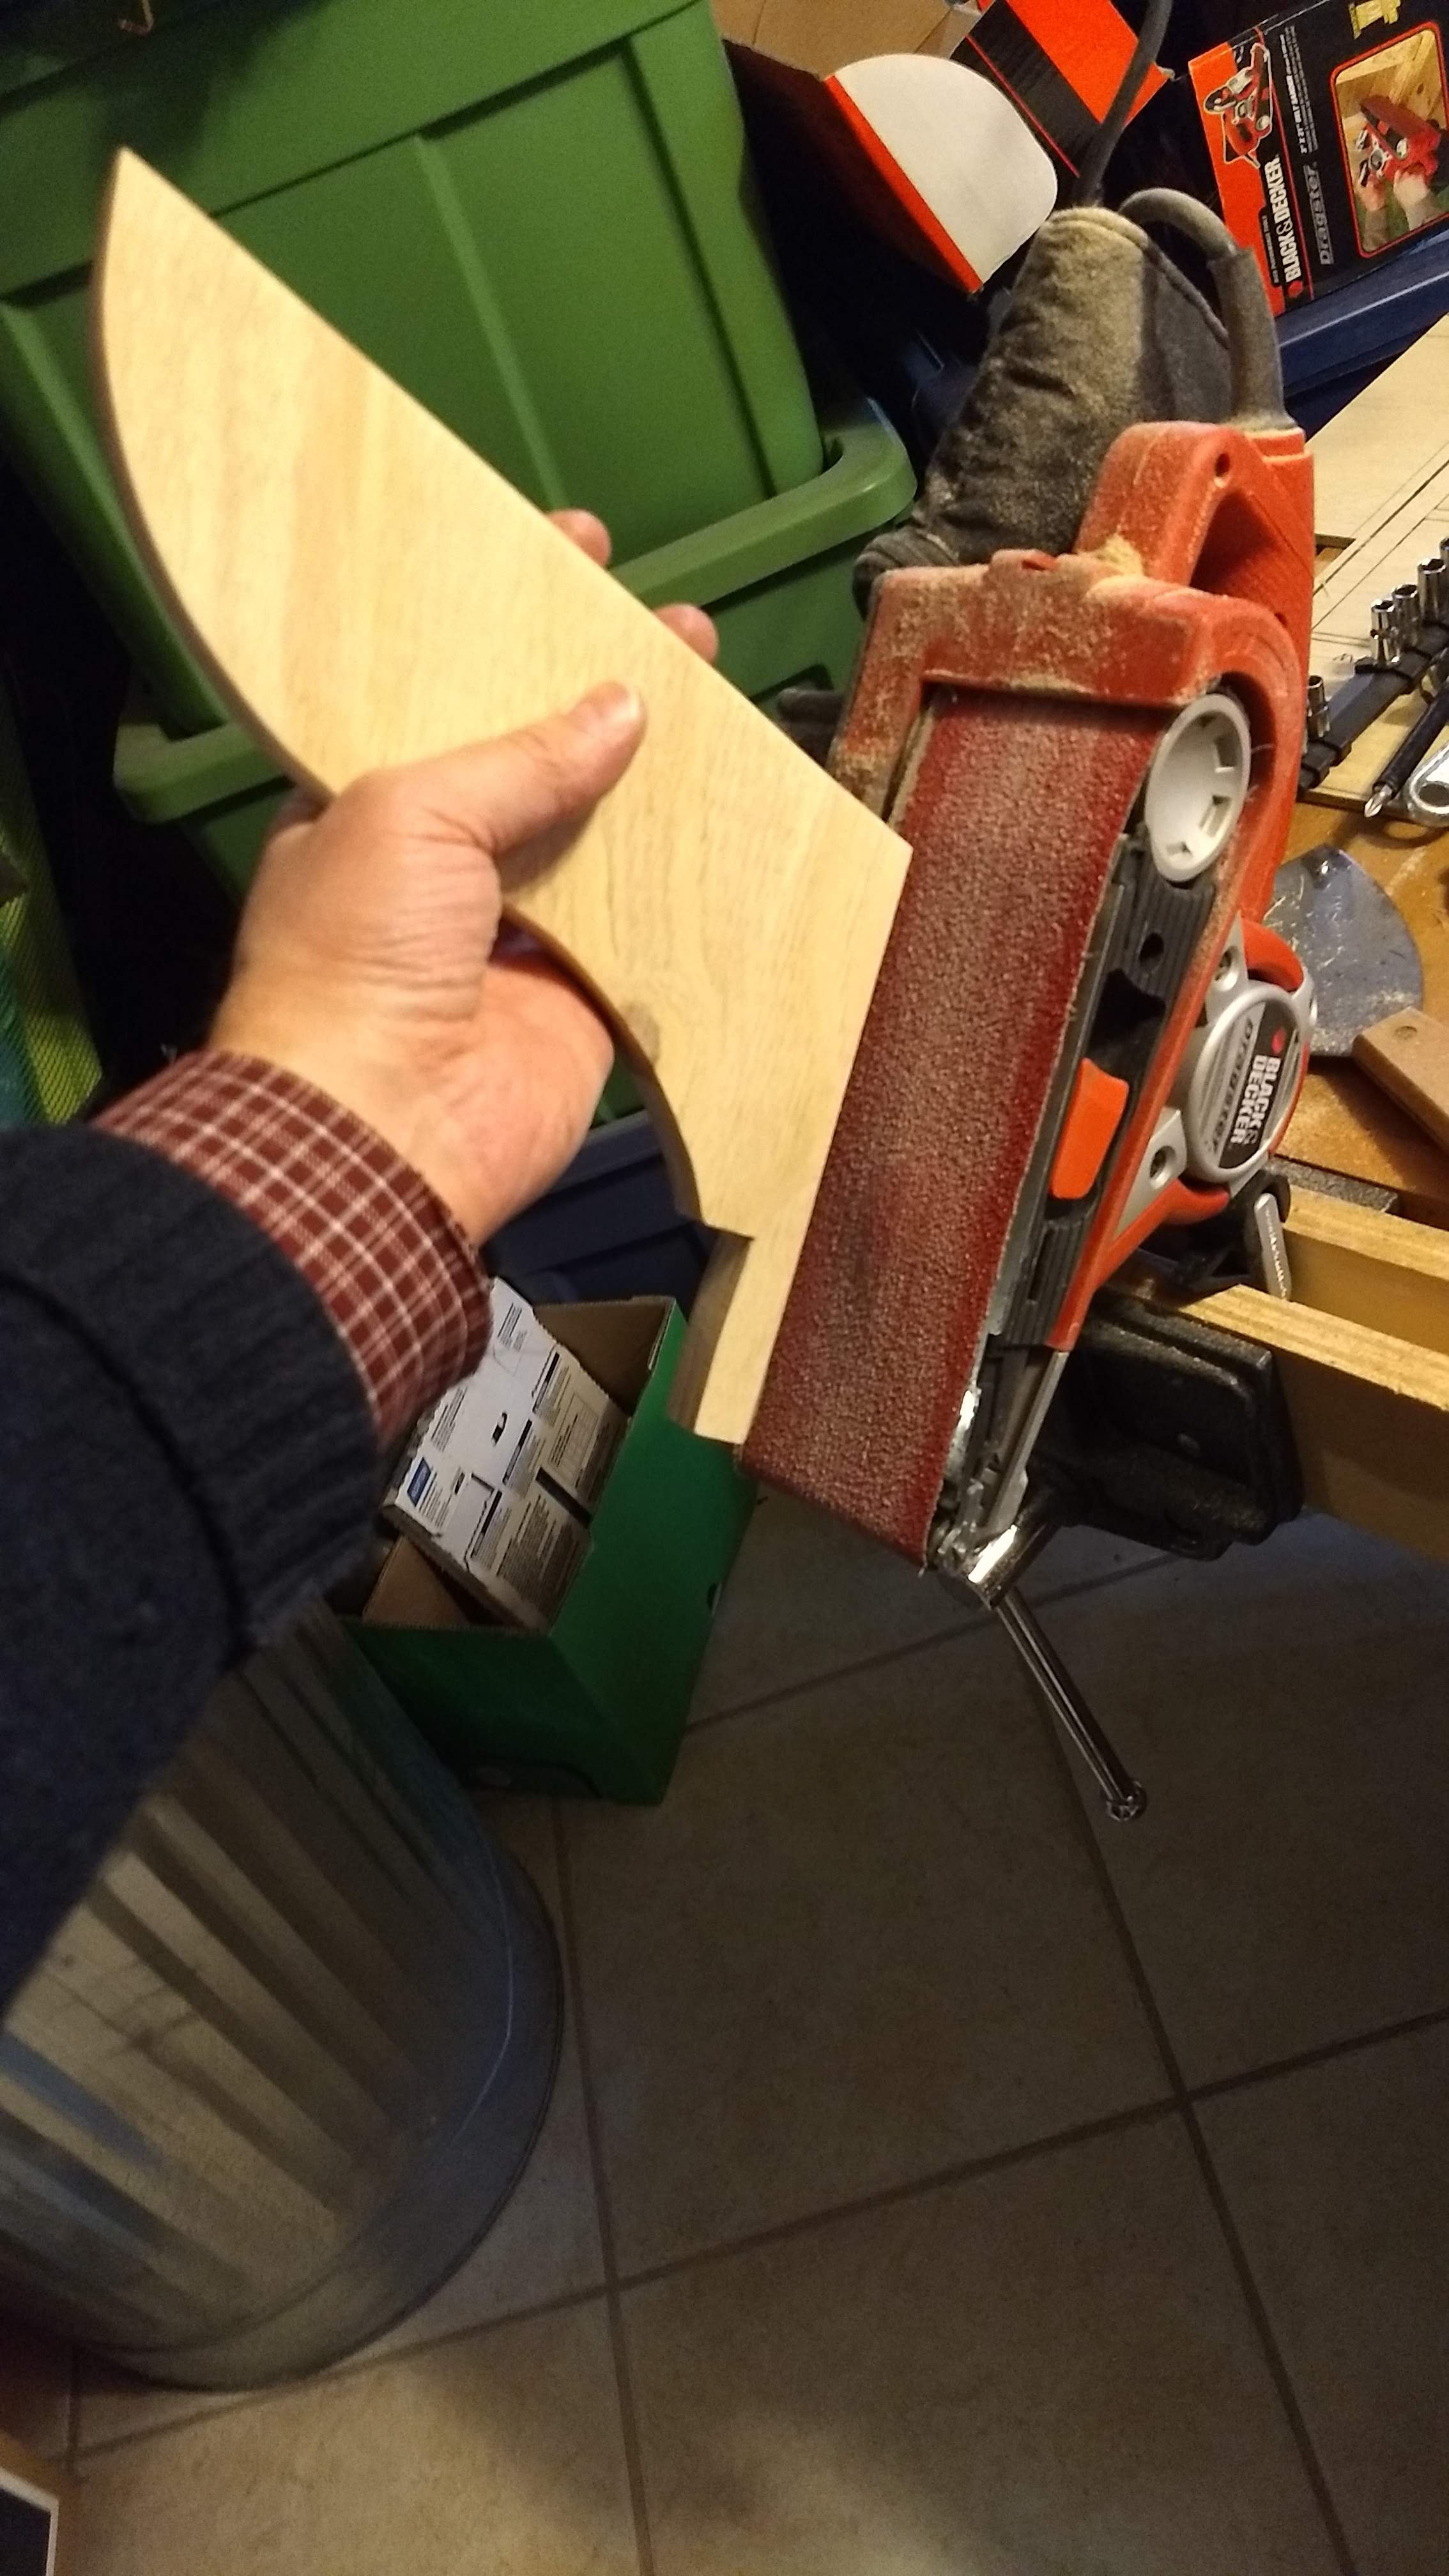
I wasn’t thrilled with the fit of either of the quarter knees, though, especially the port side. I knew that side had a rather substantial gap and needed some trimming. I rigged up my belt sander to my workbench in the basement to substitute for a bench sander.

Ad hoc sanding station

That worked pretty well, but it still wasn’t nearly perfect. It’s good enough, though, for this, the good enough boat, not the perfect boat.

Port quarter knee glued, screwed, clamped

The breast hook is pretty sweet, though. Fits real nice.

Breast hook glued, screwed, and clamped. I put on bigger, better clamps after this picture.

Week 18: Gluing Inwale Spacers

I wasn’t sure if I’d get any time for the boat this weekend, since we were going to the ballet, but turned out I had time both days. But, alas, this weekend’s work was all about gluing things, and it was too cold to glue on Sunday.

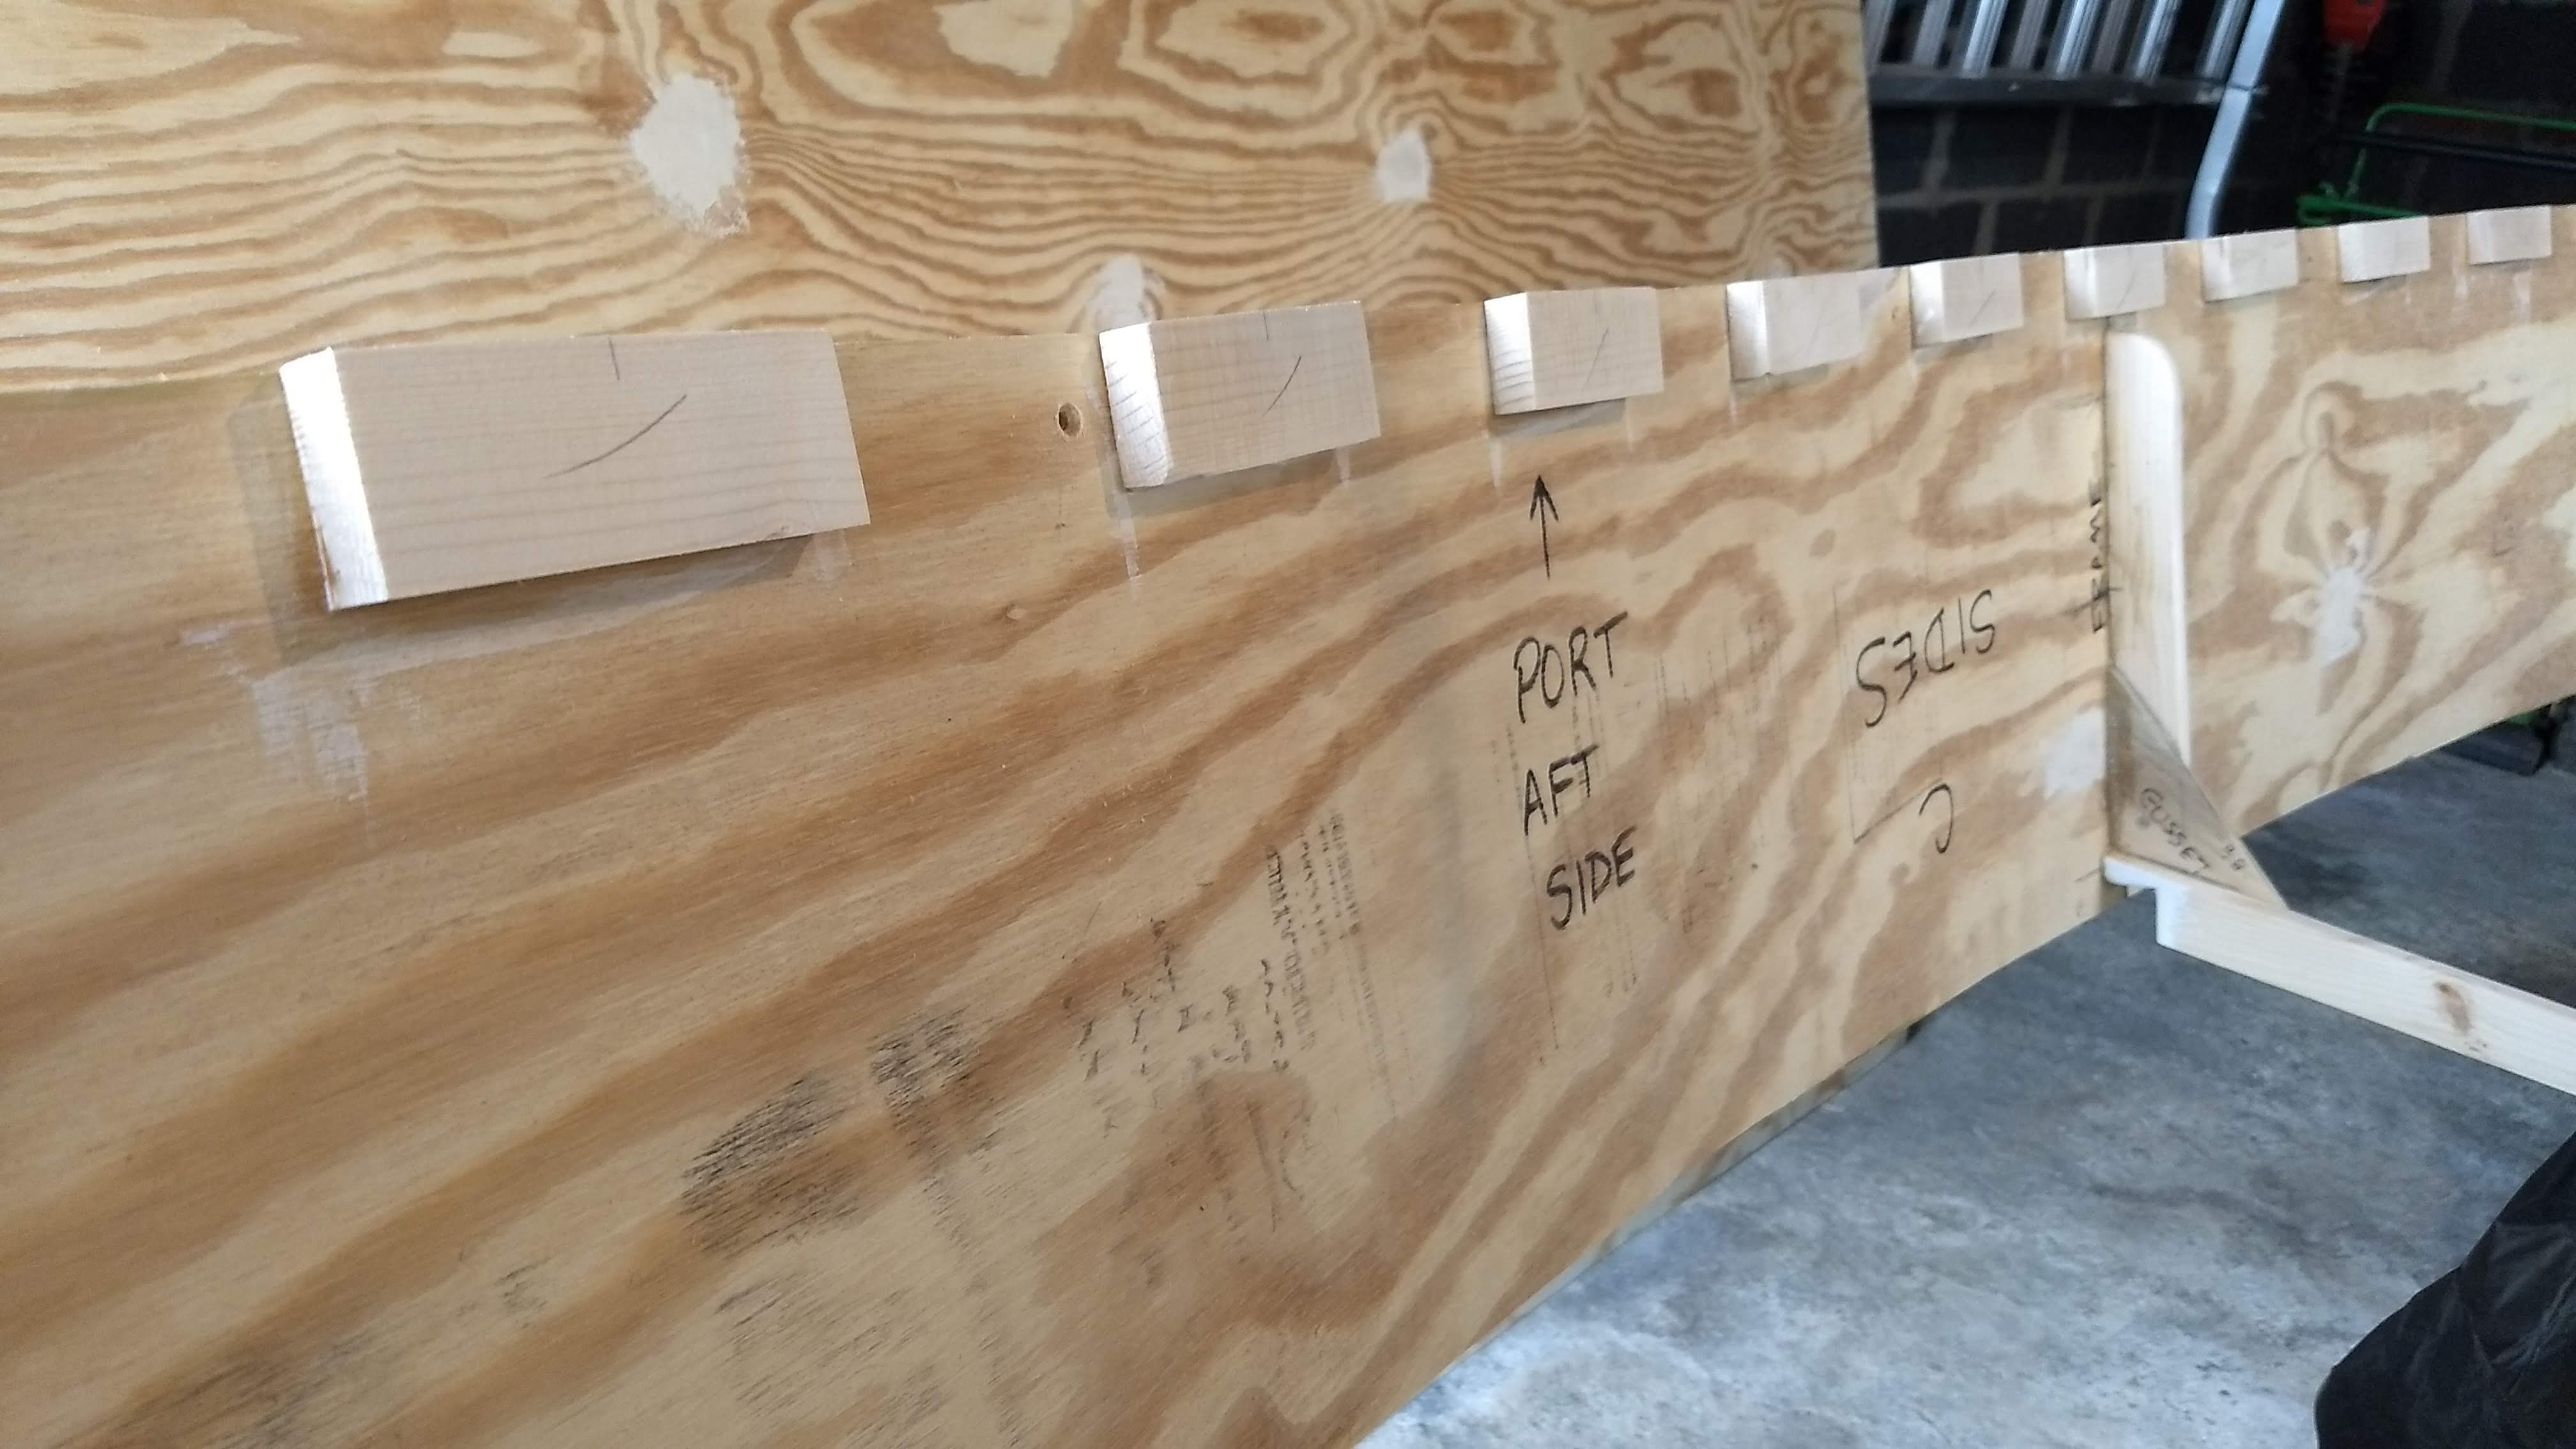
The time I had on Saturday was enough time, though, to glue on all the inwale spacers, all 60 of ’em.

First decision to make was what kind of glue to use. I’ve used PL Premium polyurethane construction adhesive thus far for everything, but for these I opted for Titebond III wood glue instead instead. I’ve got a general idea that I’ll use the polyurethane for anything that might conceivably be under water, or even below the waterline, but wood glue for things above.

Spreading Titebond on a spacer

I’ll eventually be using epoxy as well, but only to glass the chines and the seams at the bow, stern, and where the plywood is butt blocked together.

Glued and screwed

So it was all slow, deliberate work: unscrew the spacer, apply glue, and re-screw the little guy back where it was, then wait for and wipe up any glue squeeze out.. Repeat 60 times.

New spacer block for above the starboard butt block seam

The only other thing I did was replace the one spacer above the starboard butt block, which butt block is not quite 1-1/2″ below the sheer line where the spacers go. That block needed a little trimming to fit, and the first attempt I made looked terrible. Even though the block is going to eventually be hidden by the inwale, I’ll always know it’s there and wanted it a little better. So I rasped and filed and sanded a new block instead of sawing like I did with the old one.

Port side blocks all glued
Starboard side too

And now all the spacers are glued, so I can glue the gunwales next. I’ll go back to the PL Premium for those. Then inwales (wood glue) and then it’s time for the chines.

Next week.