
Having cut and fitted the port inwale last week, and now having poached the 5/8″ × 1-1/2″ × 12′ chine blank to be the starboard inwale, I was almost ready to glue and screw the inwales in place.
First, though, I had to cut the starboard piece to fit. I measured the finished port piece, which I decided I’d made just a smidge too short, to be 126-1/4″, so I first shortened the unfinished starboard stick to 132″. Then I tried to fit it underneath the starboard spacer blocks, as well as the breast hook and quarter knee on that side. But it was still too long for that. So I needed to cut another inch or two. I re-measured the port piece, since I hadn’t written down that 126-1/4″ measurement. And that’s when the tape measure broke. It wouldn’t retract.
So that’s when I stupidly took apart a tape measure. And you know what? There’s a sharp spring inside there. I cut myself on it.
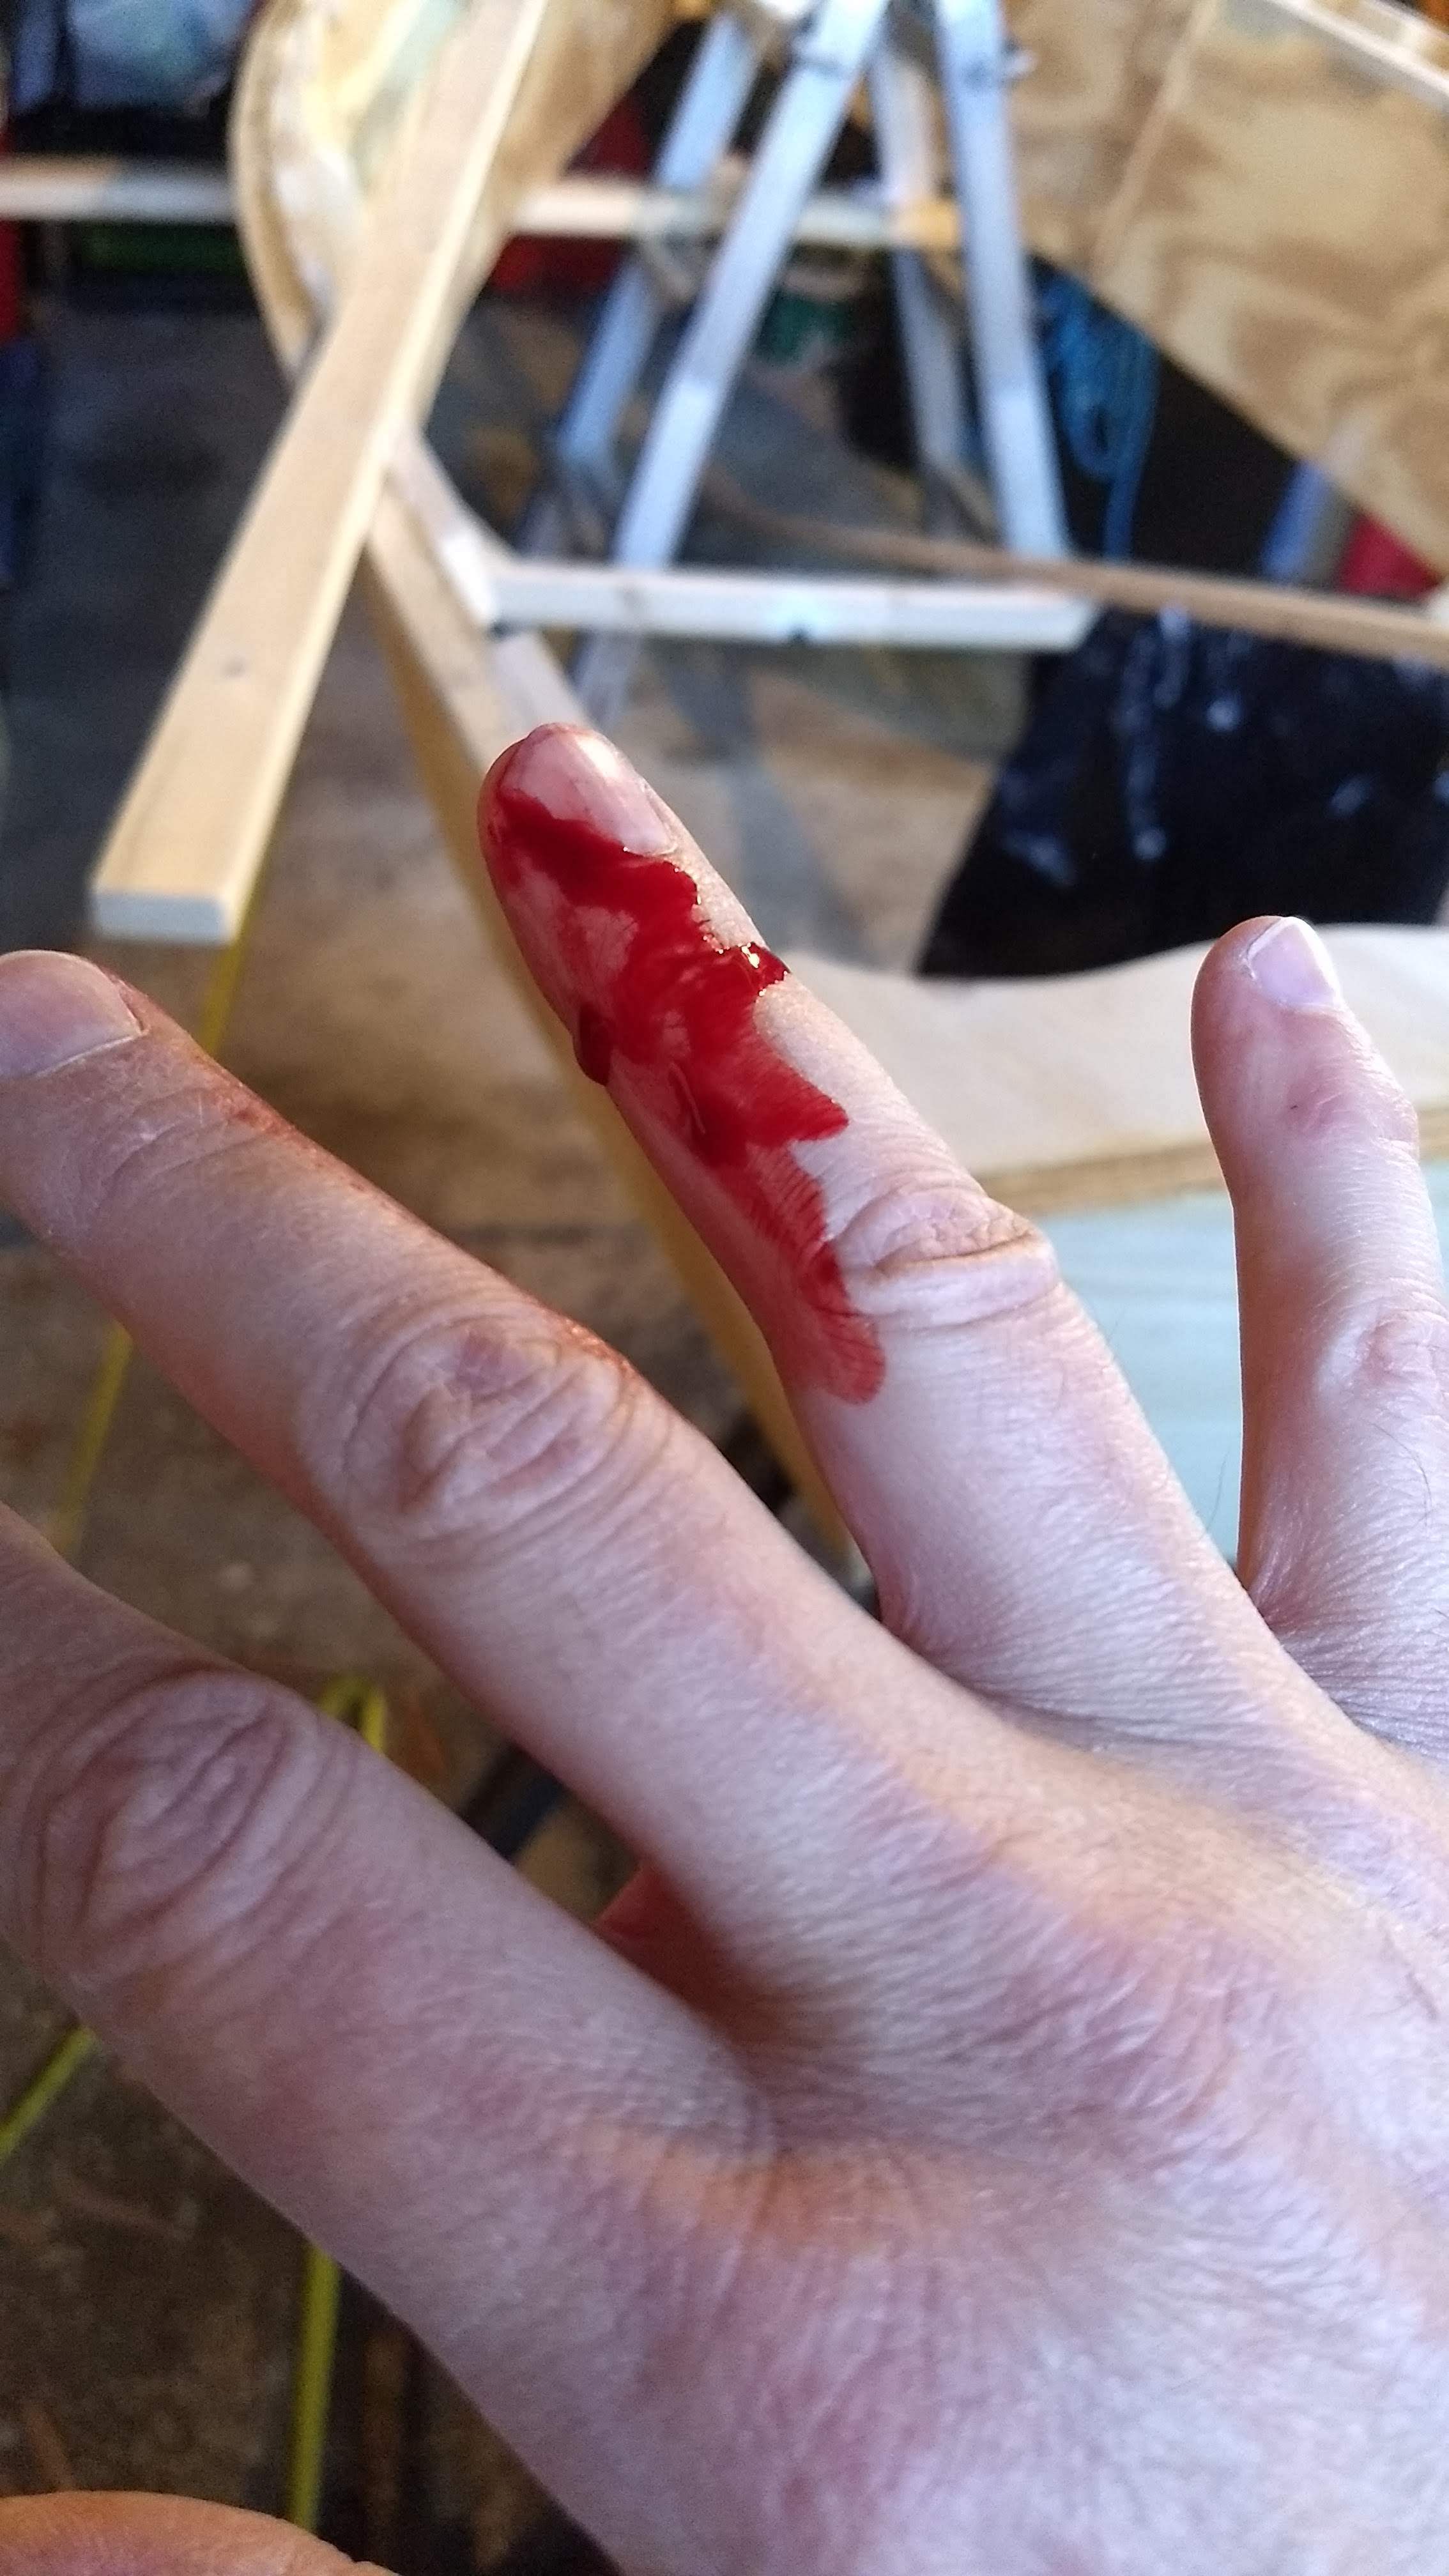
Twice.

I finally got all the wounds dressed and got back to the actual boat building.
I’d been fretting about how to get the glue onto all the inwale spacers without making a big mess. The surfaces to be glued together are all vertical surfaces, and wood glue is drippy. I wished I’d bought a few small brushes. And I worried about the glue open time, since I had to brush the glue onto 15 spacer blocks on each side.
It finally dawned on me that it’d be a whole lot easier to use the construction adhesive. It’s thick and sticky, so it doesn’t drip off the vertical surface, and it has an open time about twice as long as the wood glue. I really should have thought of all this a long time before.
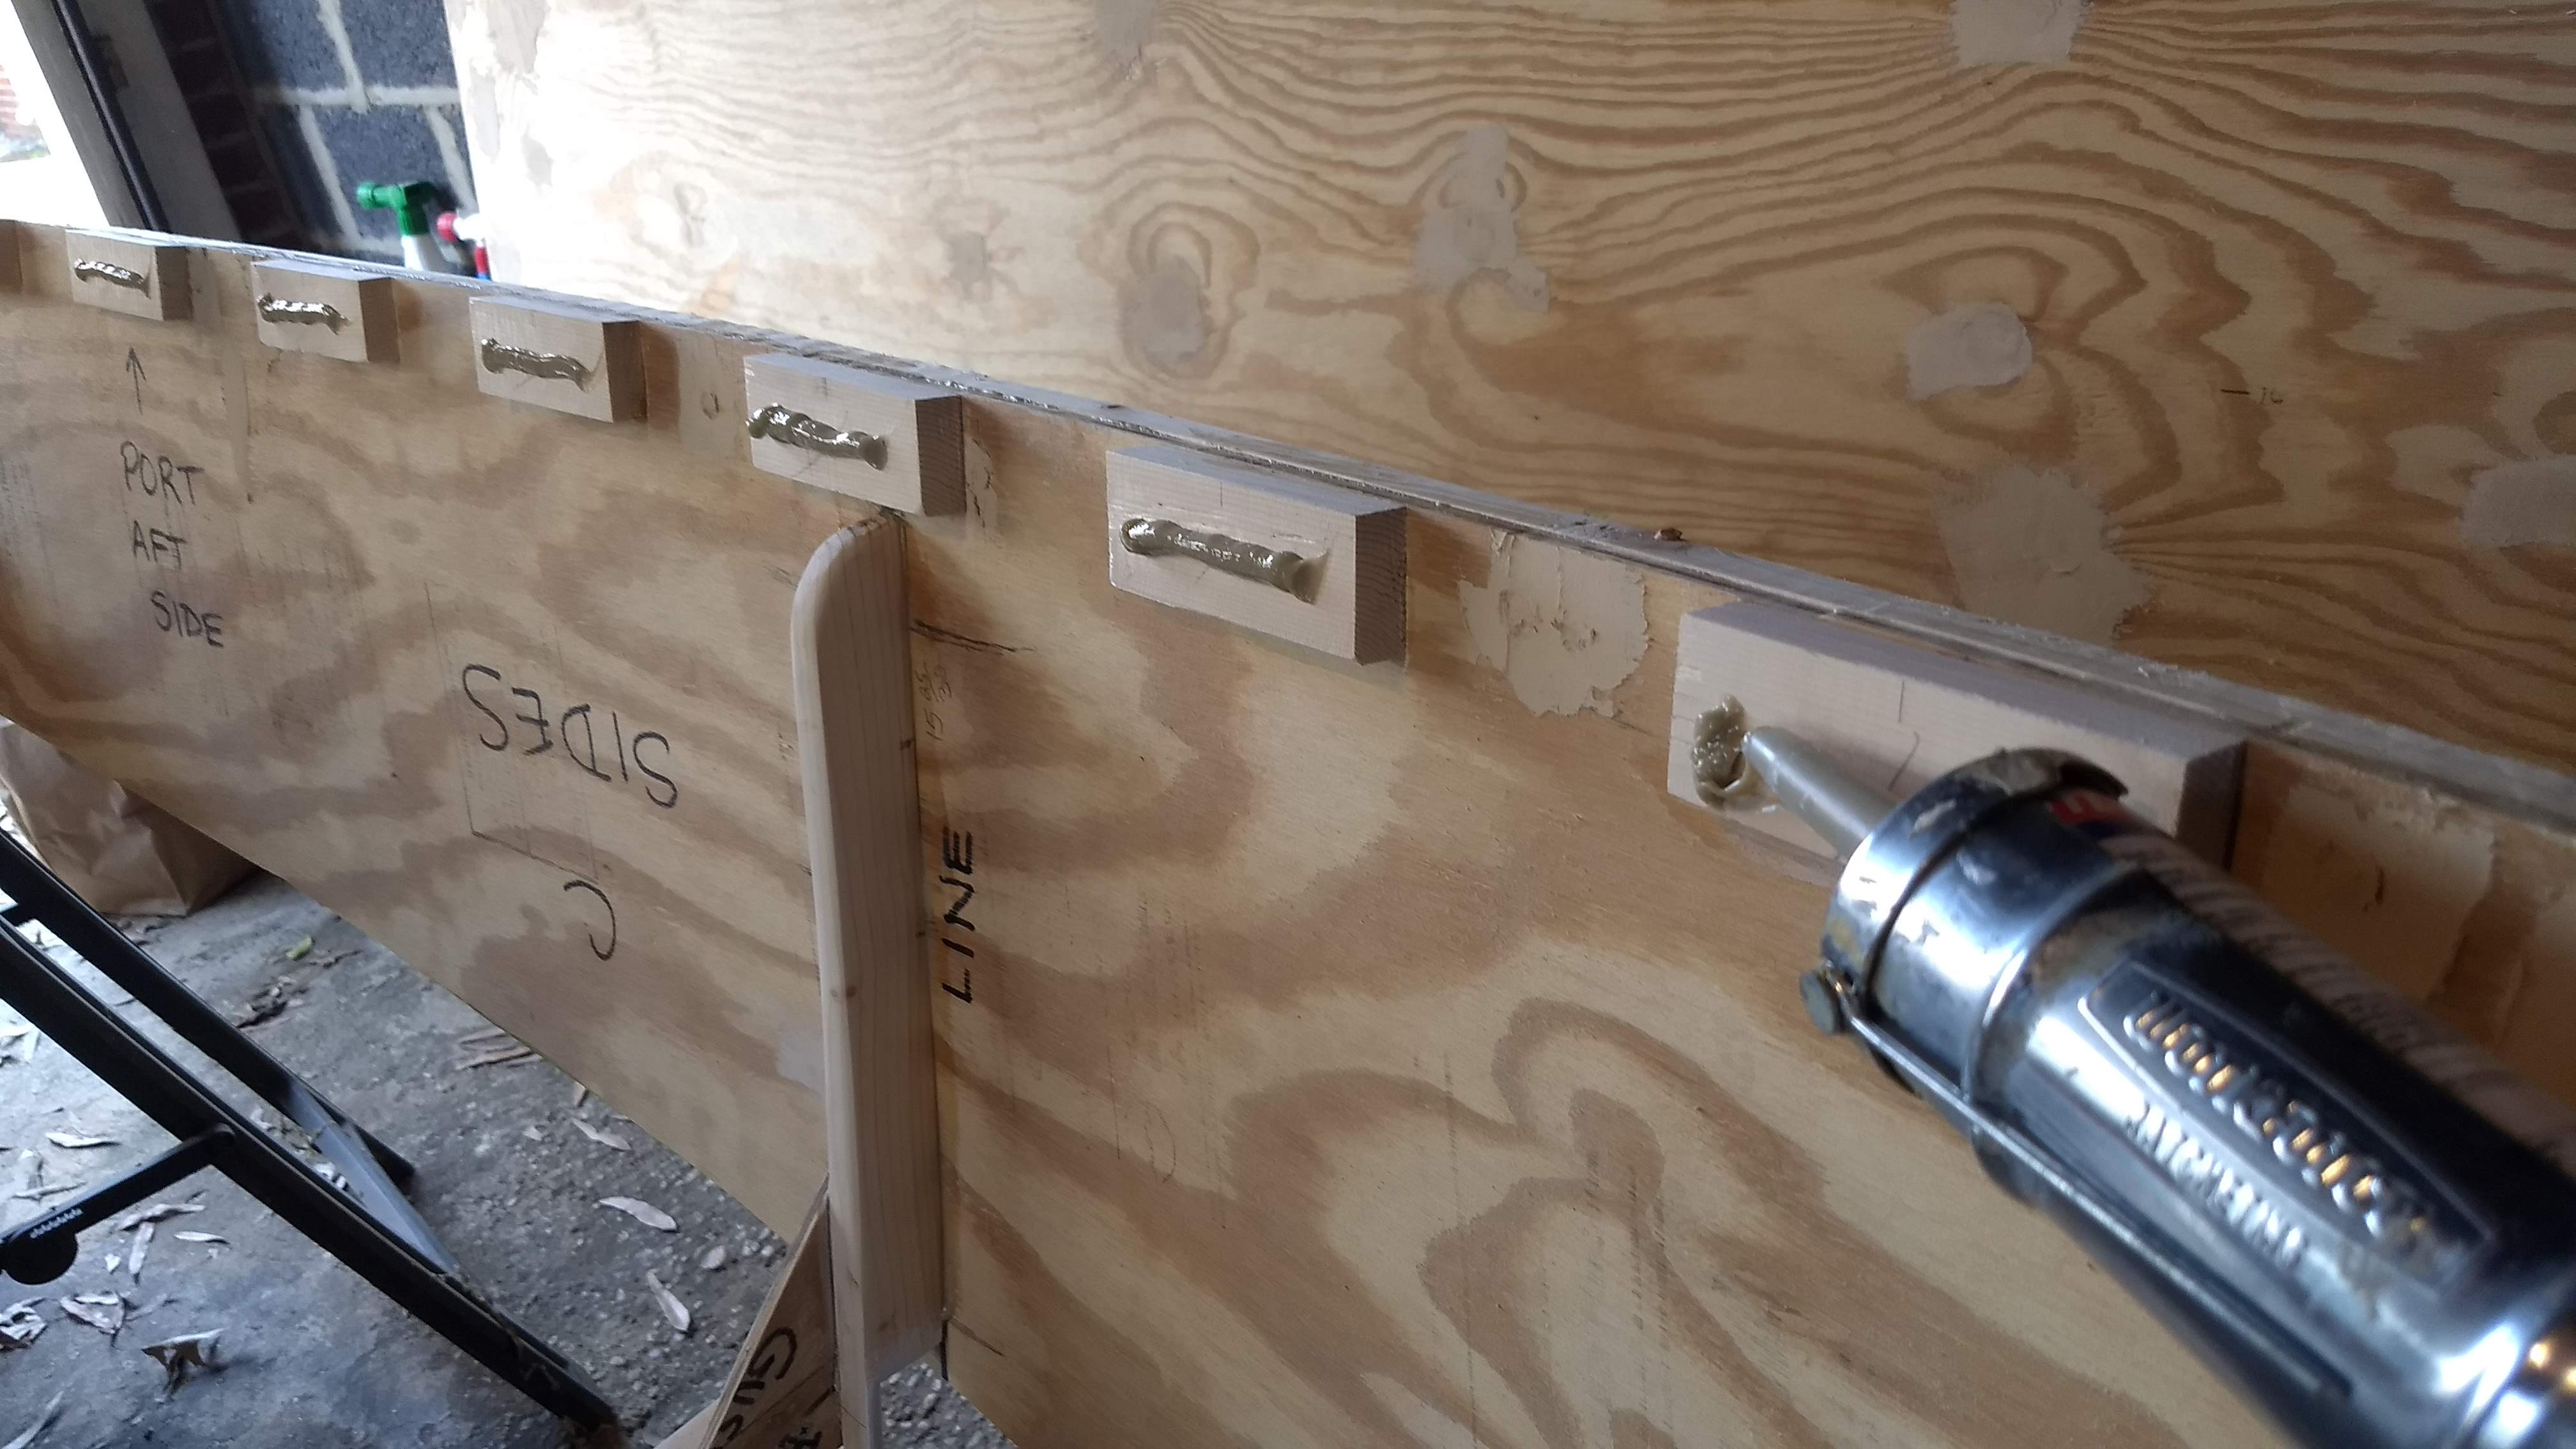
Starting on the port wale, I applied a bead of adhesive to each spacer block, then spread the bead to cover with a craft stick, then fit the wale into position and clamped it in the center. I then drilled and screwed in the middle & at the ends, then I removed the clamp. Now I simply needed to drill and screw the other points into the spacer blocks.

Here I had a little trouble, and made note to do it a little differently on the starboard side. Because of the way the wale bends and stretches as it’s being screwed down, I should have worked my way from the middle to the outsides. I shouldn’t have screwed down the ends so early.
I was able to clamp and force the gaps closed, for the most part. But, again, I made sure to work from the inside out down both sides on the starboard wale. Also, I had planned to use the same jig that I’d used on the spacer blocks, to drill in the top left and lower right corners, so as to avoid screws interfering with each other. But I was worried enough about the open time of the glue, so I ended up just eyeballing this side. I think it’ll be fine. I sure didn’t feel like I drilled into any existing screws.

I did run out of 1″ screws, though. I’d bought 48 of them for the 30 spacer blocks. I guess I thought that I’d use only one screw for many of the blocks, but I used two screws for most blocks. I switched to 1-1/4″ screws after I ran out of the 1″. No big deal.
And the wales don’t fit on the spacer blocks, or into the breast hook and quarter knees, nearly as smoothly as I planned. But, once again, I’m reminded that I’ve never built a boat before. This is a learning experience. Embrace the roughness.
Lesson 1: Don’t take apart a tape measure!
I own at least a half dozen tape measures. I can buy another one if I need it. I don’t need to take one apart if it breaks.
To be fair, I was using the best tape measure for the particular job. I was measuring pieces around 12′ long — just a little too long to accurately measure with the 12′ tape measure, and the 25′ one is too big and bulky — so I was using the 16′ tape measure. But it’s at least 15 years old, so when the spring failed and it wouldn’t retract, I should have just thrown it away.
After trying to fix it and cutting myself twice, I ended up throwing it away anyway. So, never again. Don’t try to fix them.
Lesson 2: More screws
I did a census of screws left. Out of the original 100 of each, I have zero 1/2″ and 53 3/4″ screws left. I used all 48 1″ screws, and I have 7 left out of 32 1-1/4″ screws.
I had bought a lot of silicon bronze ring-shank nails, but I think I’ve only used one. I’ve just found the screws to be easier to drive, since I have to drill a pilot hole for both screws and nails. And I’m countersinking the screws, whereas I’m worried about nail heads sticking out. I guess I spent $25 on nails that I’m probably not going to use.