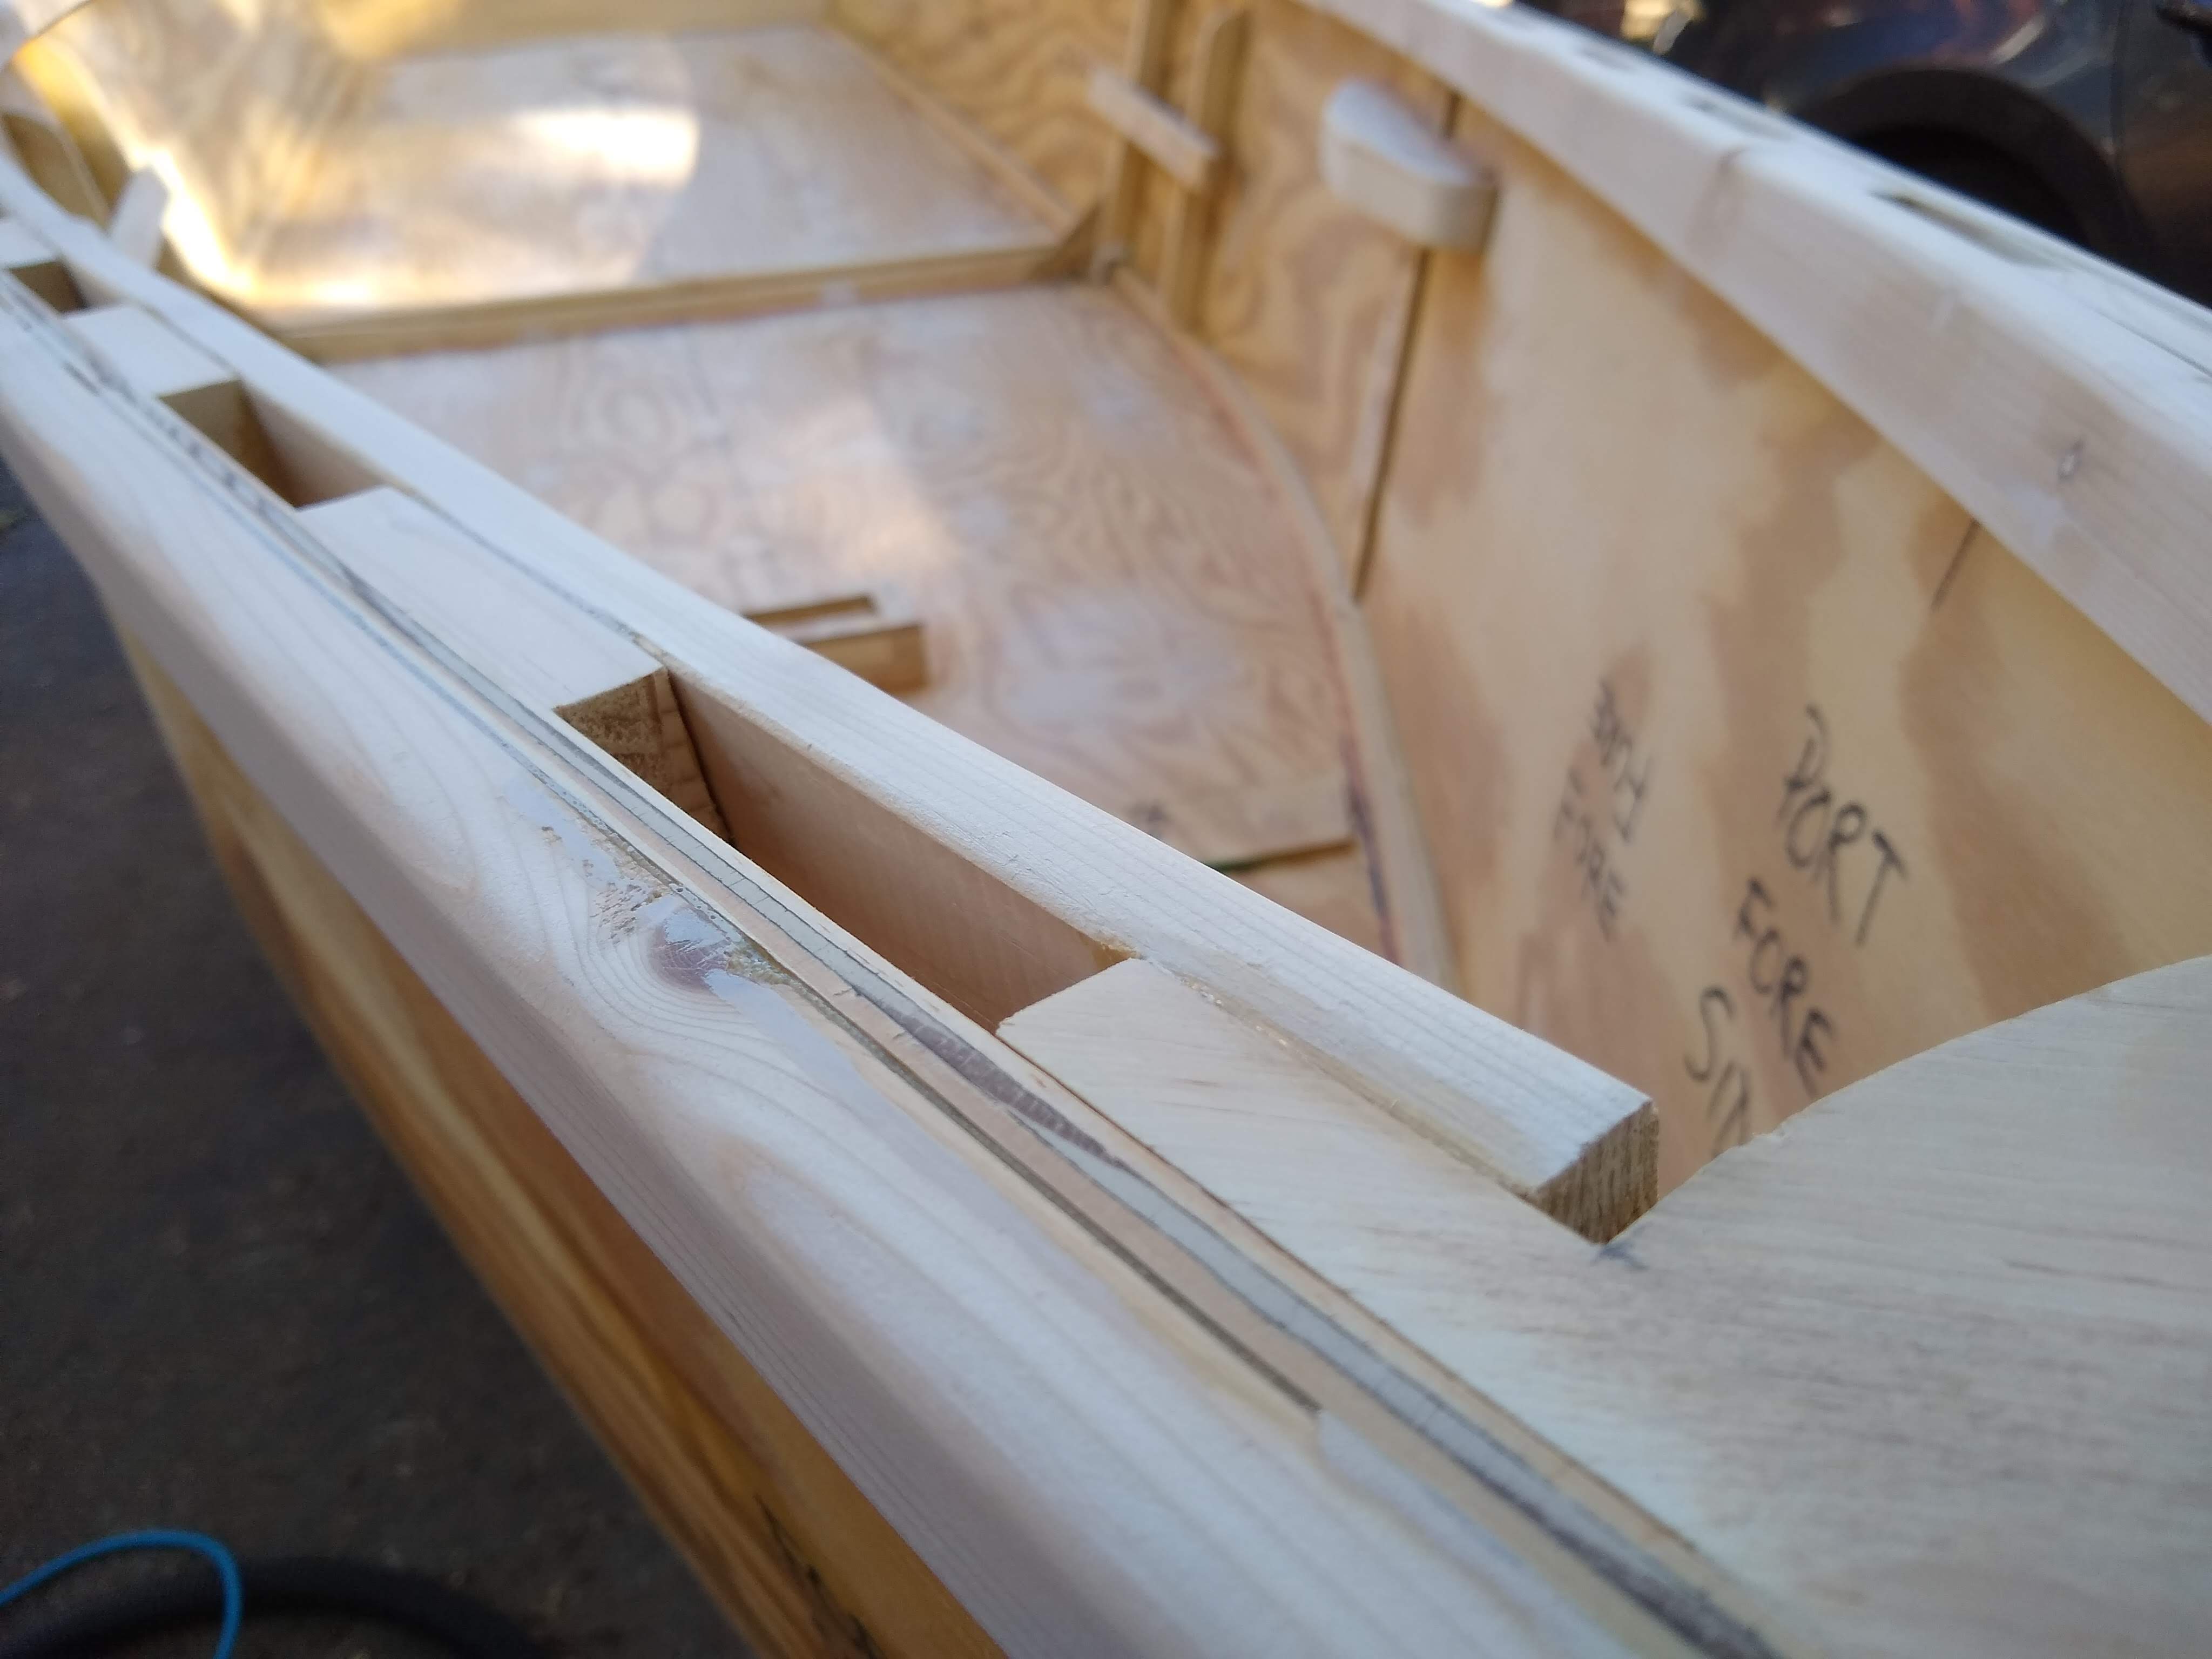
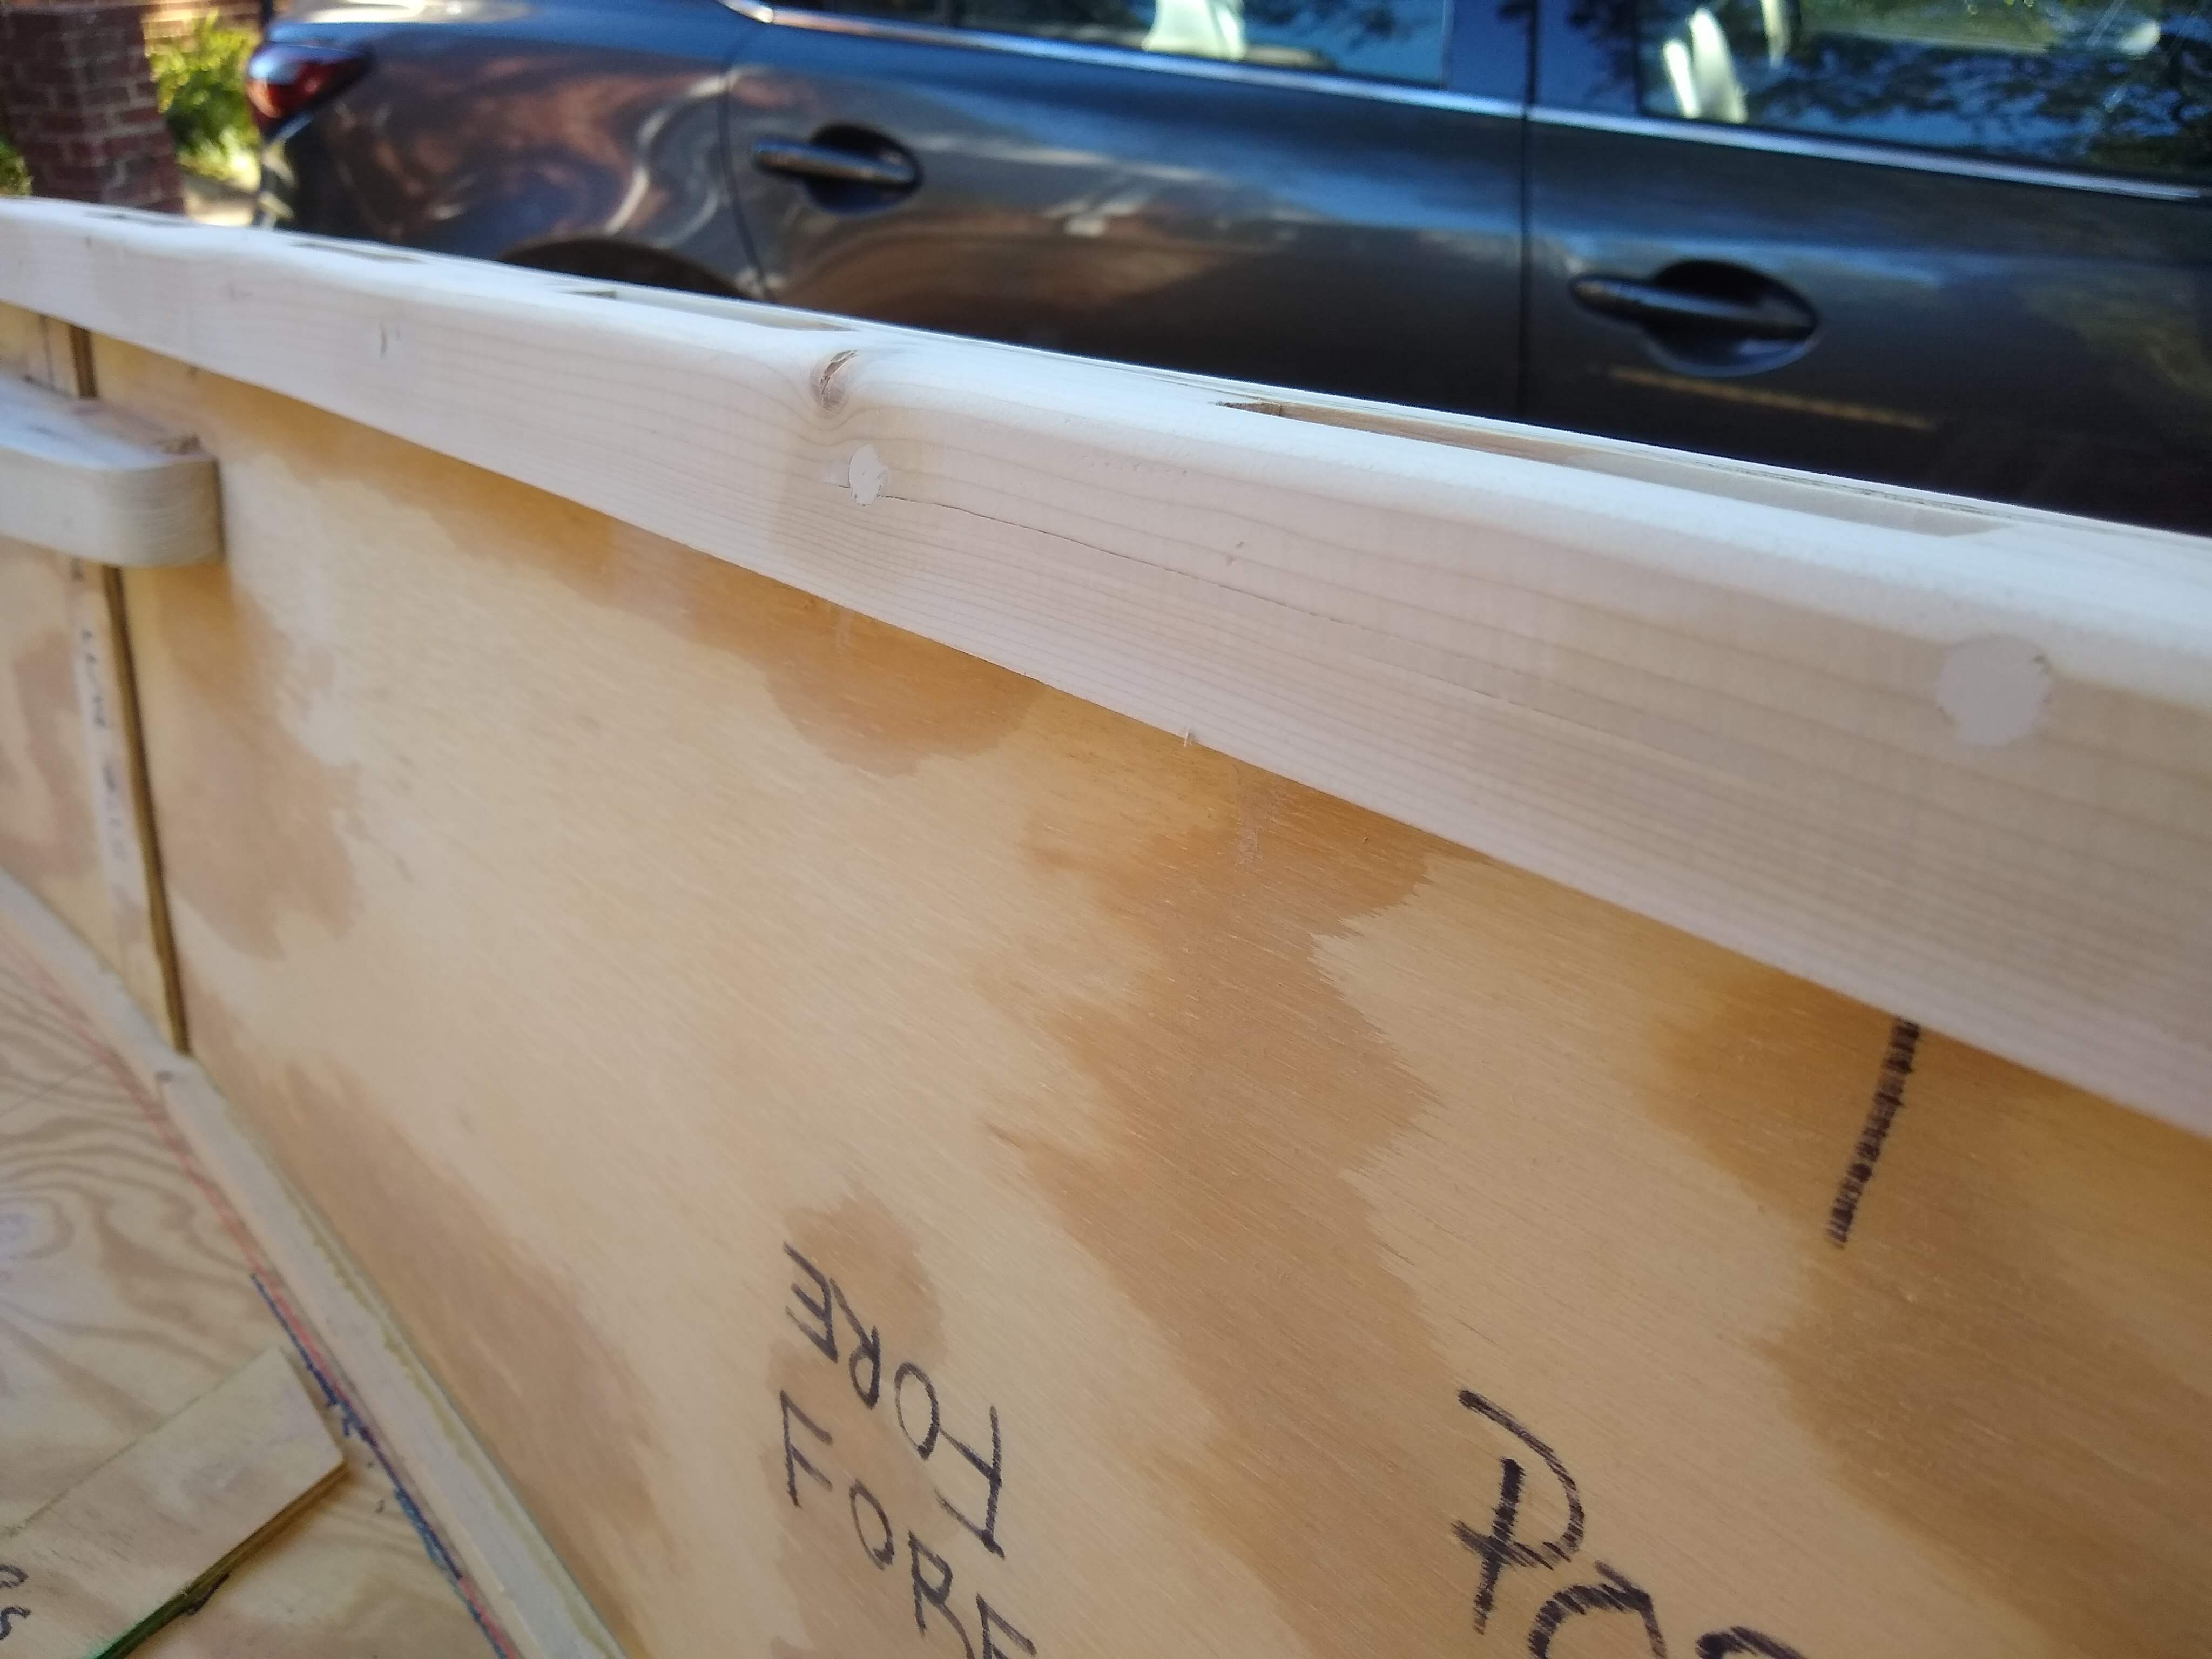
Week 41: What? More Sanding?

Yes, even more sanding. Another 2 hours of sanding.
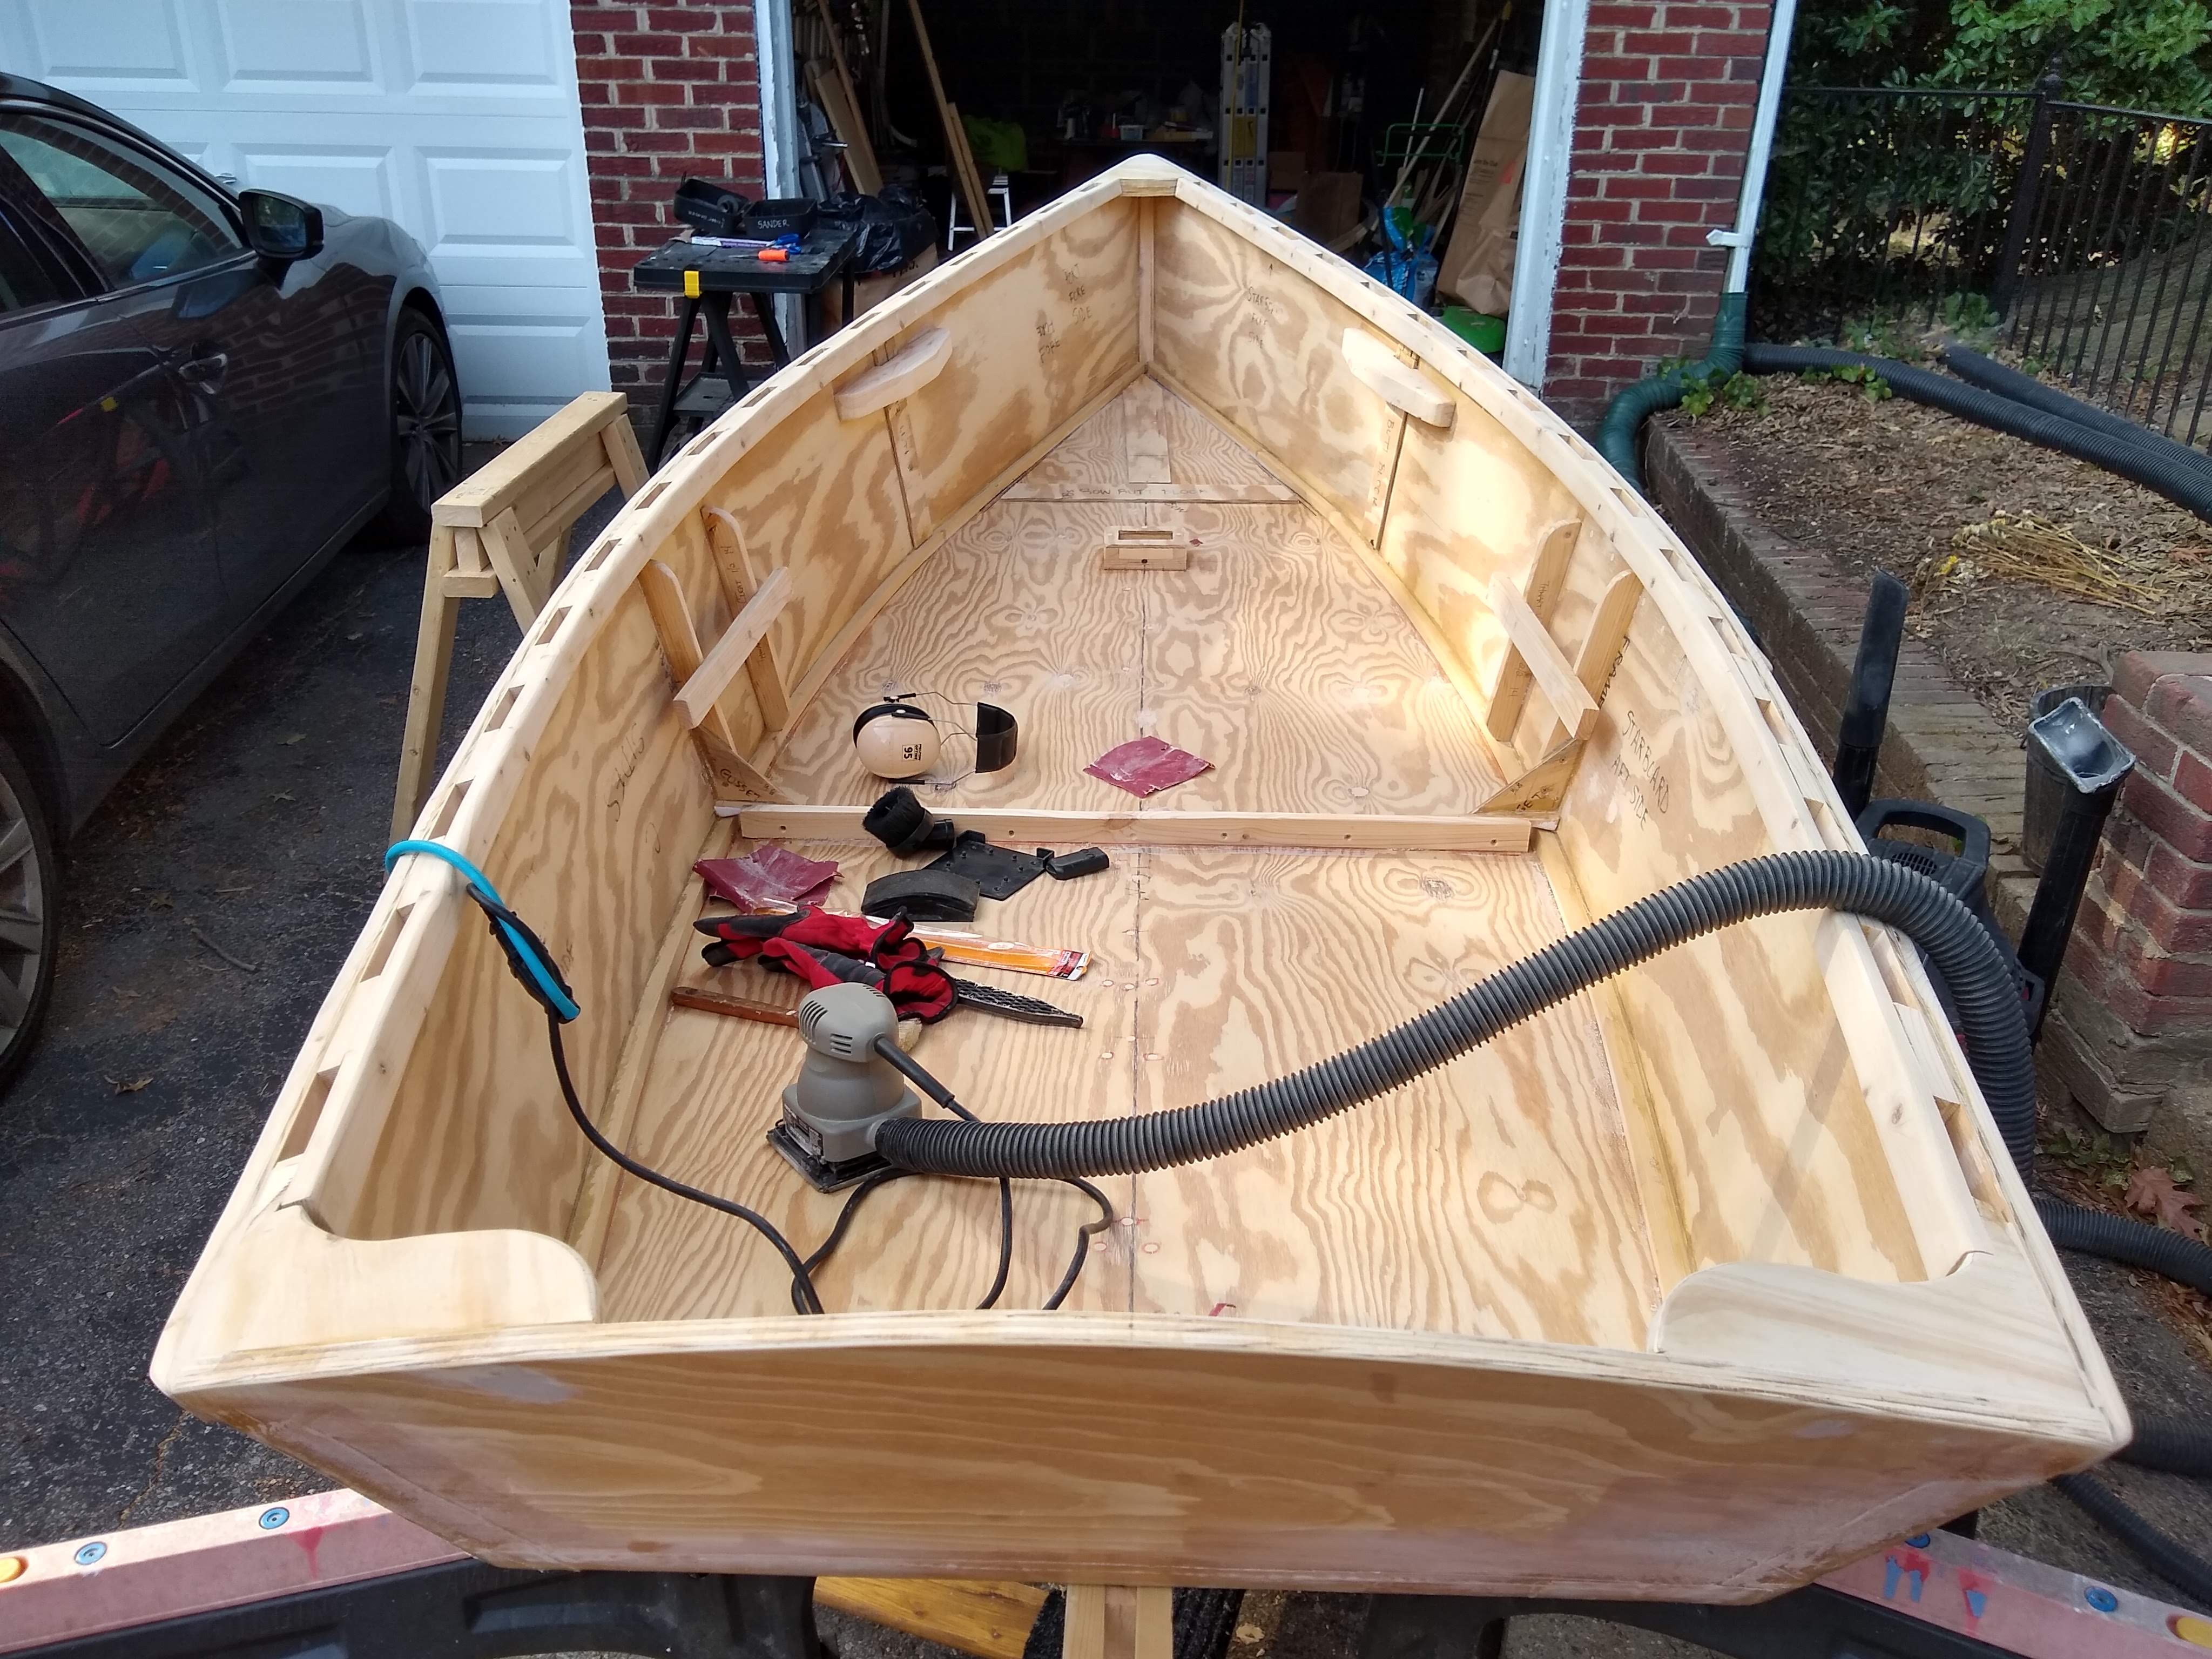
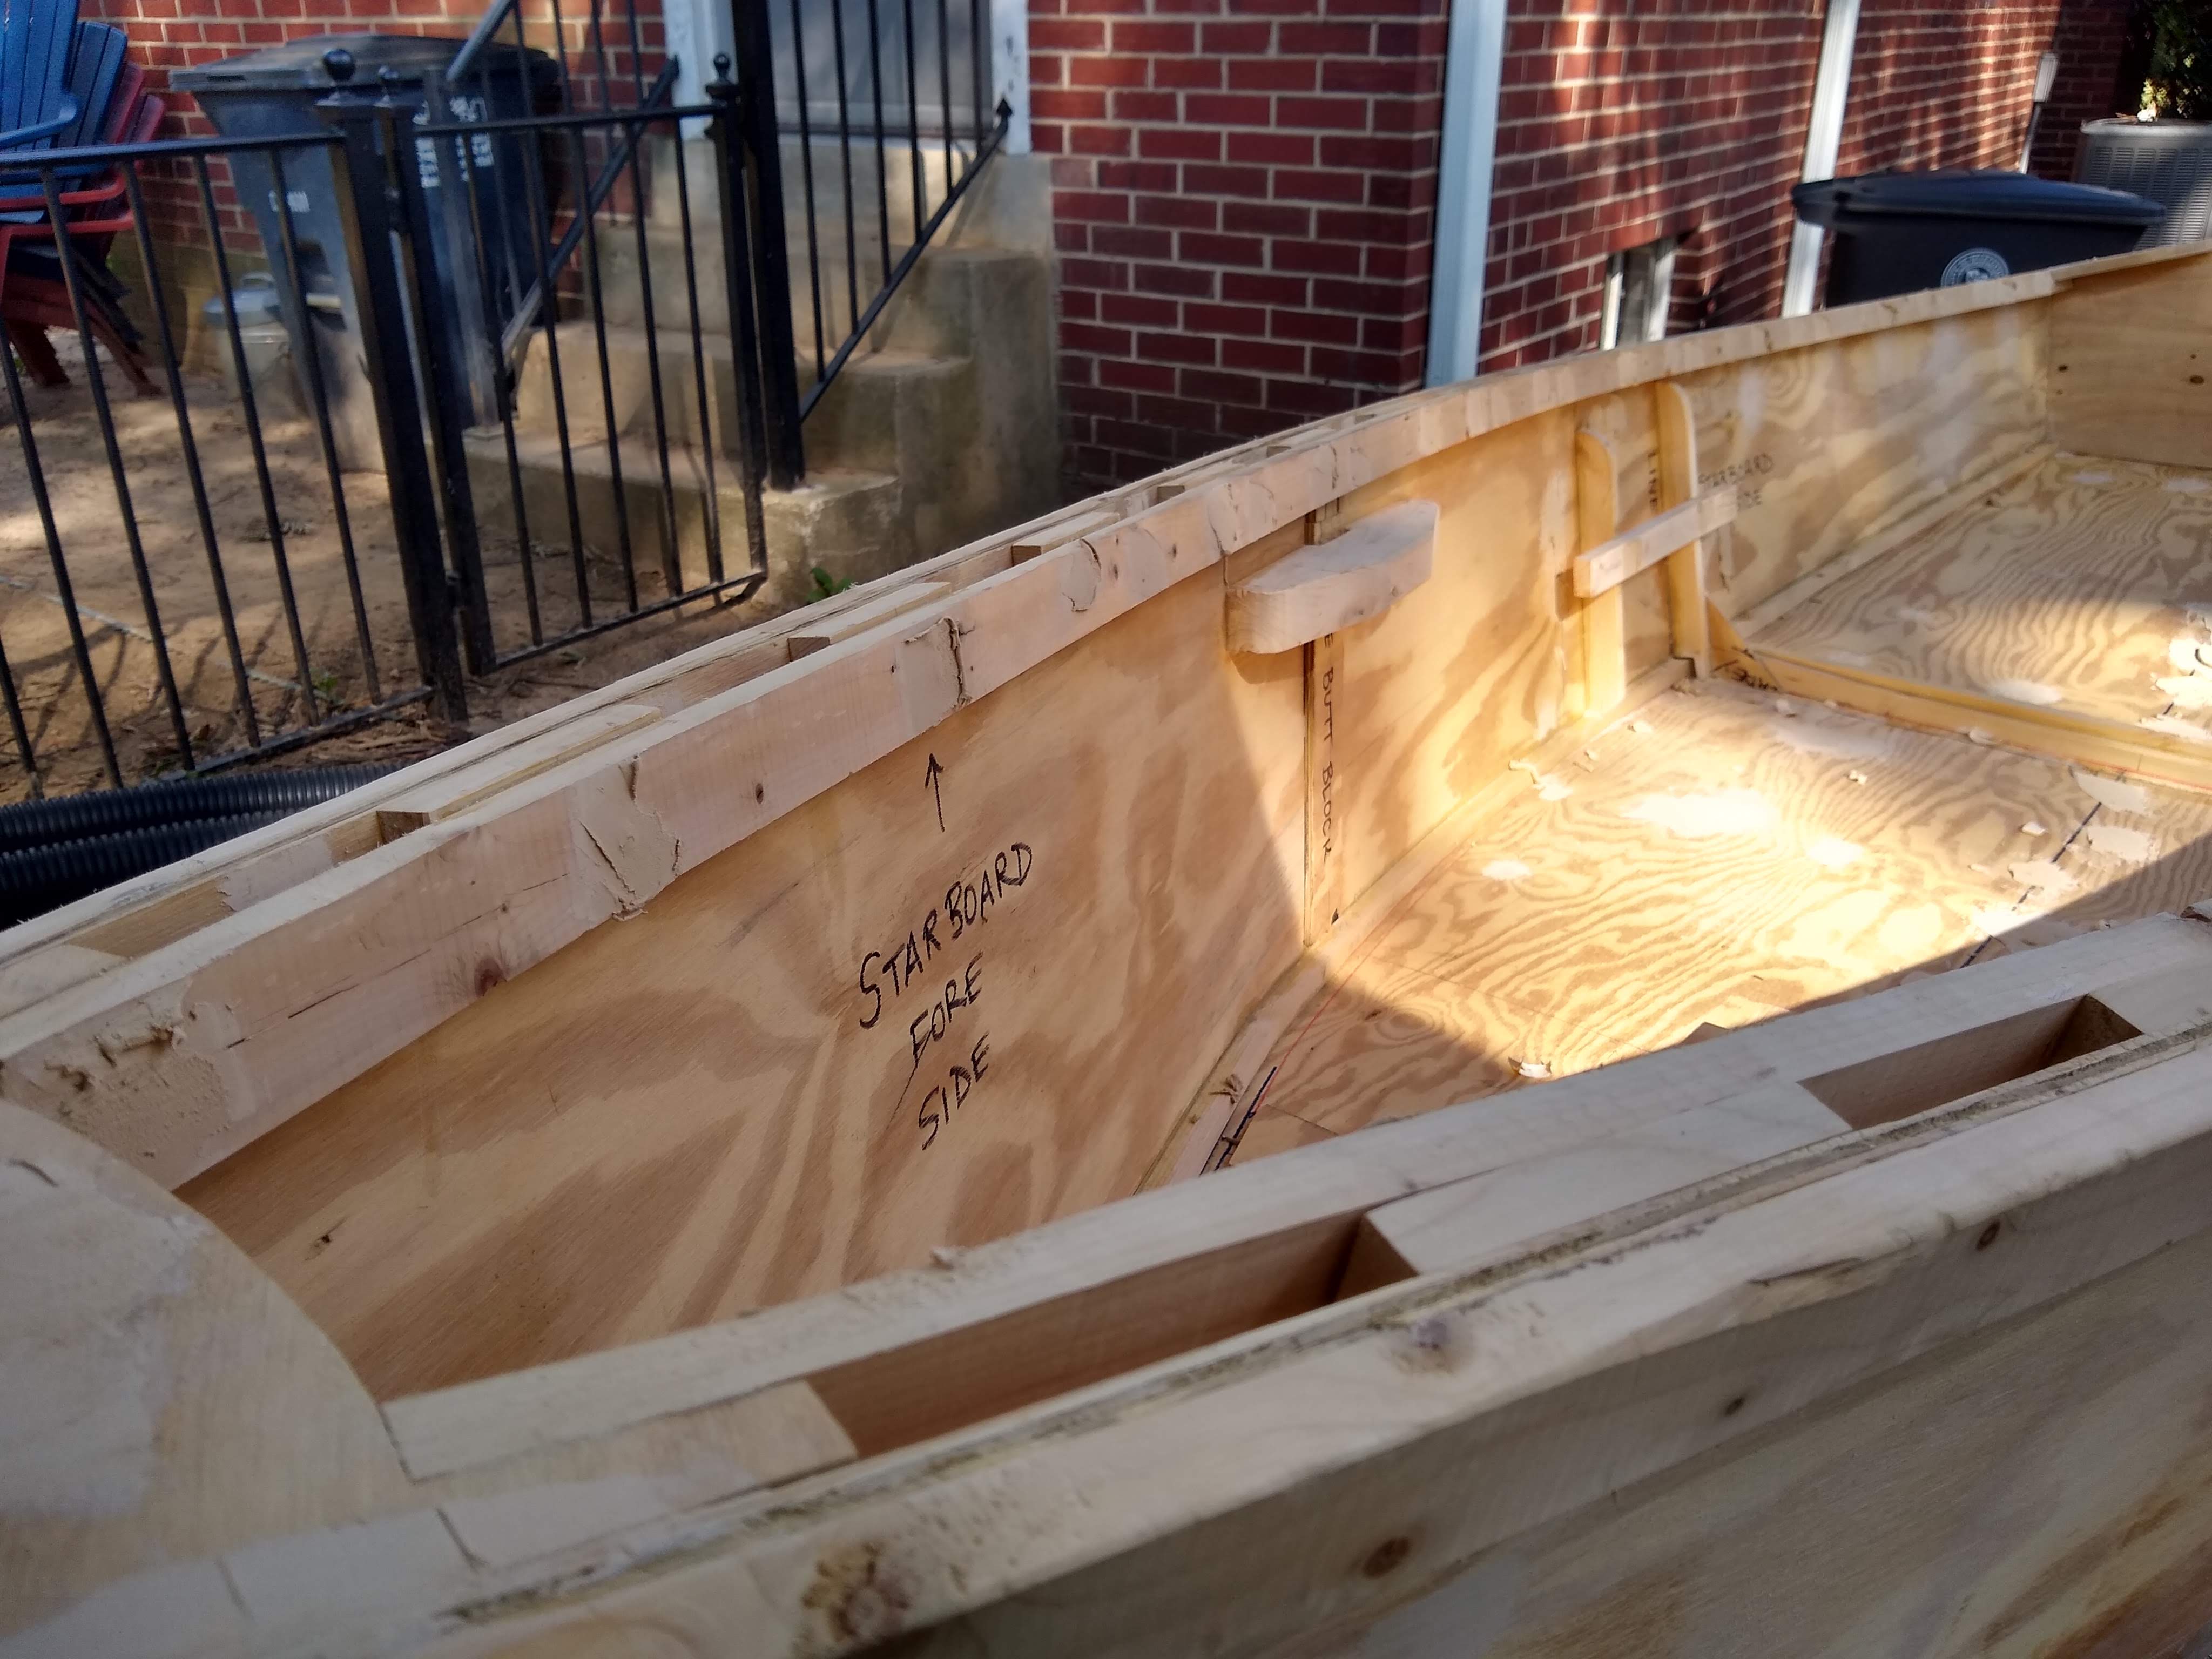
View over the transom makes the boat look short fat stubby

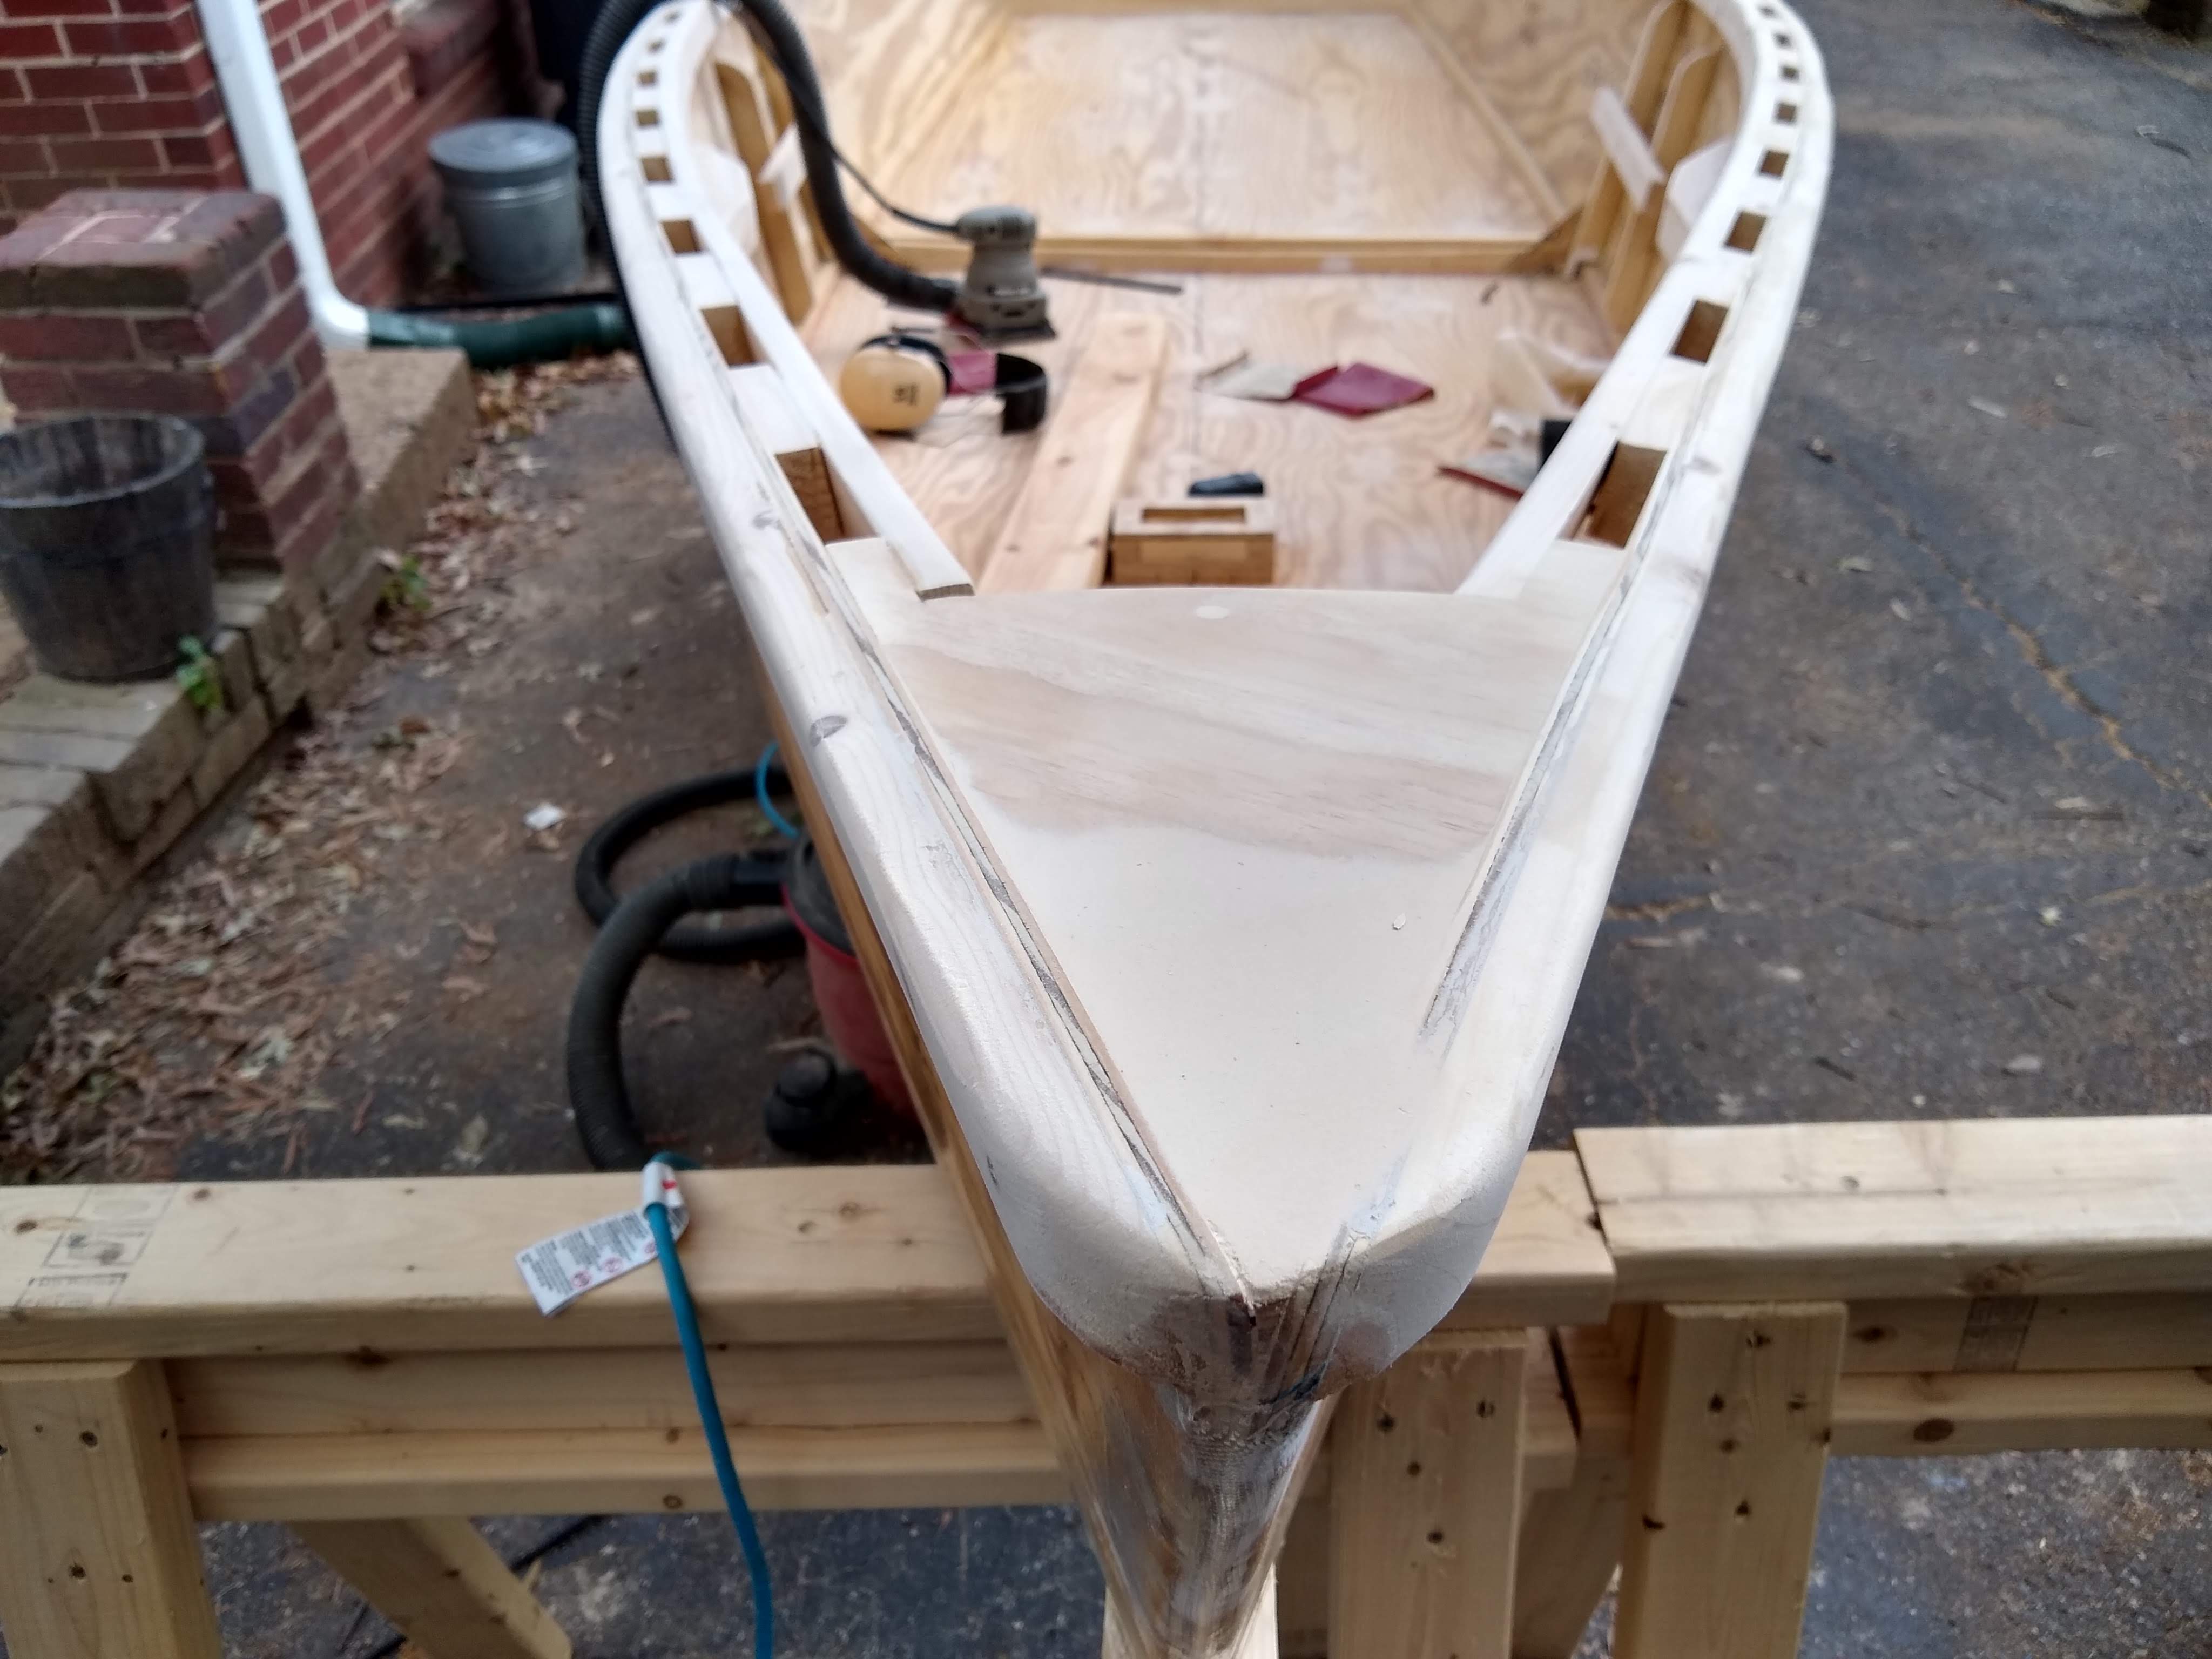
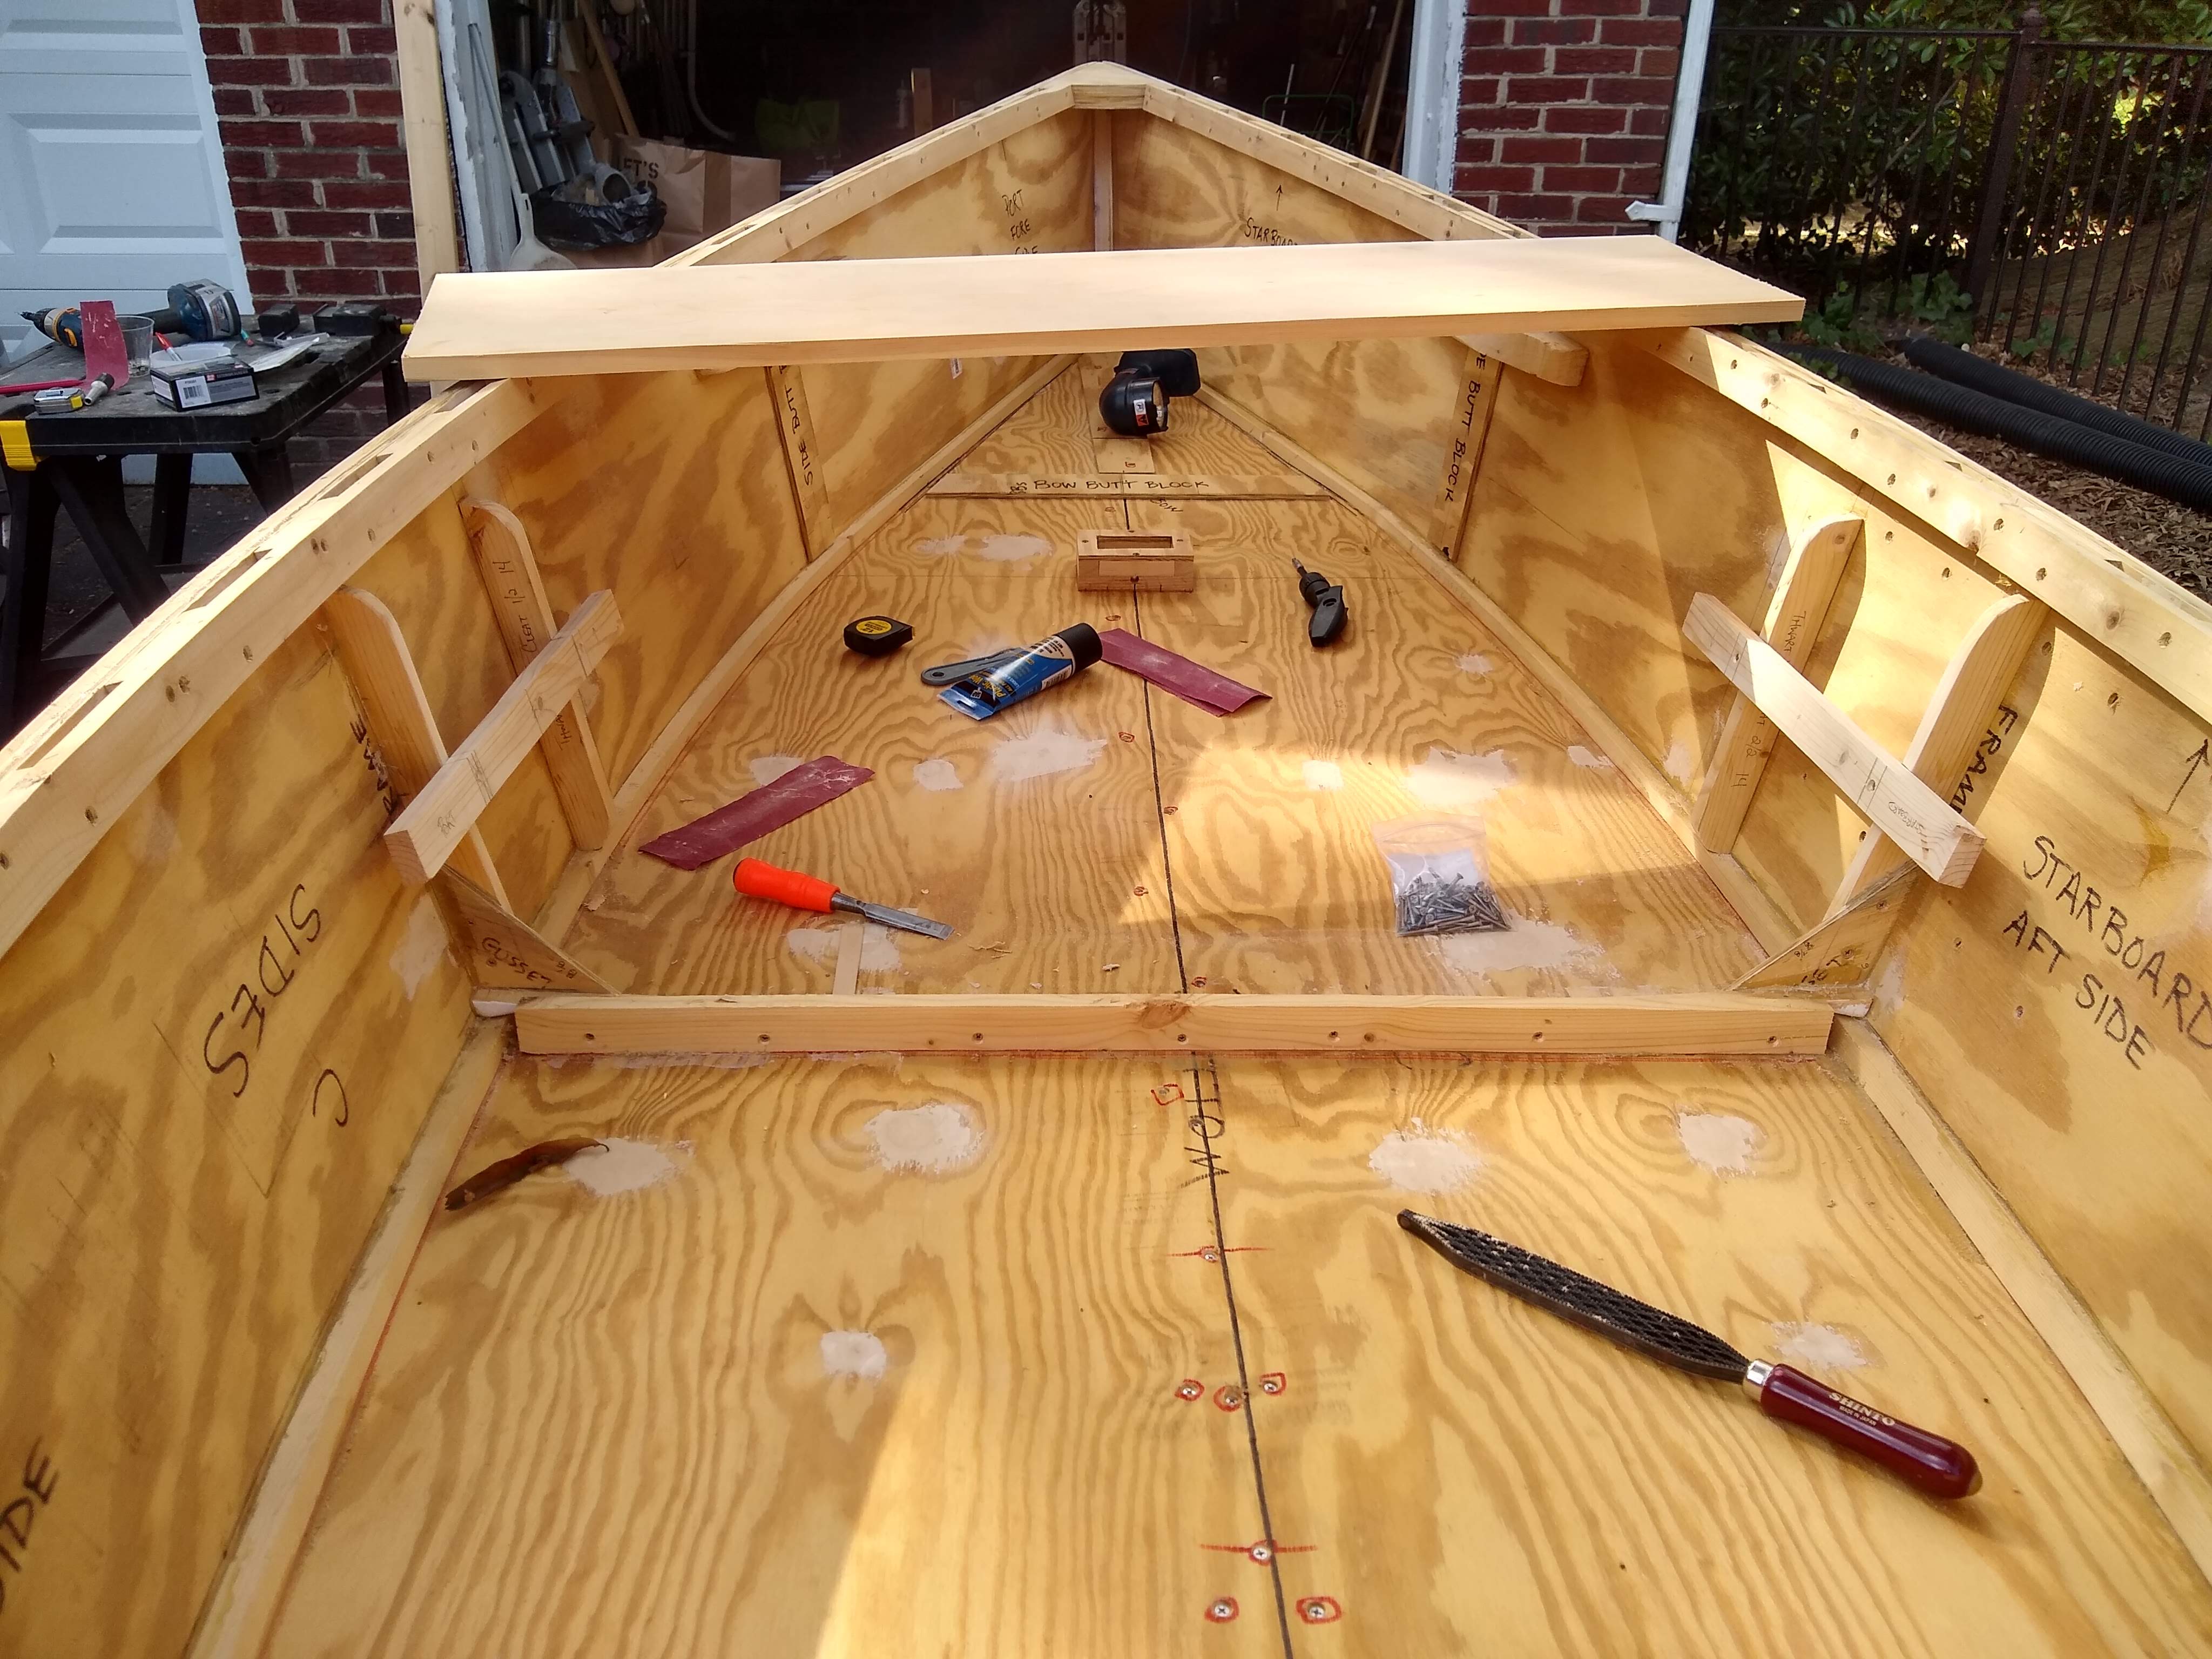
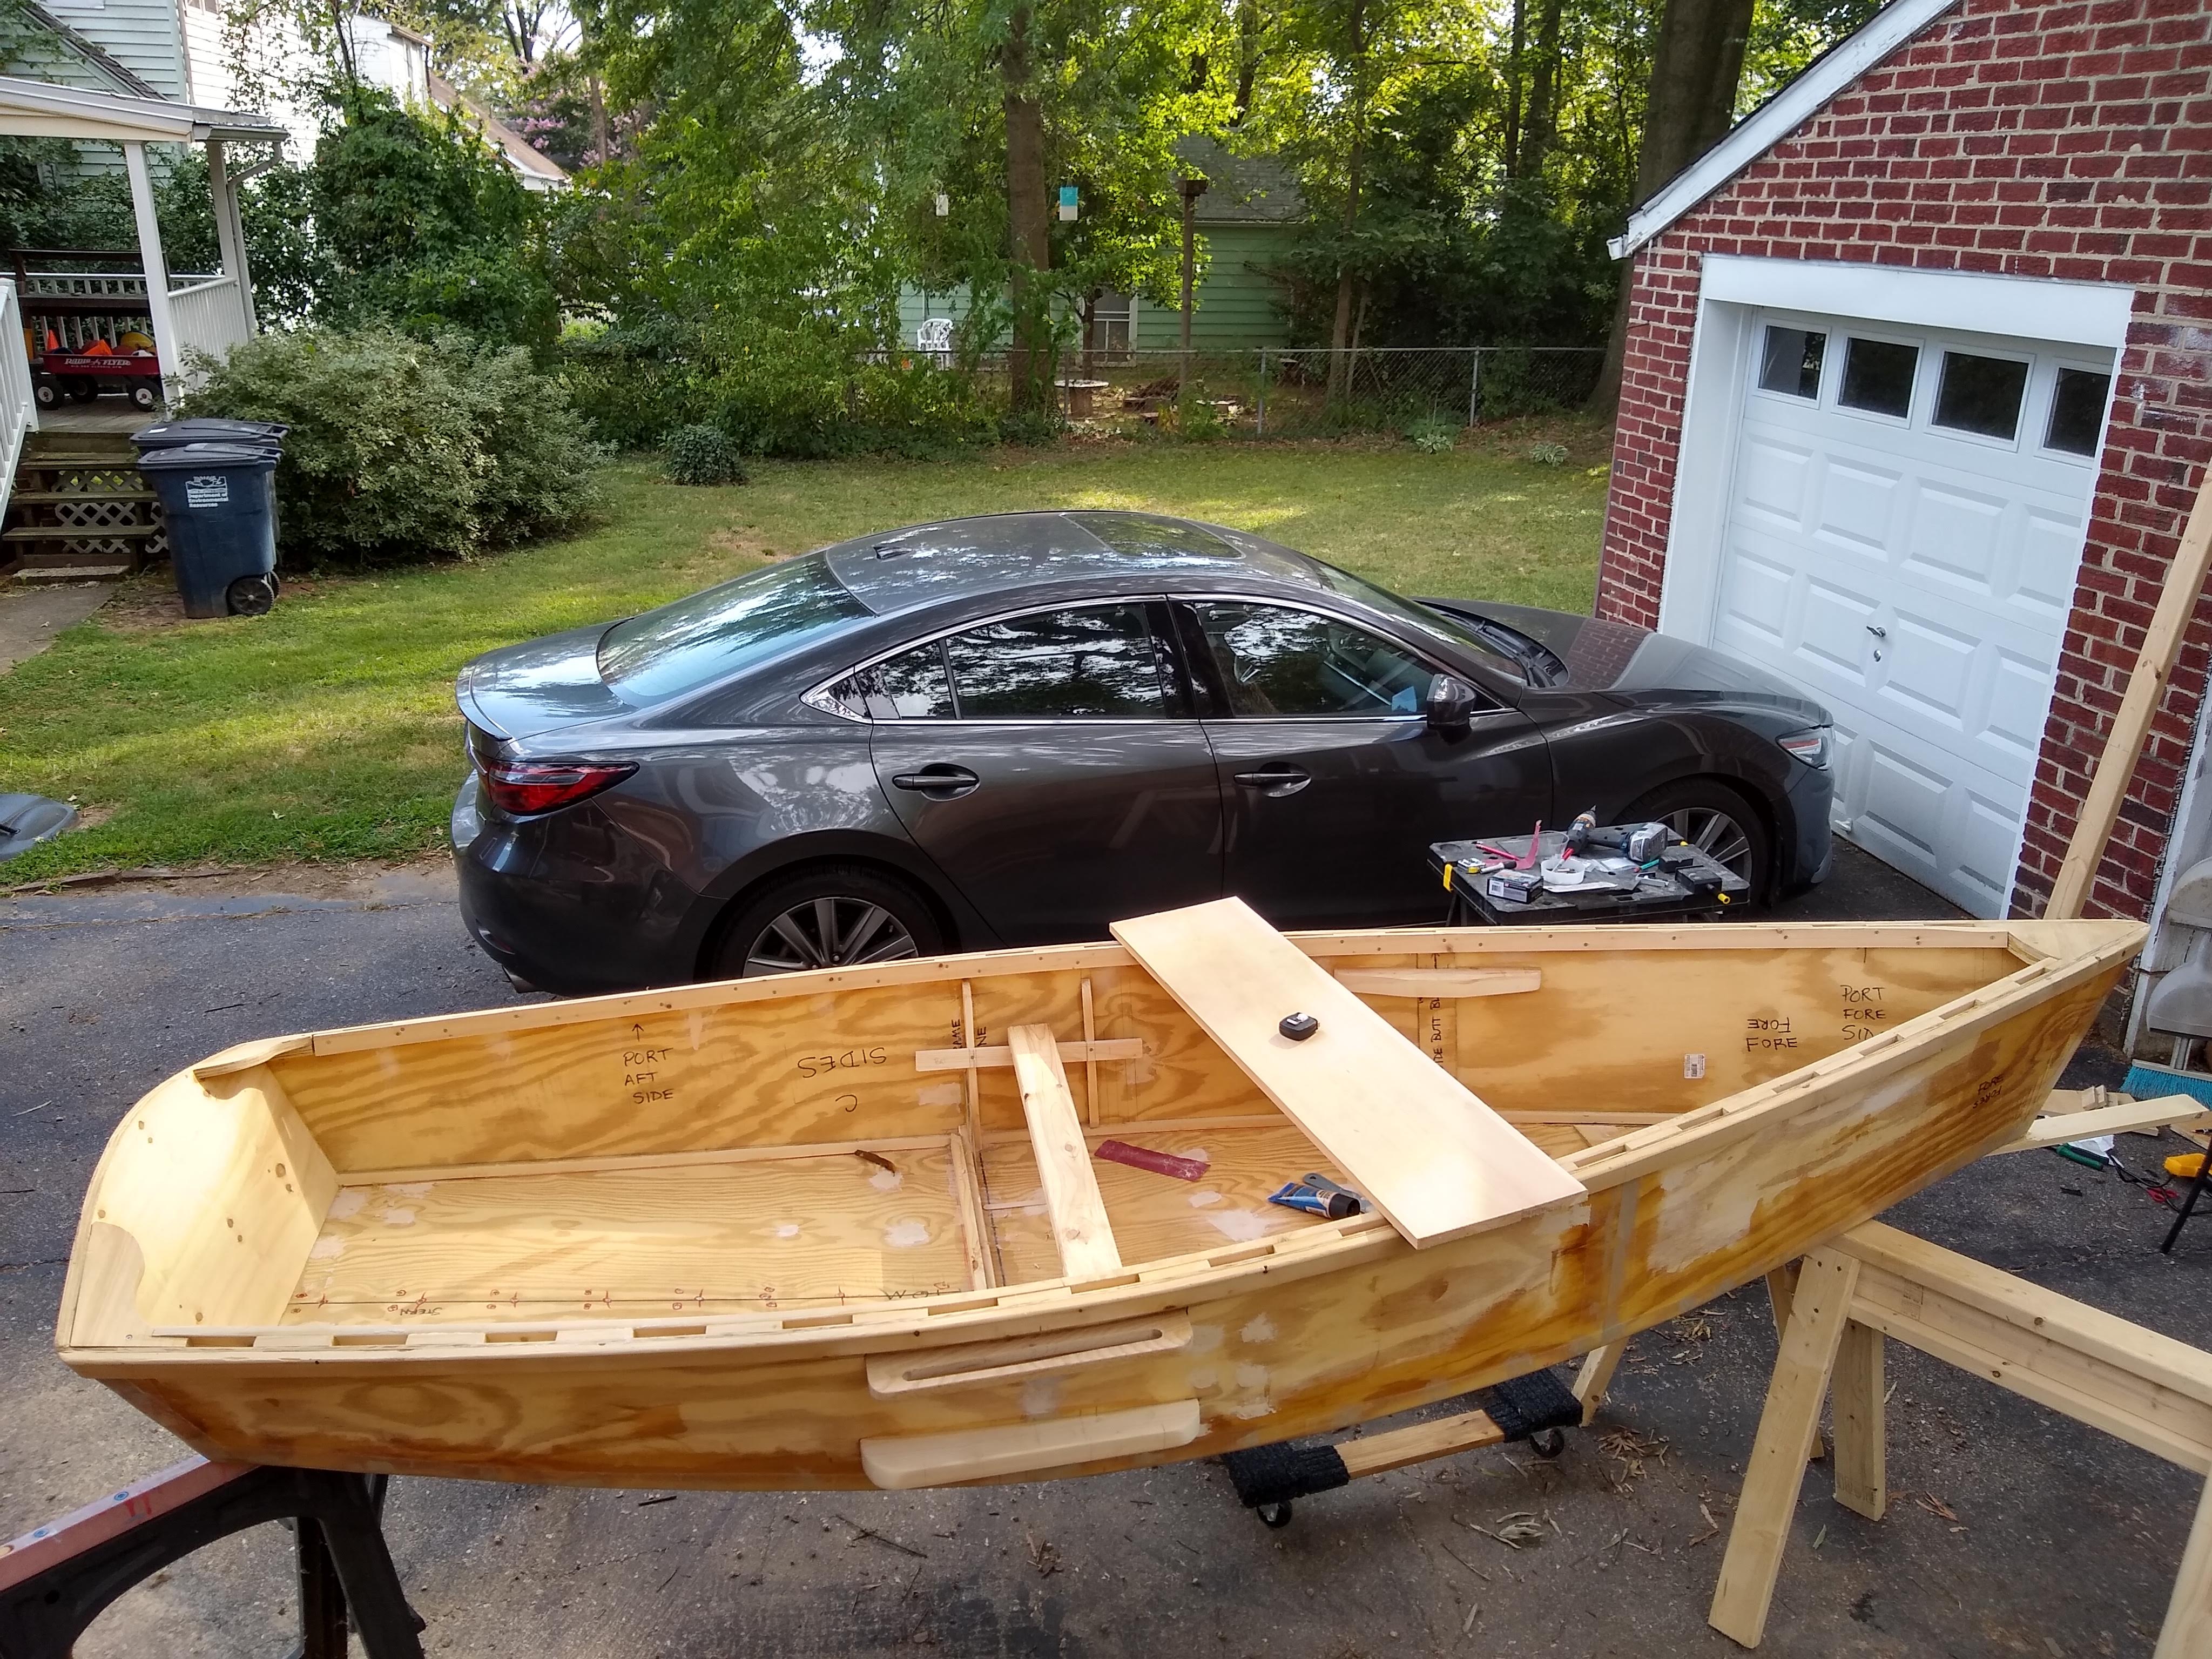
I finished with the 100 grit on the inside. I finished with the 100 grit on everything except the transom on the outside.
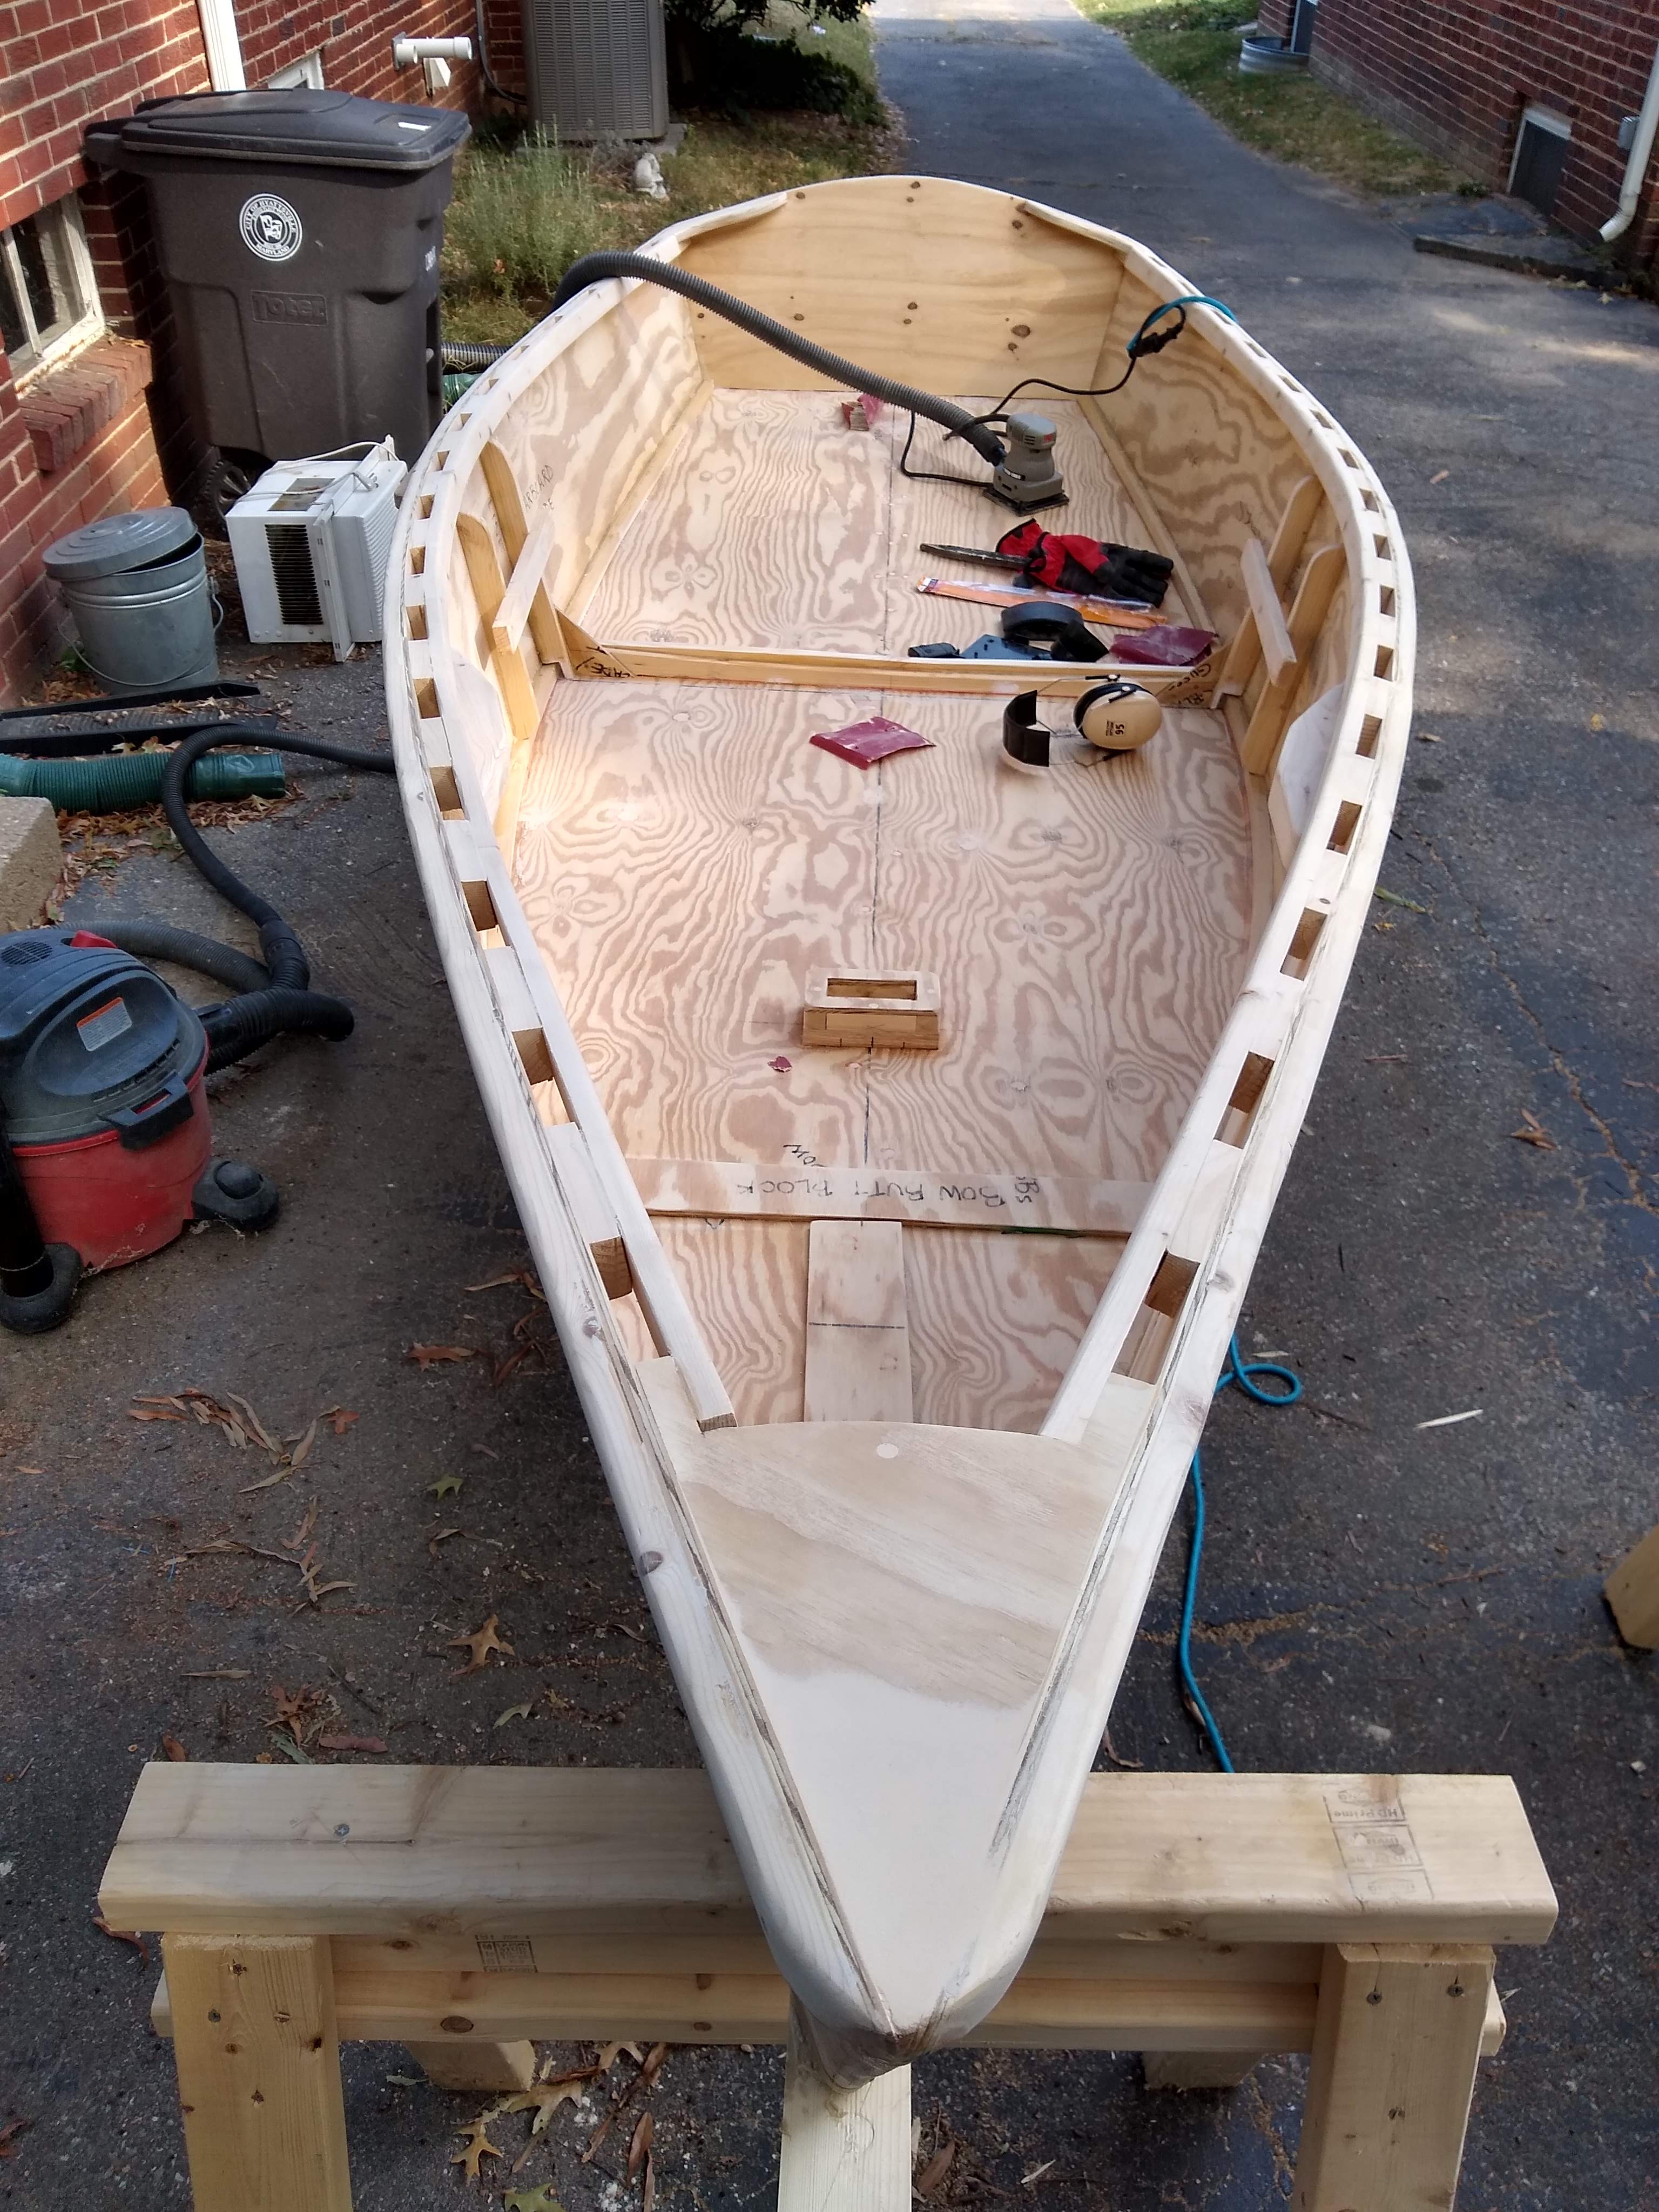
View over the bow makes the boat look long and skinny

I’ve decided to leave the bottom, both inside and outside, at 100 grit. I’ll further do the sides, again both inside and outside, with 150 grit. And I’ll finish off the wales, breast hook, and quarter knees with 220, since those’ll all be surfaces that I will grab, or hypothetical passengers will grab, from time to time.
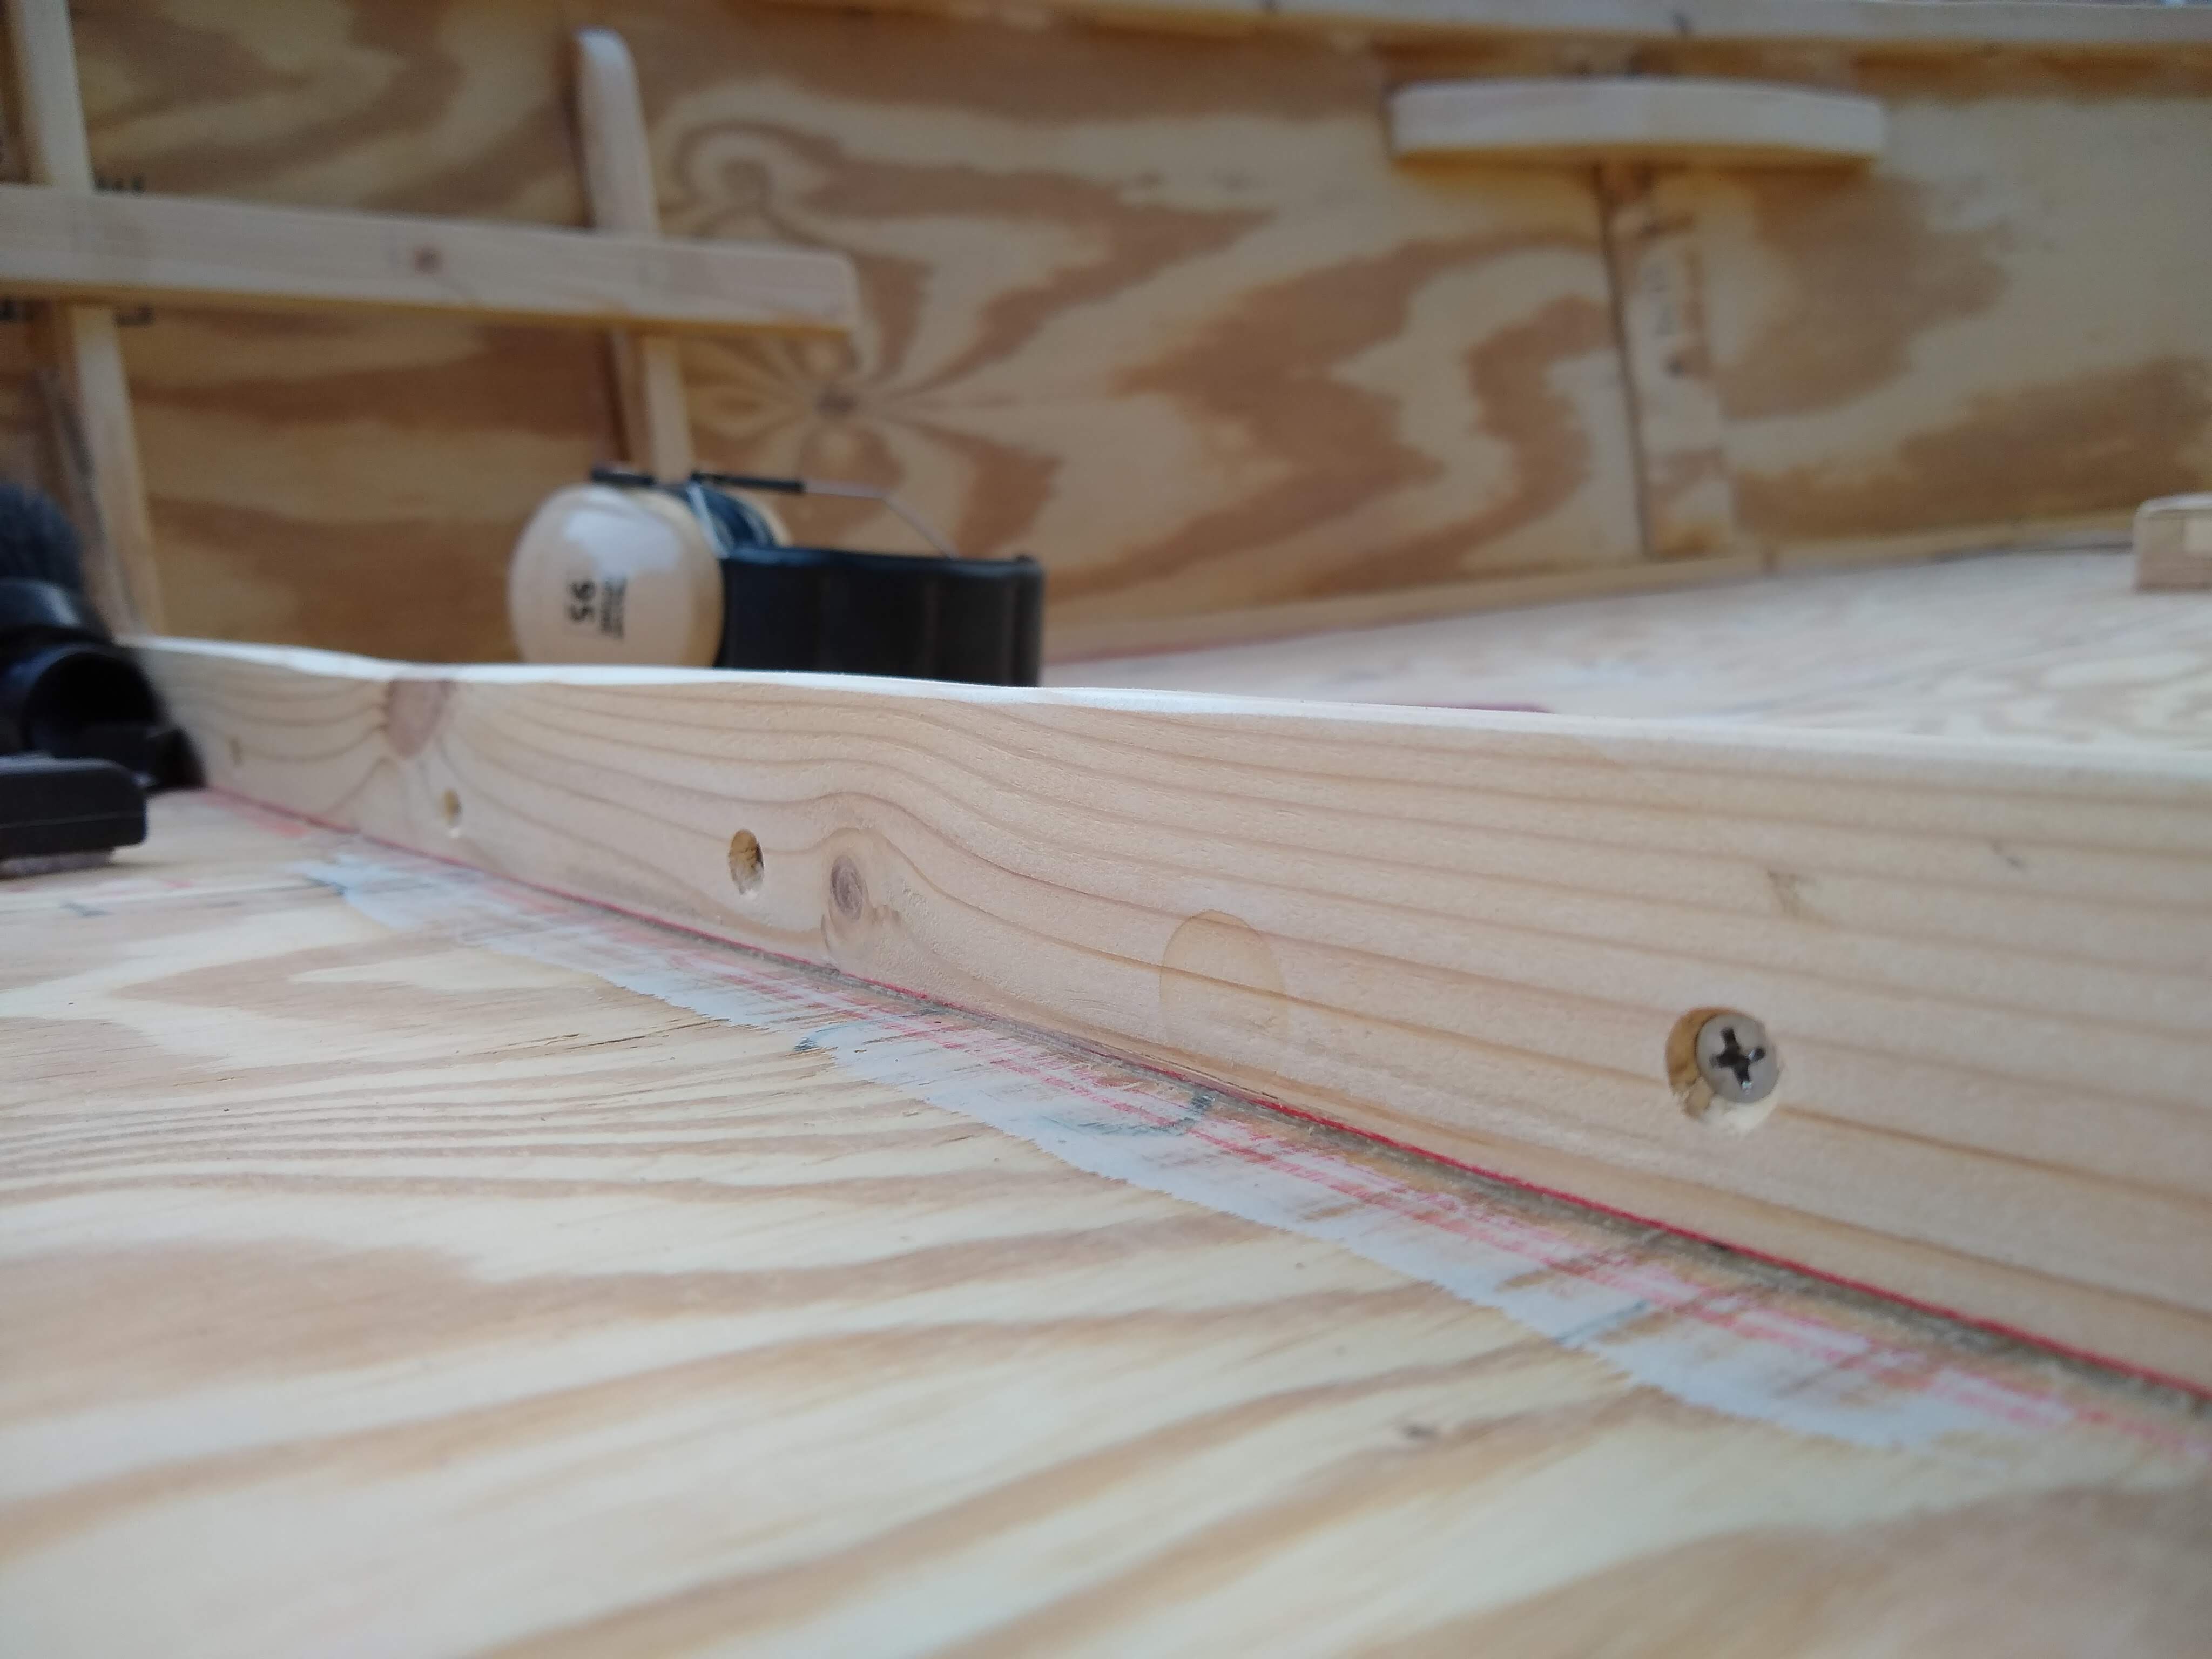
Whoops, unfilled screw holes

Oh, I also discovered, in the course of sanding the inside bottom, a row of screw holes that I’d missed with the wood filler. So I slapped on some DAP on those before flipping the boat over and starting on the outside hull.
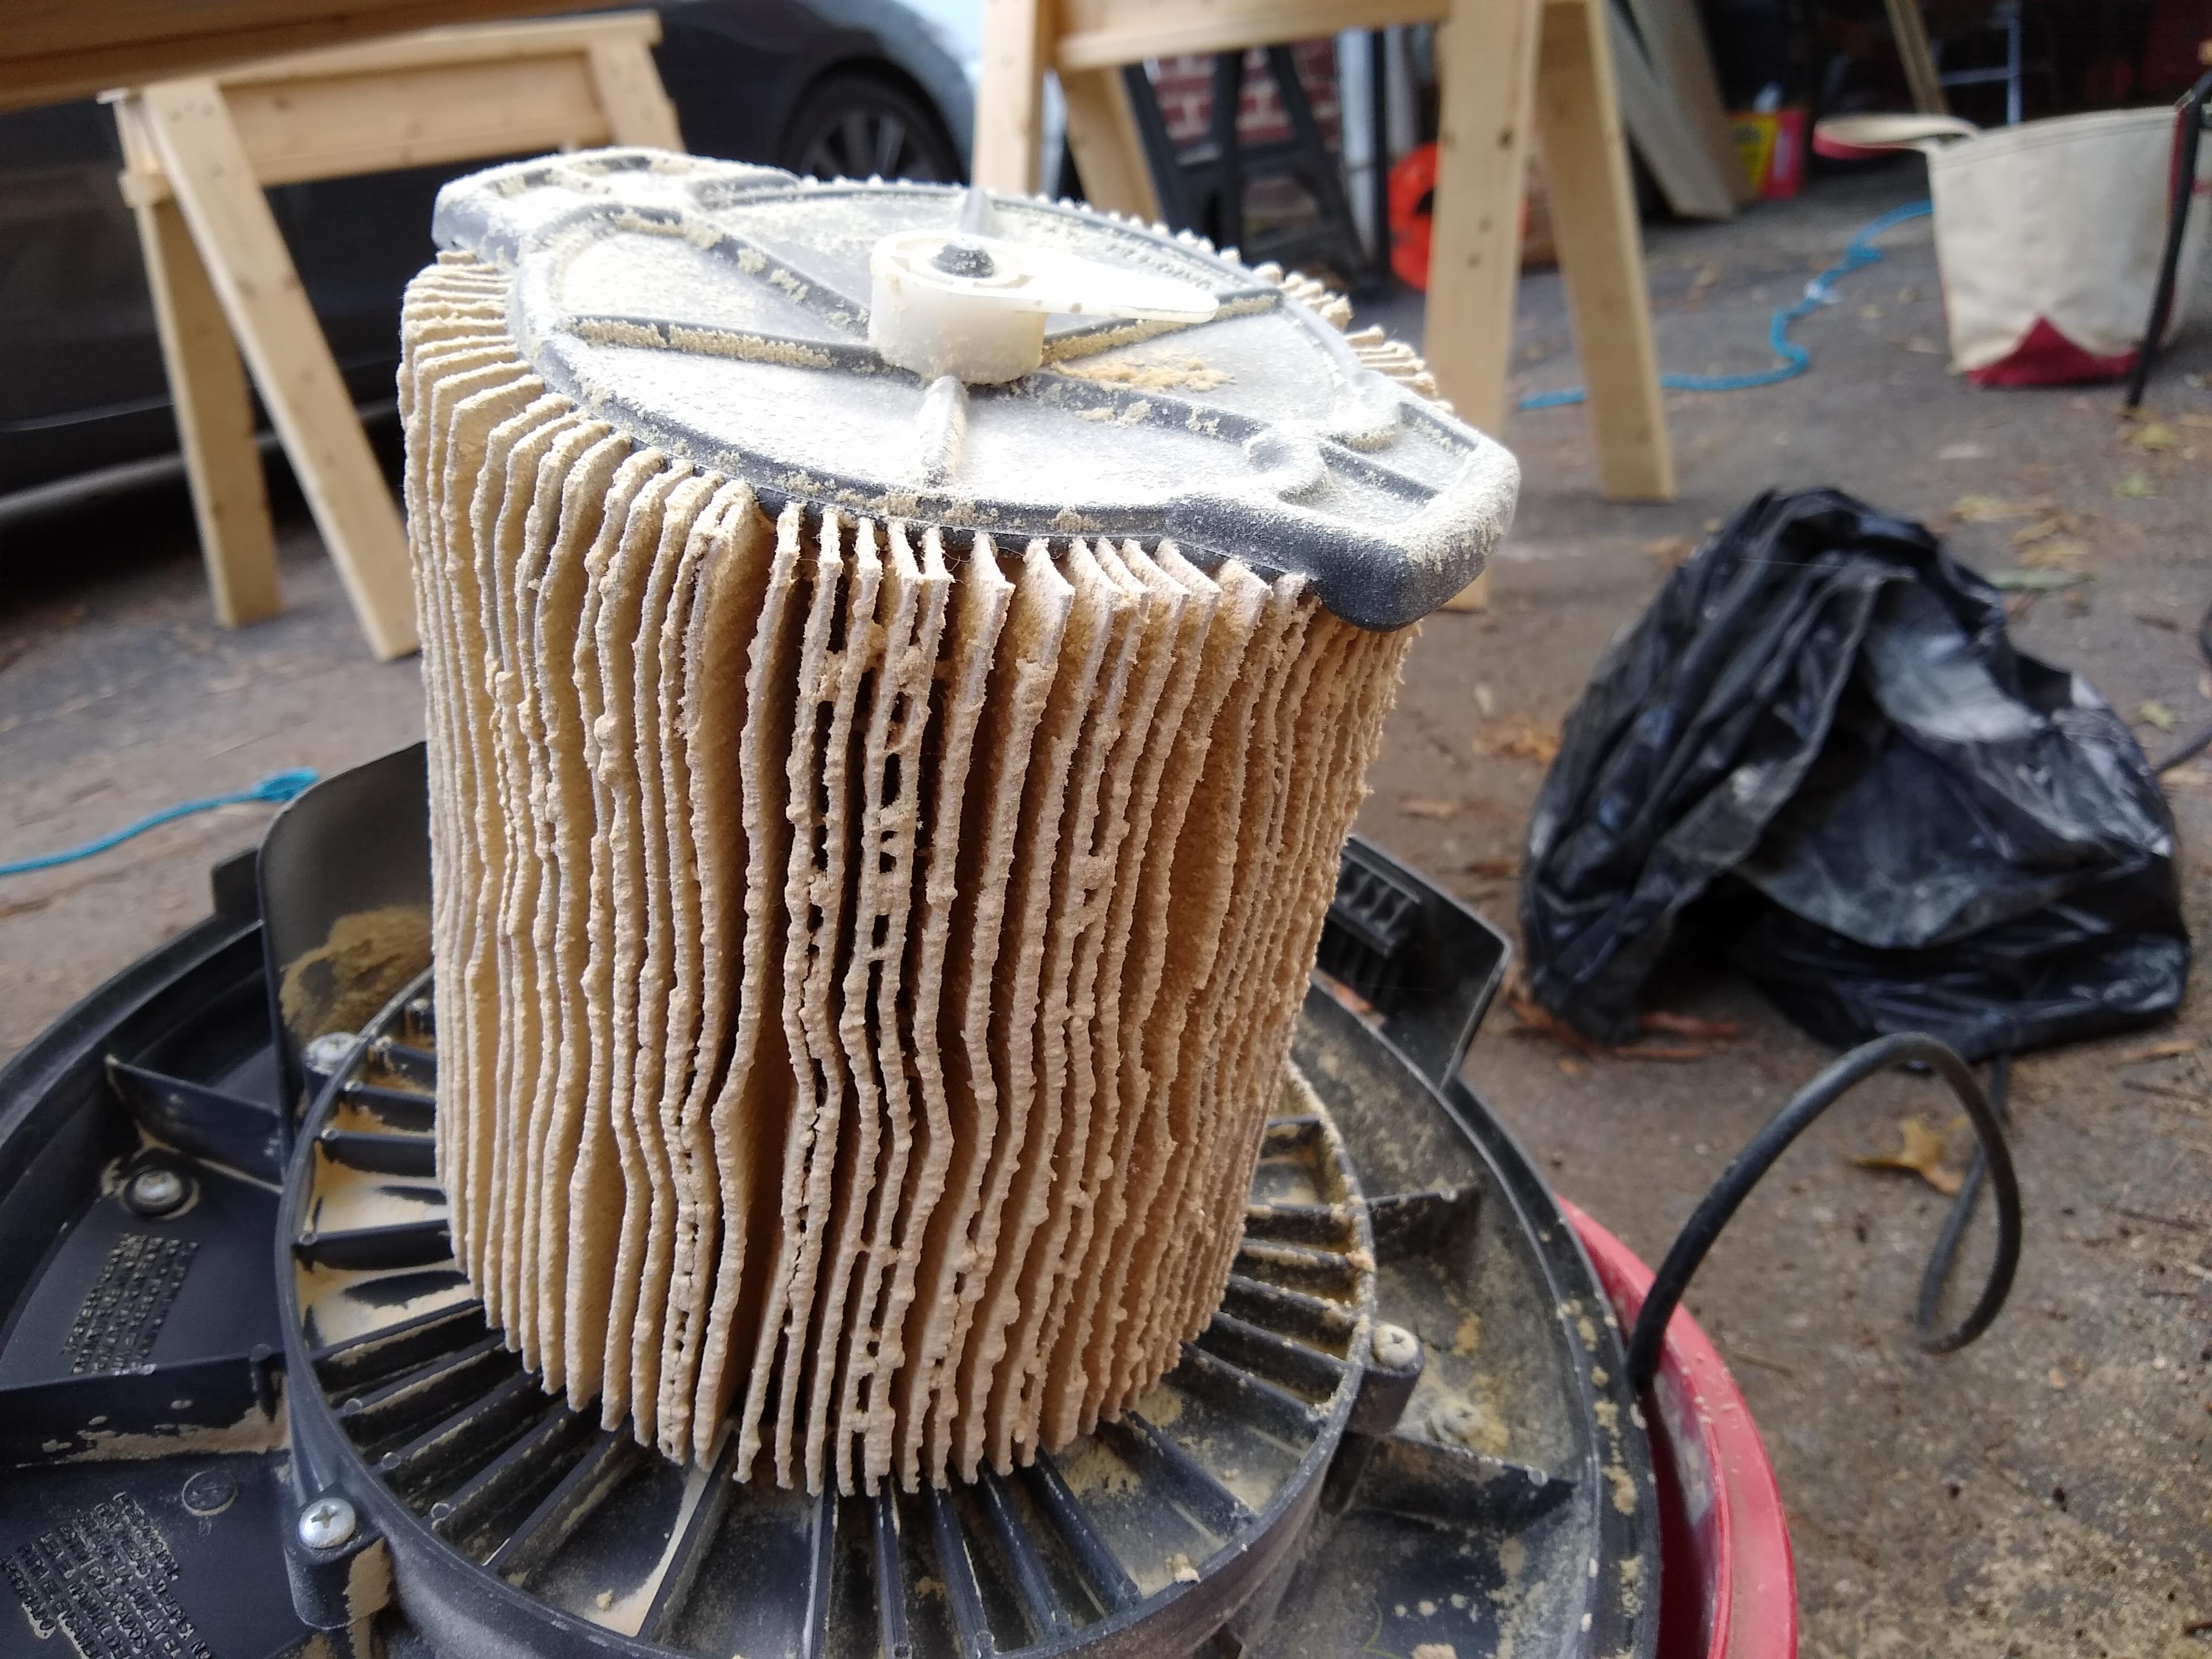
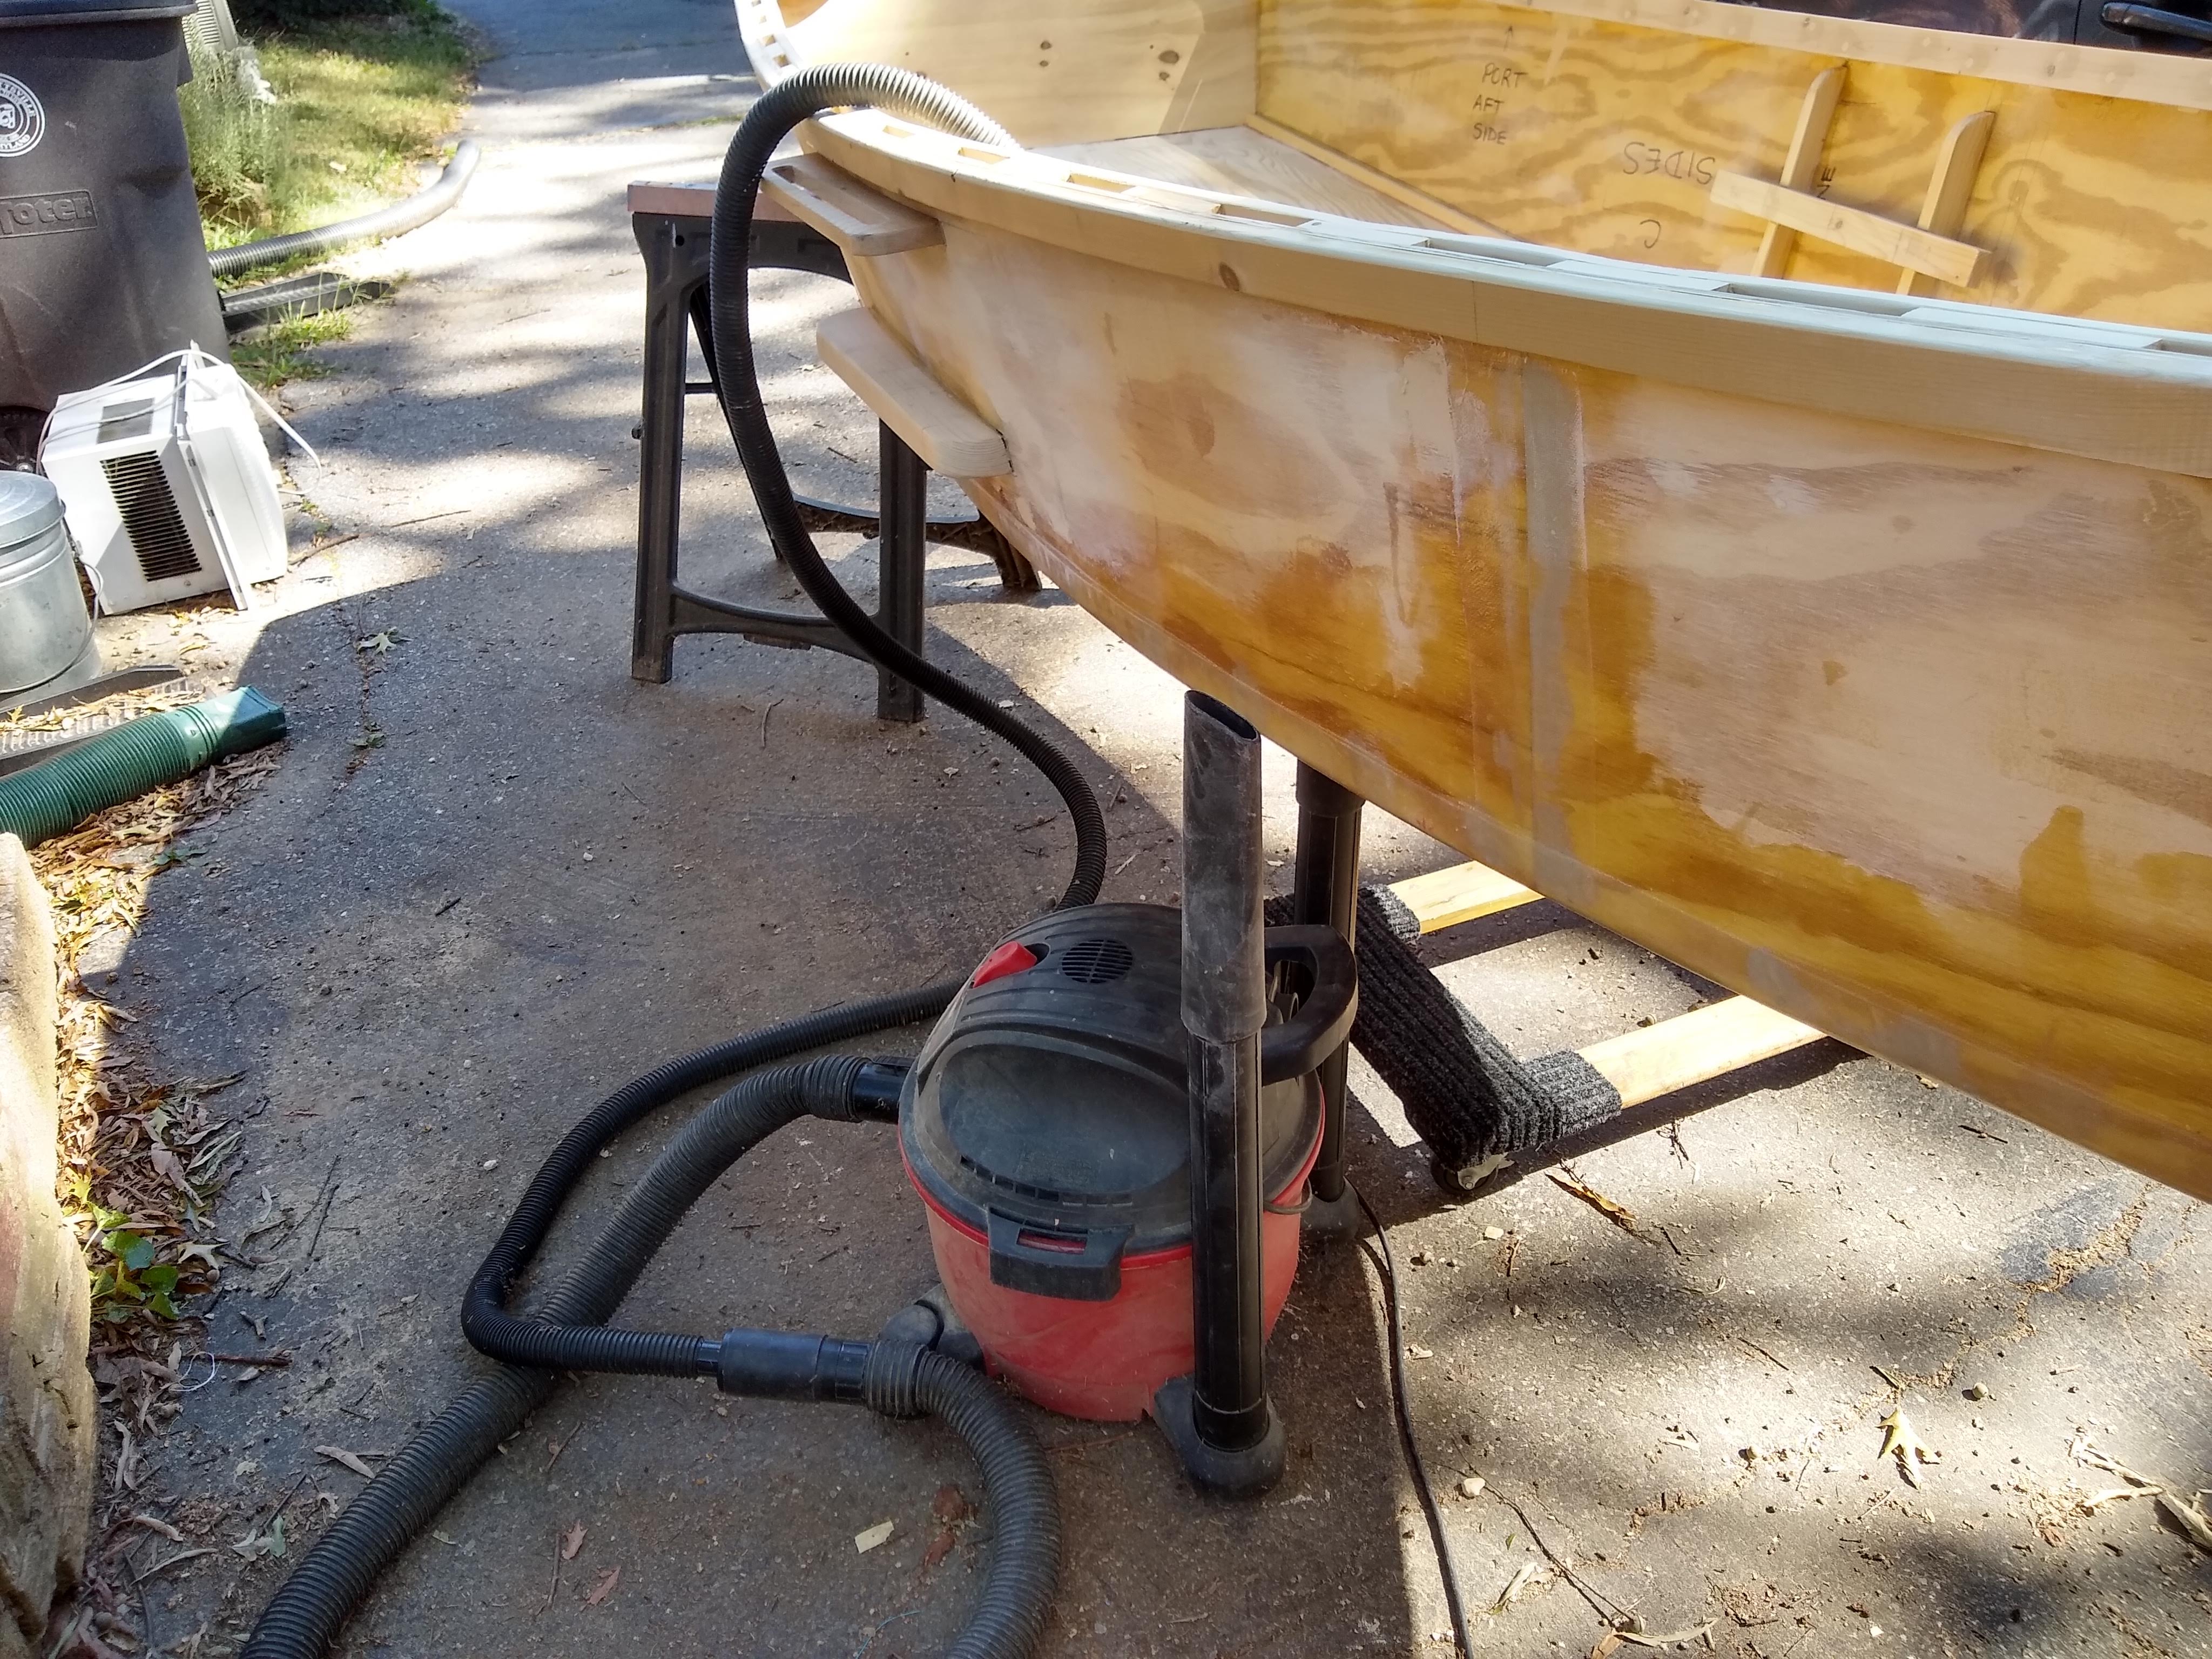
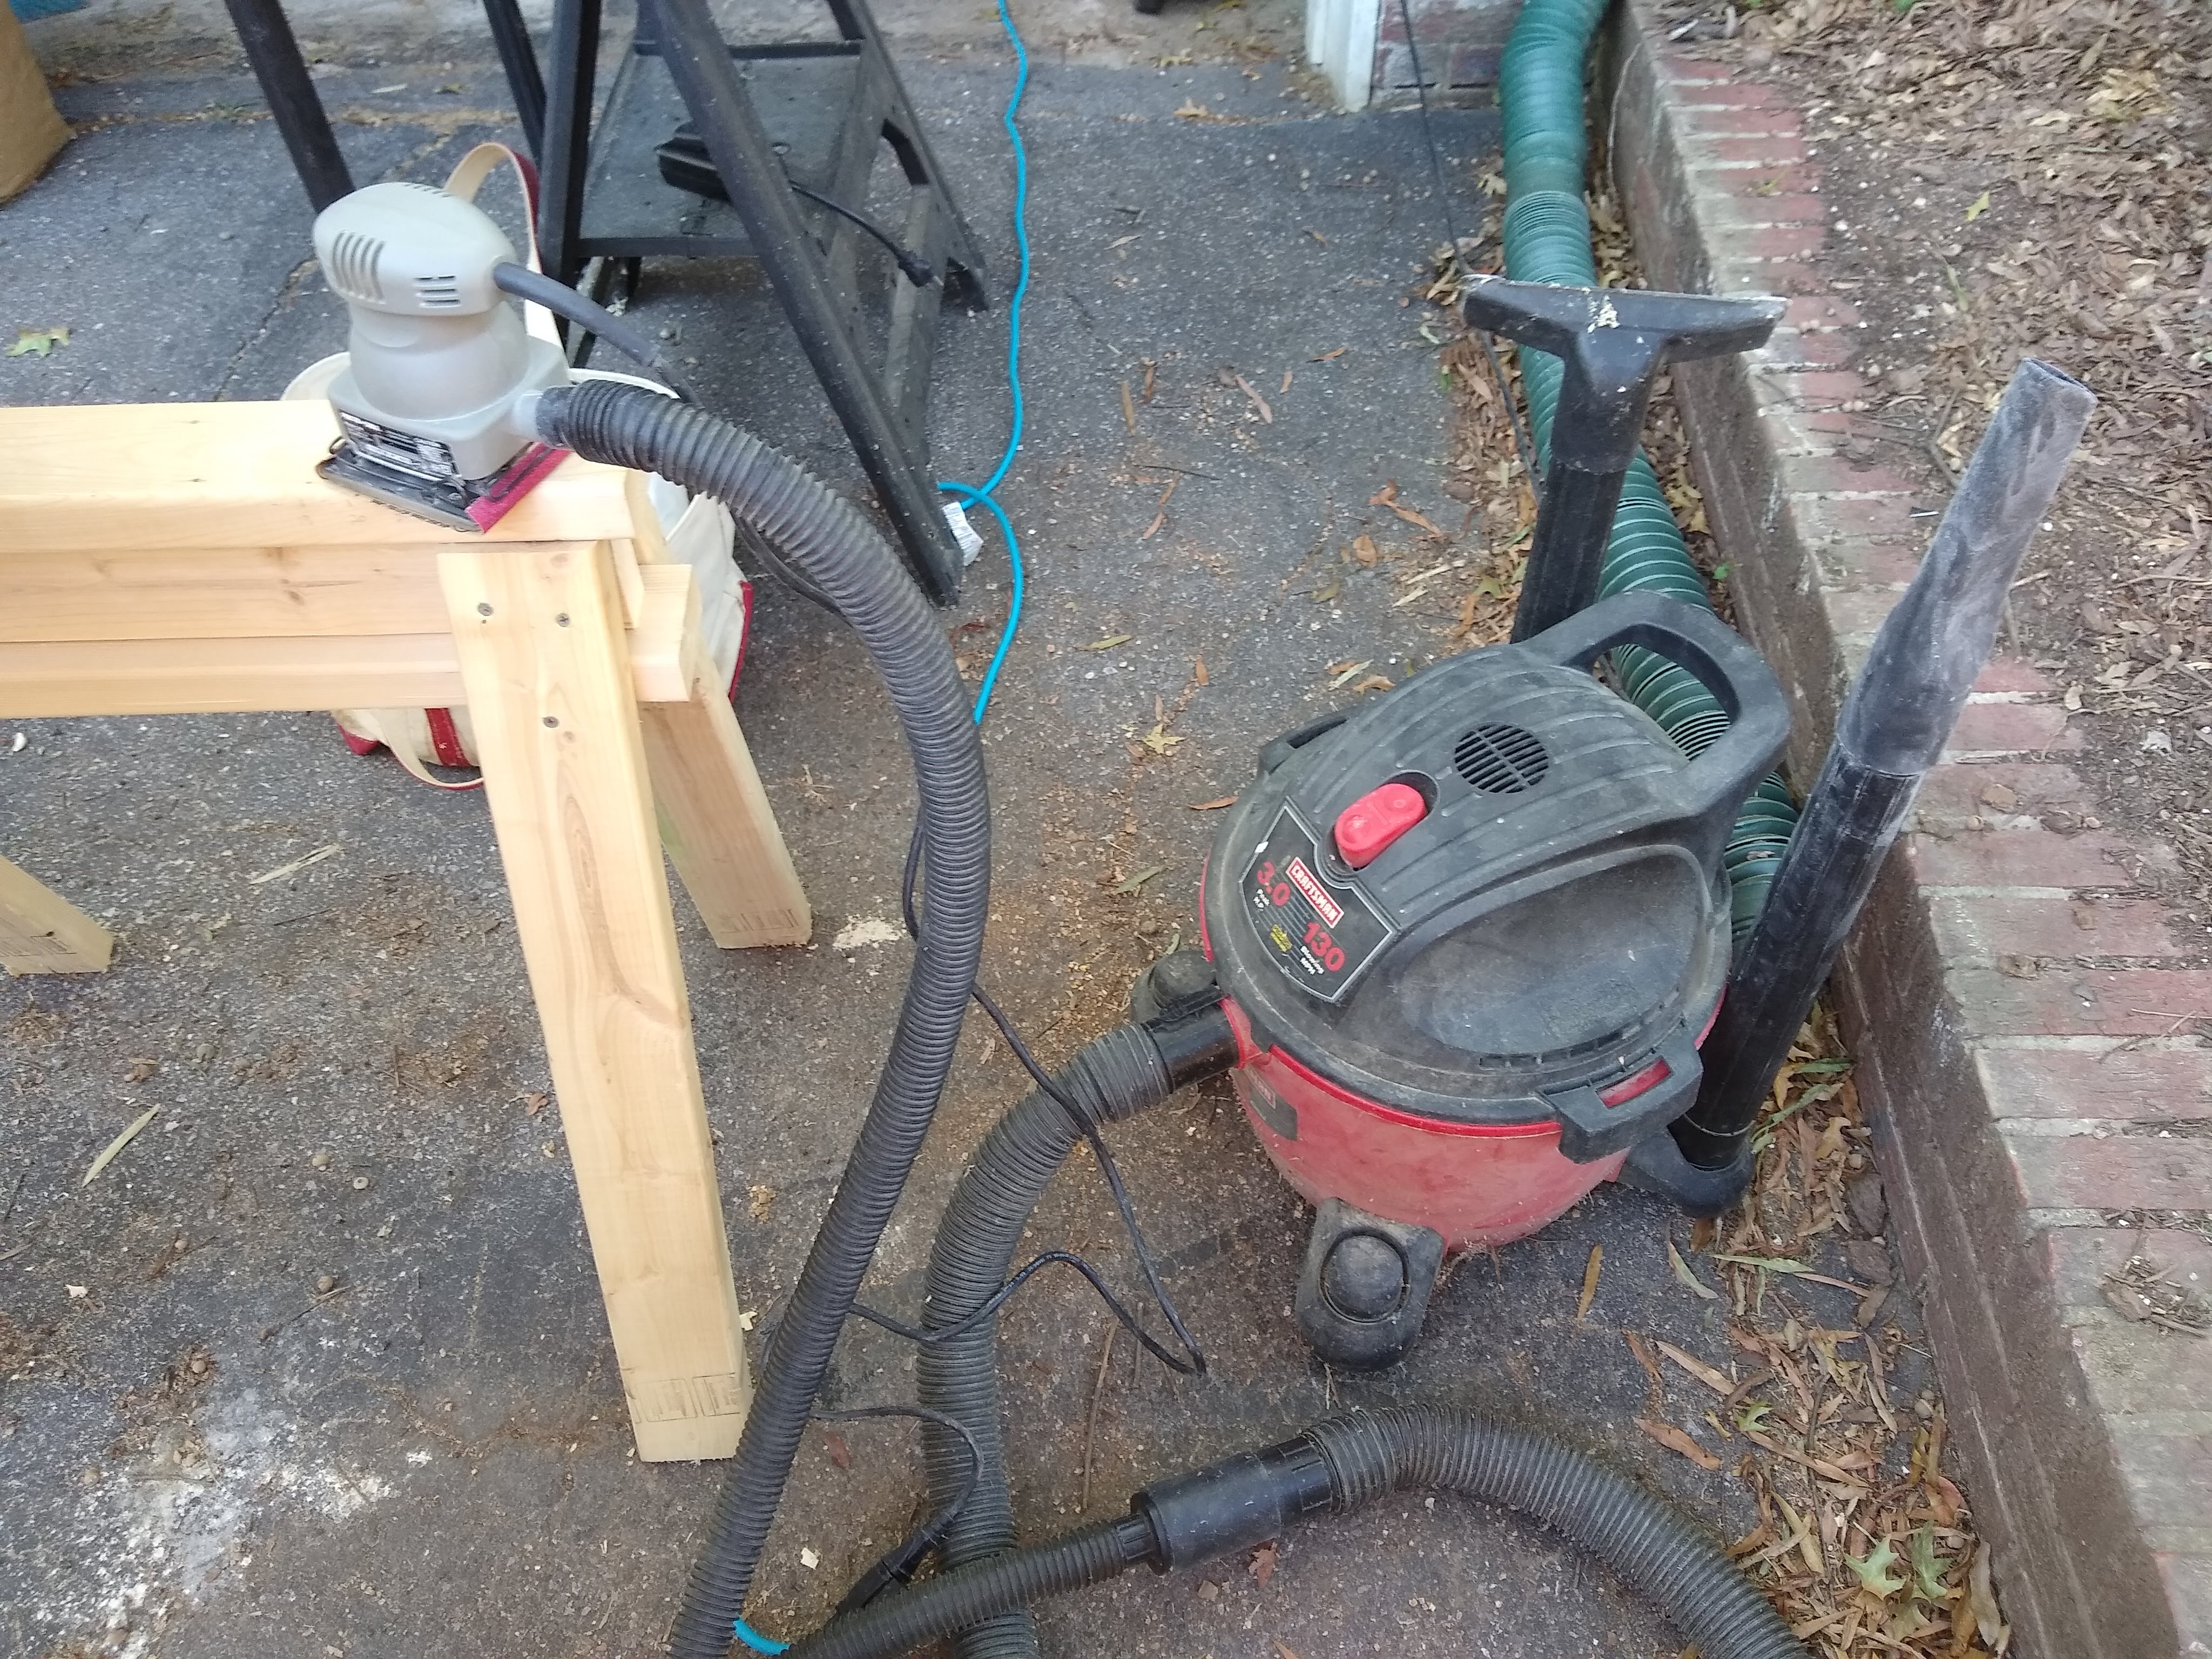
Shop vac filter gets filled with sanding dust

I finally started sanding the glassed chines on the outside. I’d been worrying over doing that for weeks and weeks. The 100 grit on the pad sander didn’t seem to cut through it as drastically as I had been worrying that it would do. So I was able to comfortably cut down the grid pattern of the tape, while holding the sander parallel to either the side or the bottom, without cutting through the rounded corner that seals the seam which is the reason for glassing the chines in the first place. It’ll look a bit rough, in that it’ll be obvious that the chines are glassed even after it’s painted, but it’s a good compromise, I think.
Week 40: Sanding, Sanding, Sanding

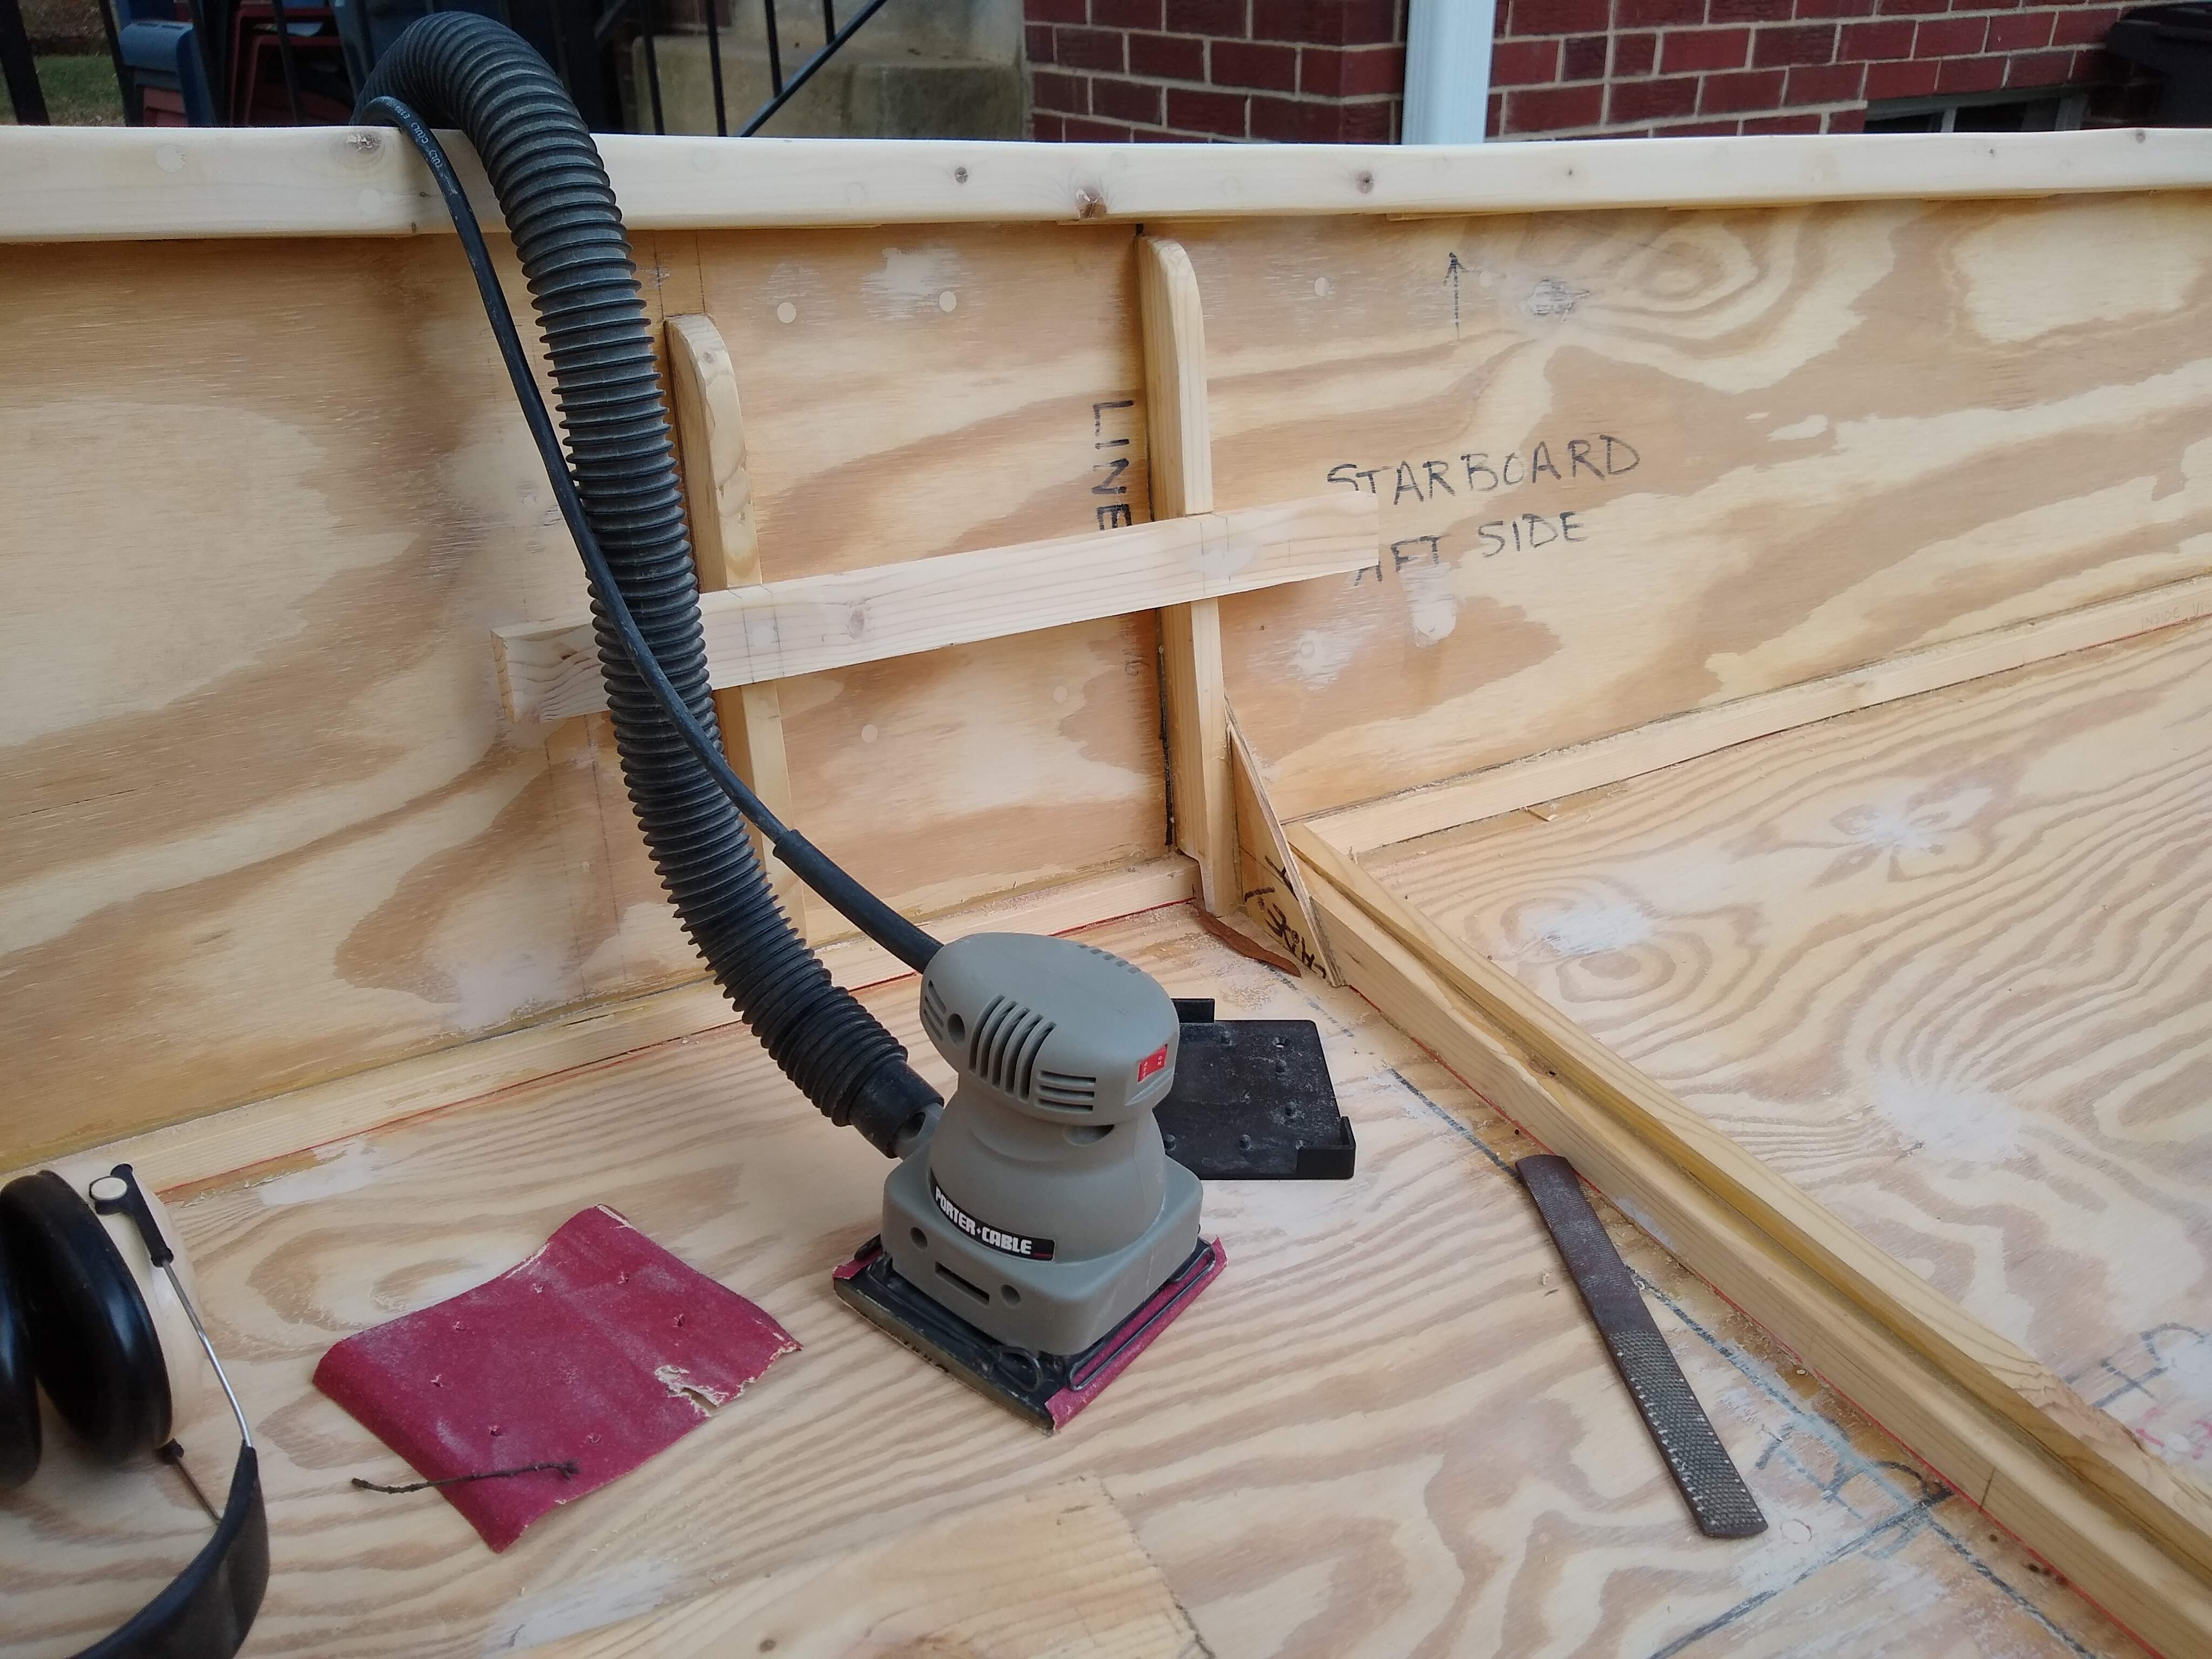
Spent 2 more hours sanding with the 1/4-sheet pad sander.

Completely finished with the 100-grit sandpaper on the gunwales and inwales, as well as the starboard side hull.

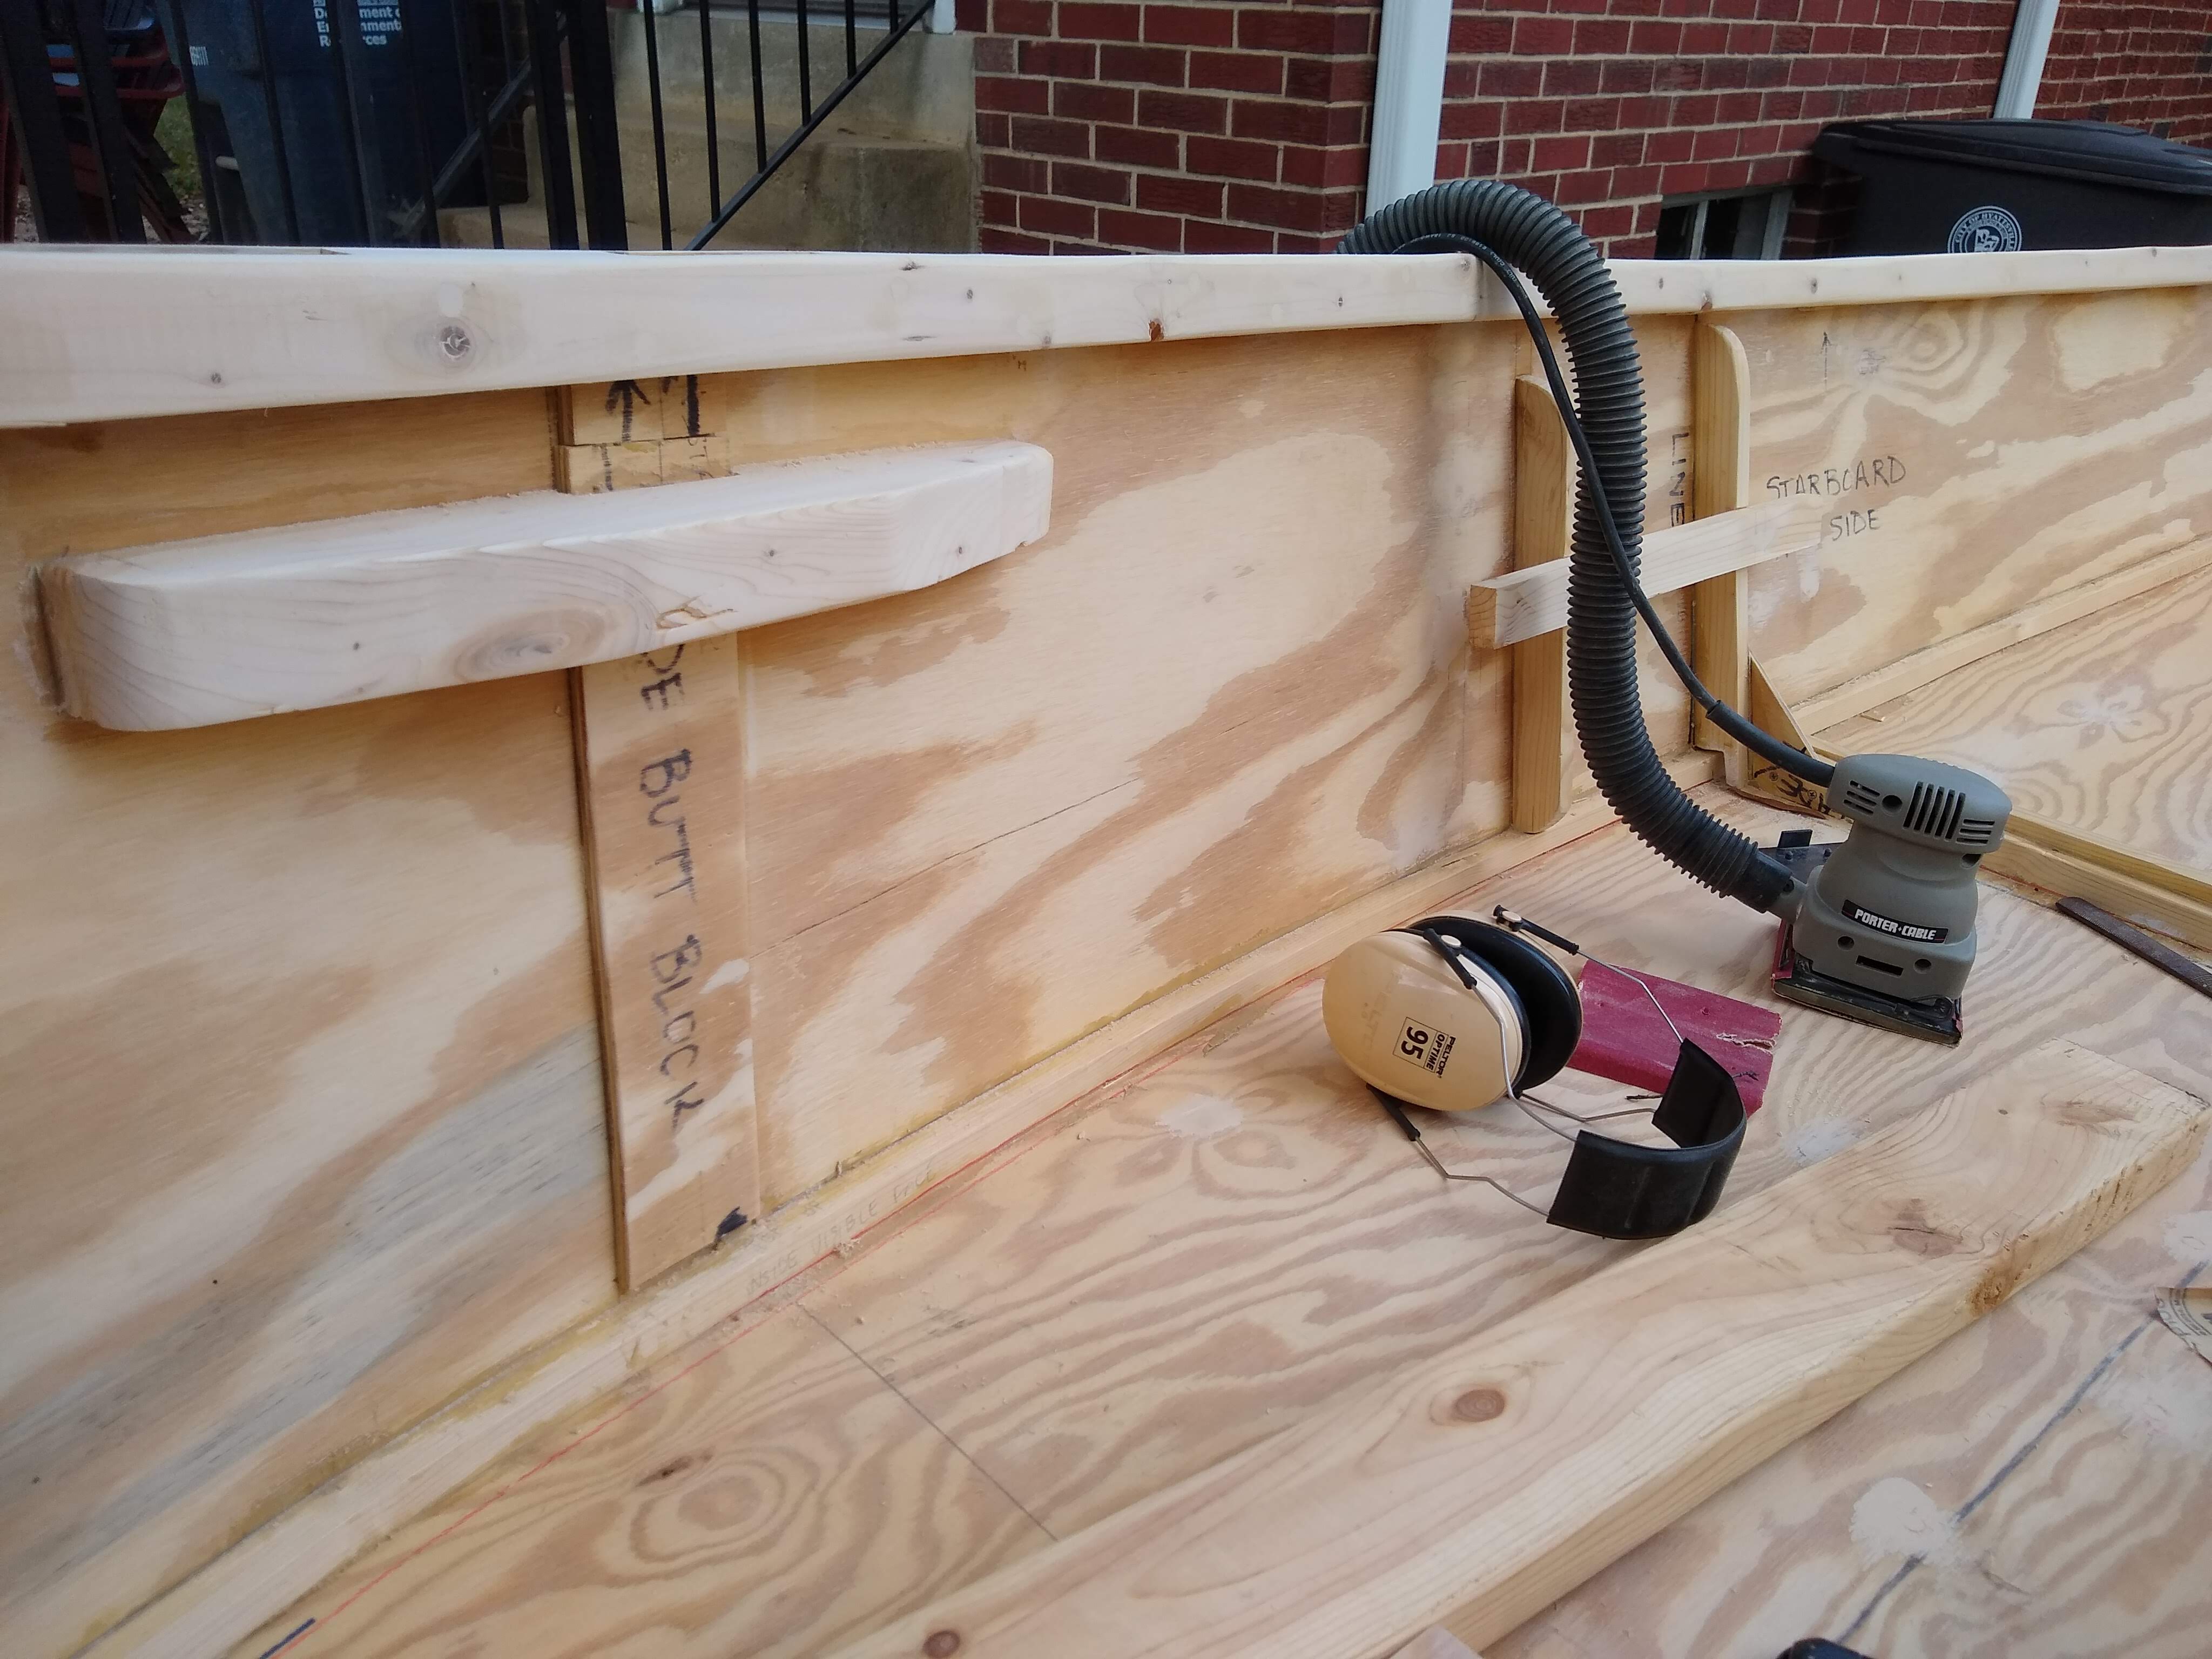
Pad sander attached to vacuum

Not much more to say, really.

Starboard hull side 100-grit smooth

I did a ton of sanding.

More starboard side 100-grit smooth

There’s a ton of sanding left to do.

Oh, and the stem is looking pretty smooth at this point, too.

Week 39: Sanding

I’m finally sanding, in preparation for painting.

I had filled the interior screw countersinks with DAP wood filler last week, albeit roughly, in globs basically, so this week I set about scraping off the excess and sanding the fills smooth. Most of the fills sanded down to neat little circles, but a couple times all the filler came out somehow attached to a glob. And I found a screw hole or two that I had missed when filling. Whoops.

Scraping, sanding, vacuuming inside the boat

Having started sanding, these screw holes with a hand block and 100 grit paper, I soon found the upright boat filled with globs of filler and a lot of sanding dust. So I hauled out the shop vac from the basement and vacuumed out the boat. Then I started keeping up with the dust with the vacuum going as I sanded.

Shop vac

And then finally I brought out the big guns, as it were, in this case the quarter sheet pad sander, which has its own dust collection port, so sanding went a lot faster and the dust collection was no longer a two-handed operation.

Pad sander and shop vac

Going along the inwales with the sander, I decided that I didn’t like the unevenness of the inwales in relation to the inwale spacers, where sometimes the inwale stood a little proud above or below the spacer. So I went around the boat with the trusty rasp and evened them out. Then I went back with the pad sander to smooth out the tool marks that remained.

Smooth gunwale

All in all I finished with the 100 grit on the front half of the wales, both inwales and gunwales. The sanding is taking longer than I had imagined, but I’m really liking the results. I had long ago declared that I was embracing the roughness of the first time boat build, but I’m now kinda admiring how un-rough it’s starting to look. So I’m taking extra time in sanding, hoping that the paint job will look better.

Smooth inwale

We’ll see about that, won’t we?

Week 38: Thwart Supports, Wood Filler

Am just about out of things to do before sanding and painting. Don’t think I can put it off much longer.

I did finally glue on the thwart supports, which are (I think) the final parts that are to be permanently attached to the hull. There are many more parts coming, what with mast and yard and boom and lee board and tiller and rudder. But none of those are going to be permanently attached to the hull.

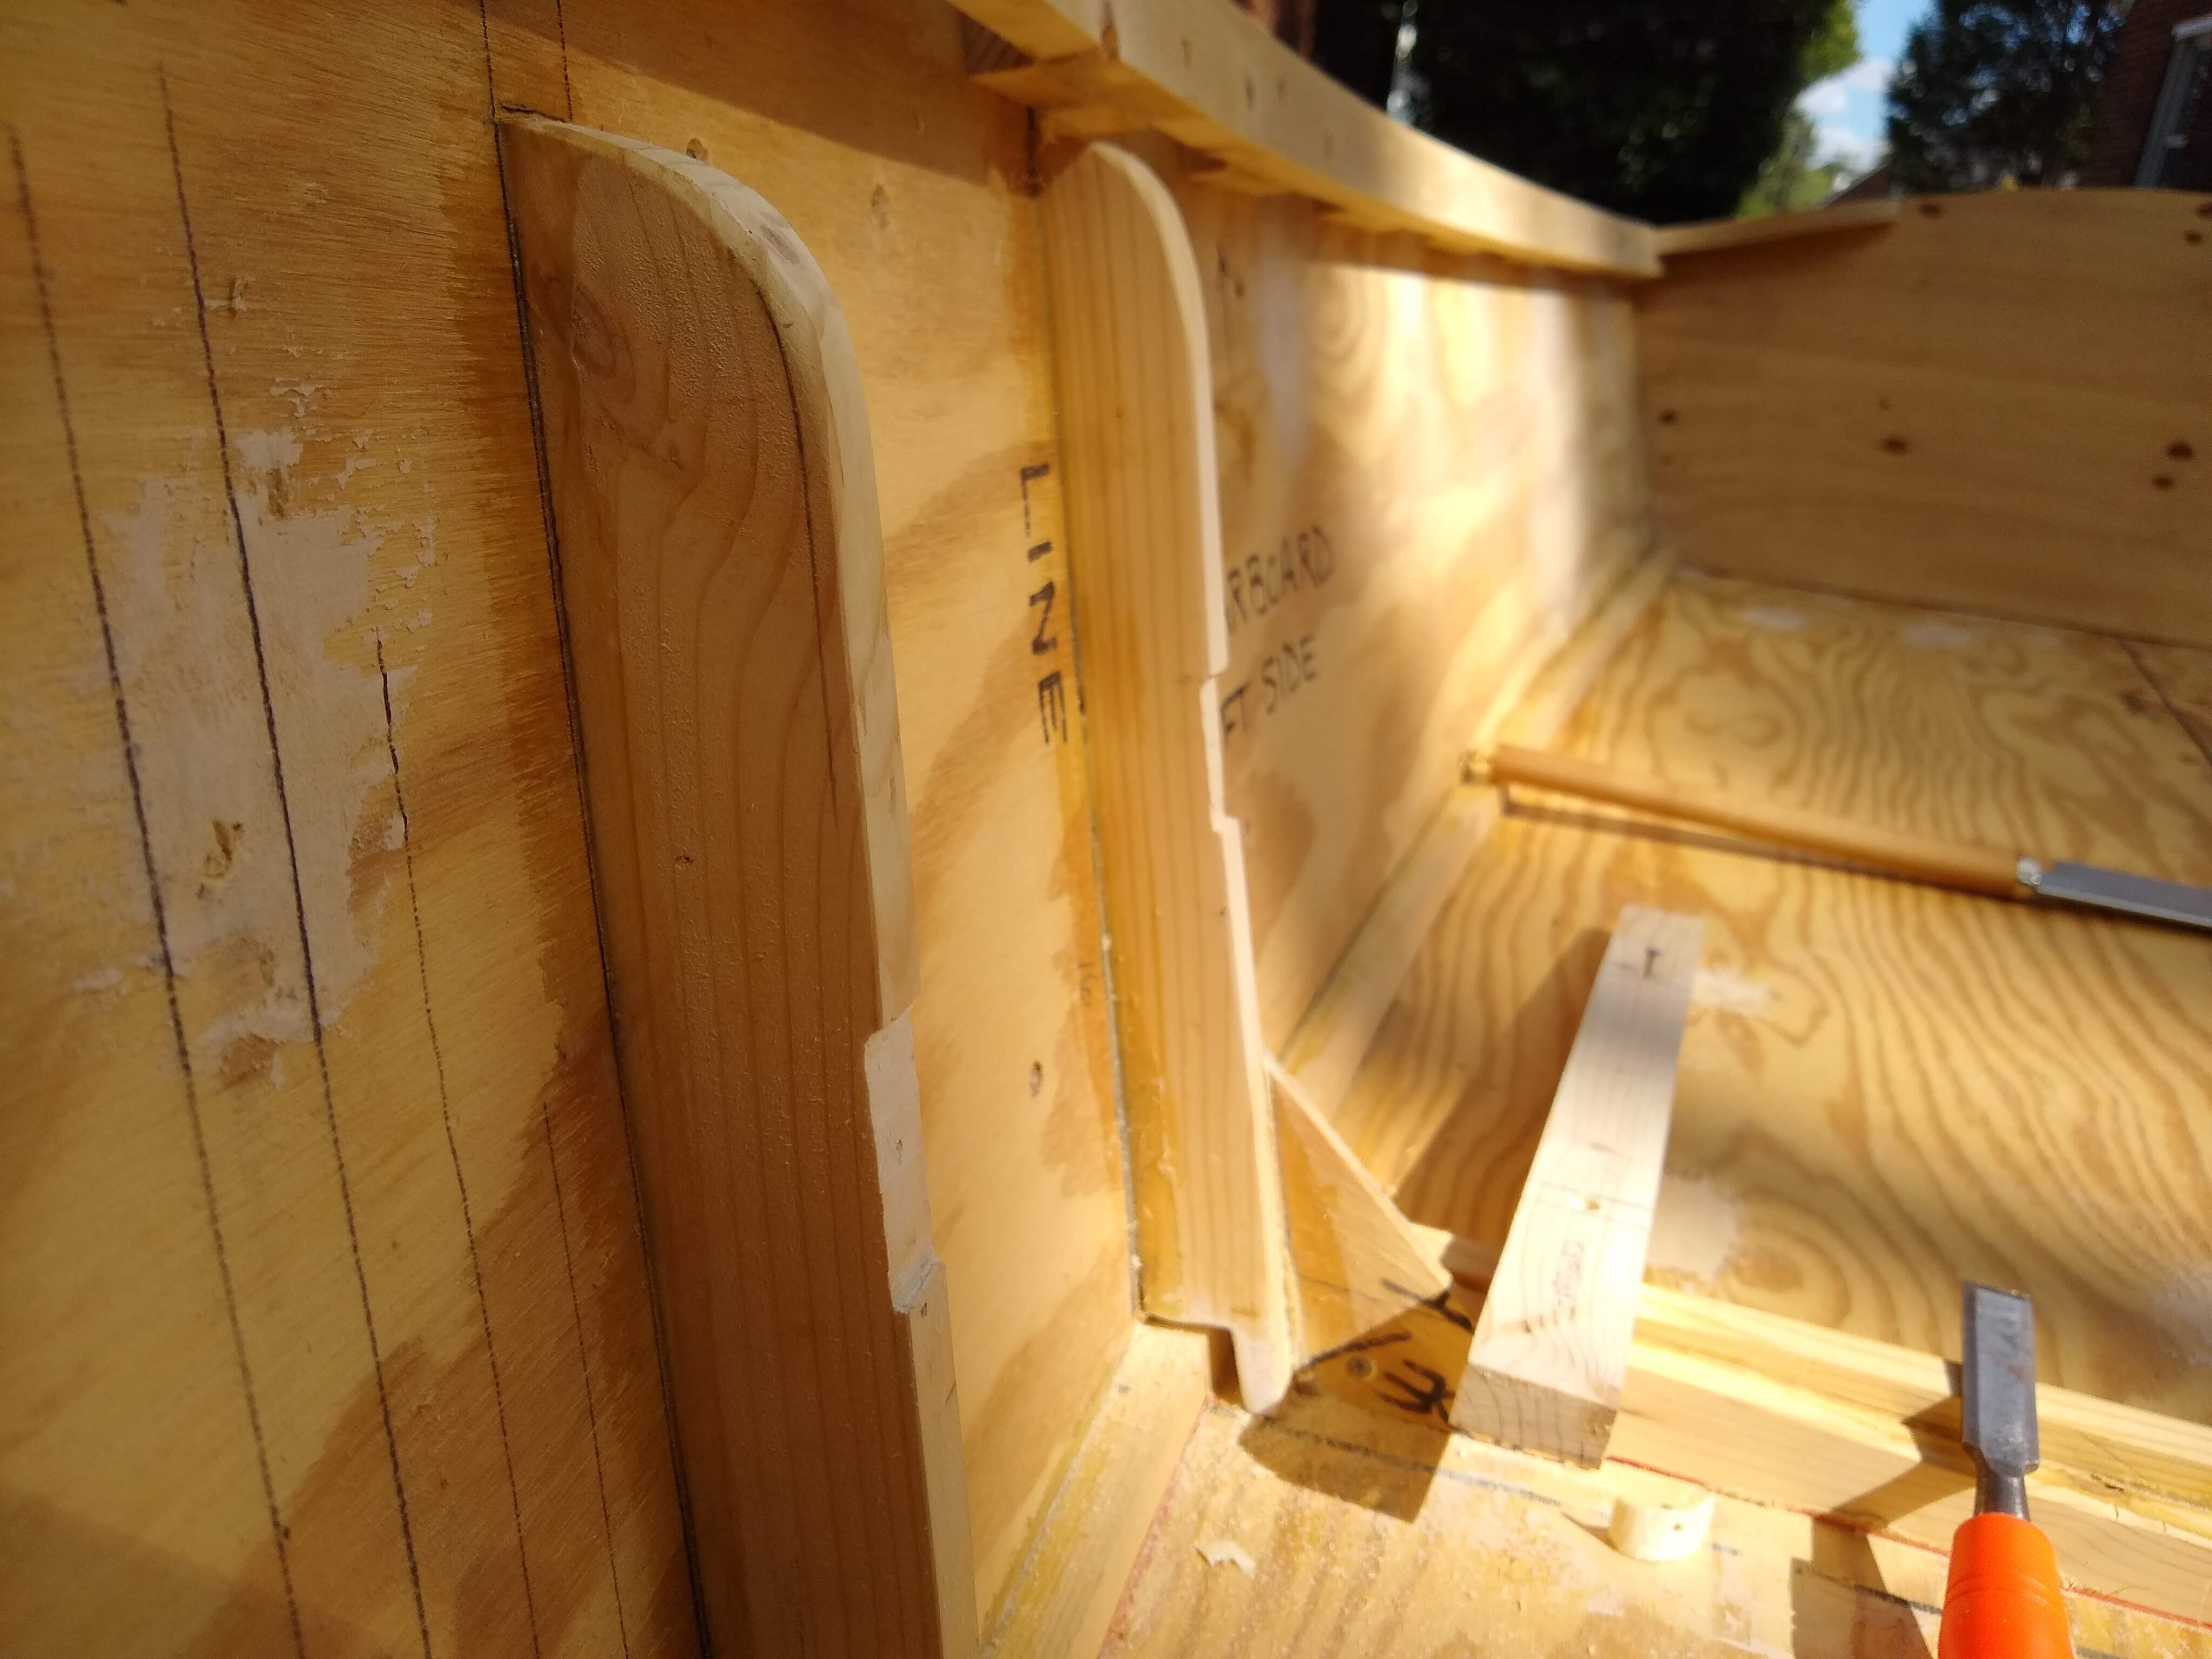
Notching the starboard thwart vertical support and frame

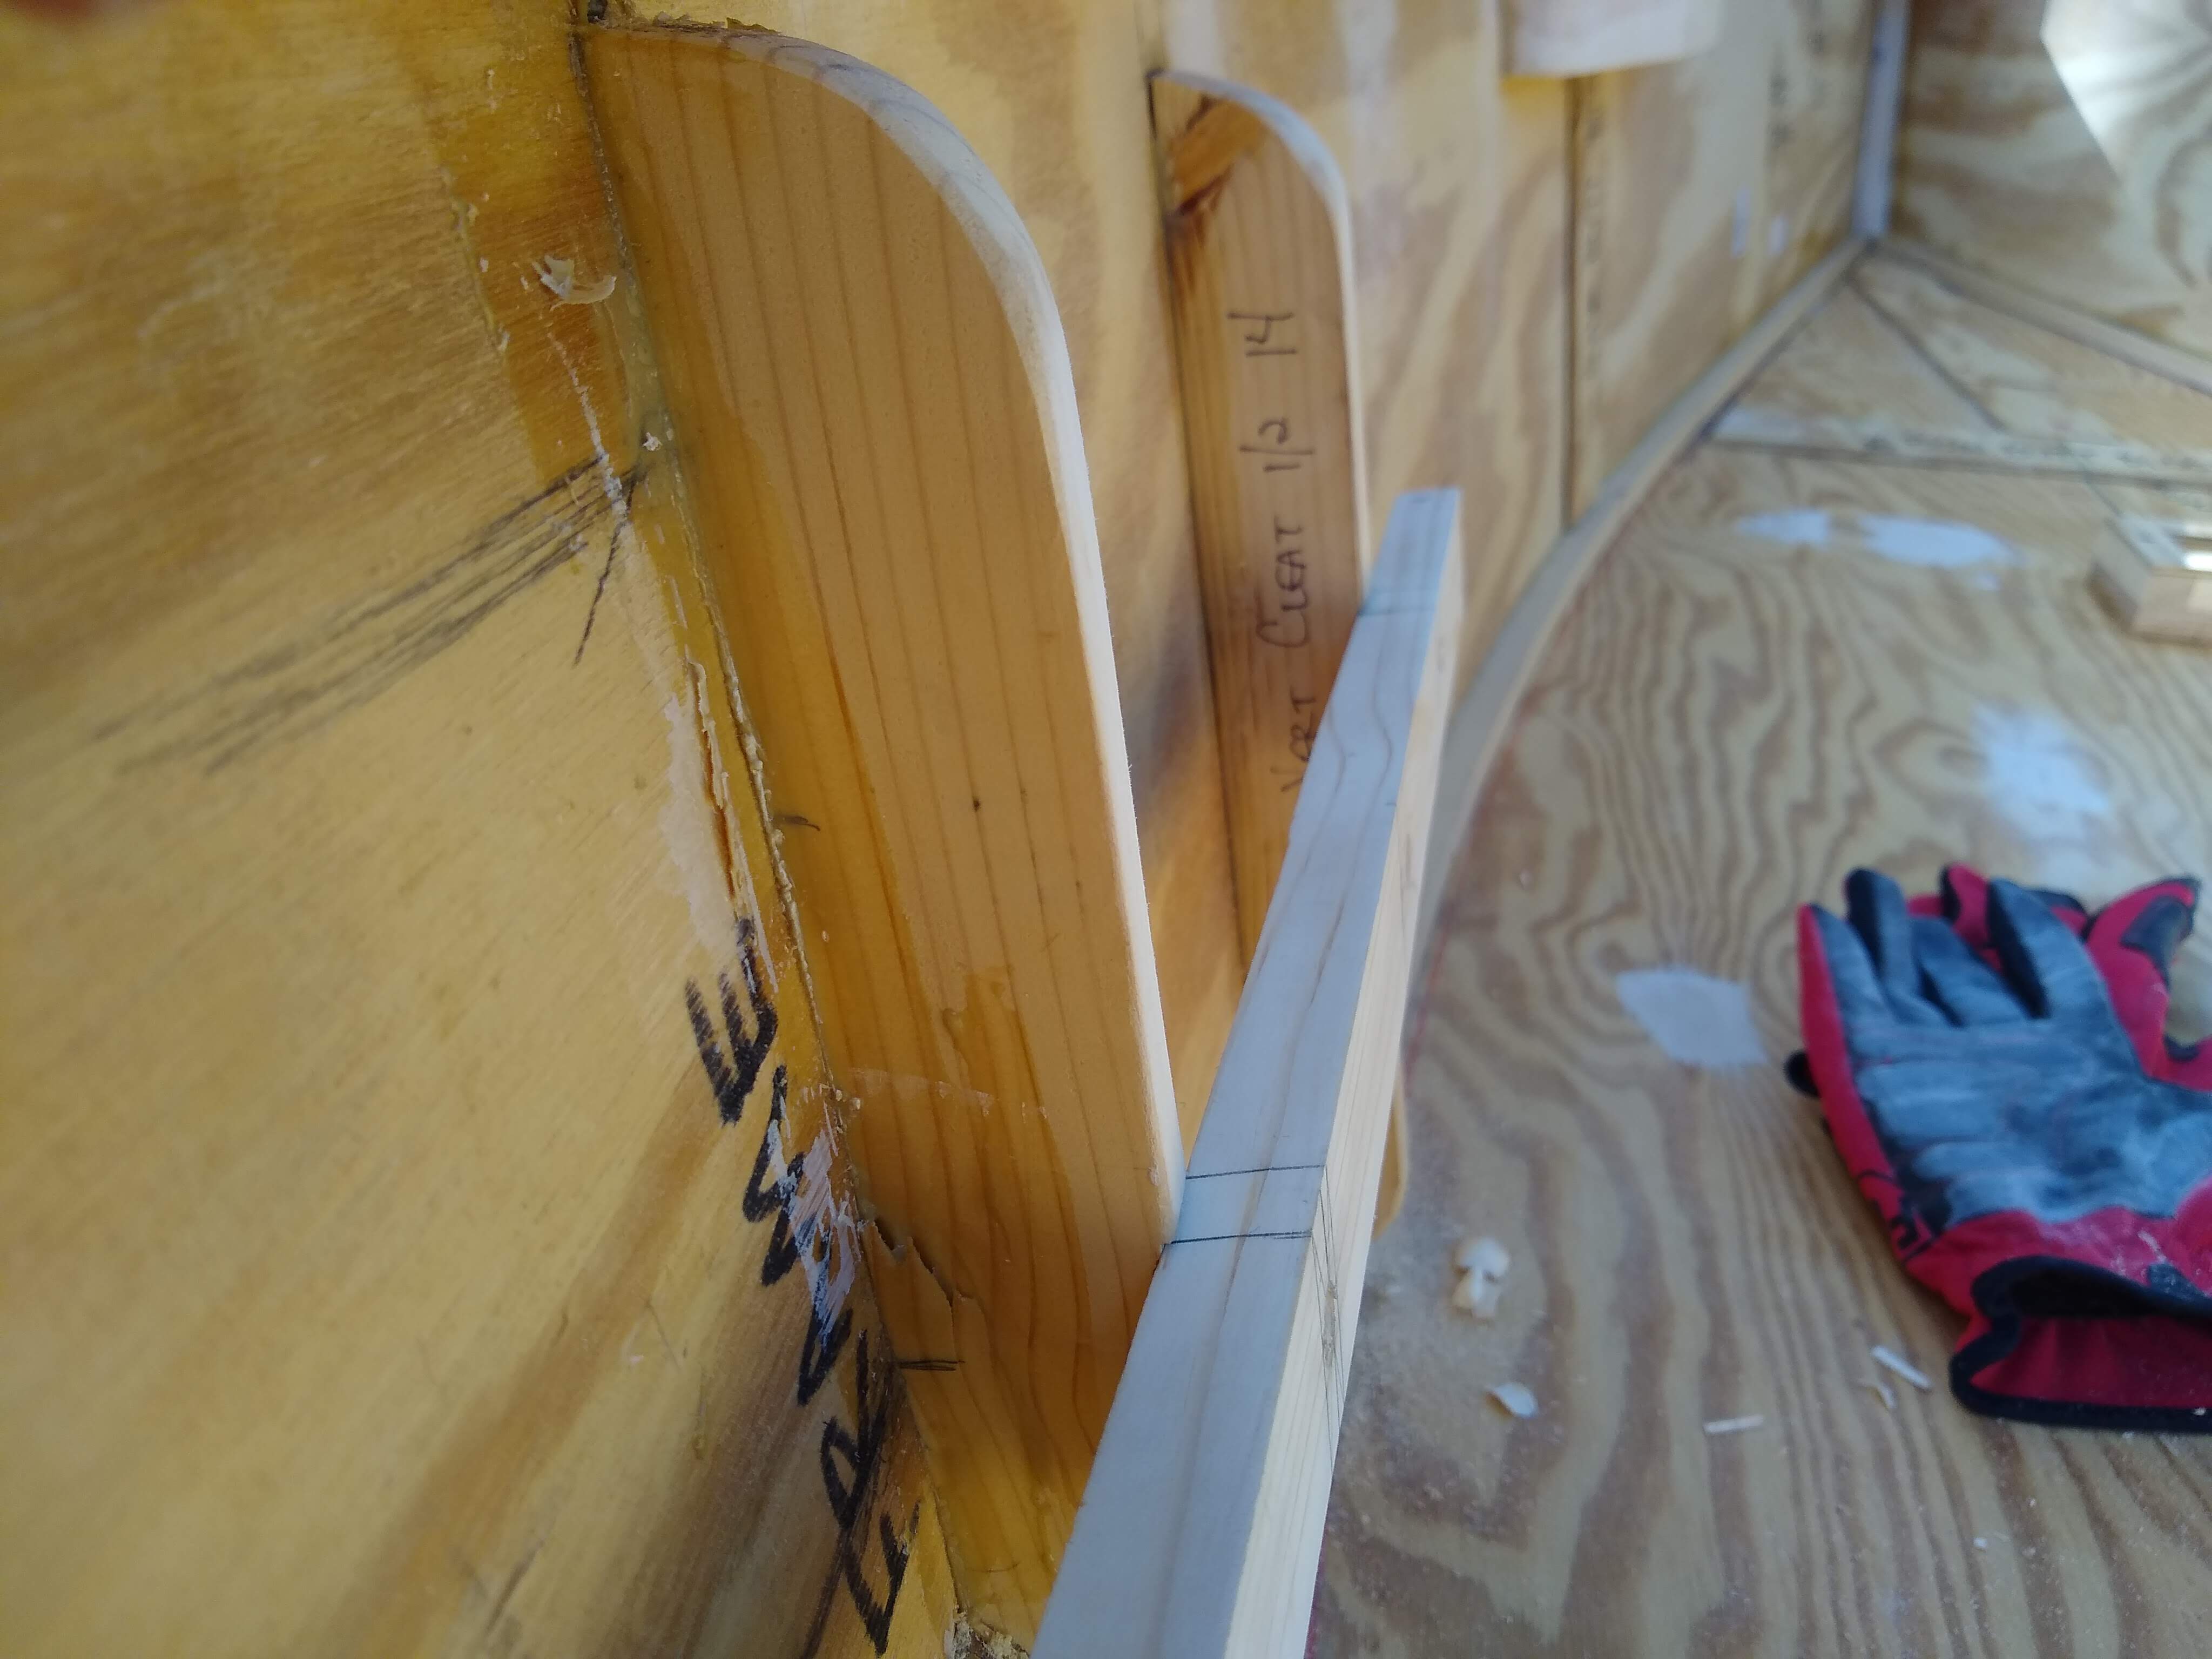
After having dry fitted the cleats last week, I started worrying that just gluing and screwing them to the frame and support wasn’t going to be strong enough. So this week I decided to lap the joints a little bit, chiseling into the verticals to fit the horizontals into slots.

Starboard support in notch

I sharpened the beater chisel a little and, using that and a mallet as well as the rasp and some 100 grit sandpaper on the block, was able to make some nifty slots for the horizontals to sit into.

Port support in notch

I was really rather pleased with the ease of it all and the resulting mechanical strength, which I then permanently added the glue and screws. I think they’re pretty solid now.

Tub o’ DAP ready to go

Then I went about filling all the many screw head holes, from attaching the inwales and the keel, with wood filler. I’d had to buy yet another tub of the DAP filler, having used the last tub and a separate tube already, not to mention a can of the Minwax 2-part filler.

Inwale holes filled

The DAP stuff isn’t the easiest stuff to work with, I find. I wish I knew what I could thin it with, just a little maybe, to make it flow a little better. Although, I suppose I’m filling lots of holes on vertical surfaces. Better to be a bit too thick than too thin, I guess.

Keel holes filled

I put it all on rather rough, trying to get it all done with the tub open, wasting some probably, but I’d be wasting some more even if I let the tub dry out while I had it open.

Breast hook slathered

Should be ready to sand, and maybe need some touch up, next weekend. Then it’s on to final sanding and painting.

Week 37: Furniture Dolly, Thwart Supports

Cleats marked up for alignment/attaching

Slowed way, way down on progress what with our exchange student coming to live with us. Missed a weekend getting ready for her to arrive, and then another weekend when she did arrive. (And, okay, fine, I missed a weekend before that because I went actual sailing.)

Thwart support cleats screwed into place

And, even then, the progress that I made this weekend was rather minor. I made some final decisions as to height and placement of the horizontal cleats that will support the thwart and so dry fitted those in place.

Imagining that 2×4 is a thwart

And I finally tackled the poor shape of the furniture dolly that I use to move the boat into and out of the garage. The terribly cheap cloth that covered it was ripping in spots, and I was worried that one of these days the board underneath was going to gouge the transom.

Fraying cloth

So I painstakingly ripped off the cloth, dusty and falling apart, although most of the staples attaching it originally wouldn’t come out. I recover-ed it with cut up pieces of a $3 rubber-backed door mat that I’d bought at Home Depot.

New cloth …

It really came out looking rather snazzy, I think. Protects the boat a whole lot better for sure.

… holds the boat nicely.