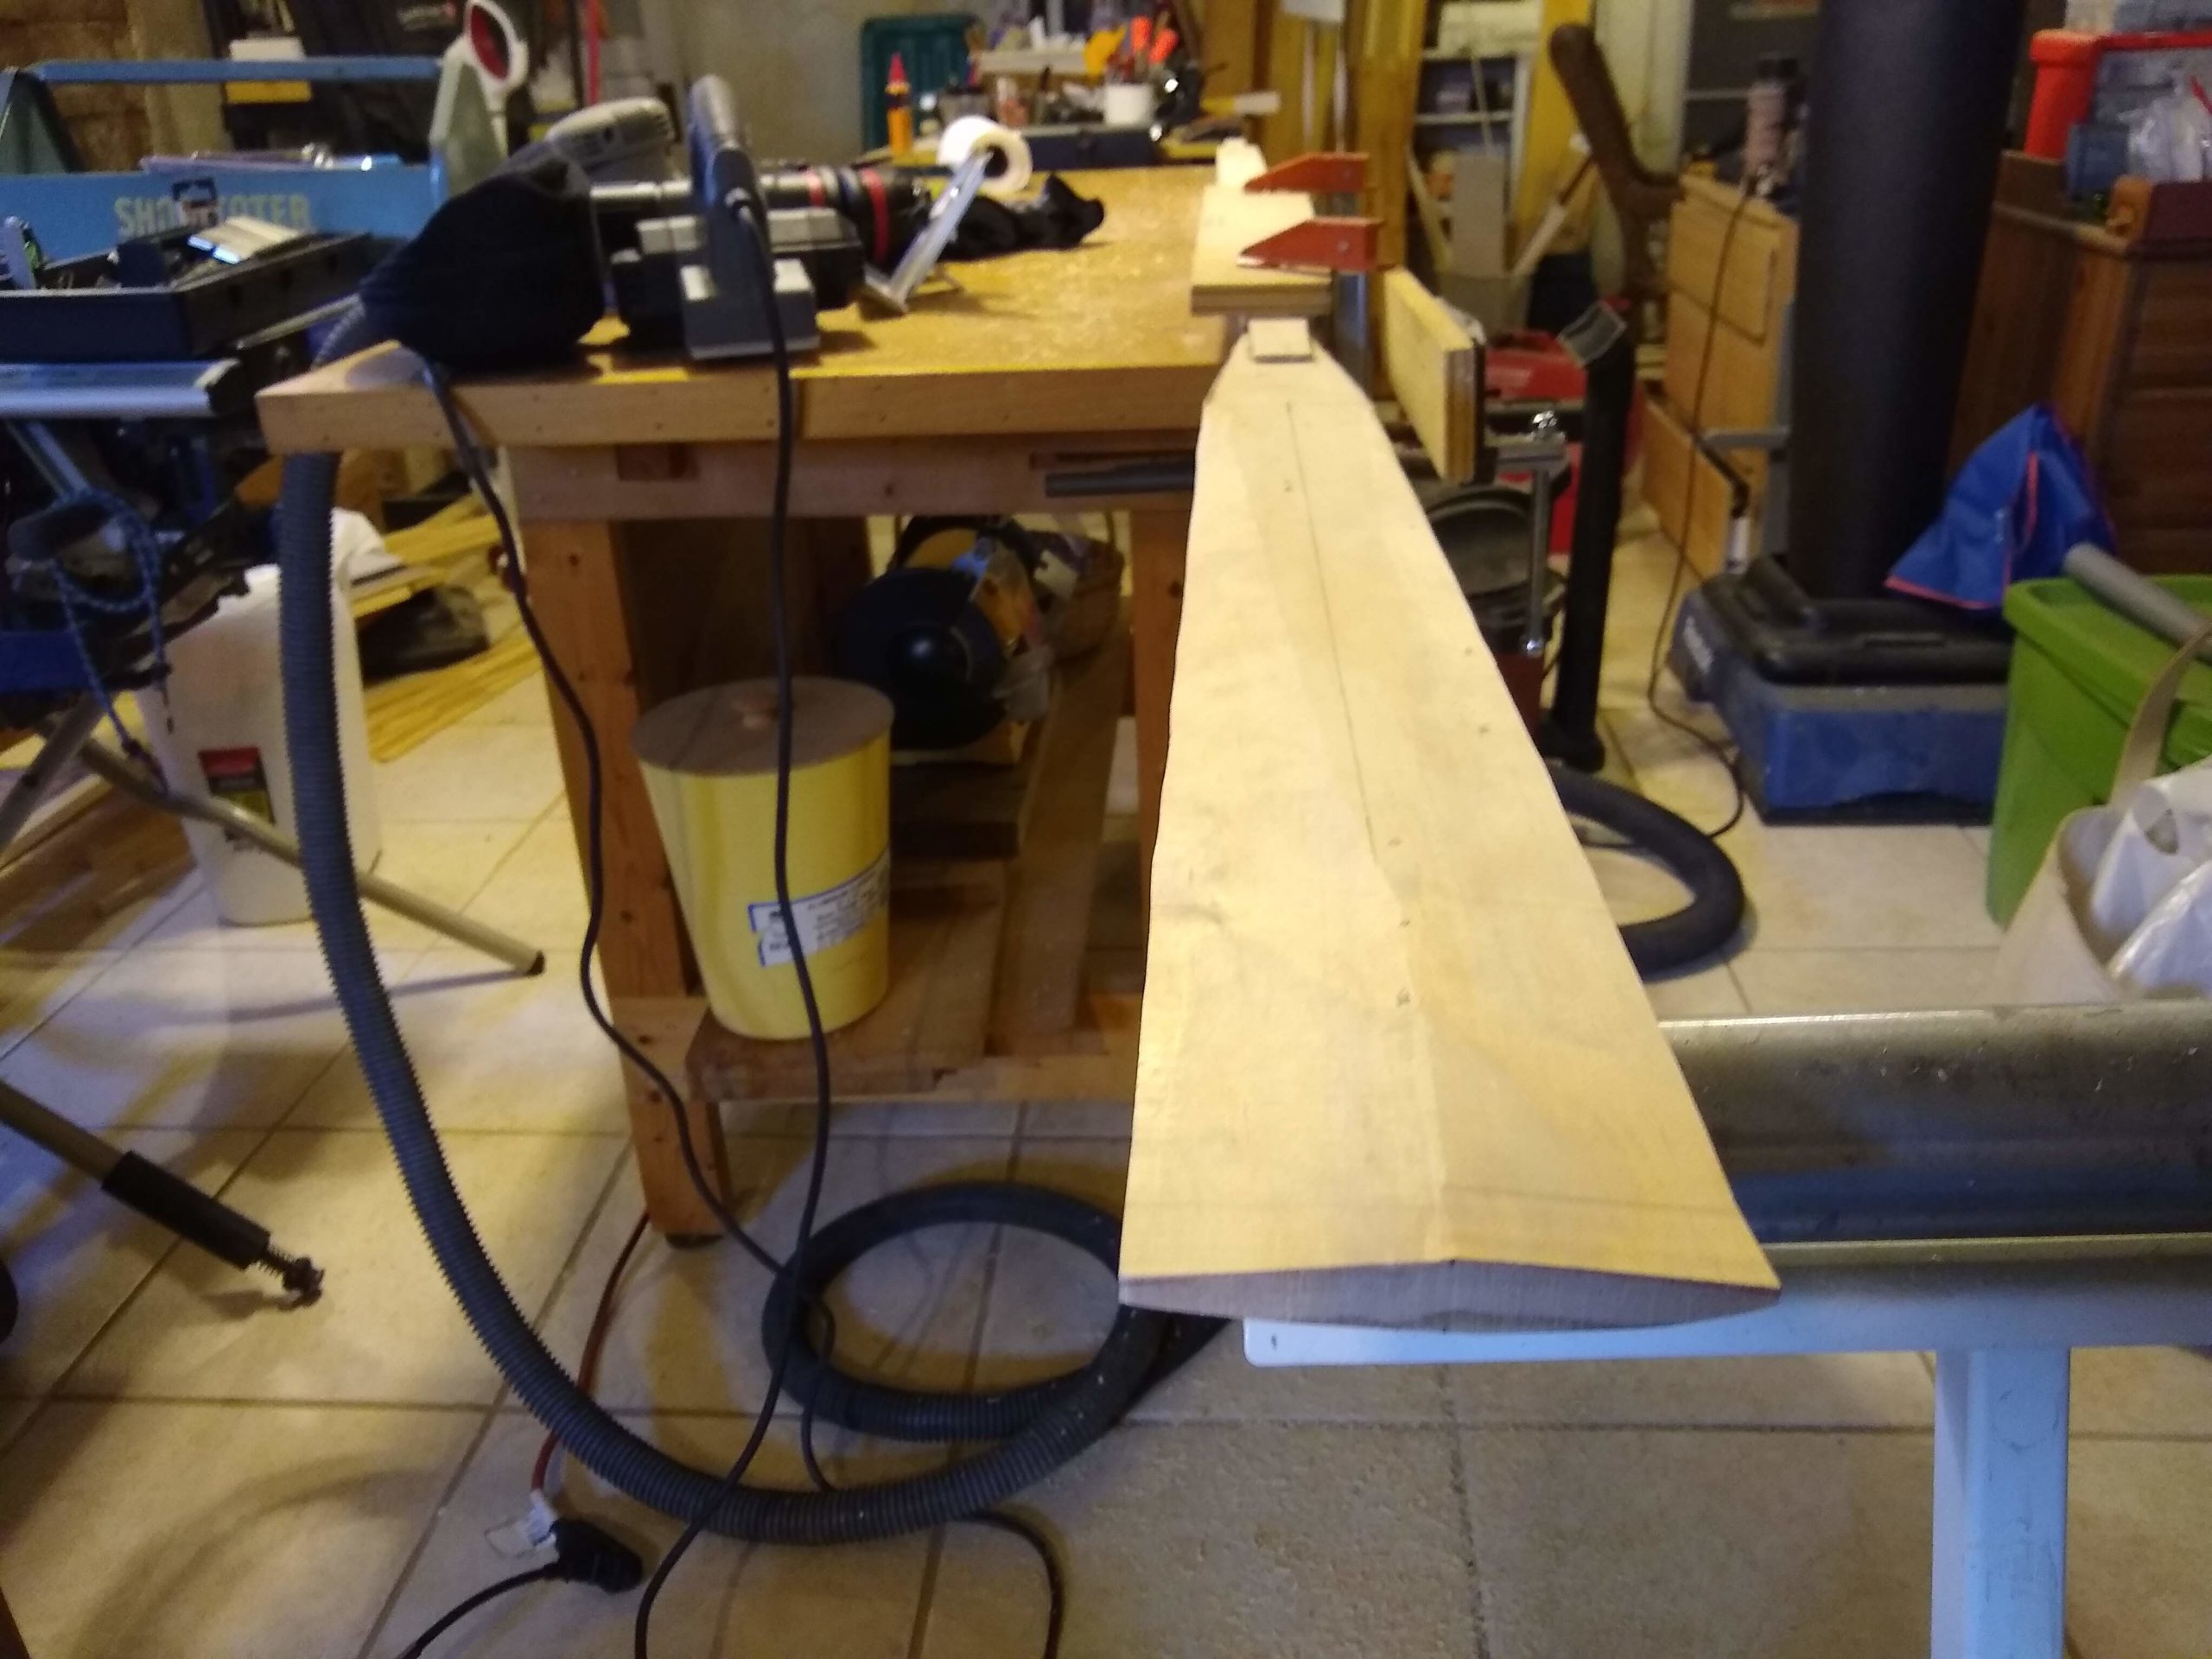
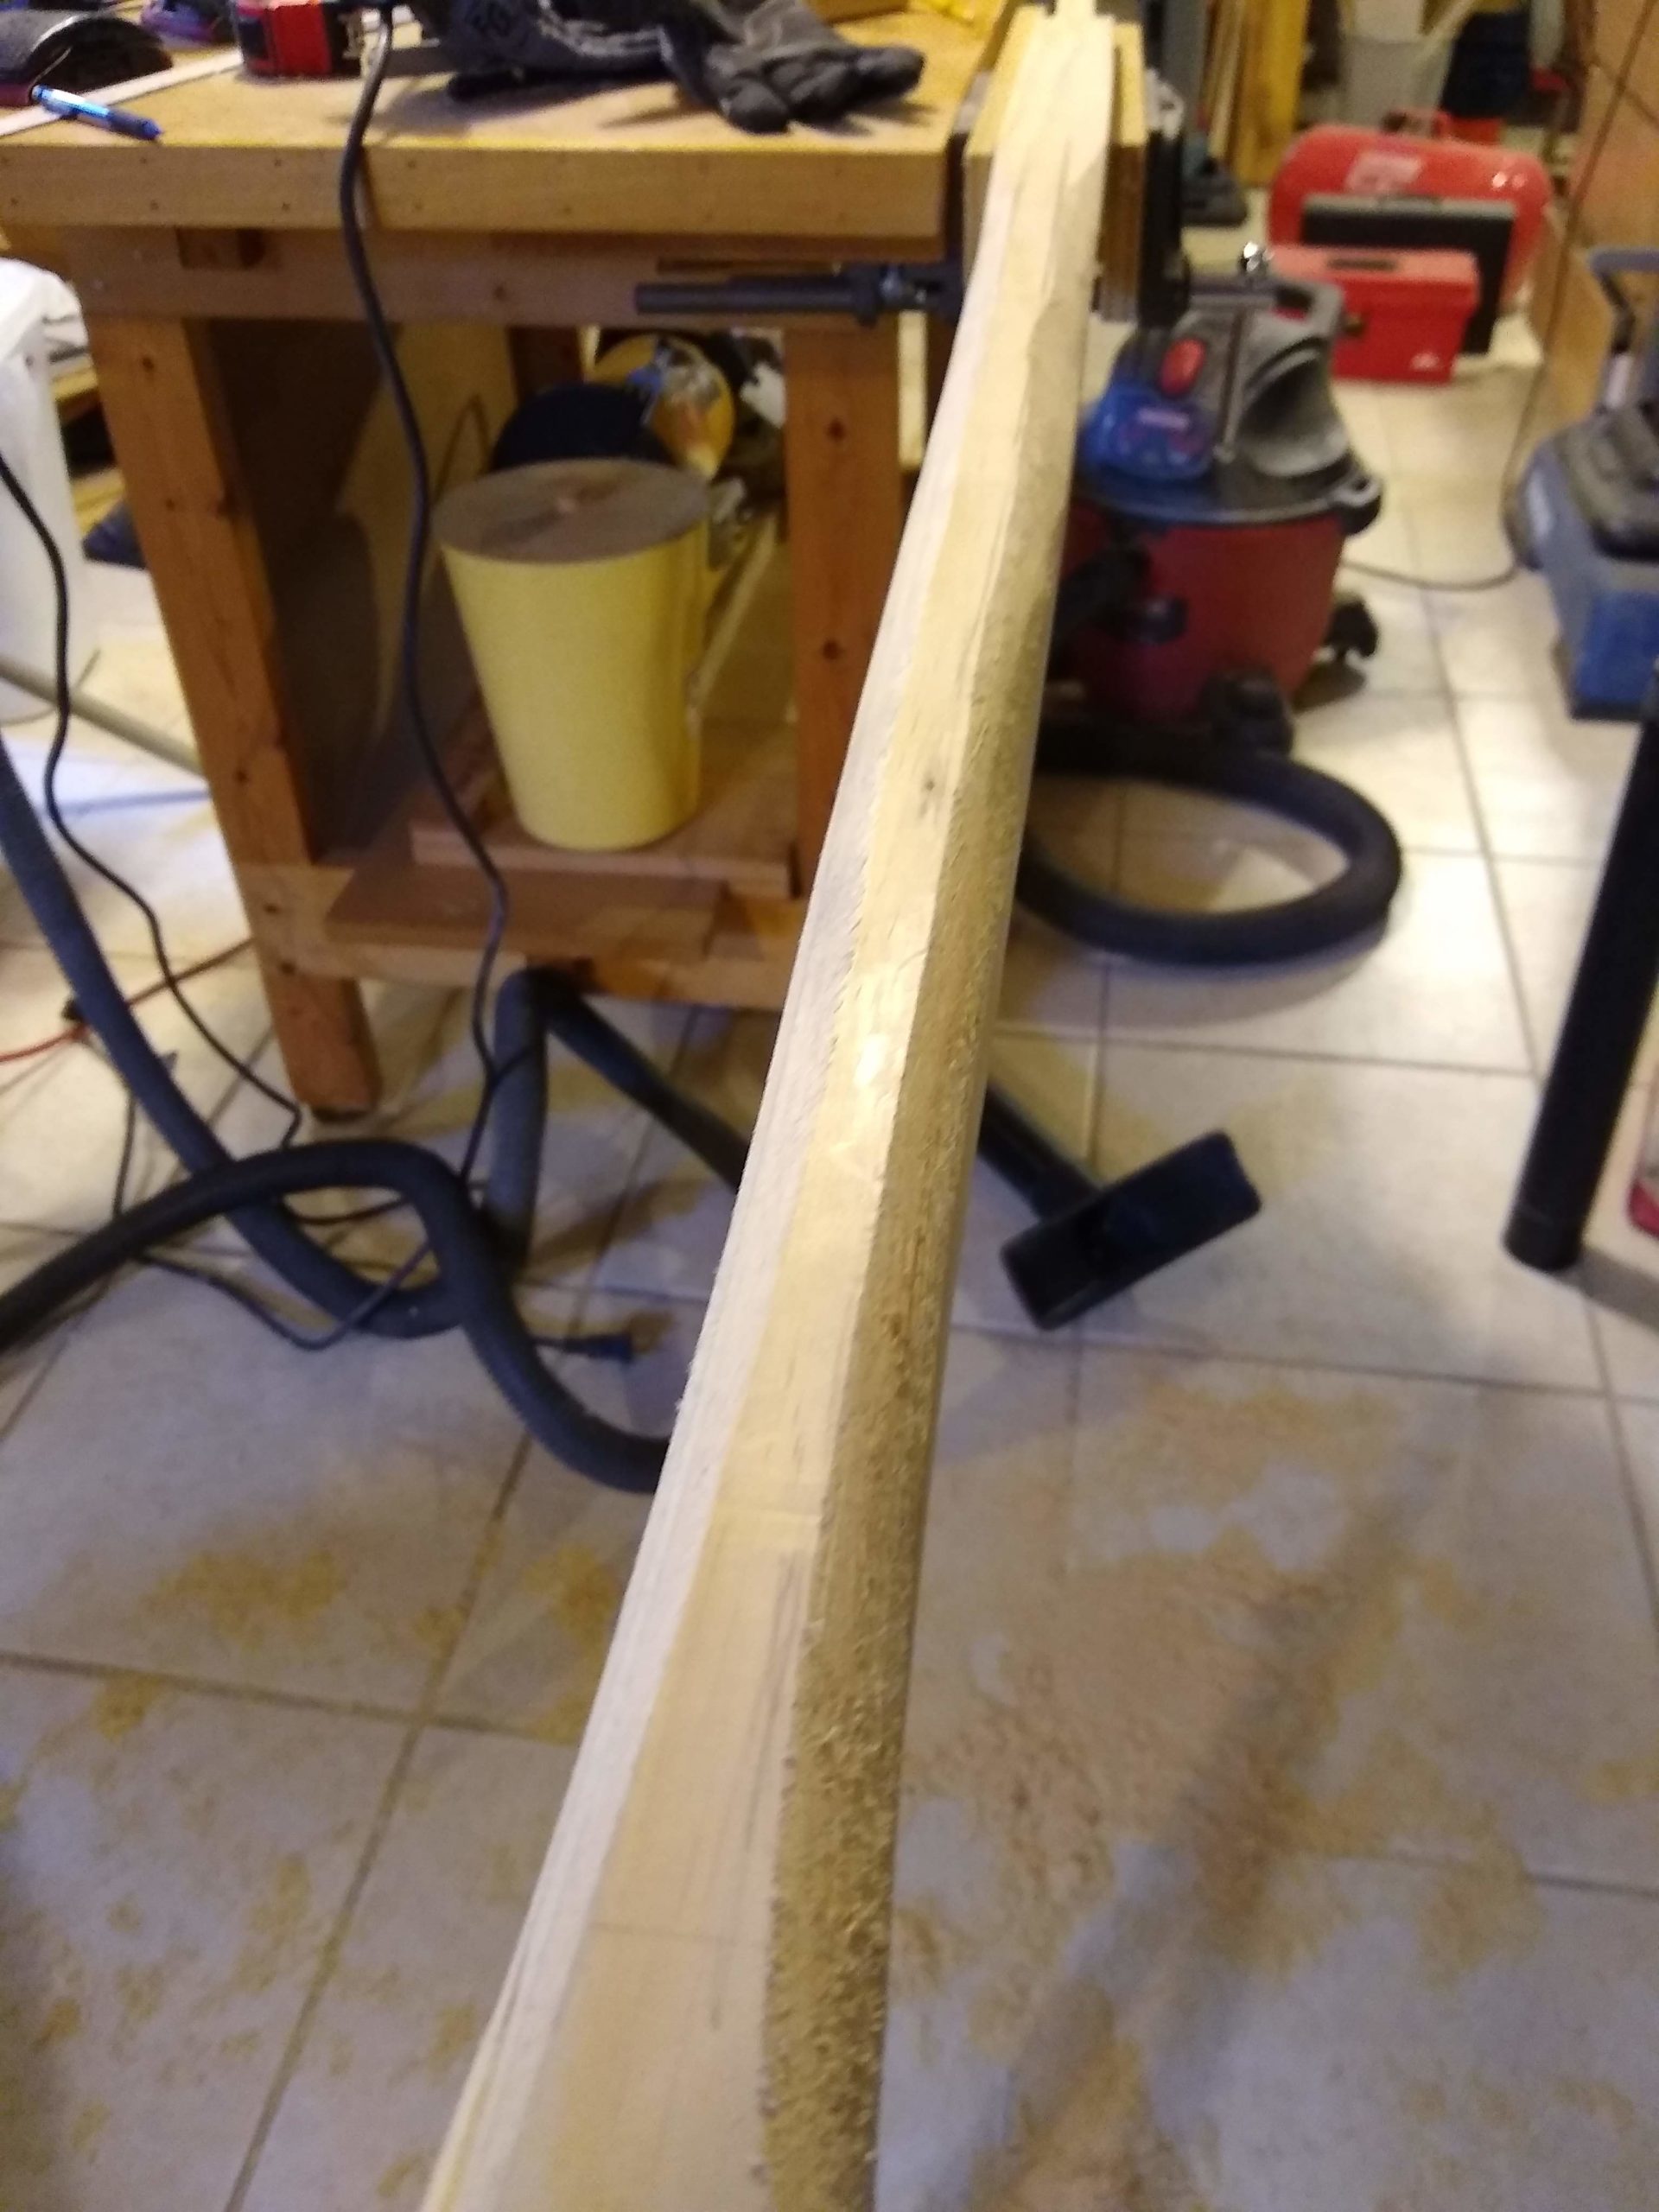
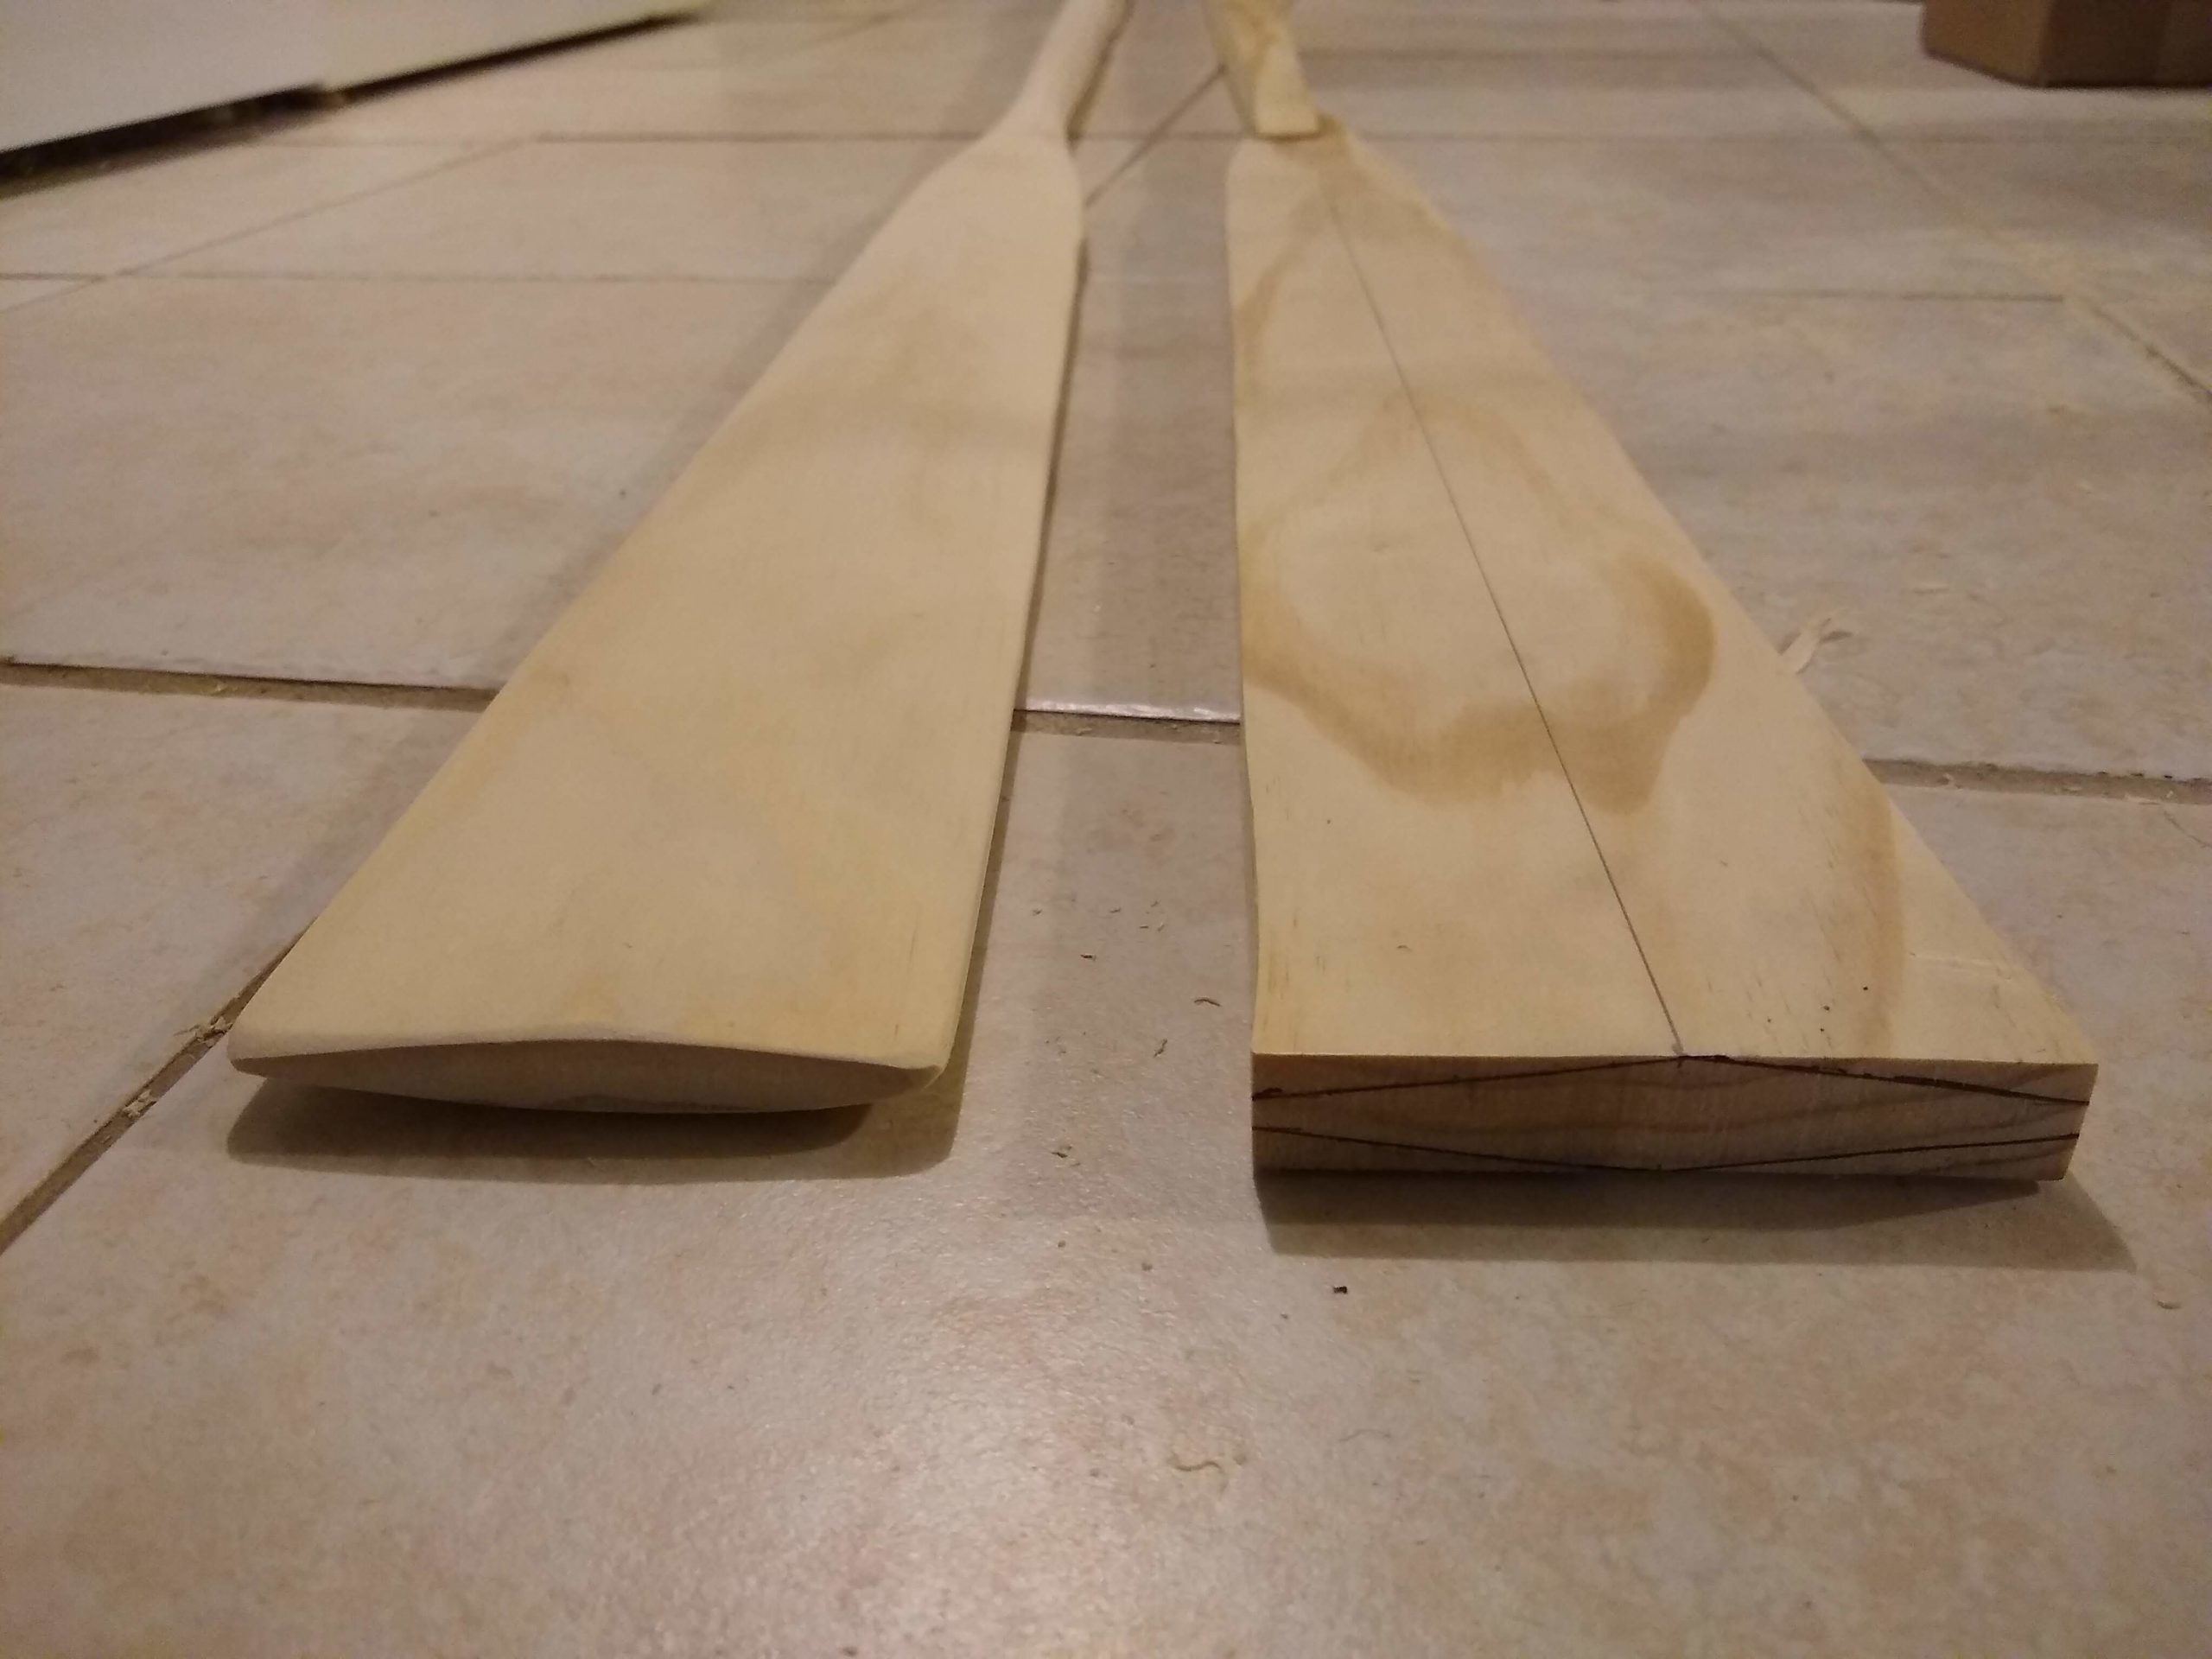
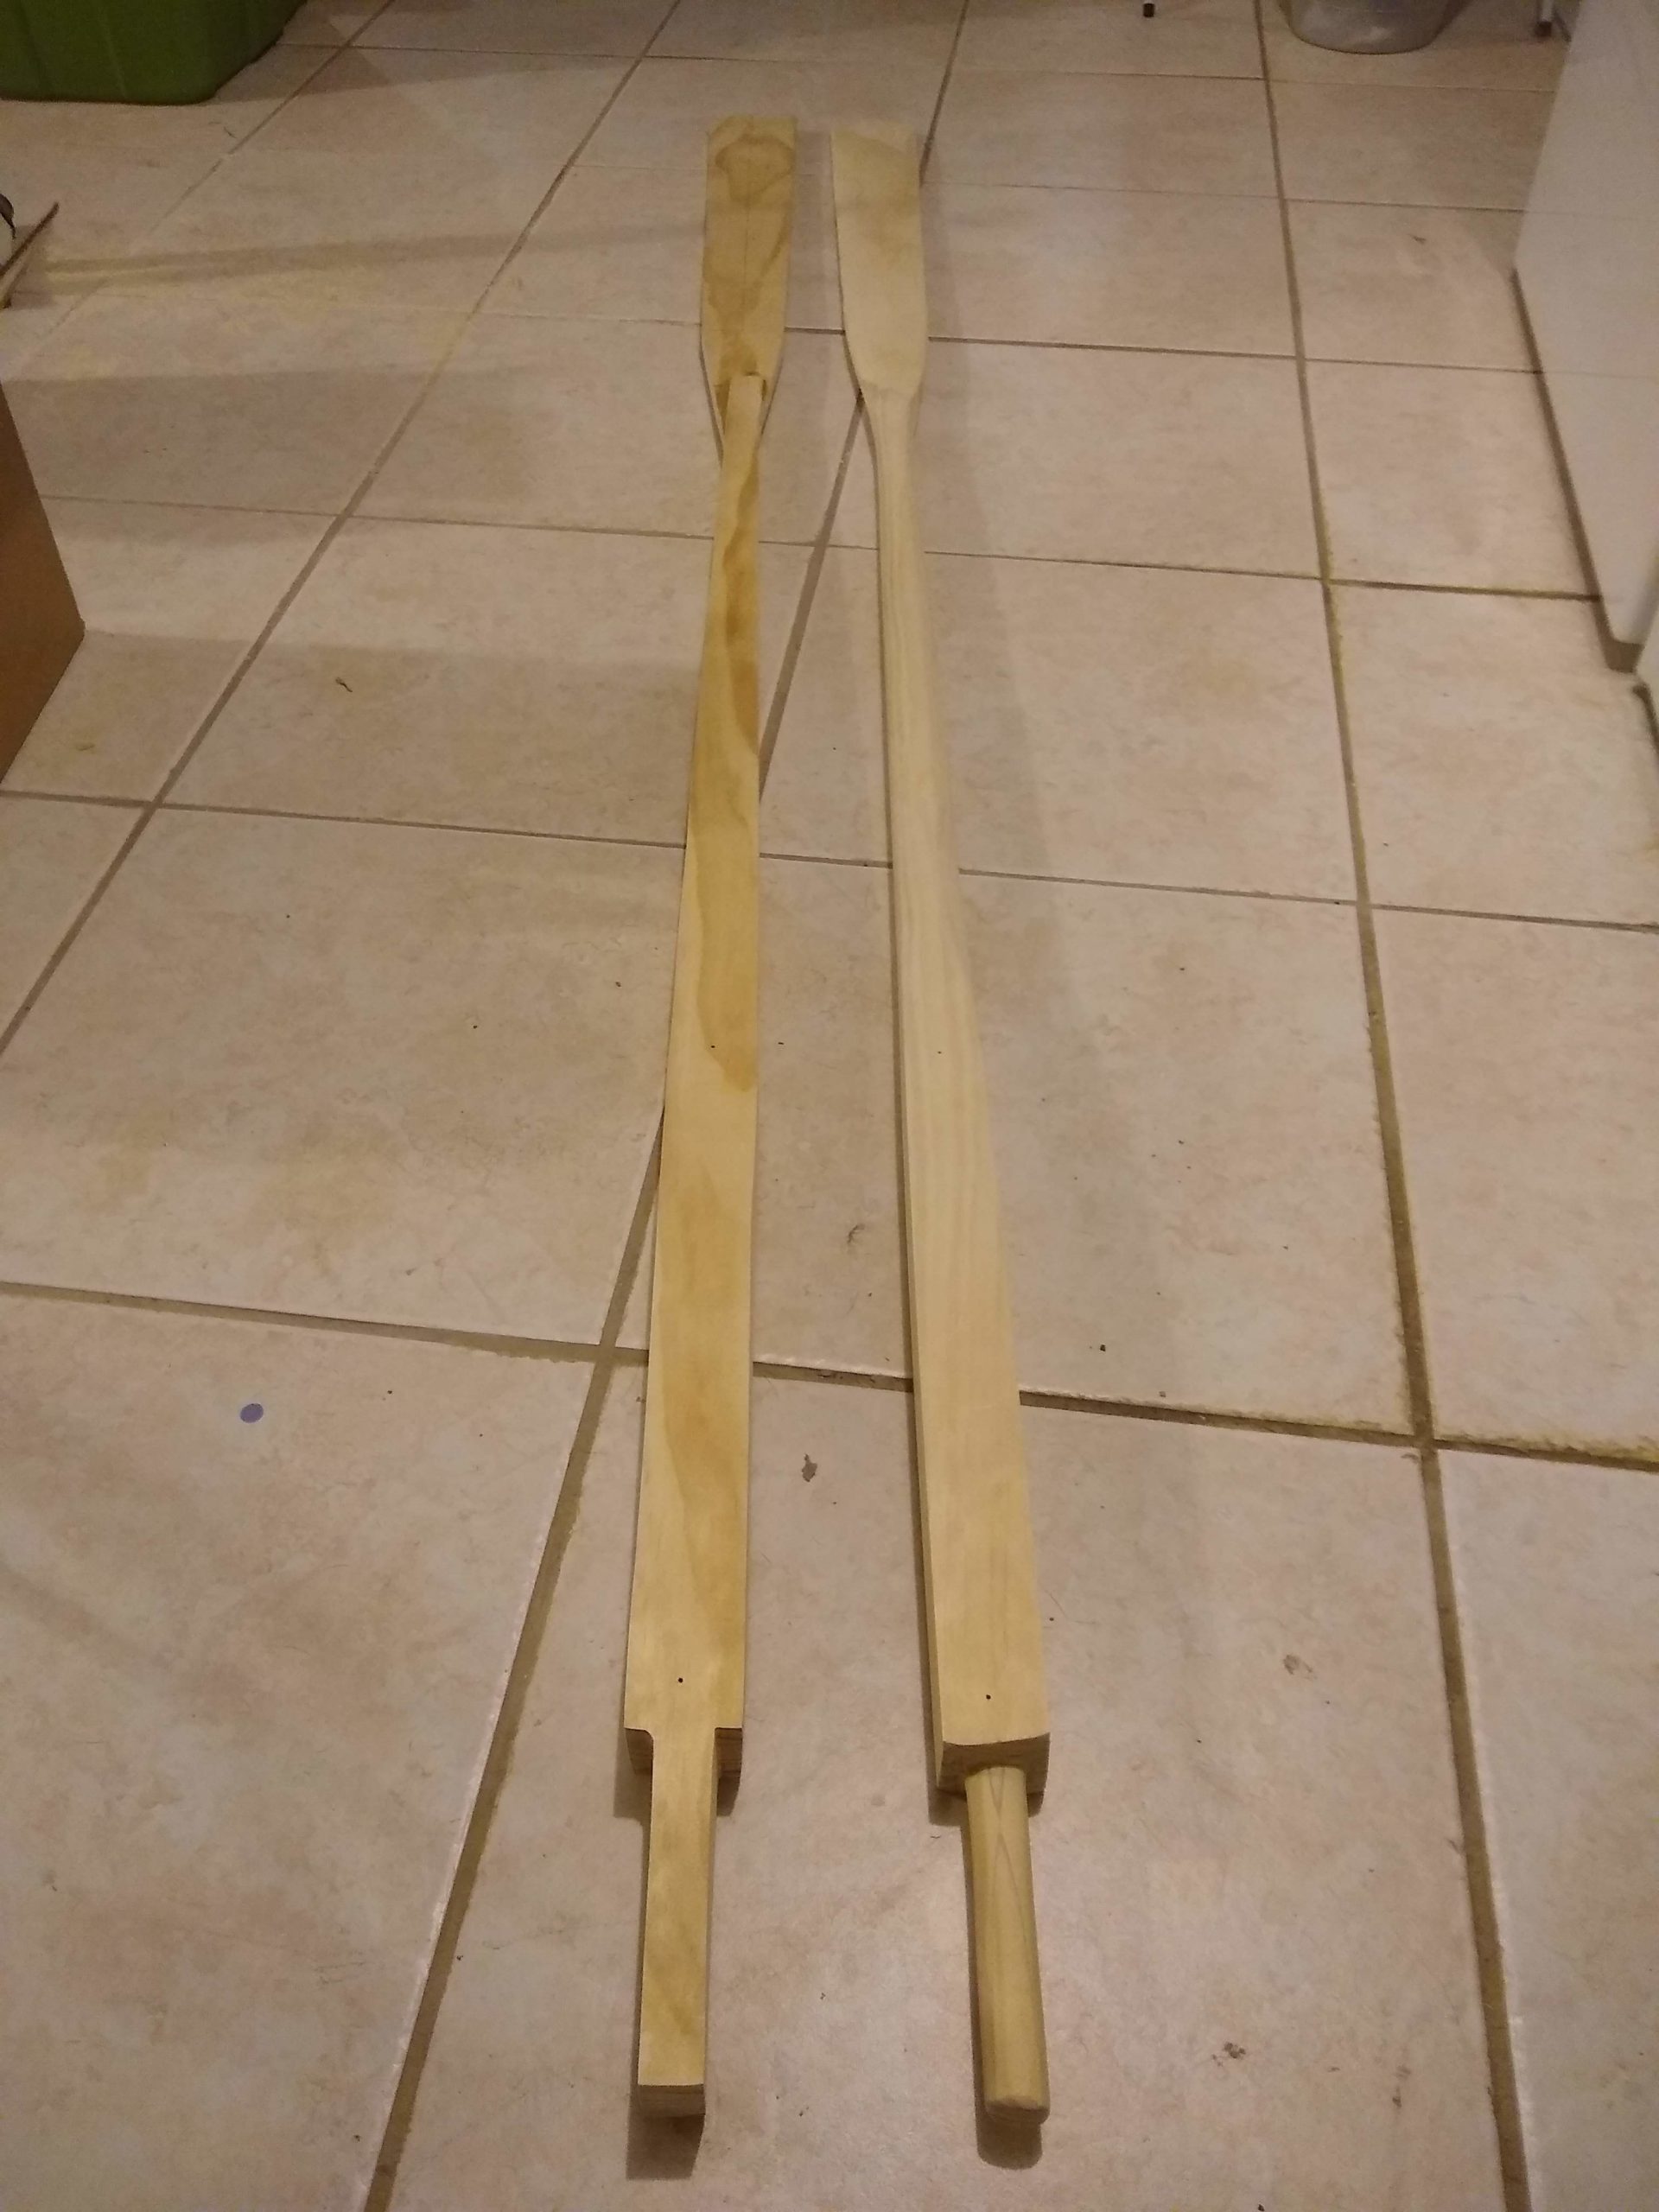
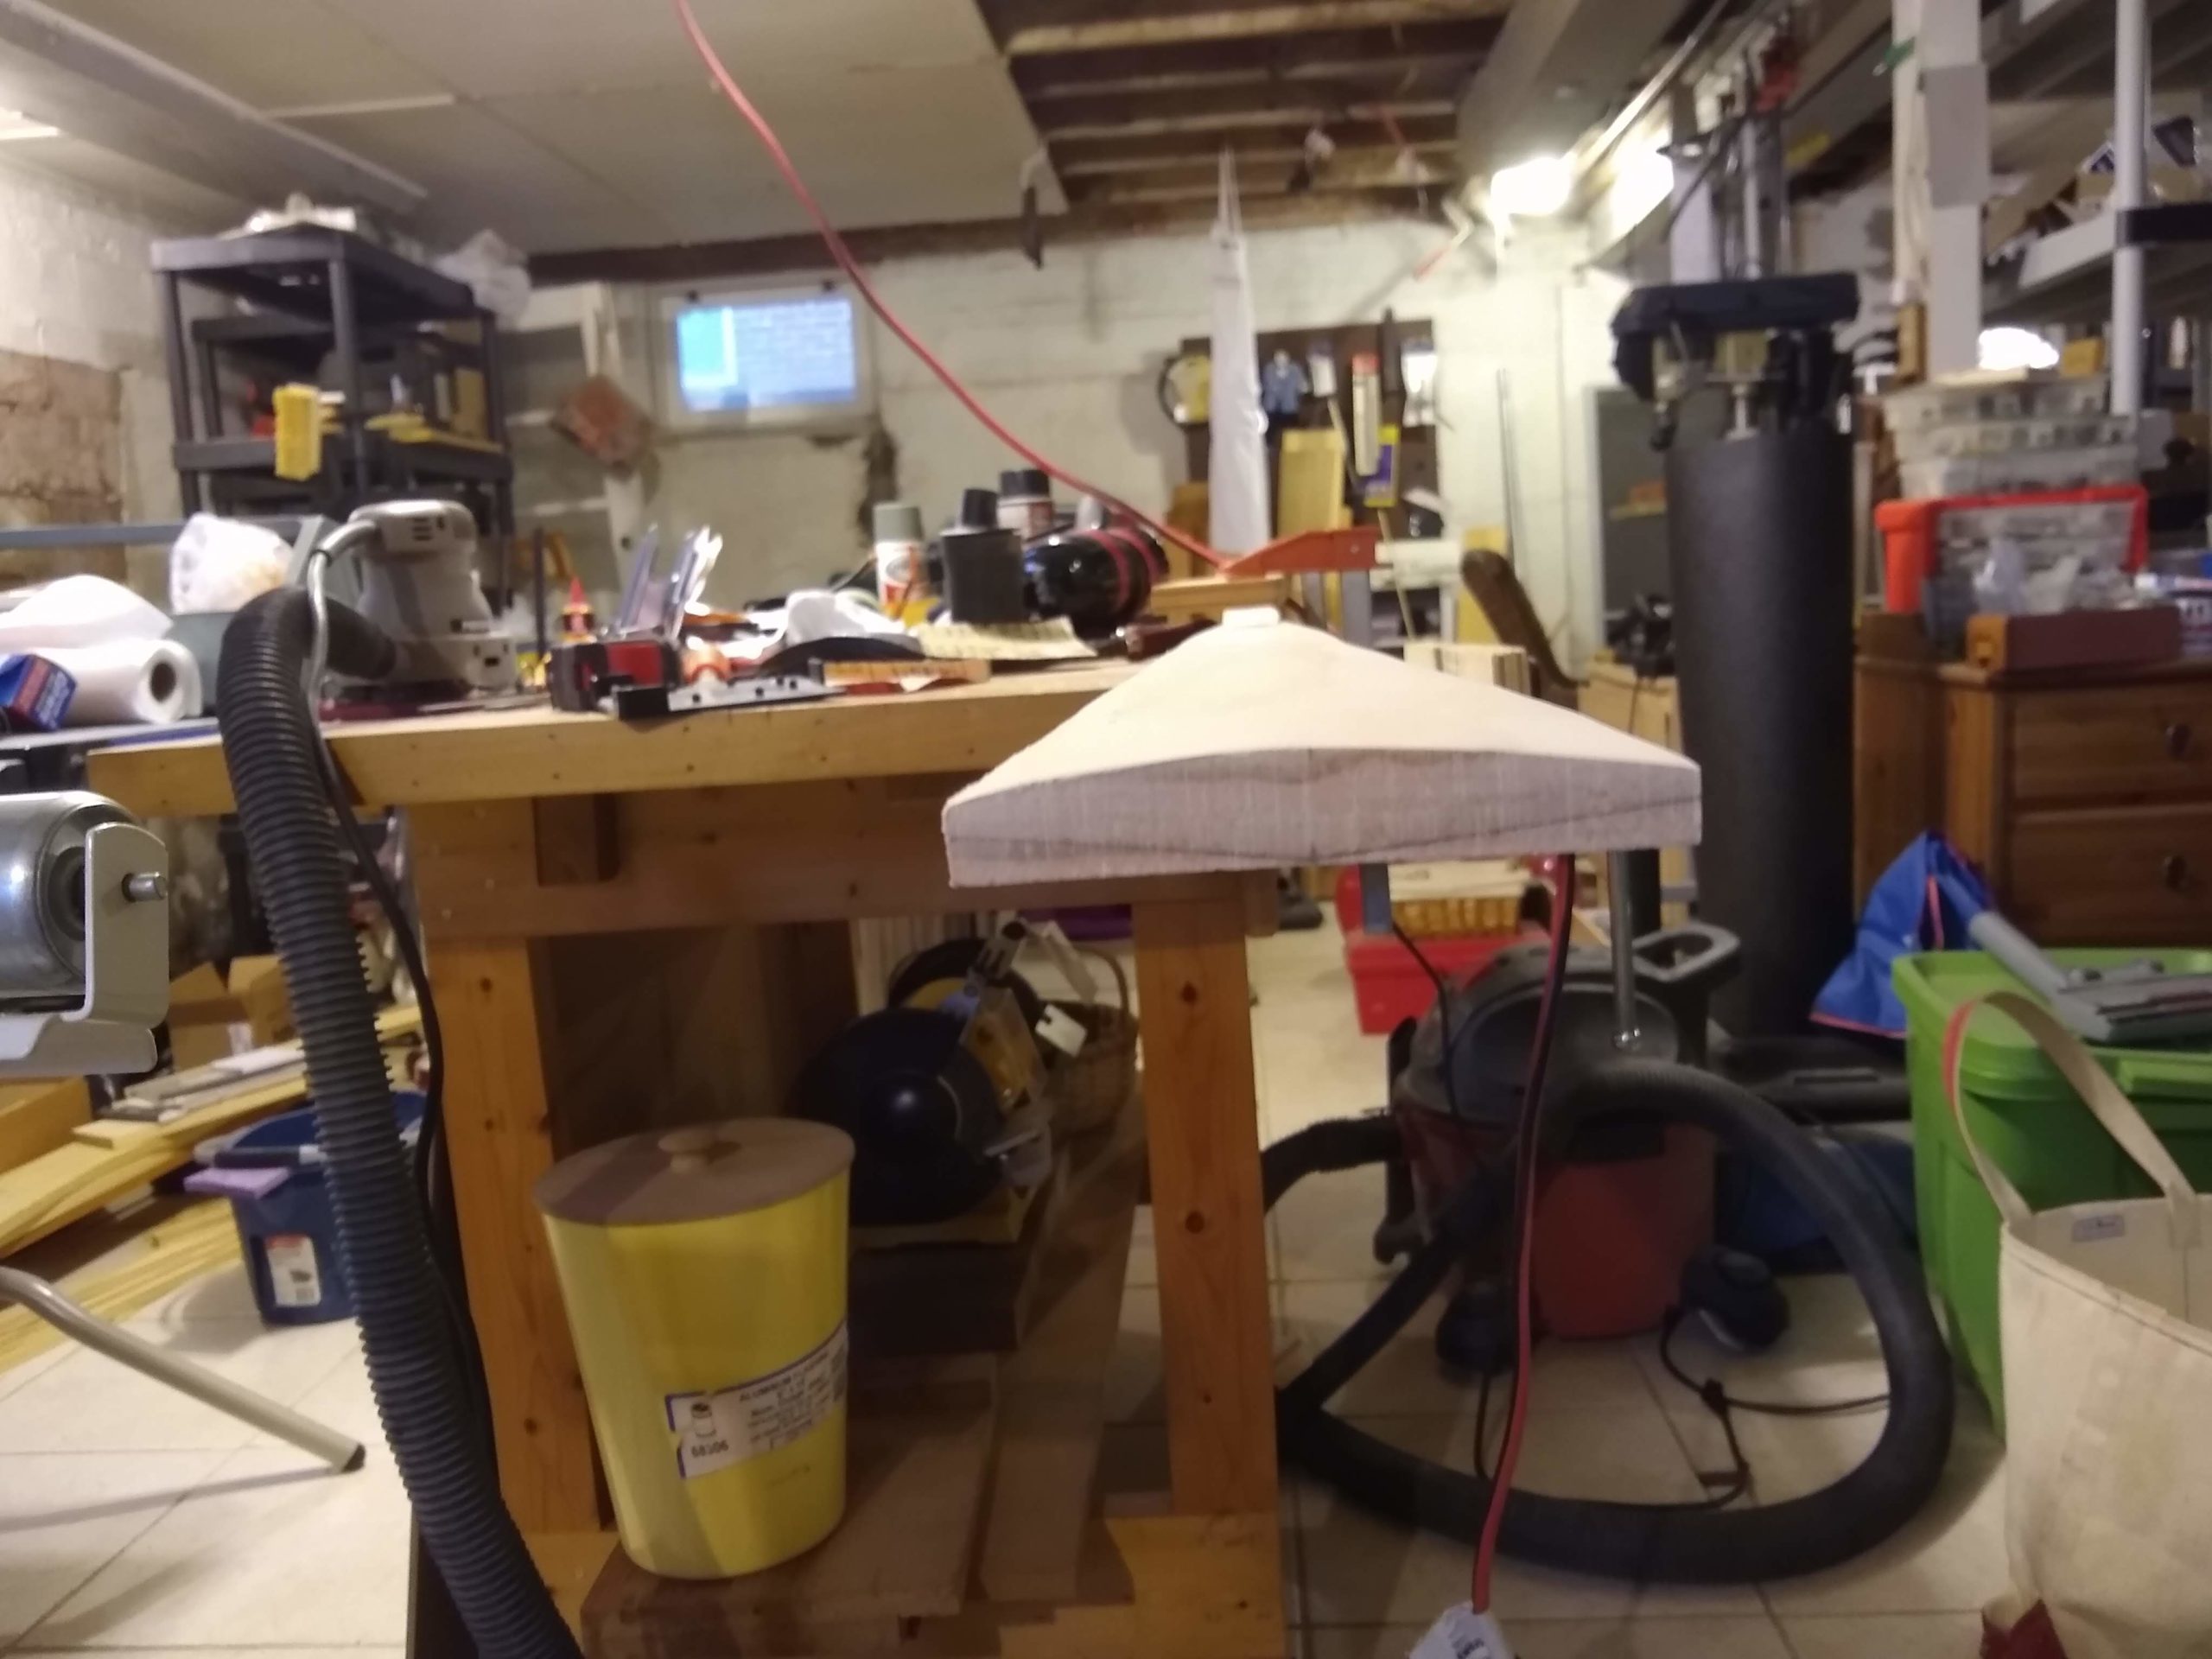
Shaped the second oar, pretty much just like the first. Except that I learned maybe a thing or two from the first oar that I was able to do better on the second oar.
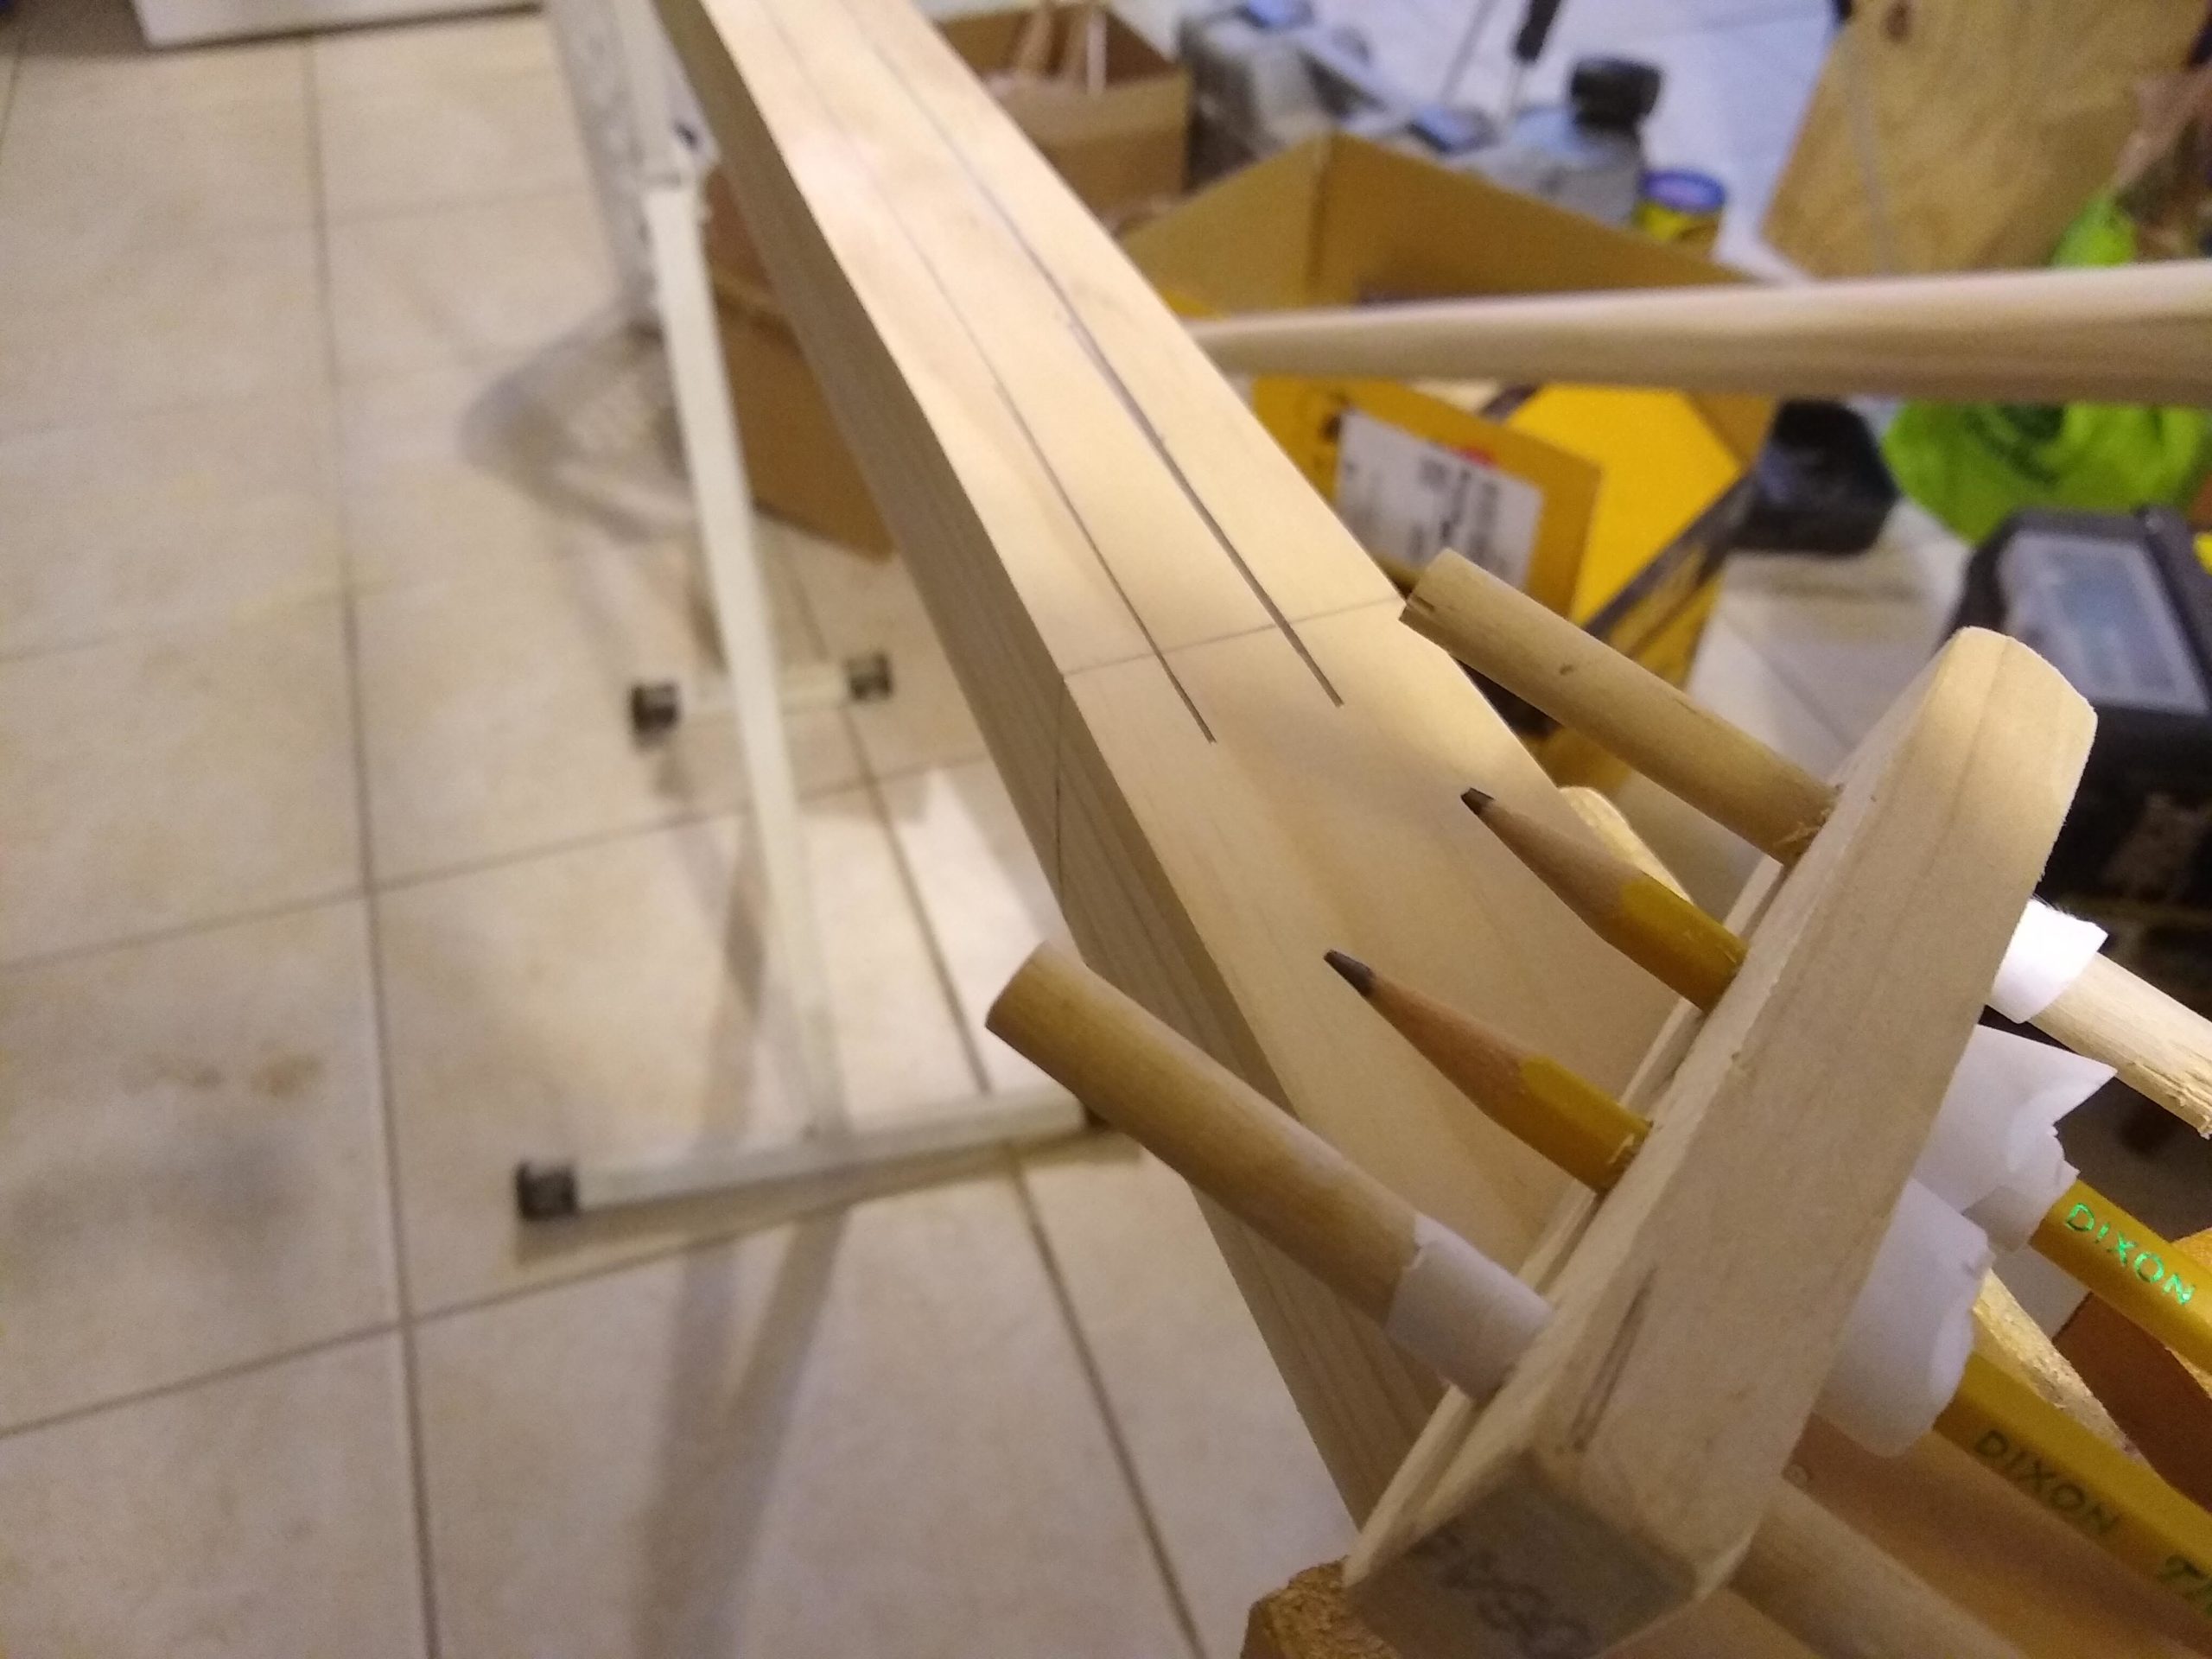
Gadget and layout lines
One was being a little more careful with the gadget in drawing the lines. The pencils have a tendency to drift toward each other if they’re not held rigidly when drawing the lines. Not a big deal, in that they’re just making layout lines and not actually cutting anything, but it just feels better to look at them when they’re straighter.
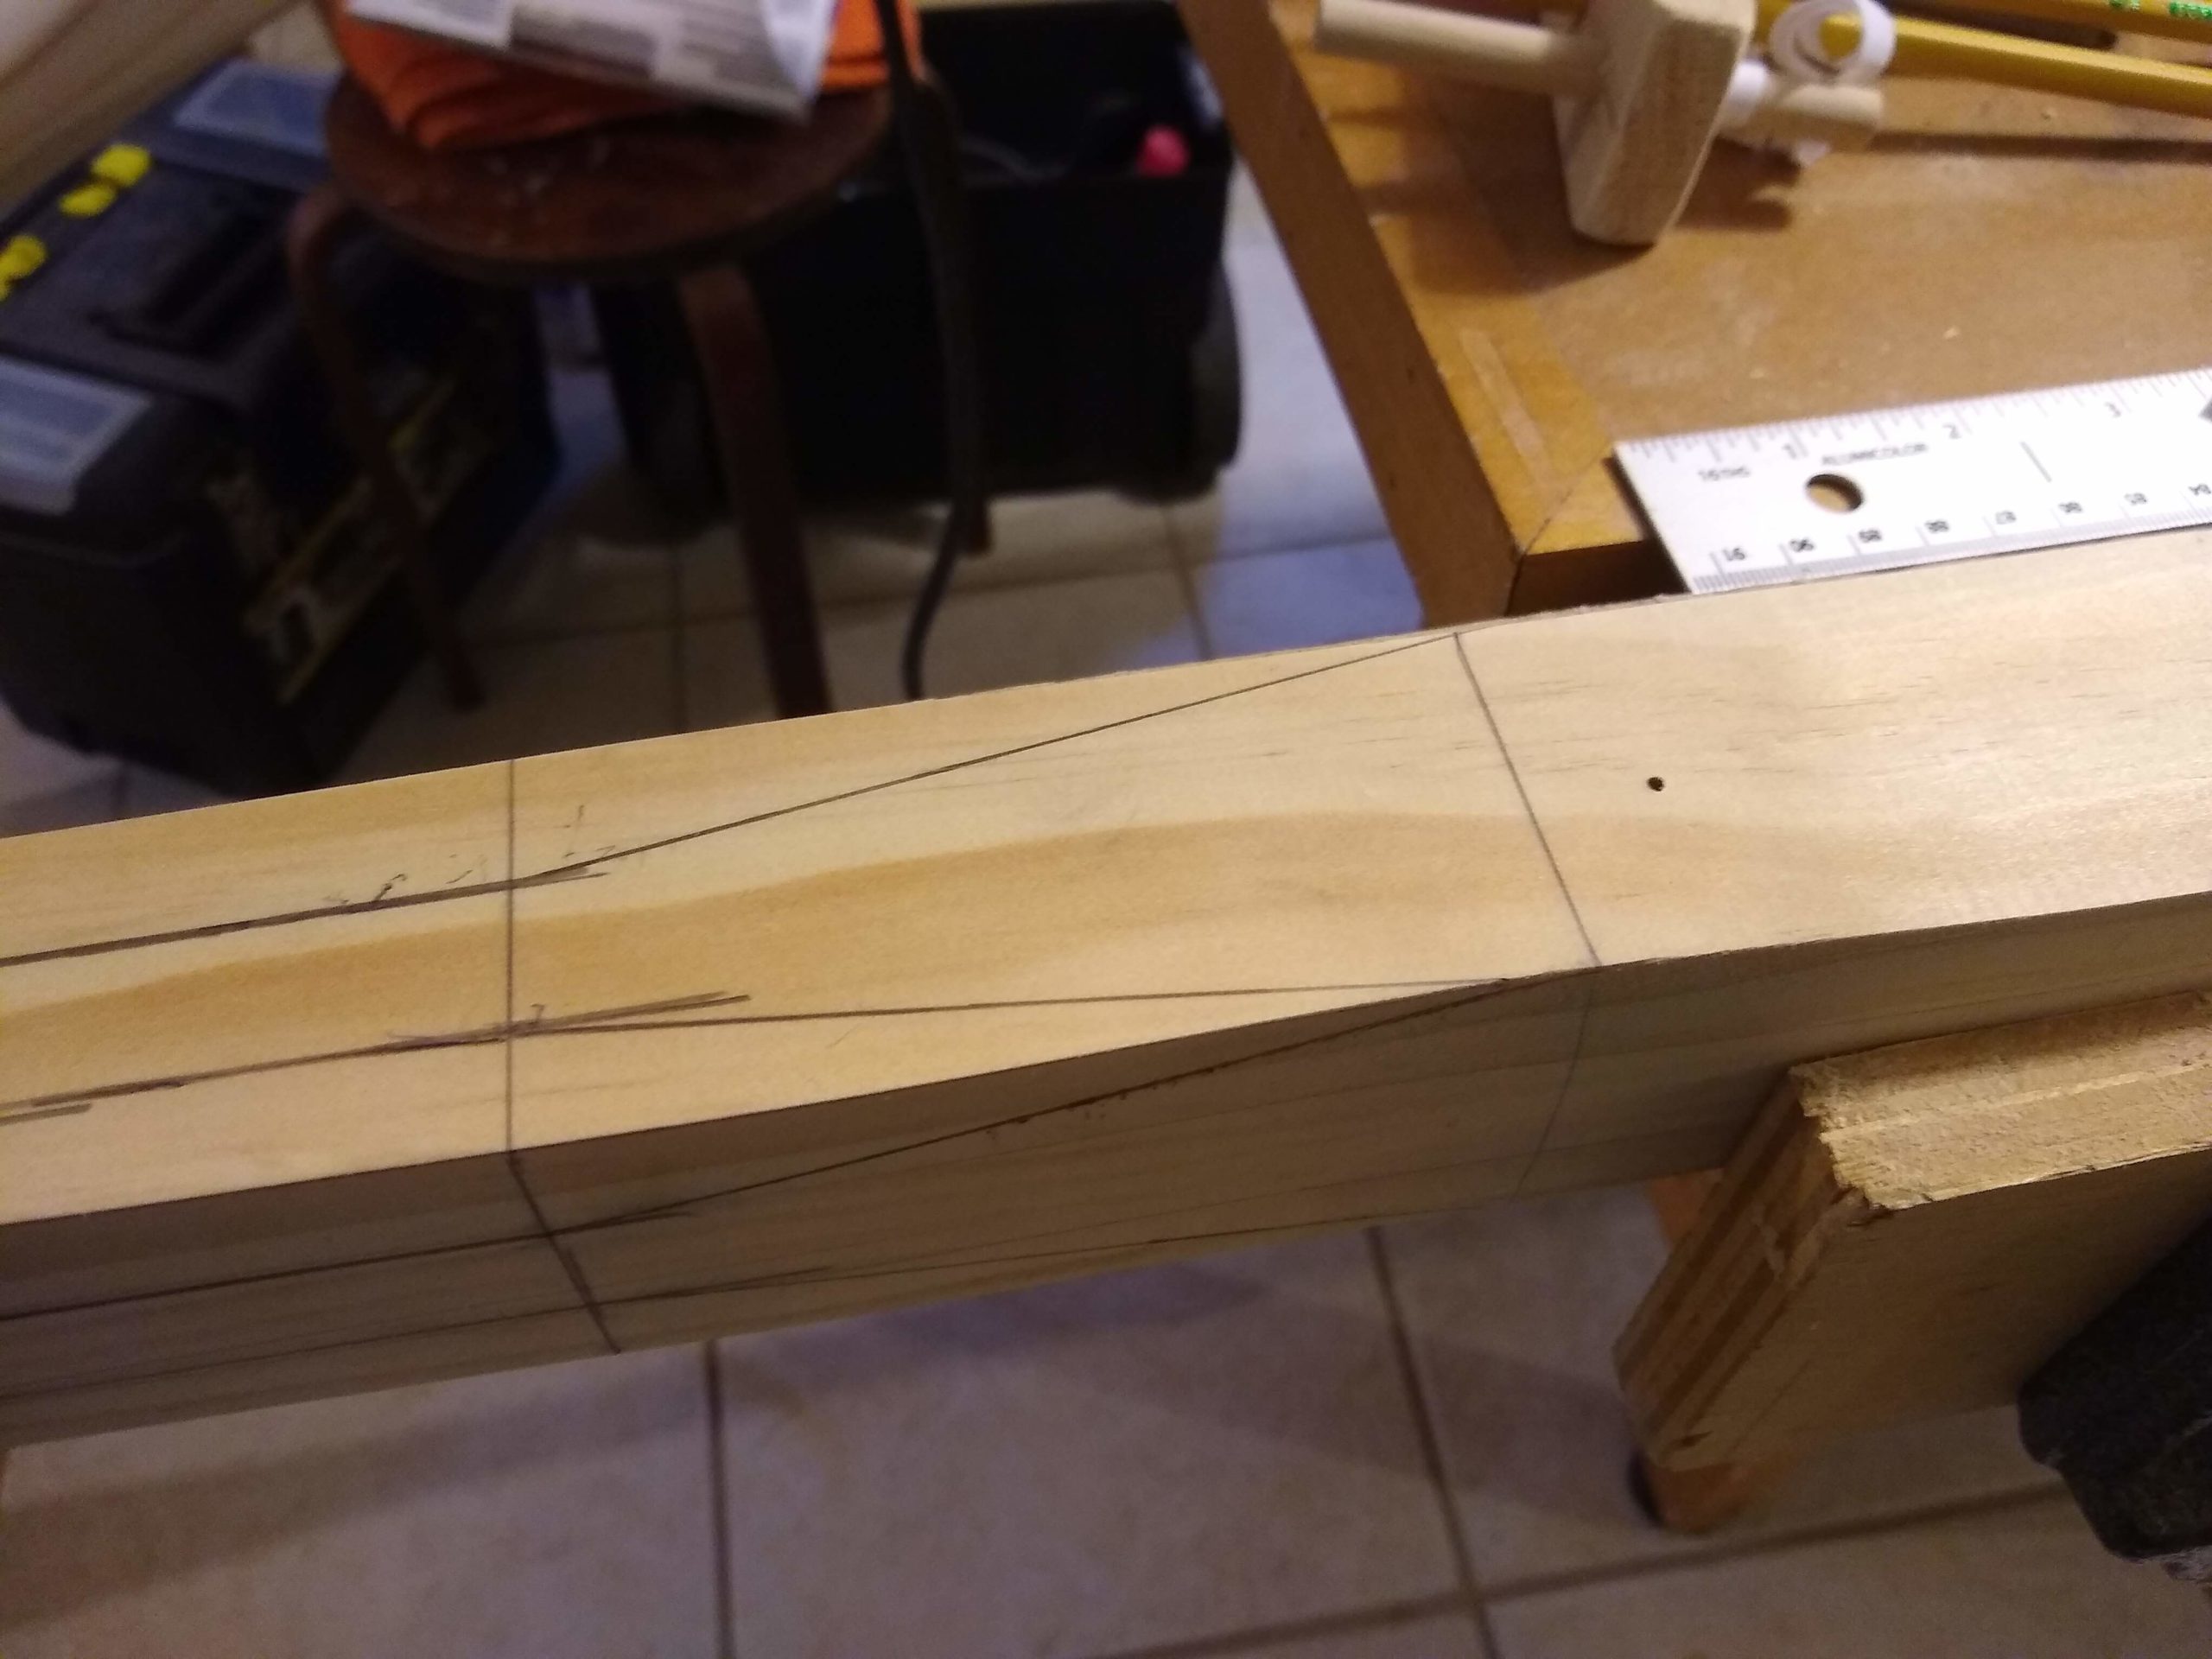
Square to round transition lines
More important, though, was cutting the handle to square before shaping it round. I used the dozuki saw instead of the ryoba, and I made relief cuts into the waste area so that I could readjust to a straighter cut if I got off track. It was much better.
So now I’ve got both oars shaped. Next up is staining and varnishing.
Working Saturday and Sunday, as well as on Monday night, I finished shaping one of the two oars.
I used the electric planer to remove as much stock on the second side of the blade as I could before finishing with the rasp. I tried a few different methods with the planer, trying to say exactly on one side of the blade, using the fence that came with the planer as well as attempting to use a metal ruler as a fence. Neither worked very well; in fact, I cut some of the ruler as it was way too thin to be an effective fence. Luckily it’s aluminum, I think, and didn’t damage the planer knives.
Both sides of oar being shaped
I made a little gadget that Jim Michalak suggests using to mark out the layout lines when turning the 4-sided looms into 8 sides, on their way to being round. I thought I had measured the holes well enough to hold the pencils and the dowels that I’m using as little fences, but the holes turned out to be a bit big. So I shimmed them as best I could by wrapping paper around the dowels and pencils. It worked, meh, just okay. If I were building oars for a living I’d make a better version, maybe epoxy for the dowels and little wedges for the pencils.
Gadget
Jim Michalak says that he leaves his looms (and handles) 8-sided, rather than shaping them any further. I had originally planned to do the same. But at some point I started rasping the corners of the eight sides a bit, just to soften them, and then I kept going and ending up fully rounding them. And they turned out so utterly wonderfully beyond anything I could have expected. They really look great.
Rasping the loom
But fully rounding the looms did then present me with the problem of how to transition between the square and round parts of the loom. I arbitrarily picked a spot 4 inches down the loom from the end of the square part and from there pretty much split the difference between the points of the octagonal shaping and the points of the squares. That also turned out so much better than I could have imagined.
Square part of the loom, round part too, and a nice transition between them
There’s something of a transition between the bottom of the loom and the top of the blade, and there I used a chisel to pare away the loom stock. That worked out really well, making it a lovely transition.
One oar shaped, one not yet, loom detail
For the handle, I first had to trim the 1″ wide by 2-1/4″ tall handle area to a 1″ square, creating two more shoulders between the handle and the square loom. I used the rip teeth of the double-sided ryoba saw along the 5″ length, and I didn’t cut nearly as straight as I would have wished. So the handle at the shoulder is maybe a little thin. It’s not so bad that bad, though. Maybe you can’t see it. But I sure can see it.
Handle detail
Then I shaped the handle to eight sides and then round, except that I more eyeballed the lines to mark the eight sides rather than use the gadget. And I had to do rather quite a bit of chiseling at the shoulders of the square loom, but they do look a lot better now for it.
So, yeah, wow, the oars have turned out to be harder than I imagined. Who knew?
I knew that I could really benefit from using a hand plane or two for shaping at some point, so I trotted out my antique Stanley #4 smoother and block plain (and my not so antique Buck Brothers jack plane) to try my hand yet again at hand planes. I’ve never been successful with them.
Which is why they’ve been in storage for so long, and also because they suffered terribly in the flood we had in the basement. Oh, my, was there rust. A lot of rust.
And I felt terrible about that. Not that I was any good with these tools in the first place, but, at the very least, I should have been a better steward for the antique Stanley planes. Especially the #4 smoother. It’s a type 15, I’ve learned, made between 1931 & 1932. I feel like I should take better care of it.
So, more recently though, I watched Rex Krueger’s awesome video on restoring old Stanley bench planes. He showed some awesome results with a bench grinder and a wire wheel. And Dawn had just done the taxes and said I had a few dollars to spend on something for myself. So I bought myself the DeWalt DW756.
And it really, really did some good on my #4, getting rid of the heartbreaking rust. I was stunned. But then came trying to sharpen the iron itself. I tried the sandpaper method. I used my oil stones. I used my diamond stones. And I’m still terrible at sharpening.
But, I thought, maybe it’s sharp enough. Maybe I’m not getting a perfect flat mirror lapping the back of the iron, but maybe it’ll cut okay anyway. I’m not trying to get a shimmery surface on tiger maple or anything. I’m just trying to shape some pine.
So I tried using the plane on the taper on the loom on the oar where it goes from the 2″ square down to the 1-1/4″ where it meets the blade. And just a couple of strokes with the plane … and I broke it.
I broke my precious antique Stanley #4.
Now, I only broke the tote, the wooden rear handle, and not the precious cast iron or anything. It’s not the end of the world. But it’s pretty much the end of my career with hand planes.
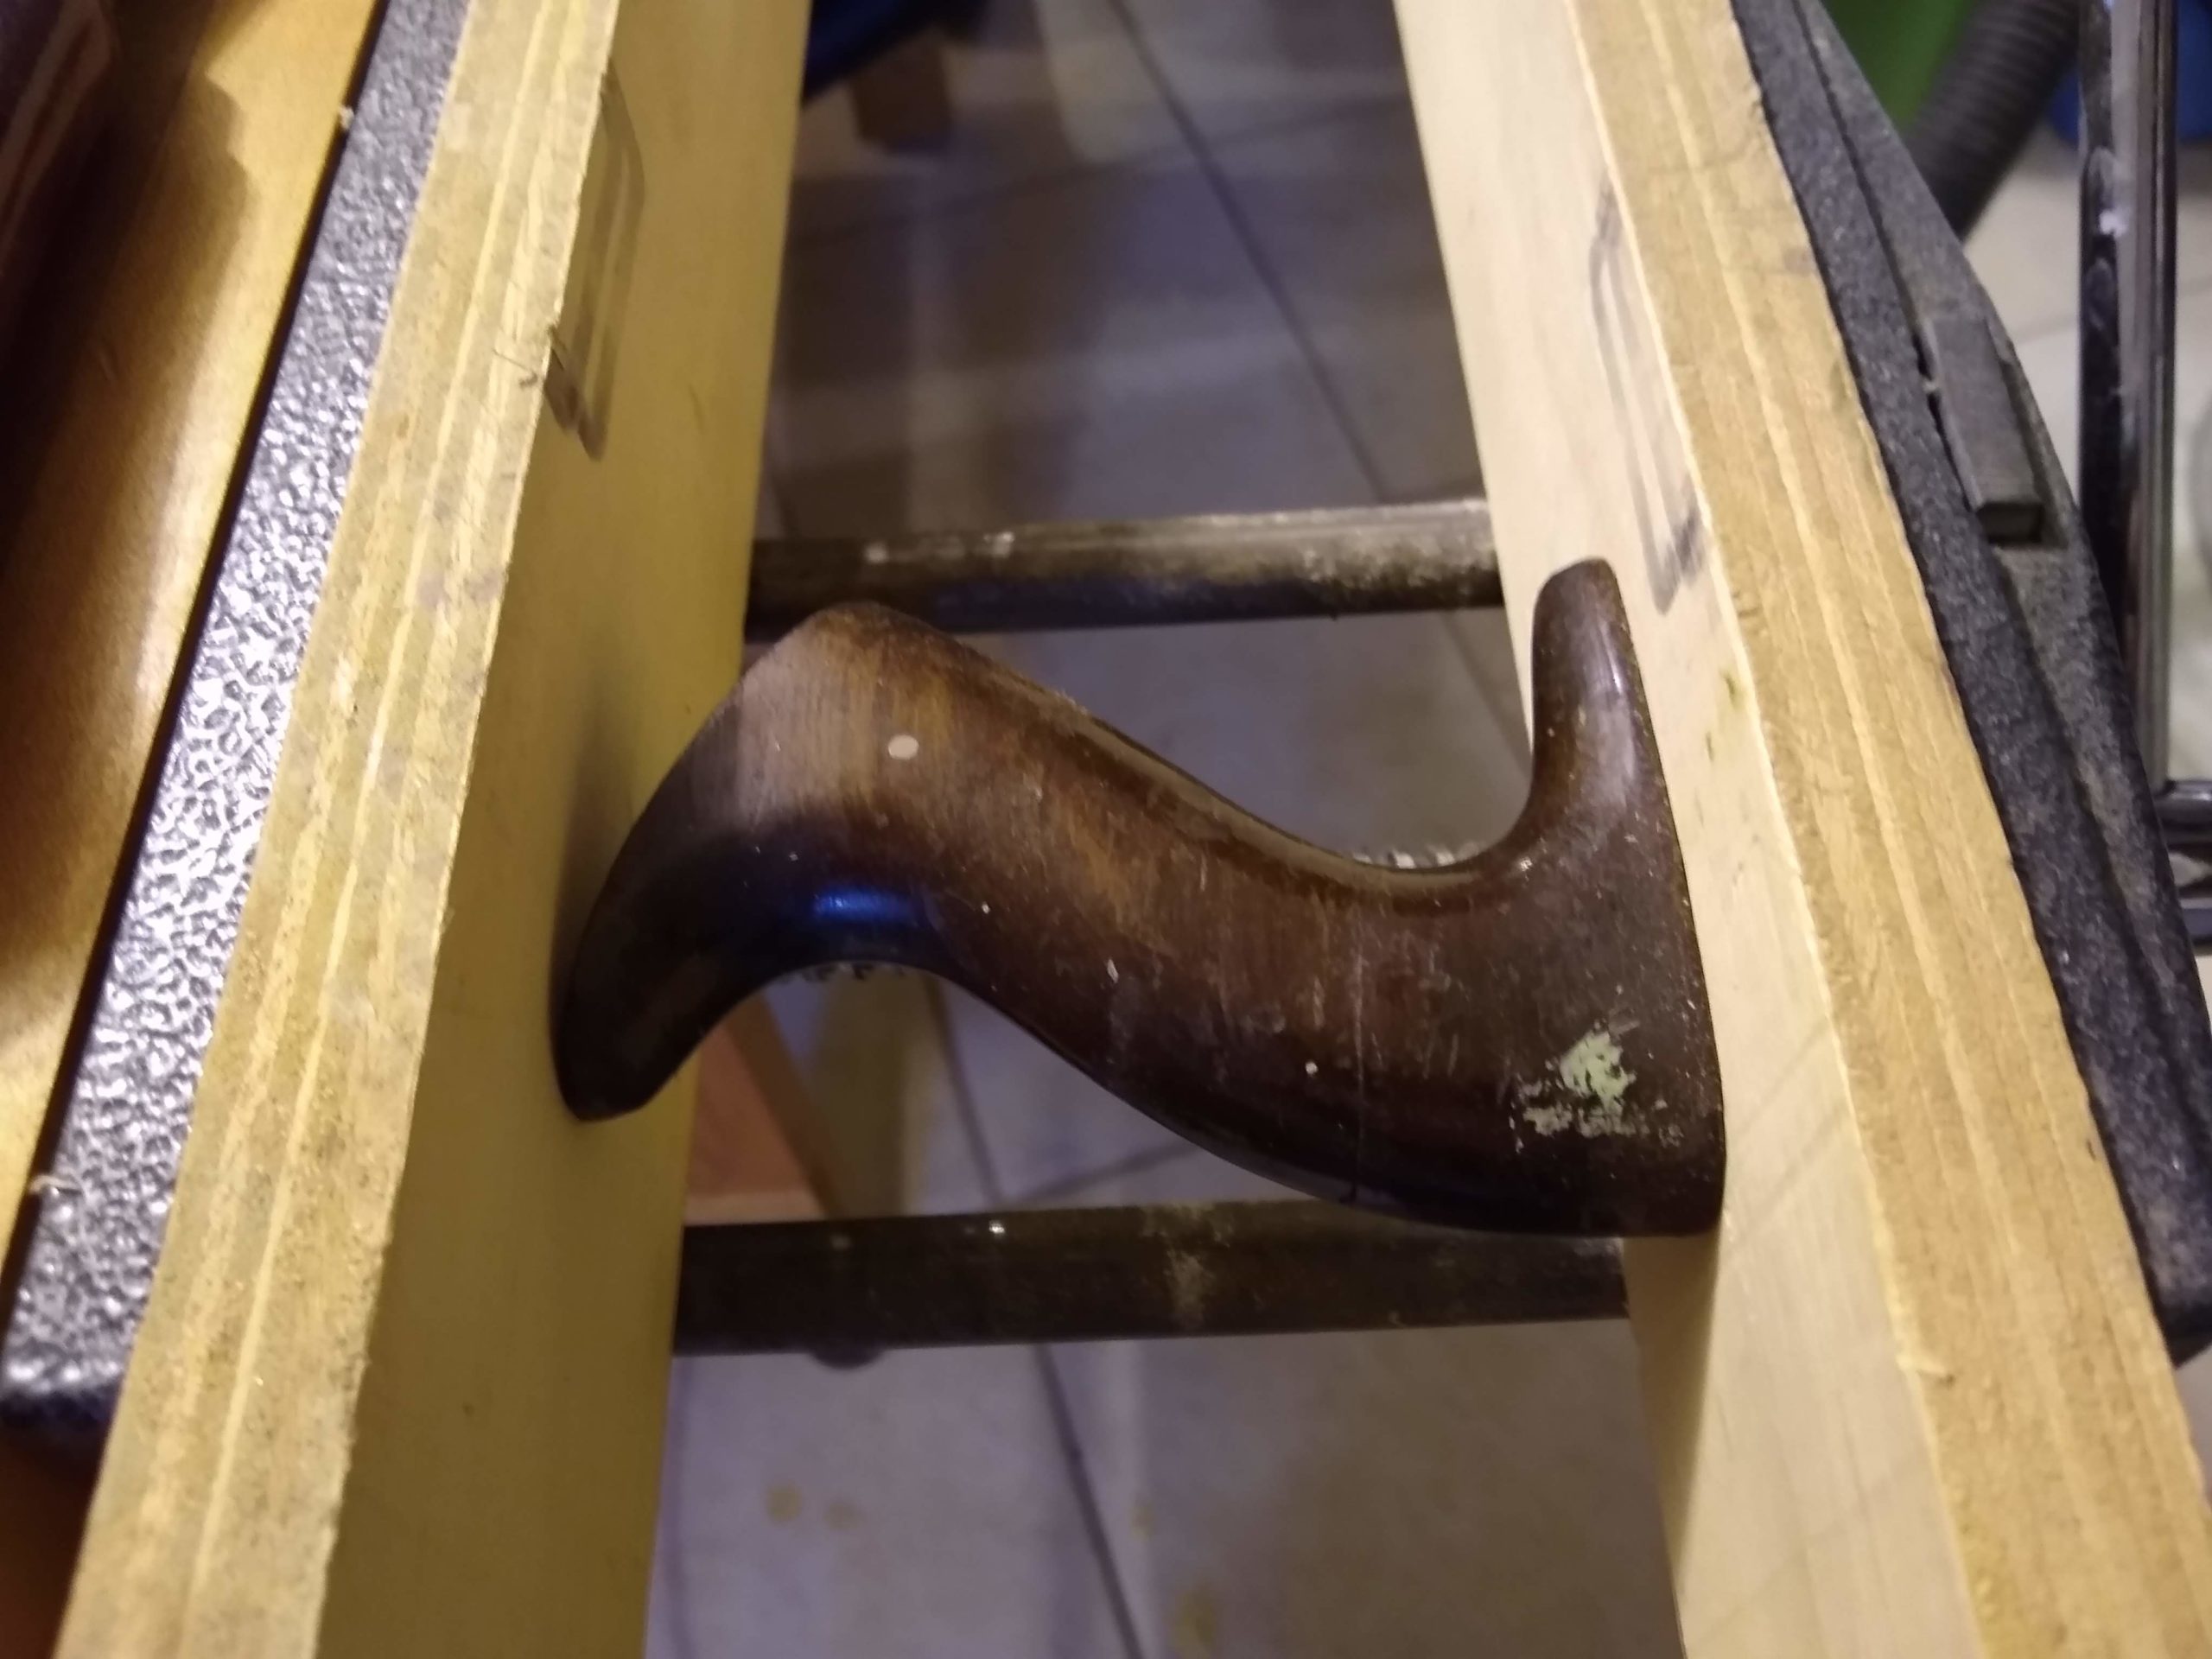
I tried gluing the tote back together with wood glue, but the orientation of the grain makes it pretty much end grain that I’m trying to glue together. It didn’t work. So I used epoxy instead. That made an utterly ugly glue line, but it holds.
Tote being glued
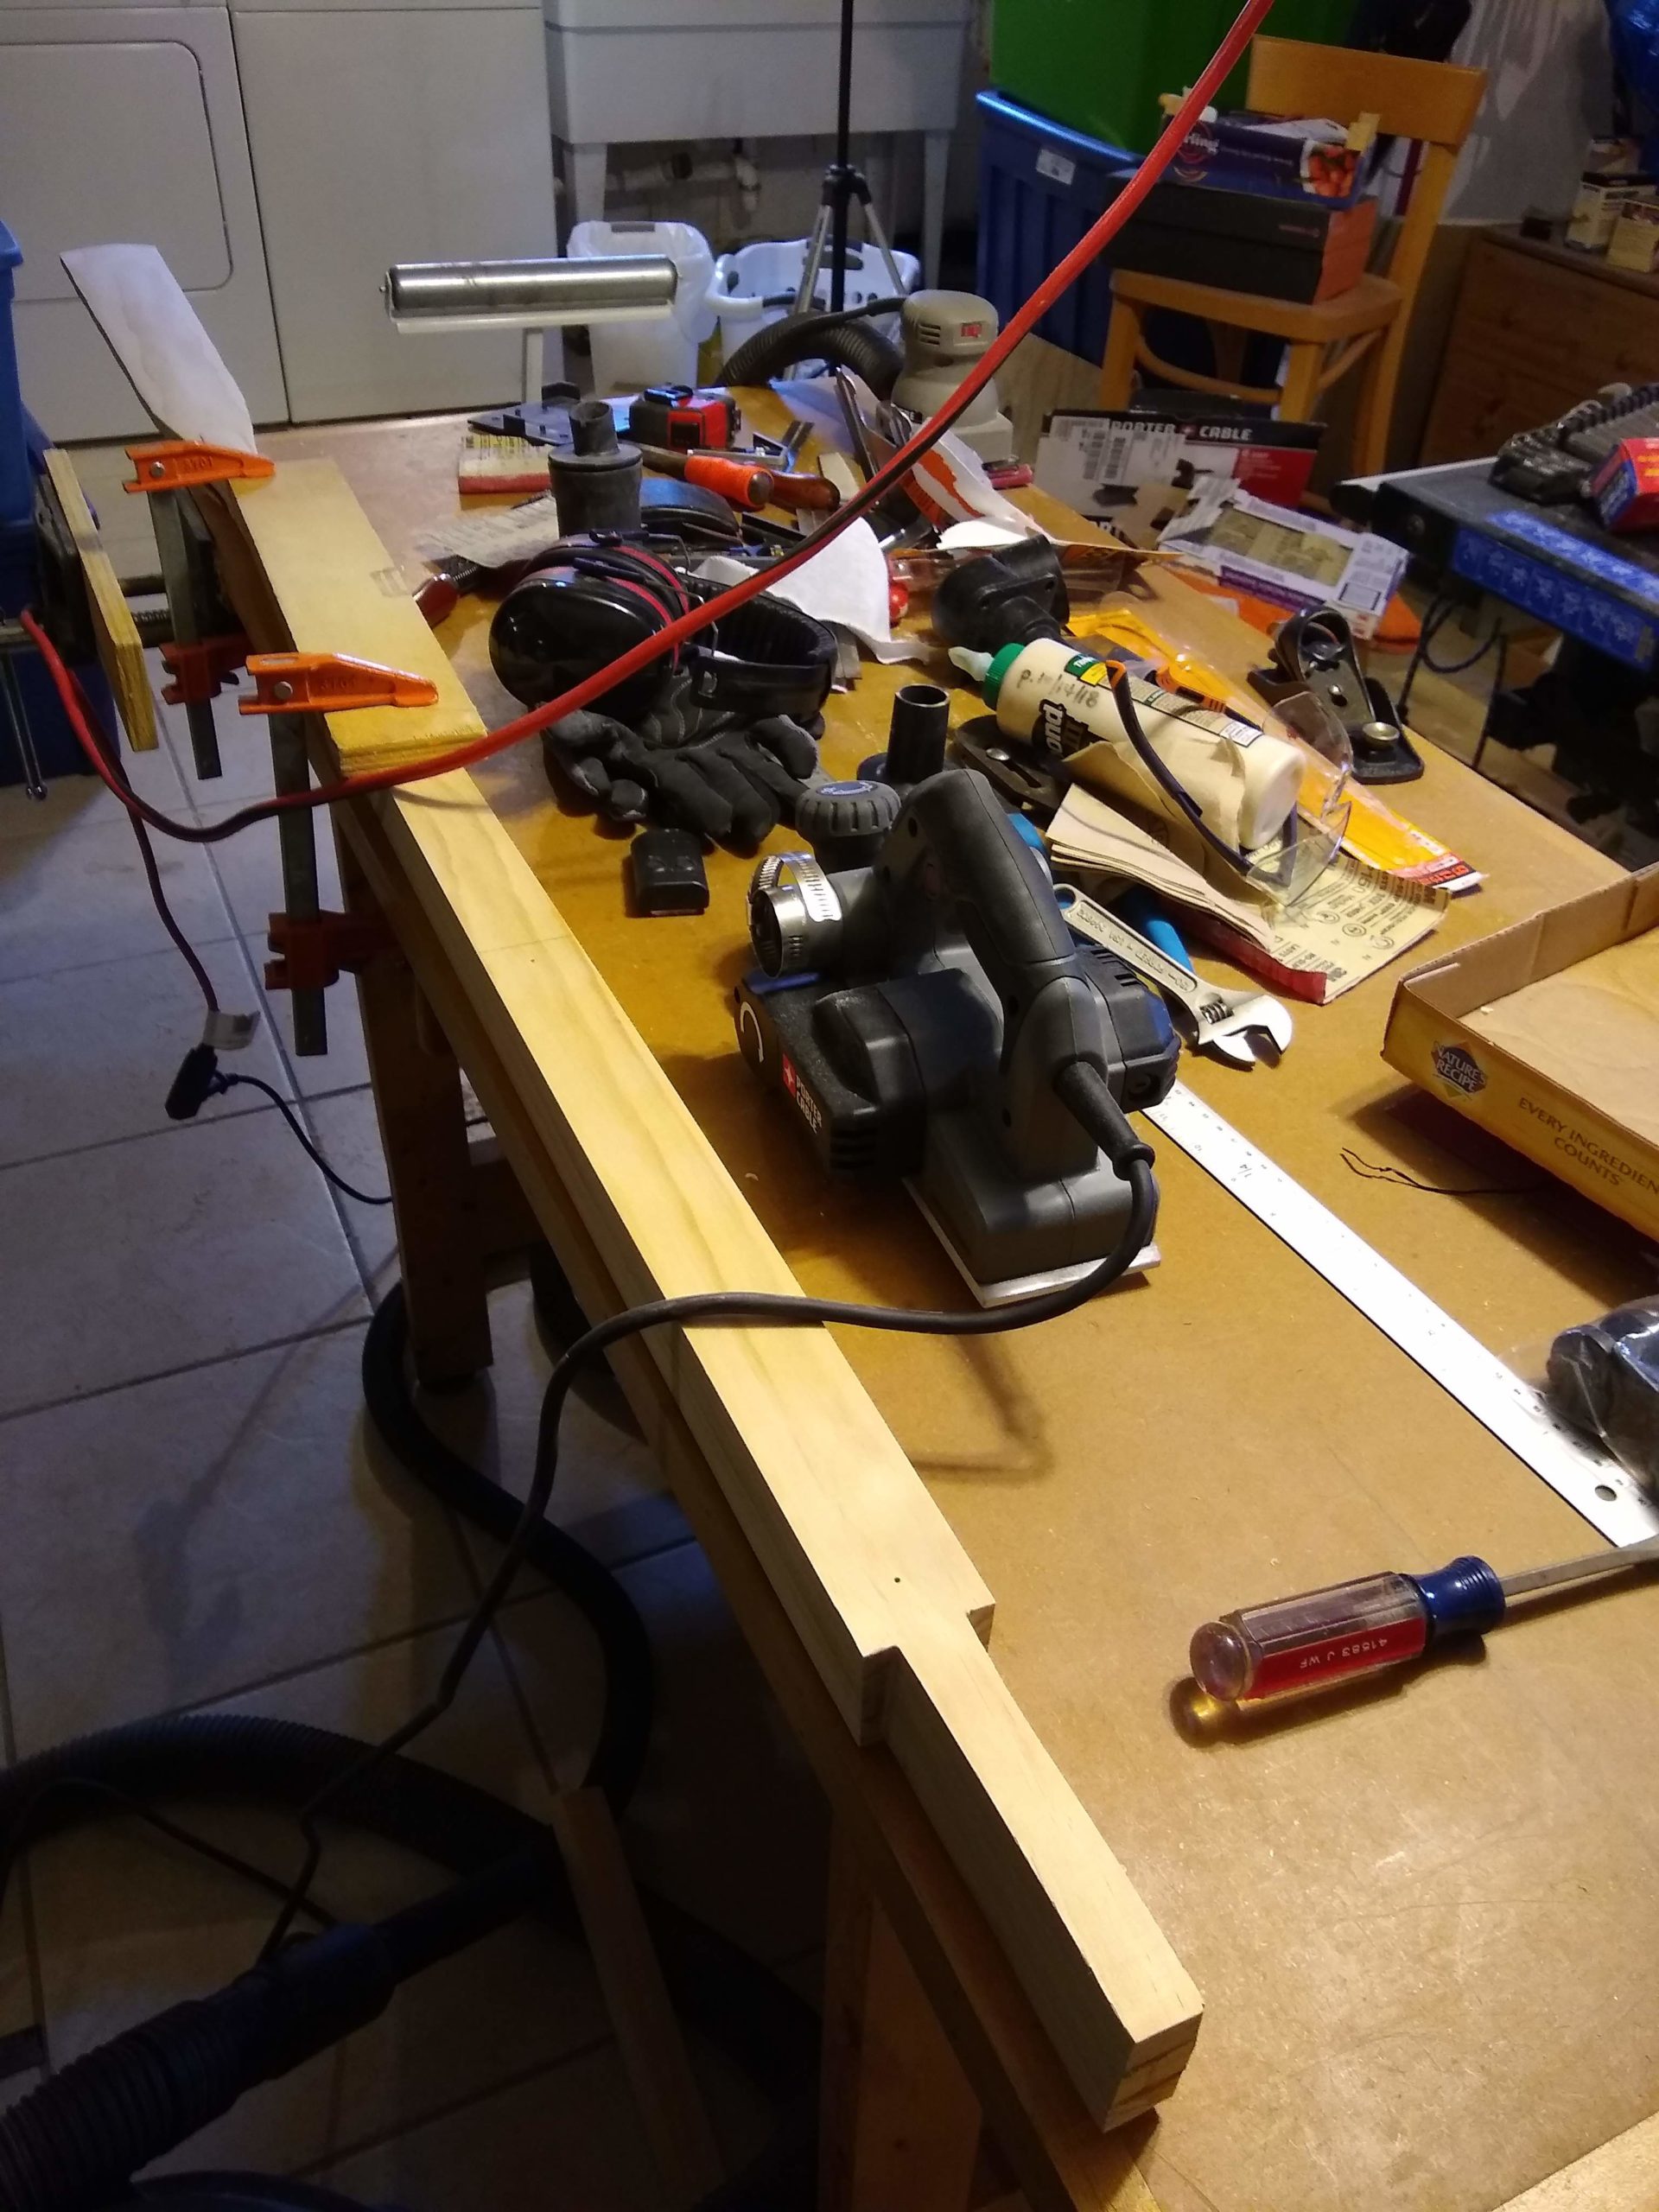
And I instead bought a power hand planer, the Porter Cable PC60THP, which is a malevolent looking beast but works, I suppose. And I used that this weekend to start shaping the oars to their final dimensions.
And it works really well on the square part of the loom, it works less well on the taper part of the loom, and it works surprisingly poorly on the blade. I really thought it would work super well on the blade.
Oar loom shaping with power planer
So I’m back to using the rasp on the blade, which is a good workout. So far I’ve done one side of one blade. A couple more hours of that, though, and I should finish with the oars.
Oar blade shaping with rasp
Oh, and I did get the boat turned right side up, ready for painting the inside yellow. I’ve ordered that paint.
Spent Saturday sizing and shaping oar pieces somewhat, and then glued them up on Sunday.
Each oar is made from three pieces which get glued together in a sandwich, as it were. Once glued, the middle of the sandwich doesn’t get shaped much top and bottom, except for the blade, which isn’t technically part of the sandwich anyway.
But the top and bottom parts of the sandwich, the top and bottom bun, say, while already cut side to side to taper from 2″ square down to 1-1/4″ round, are still 3/4″ thick for their full length. They each need to be 5/8″ thick at most and taper down to only 1/4″ thick at the point where the blade begins. The plans call for removing that extra stock after gluing together, but I’m shaping that some before gluing.
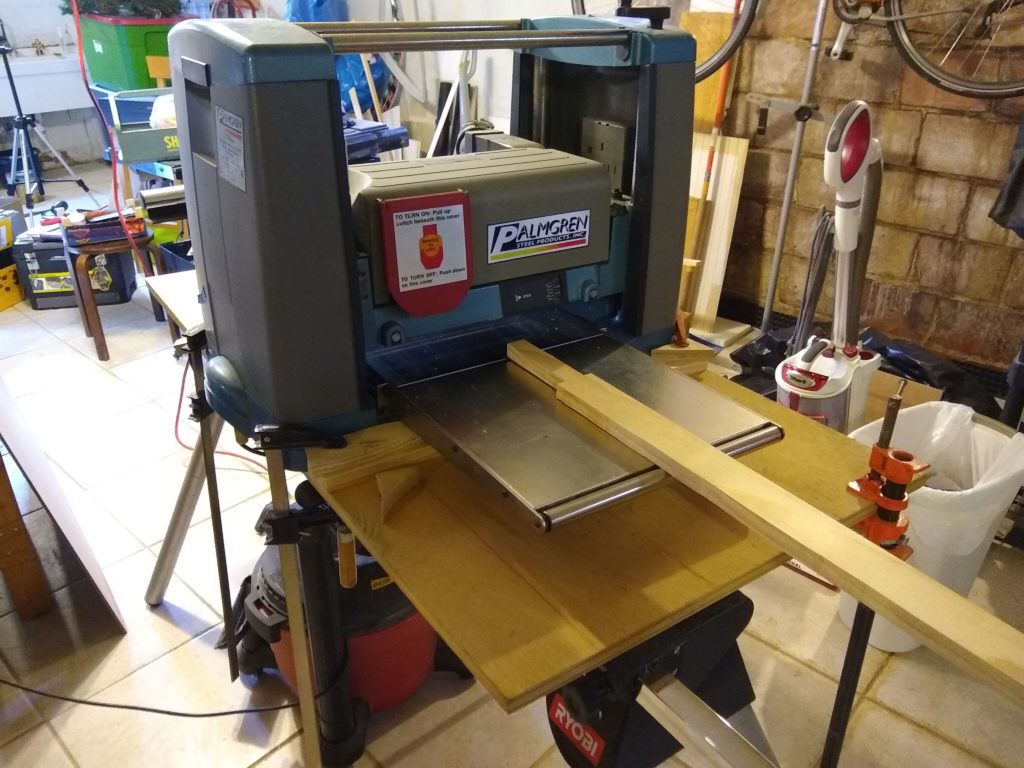
Planer for planing
It’s stupid simple in a thickness planer to take a board 3/4″ thick and make it 5/8″ thick instead. And since I’ve got a planer, that’s what I do. I just make a little mark somewhere for 5/8″ thickness on each part and send them through the planer a few times until they’re down to the mark.
5/8″ thickness is the goal.
The taper from 5/8″ down to 1/4″, though, is a rather more tricky thing. I make some plans for a planer sled, where I would need to raise the bottom end of the bun up 3/8″ so as to plane it down to 1/4″. But I finally decide that a sled is more complicated than this operation needs to be, and besides I don’t think I can make any sort of wedge that’s 30″ long but only 3/8″ high to support the bun under the rollers in the planer. So that board is going to bend and not get planed right. Forget it.
Planed to 5/8″
I consider some sort of taper jig for the table saw, but that leaves a lot of material hanging off the front end of my tiny little table. I’m not comfortable with that, either.
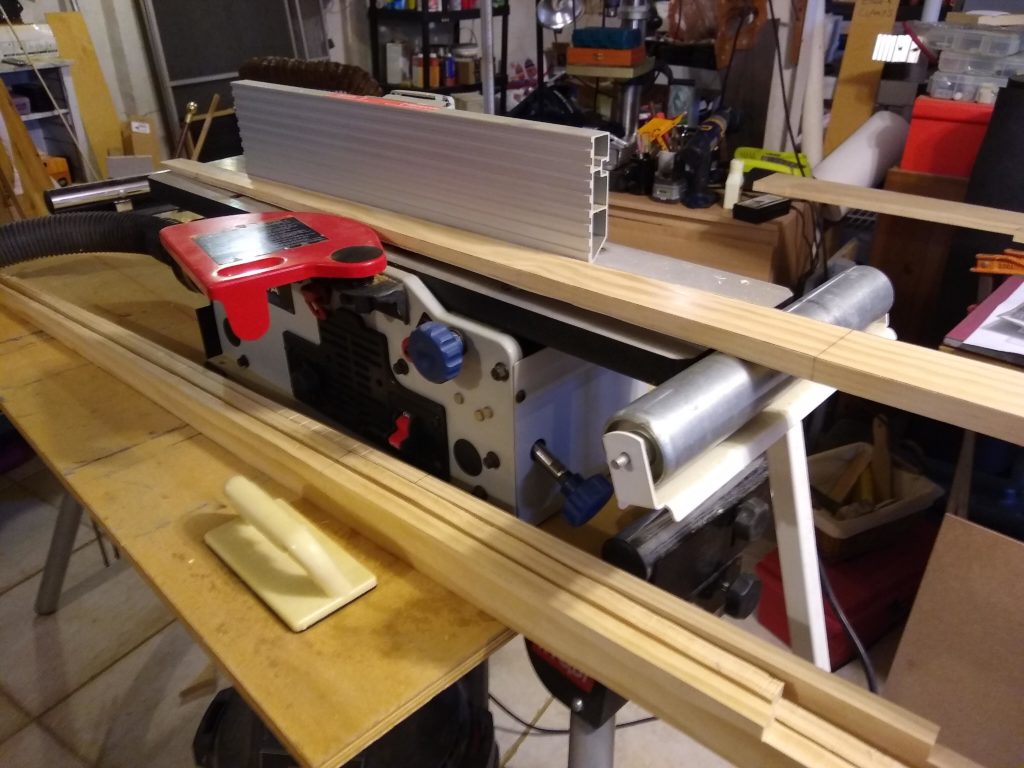
Jointer for jointing
I finally opt for using my little bench top jointer. I have an adjustable roller stand that I butt up against the infeed table, so that the incoming piece being jointed is lifted up … somewhat. Instead of measuring precisely how high above the table it is, I just sight along the jointer fence, trying to keep the line on the board level with the horizontal fluting along the fence.
This works, turns out. Works just fine, especially since I’m only aiming for getting close to the final line rather than exactly on it. I’m only removing most of the stock, not all of it. I’ll still be doing some final shaping after gluing the sandwiches together, with plane and/or rasp and/or file and/or sandpaper.
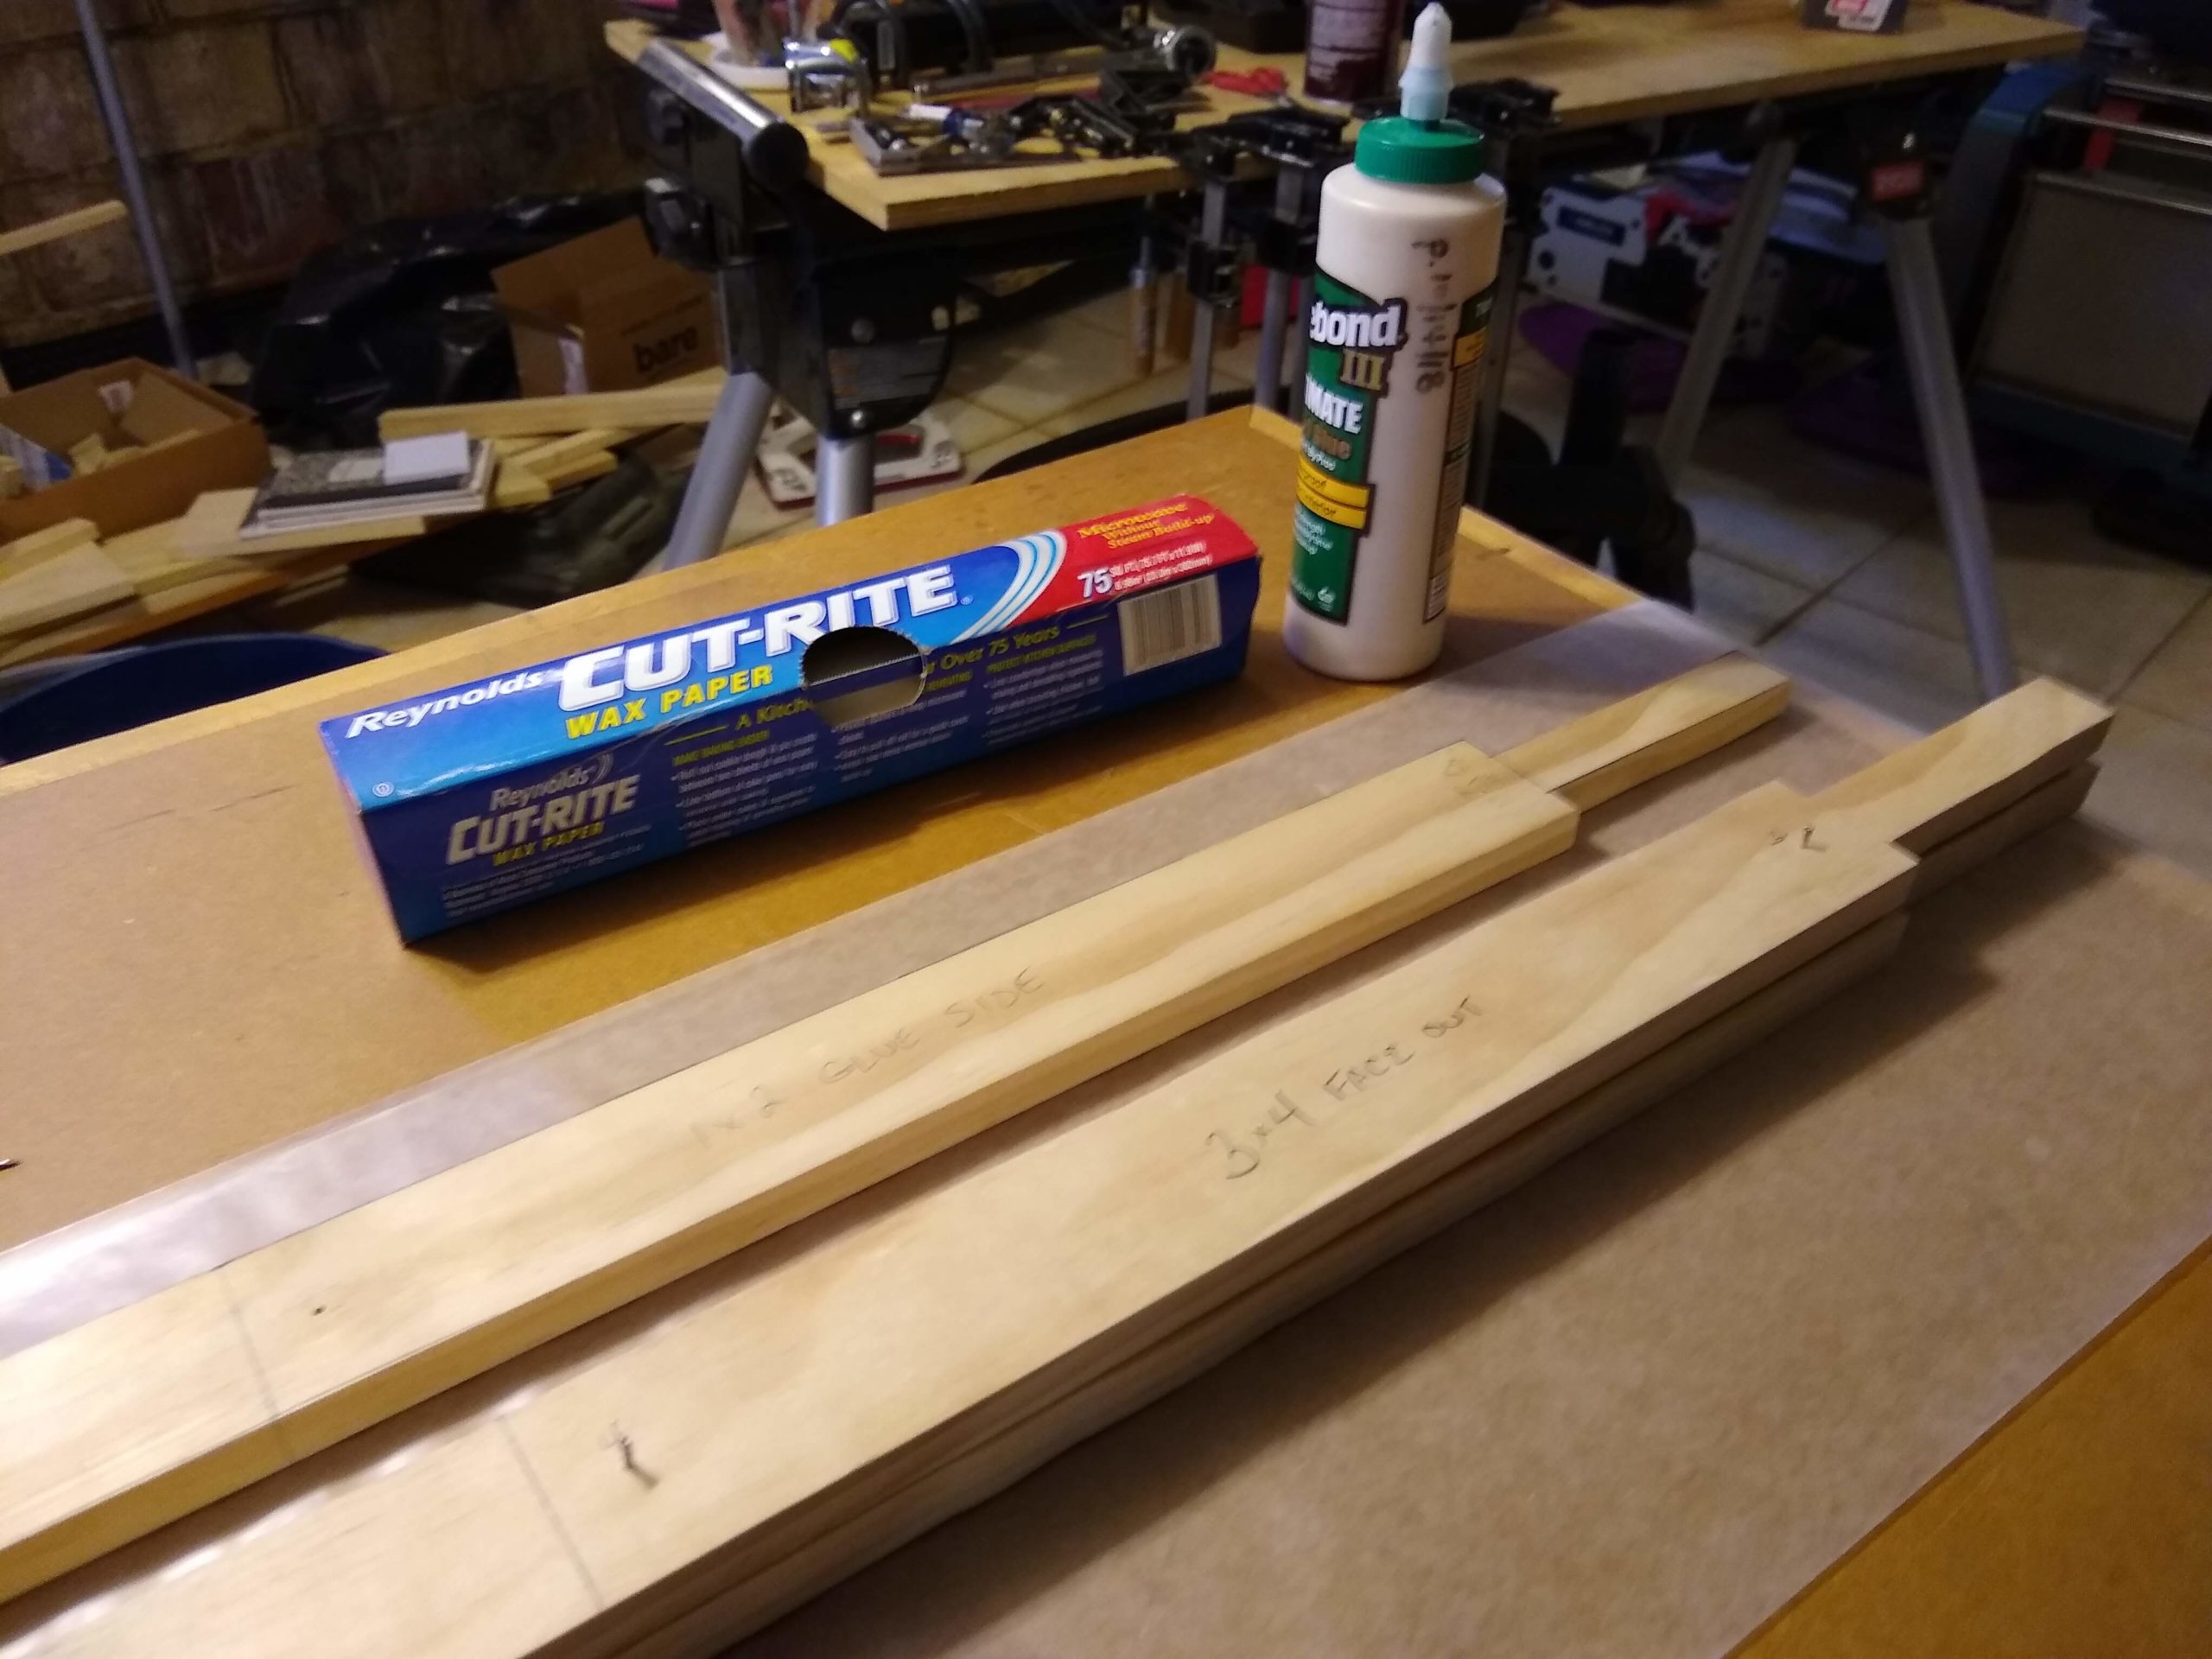
Gluing set up
Gluing the sandwiches together is fairly straightforward, except that I worry about the parts sliding around with the slippery glue while I’m trying to clamp it all together. Jim Michalak suggests tapping in a “light temporary nail to keep the pieces from sliding around on each other because almost all glues are quite slippery until they start to set.” Ain’t it the truth.
Glue sides and show side clearly labeled
I tap in two light temporary nails, 1-1/4″ long 3d nails to be exact, spaced toward each end of the square part of the loom, on each side of the sandwich. I drill 5/64″ pilot holes, thinking that I’ll have to tap in the nails, since Googling for the diameter of a 3d nail and finding 0.083″ as the answer, whereas 5/64″ is 0.078125″ so I’ll have a smaller hole than the nail. But the nails pretty much slide in and out of the pilot holes without tapping. Either I read the wrong row or, heck, the wrong website, or else that 0.083″ is just a nominal size and nails ain’t exactly precision tools, or maybe my 5/64″ drill bit is a smidge bigger, or maybe I accidentally used the 3/32″ drill bit.
Whatever. These nails are only for temporary alignment, so they don’t need to stay in past the clamping stage. They work just fine.
3d nails as registration pins
I expected to use all my clamps, but I don’t. I use most of them, though.