
I meant to reassemble the hull this weekend, this time with glue, to build the hull for real. I did not build the hull this weekend. It snowed instead. A lot of snow. Damn. I finished the frame and stem, though. That’s something.
Working in the basement workshop, I removed the temporary braces from the top of the frame and cut the tops of the frame sides down to 14″, rounding over the top edges so’s they’ll look nice in the boat.
Cutting the curves with the handheld jigsaw, the curves weren’t especially even or attractive, so I decided to sand them a bit. I got them a little more even, a little more attractive, so much so that I thought I’d sand the sides some, thinking that I wouldn’t be able to sand them as easily once they were attached to the sides and bottom of the boat.
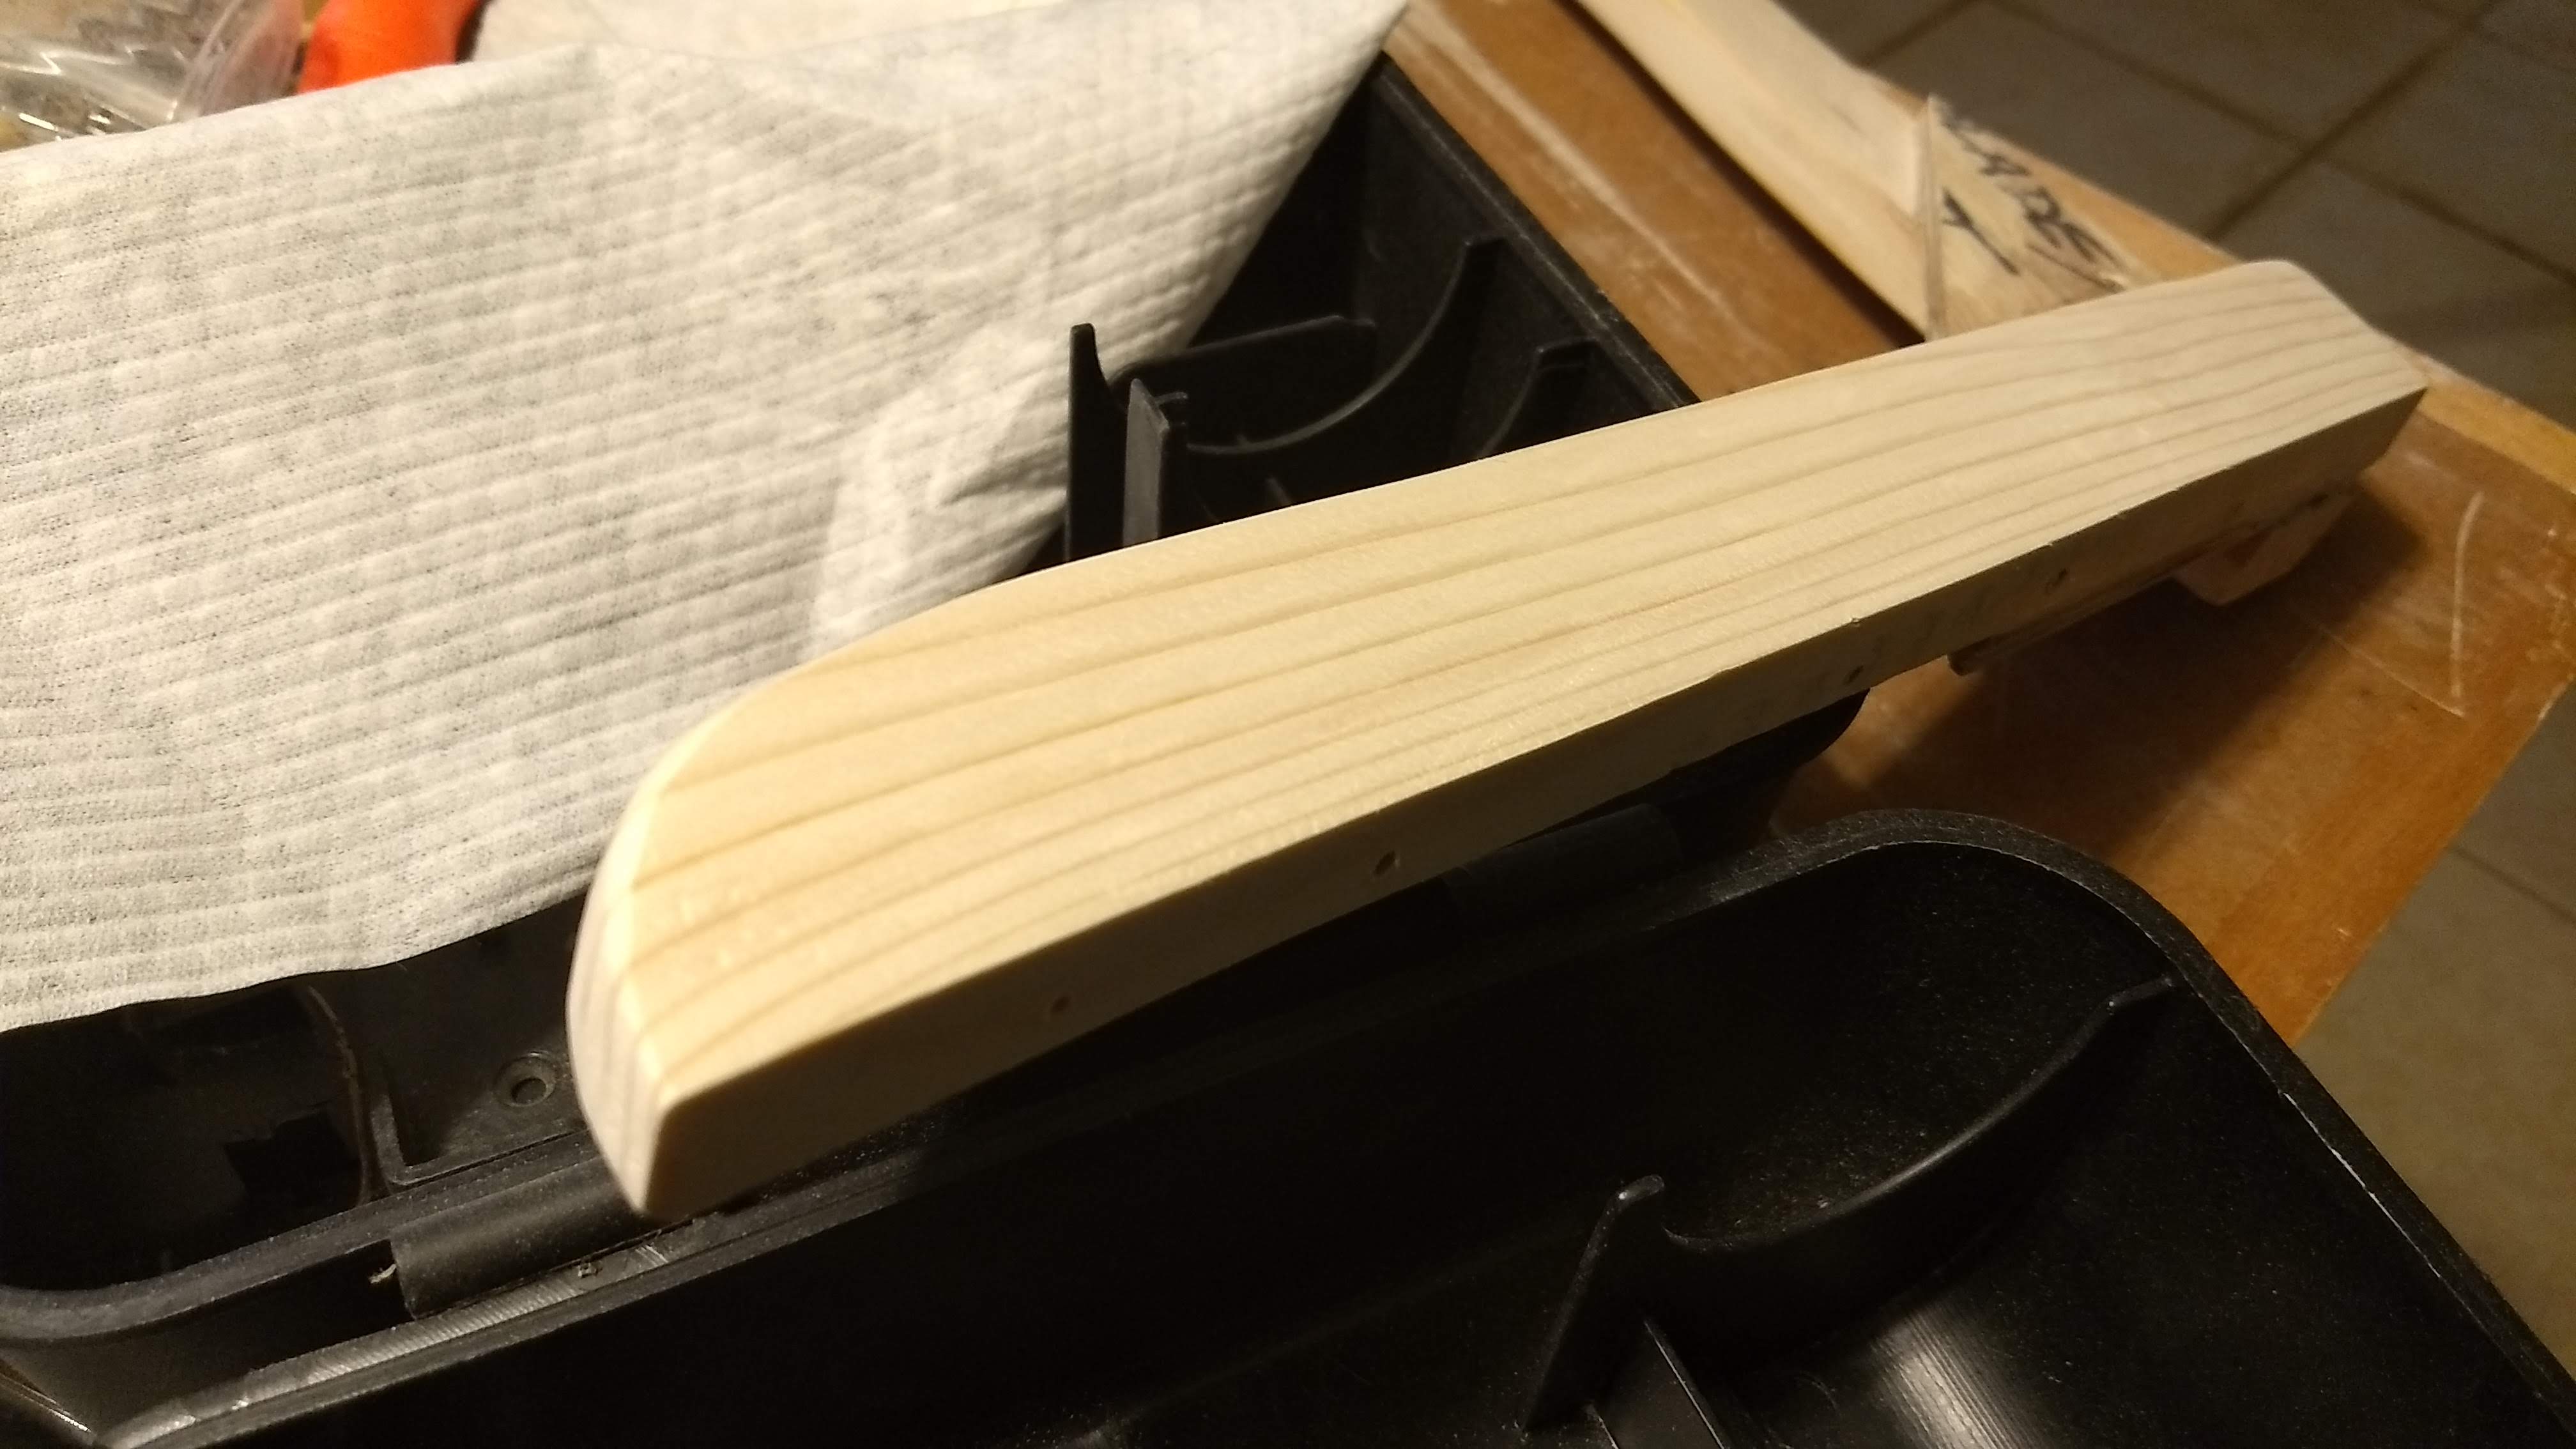
I kinda got carried away with sanding, but, hey, the frame looks pretty terrific now. If I do say so myself. I sanded away much of the writing on the parts, the labels showing what parts they were. I don’t mind all the writing on the boat. It adds to the rough homemade feeling about everything, but all that writing’s going to be painted over anyway.
One purely functional thing about the sanding that I did was knocking down the sharp edges of the parts. I think a bit of rounding looks better, but it’ll also prevent splitting (I think) and/or me or anybody else cutting themselves on any sharp edges (I think).
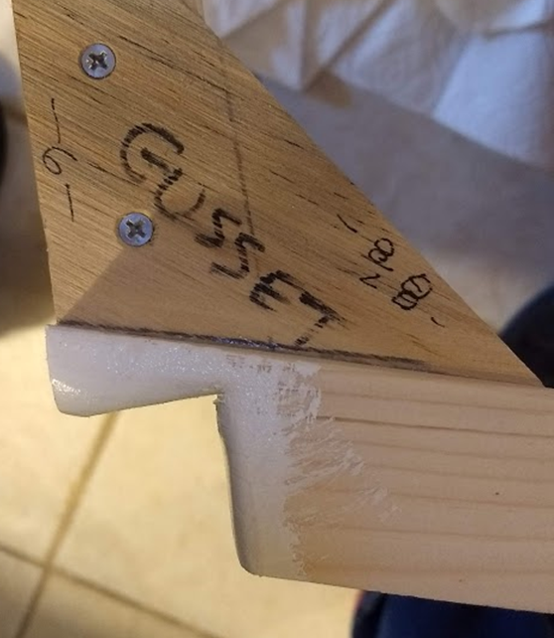
I also cut out the notches in the frame for the chine logs. Which I did not do the same on both sides, dammit. Measure once, cut twice, as usual. I was supposed to measure up 3/4″ from the bottom corner of the frame to accommodate the 9/16″ side of the chine, then measure out 1″ at a 90° angle perpendicular to the side of the frame, to accommodate the 5/8″ top of the chine.
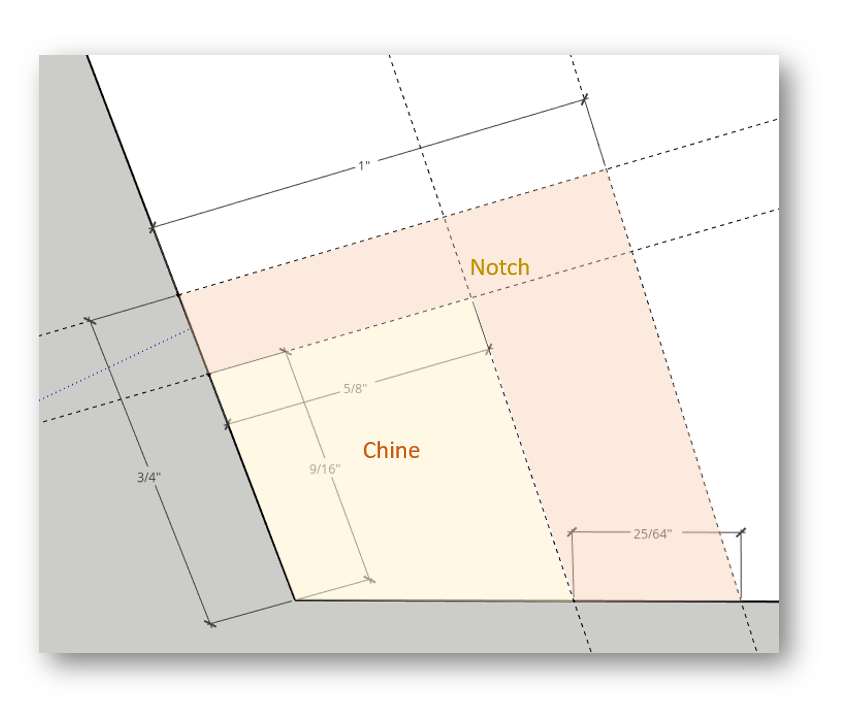
I did indeed measure out 90° on the starboard side but absent-mindedly measured out 1″ on the port side merely parallel to the frame bottom instead of perpendicular to the side. I don’t think that leaves enough room for the chine at that point.
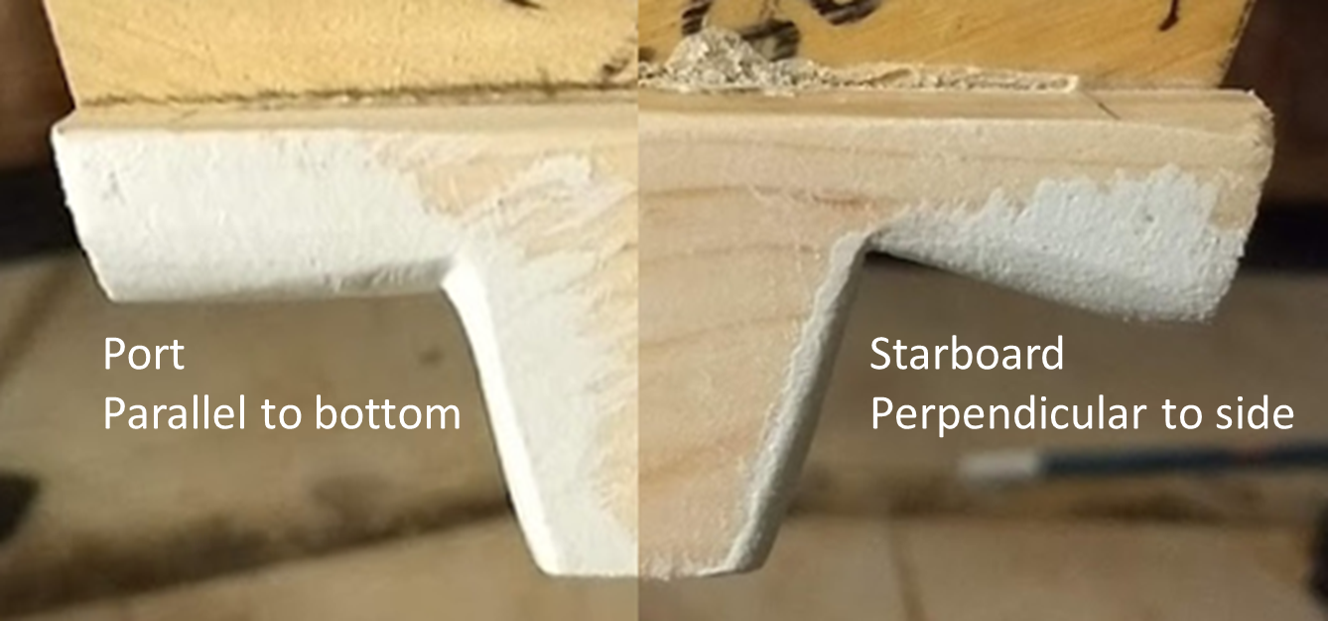
I painted the notches with 3 coats of the white paint that we used for the bathroom wainscoting that we put up recently. It’s not especially durable exterior acrylic paint or anything, like I’m going to use on the rest of the boat when time comes to paint it, but I haven’t bought that durable exterior acrylic paint yet, so I used what I had. It won’t be especially possible to paint those notches once they’re in place, is why I painted them now, is why I painted them with whatever paint I have now. And the particular areas on the parts painted now shouldn’t have to deal with much water, inside the boat as they’ll be. But they needed a little paint.
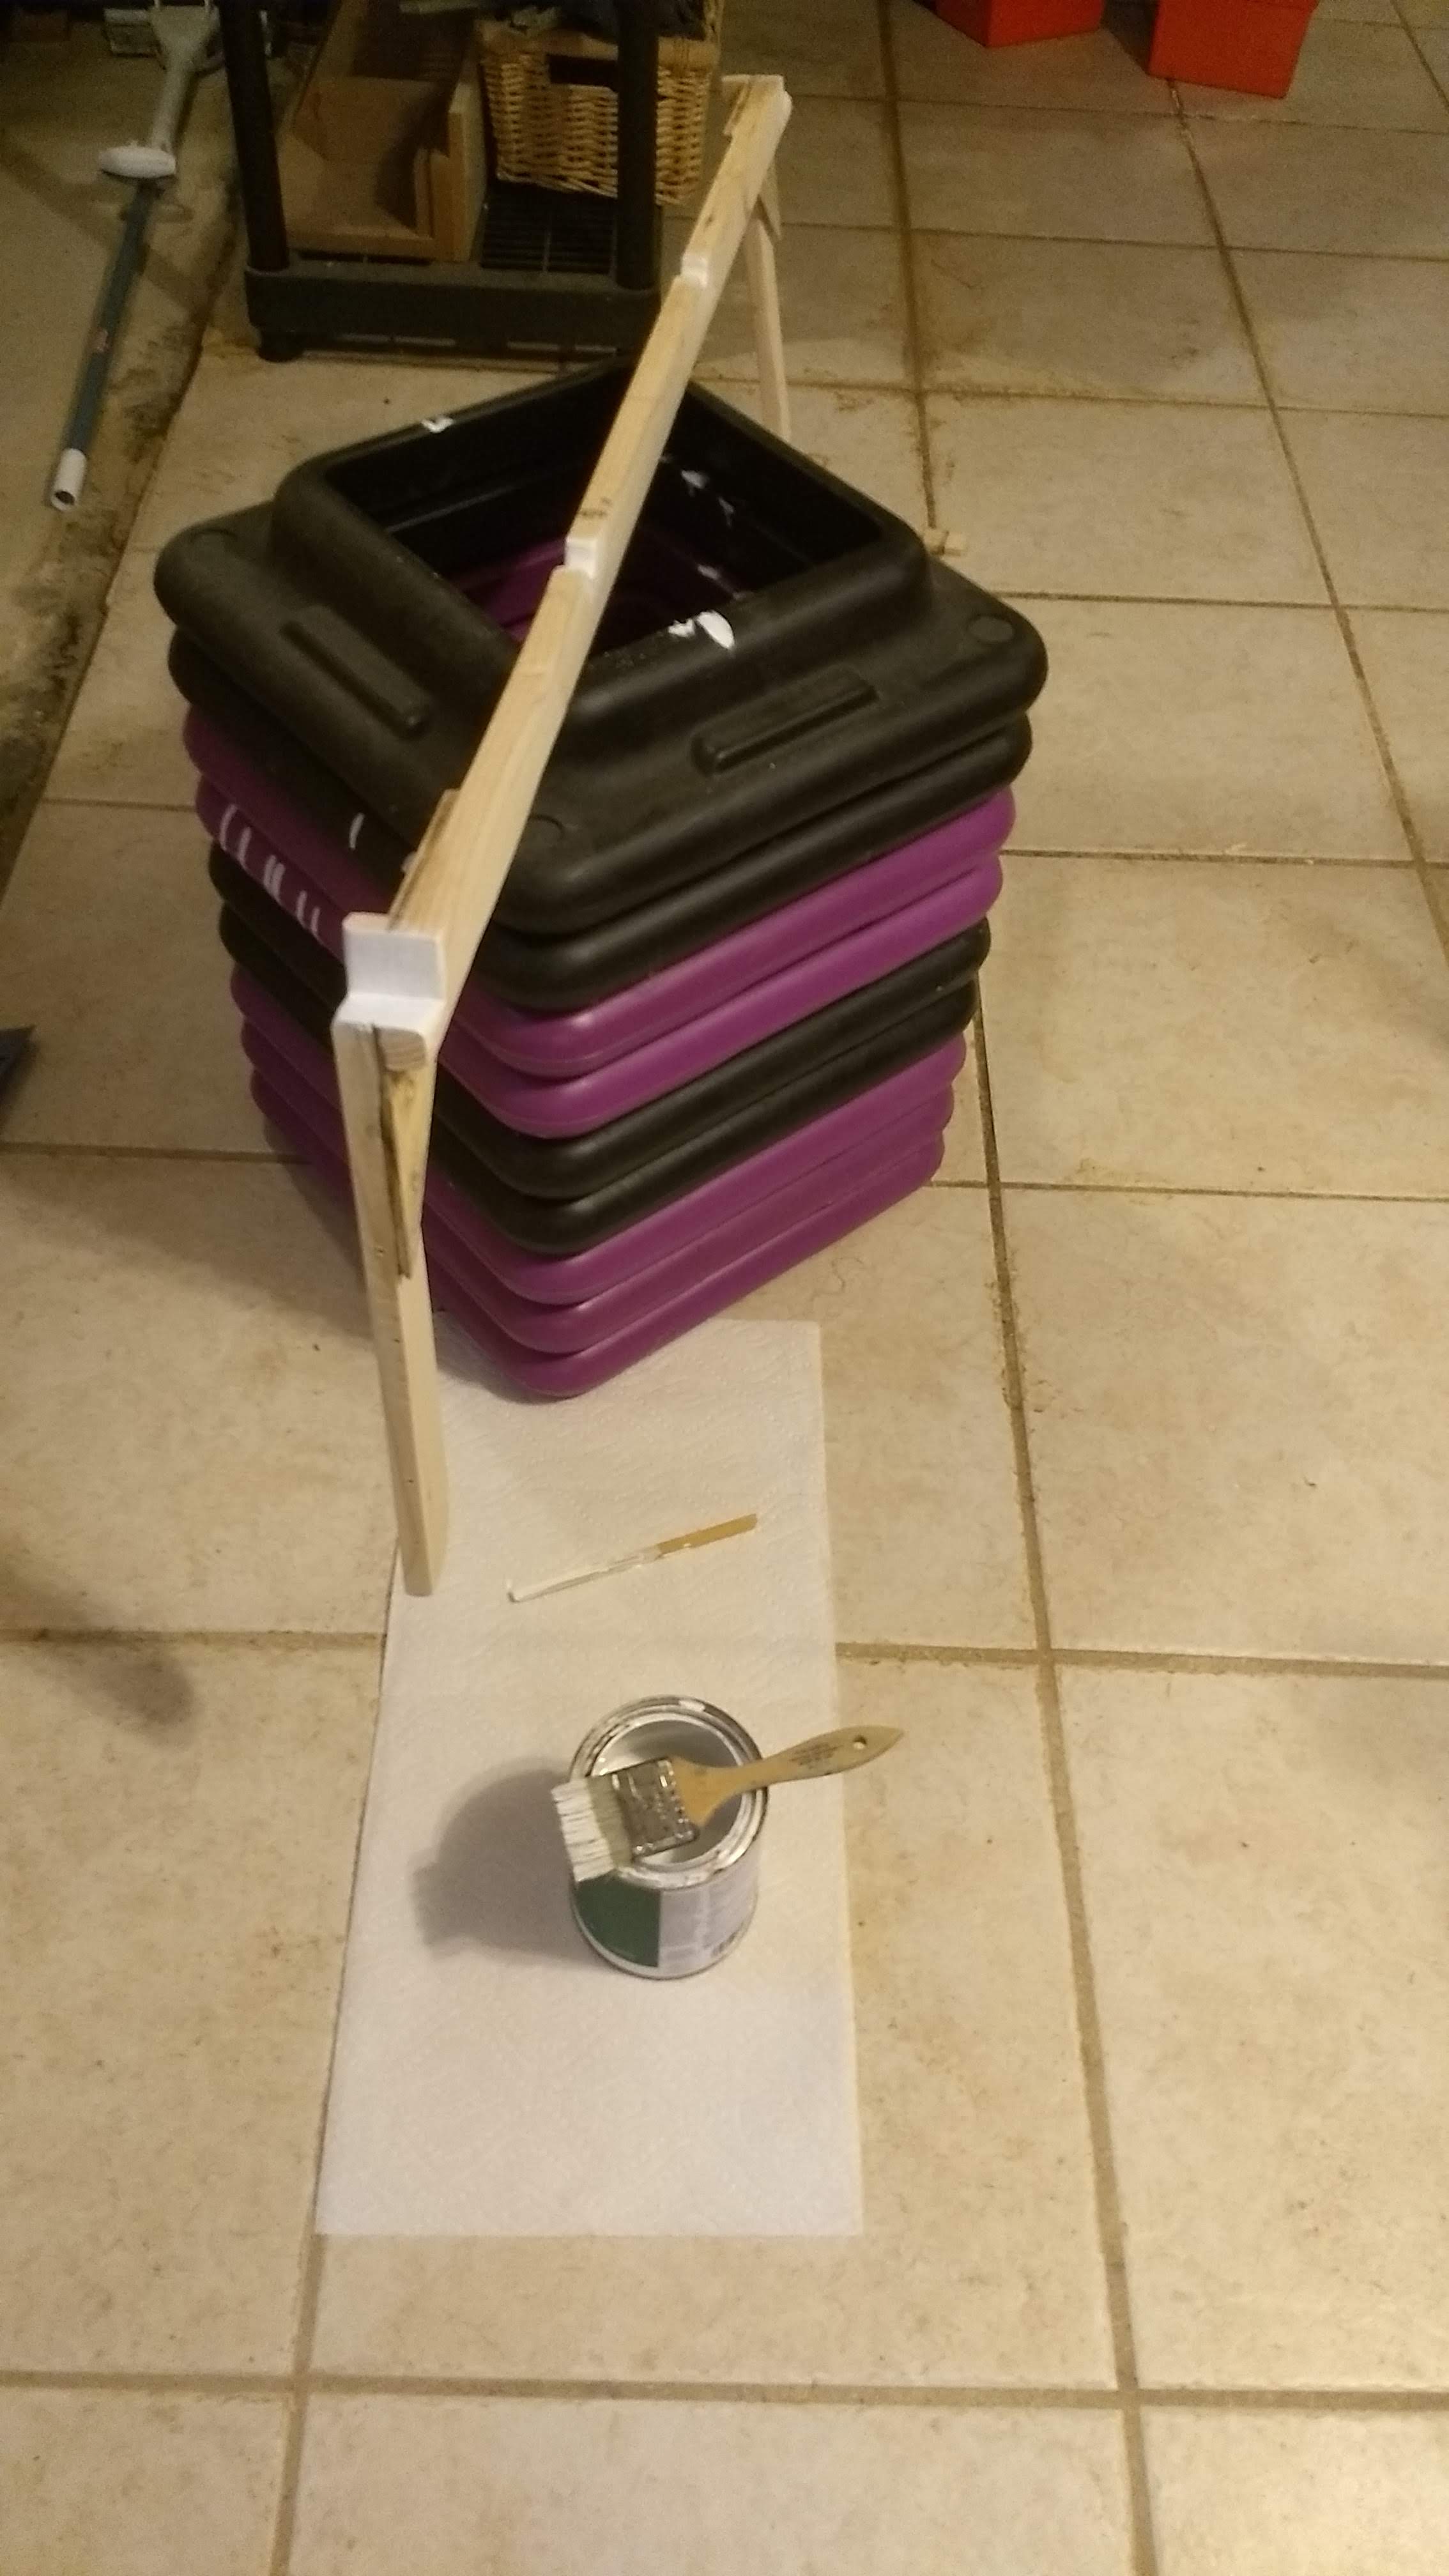
But now I’m thinking of re-cutting that port notch, despite the paint. All this snow on the ground, I don’t think I’m building the hull until it all melts. I guess I have time to repaint one notch.
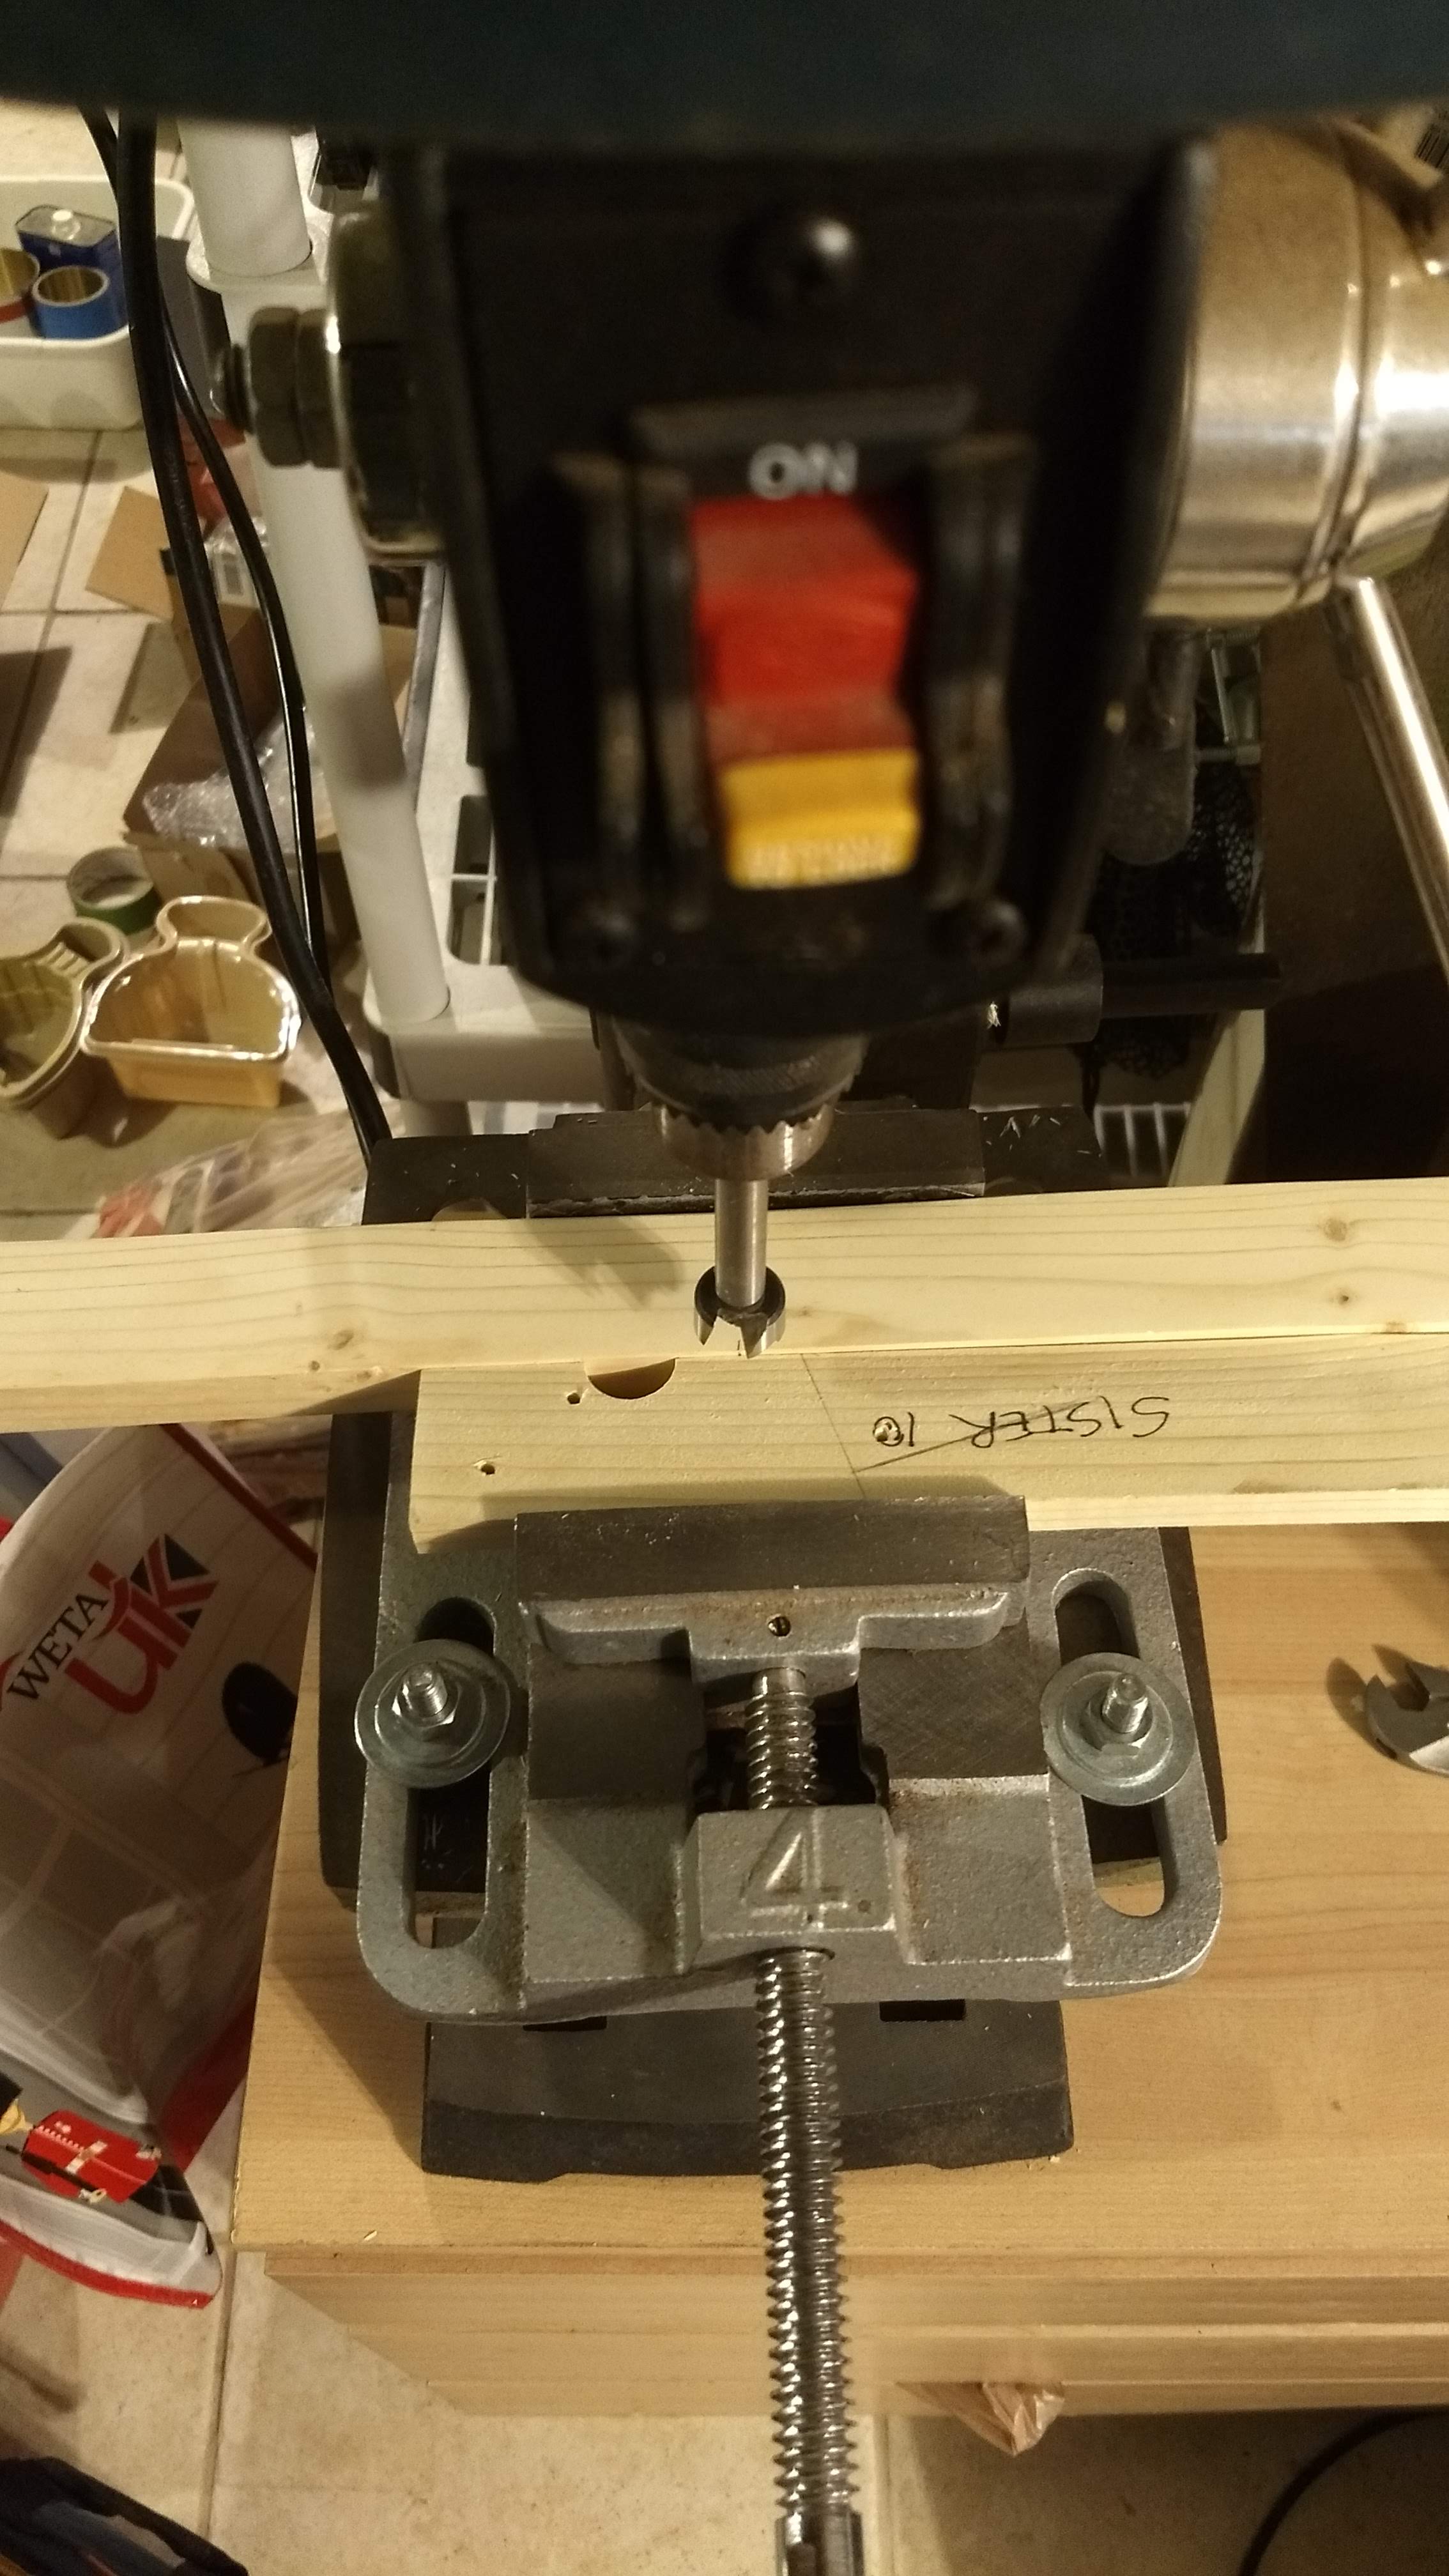
I cut two limber holes in the frame bottom as well. I don’t think they’ll be much needed, but I don’t guess they hurt either. And it was fun setting up the drill press and the drill press vise to do the cuts with a 3/4″ Forstner bit.
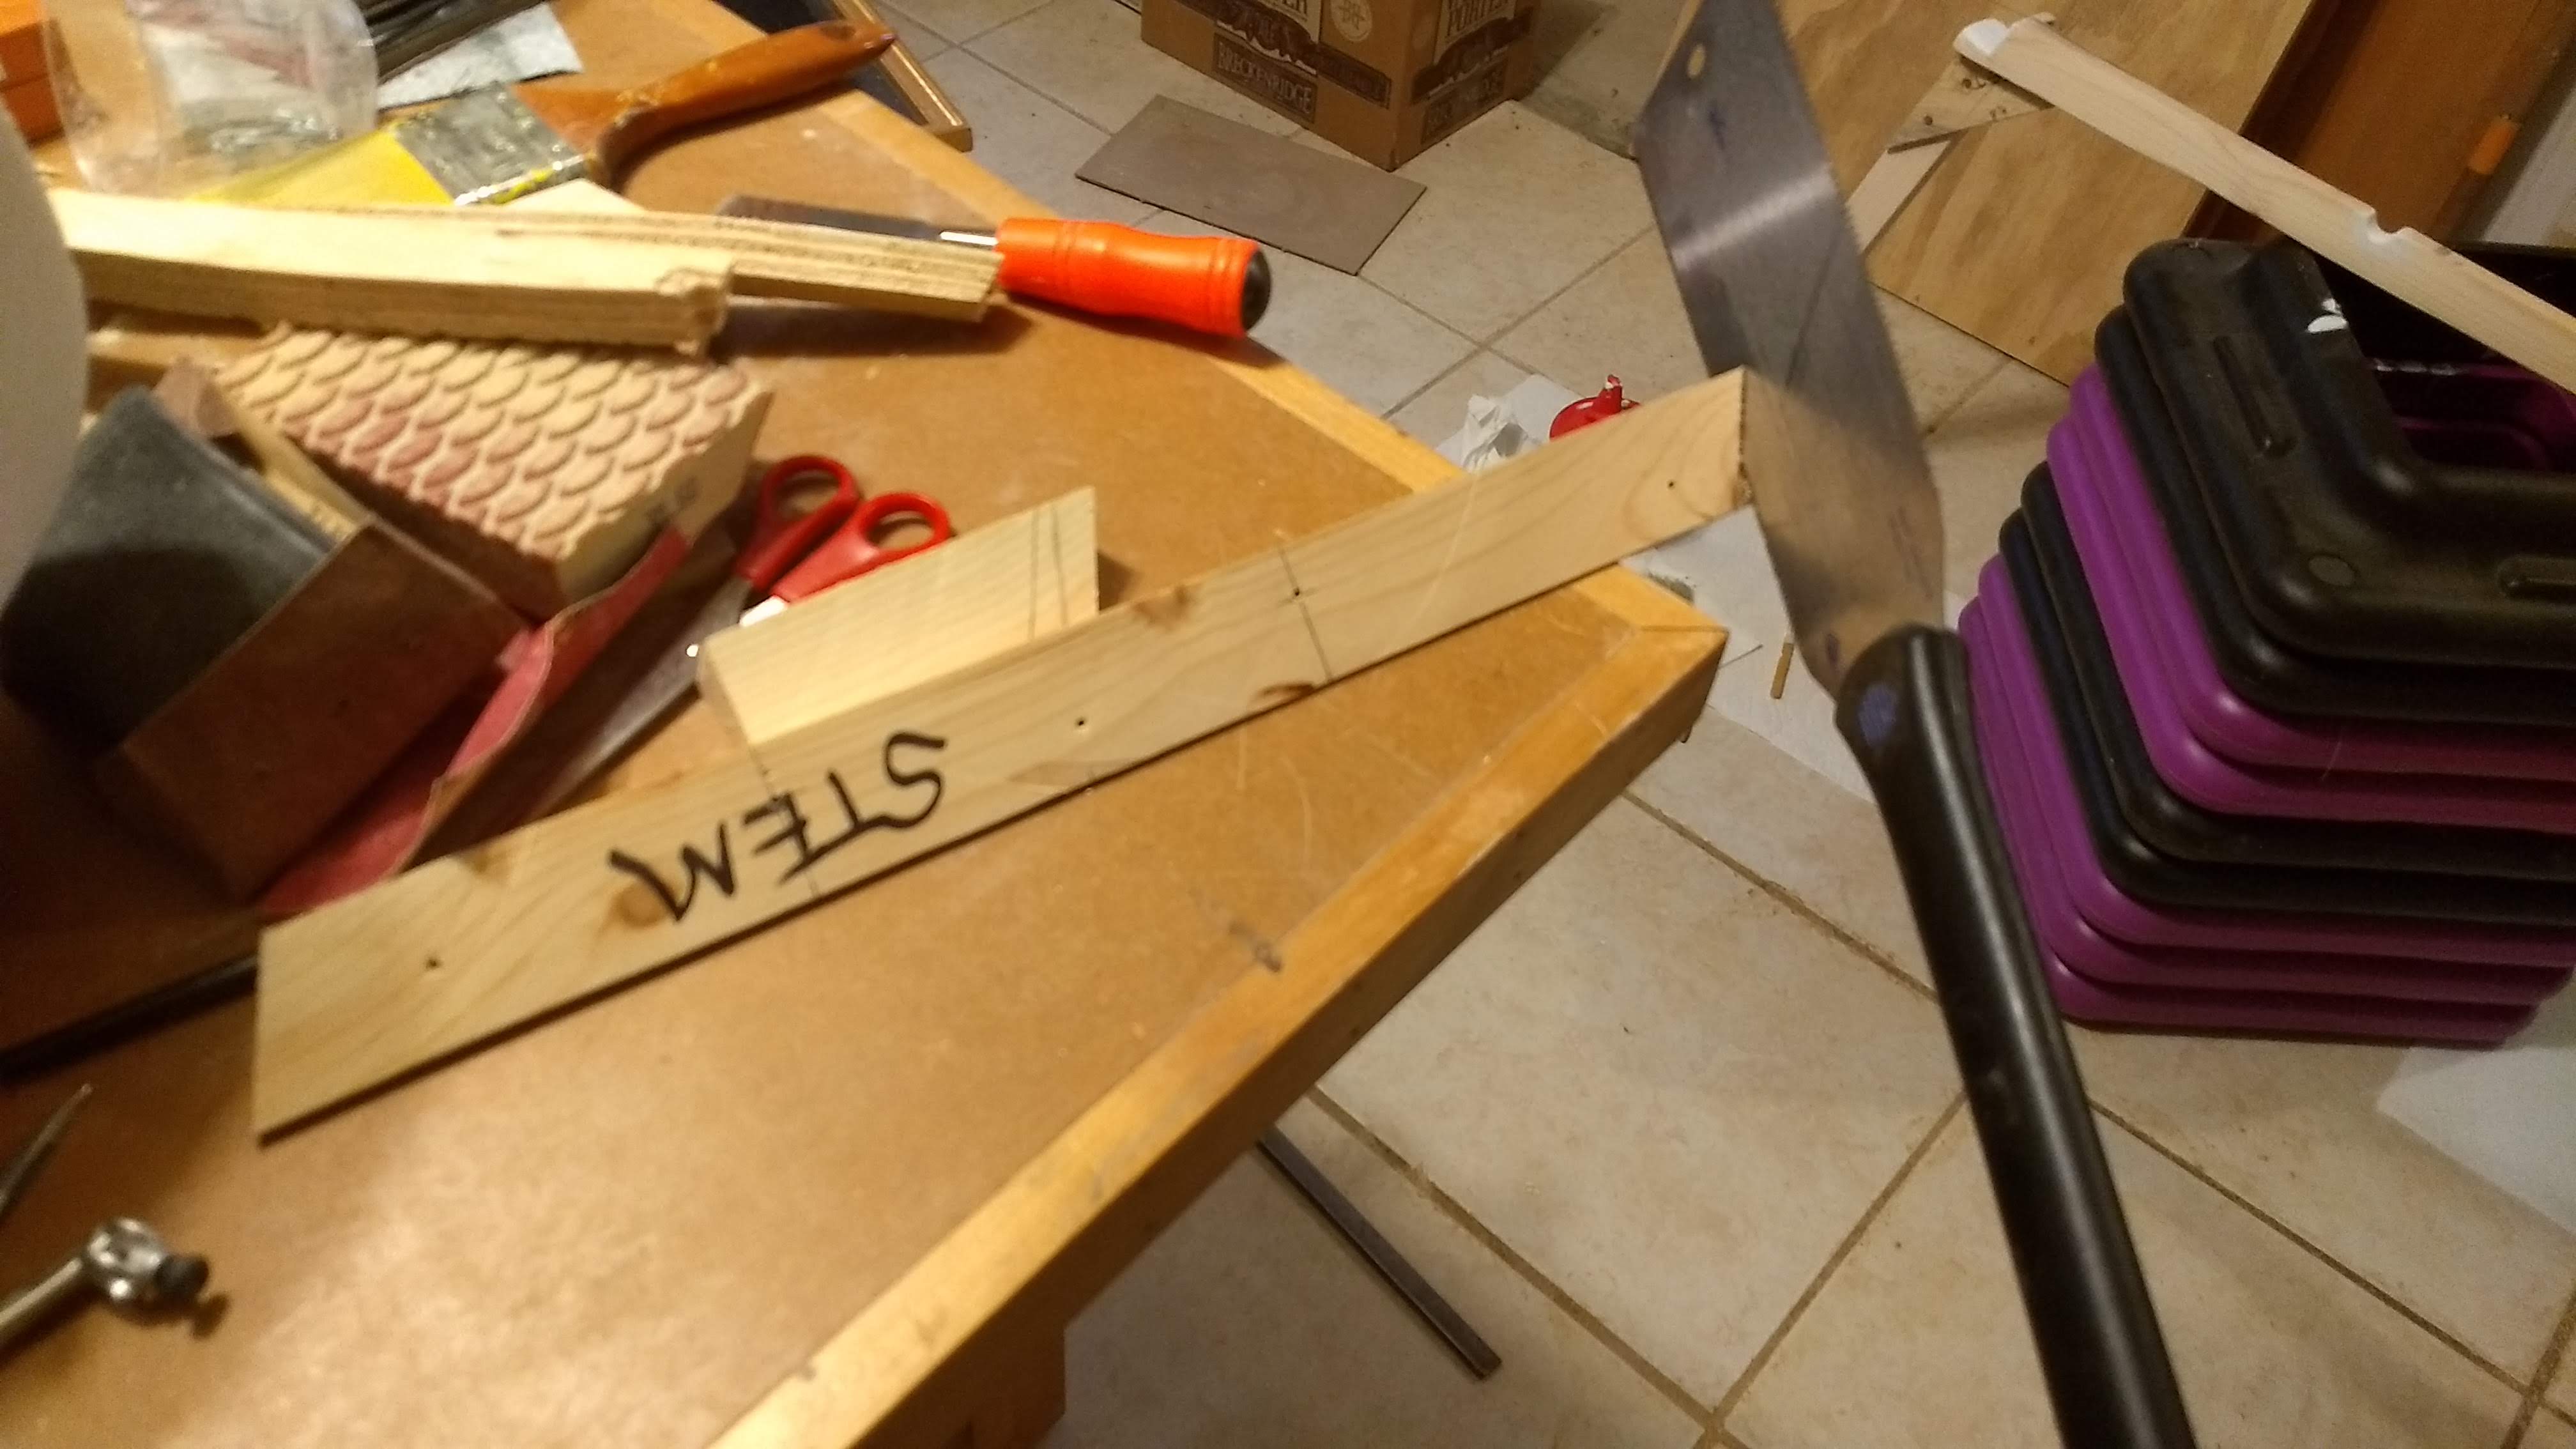
And I cut the excess off the stem. That turned out to be trickier than I imagined, as these things do. But I think the cuts look fine and will work.
Next weekend I want to build the hull. It’s a holiday weekend, so there’s an extra day. But we’re hosting Mother Dillon as well. So we’ll see. I had hoped to have the hull built in time for her visit, but I guess she can help build it while she’s here.
Update: I fixed the port side chine notch.
Lesson 1: Measure twice! Measure thrice!
Once again I measured wrong and so cut something wrong. It’s a small mistake, but, heck, I don’t like it.
Lesson 2: Holes in the sandpaper!
I used the 1/4 sheet pad sander for much of the sanding, but I forgot to use the little paper punch to cut the holes so’s the dust collection (such as it is) would work. The basement got a little dusty because of this. Oh well.
Lesson 3: Backing for drilling holes!
I thought about a lot of things drilling the limber holes. Like setting the drill press to a proper speed for the material and the size of the hole being drilled. Like clamping the work safely in the vise. Like how they only needed to be half holes, but a drill isn’t happy drilling half a hole so I clamped a sister piece in the vise with the frame to make up the other half.
But I didn’t consider how that big ol’ 3/4″ Forstner bit was going to blow out the back of the material when it went through. I should’ve backed up the frame and sister with a thin piece of ply or something.
Next time, I guess.