
Finally, after two weeks off, I got back to the Great Work.
Whew. I’ve missed it.
My original plan was to glue up the side panels earlier in the build, but I put it off a bit to better use a single tube of glue. I figured a tube would dry out between gluing the sides and gluing the frame. So I waited until the frame was ready, to do both together.

I traced the side lines of the butt blocks onto the side pieces, as well as marking a line where the side edges met on the butt blocks. Then I cut off room at the top of the butt blocks for the inwales and room at the bottom for the chines.
And, of course, in my usual measure once & cut twice way, I cut off too much at the bottom of the starboard butt block. I meant to mark & cut 7/8″ off to make room for the 5/8″ or so chine, but I measured and cut 1-7/8″ off. Dang. So the starboard butt block became 2 blocks, 1 almost regular size and 1 tiny mini one. Oh well.
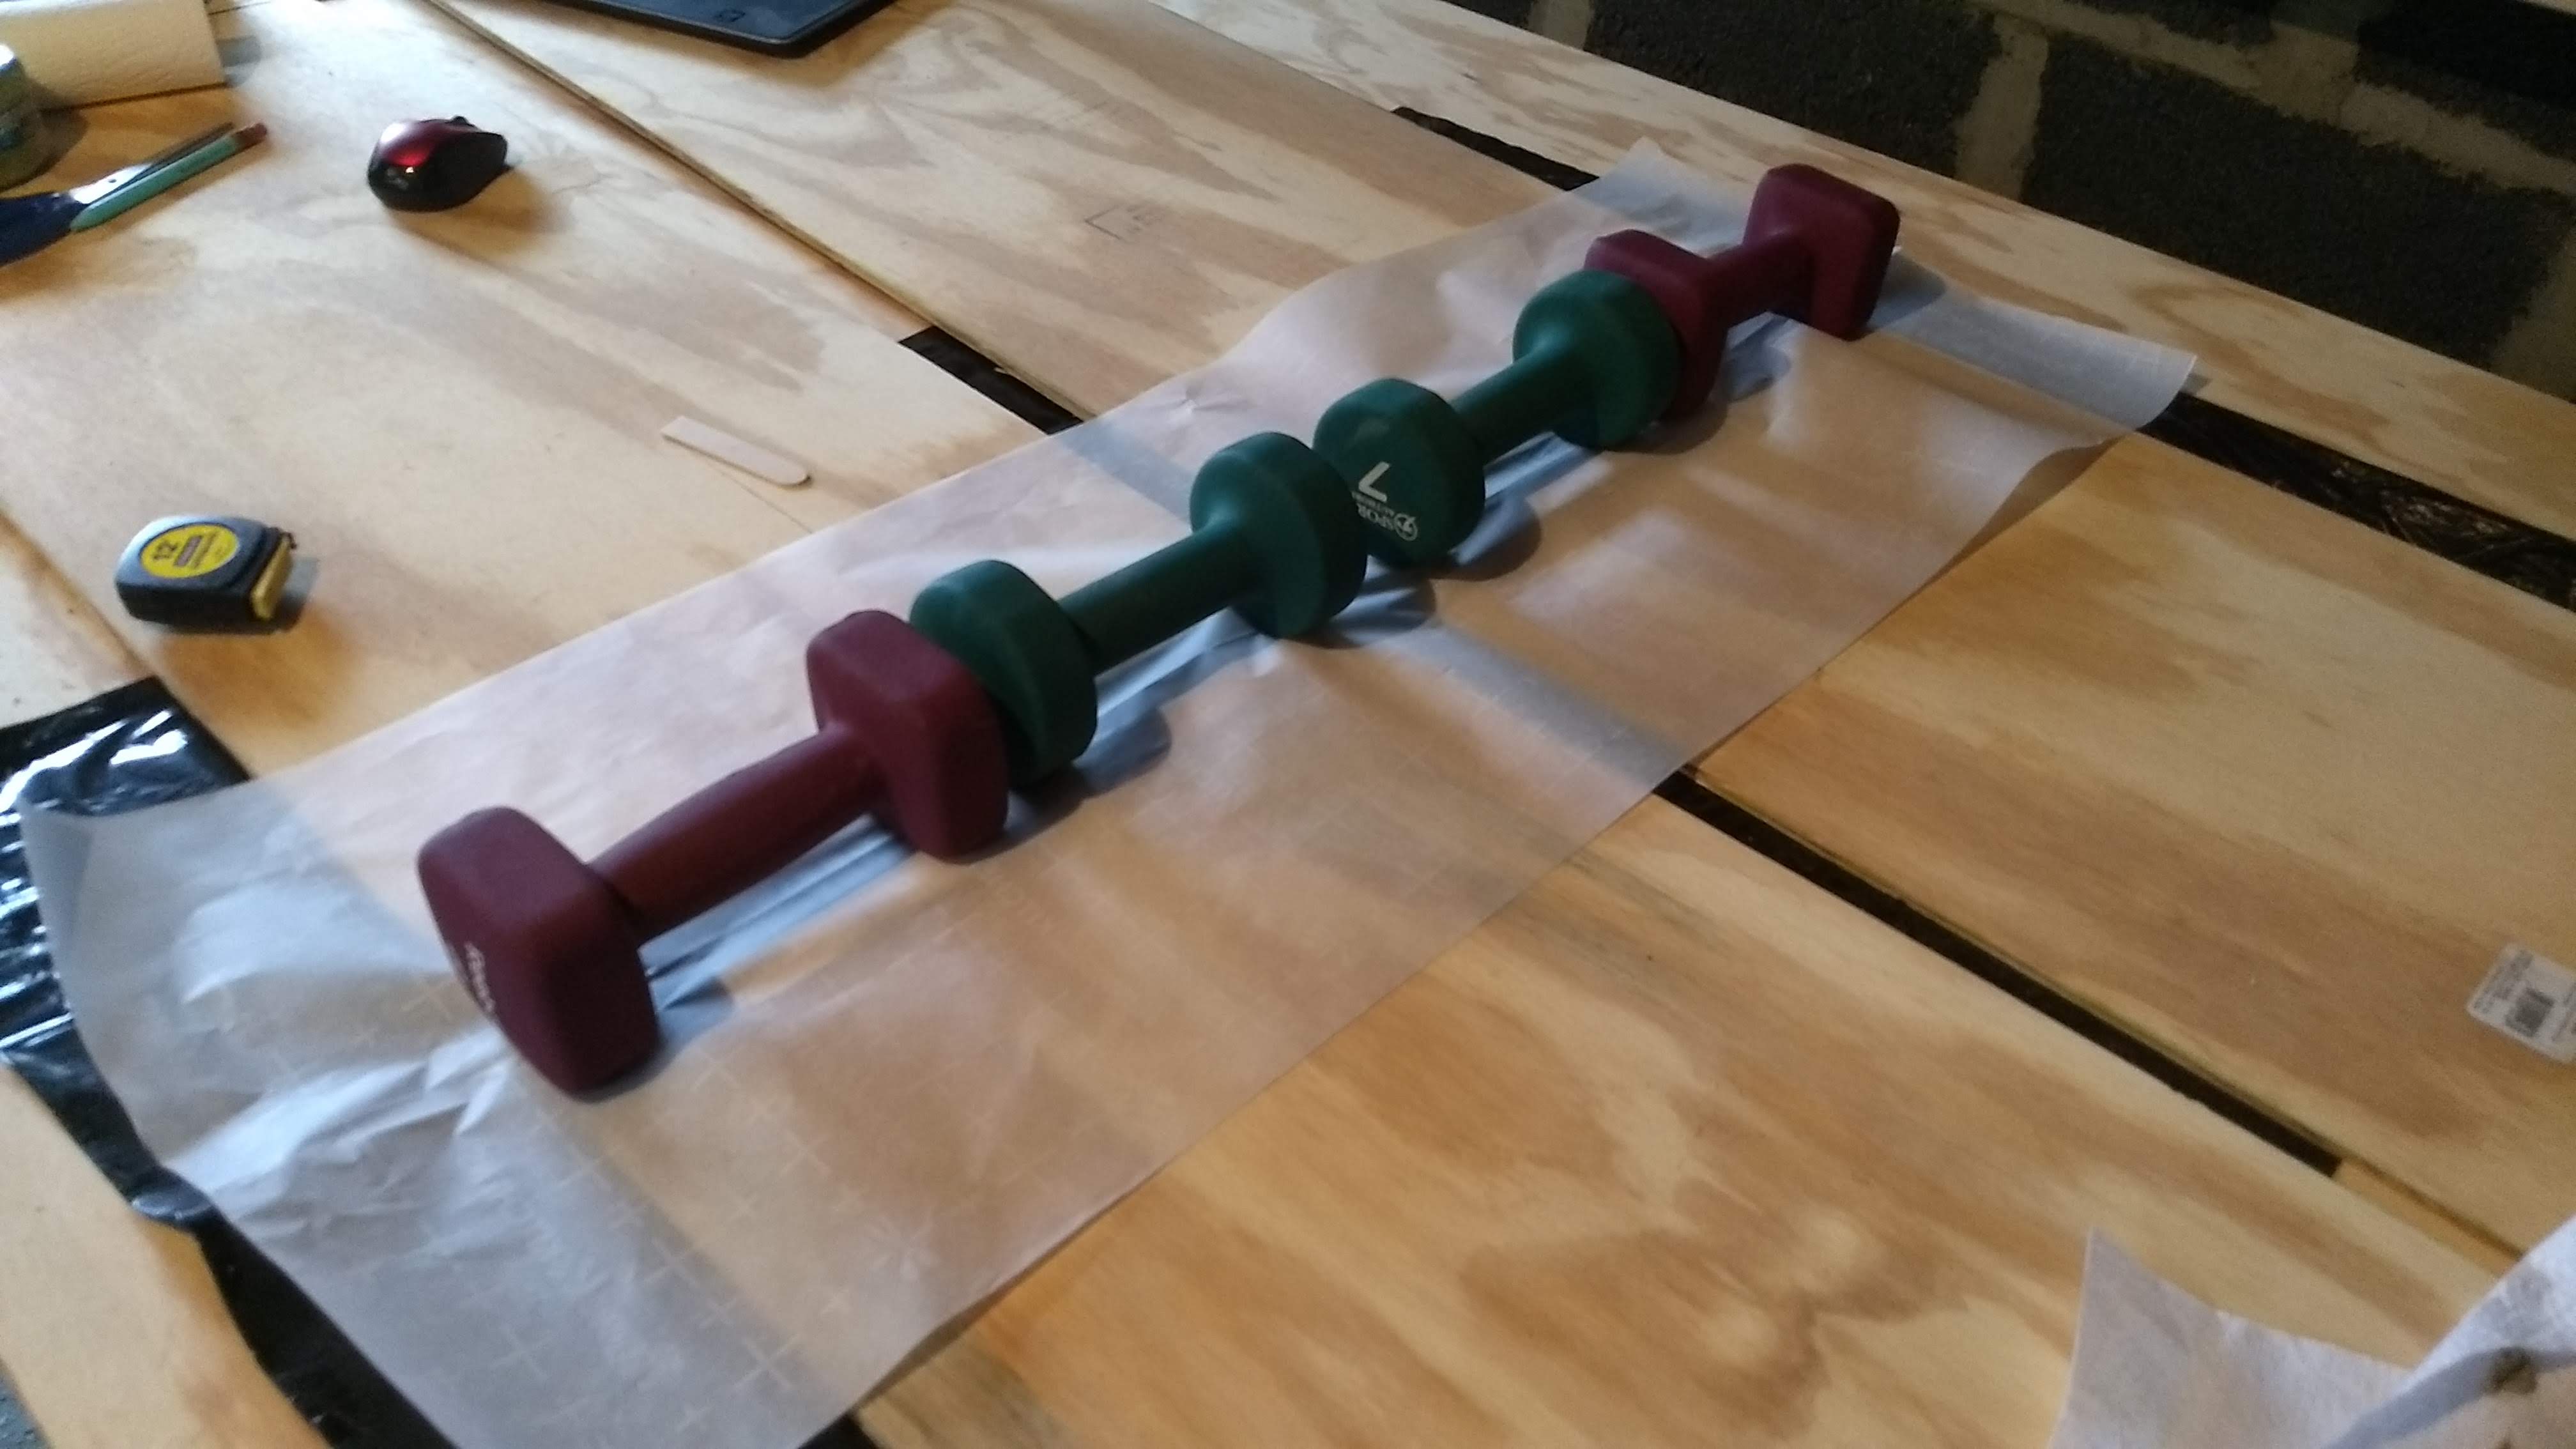
And again I had trouble stapling the jute to use as clamps. I ended up stealing some of Dawn’s weights to use as weight clamps. I used some leftover lawn & leaf bags under the sides to protect the plywood sheet underneath from glue. But that seemed like overkill for the weights on top, so I used kitchen parchment paper under the weights. We’ll see after the glue cures whether anything sticks to the plastic bags or the parchment paper.
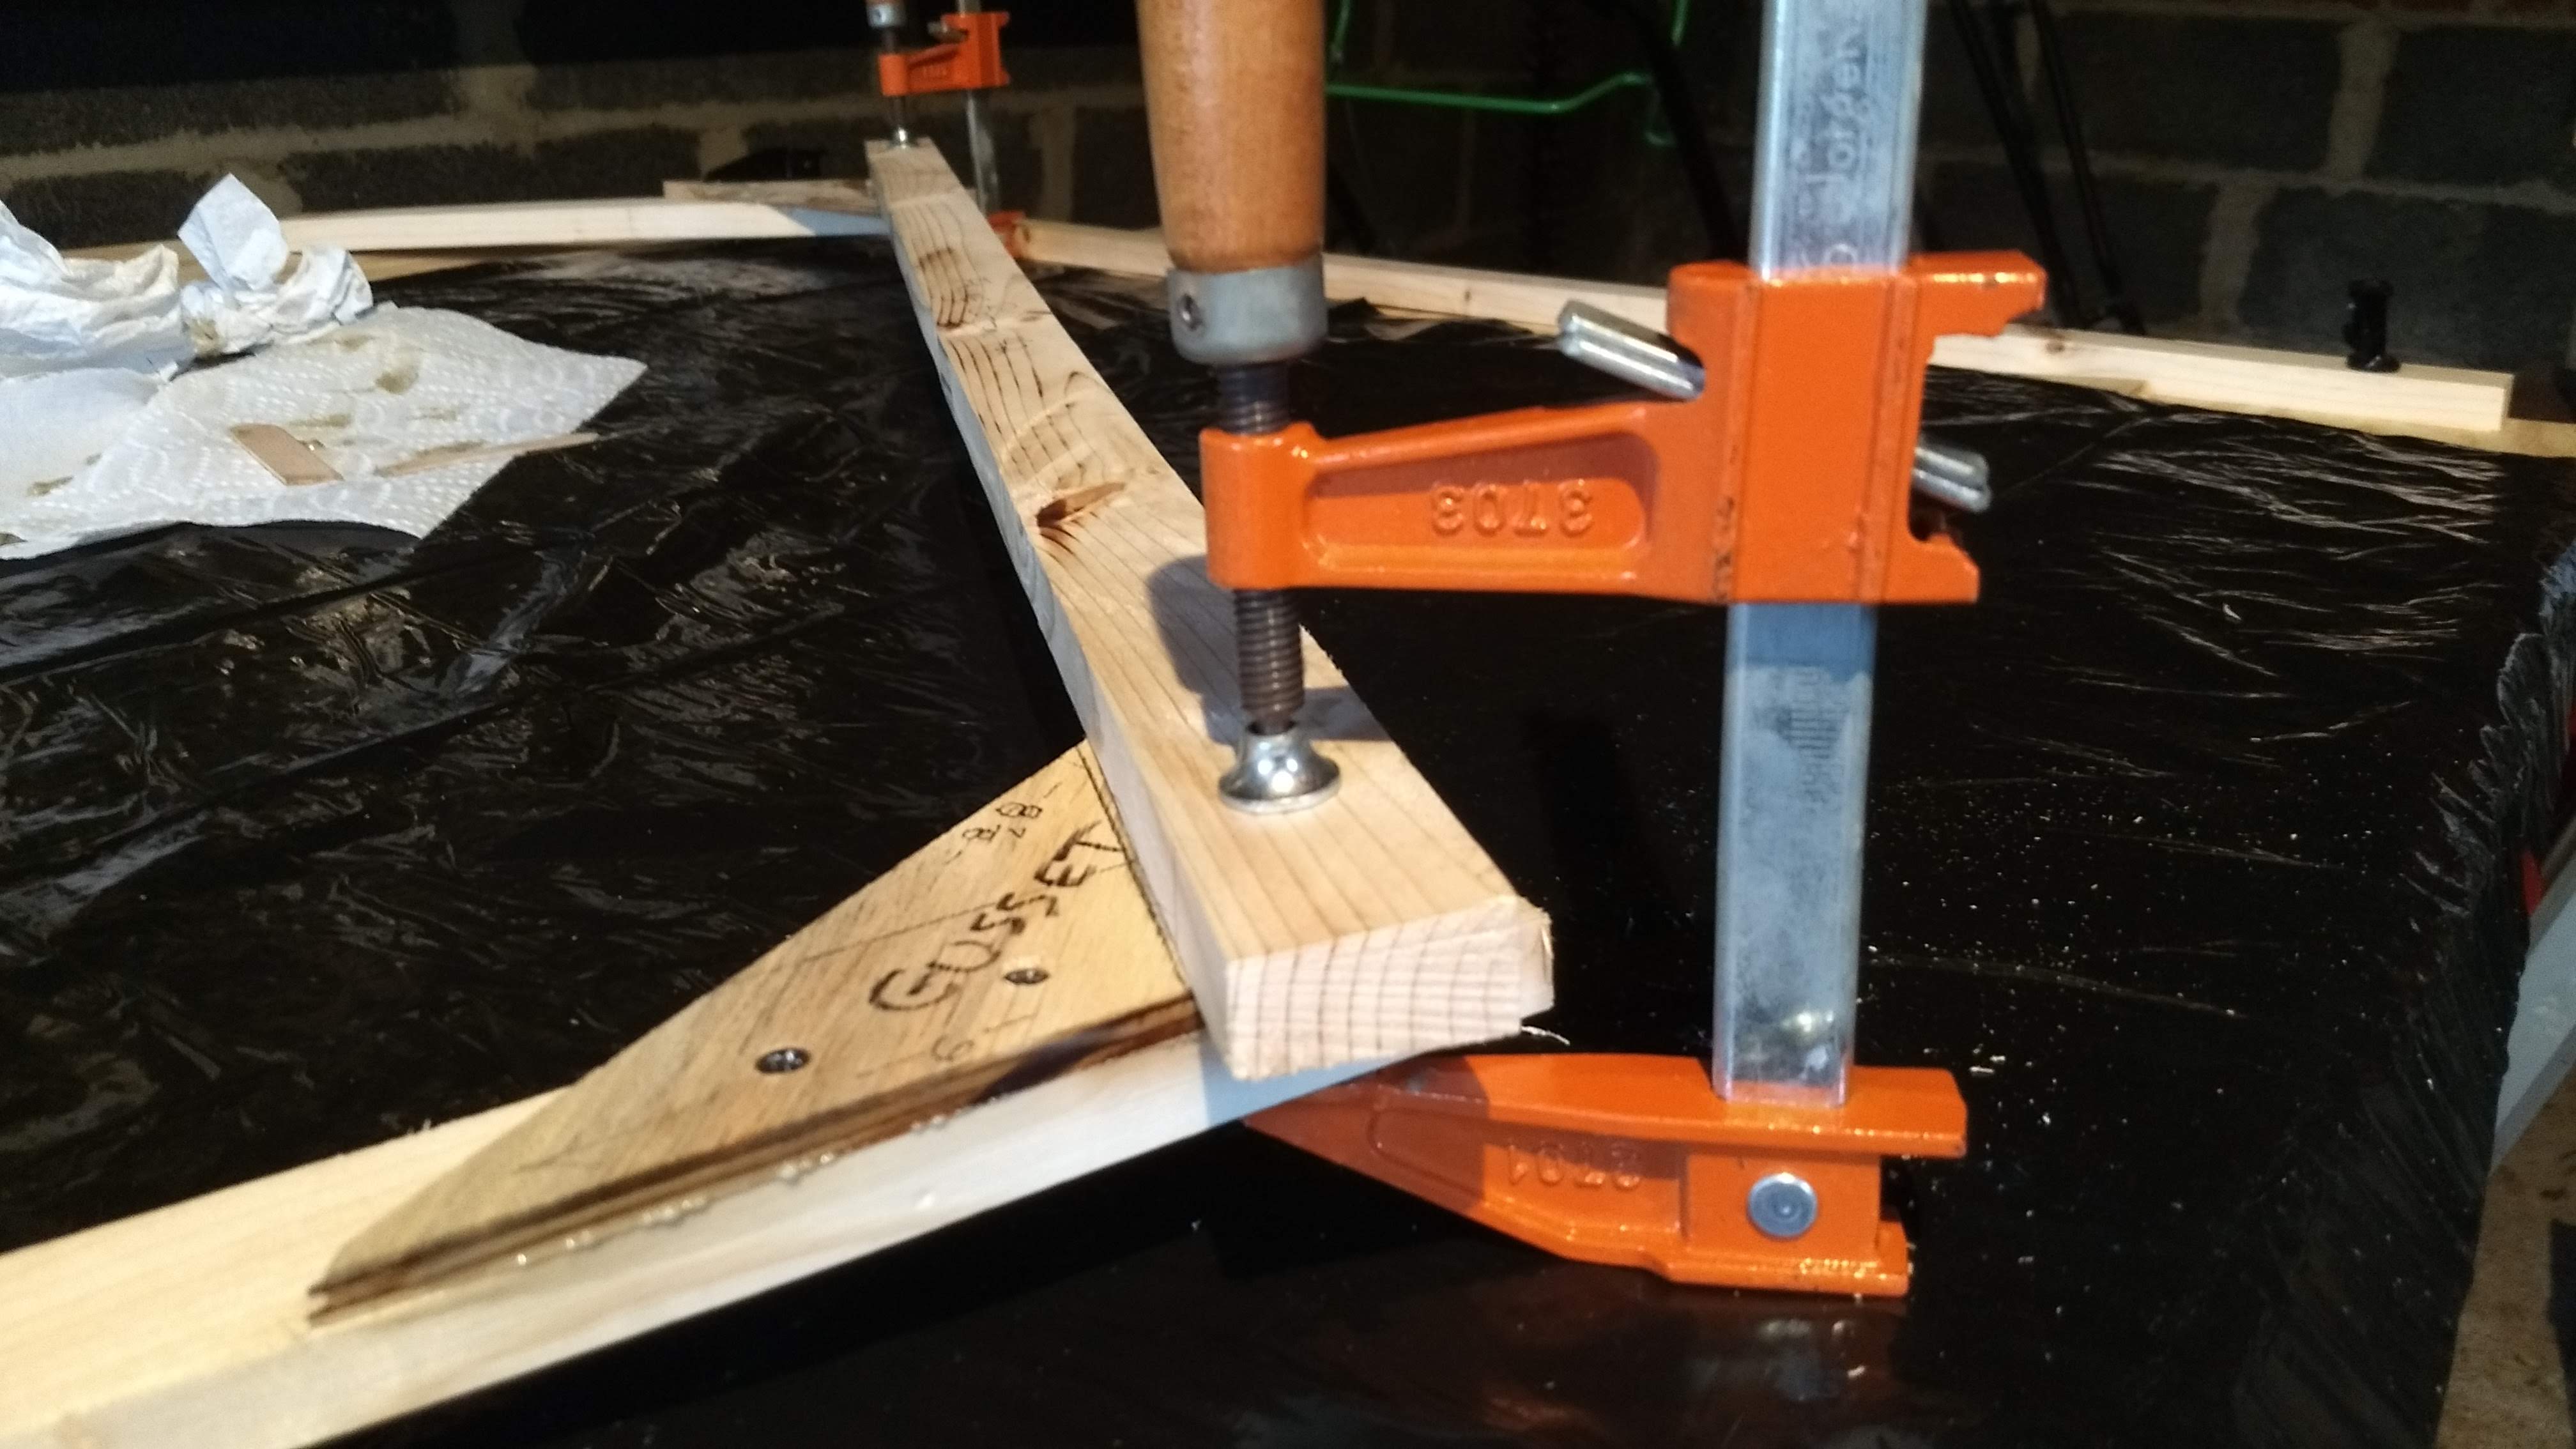
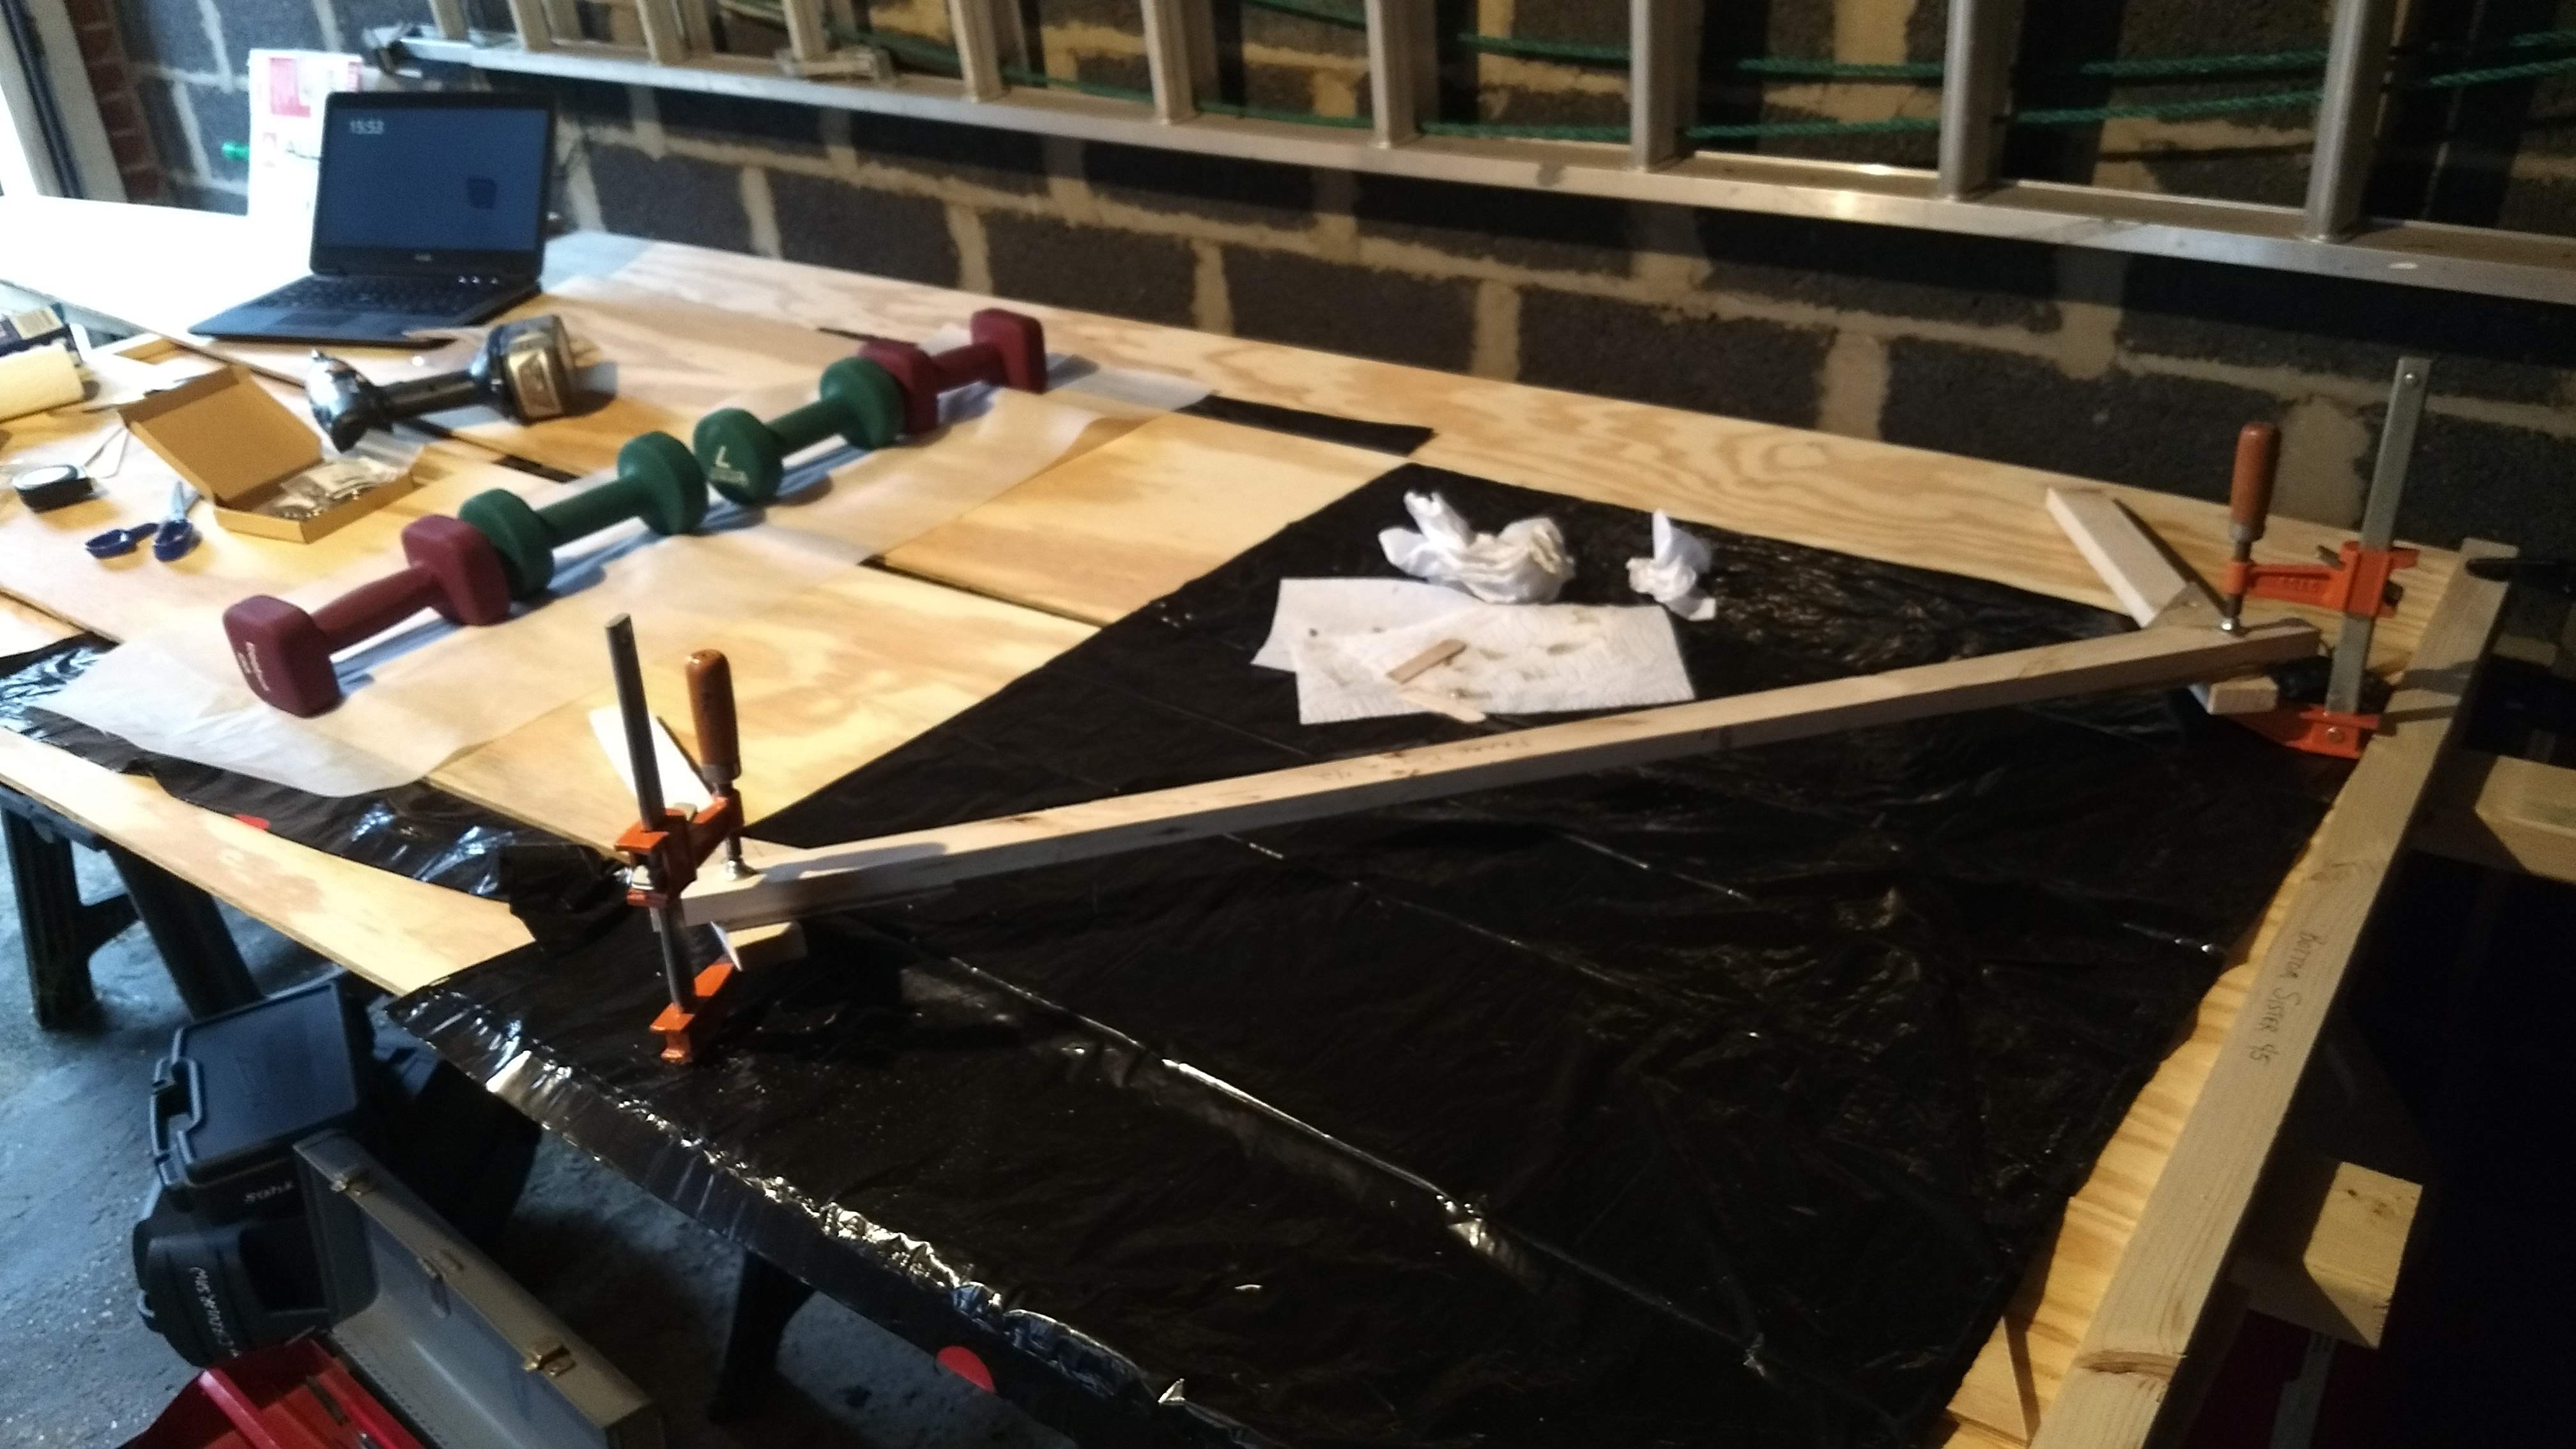
The frame is screwed together, so I imagined I wouldn’t need clamps on it. Wrong. The way the screws are spaced, going through the plywood gussets first, it left the ends a smidgen apart such that I opted for clamps as well.
Then I left it all to cure overnight. Or, heck, maybe it’ll all sit until next weekend.
Or maybe I’ll get time this week one night to screw the sister pieces to the frame or build the transom story assembly. But I’ve got a code compliance committee meeting on Wednesday and a preservation association meeting on Thursday. I’m guessing there won’t be a lot of time for boat building.
Lesson 1: The fore & aft sides aren’t the same exact size, owing to the sloppy cutting of the plywood sheet. Once again I’m trying to be calm and not let it bother me. Plus I’m figuring I’m going to smooth out the little differences when I stack both sides and make them symmetrical next week or after, before attaching the frame and figuring out the transom.
Lesson 2: Again with the staples! Seems like almost all of them wouldn’t go through, would instead crumple atop the butt block. At least one or two went through, though, to make the assemblies stable enough to perch the weights on top. Maybe I need a better staple gun. Or maybe try the 3/8″ staples instead of the 1/2″ ones. Those won’t go into the bottom piece as far, but maybe far enough, and maybe they won’t tend to crumple so. Maybe I’ll try that on the bow point butt blocks.
Lesson 3: The PL Premium glue was a little messier than I expected. I suppose that I’m so used to caulk that I figured it would be the same. It’s rather thicker, which is good, but it tends to just seep and seep out the nozzle even after backing off the tension of the caulk gun. I was using the smooth rod gun, which I thought was supposed to be dripless, rather than the ratcheting one. Next time I’m going to try the ratcheting one, since I find that one easier and quicker to release the tension between spurts of caulk.
Lesson 4: I stripped one of the stainless steel screws holding the frame together when I put it back in after applying glue. I was using the cordless drill/driver and thought I had the clutch set low enough to stop when the screw landed home. But clearly I didn’t. I ended up using the driver to remove the screws but then using a regular old hand screwdriver to put the screws back in. I also tried using a bronze ringed nail next to the stripped screw, but I didn’t have a 5/64″ drill bit handy to drill the pilot hole so I just whaled at it with the hammer, which I shouldn’t have done but it didn’t split anything, but I won’t do that again. Drill the damn pilot hole, stupid.