
Another week working mostly in the basement workshop, this time making the spacers for the inwales. I’ve planned for 15 spacers on each side, each spacer the same 5/8″ thick and 1-1/2″ wide as the gunwales and inwales but also each spacer block only 4″ long. So, that’s 30 little 4″ blocks to make.
I don’t actually need this type of inwale. It’s a lot more work, as opposed to just slapping the inwale onto the hull, but I’m imagining them to be useful in a few ways as well as just looking nice. As Chesapeake Light Craft puts it, “So spacered inwales are an affectation to some extent, but they are genuinely practical in two ways: they create handy lashing points the whole length of the boat, and if you want to tip the boat up on the beach to drain the water out, the gaps (or scuppers) created by the spacers allow all of the water to run out.” I also think maybe I heard somewhere that the truss-like construction adds strength to the sheer line. I may just have imagined that last part, though.
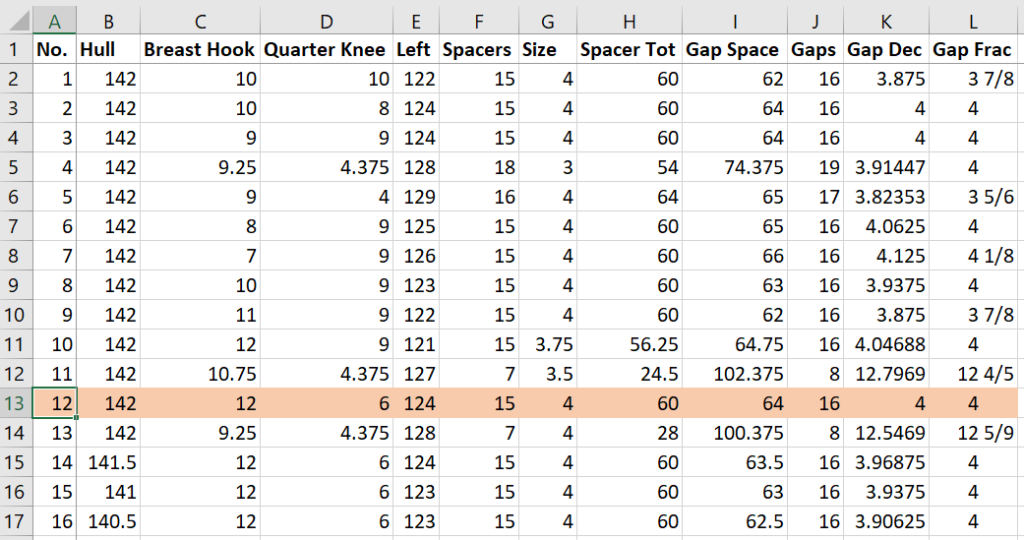
I put a lot of (extra, unnecessary) thought into how many and what size these spacers should be. At some point I determined that it would be easier to position the spacers halfway between the ends of the boat and halfway between each other. So that’s either 1 spacer at the 1/2 way point, or 3 spacers at 1/4, 2/4, and 3/4. Or 7 spacers at 1/8 intervals. Or, finally, I decided on spacers at 16ths, so 15 spacers.
But then I started worrying how to evenly measure the halfway points. I have jute string, but, when using it to line up the bow and transom when gluing the hull, I noticed that it stretches. That wasn’t a problem when using it for a straight line, but it would be a problem when trying to determine half of itself. I then went looking at buying some sturdy mason line, but that was more expensive and even then I wasn’t sure how much it stretched. So instead I found and opted for a sewing-tape-like tape measure, something that I can clip to the sheer line to mark block points.
And by taking up 18 inches of the 142 or so inches of sheer line with the breast hook and quarter knee(s), I’m left with 124 inches to fill with 15 spacer blocks and 16 gaps, making a tidy plan of 4″ spacers at 4″ apart.

So again I needed to cut 30 blocks. I had planed extra stock when making the wales themselves, so on Saturday I started at it with the miter saw. The all-purpose blade was a bit rough on the tender stock, causing a lot of tear out, so I cut as many blocks as I could with the stock to be able to pick out the less damaged pieces. Turned out to be 54 blocks.
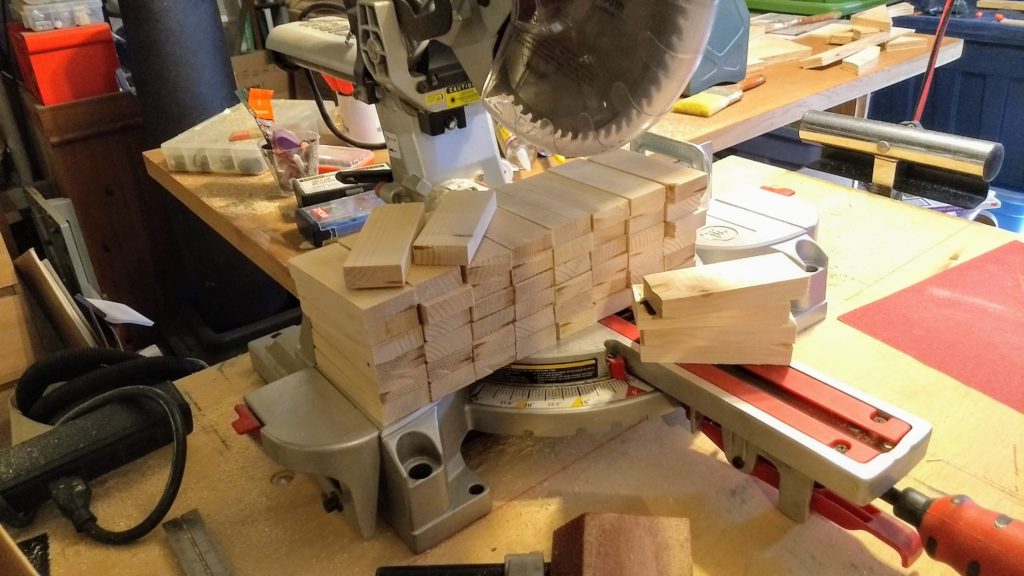
Then on Sunday I picked out and sanded the best 36, determining which side was the show side and marking a center line on the front and back. I also took a few and made them into installation templates, drilling holes so as to be able to transfer the same dimensions to the hull sides to drill pilot holes to install the real blocks.
But, before I can install the spacer blocks to be able to install the gunwales so then to be able to install the inwales, I had to fair the sheer lines of the hull. I had cut the hull shapes pretty roughly with the circular saw way back in week 2 or 3, and the lines from bow to stern were not especially even, despite having taken a whack at them with the router back in week 5 or 6. This time, though, I used a top-bearing flush trimming bit with the actual gunwale pieces as the reference lines, and I used Dad’s old Rotozip instead of the giant Porter Cable 690 router. The Rotozip handily came with both 1/8″ and 1/4″ collets, and the top-bearing bit that I bought has a 1/4″ shank. So the Rotozip makes a nice little trim router.
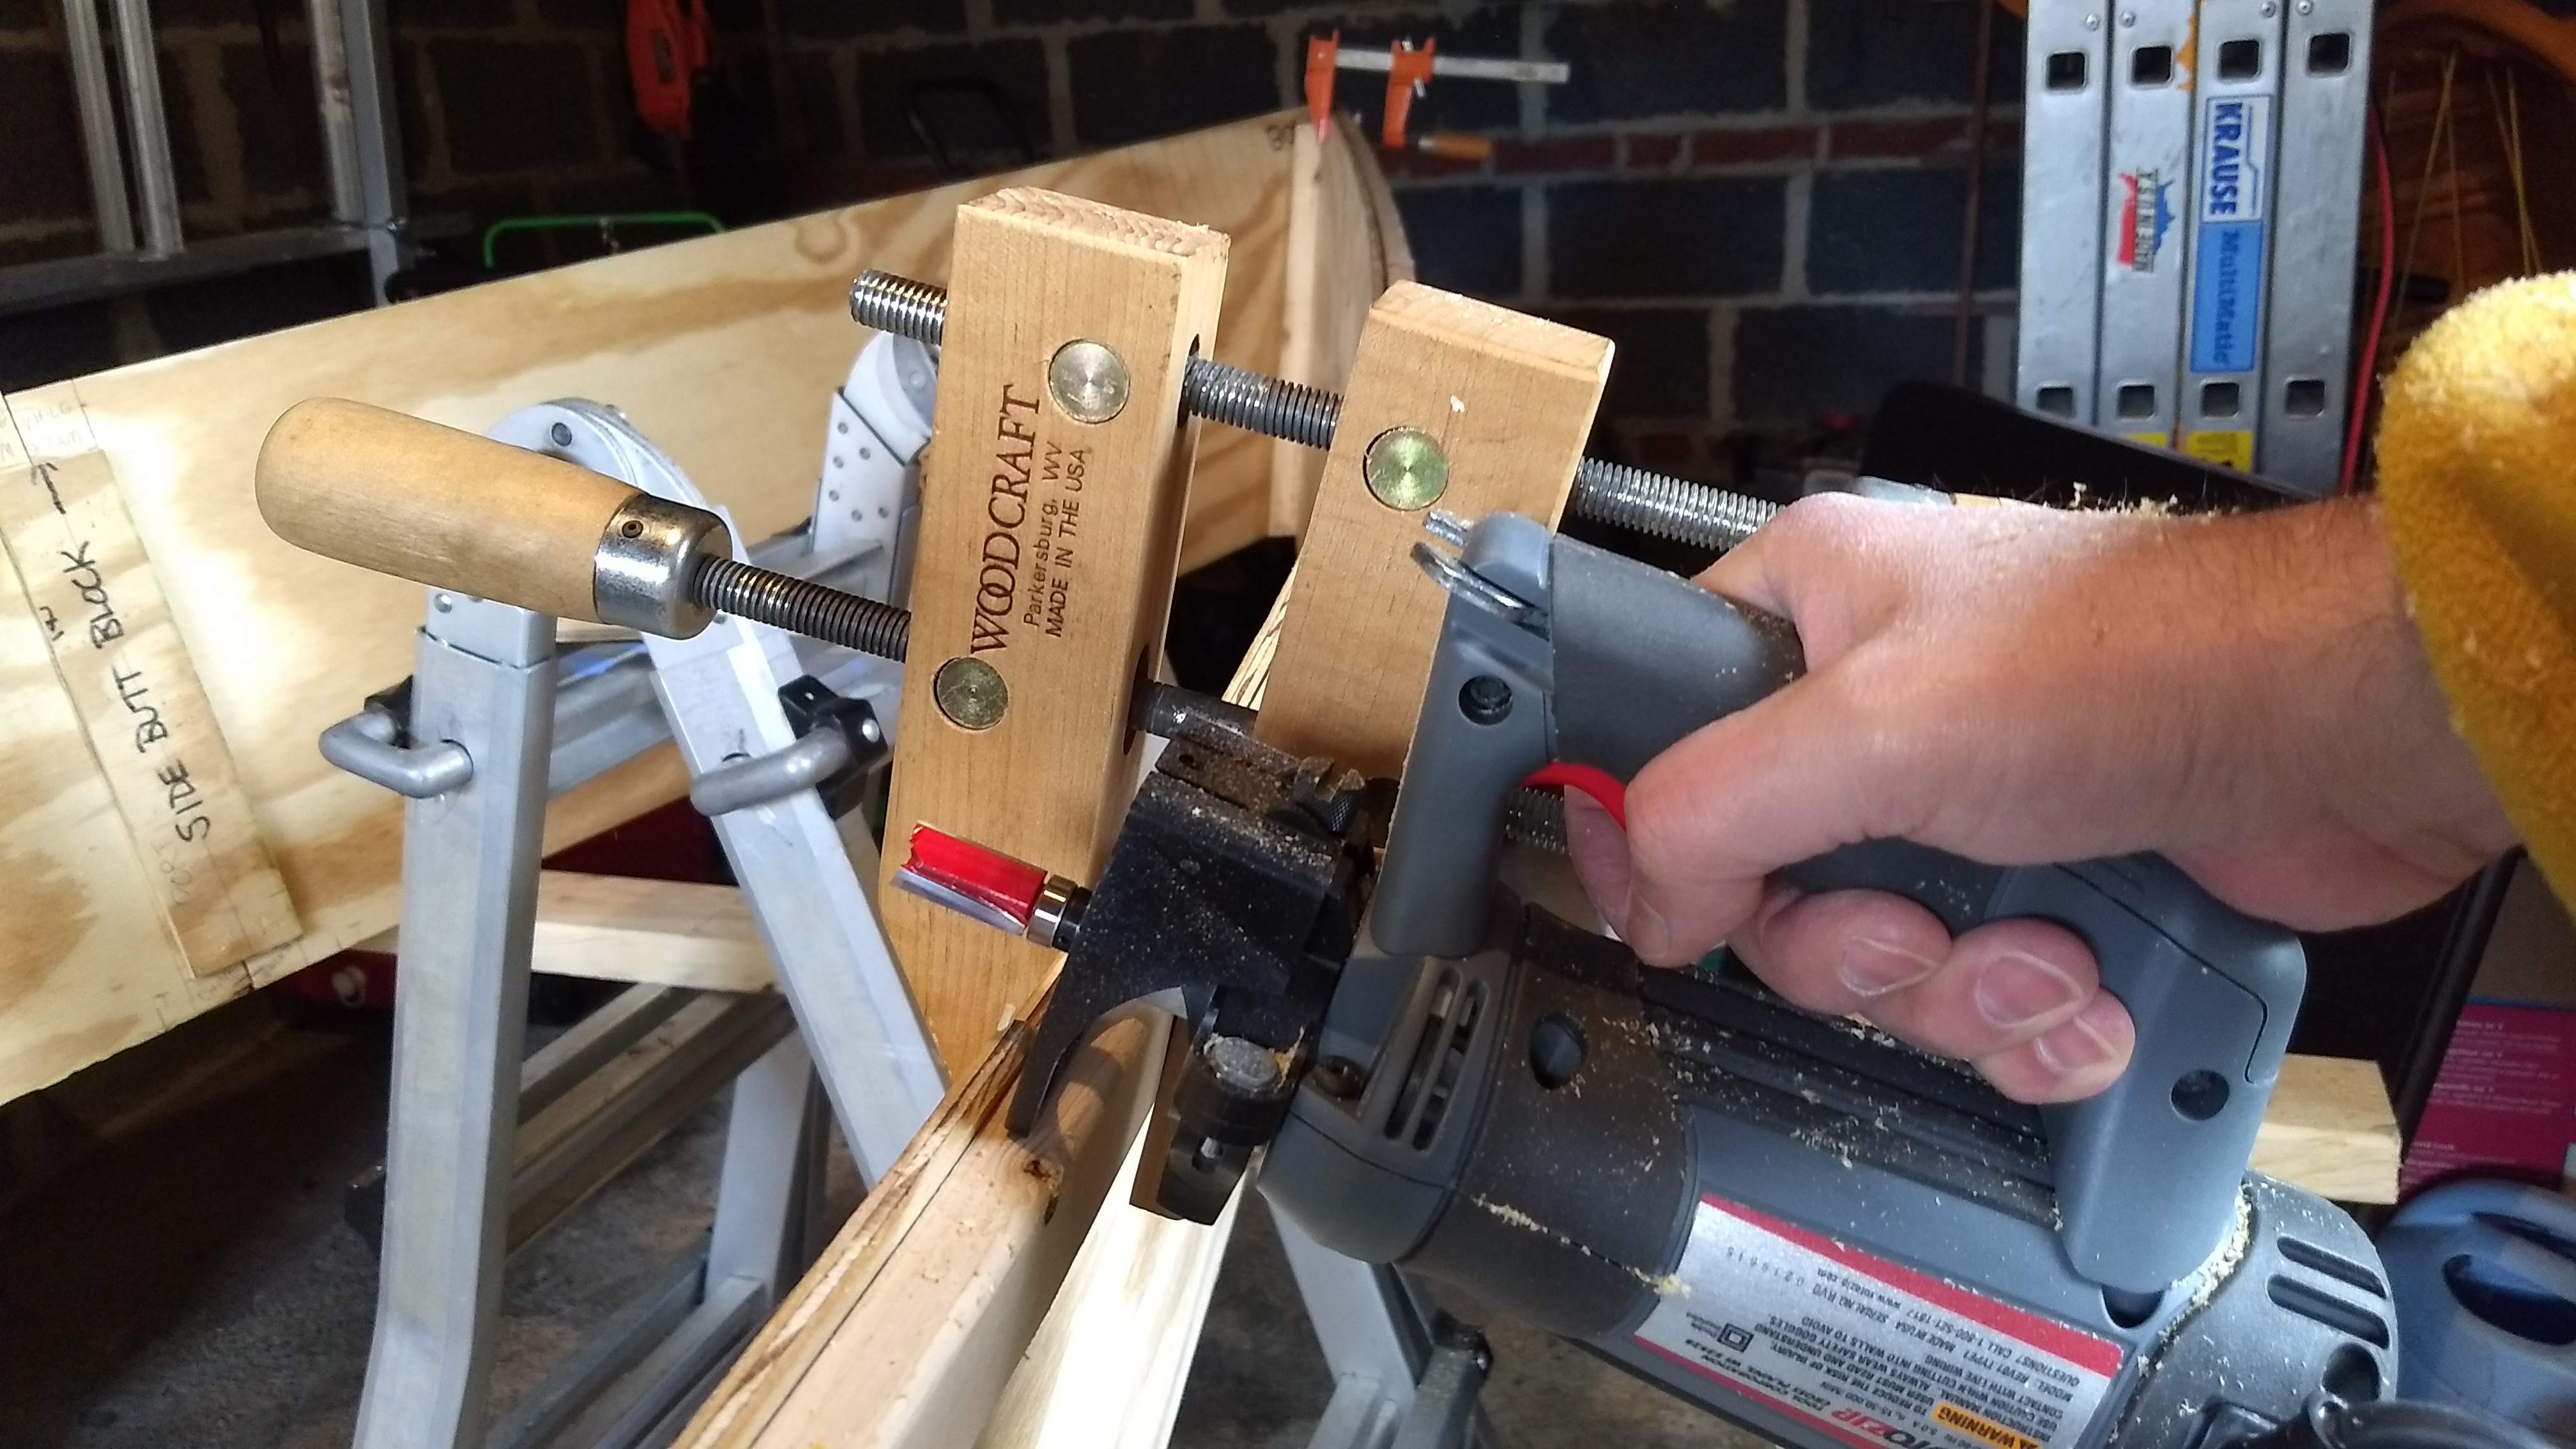
Which is what I did on Monday, the President’s Day holiday, use the trim router to make the sheer lines wonderfully straight. Boy, did that make me happy, seeing those straight lines when I was finally done. That had been worrying me for quite a while.
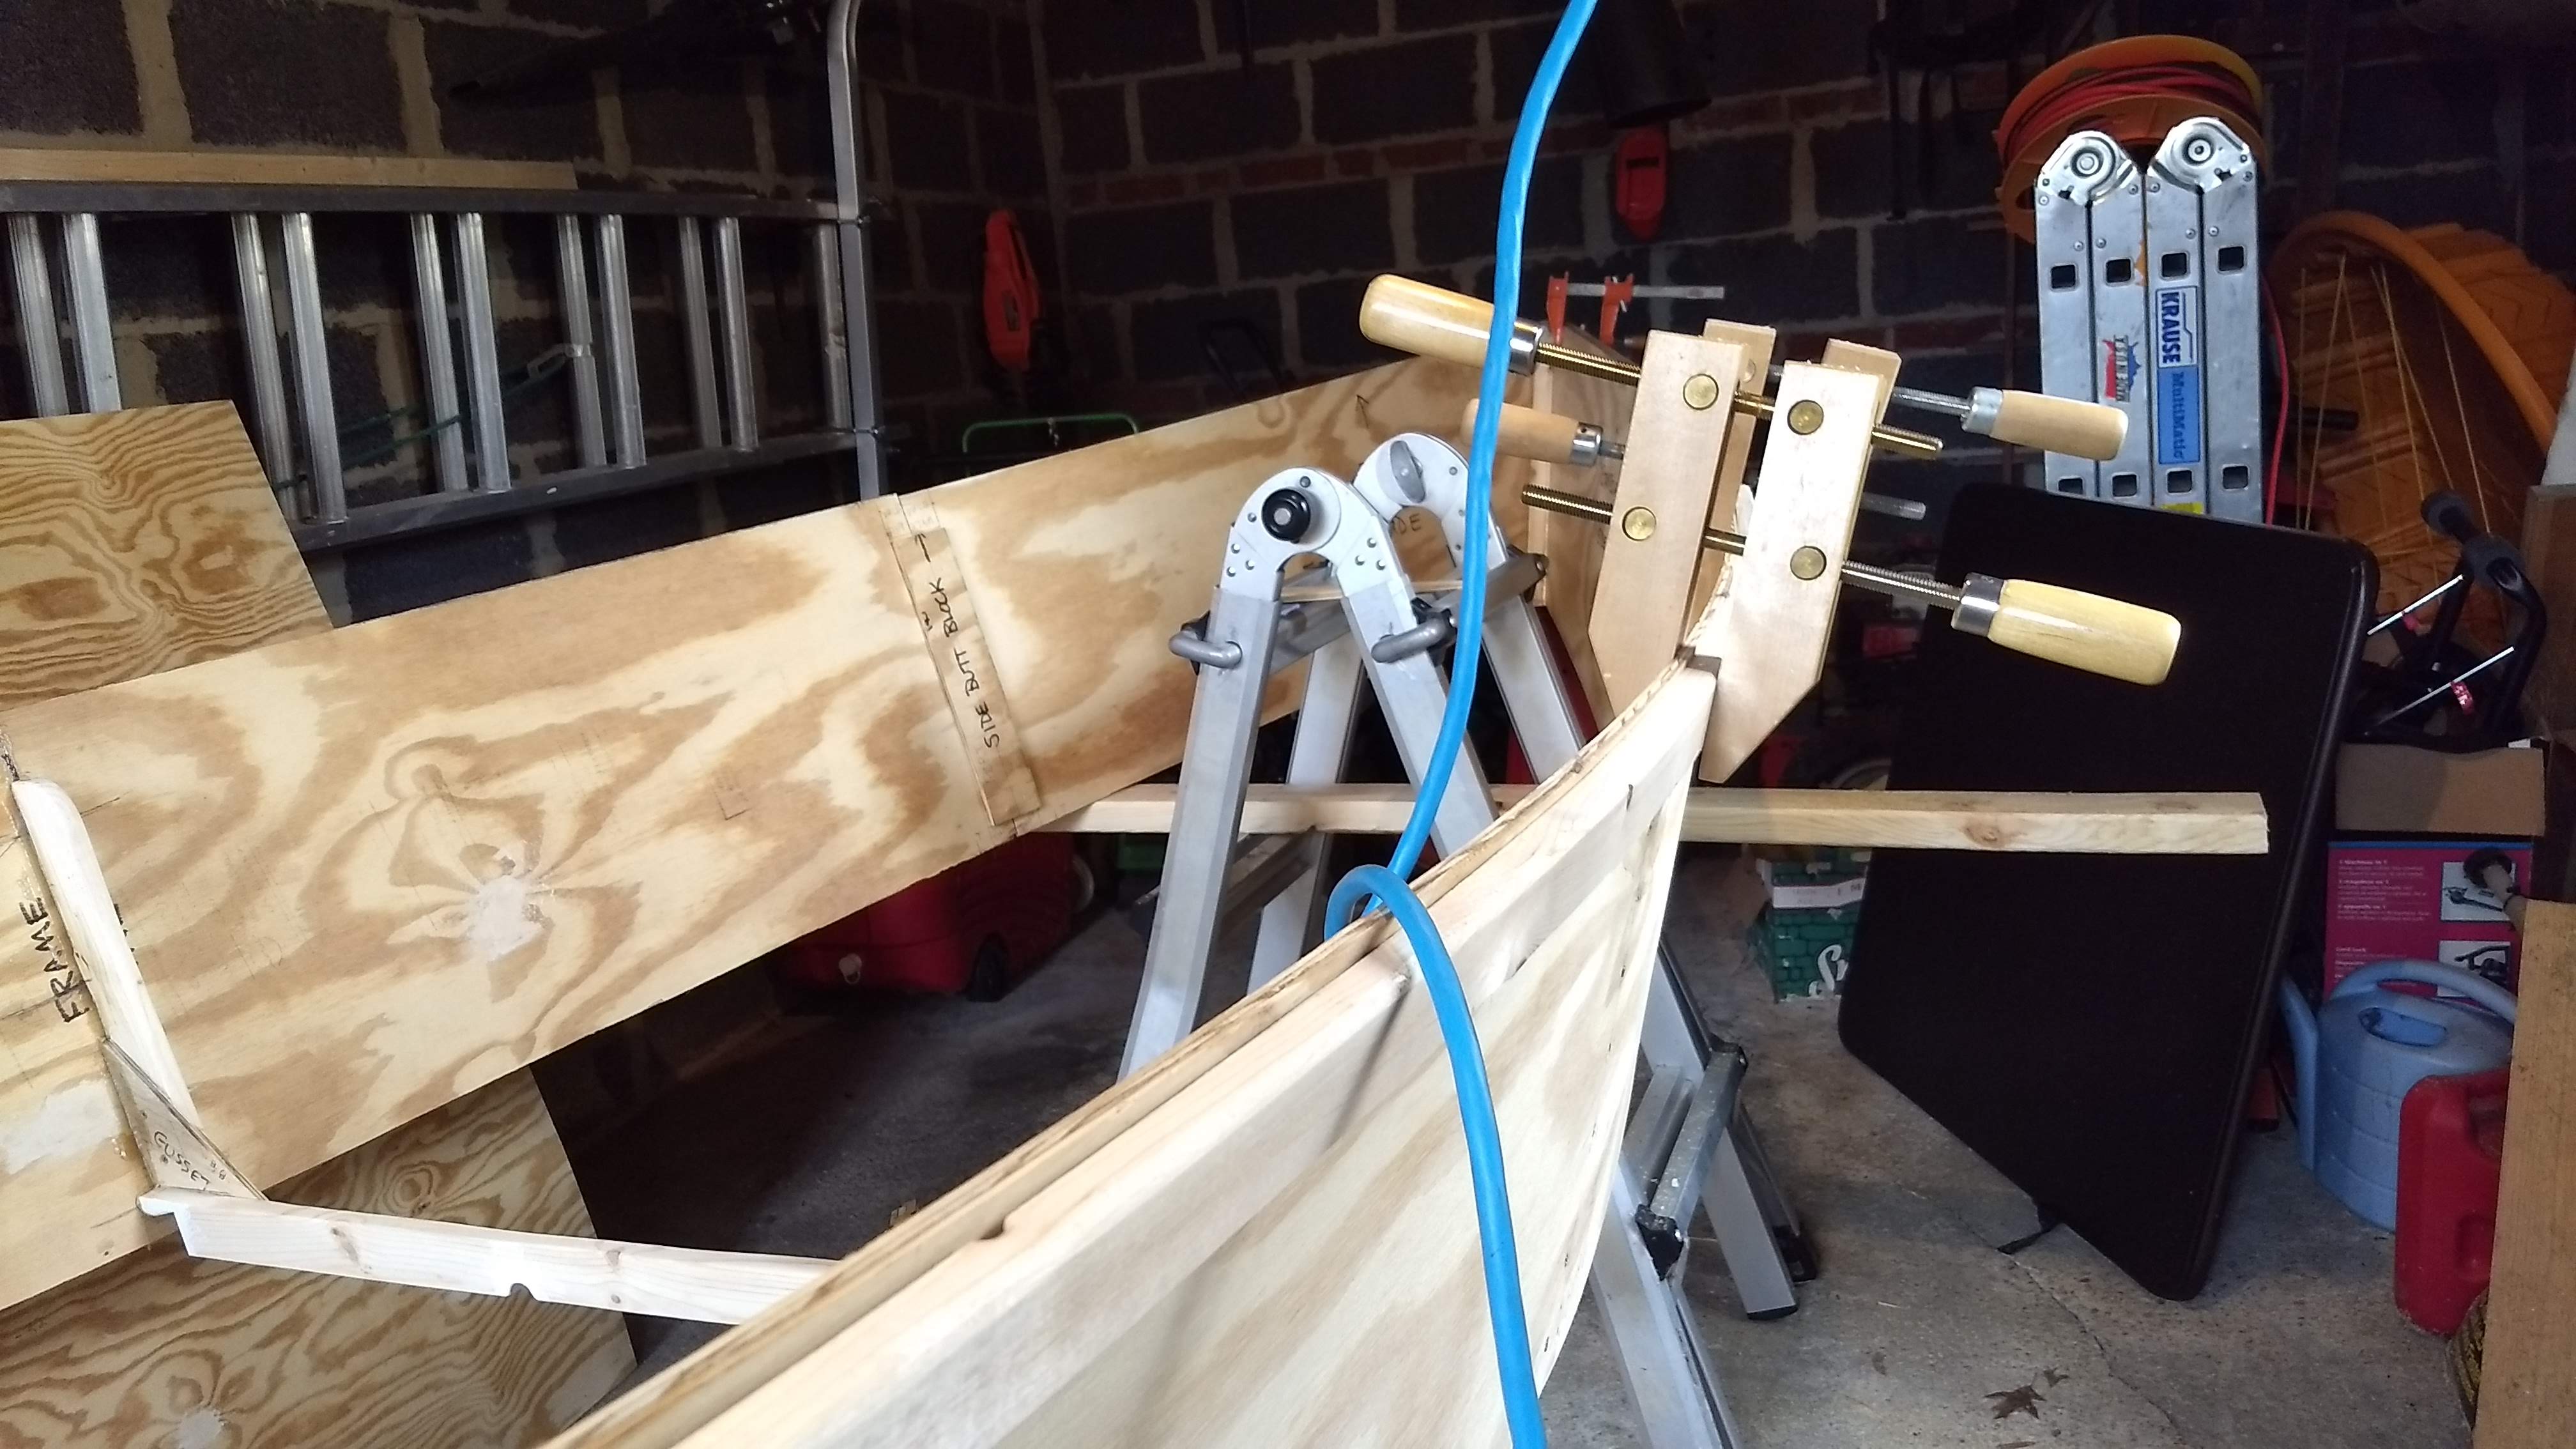
I started to fit the breast hook into place so as to attach the cleat for it, even drilling the pilot holes for the screws for the cleat. But then came quittin’ time, alas, so that’s for next week, attaching the cleats for the breast hook and quarter knees, then installing the inwale spacers.
Lesson 1: Tear Out
The miter saw blade tore out the tender stock something fierce, but I’m not sure what to do about that. I could have cut all the pieces by hand with the dozuki, maybe taking all week to do that. I maybe could spring for a better blade, but $$$.
Lesson 2: Remember where you put stuff!
I actually had a few minutes when I could have screwed the breast hook cleat to the hull, but I couldn’t find the screws. I looked in the tool box in the garage, where it’s an old Stanley Mobile Work Center (model 193968), but didn’t find them in the top compartment nor in the bottom. Couldn’t find them in the basement workshop anywhere neither, either in the inside boat toolbox or on the workbench. I finally remembered the little swivel compartment for small parts in the Mobile Work Center, after like half an hour of stupid searching. I’d put all the screws and nails there, and then forgot about it. Idiot.
Edward, you remind me of The Martian. Such ingenuity! Have you read Adrift 76 days lost at sea by Steven Callahan? He’s like The Martian of the ocean.
I have read that book, but I read it back when it came out. All I remember is that he used a solar still. I should re-read it!
You may never sail again!!?