
I wasn’t sure if I’d get any time for the boat this weekend, since we were going to the ballet, but turned out I had time both days. But, alas, this weekend’s work was all about gluing things, and it was too cold to glue on Sunday.
The time I had on Saturday was enough time, though, to glue on all the inwale spacers, all 60 of ’em.
First decision to make was what kind of glue to use. I’ve used PL Premium polyurethane construction adhesive thus far for everything, but for these I opted for Titebond III wood glue instead instead. I’ve got a general idea that I’ll use the polyurethane for anything that might conceivably be under water, or even below the waterline, but wood glue for things above.

I’ll eventually be using epoxy as well, but only to glass the chines and the seams at the bow, stern, and where the plywood is butt blocked together.

So it was all slow, deliberate work: unscrew the spacer, apply glue, and re-screw the little guy back where it was, then wait for and wipe up any glue squeeze out.. Repeat 60 times.

The only other thing I did was replace the one spacer above the starboard butt block, which butt block is not quite 1-1/2″ below the sheer line where the spacers go. That block needed a little trimming to fit, and the first attempt I made looked terrible. Even though the block is going to eventually be hidden by the inwale, I’ll always know it’s there and wanted it a little better. So I rasped and filed and sanded a new block instead of sawing like I did with the old one.
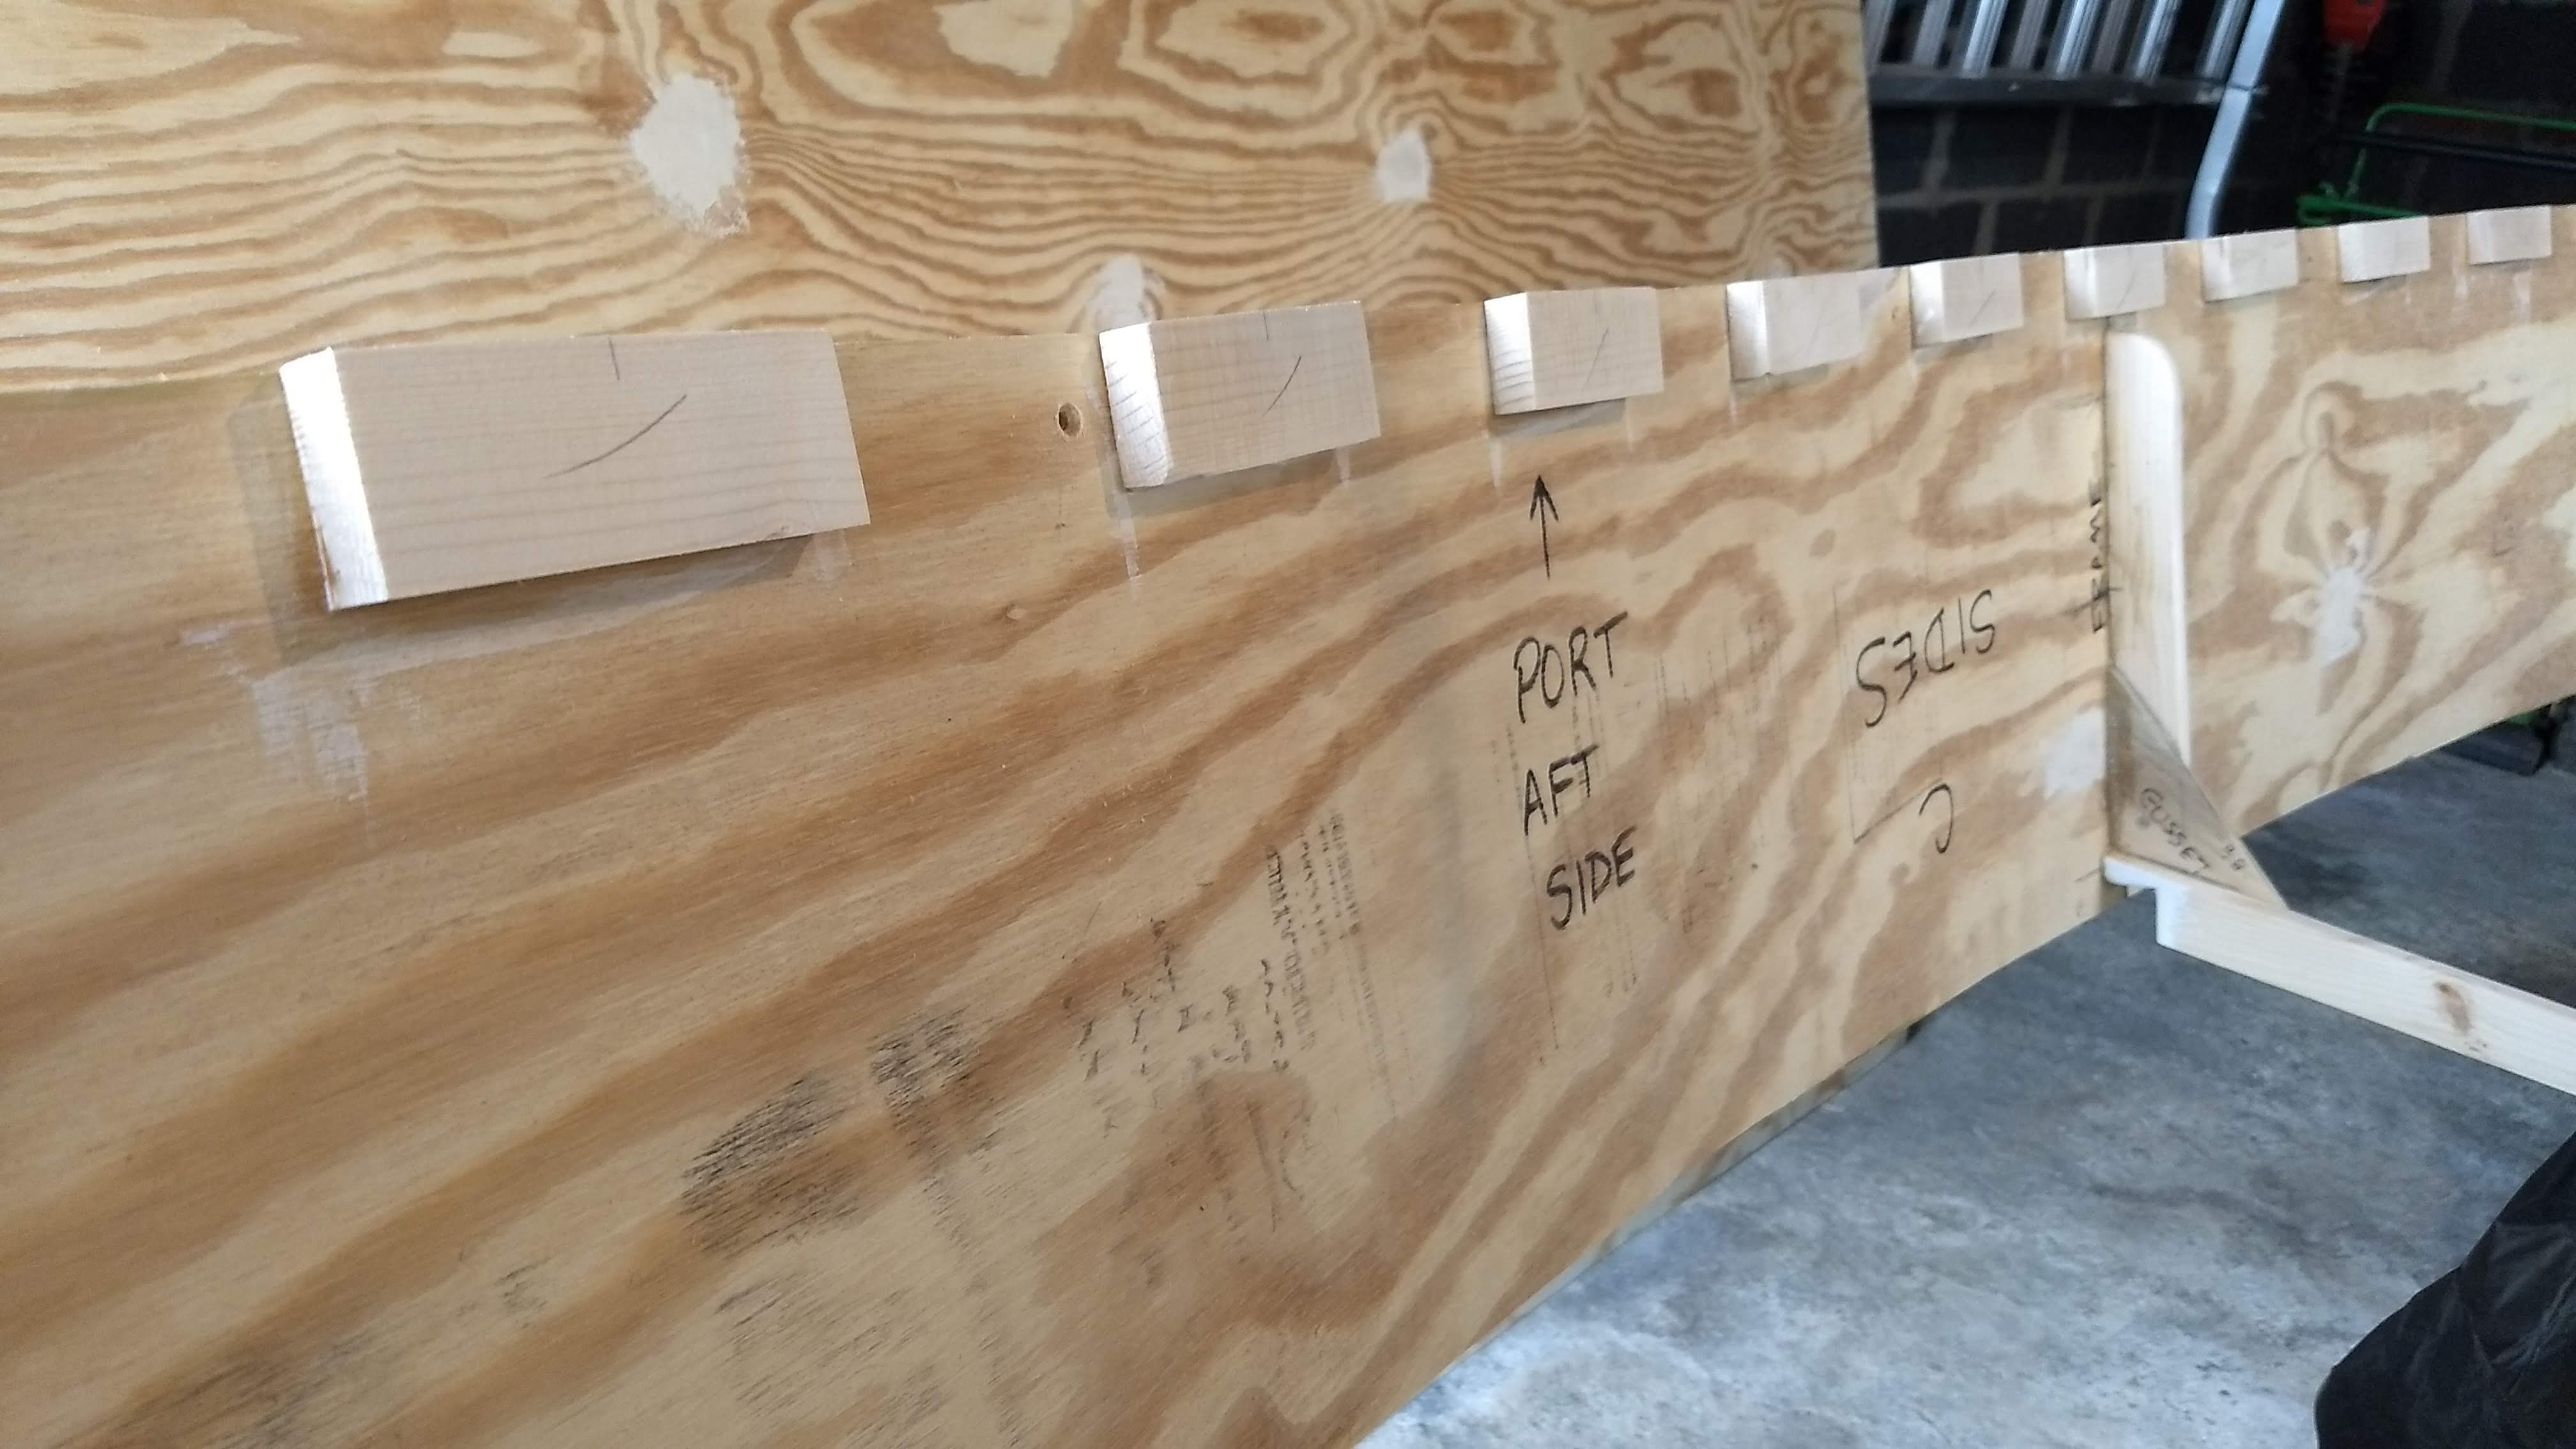

And now all the spacers are glued, so I can glue the gunwales next. I’ll go back to the PL Premium for those. Then inwales (wood glue) and then it’s time for the chines.
Next week.
Lesson 1: Wood glue is runny
I’d gotten so used to using the polyurethane, which is really thick — a local boat builder derided it as being like bubble gum — and so I was surprised by how much the wood glue ran and dripped. But I eventually got the hang of how much to use and how to spread.
And I’m really glad so far with my choice of wood glue for these parts. The PL Premium needs a caulk gun, and it was like orders of magnitude easier to be able to just pick up the bottle of glue and squeeze to apply rather than fumble with the caulk gun 60 times.