
Spent Saturday sizing and shaping oar pieces somewhat, and then glued them up on Sunday.
Each oar is made from three pieces which get glued together in a sandwich, as it were. Once glued, the middle of the sandwich doesn’t get shaped much top and bottom, except for the blade, which isn’t technically part of the sandwich anyway.
But the top and bottom parts of the sandwich, the top and bottom bun, say, while already cut side to side to taper from 2″ square down to 1-1/4″ round, are still 3/4″ thick for their full length. They each need to be 5/8″ thick at most and taper down to only 1/4″ thick at the point where the blade begins. The plans call for removing that extra stock after gluing together, but I’m shaping that some before gluing.
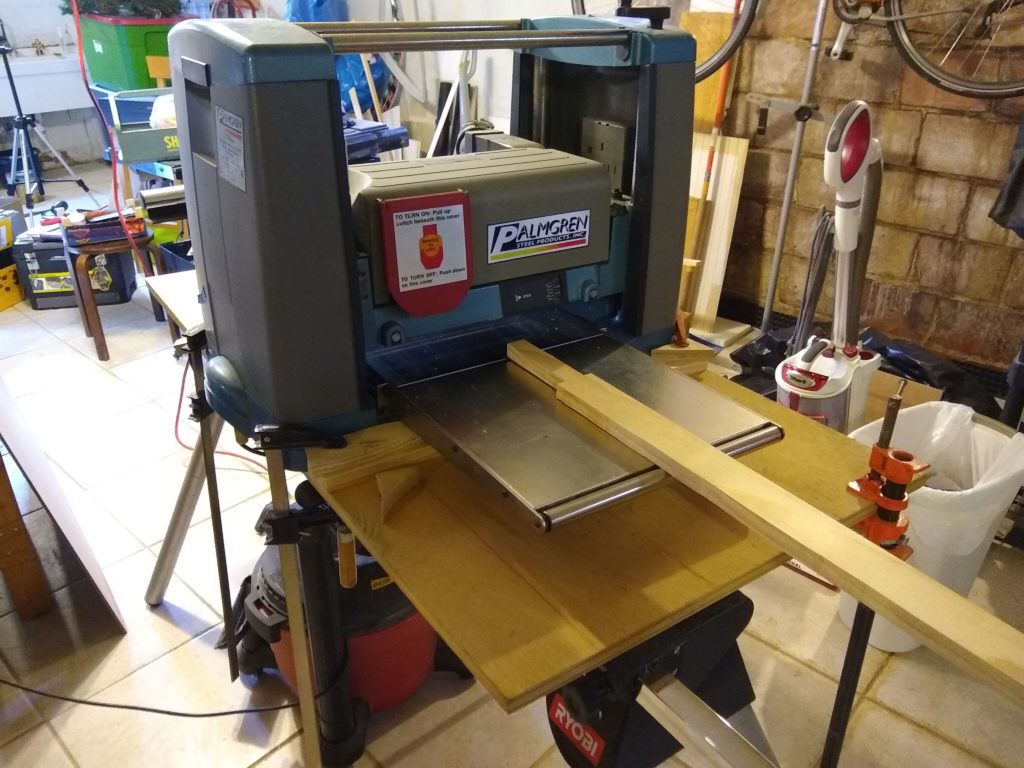
It’s stupid simple in a thickness planer to take a board 3/4″ thick and make it 5/8″ thick instead. And since I’ve got a planer, that’s what I do. I just make a little mark somewhere for 5/8″ thickness on each part and send them through the planer a few times until they’re down to the mark.

The taper from 5/8″ down to 1/4″, though, is a rather more tricky thing. I make some plans for a planer sled, where I would need to raise the bottom end of the bun up 3/8″ so as to plane it down to 1/4″. But I finally decide that a sled is more complicated than this operation needs to be, and besides I don’t think I can make any sort of wedge that’s 30″ long but only 3/8″ high to support the bun under the rollers in the planer. So that board is going to bend and not get planed right. Forget it.

I consider some sort of taper jig for the table saw, but that leaves a lot of material hanging off the front end of my tiny little table. I’m not comfortable with that, either.
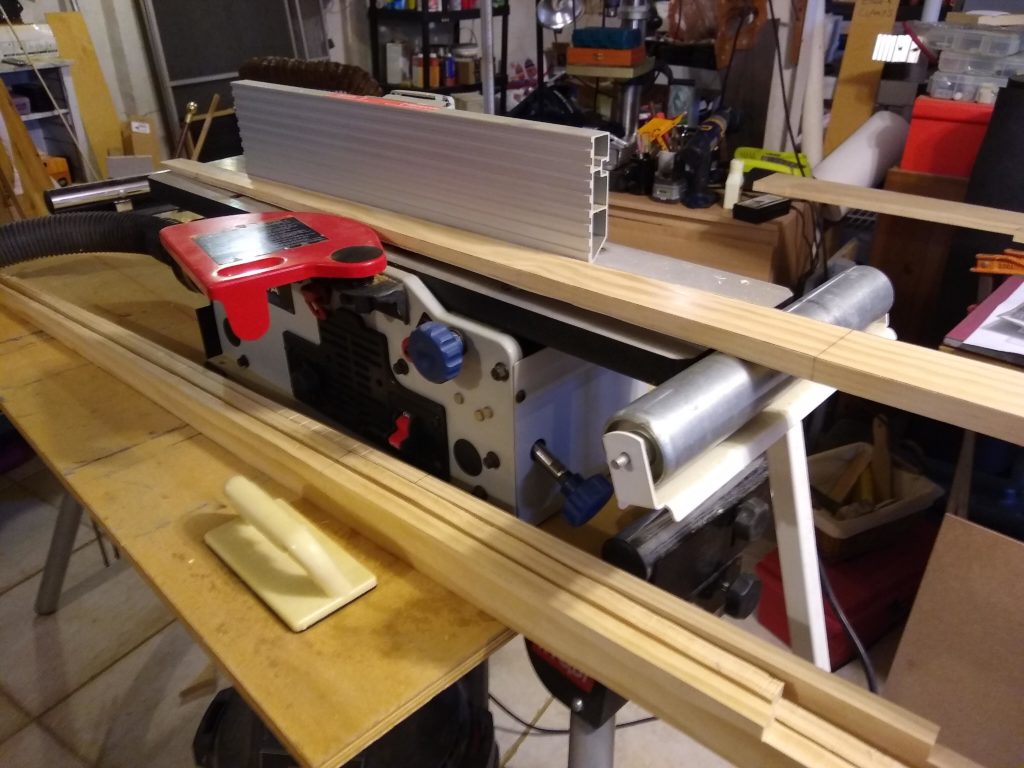
I finally opt for using my little bench top jointer. I have an adjustable roller stand that I butt up against the infeed table, so that the incoming piece being jointed is lifted up … somewhat. Instead of measuring precisely how high above the table it is, I just sight along the jointer fence, trying to keep the line on the board level with the horizontal fluting along the fence.
This works, turns out. Works just fine, especially since I’m only aiming for getting close to the final line rather than exactly on it. I’m only removing most of the stock, not all of it. I’ll still be doing some final shaping after gluing the sandwiches together, with plane and/or rasp and/or file and/or sandpaper.

Gluing the sandwiches together is fairly straightforward, except that I worry about the parts sliding around with the slippery glue while I’m trying to clamp it all together. Jim Michalak suggests tapping in a “light temporary nail to keep the pieces from sliding around on each other because almost all glues are quite slippery until they start to set.” Ain’t it the truth.

I tap in two light temporary nails, 1-1/4″ long 3d nails to be exact, spaced toward each end of the square part of the loom, on each side of the sandwich. I drill 5/64″ pilot holes, thinking that I’ll have to tap in the nails, since Googling for the diameter of a 3d nail and finding 0.083″ as the answer, whereas 5/64″ is 0.078125″ so I’ll have a smaller hole than the nail. But the nails pretty much slide in and out of the pilot holes without tapping. Either I read the wrong row or, heck, the wrong website, or else that 0.083″ is just a nominal size and nails ain’t exactly precision tools, or maybe my 5/64″ drill bit is a smidge bigger, or maybe I accidentally used the 3/32″ drill bit.
Whatever. These nails are only for temporary alignment, so they don’t need to stay in past the clamping stage. They work just fine.
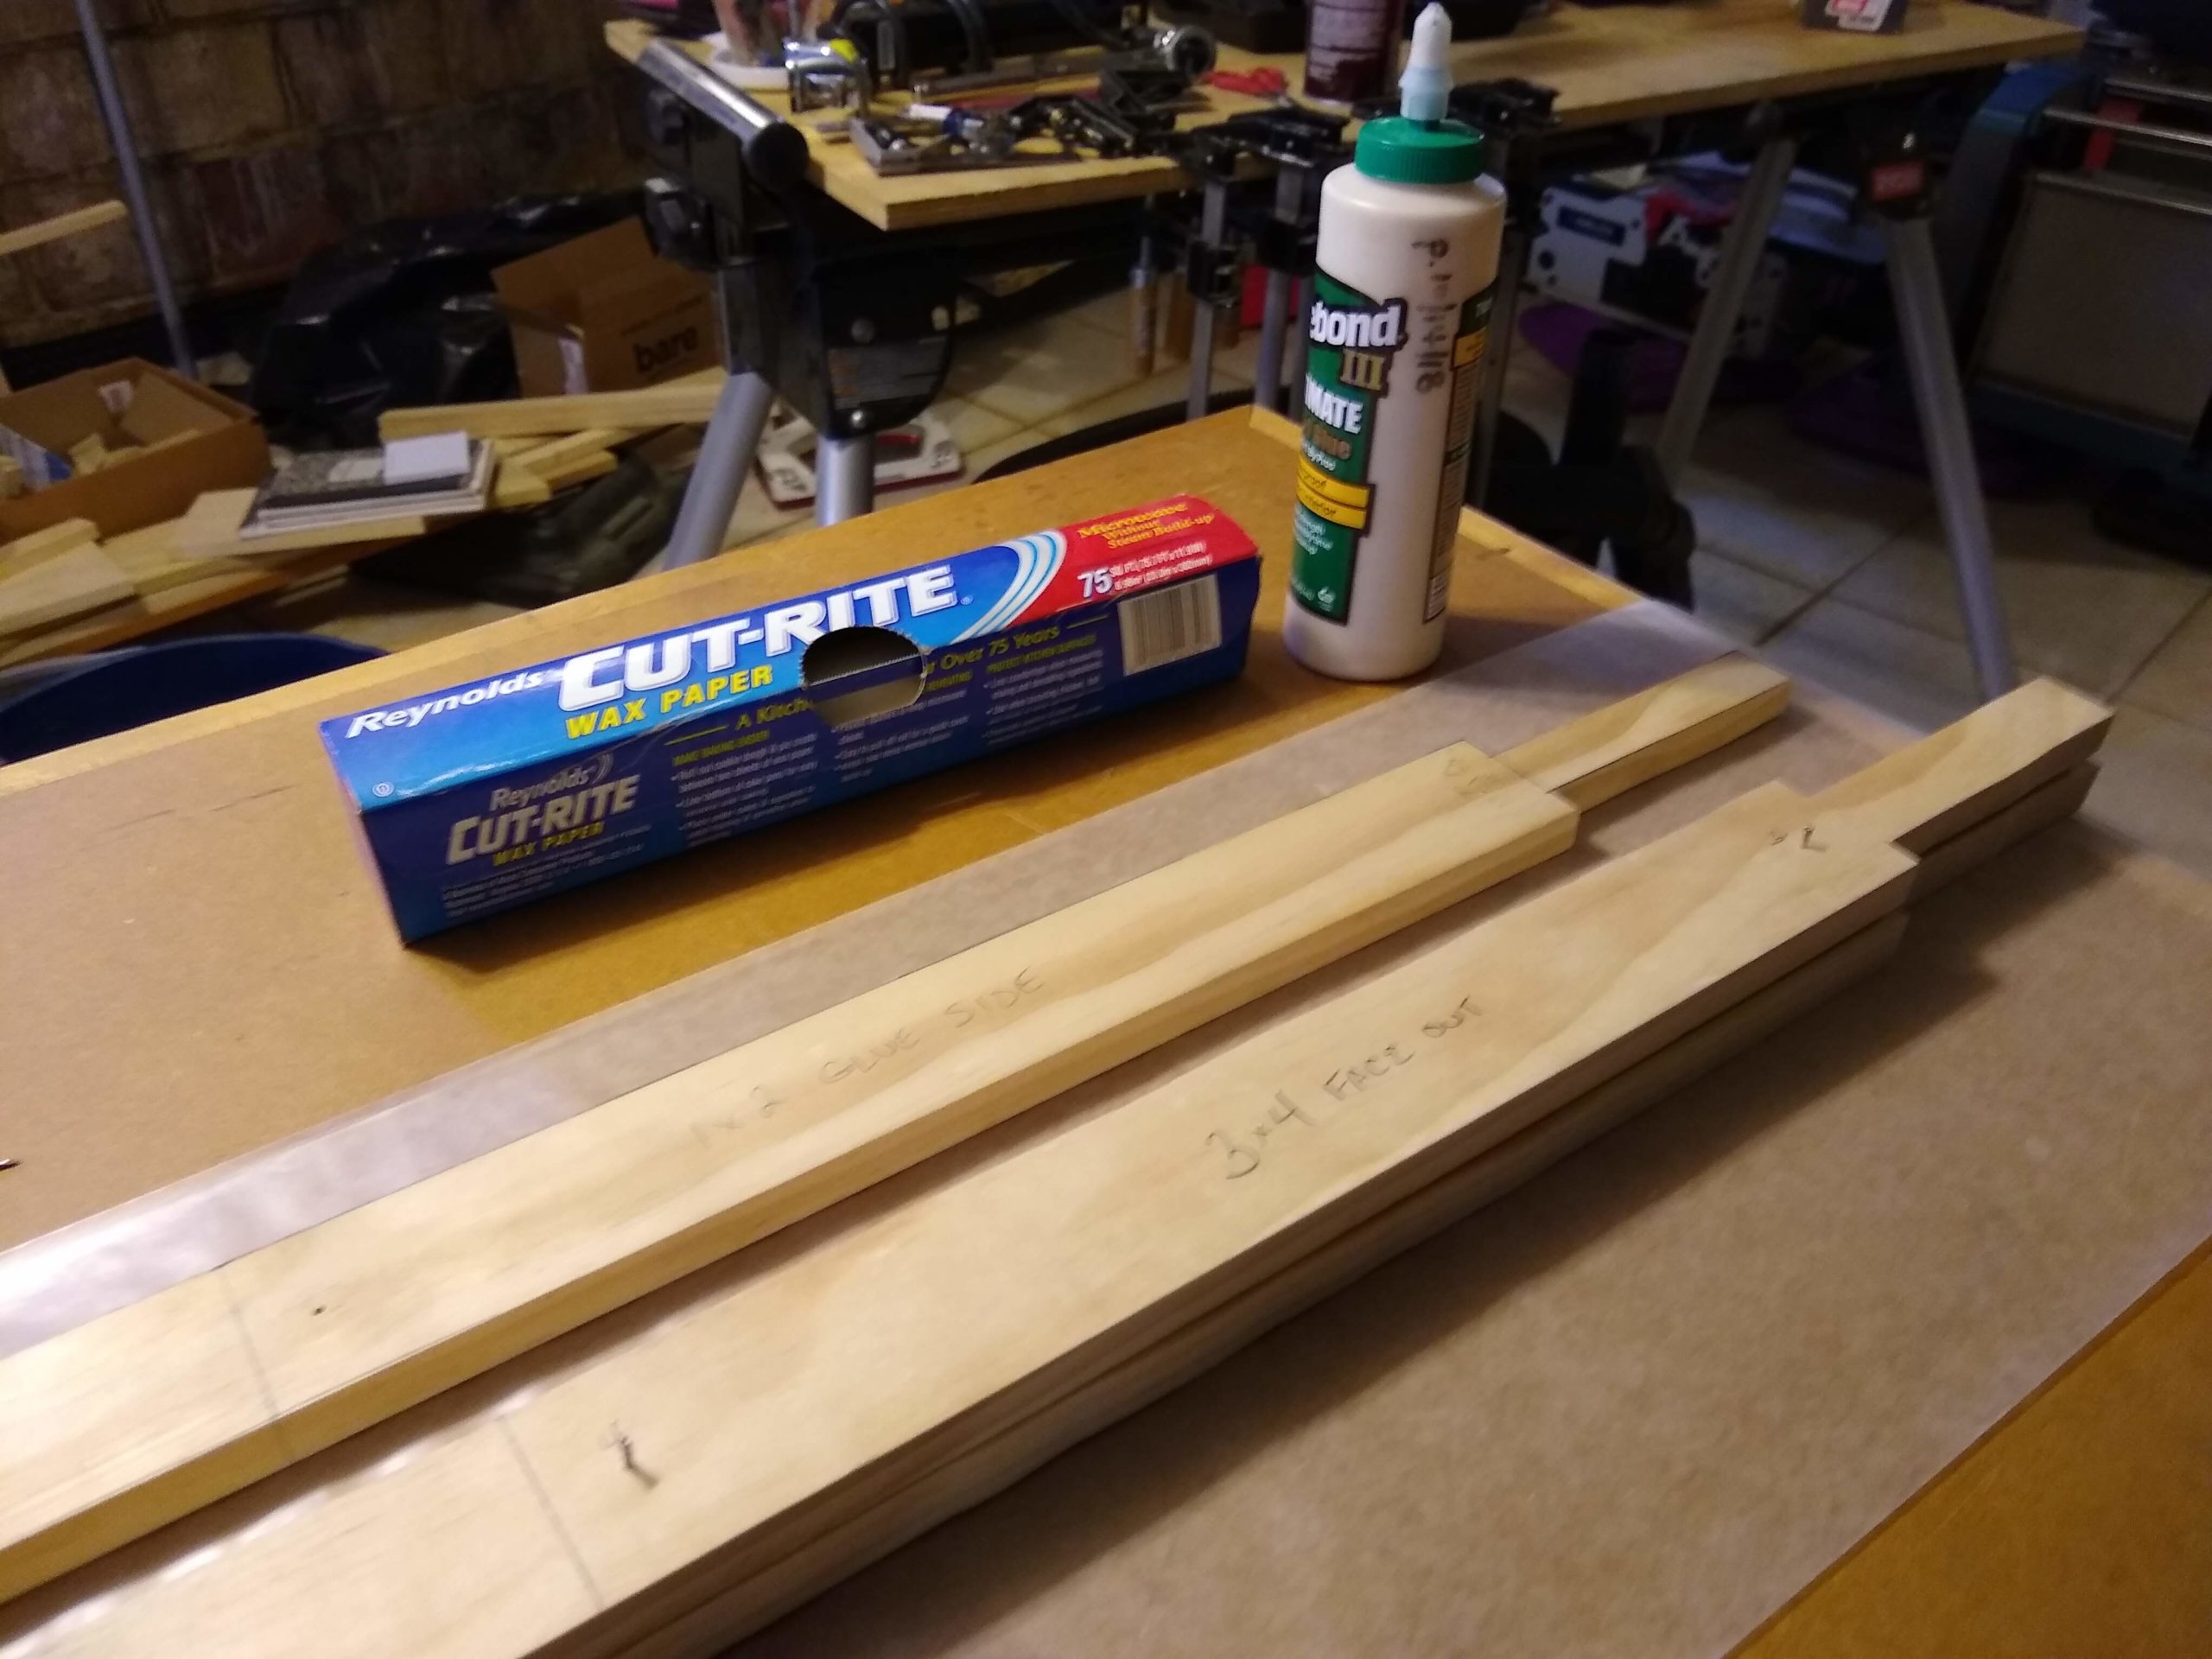
I expected to use all my clamps, but I don’t. I use most of them, though.

Lesson 1: Glue Squeeze Out
There was a ton of glue that dripped everywhere. Next time I need to lay down more wax paper and have more paper towels at hand.