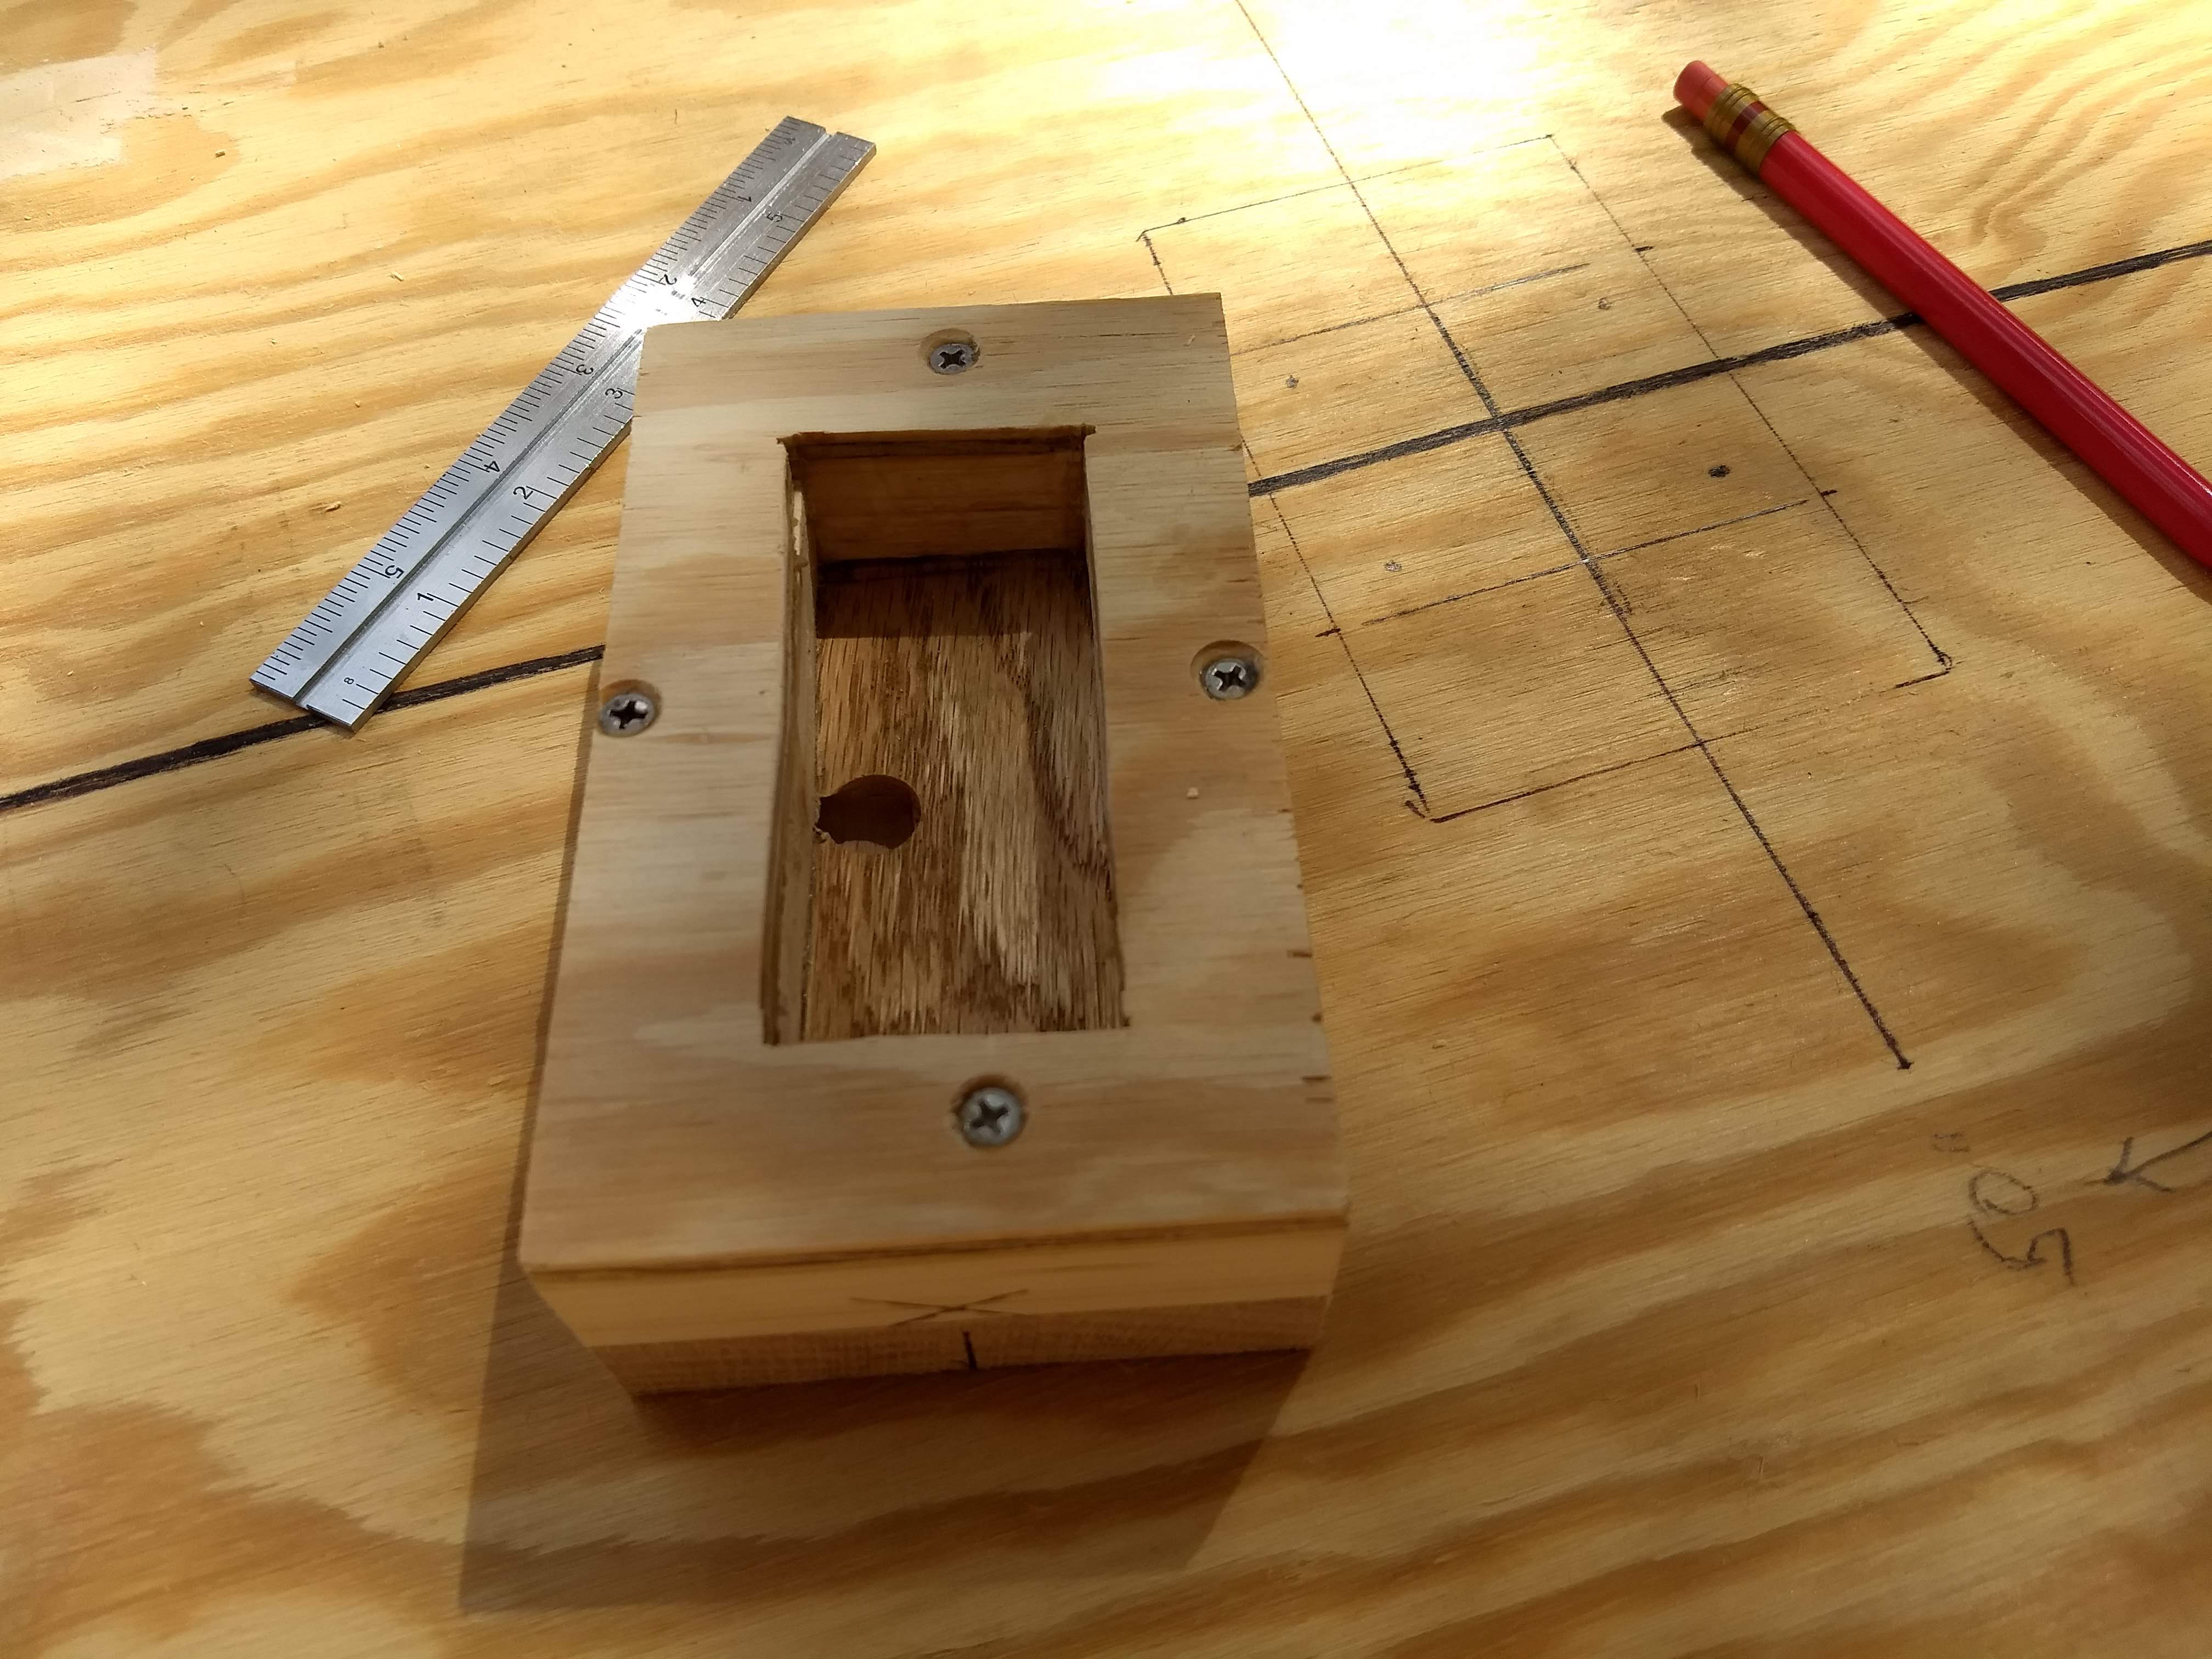
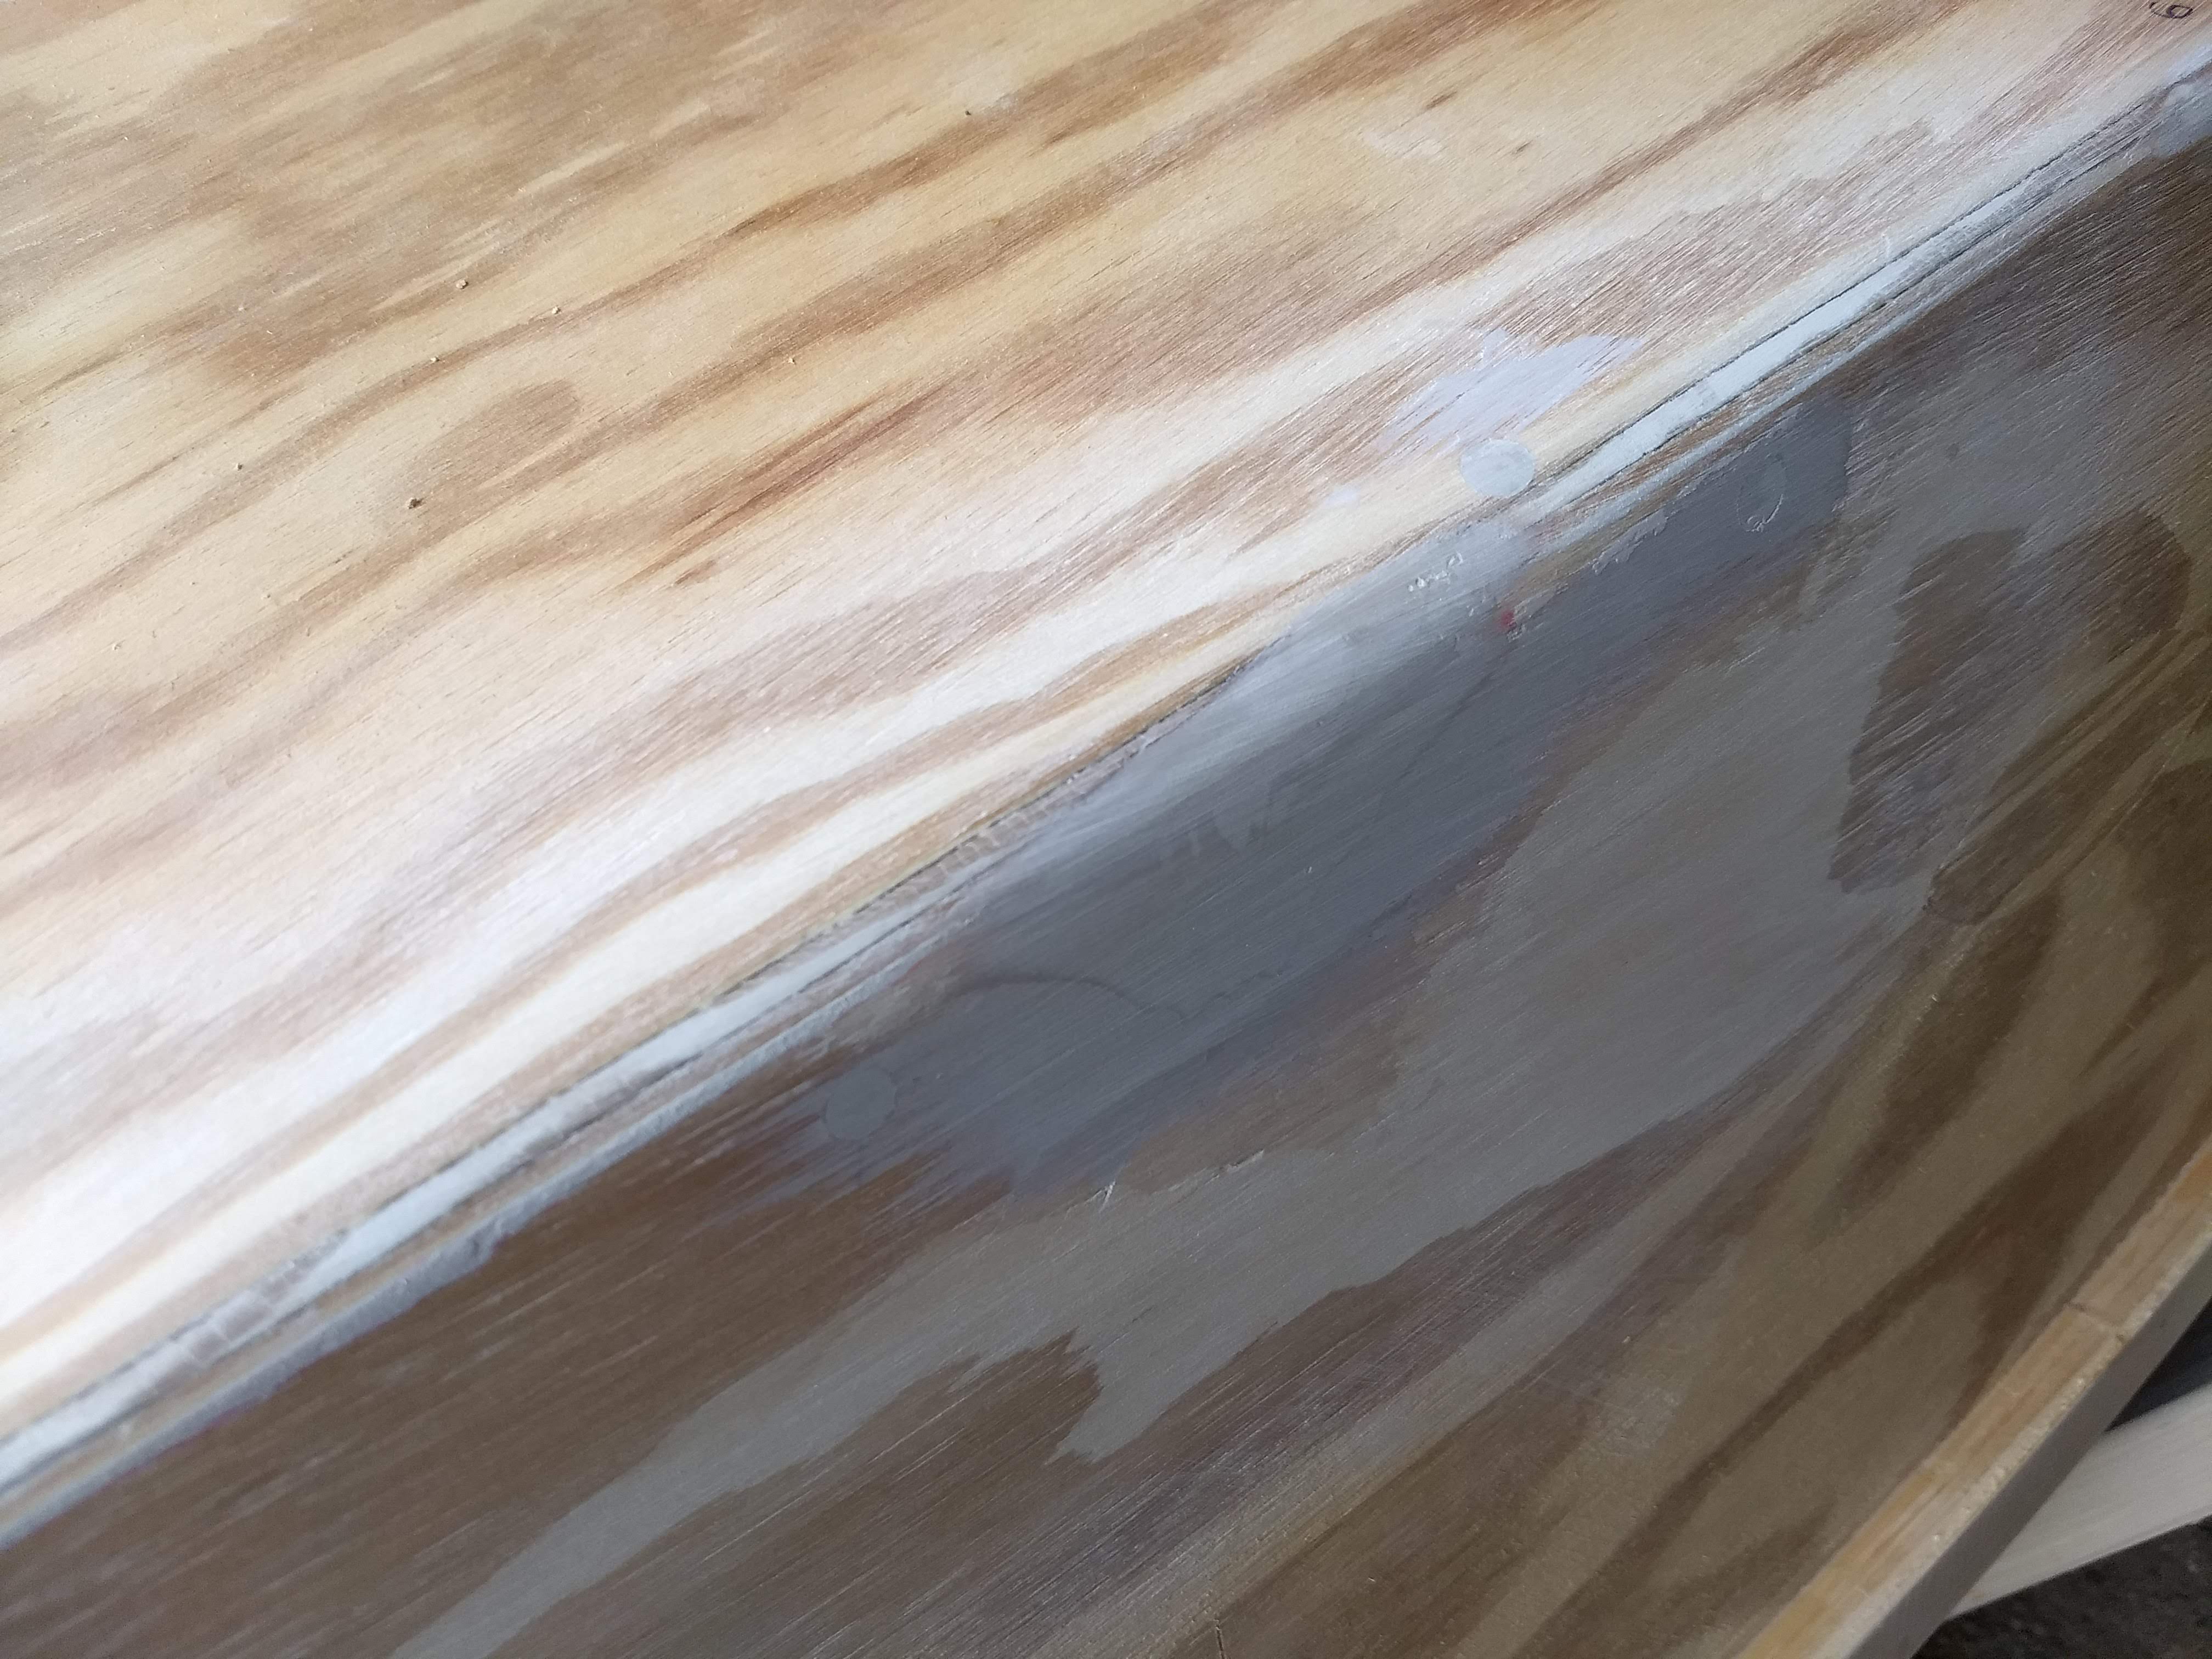
I worked in the blazing heat on Saturday filling screw holes and seams on the outside of the boat, and then on Sunday I installed the mast step.

I didn’t really mean to work all afternoon on the stifling heat on Saturday. I probably should have waited until it was cooler to work with the two-part Minwax wood filler. But I’m so eager to finish the boat that I didn’t want to waste a weekend. So I slogged through. And, really, it was in the low 80s in the garage. I don’t imagine it getting cooler enough in the coming weeks to bring that temperature in the garage down much more.
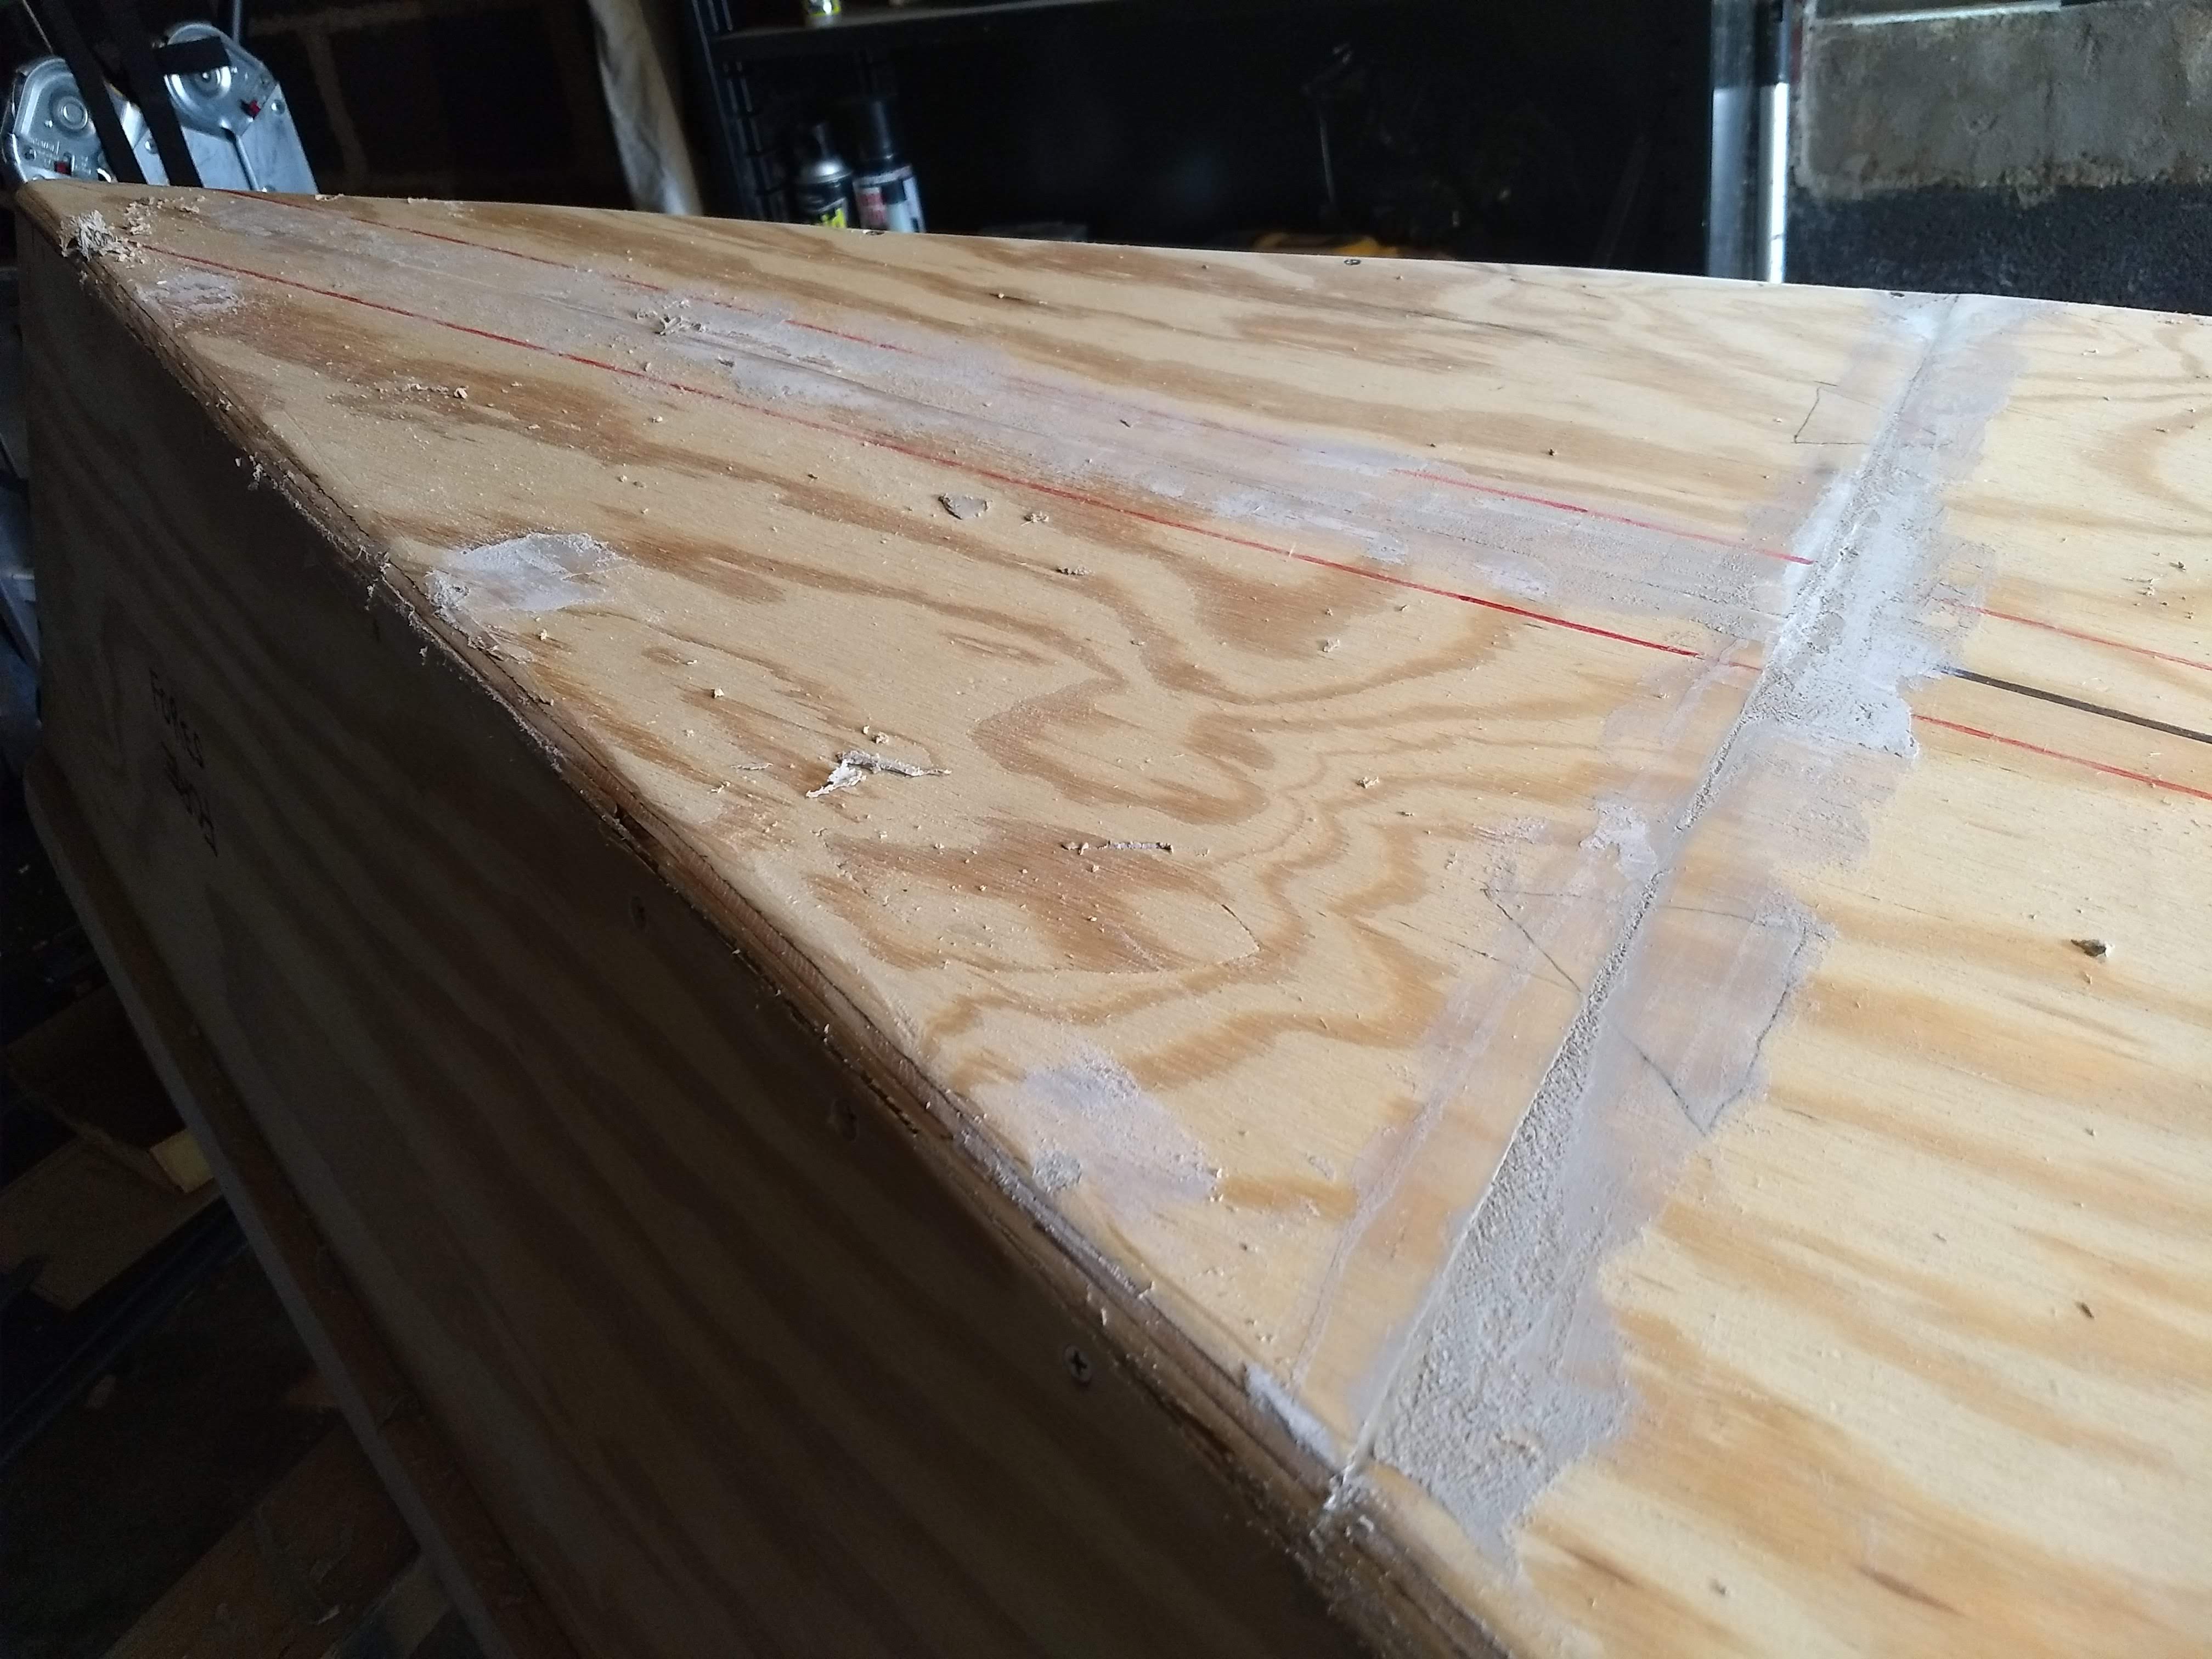
The main problem became the working time for the filler once I got it mixed. Minwax claims that there’s ten to fifteen minutes after mixing at room temperature. In the hotter garage I got maybe five if I was lucky. So mostly I just mixed smaller batches at a time, just enough for five minutes of work. I used the kitchen scale, measuring in grams, although it measures in whole grams and I wished I had a scale at tenths of a gram.

The recommended mix of resin to hardener is 16 to 1, so I was trying to mix 16 grams of resin at a time to which to add 1 gram of hardener. Usually it was a blob of about 20 grams or so, and I soon got a feeling for how big a dab of hardener to add to that. Only once did I apparently add too much hardener and end up with an unusable rock on my taping knife/palette/mortar board.

I used up the whole can of resin, so I must have done somewhere between fifteen and twenty batches, over the course of two to three hours. I was sure glad when it was done.
On Sunday I worked more on the mast step. I unclamped it and took it down to the basement workshop to even up the sides on the miter saw. Then I drilled a 3/8″ hole through the side at the top edge of the bottom oak layer, and then a 5/8″ hole down into that hole, on the drill press using Forstner bits.
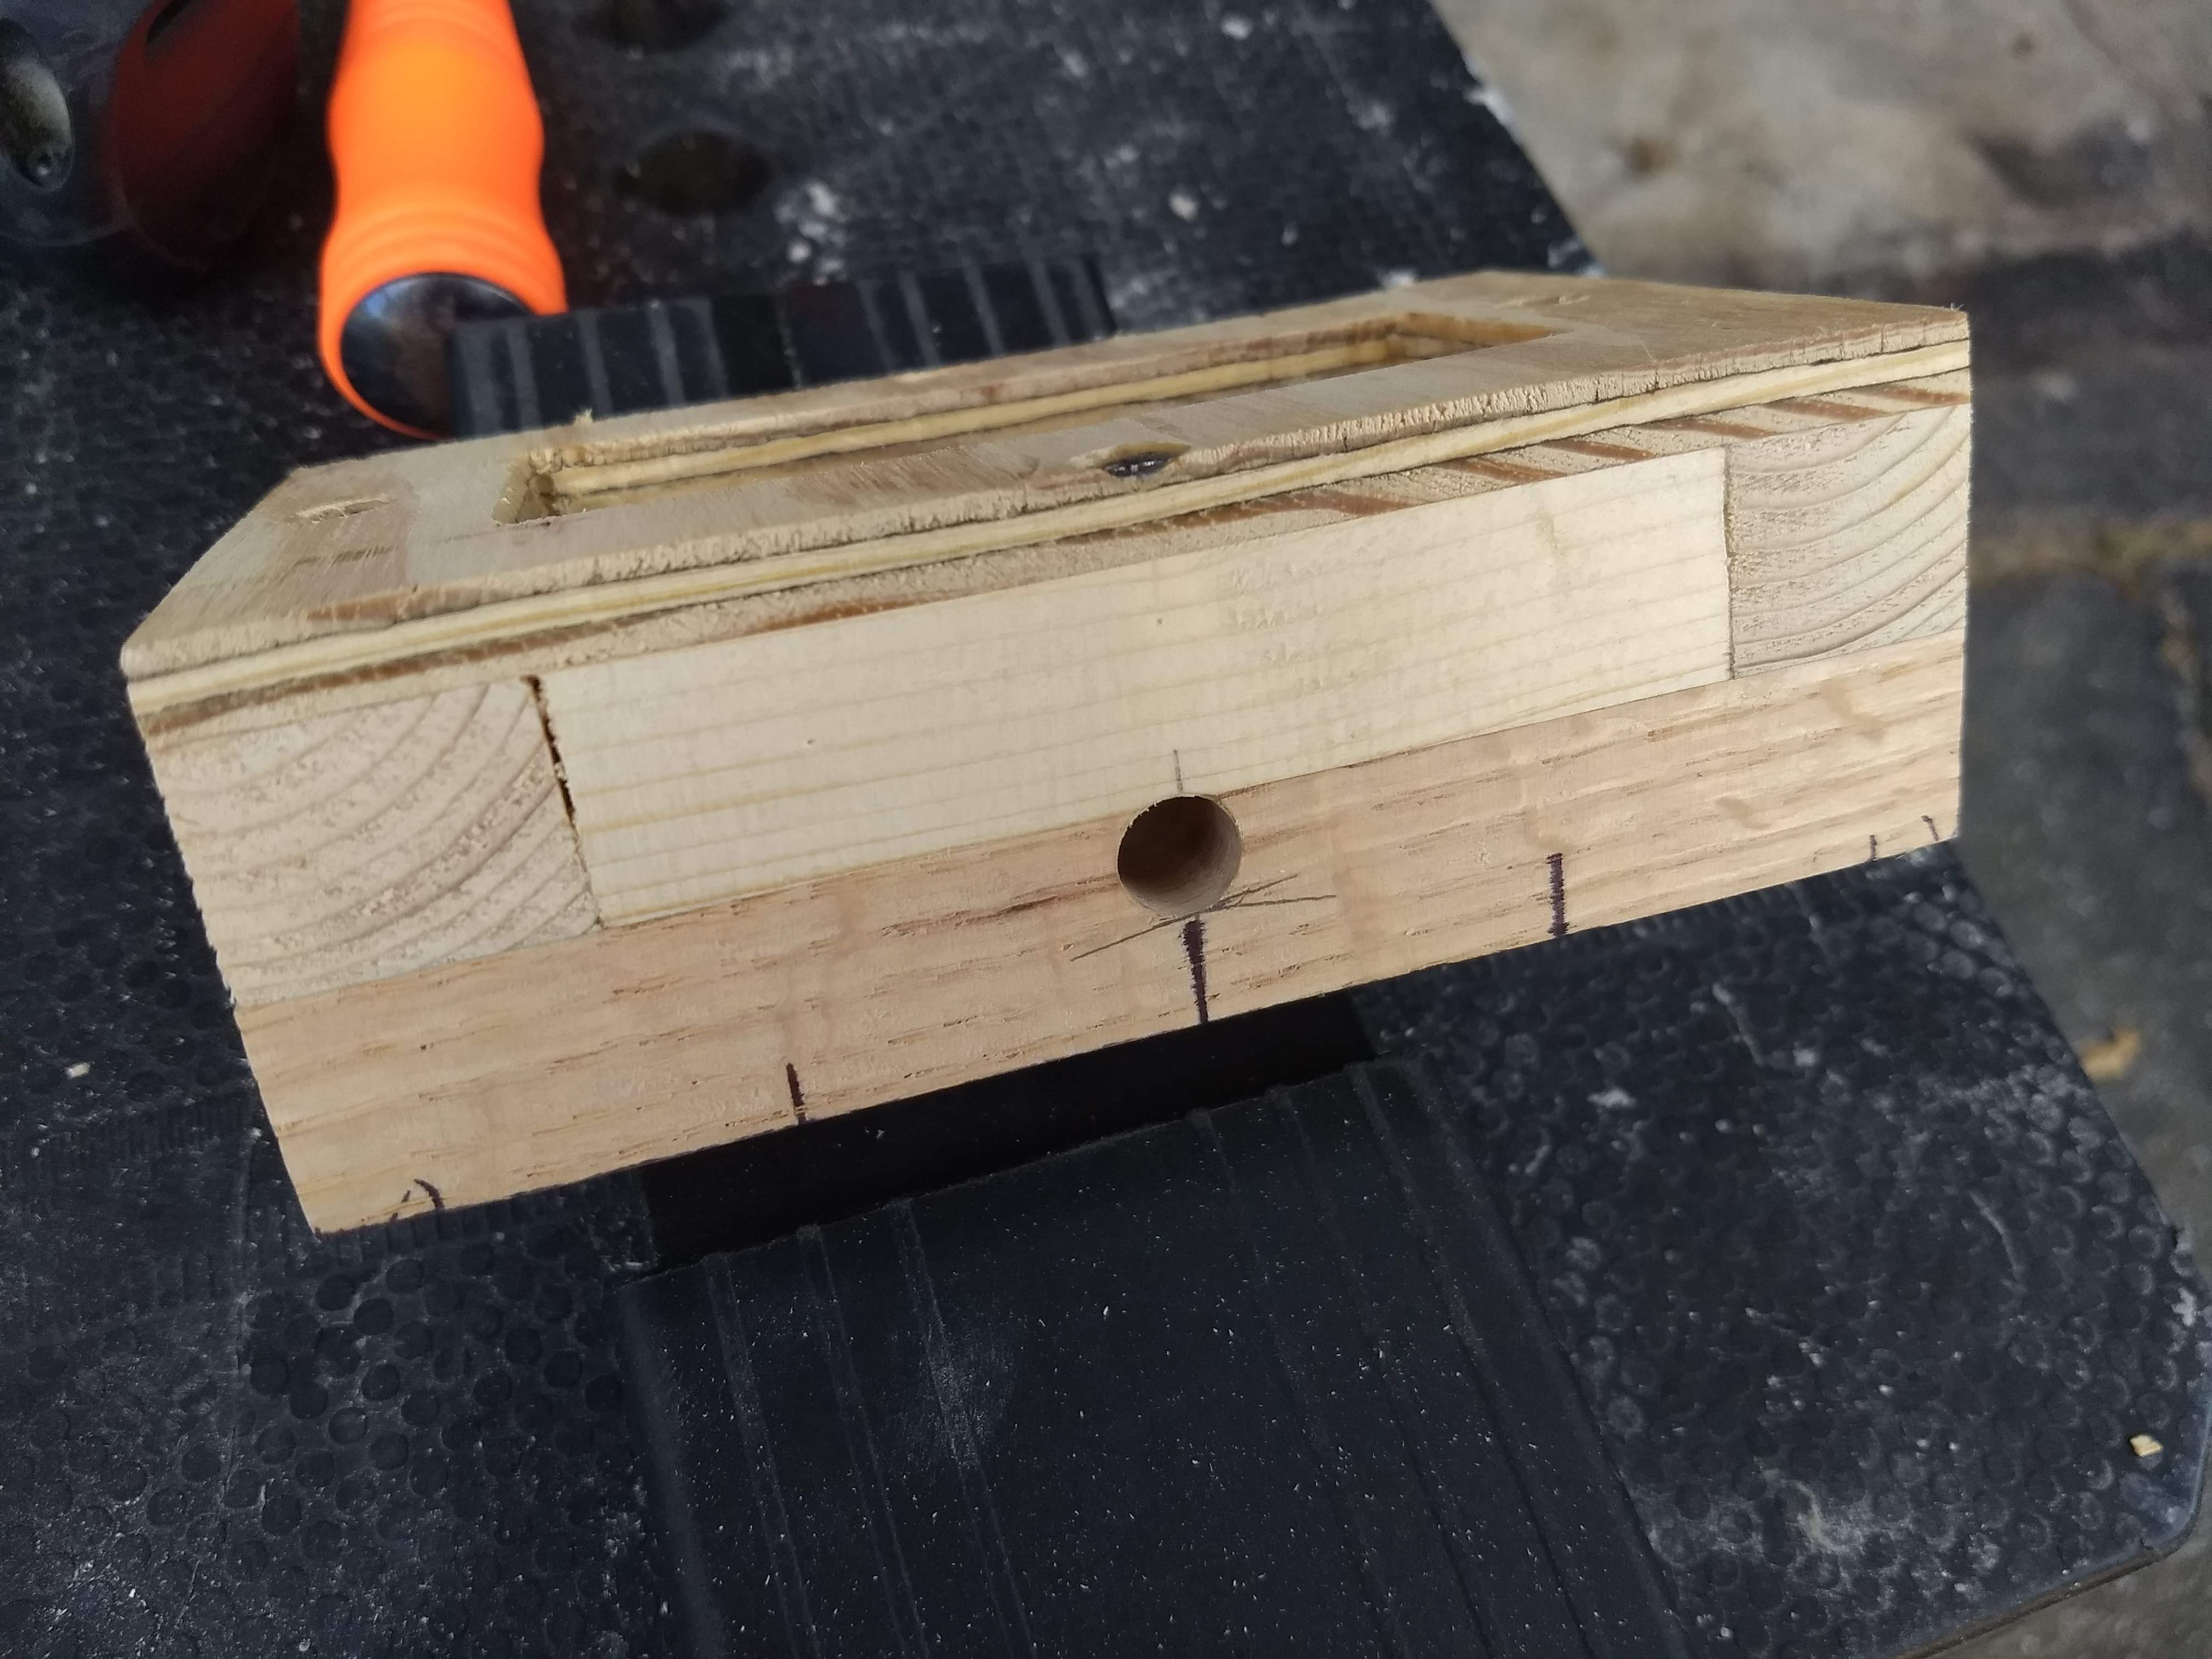
These holes will allow any water dripping down the mast into the step to drain into the boat itself. I don’t imagine I’m going to be sailing fast enough or heeled over enough to generate spray that’ll hit the mast. But, hey, you never know.

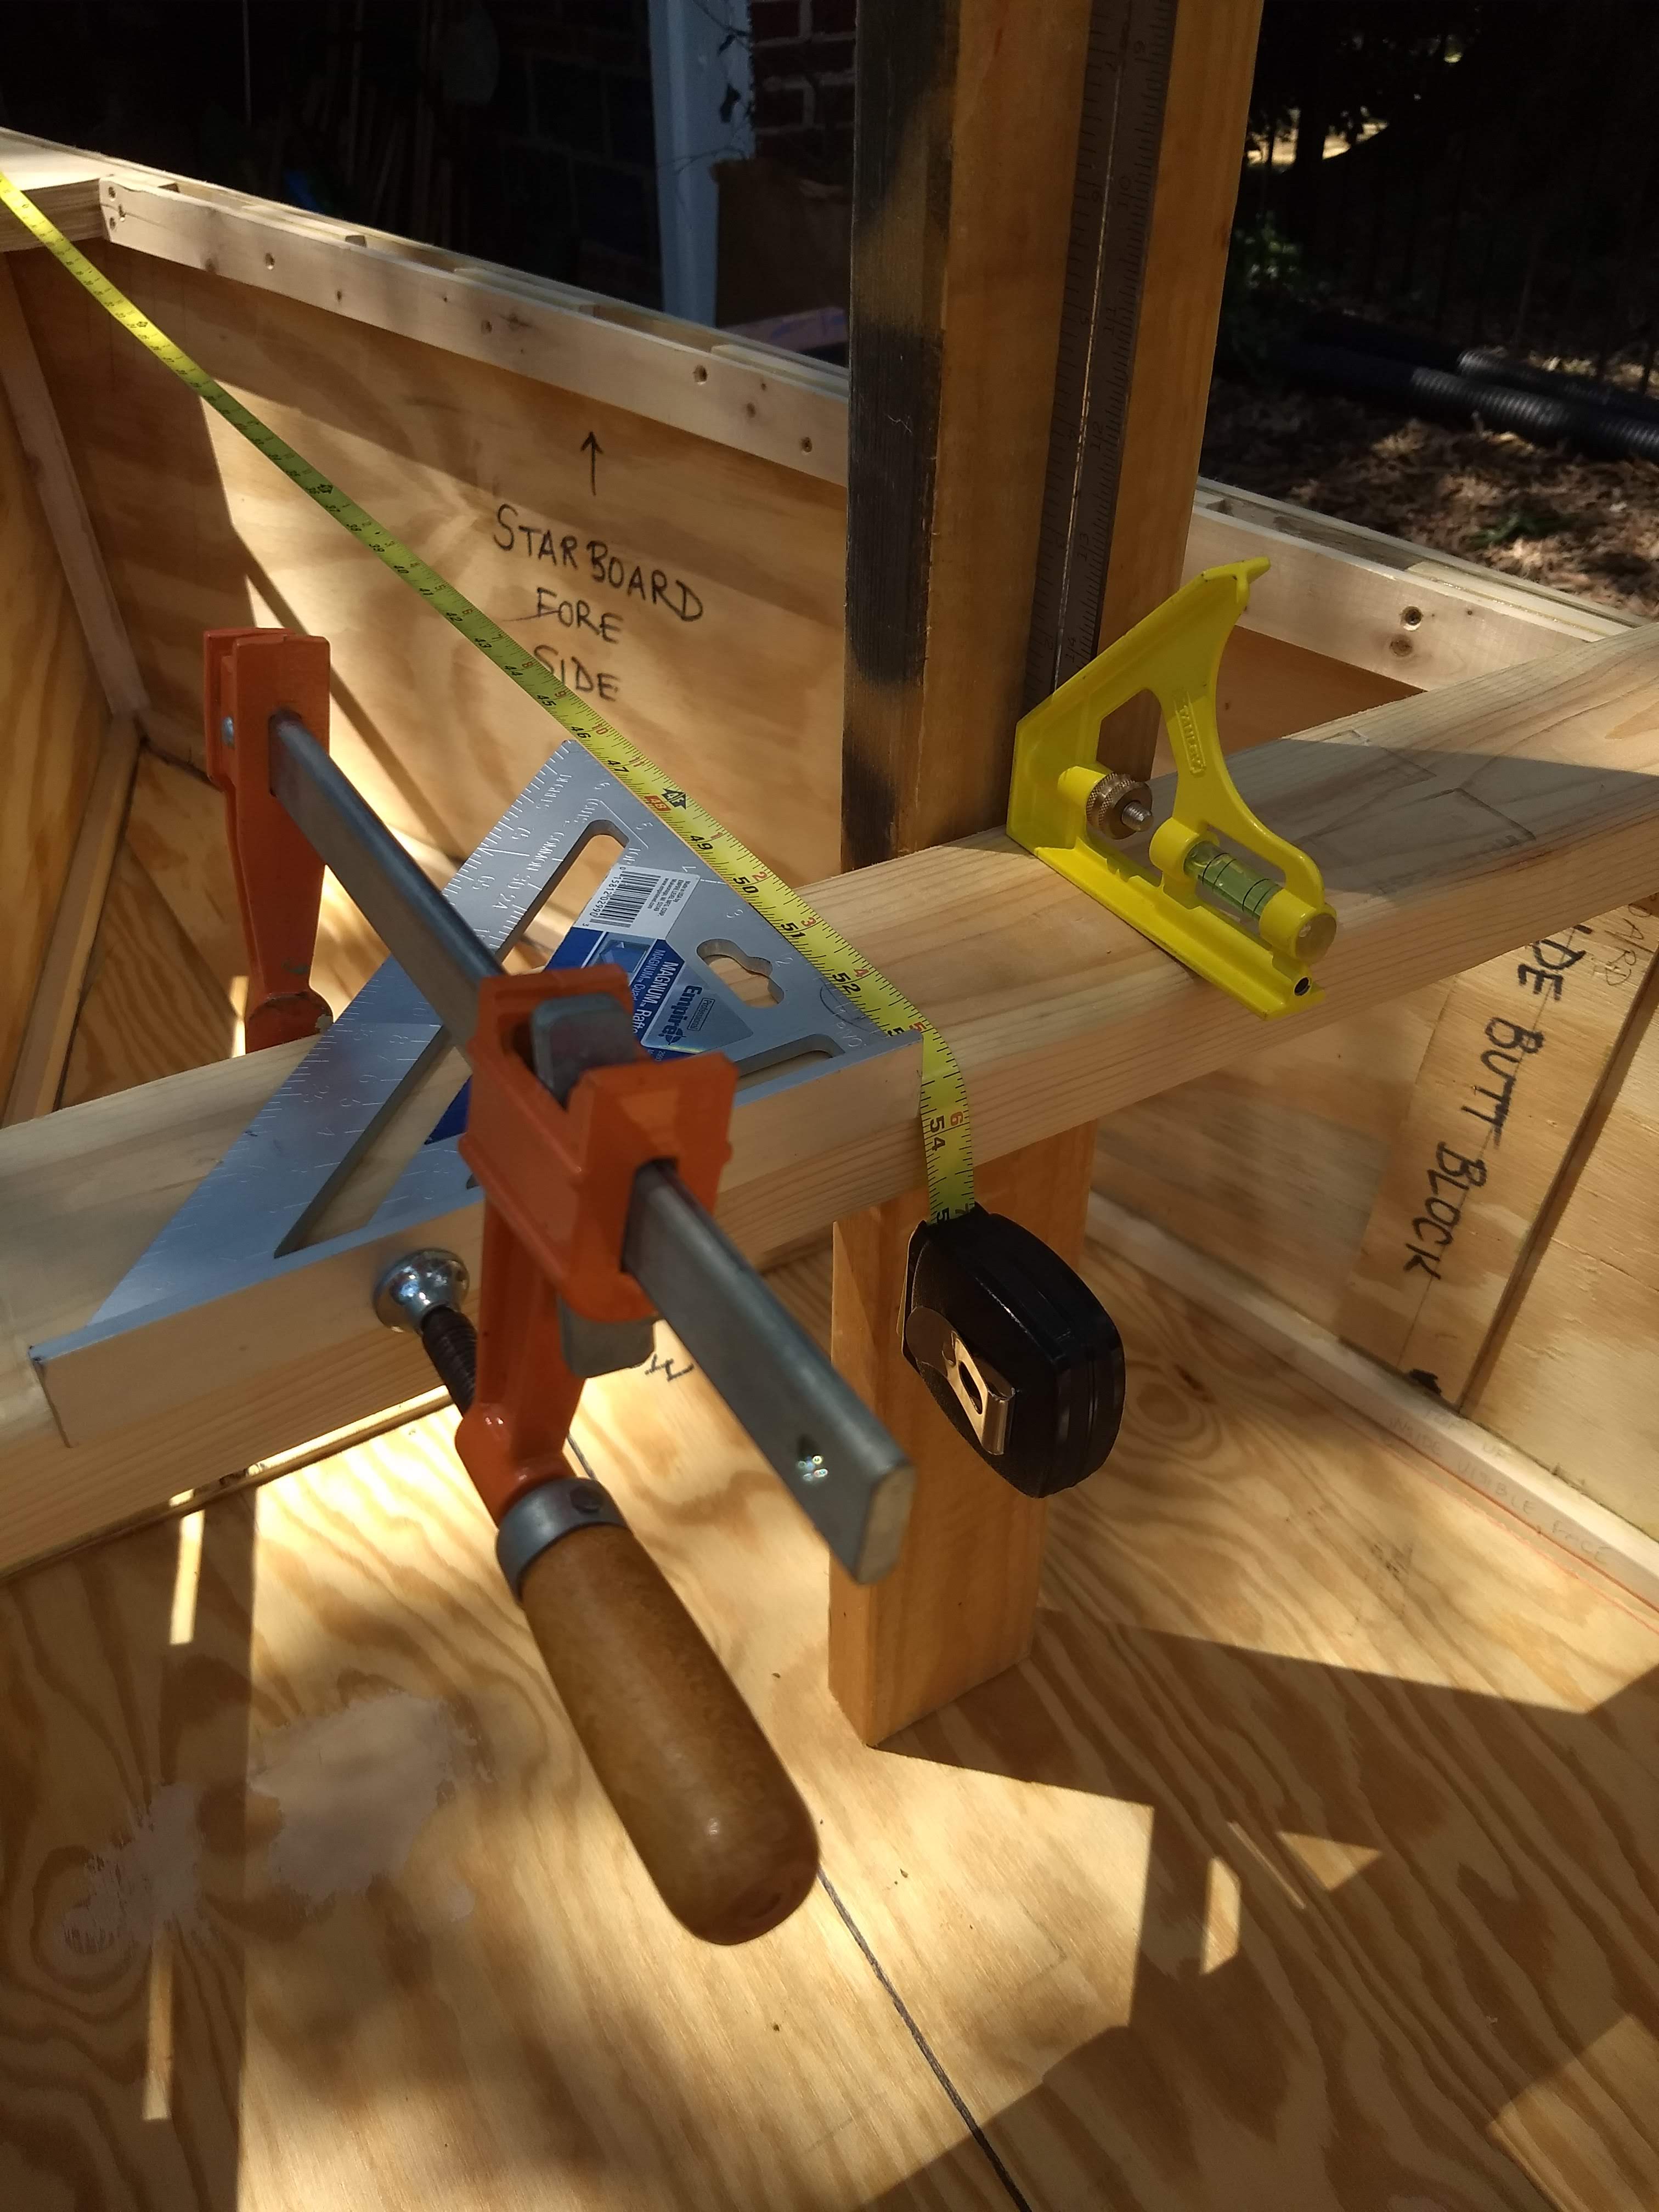
I took the mast step back outside and installed it. I measured back from the bow the 50″ per the design and traced the step on the bottom hull. Then I drilled four pilot holes. I slathered wood glue on the bottom of the step and in the traced box on the hull bottom, then I put the step in place and held it down with a couple of ten-pound dumbbells. Finally, I drilled and countersunk from below the boat through the four pilot holes, cinching in 4 screws to act as clamps while the glue dried. These screw holes will be later filled with wood filler and then covered by the keel.
Next week I hope to glass the chines and seams, if the epoxy and fiberglass tape that I ordered arrive in time. Then I can install the keel and skeg.