
The last major attaching of parts is complete. This boat is almost ready to be painted.
I mentioned last week that I’d erroneously filled the countersink holes for the screws holding the thwart vertical cleats and, hence, had dug the wood fill out. I’ve decided that I want to move those vertical cleats closer to the frame verticals, to shorten the space between the thwart horizontal cleat holders. I had long planned to have the space between like 9″ or so, but when I used the mast partner as a thwart substitute to site the vertical cleats, I used the entire width, making the verticals about 12″ apart.
So this week I corrected that distance, making it the 9″. I’m planning to notch the thwart, to make it reversible, to maybe be able to accommodate rowers of different heights? Maybe? I don’t know. It was an idea anyway.

I also mixed up one more batch of epoxy and cut a couple squares of fiberglass tape to fill in a few small areas, one where the stem meets the bottom and another at the starboard side where the transom meets the bottom, where I didn’t feel like I quite got enough coverage last week.
I also cut the slot in the upper lee board guard, which did not go as well as I would have wanted. It was easy enough to drill holes on either side of the slot, per the layout lines on the underside, but the jig saw blade apparently deflected rather seriously when I sawed out the area between the holes. The kerf lines met in the middle on the underside (which was the top side as I was sawing), but they weren’t especially close when I turned the guard right side up.
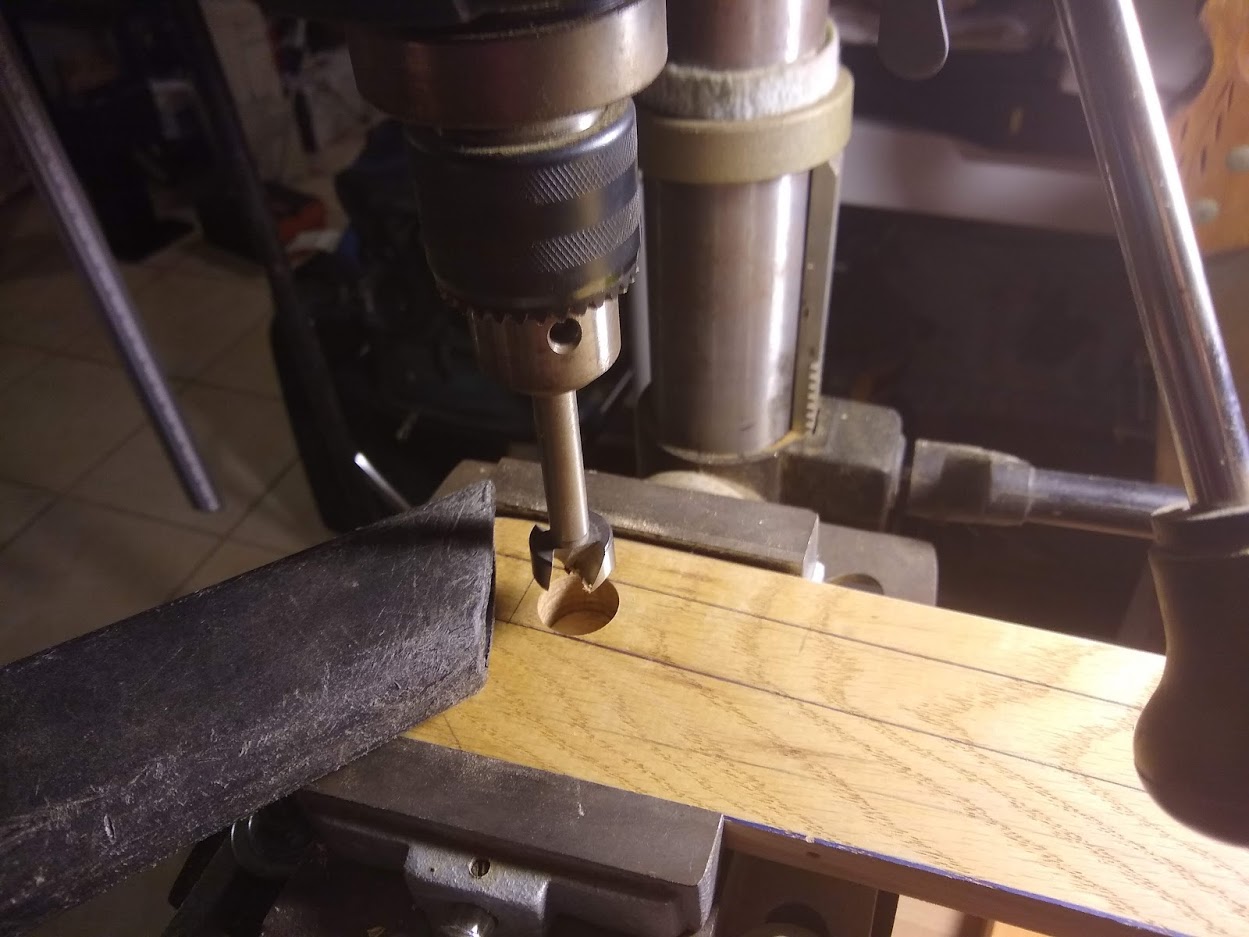
So I chopped out the middle apart and used the trusty old rasp once again to even out the deflection. It makes the slot a little wider than I had originally planned, but I think it’s going to be okay.
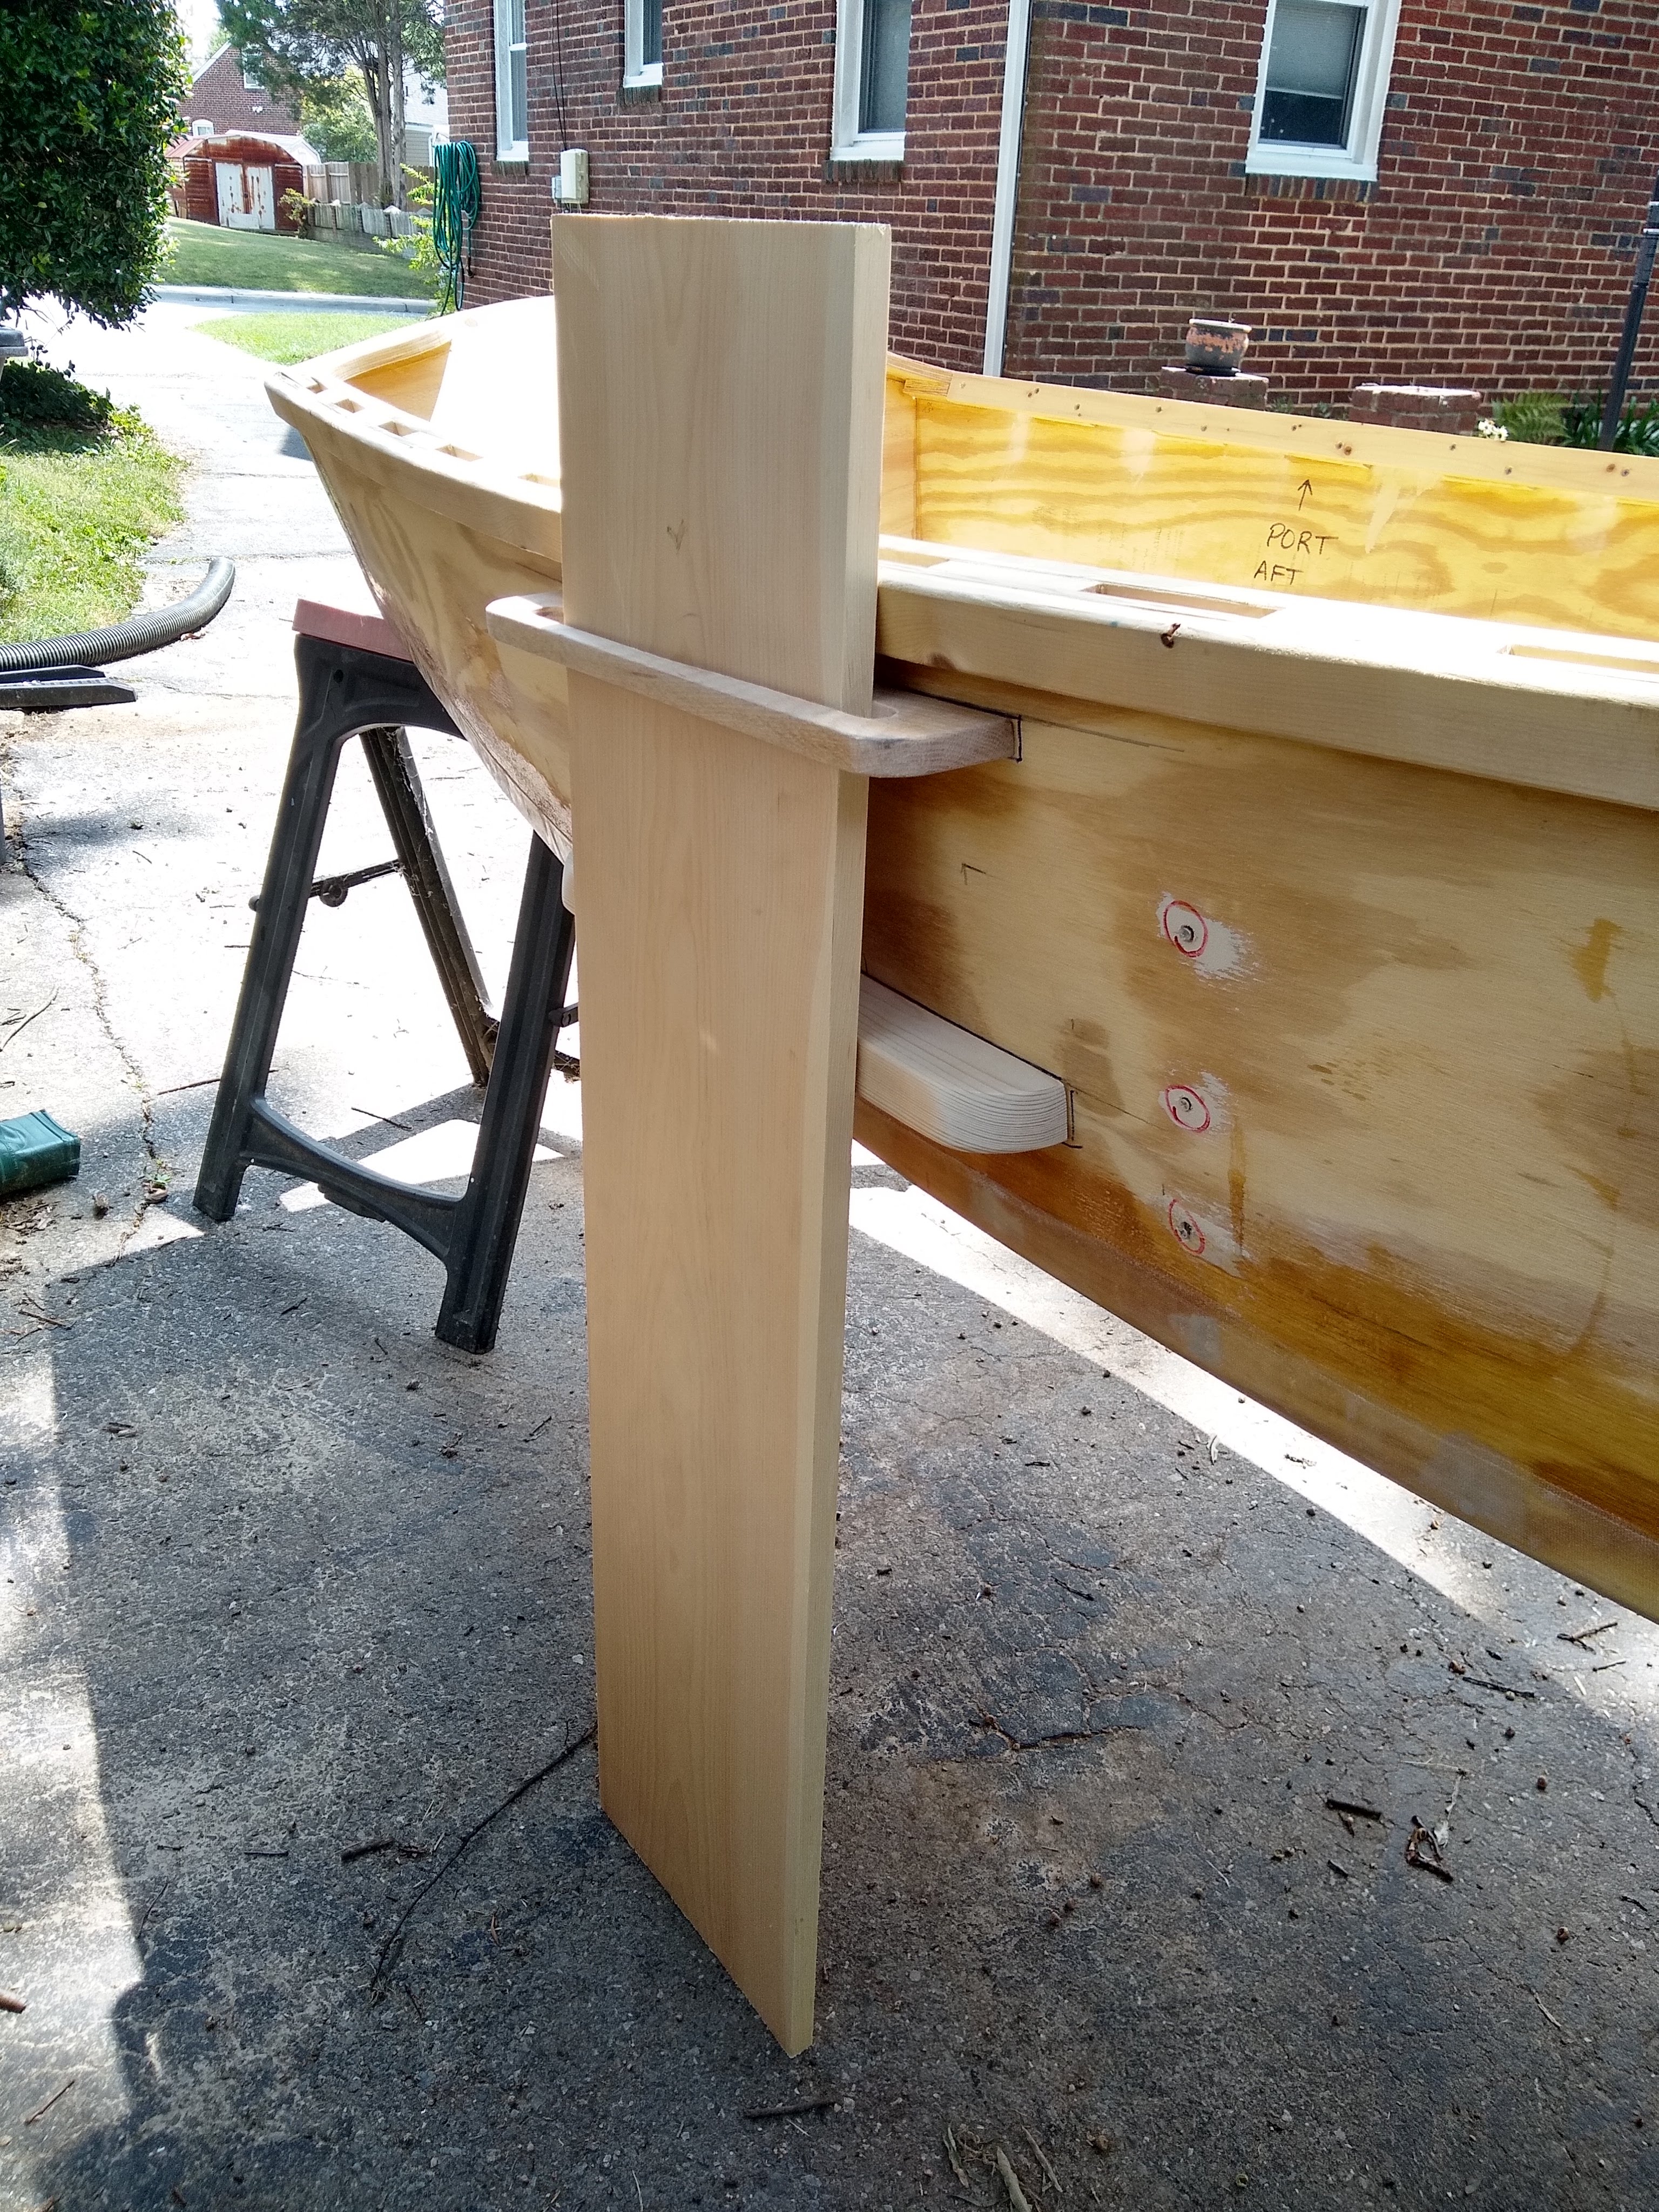
And with that, with the thwart vertical cleats, the mast partner knees, and the upper and lower lee board guards all done, I was ready to glue and screw them in place to permanently attach them. Which I did, and which was easy and pleasant work. And that just left the keel and skeg.

Which the keel and the skeg turned out to be really taxing to attach. It was similar to attaching the bottom, where I had to do it in two quick installments, this time because the keel piece was rather springy and didn’t want to lay down flat all along the boat without a lot of weight on it. So I spread glue along the forward two-thirds or so and weighted down the front half first. I had drilled pilot holes from the outside to the inside every six inches, so underneath I just had to find each pilot hole, drill with the #6 screw countersink back through into the keel, and then screw in a 3/4″ #6 screw. Then pretty much same for the back of the boat. Slather on the glue (although the tube I was using ran out, so I had to reload the gun), then crawl underneath and start drilling and screwing.

It wasn’t quite that easy, though, since I was working underneath the upside down boat, sitting on the ground, having to drill and screw with the heavy 18V cordless driver over my head. The driver got heavier and heavier, it seemed, and my whole right arm was shaking and exhausted, by the time I finished the front half. I was bathed in sweat, and filthy, by the time I finished the back half.

But it was done. The keel and skeg are on the boat.
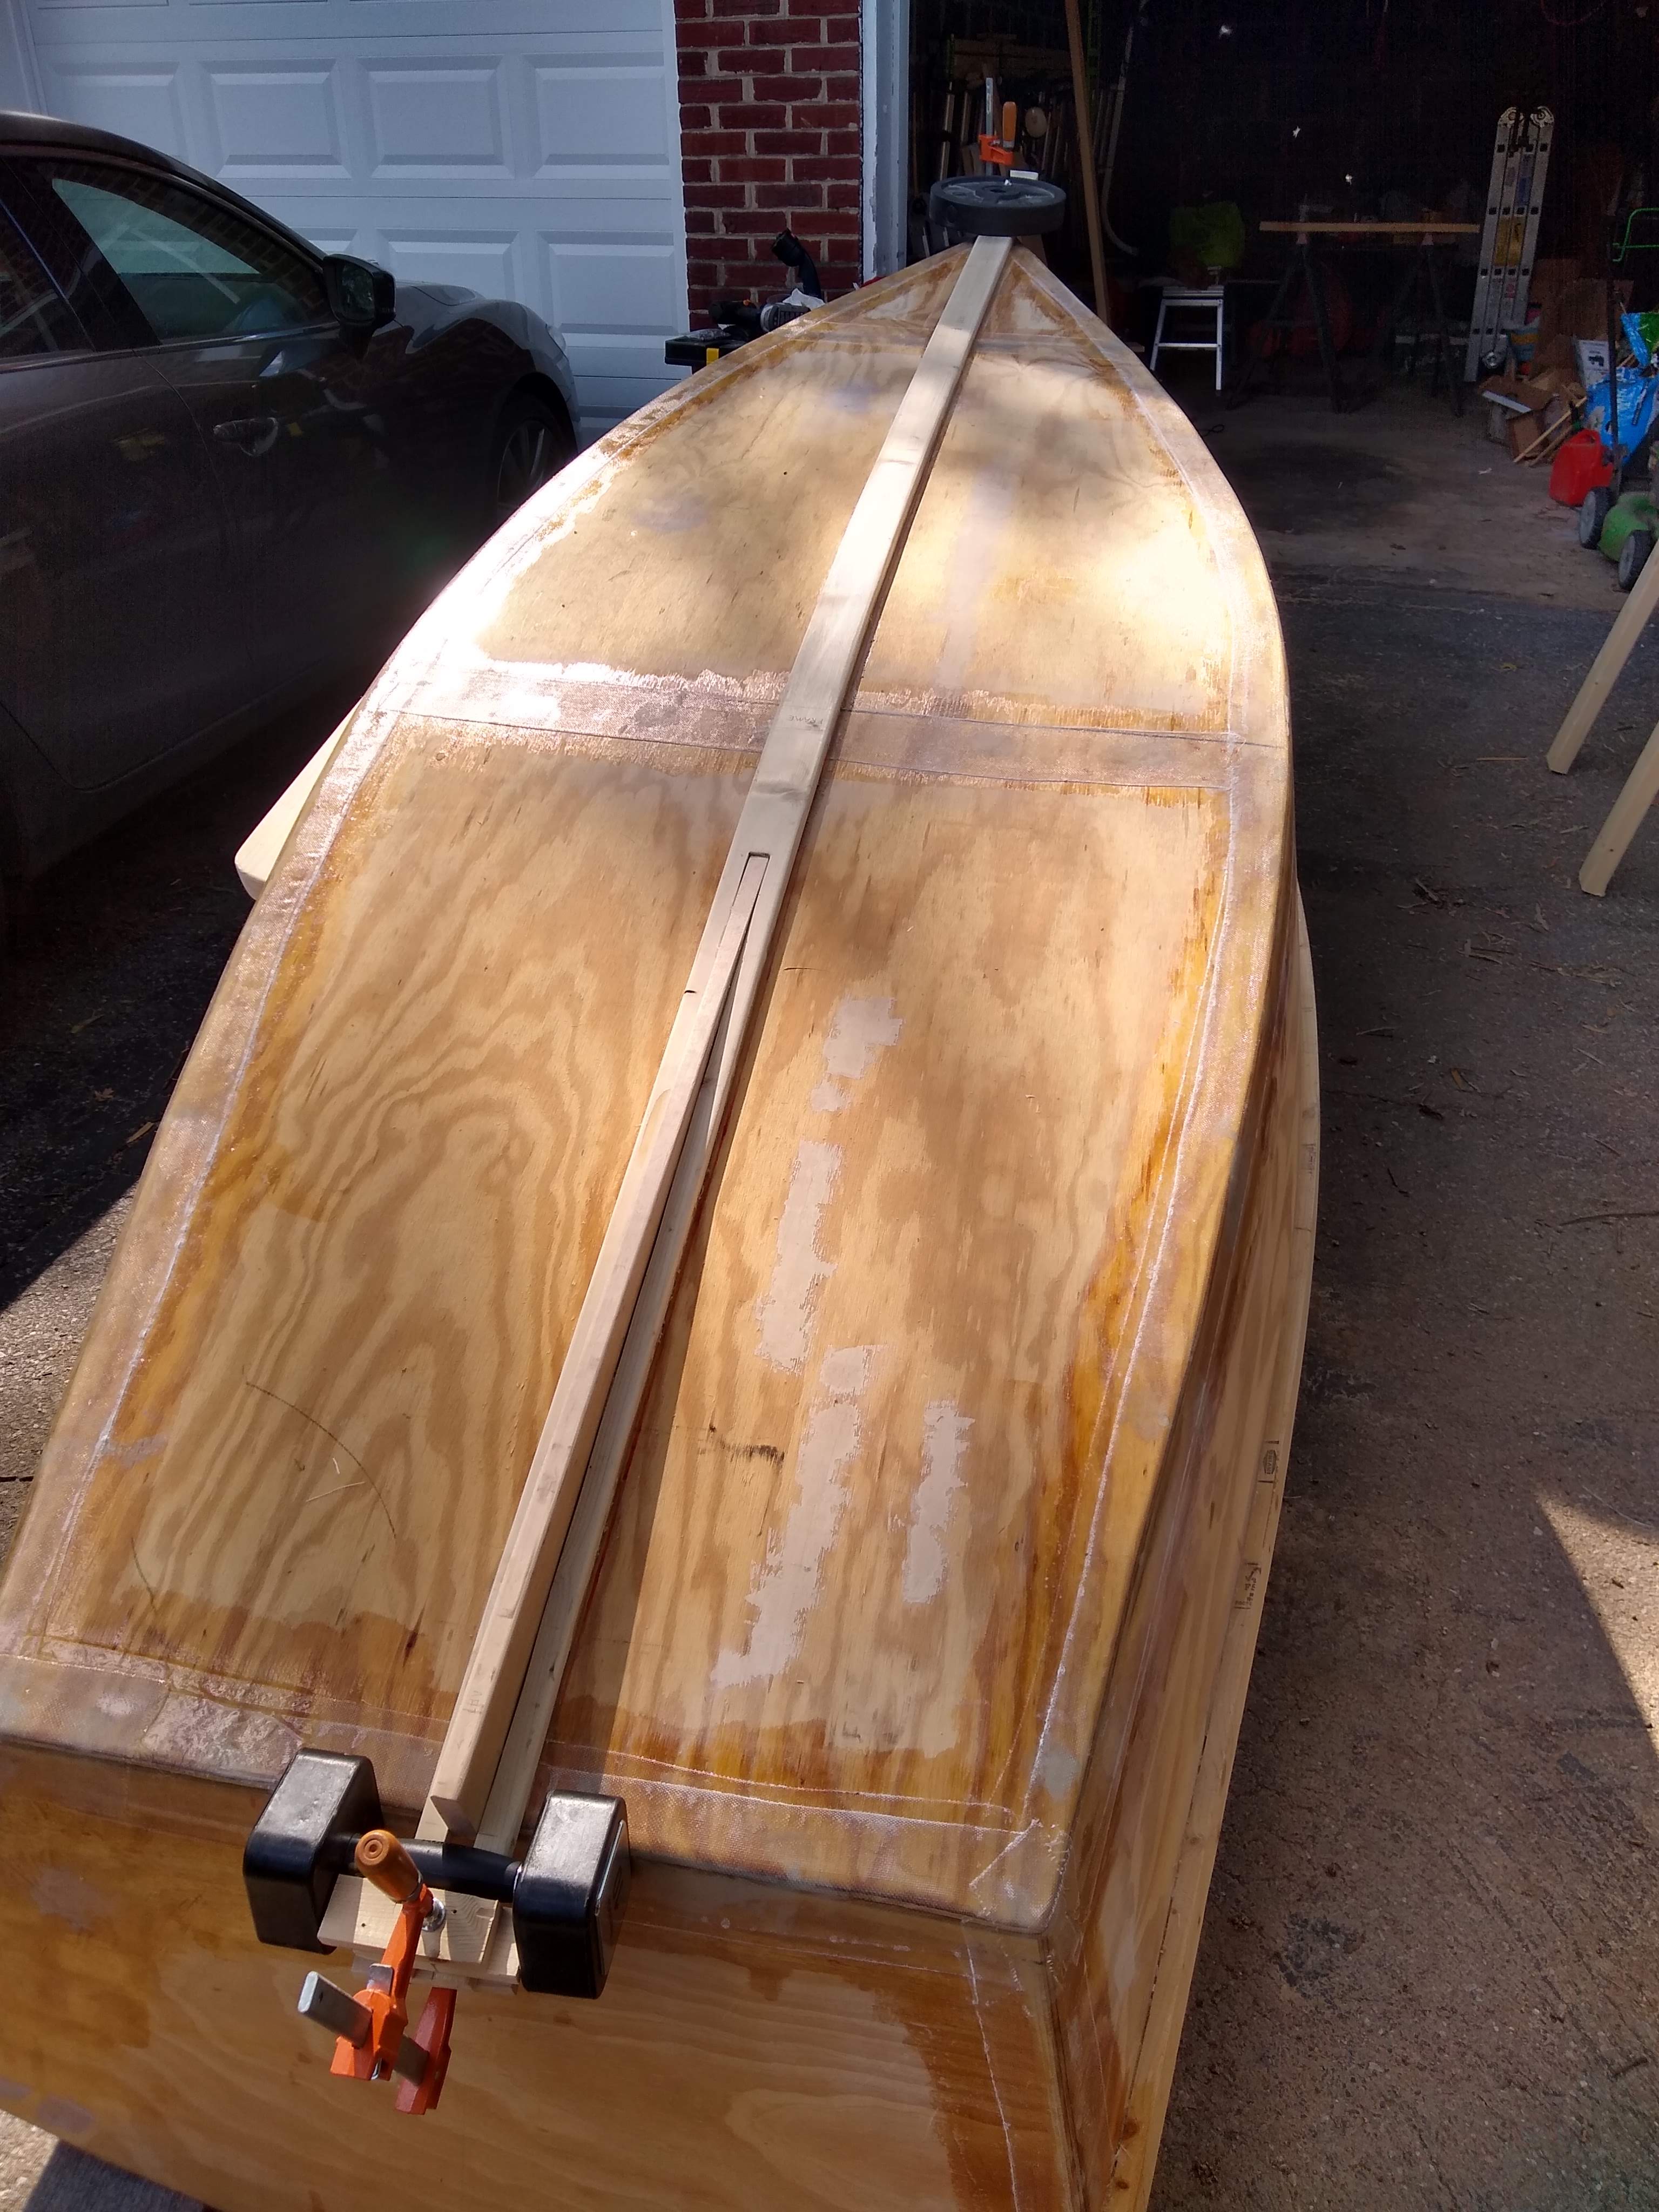
Lesson 1: Pre-bend the keel?
Some months back, I pre-bent either a pair of chines or wales, pouring hot water on them and weighting them down between two sawhorses. That might’ve been a good idea for the keel.
Lesson 2: Beware jig saw blade deflection
I just thought of it now, but I maybe could have cut out more of the lee board upper guard slot on the drill press instead of using the jig saw. On the other hand, the drill press cut rather slowly through the oak board. Maybe just plunge cut with the compact circular saw? Am I brave enough to try that?