
At last, the sanding is finished!
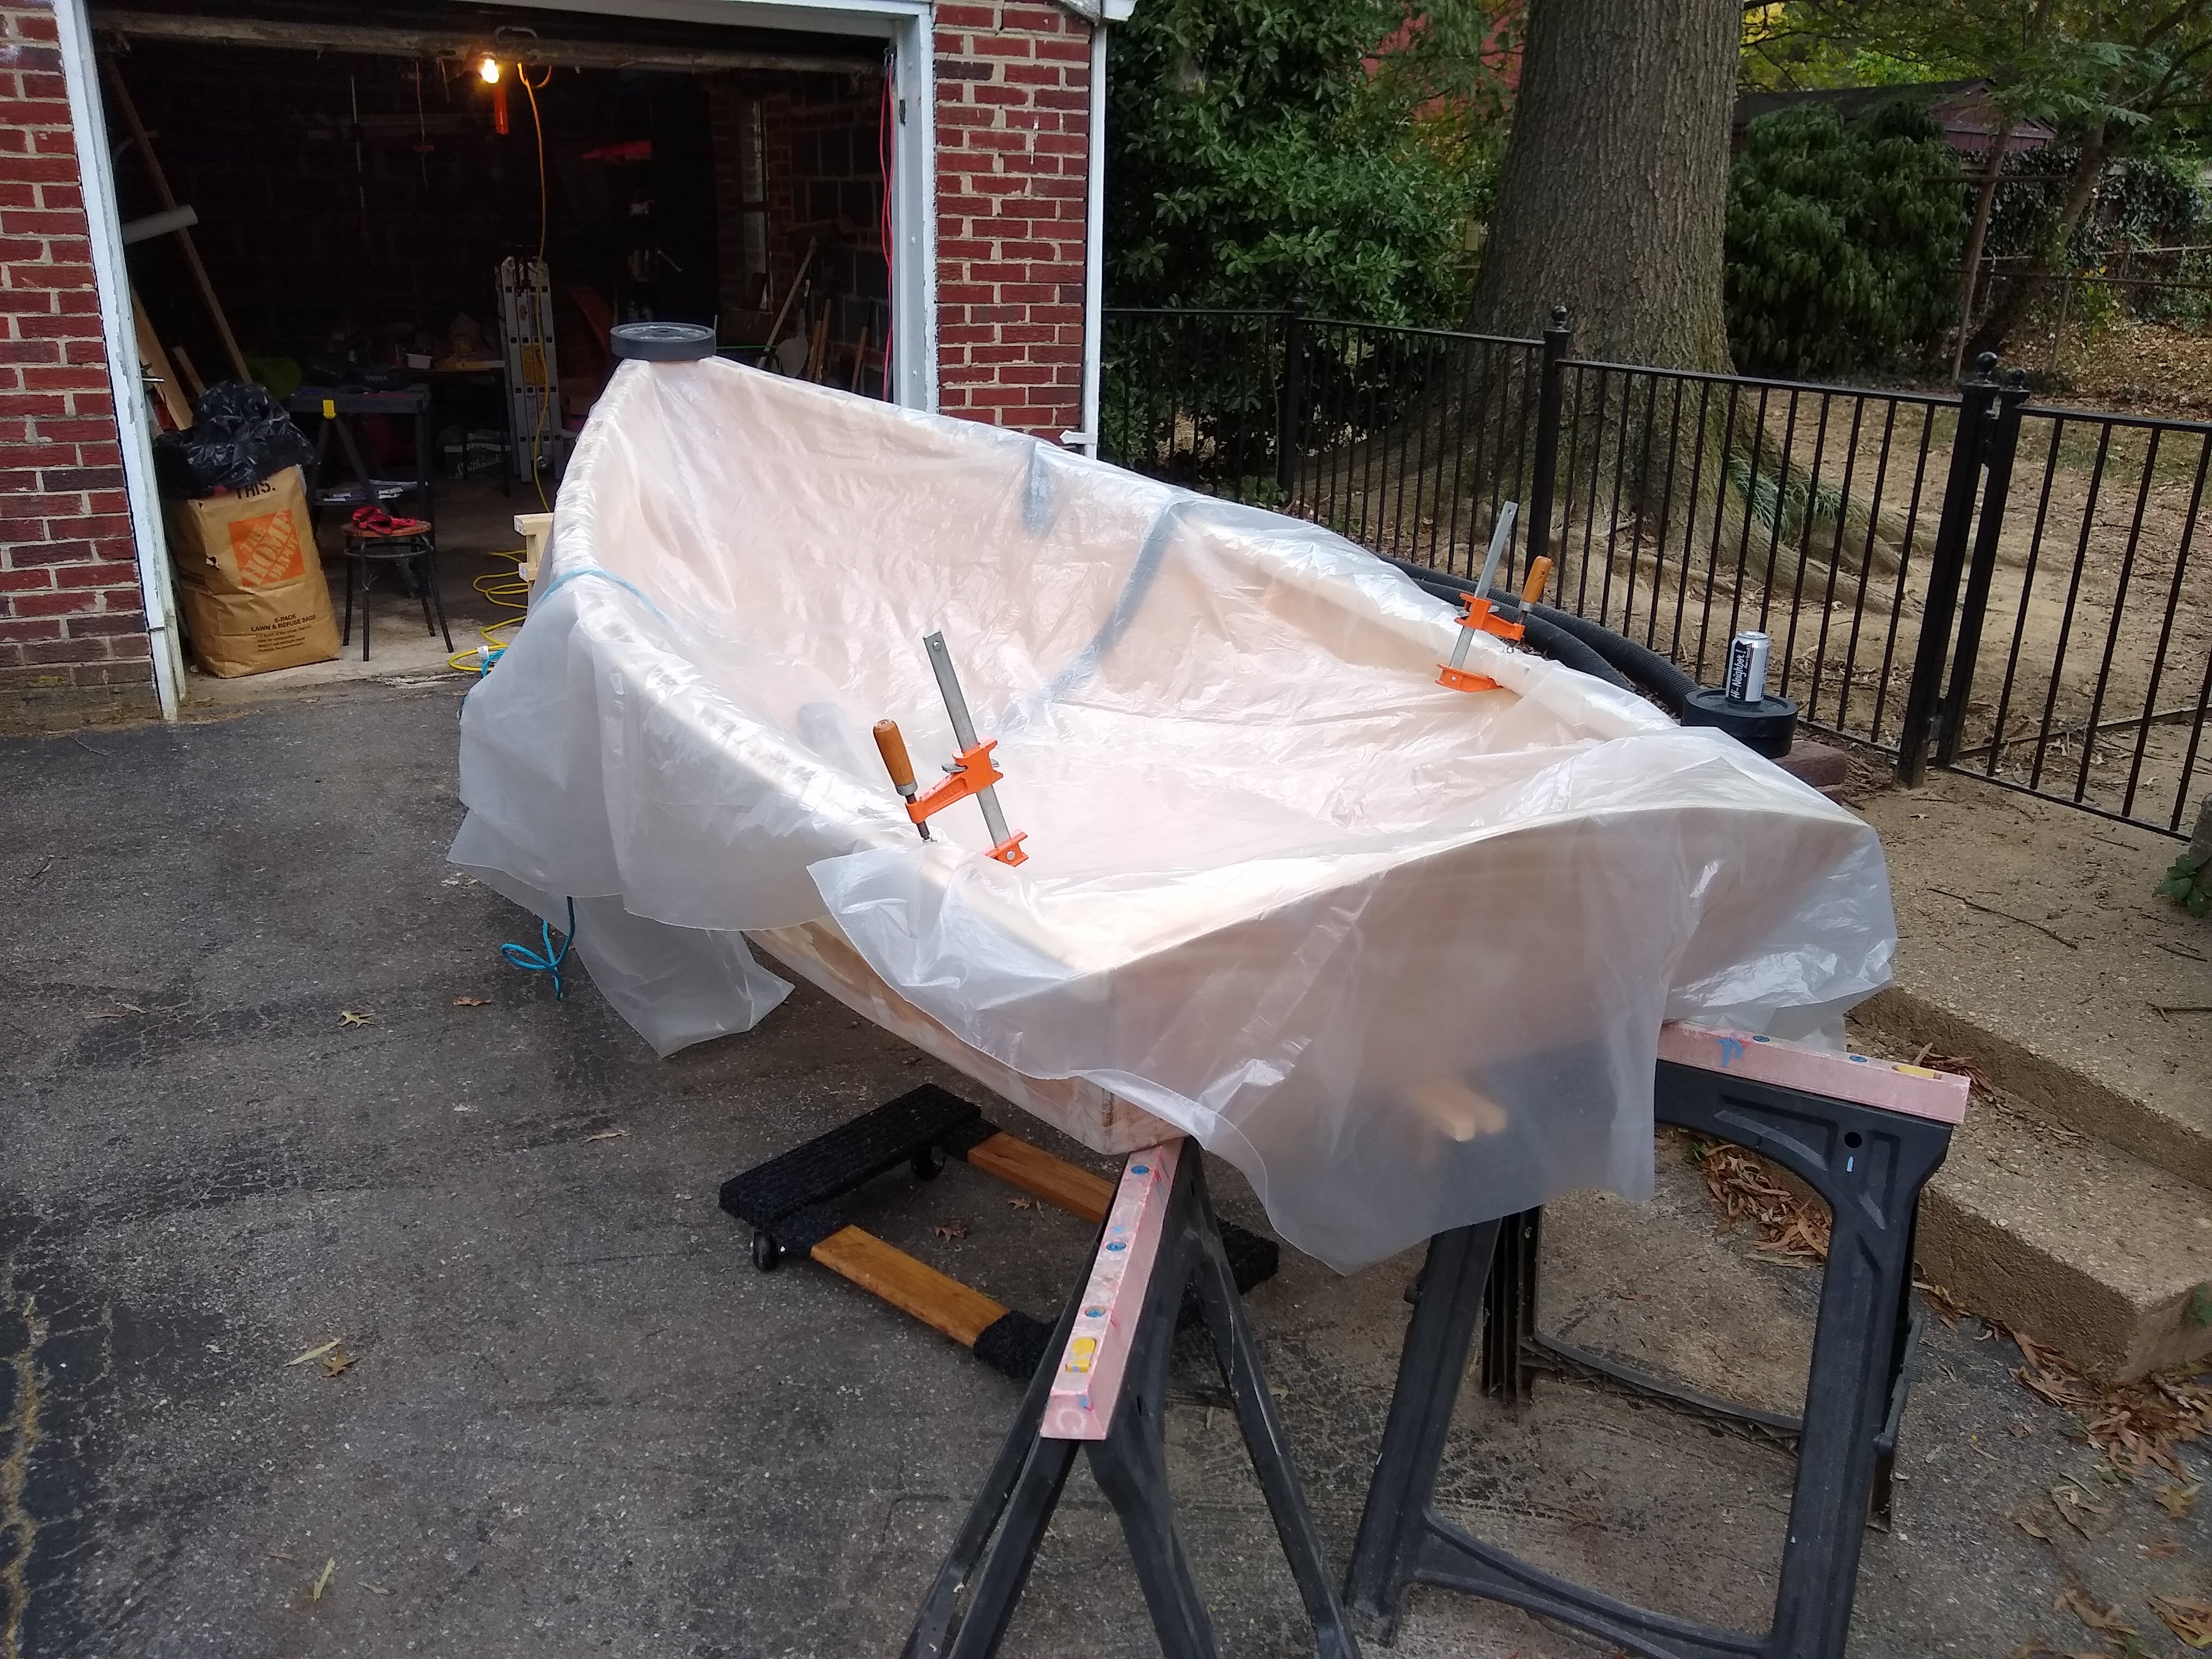
We had a 3-day weekend, what with Monday being Indigenous Peoples Day, where Dawn and I had the day off but Tala didn’t (sorry, kid). We had a busy, busy Saturday so I didn’t get to any boat work until Sunday afternoon, whereupon it promptly started to rain. Just light sprinkling, nothing heavy, but certainly not good for an unpainted plywood boat. I covered her with plastic and waited for the rain to stop. It did stop, then started again. I finally just gave up for the day and put her back in the garage.

With a bright, sunny day on Monday, I was back to work. First thing I did was saw off the extra lengths of the keel that were sticking out the bow and stern. They’ve been serving as quite useful handholds, but, alas, not permanently. So I finally, finally sawed ’em off.

The extra bits sticking out the stern end included the skeg, which was harder to cut, given that it was a piece of oak that I’d had laying around and used rather than the dimensional pine or whatever the keel is. I gave up on the little Japanese pull saw and went with the bigger Spear & Jackson bad boy.

Both cuts produced rather rough looking parts, so I rasped and sanded them to a little more pleasing shape.

The skeg again turned out to be quite a bit more of a challenge to shape and smooth, again because of the hard oak but also because I had to be careful to keep the rasp from marring the fiberglass seam just below it.

And with the keel in final form, I was finished with shaping and sanding. It was finally time to caulk.

I’m hoping that the marine adhesive sealant that I’m using is good enough. Jim Michalak seems rather adamant that thickened epoxy fillets are the way to go on these interior joints, but he compares the epoxy to auto body filler and RTV (silicone), whereas the PL stuff I’m using is polyether, whatever that is. But whatever it is, it’s a lot cheaper than epoxy, and a lot easier to apply since it comes in a tube like caulk.
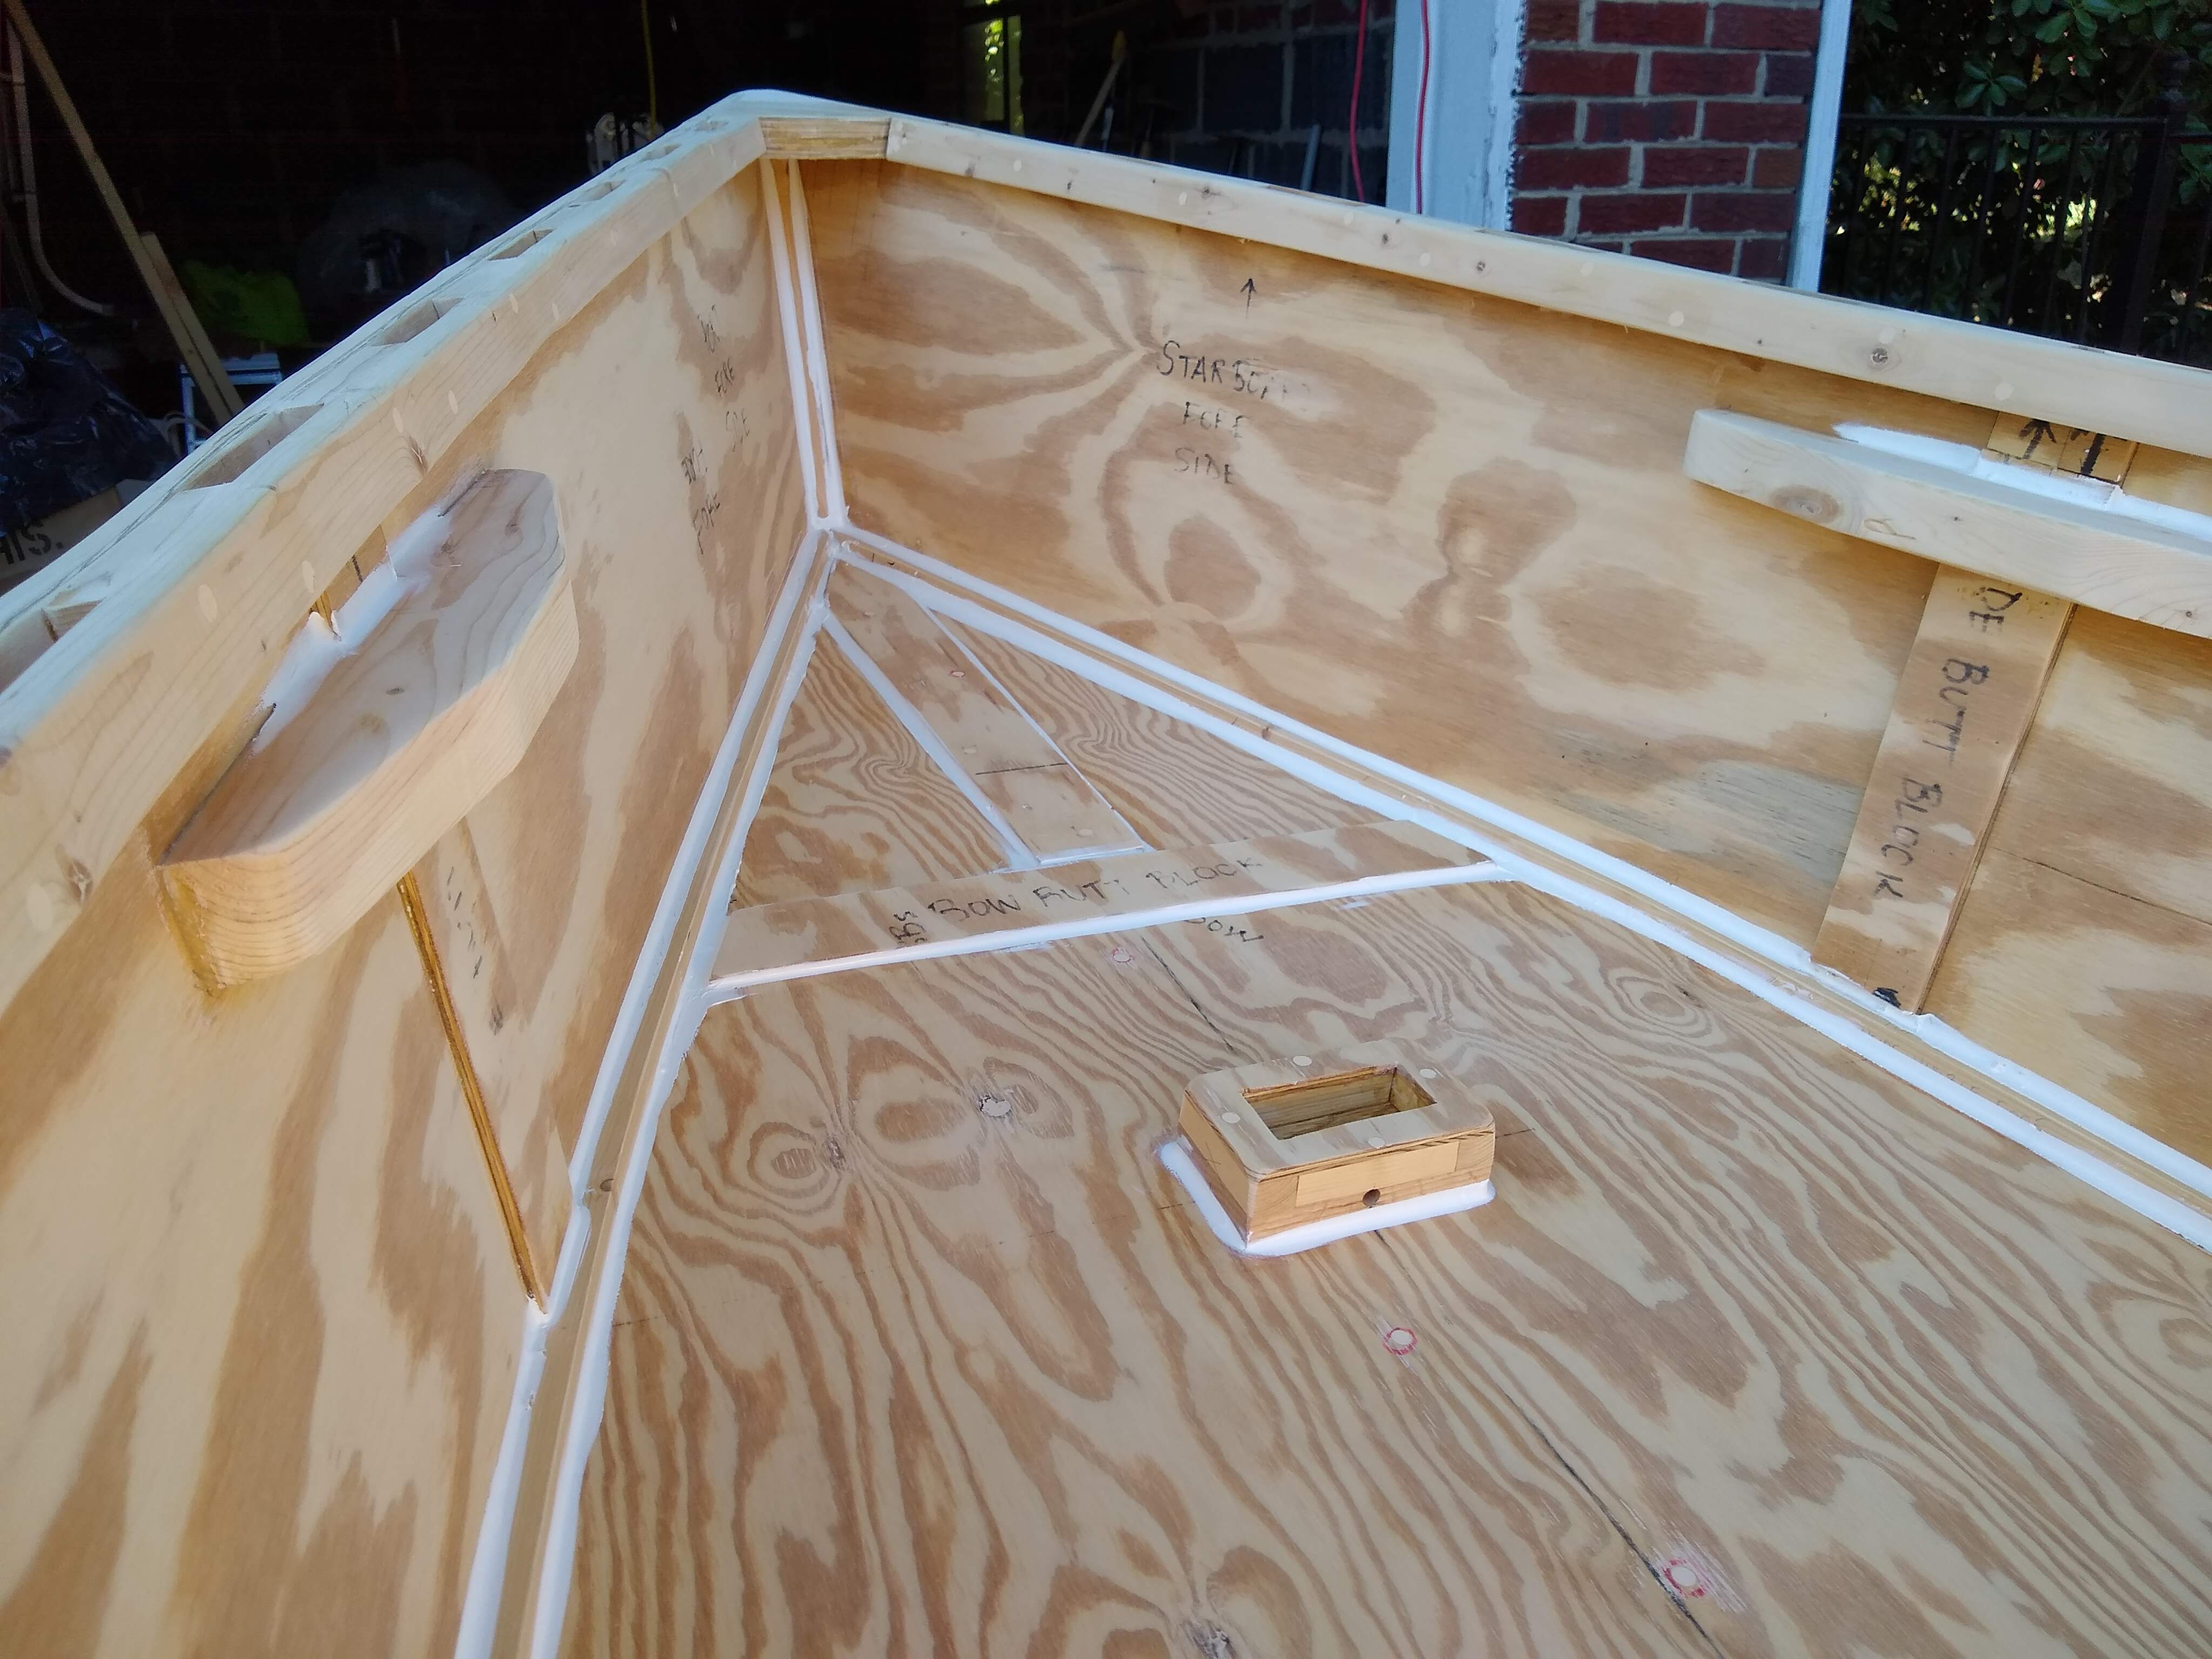
But, oh, friends, it’s not like caulk, in that it’s a whole helluva lot thicker. I spent two painful hours squeezing the caulking gun with both hands just to get the stuff to come out. Later research showed me that my little kitchen and bath caulking guns have a thrust ratio of like 6:1 or 8:1, even though they say Heavy Duty on them. Bigger, better, and more expensive guns go up to like 18:1 or 26:1. I’ll surely buy one of those if I ever had to use this stuff again.
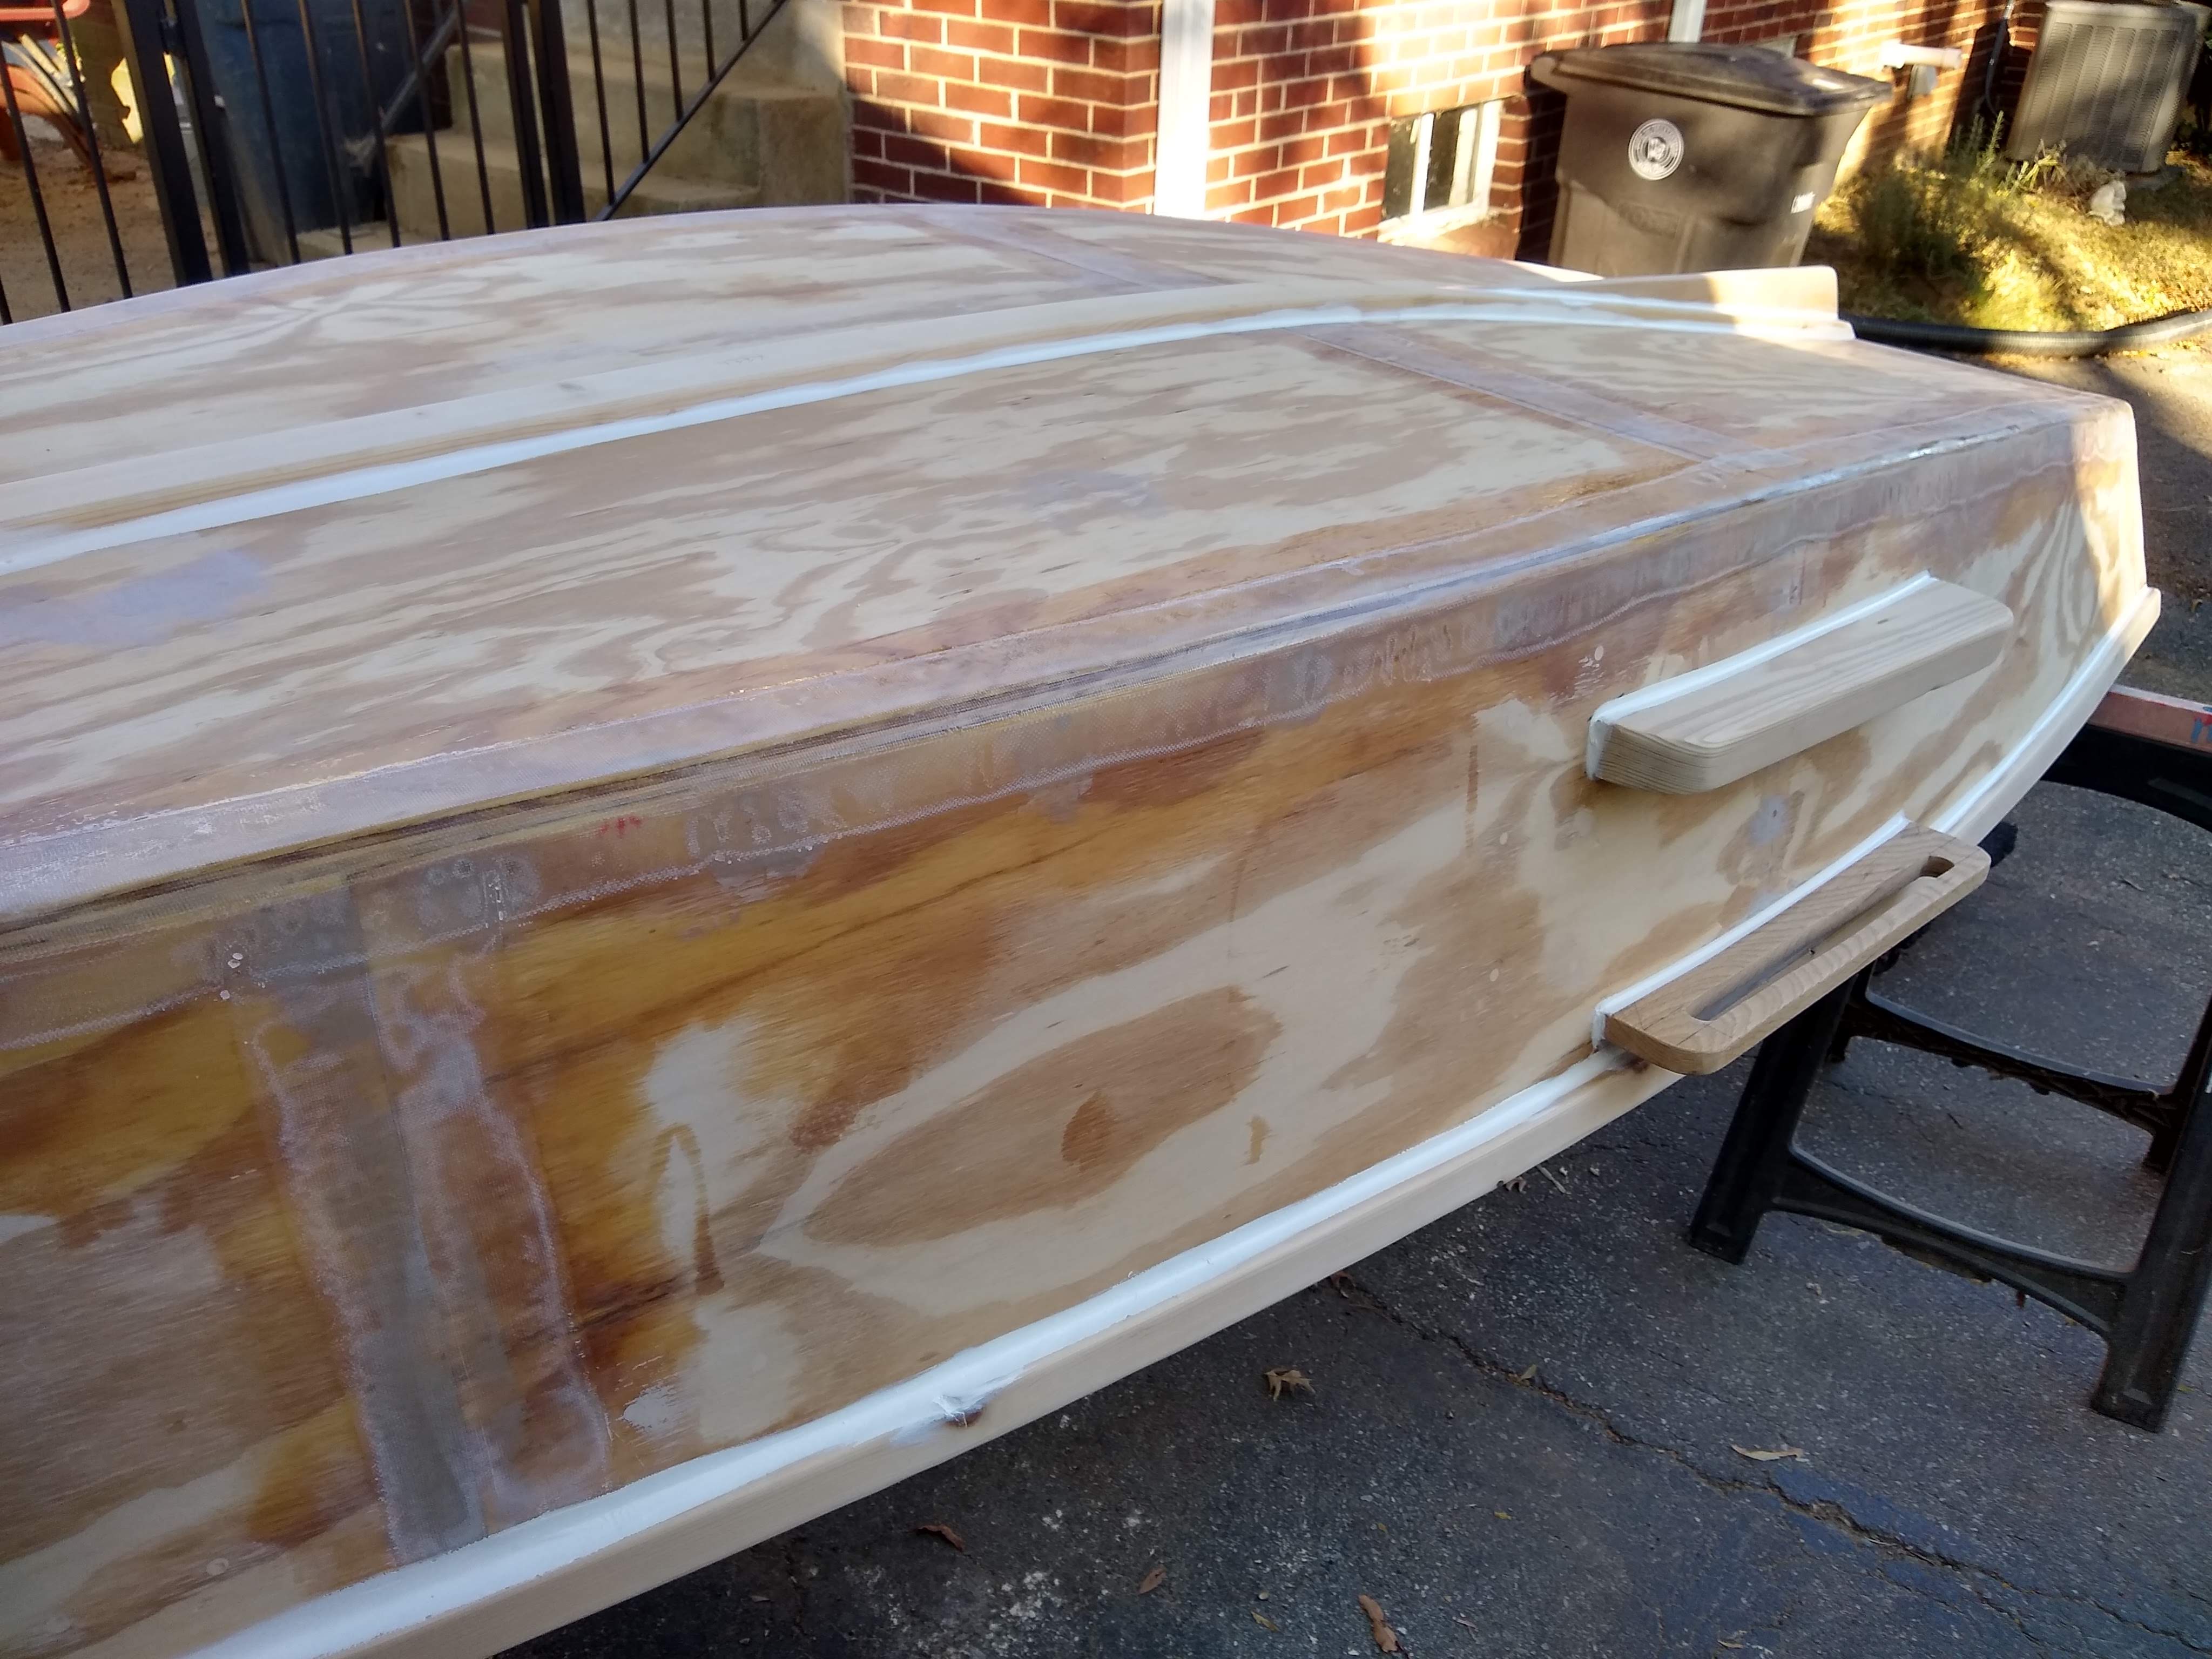
In the end, I finished with the caulking. Whew.
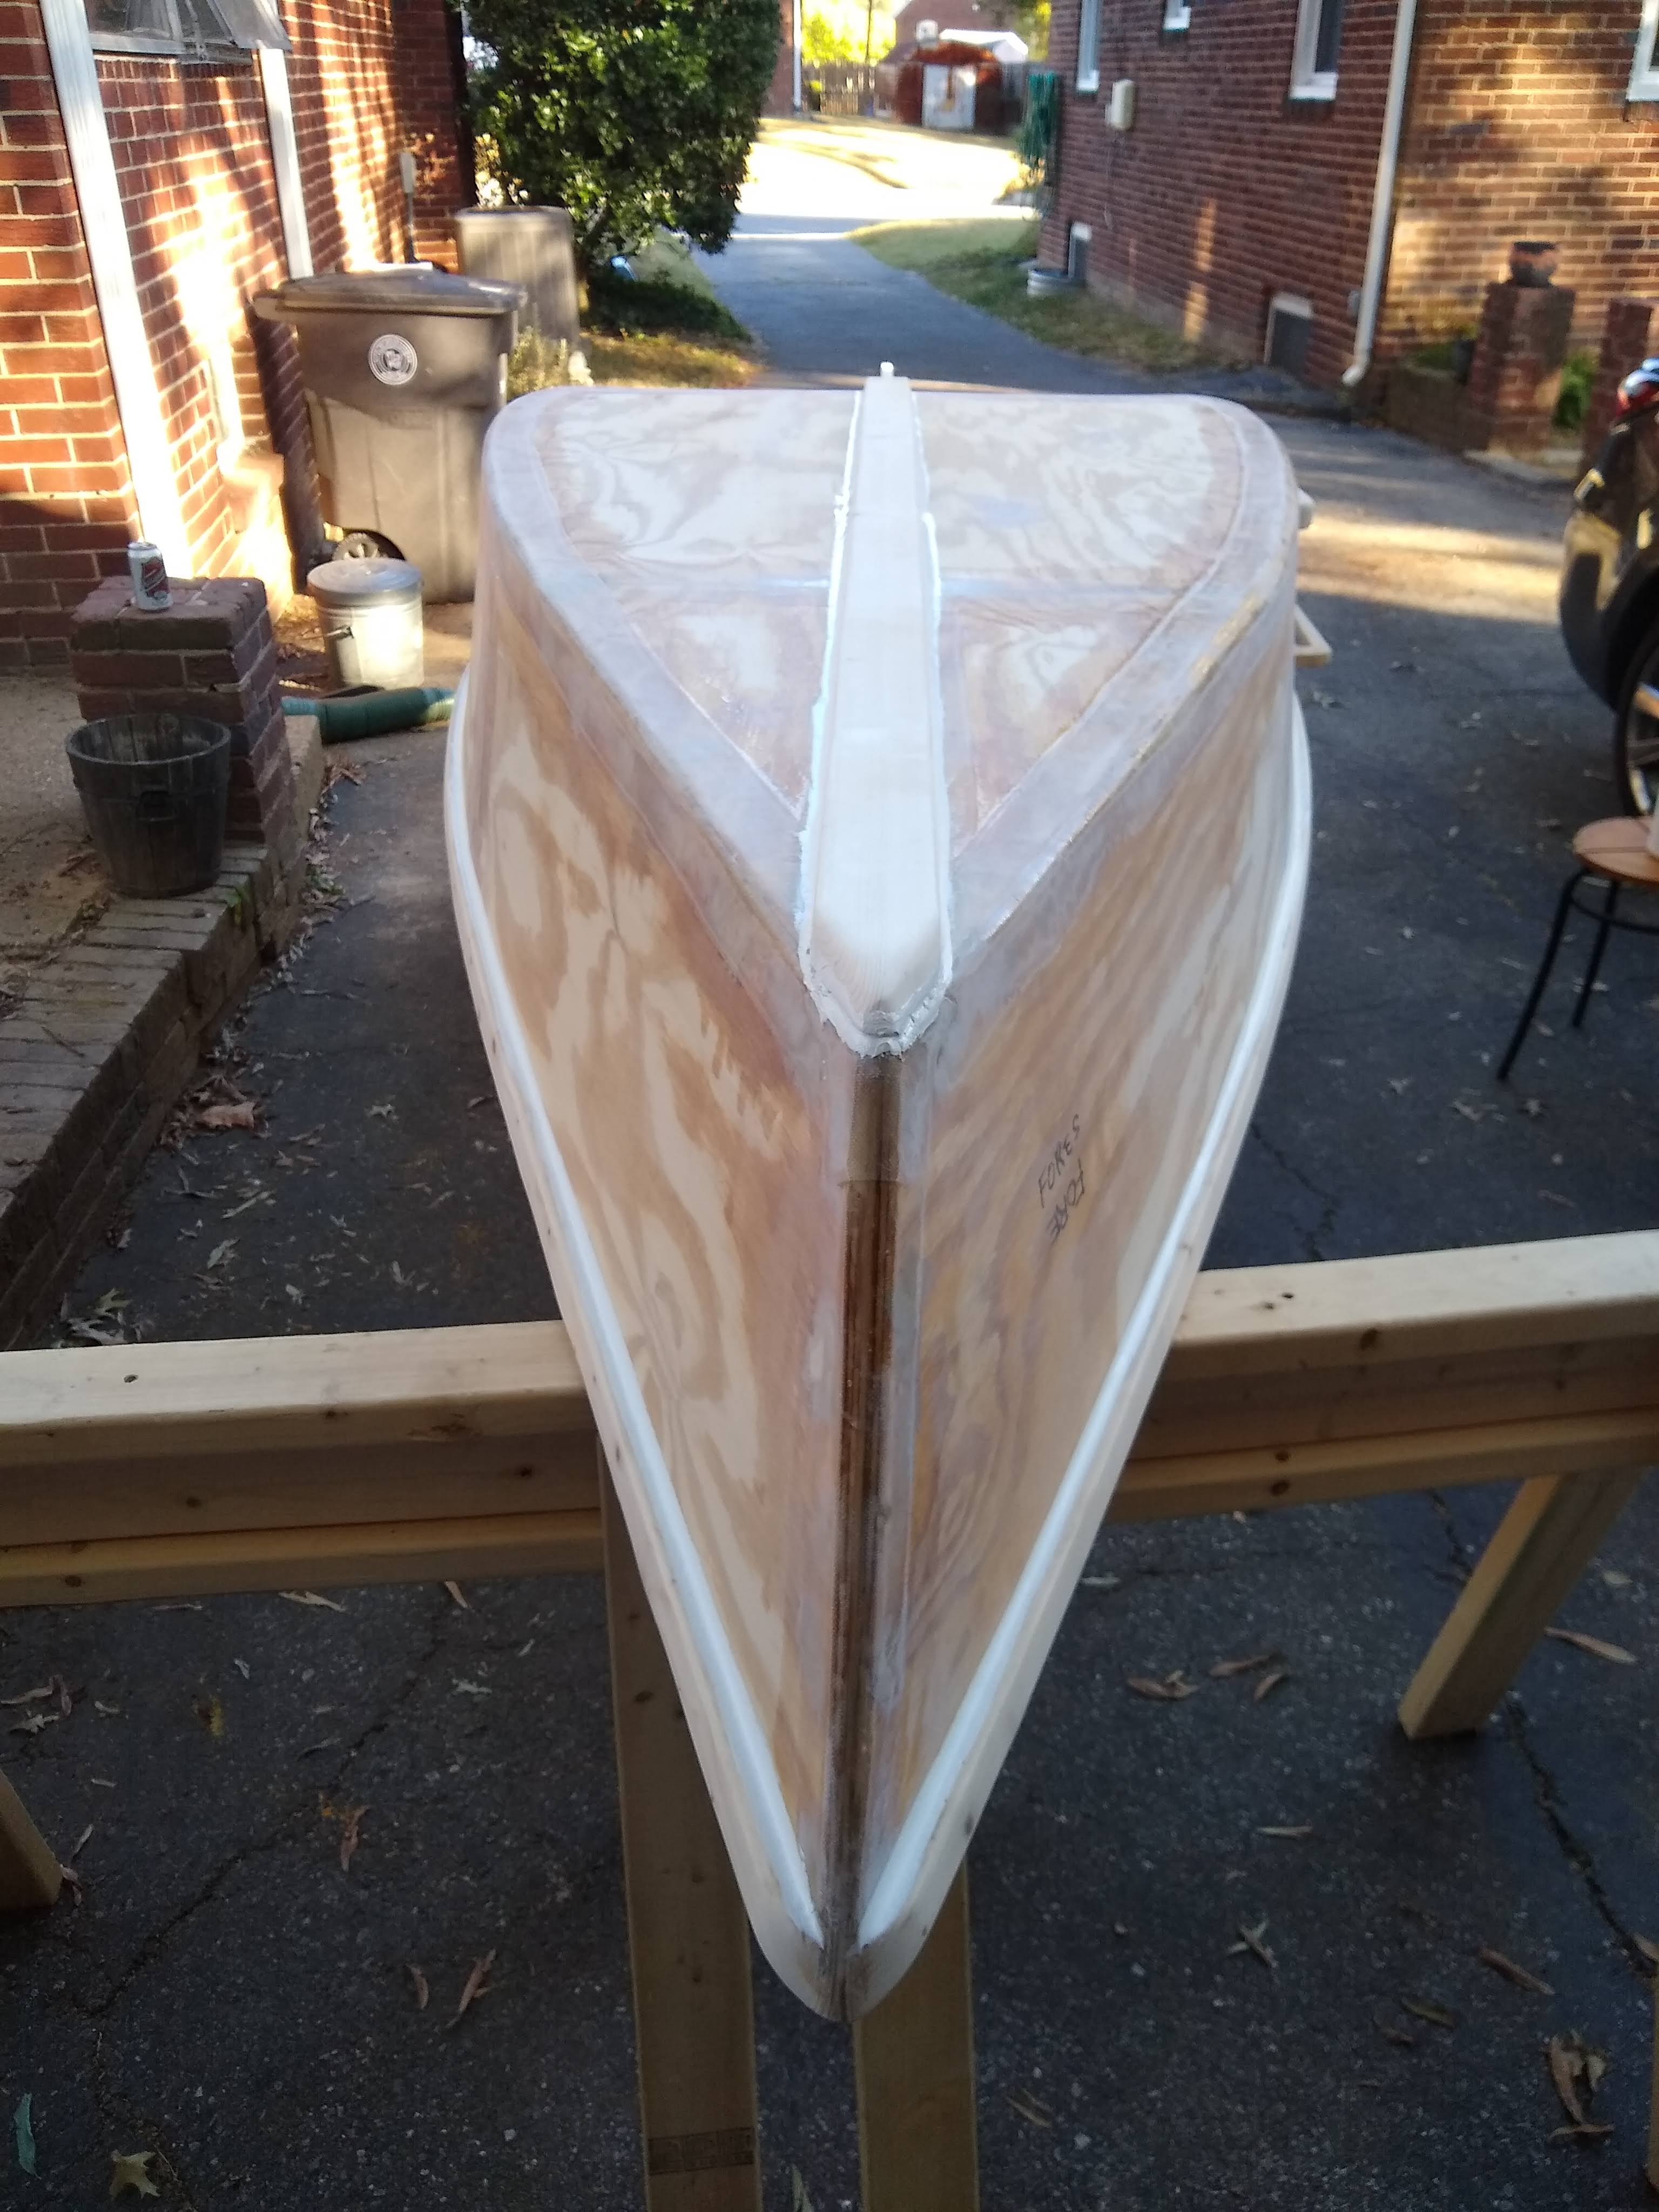
This boat is ready to paint. At last!
Lesson learned: High Thrust Caulking Guns
Next time I’ll buy this: https://www.homedepot.com/p/JES-10-oz-26-1-High-Thrust-Caulk-Gun-M26S/305860778
Lesson learned: Mast Step
Only now looking at the pictures do I realize that I did not caulk the inside seams in the mast step. I didn’t exhaust the second cartridge of marine sealant, but I don’t imagine it’ll come out again even though I put a little cover tip on the tube. I guess I’ll buy a little 3-ounce tube when I pick up the primer this weekend.