
I wanted to get my work done on Saturday, since Sunday was supposed to be rainy. But the more I thought about it, the more it made sense to clean out the garage and rearrange how the boat was stored in there, since the construction of the hull is complete. The next few weeks will be staining and painting, where it makes more sense to apply the messy liquids to the boat in one place rather than try to move her in and out of the garage. I especially don’t want to move her while there’s some stain or paint drying. I don’t want to accidentally grab where there’s wet paint or conk into the side of the garage moving her back inside.
So that took almost all of my time on Saturday, but I got a bunch of tools out the garage and the boat back in the garage upright and facing forward ready for finishing.
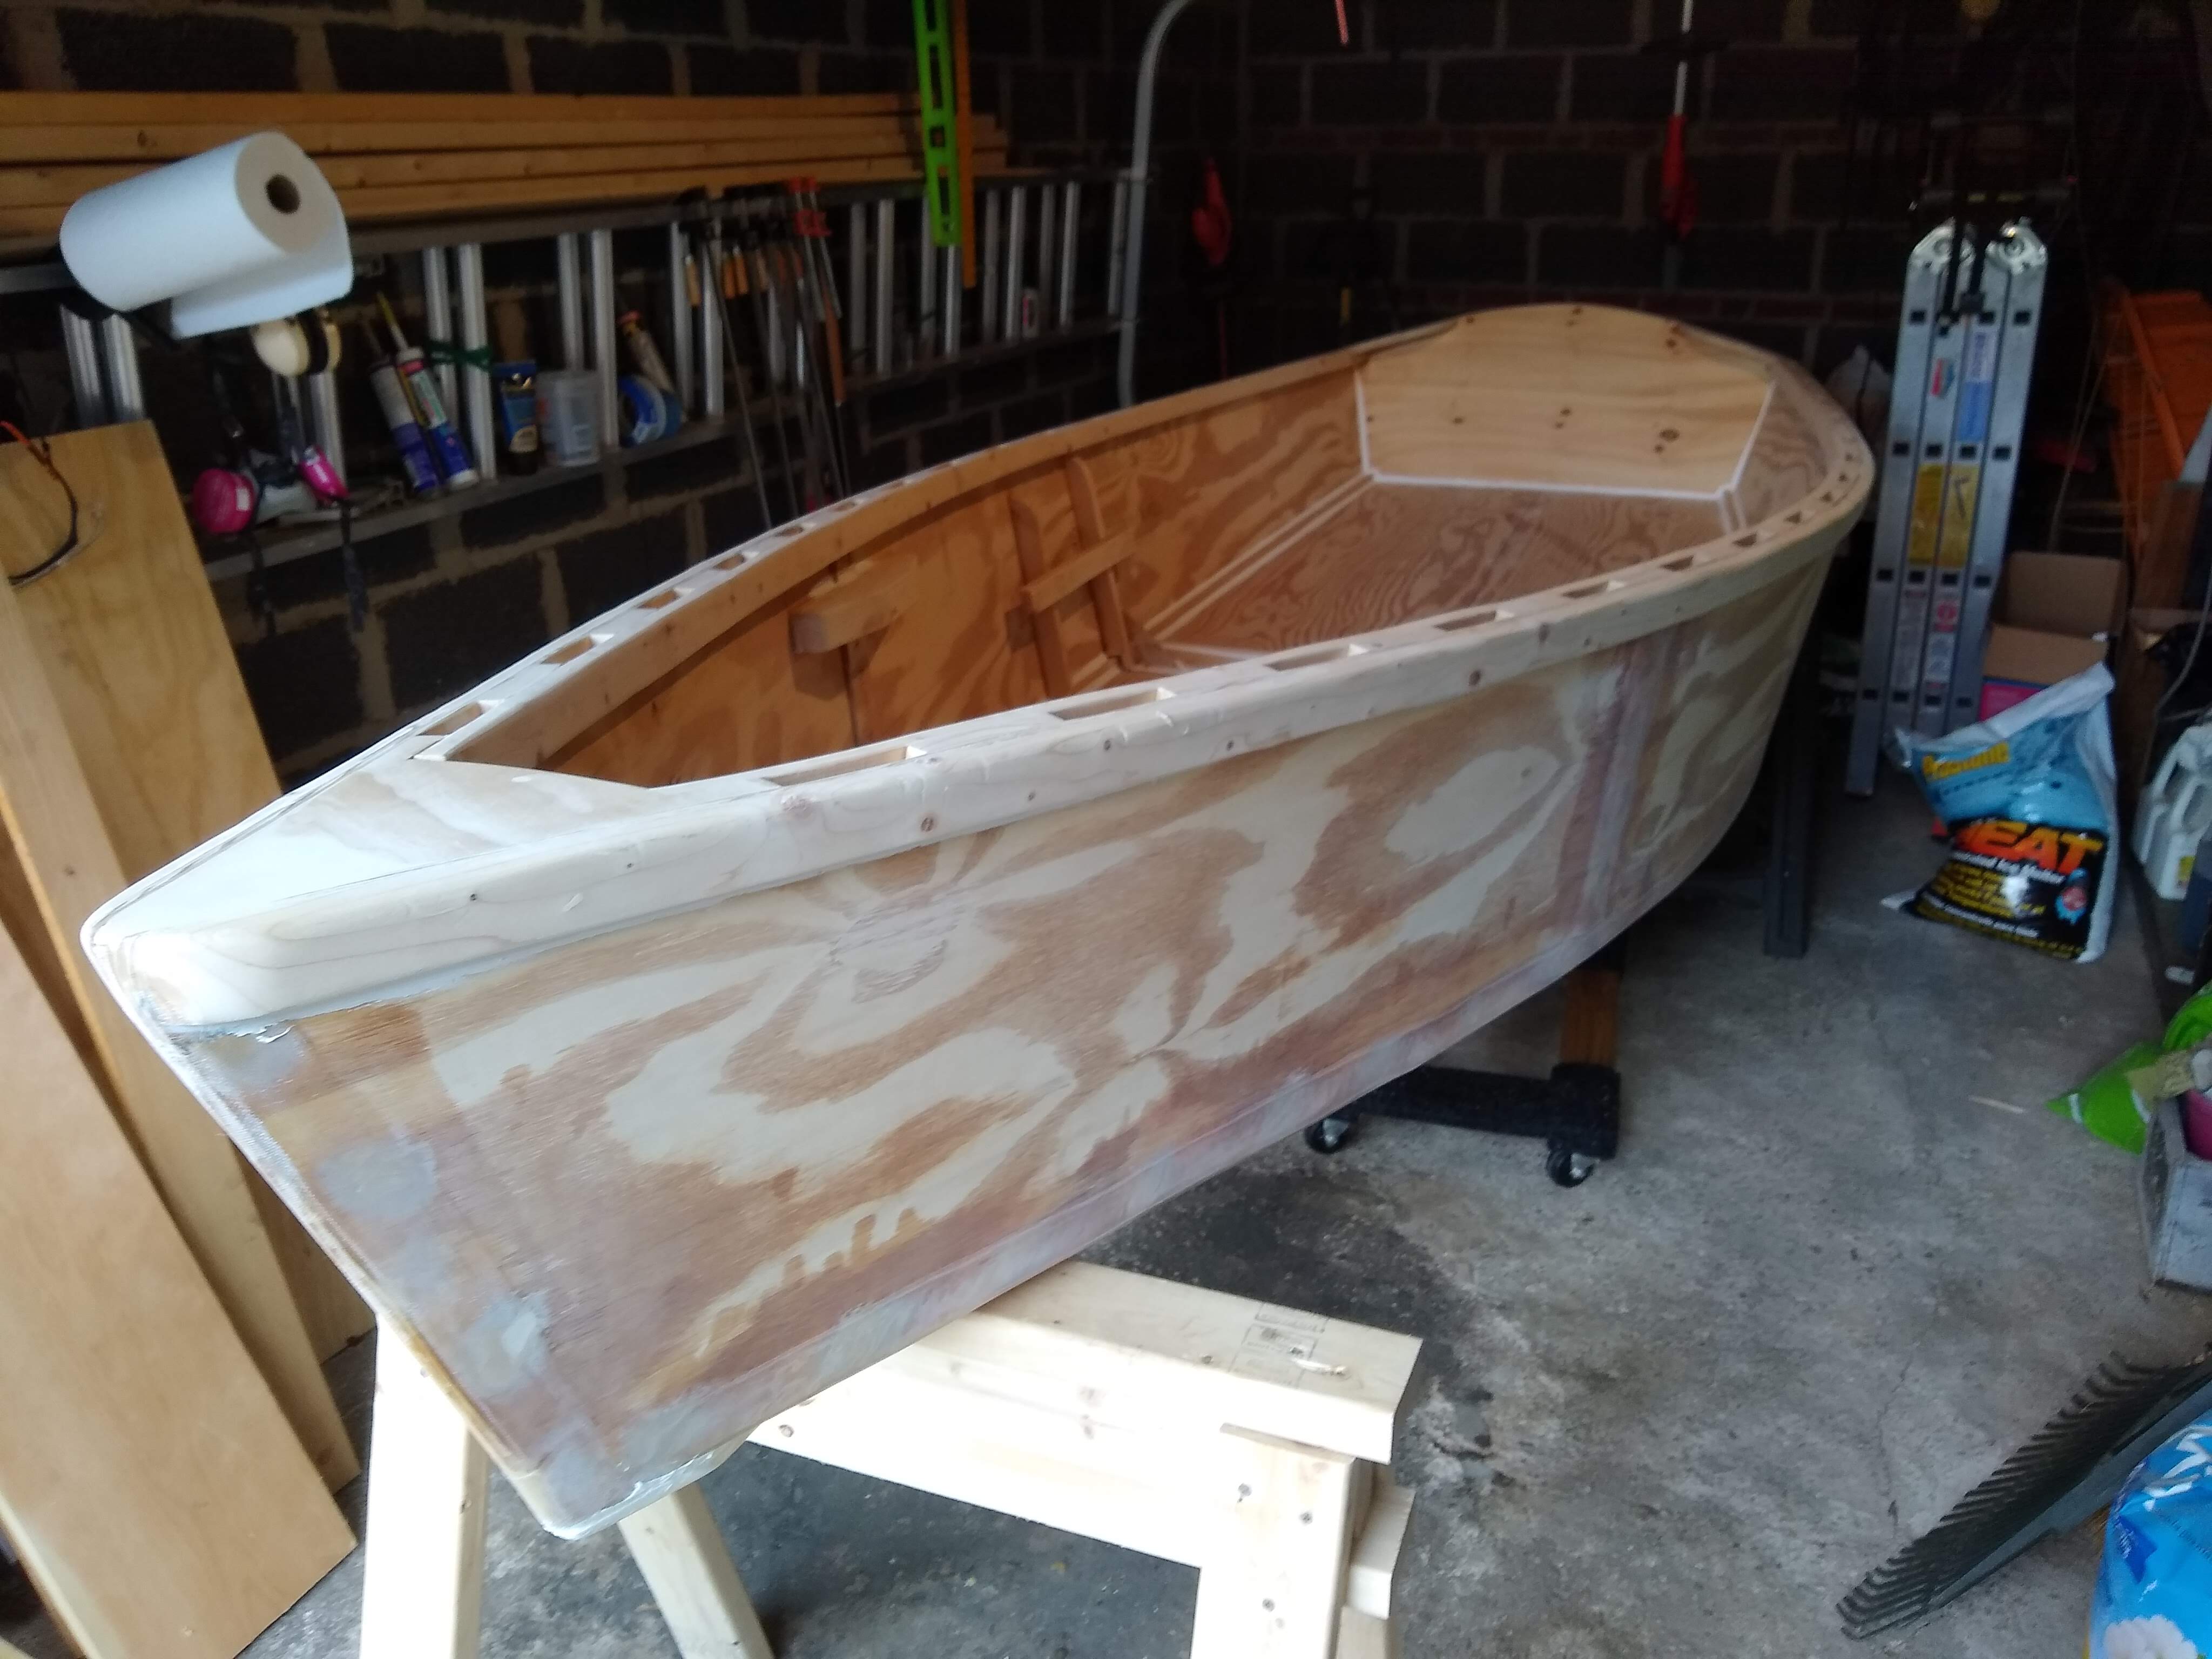
First step after that, though, was taping off parts where I didn’t want stain to go. Right now I’m just staining the wales (and breast hook and quarter knees), so that meant a line of tape under the gunwales on the outside and the inwales on the inside. The gunwales were a lot easier, where I could just sit on a stool and scoot along as I applied the masking tape. The inwales were the tough part, since I had to stand outside the boat and couldn’t very well see underneath the wales. I suppose, thinking about it now, that I maybe could have lain inside the boat, underneath the wales, but, no, that wouldn’t do with the boat on sawhorses. I don’t imagine I’ll be getting in the boat until she’s on the water.
I only managed a bit of the interior taping on Saturday, so then I was back at it on Sunday afternoon. It was indeed rainy on Sunday, all day rain, so I was pleased that I had taken the time on Saturday to arrange things so conveniently in the garage. After finally taping off under all the wales, I also taped up a 0.7 mil plastic drop cloth inside the boat to prevent any drips or spills from staining anywhere that’s going to be painted.
Oh, and I did do a little more sanding, using 100 grit to touch up the wales where there were dents from the saw horses from turning the boat over and/or storing it upside down on the sawhorses. From now on I need to use padding when handling the boat on the sawhorses or on the furniture dolly. I don’t want any more unnecessary dings. And I used a single sheet with a block of 220 grit to give a final smoothness to the wales.
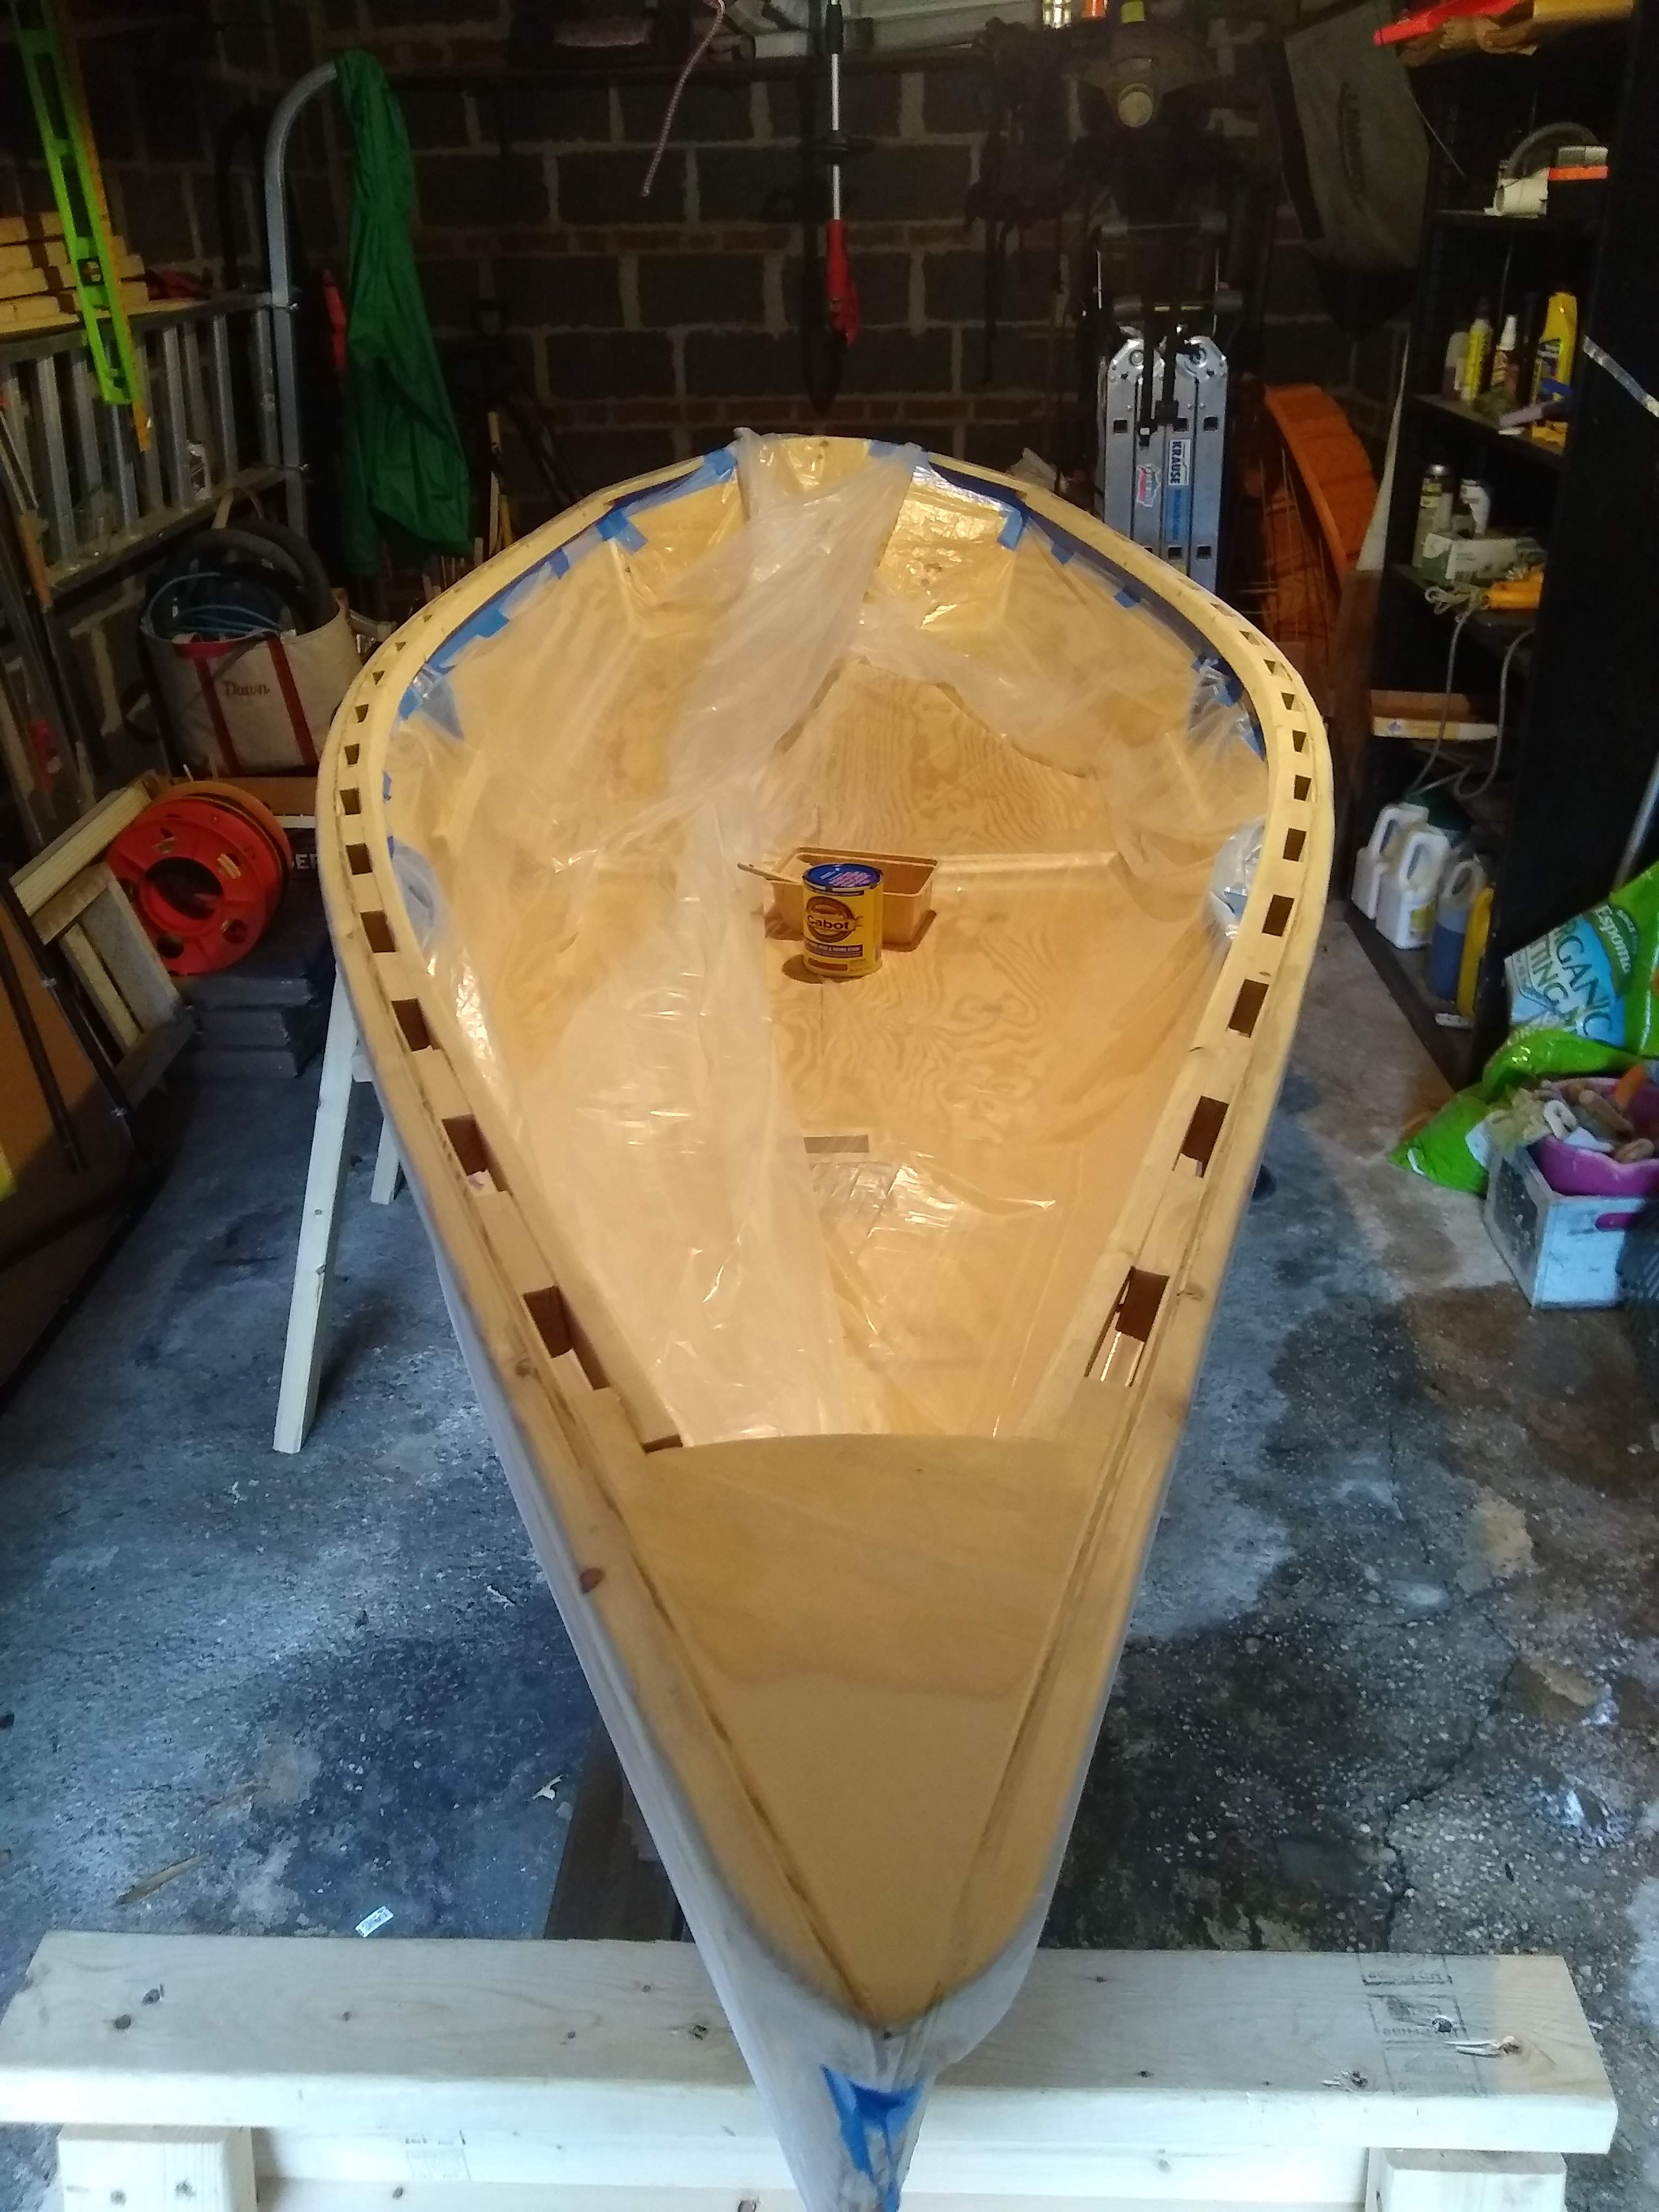
And with that it was ready to stain. I’d vacillated a bit on what color stain I wanted on the wood. I’d originally thought about using an oak stain but then more recently decided that it was too gray. I finally went with a cedar stain.
Putting it on a test piece, though, it looked way, way too orange. I immediately regretted my choice. I cursed my lot in life. I rued the day I was even born.
I’d already spent twenty bucks on the can, though, so I went ahead and put it on the boat anyway.
After a while, after seeing it soaking in and maybe drying a little bit, I decided it didn’t look too bad. But it was dark and rainy outside, and I was only seeing it by the naked bulb in the garage, so maybe I’ll think it’s terrible again when I finally see it in full daylight.
It took a lot longer than I thought it would, brushing it on the wales. I had originally imagined that I’d be applying stain with a cloth, rubbing it on, rather than with a brush. But the instructions on the can were pretty clear about either using a natural bristle brush (which was itself not so easy to find) or spraying it on. So brush it was.
After a while I worked my way into a kind of groove, working about three inwale spacers worth at a time, first cutting under the inwale, then the broad side of the inwale facing inside the boat, then on top of the wales and spacers, then getting it between the spacers on the inside of the inwale and the bit of hull between with the stain left on the brush plus whatever had dripped down from doing the tops, then finally the gunwale.
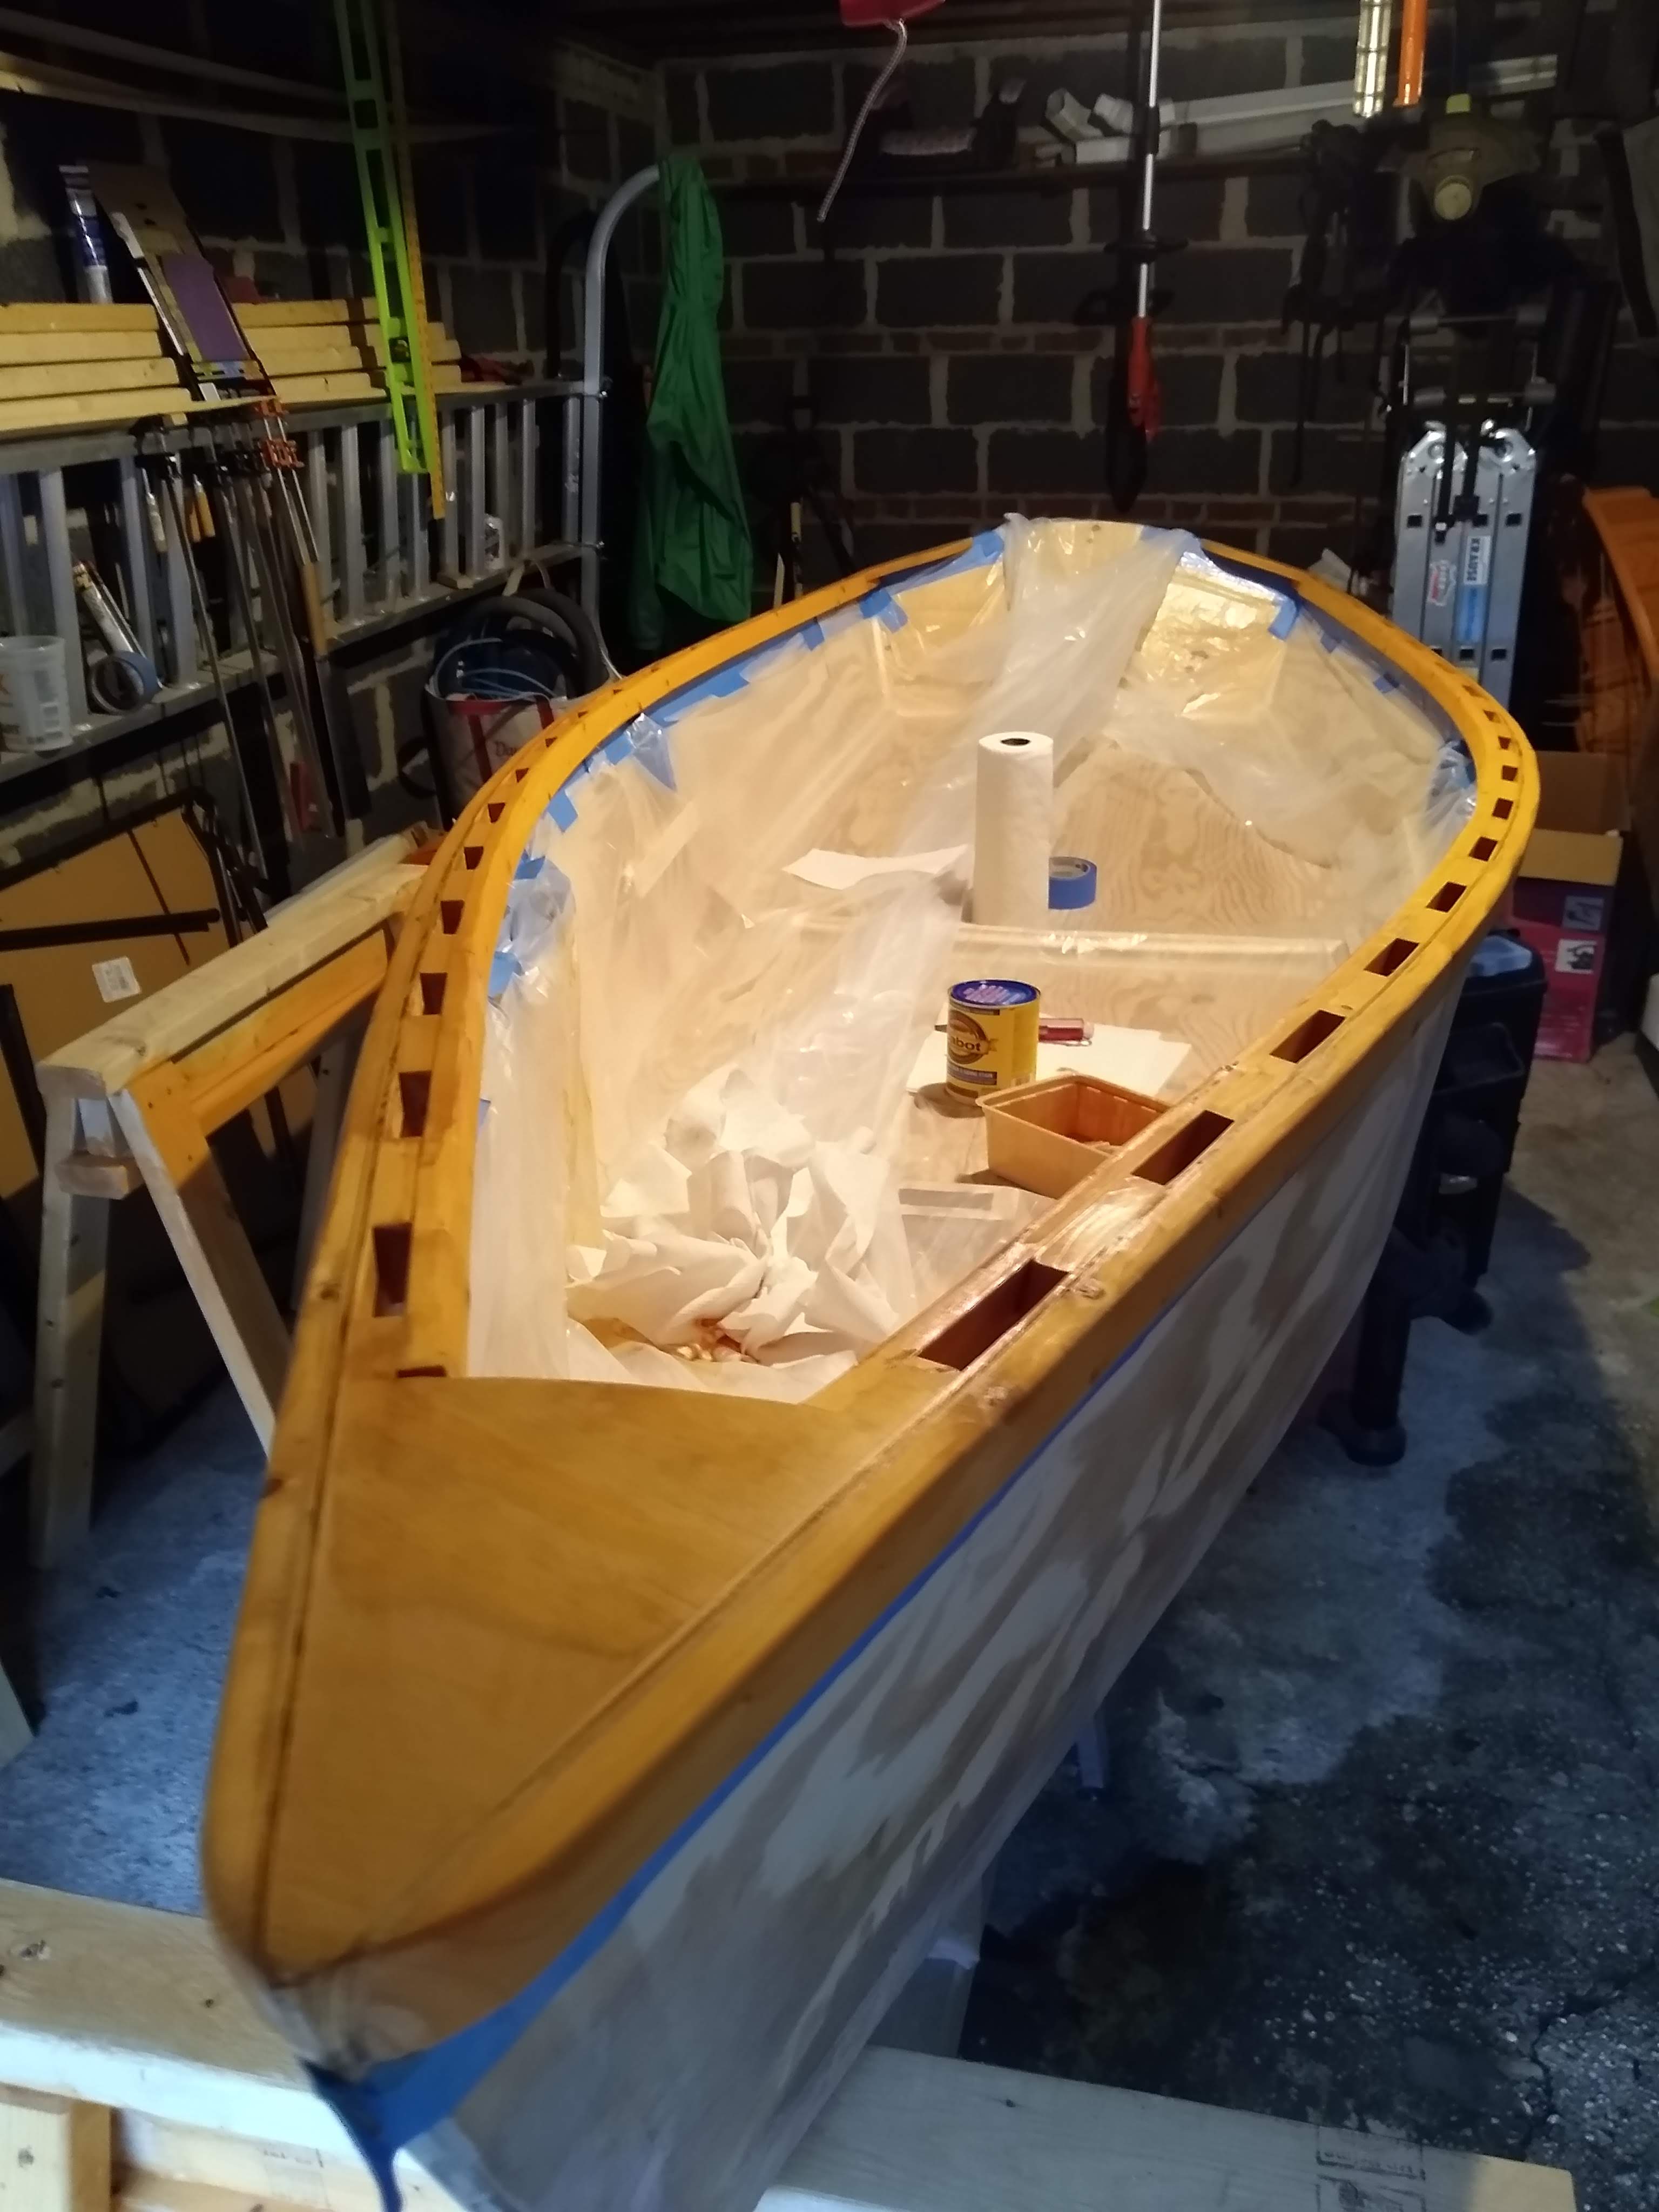
All said, I think it took maybe 2 hours. And now it’s really ready for painting.
Lesson 1: Still need to caulk the inside of the mast step
I bought a little 3 oz. tube of PL marine sealant and was meaning to get to the inside of the mast step that I’d missed last week. I laid down the plastic drop cloth in the boat before I got to the mast step though, so it’s hidden for the week. I’ll try to get to it at lunchtime on Thursday when I’m home. It should only take like 5 minutes.
Lesson 2: Don’t spill so much stain
I had the stain in a little roller tray and I tilted it too far a few times. The worst was inside the boat, so I’m really, really glad that I went to the trouble of covering the entire inside with the drop cloth. Next worse was on my pants. I was wearing old jeans just in case, but I still would rather have not spilled on them.
I have just started on a Summer Breeze and just found this site. Thanks for taking the time to document your build. Looks great! I cut the stem today (before I found your site). Ran into the same problem. Thanks for providing a good fix. Thanks again and best of luck to you.