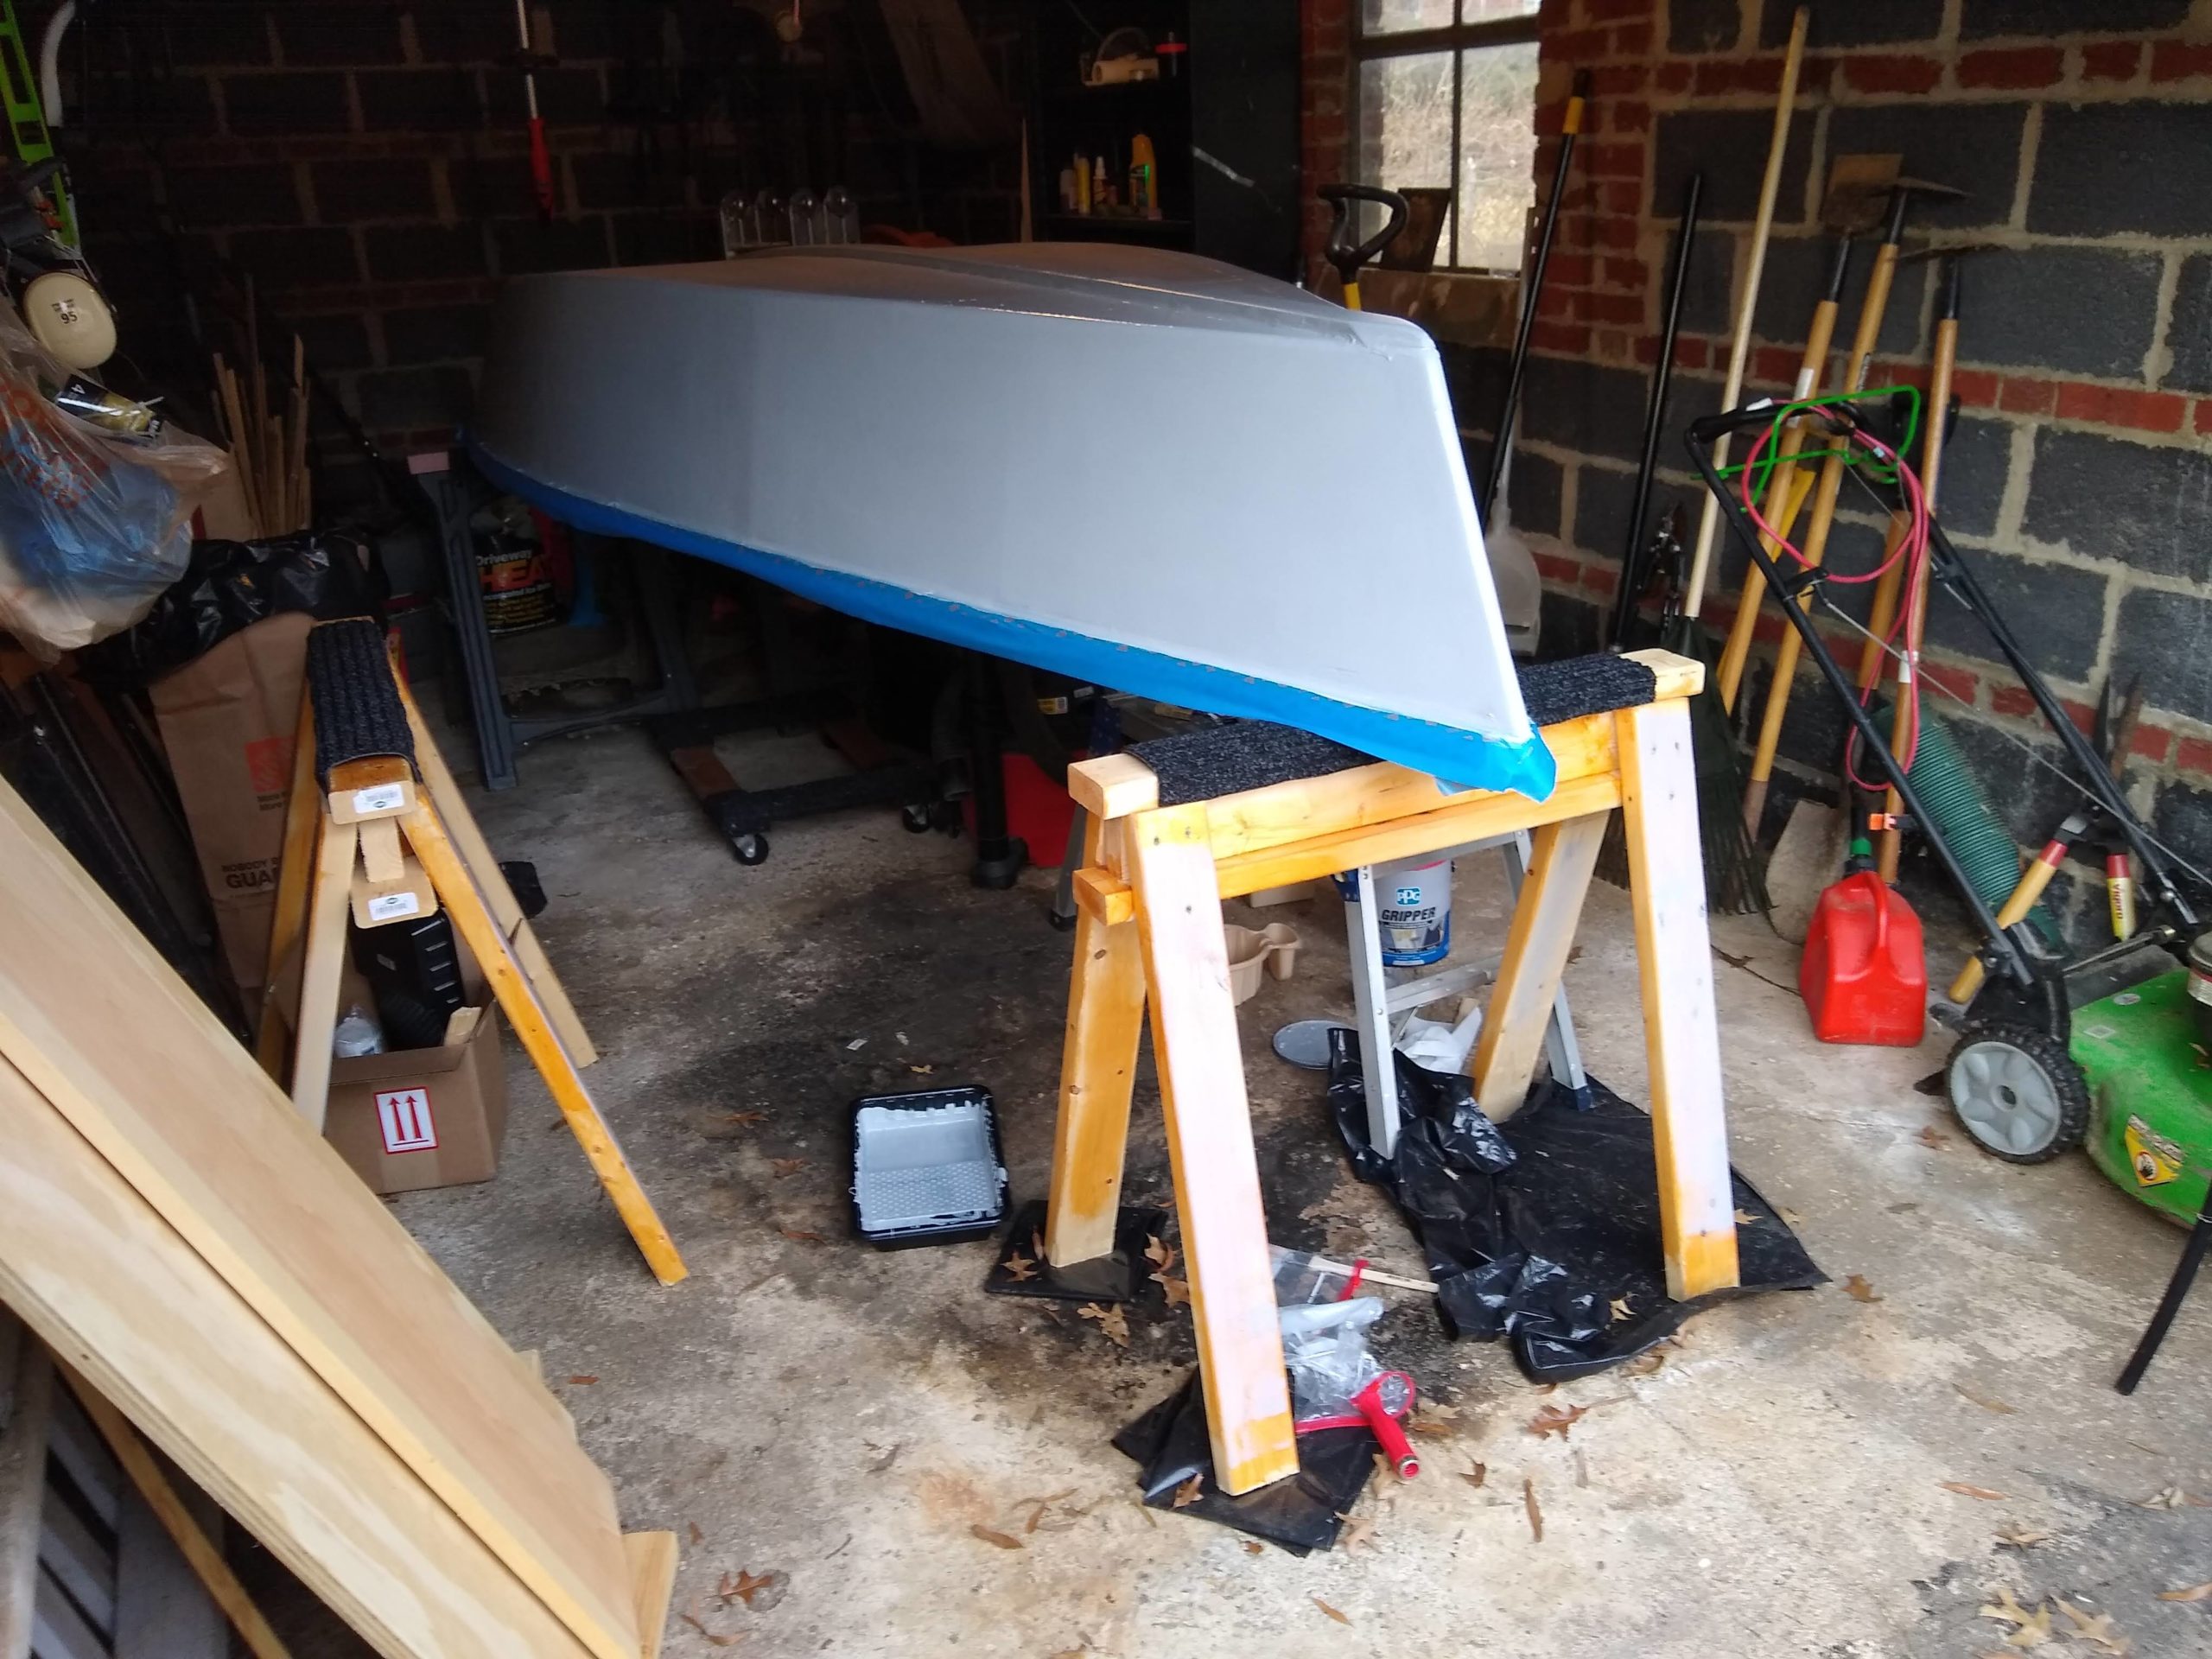
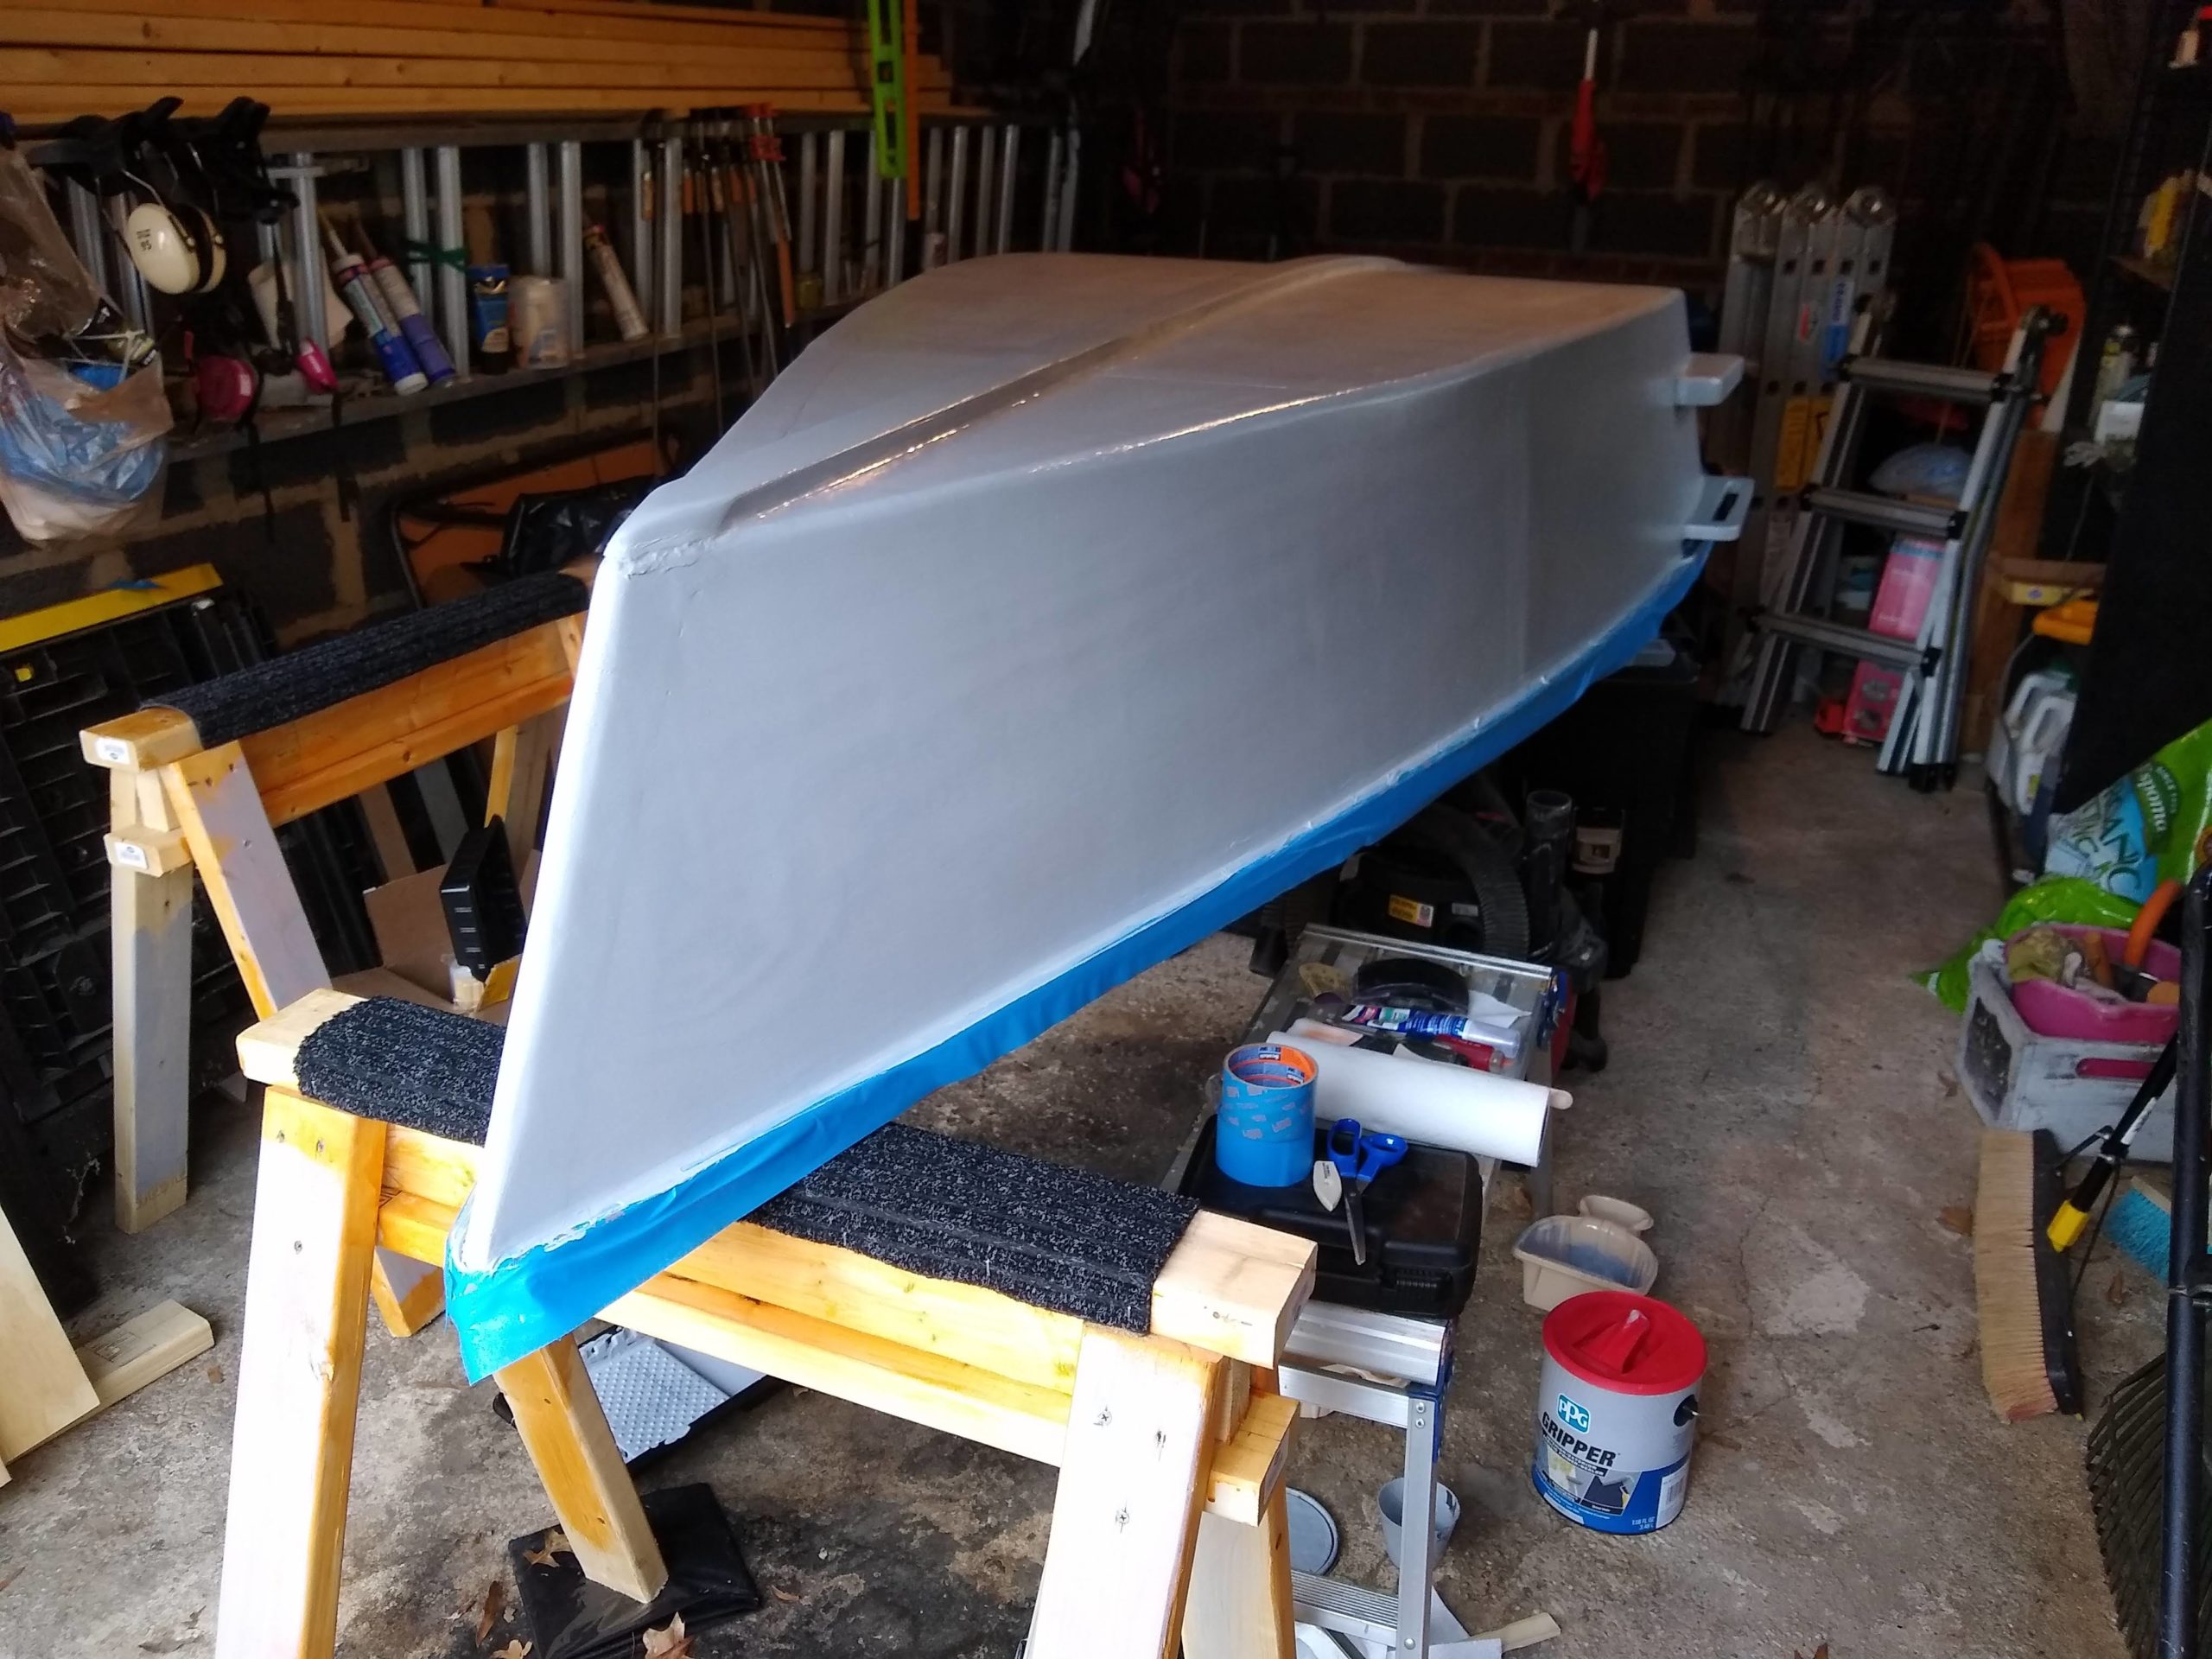
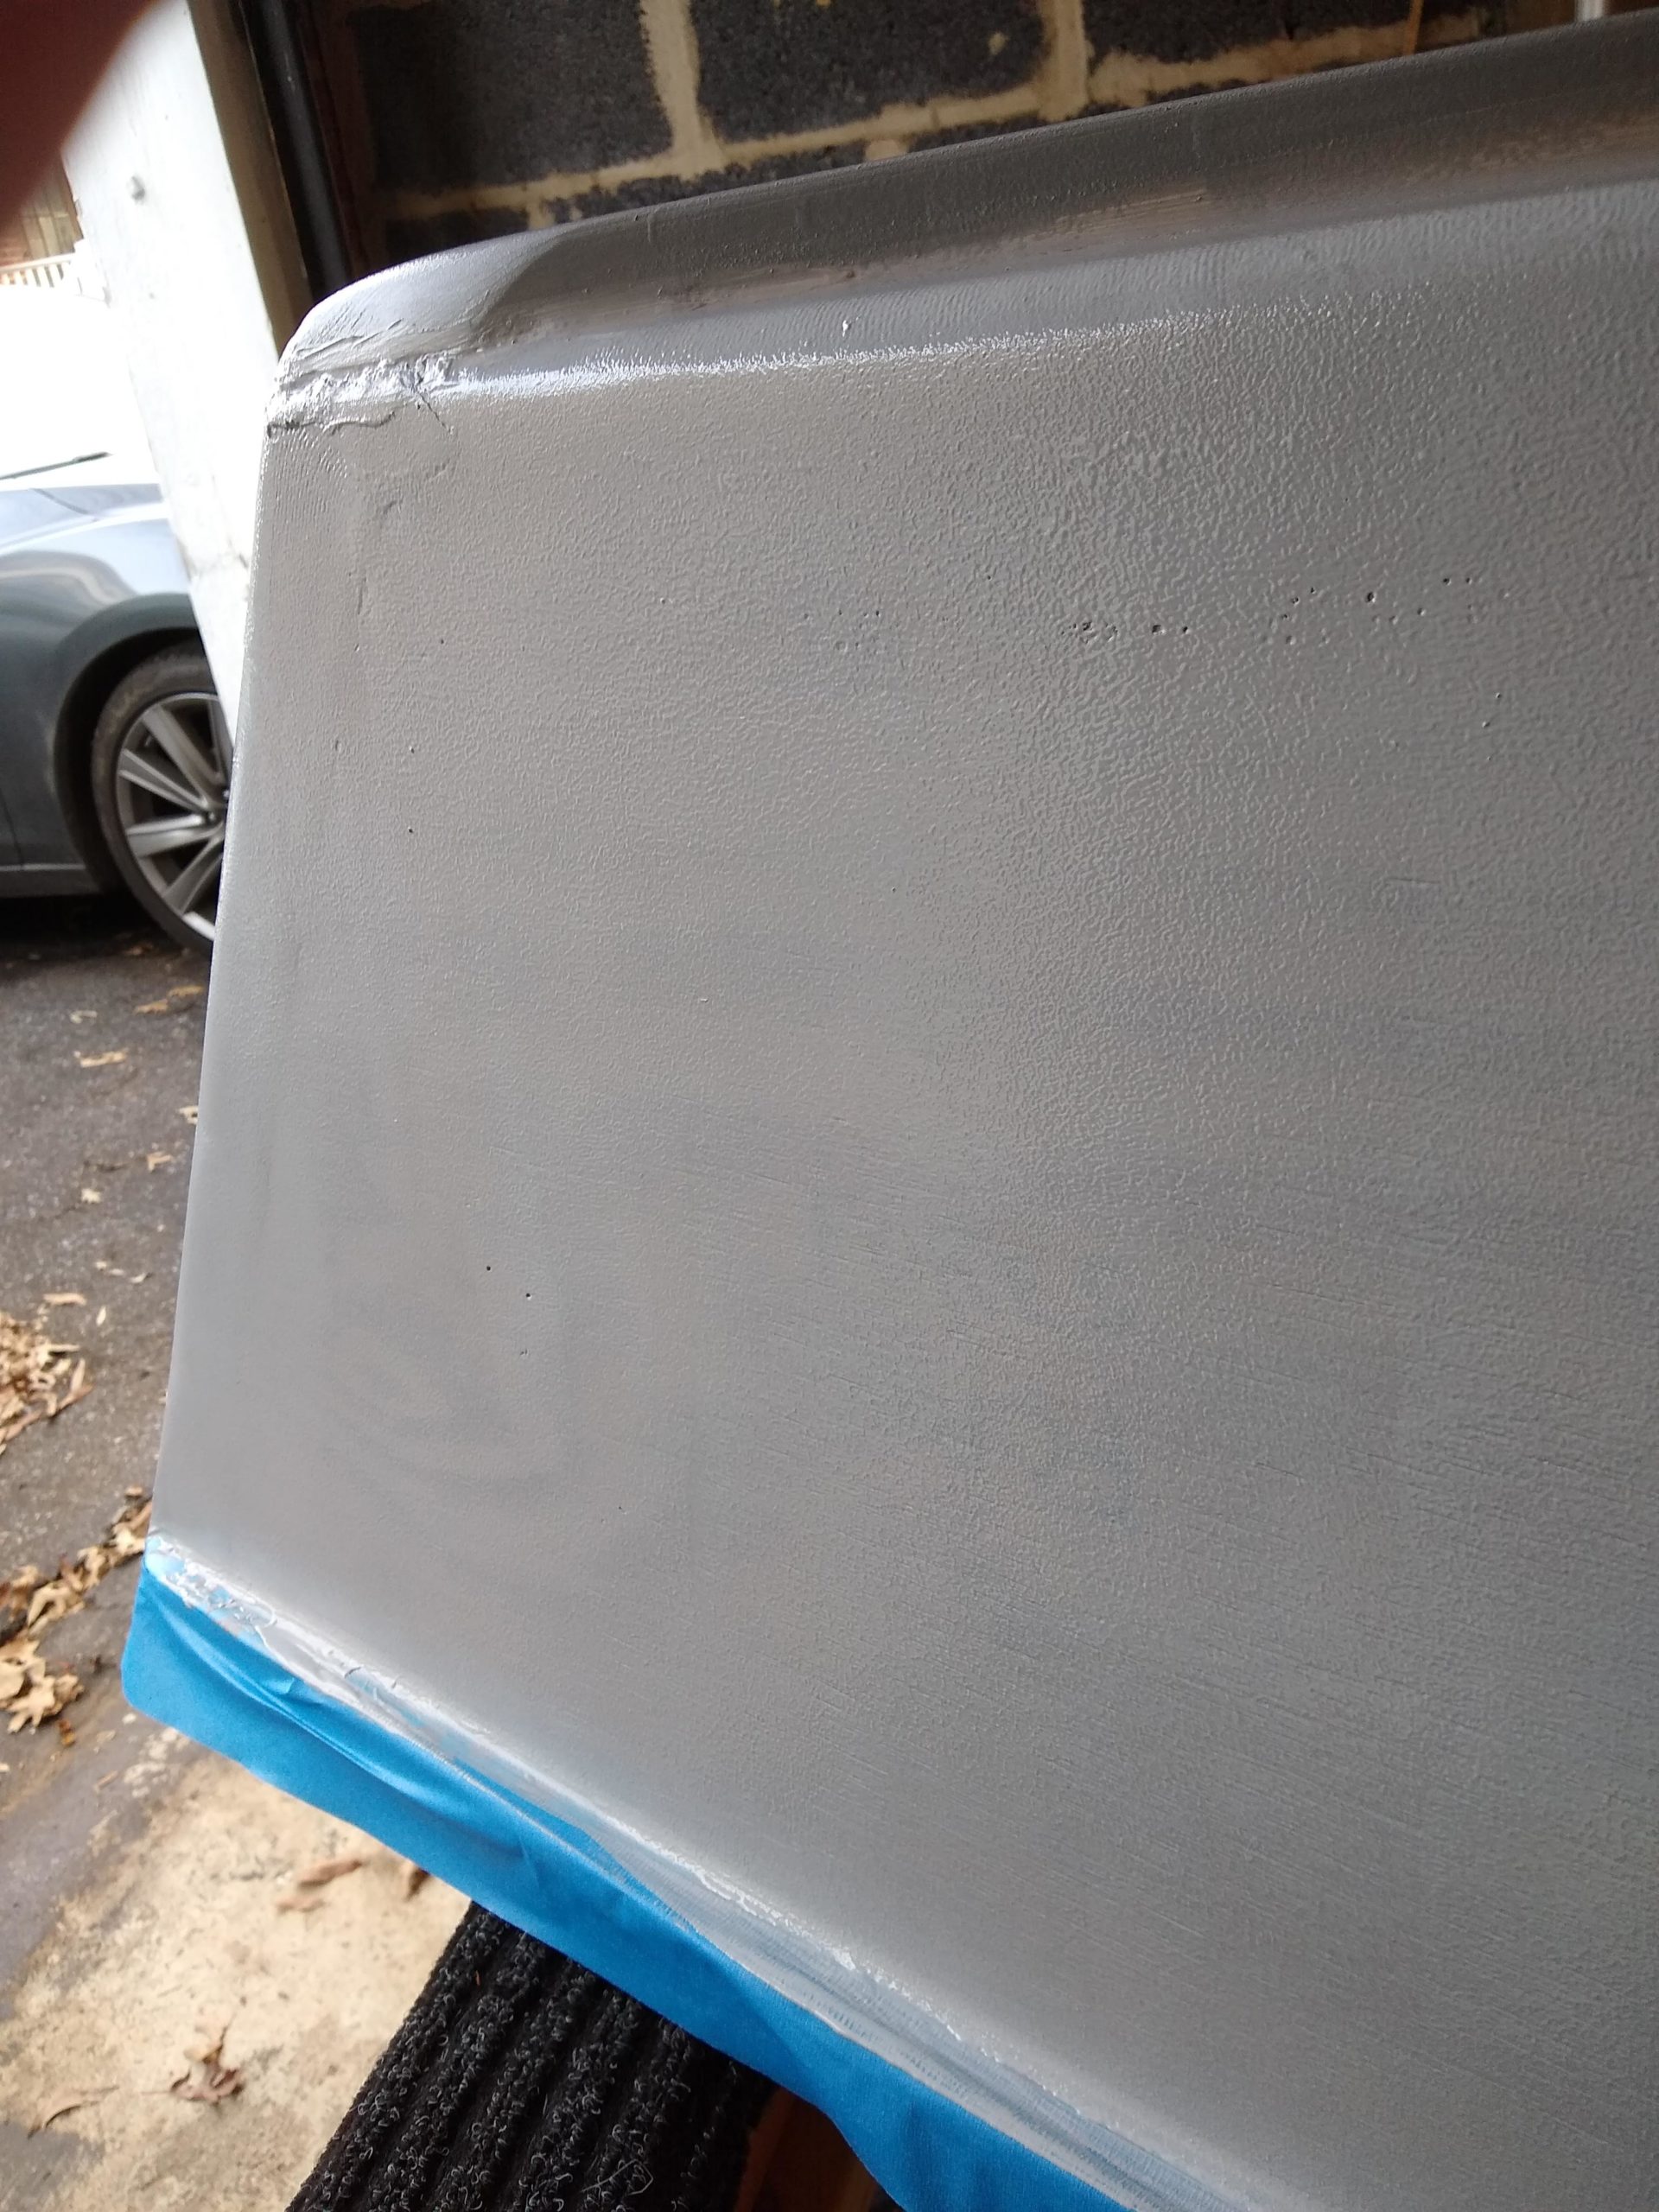
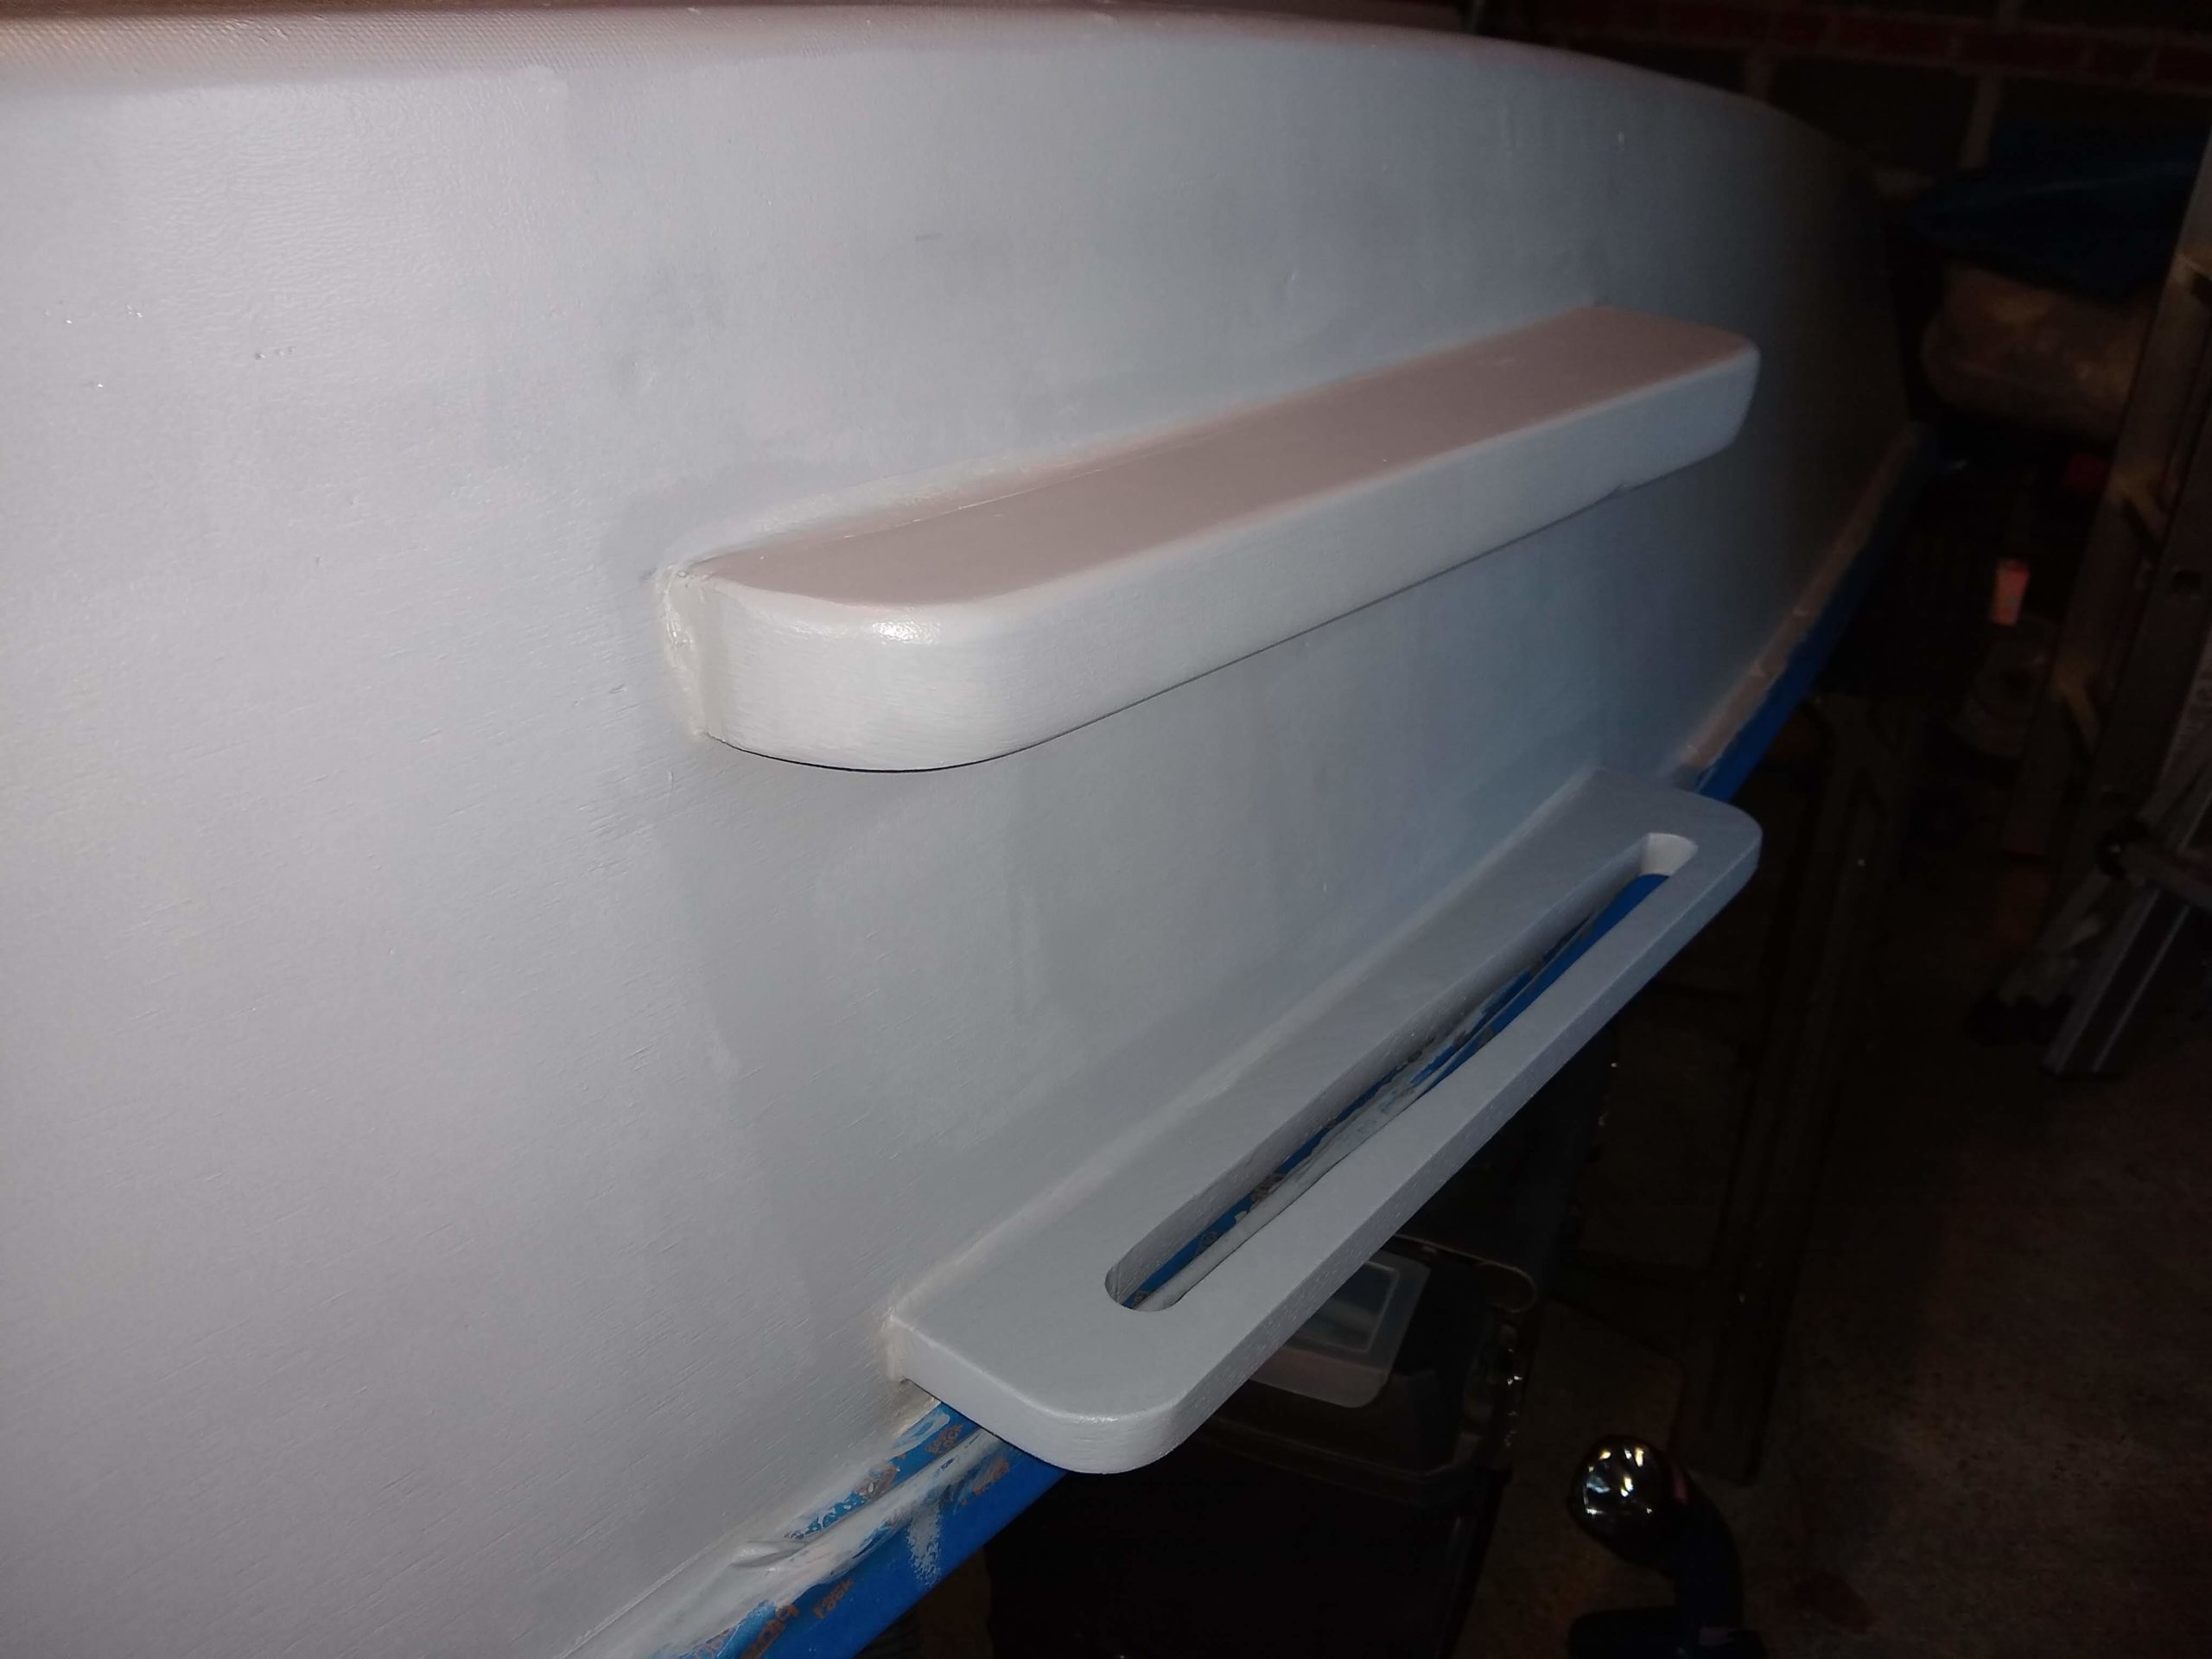
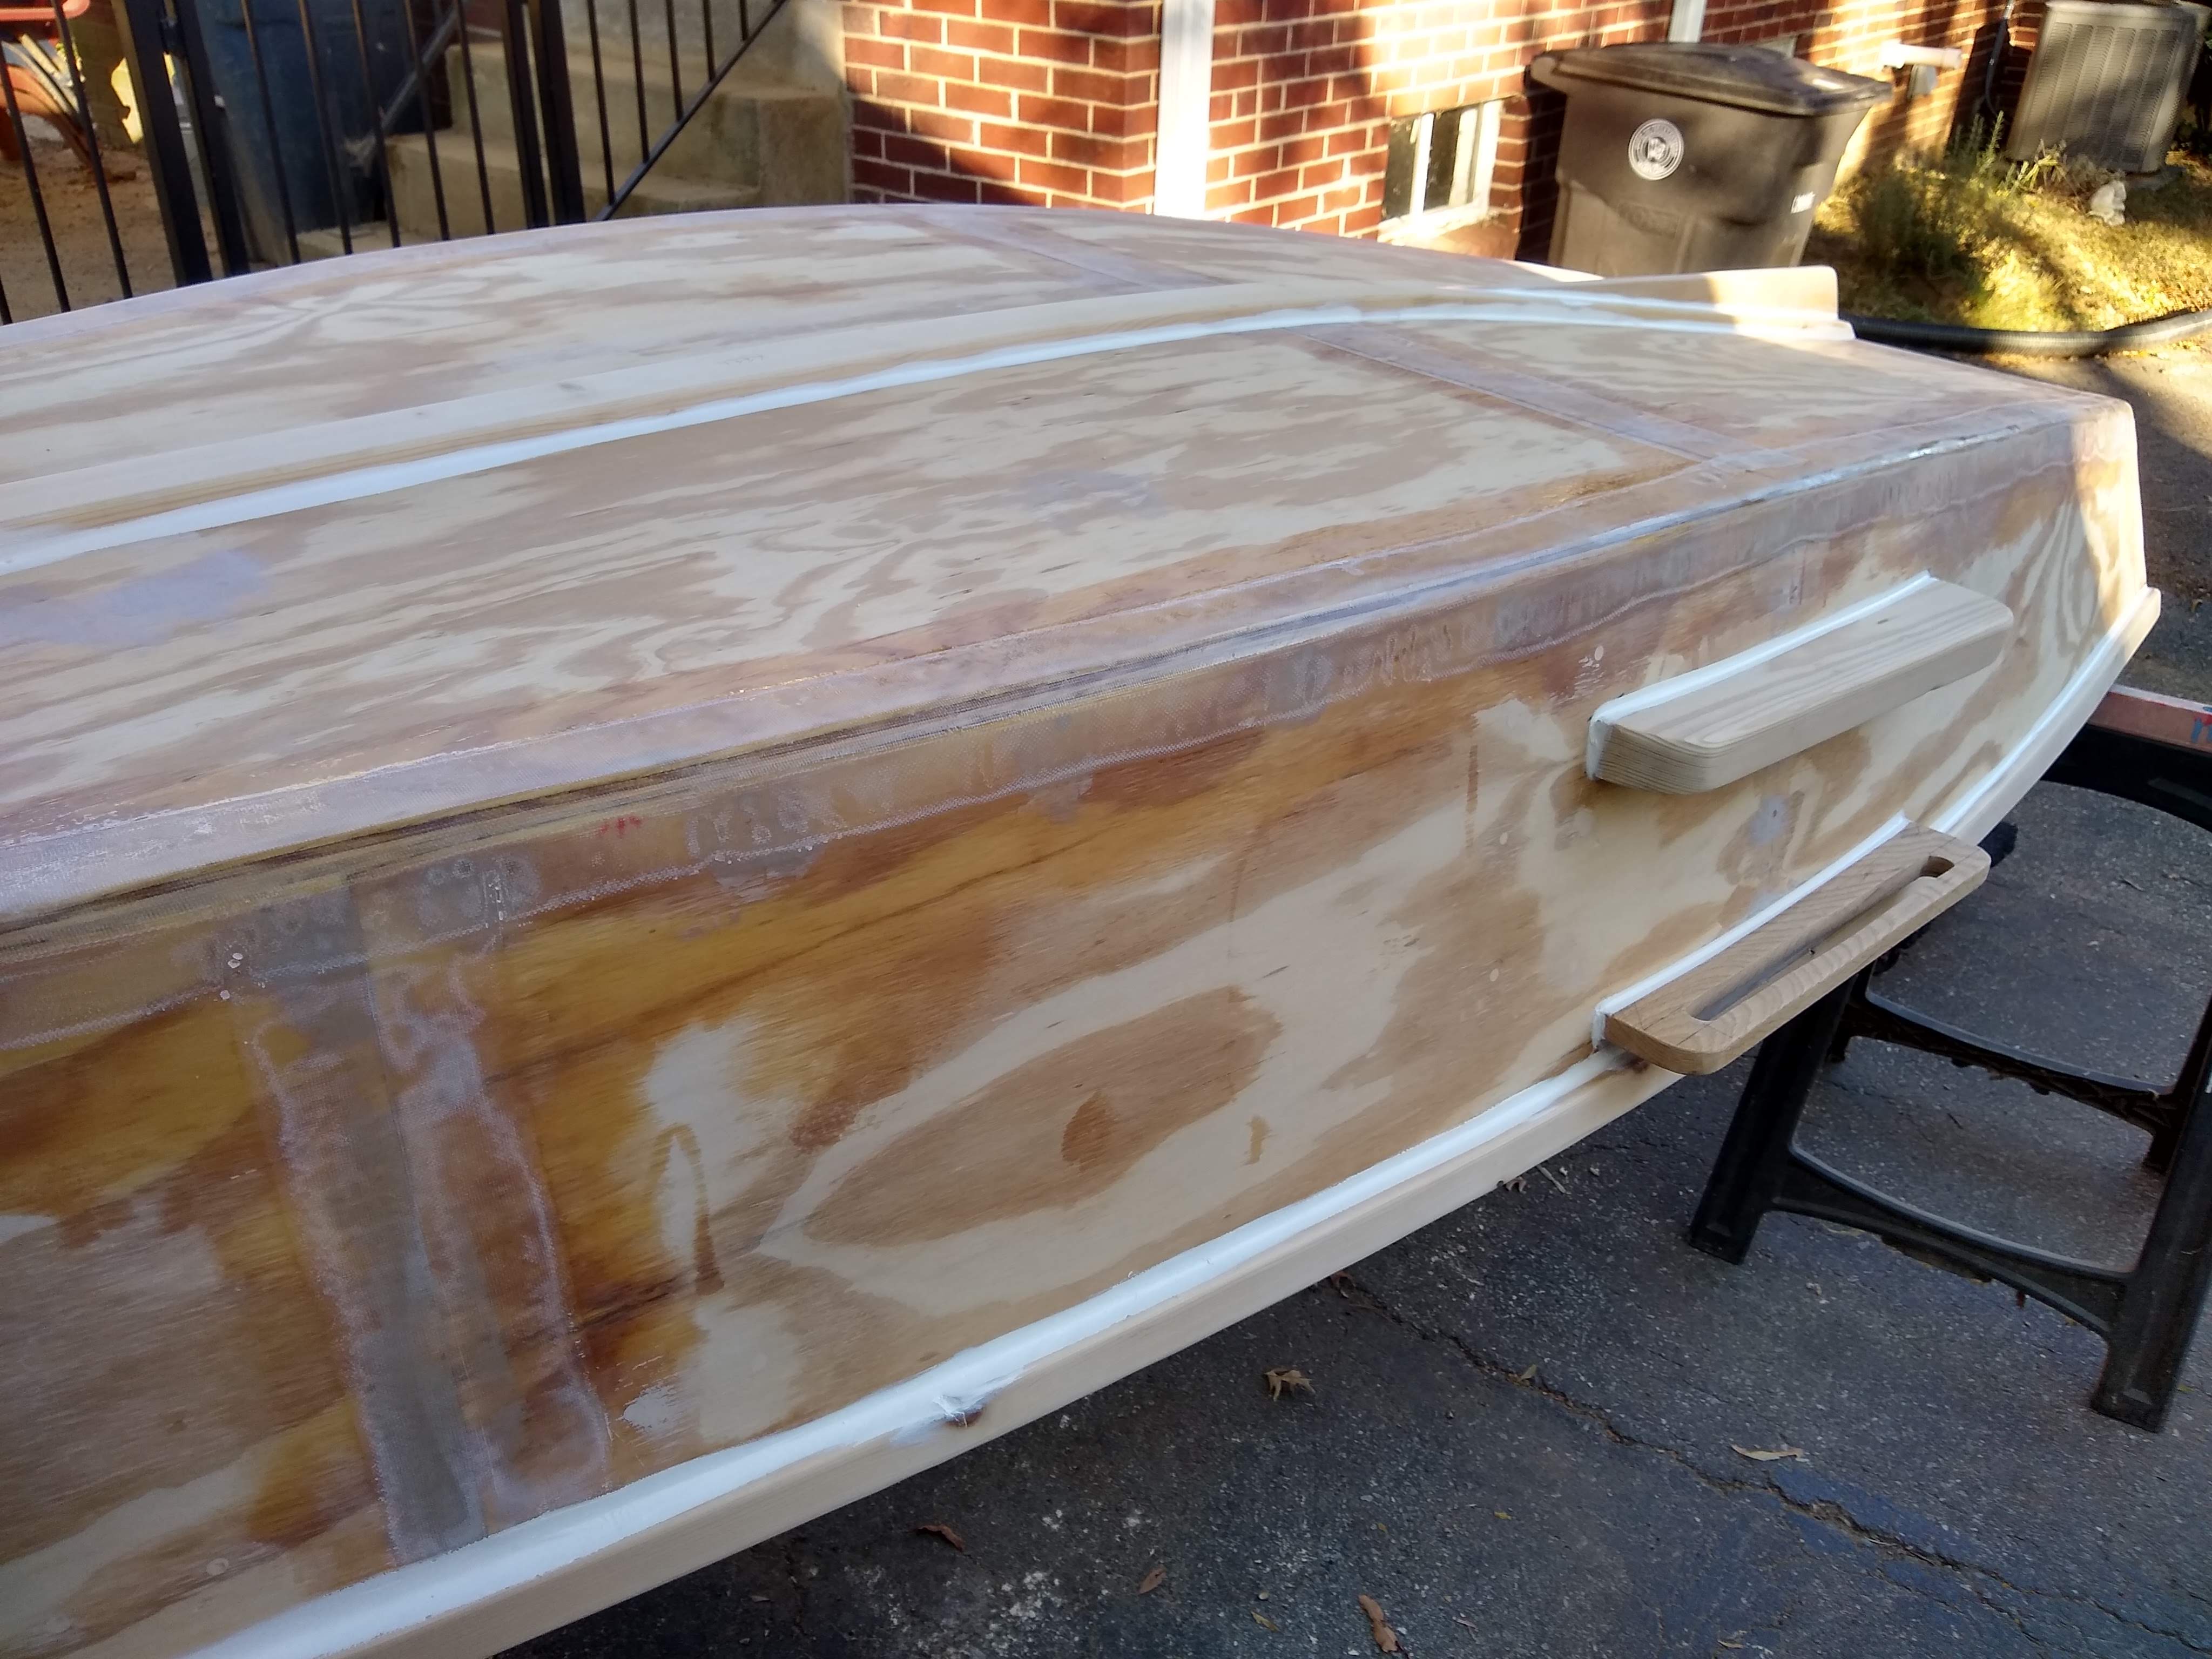
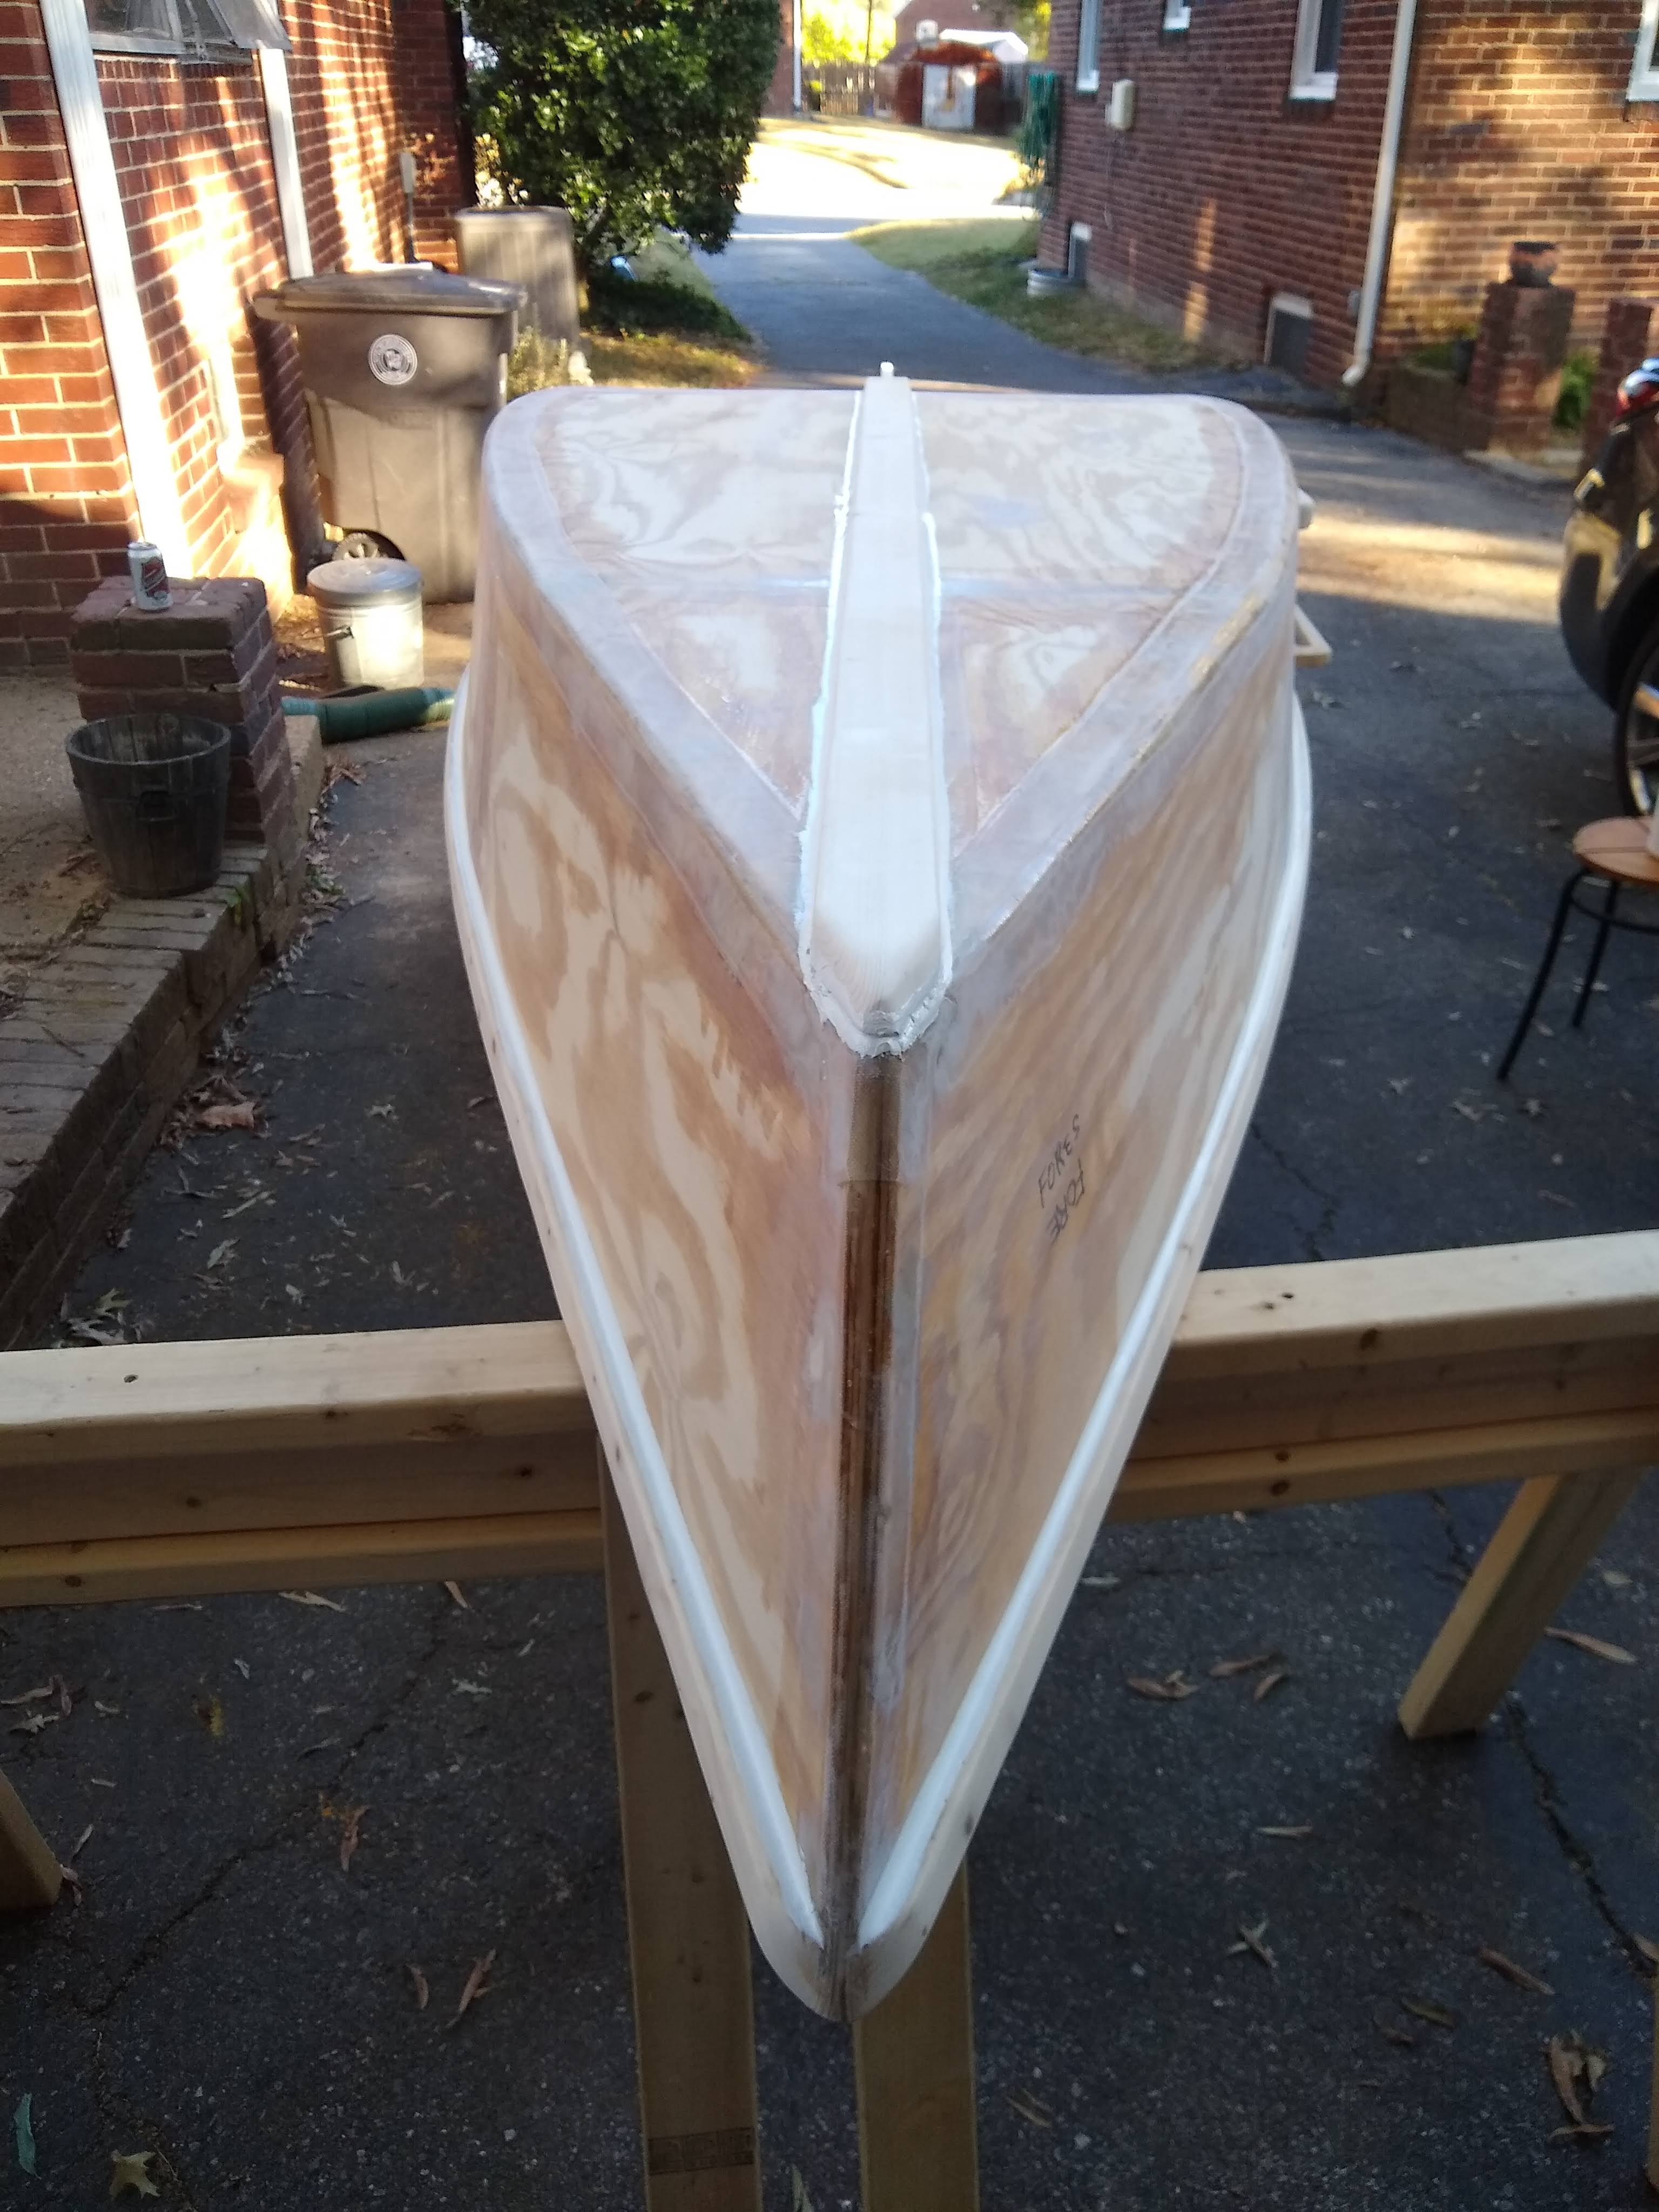
Week 50: Wheels

Yep, I need wheels on my boat.

I’ve long contemplated just how exactly I’m going to get the boat from home to the water, and then how to get the boat into and out of the water. I’ve been using an old furniture dolly (see Week 37 entry) to move the boat around and in and out of the garage, but I need something more robust to move the boat any further.

I’ve searched the web and seen various examples of carts that guys have built, and the best I found was Kevin Falvey’s for his very own Summer Breeze skiff. Imagining building a similar cart, I’ve always been on the lookout for old bicycle wheels maybe set out for trash or recycling. I never did pick up a pair, though.

All the files for this assembly

More recently, I came across this video for a wheel system that I really liked, so I decided to build it, after adapting it, in many, many SketchUp renders, to my transom.

One of many, many, many models in SketchUp of this troublesome part

But, honestly, even after all the work I did there, all credit to BOR Fishing for his great, great video.
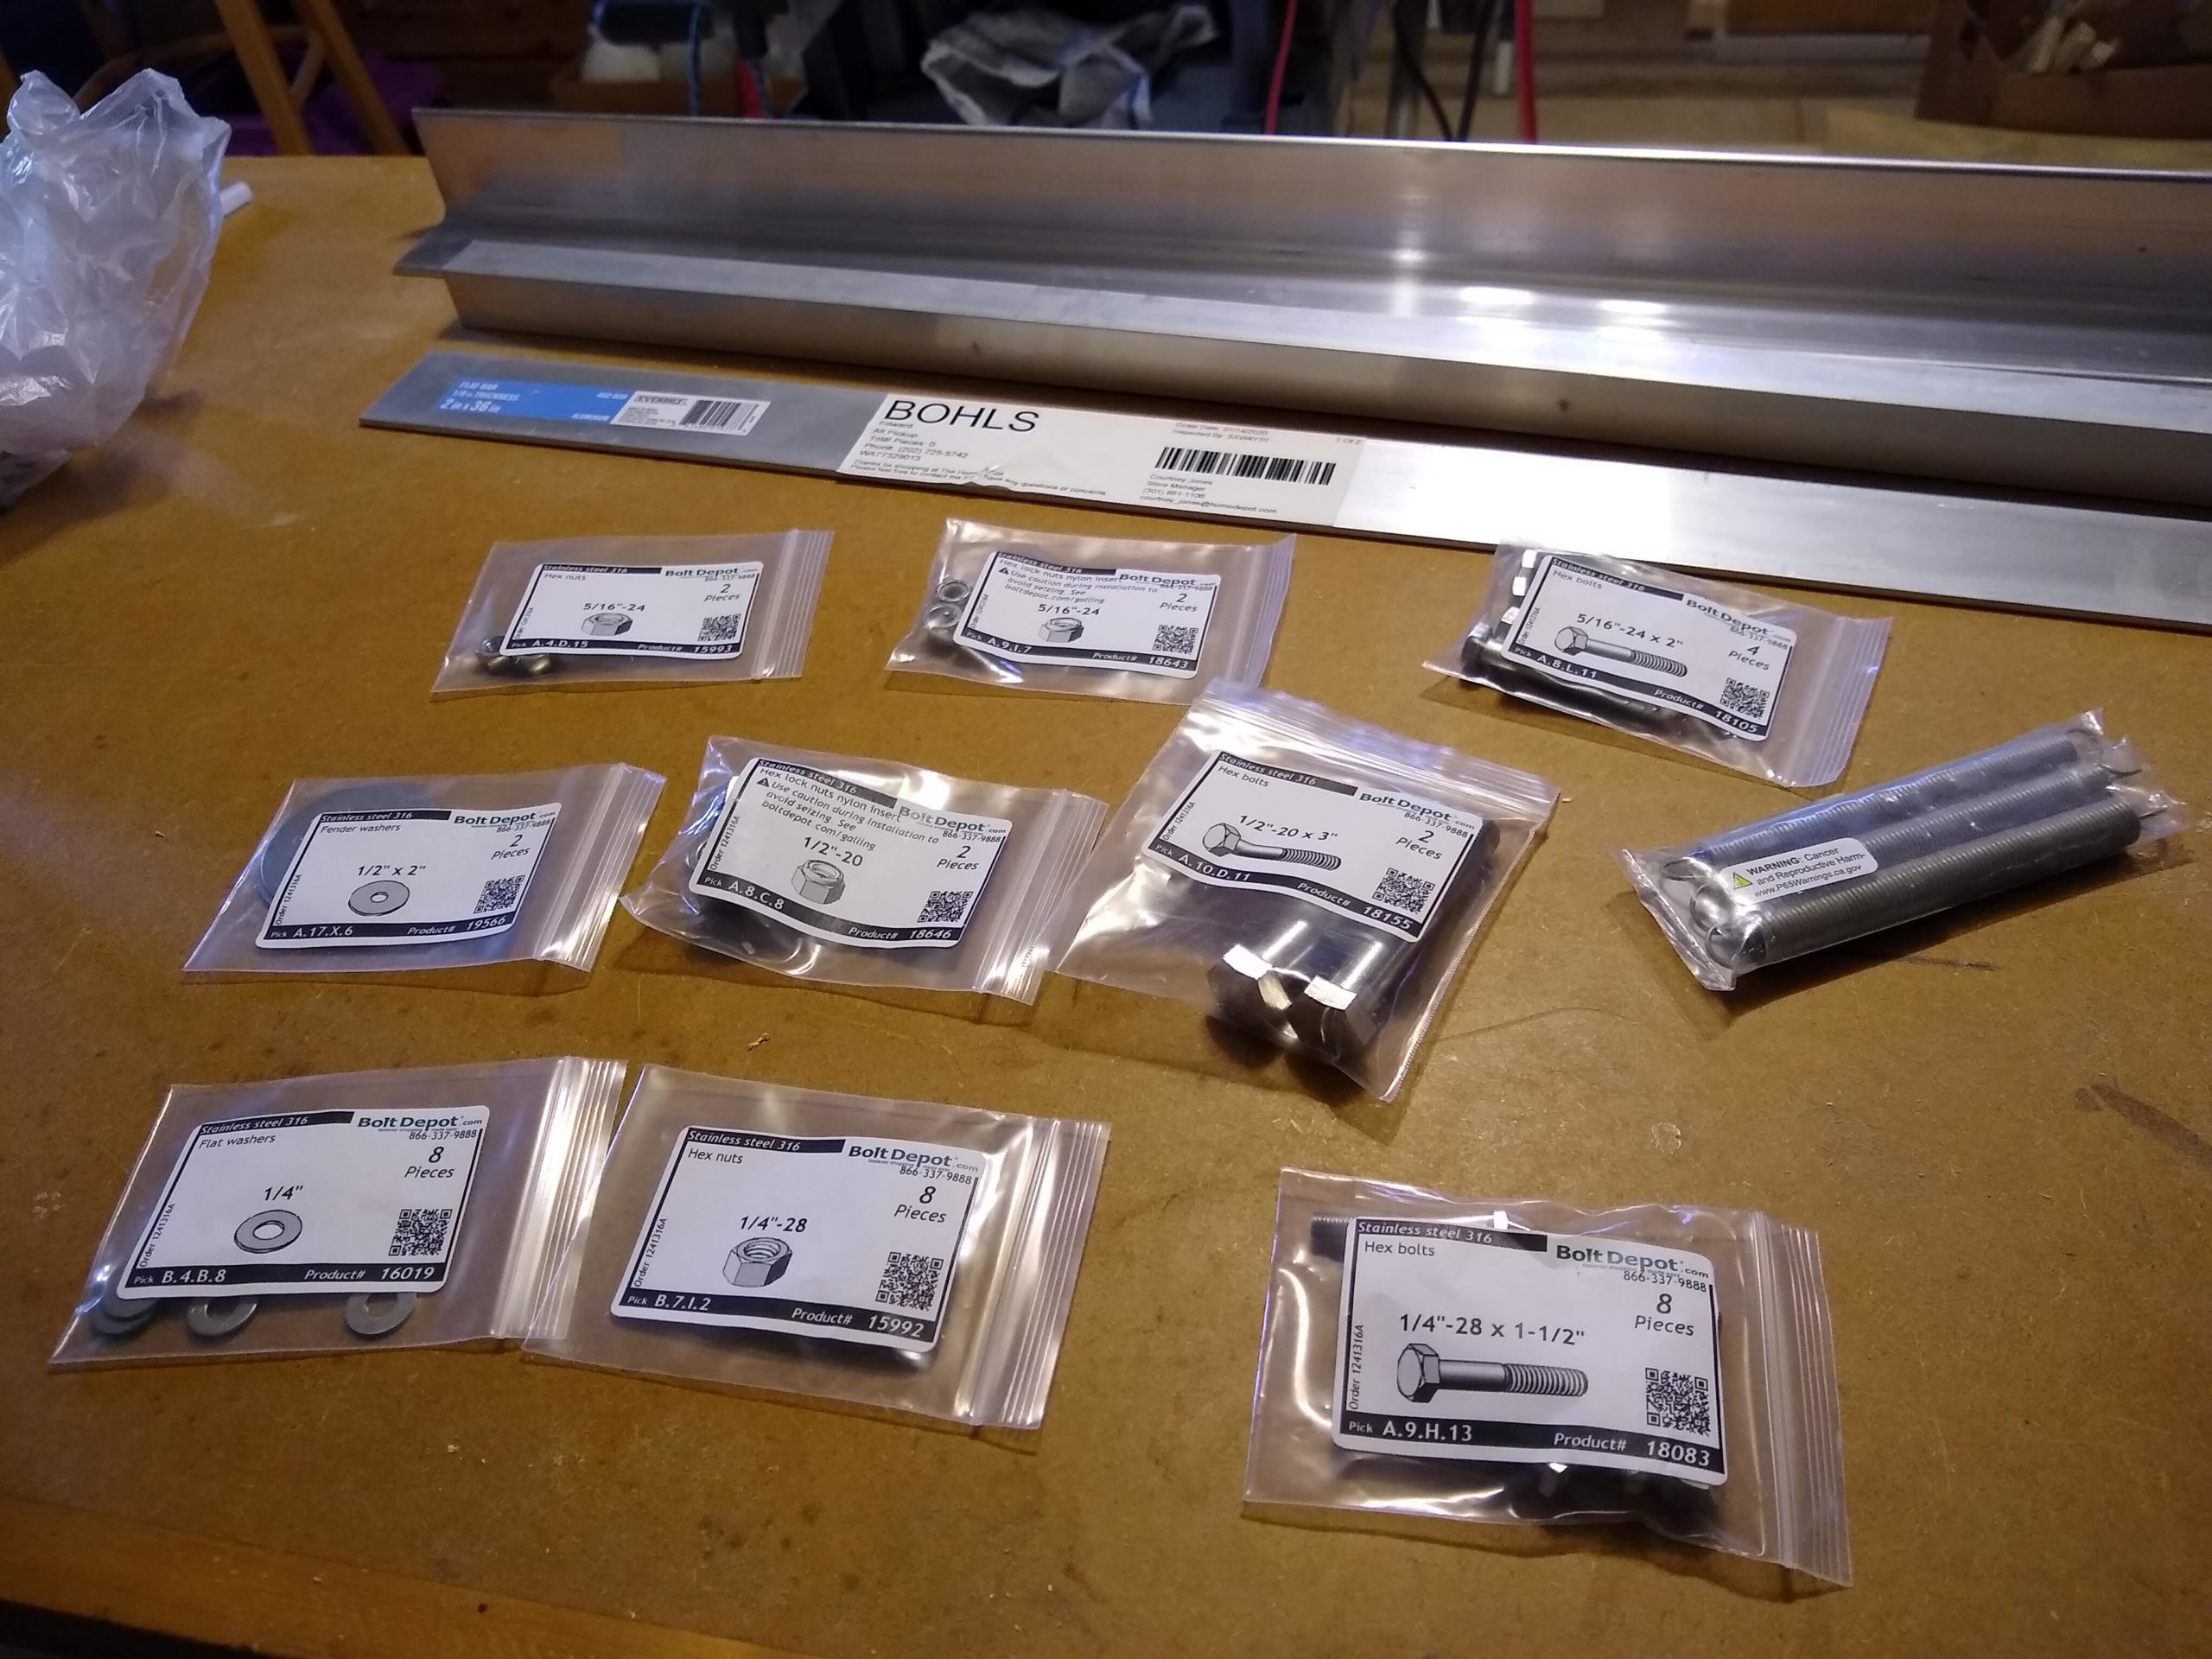
Parts and hardware

I ordered all the stainless steel bolts, nuts, and washers from Bolt Depot, the aluminum angle & square tube and stainless steel springs from Grainger, and steel wheels and a length of aluminum flat bar from Home Depot. I also ordered a metal chop saw wheel and a set of titanium drill bits from Amazon. After laying out and cutting the first length of angle, I went ahead and ordered a metal scribe and some layout fluid from Amazon. That was a huge help.
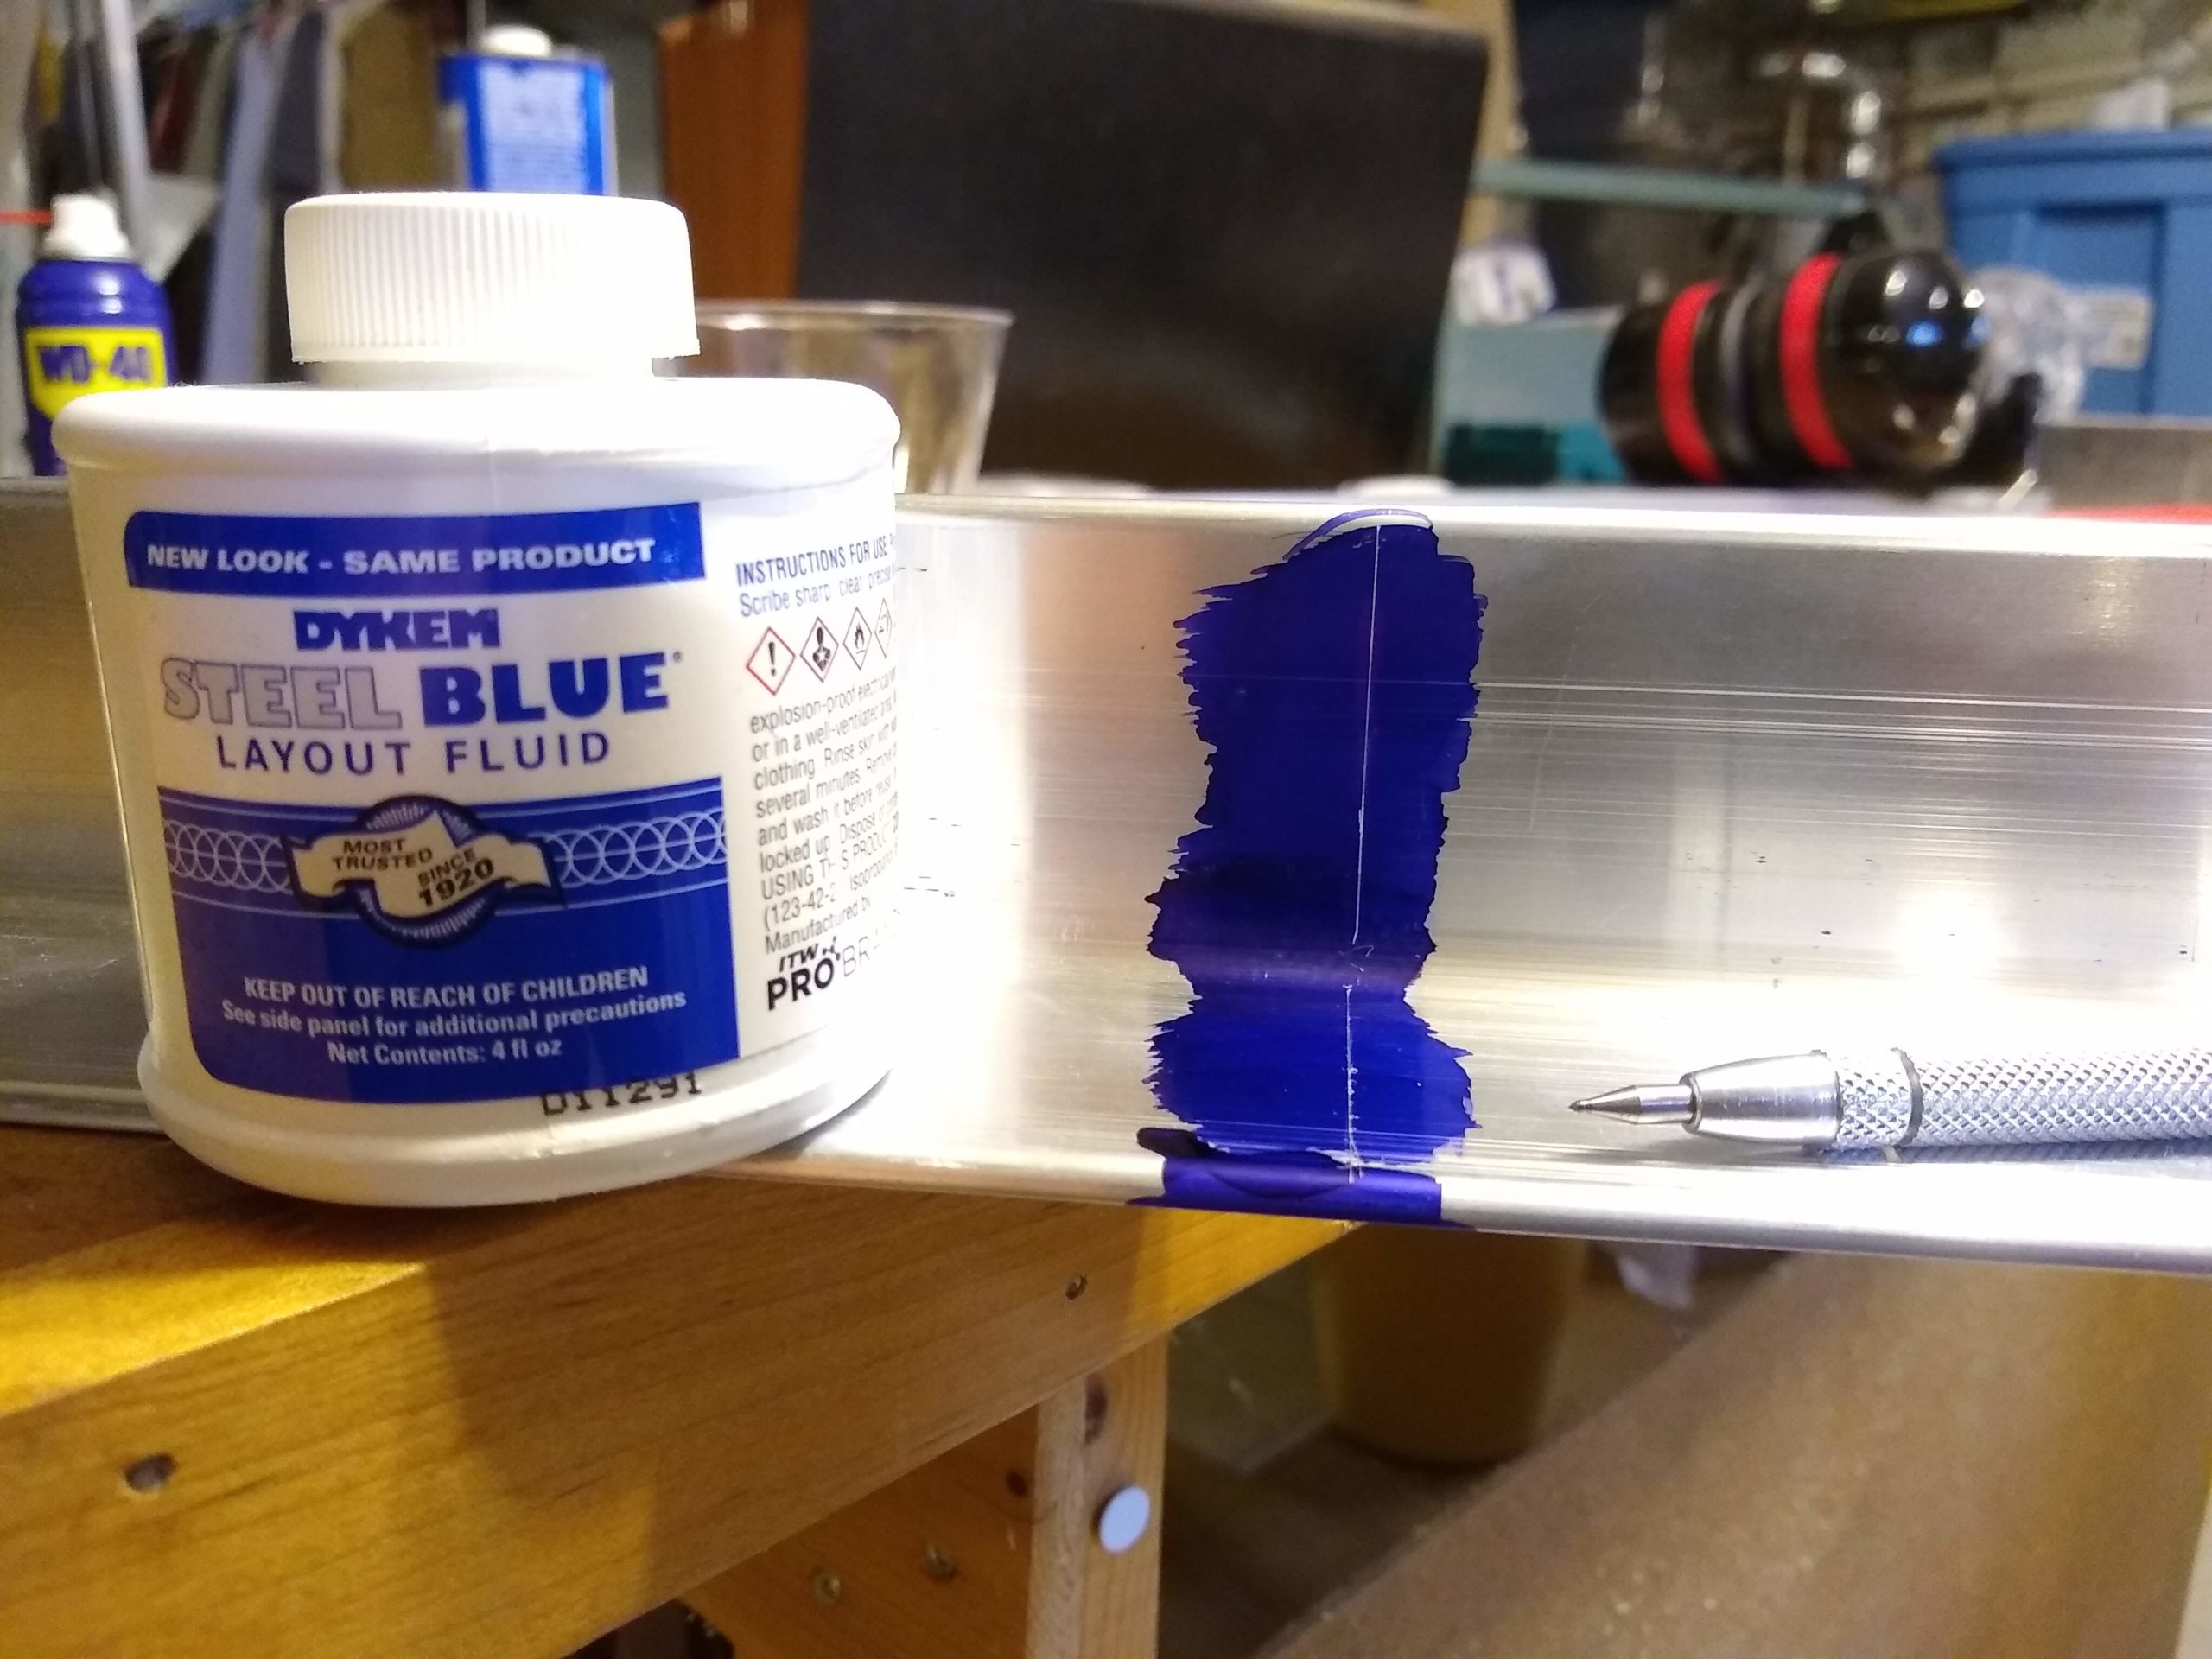
Scribe and fluid for clean layout lines

All the aluminum pieces had various stickers on them. While not hard to scrape off with a razor blade, there was still left annoying adhesive. A cloth and some acetone removed that fairly quickly, though.
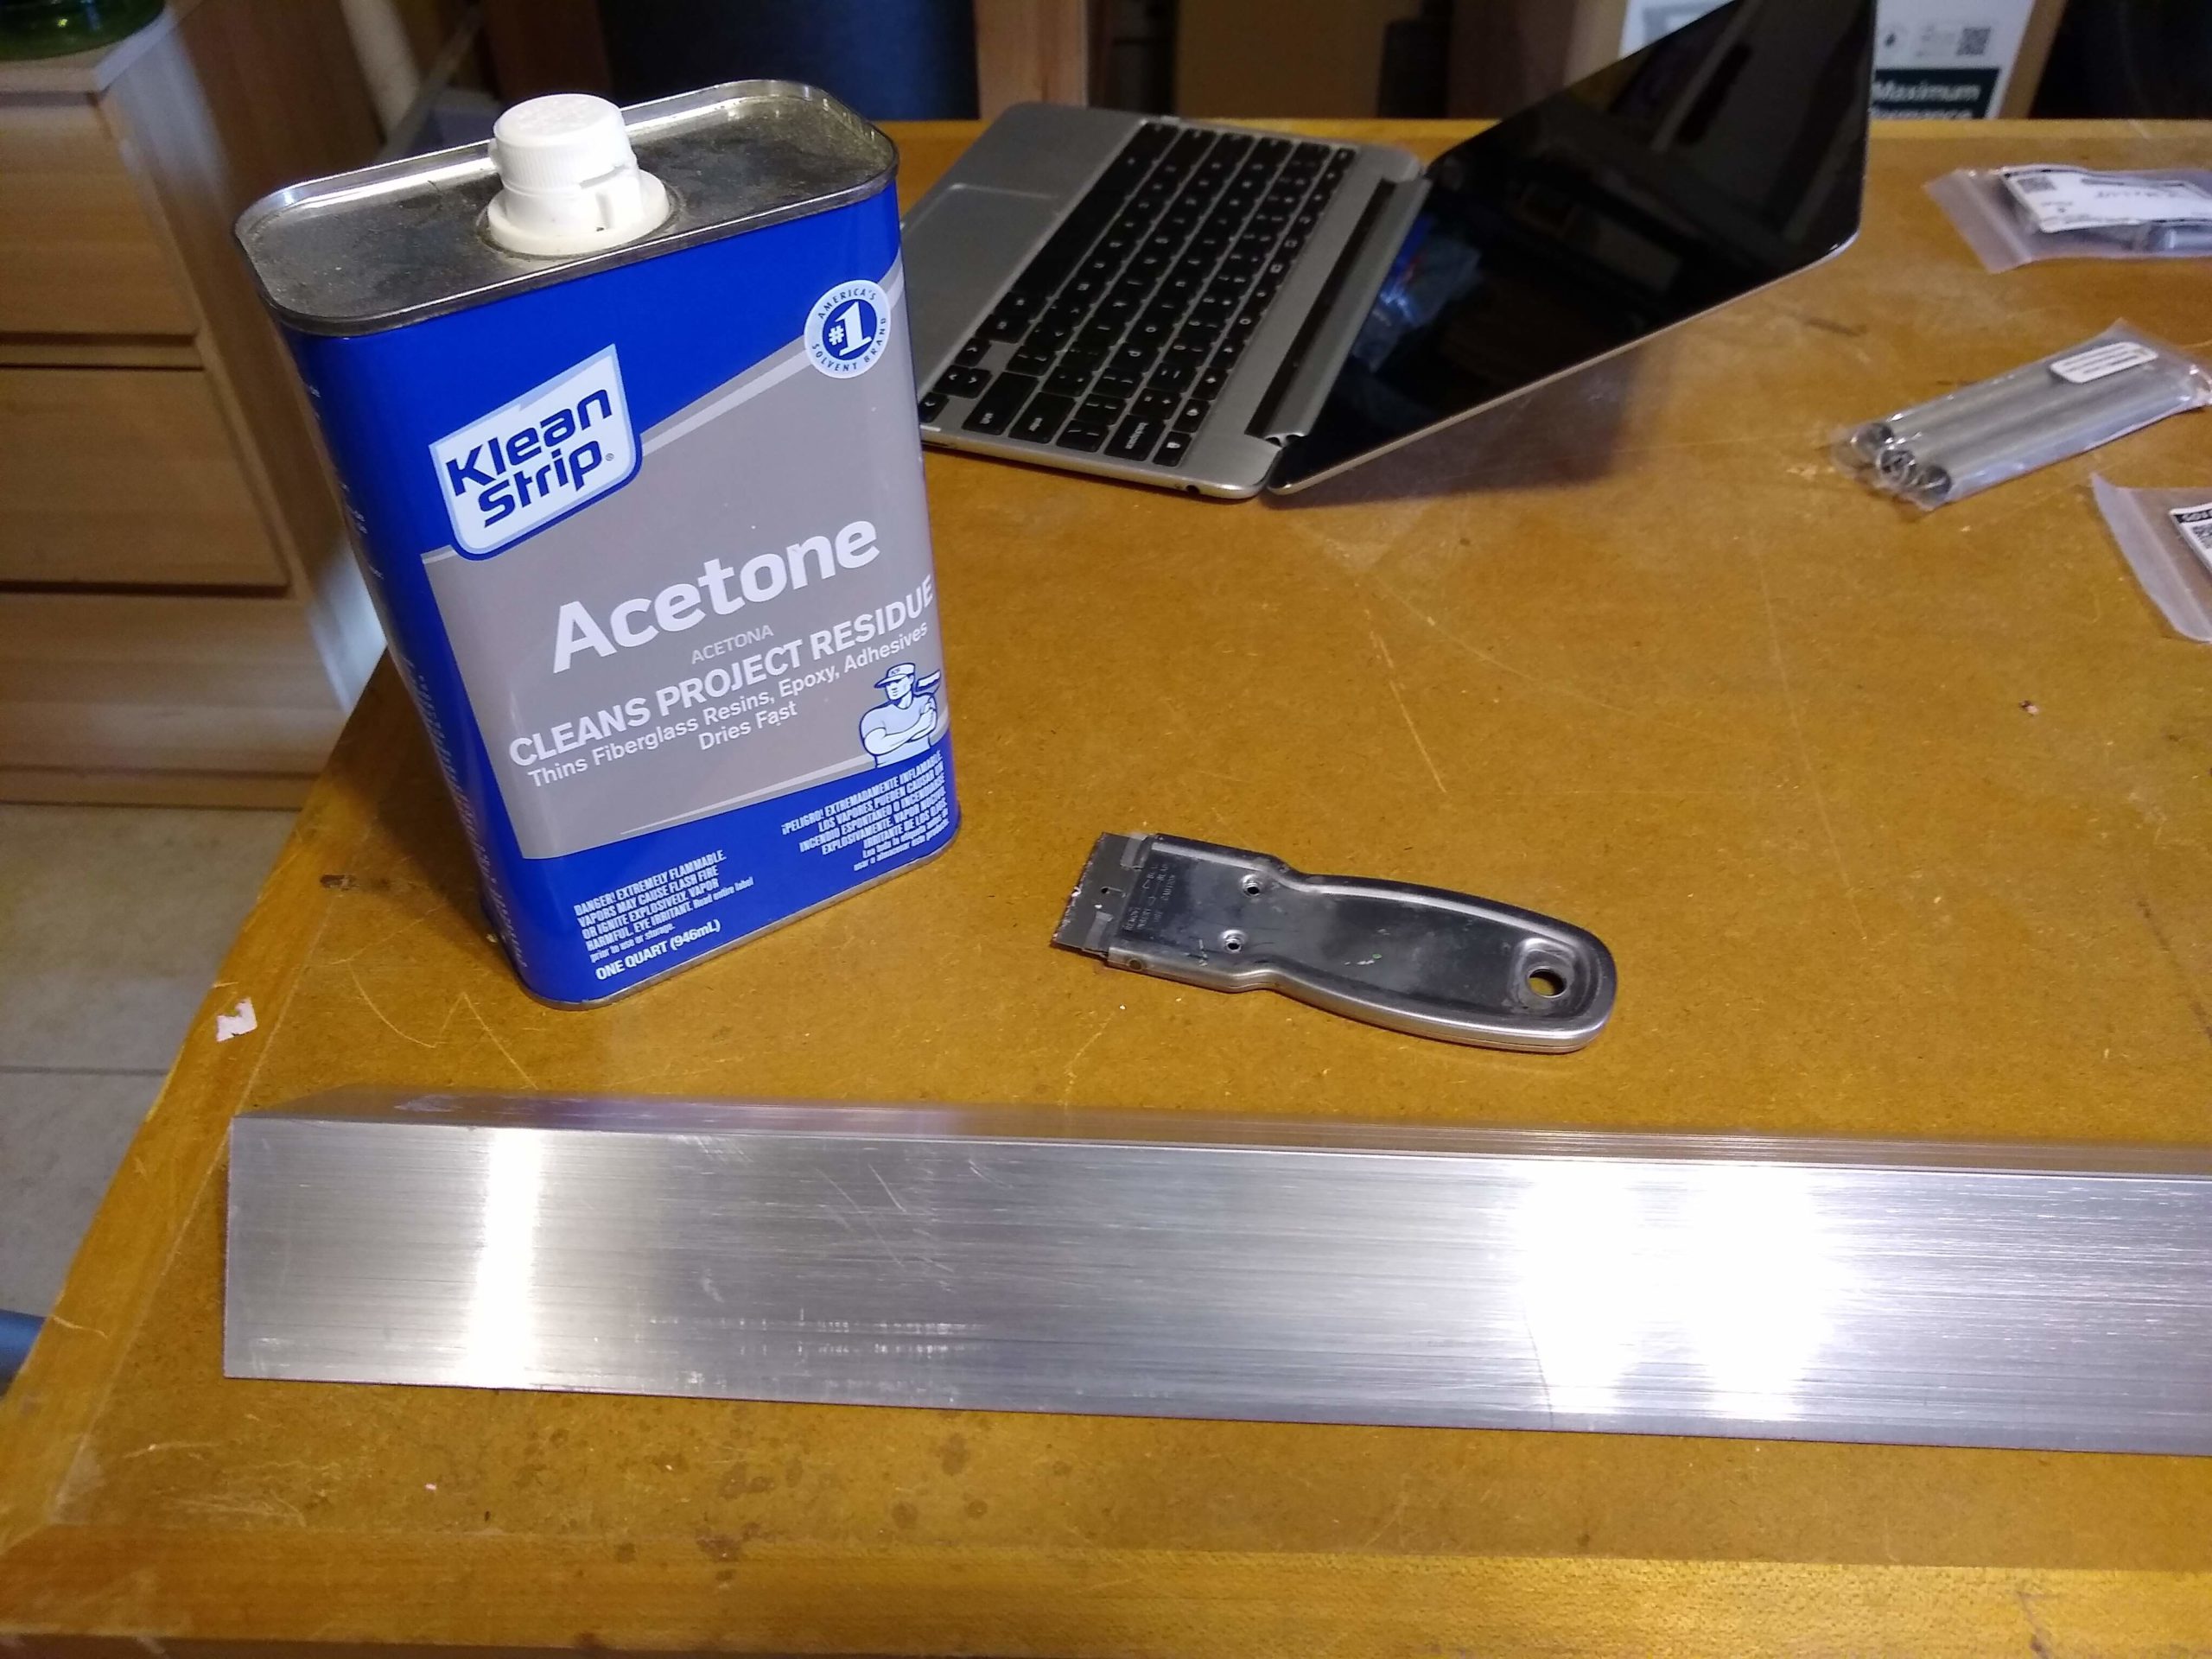
Destickered and degunked

Getting to real work, I cut two lengths of angle to 11″ and two more to 9″. I cut the square tube to two lengths of 12-7/8″. (I really wanted 13″ or so, but I superstitiously avoided the number 13.) The chop saw made for some serious rough cuts. I had to file the edges to cut off the sharp jagged bits left over. Luckily I have some metal files that I hardly ever use, a big 10″ flat file and and a little 8″ triangular taper file. The taper file was a huge help for the aluminum tube, since the big ass flat file wouldn’t fit inside.
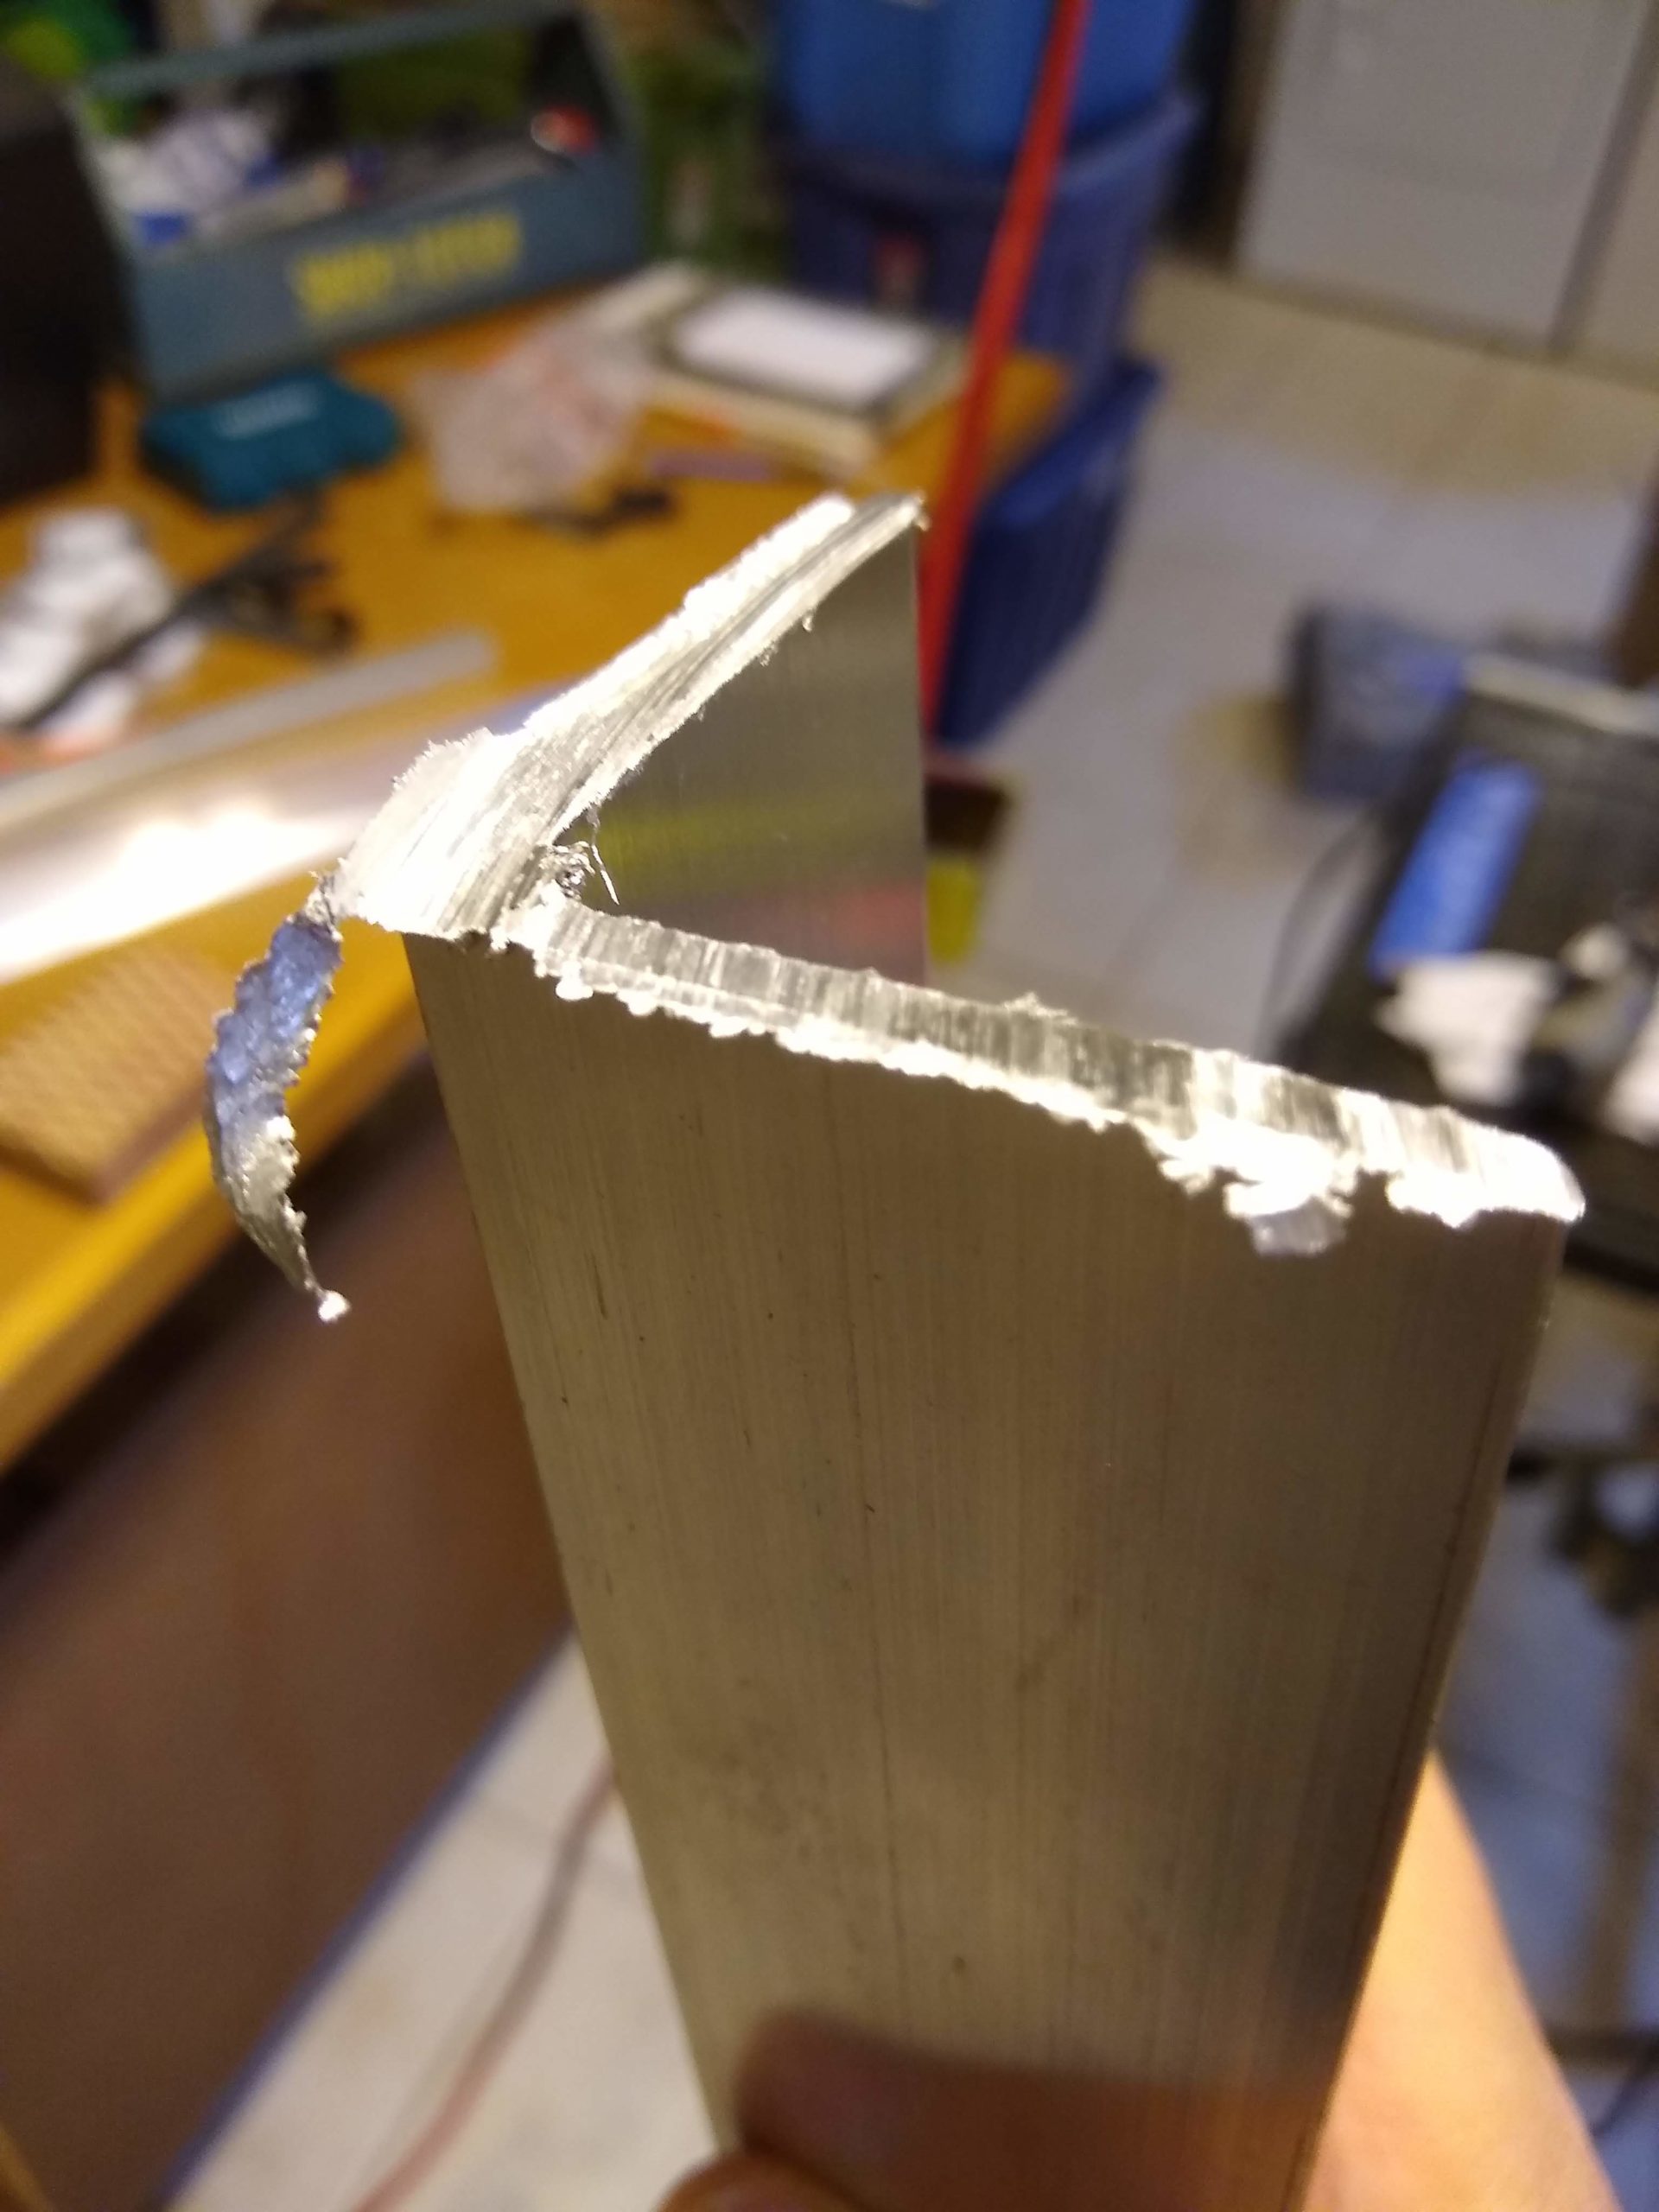
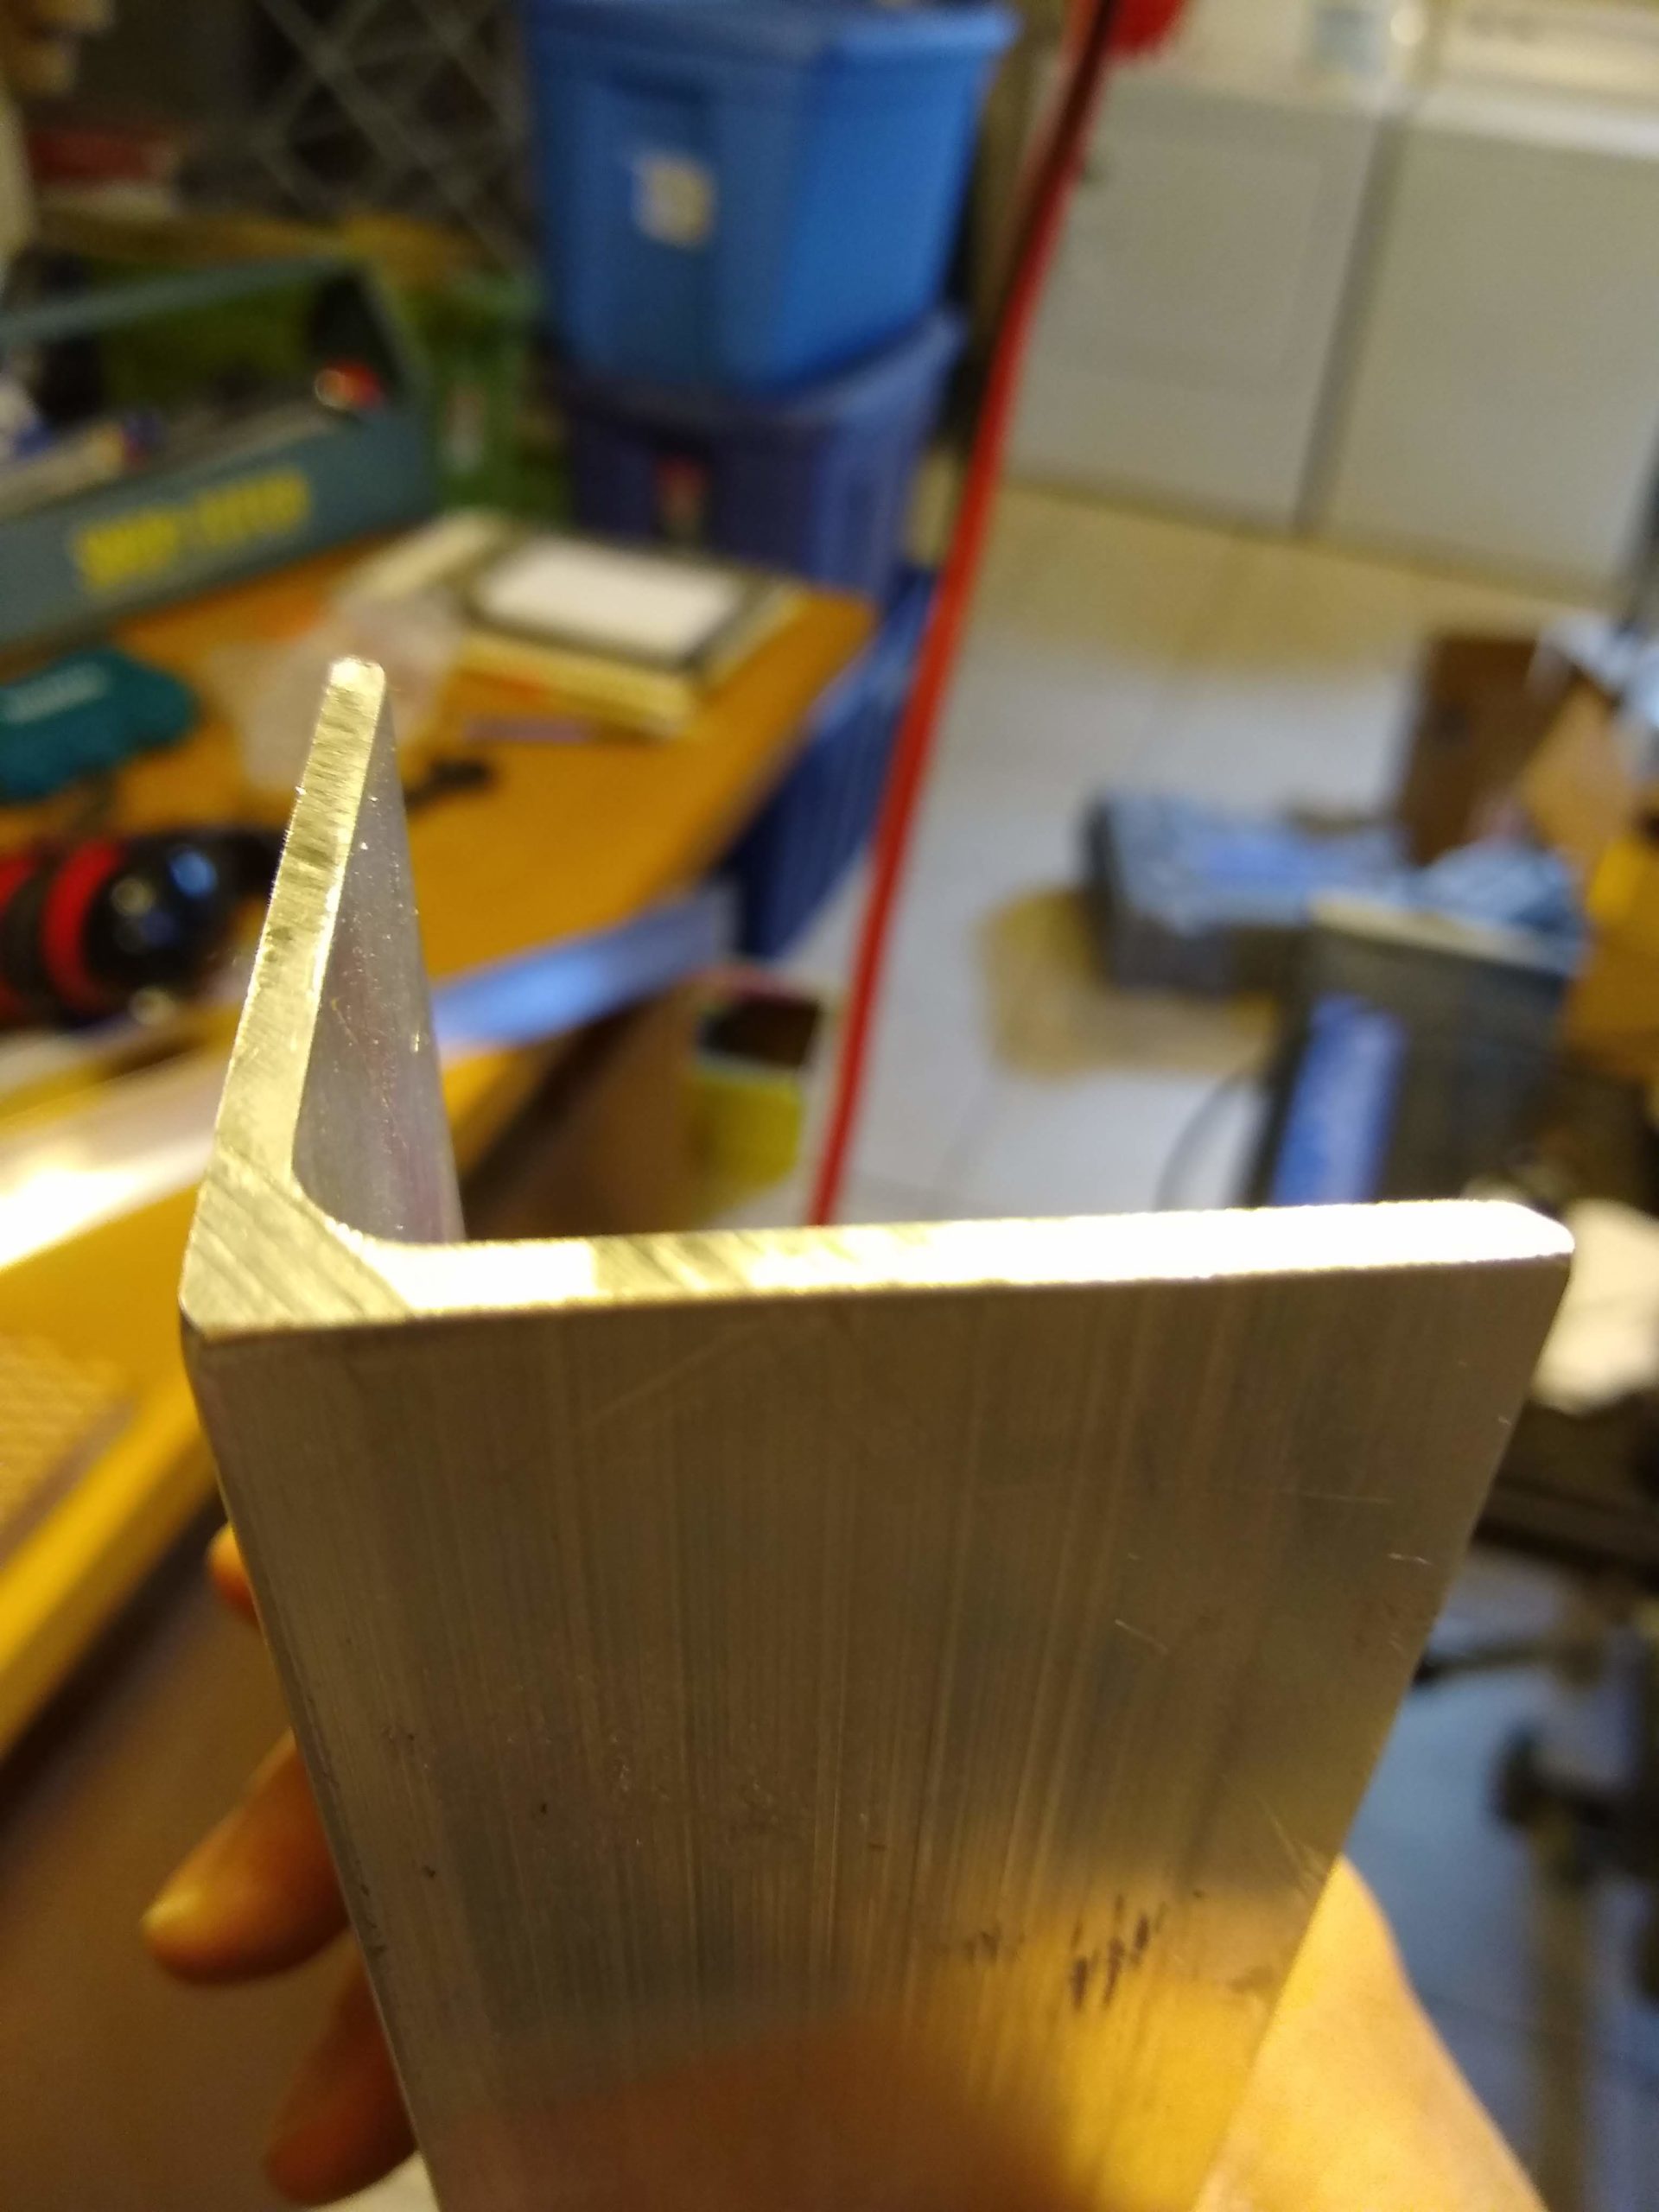
Rough cut angle
Cut filed smooth

Then I went to work marking the holes. Each length of angle had a 5/16″ hole centered from each end (5-1/2″ and 4-1/2″) and 1/2″ down from the top edge. Then the long angle pieces got another 5/16″ hole at each end, set 5-1/16″ away from the center holes and filed to make notches instead of holes. The holes, while not nearly as rough as the saw cut, also required some filing. I made a plan to run up to Home Depot to get a little round rat tail file before I finally found mine in the garage tool box.

The square tubes each got a set of 5/16″ holes on one end 3/8″ apart (and 7/32″ from the end) to make a slot 13/16″ long. Then, like the angle pieces, there was a corresponding 5/16″ hole 5-1/16″ away.
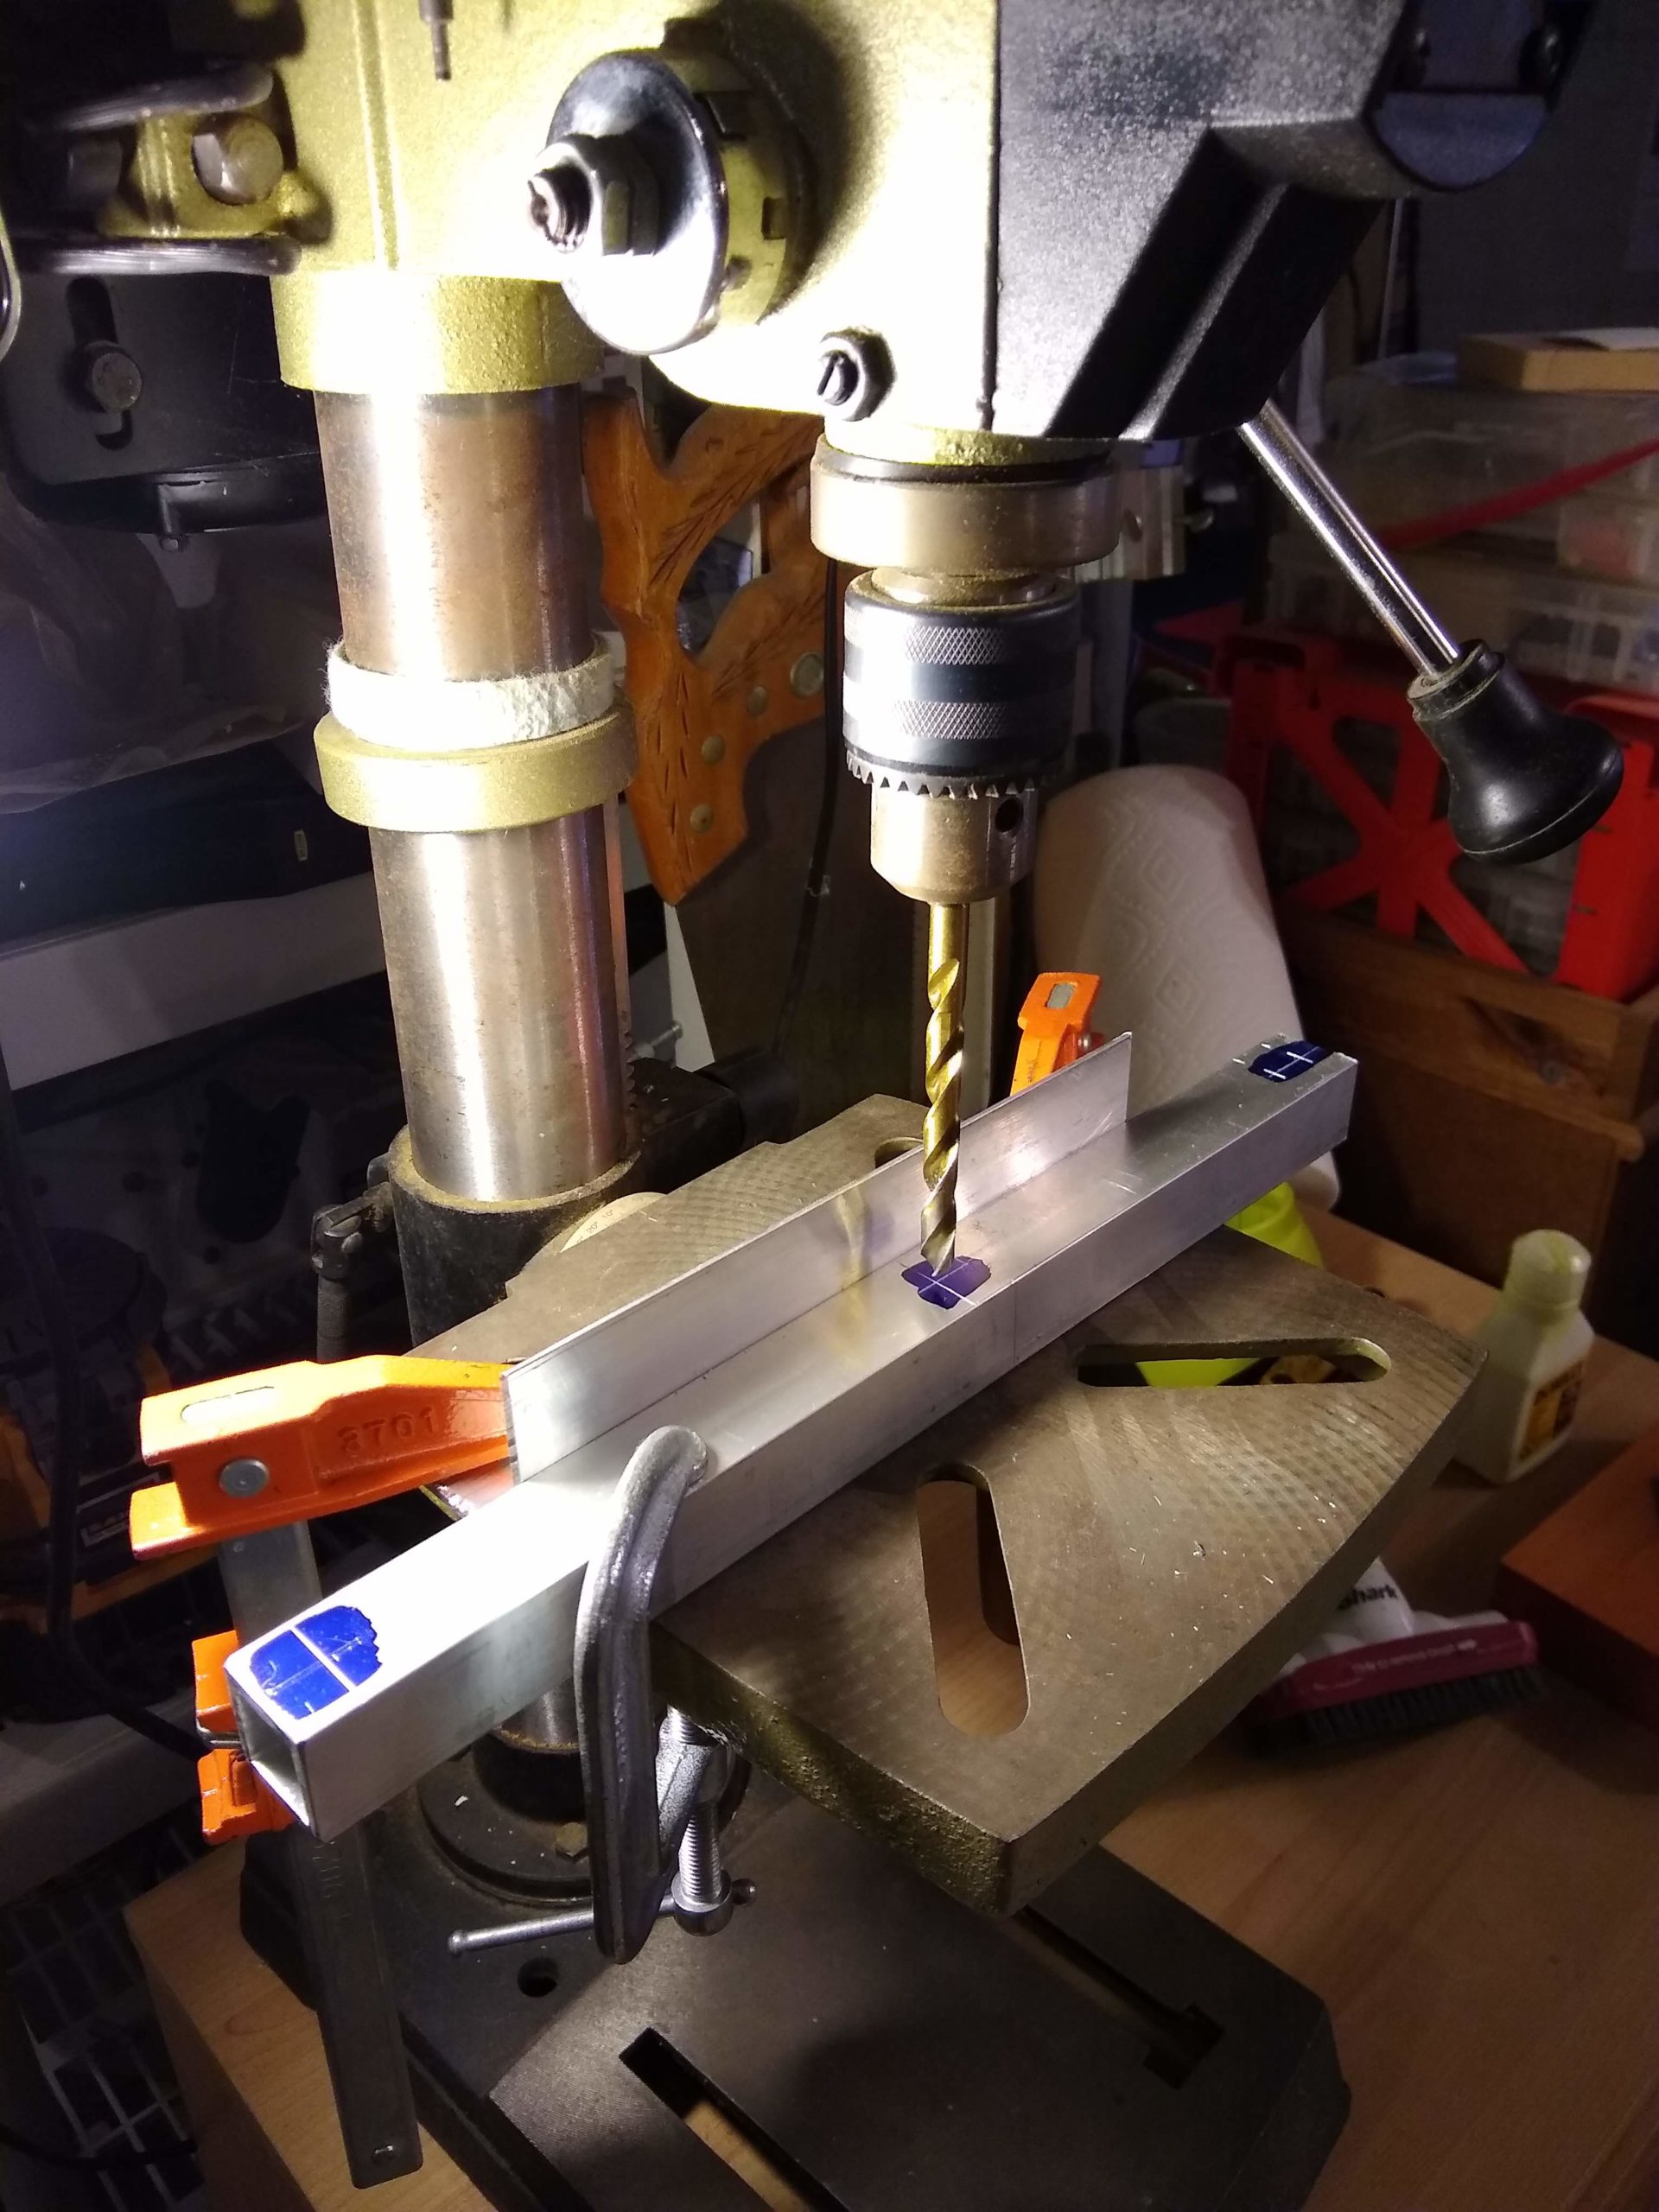
Drilling 5/16″ center hole in aluminum square tube

I was excited when I got done with the first set of angle and tube and immediately assembled it with the bolts and spring and … disaster. It was completely wrong. There was no way the wheel was going to fit on the tube and clear the angle. How could I have screwed up the measurements so badly?

I took the assembly back upstairs to fire up the laptop to check everything again in SketchUp. But, even before the OS finished loading, I realized my mistake. It wasn’t the plan or the measurements. It was the assembly. I had reversed the tube, what serves as the strut for the wheel, putting the pivot pin bolt into the hole in the center and the stopper pin bolt in the slot.

So I reversed the strut and, voila, it was much, much better. I clamped it to the workbench and tested it. It works!

Pivoting the strut from its down position to its up position. Then back down again. If you imagine this is the starboard side of the transom.

With both assemblies tested, I went ahead and drilled 1/2″ holes at the other ends of the struts for the bolts that’ll serve as wheel axles, and I drilled 1/4″ holes centered on the angles for the bolts that’ll attach the assemblies to the transom.

Drilling 1/4″ mounting holes

The 1/2″ holes were quite a bear to drill. I really should have drilled them in stages, maybe starting with 1/4″ then 3/8″ then 1/2″. I was worried, though, about the piece or the table moving between bits, when I would be changing drill bits, since the tubes are 1″ thick and I had to start with the bit so close to the drill point. So, instead, I just slowly, slowly lowered the drill press arm while drilling. I timed the second one and it took five minutes from start to finish.

It was funny, though, how the far side of the 1/2″ hole produced a round little hanging chad of aluminum. I don’t know why that tickled me so.

1/2″ hole hanging chad

I had a little bit of time to start to lay out where on the transom all of this is going to be mounted, but it got too dark and we had to walk the dogs. We’ll see next week if this all works.

Transom layout

Week 49: Two More Coats

Perfect day for painting!

What a glorious weekend! Temperatures in the 60s, and I got a second coat of primer on the outside on Saturday and the third coat on Sunday.

Second coat complete on this side

I’d noticed that I had a few bare spots on the underside of the lower lee board guard (actually the top side, since the boat’s upside down right now). So I paid extra attention to getting good coverage to that as well as any other harder to reach and/or see spots.
Second coat complete on that side

There’s a little splotch on the back edge of the port side gunwale, which splotch I wished I’d cleaned off soon as I had spotted it last week, and put more masking tape over it, because now it’s dried and I’ll have to sand it off and re-stain it. Or just live with it.

Still a bit of grain and writing showing through after second coat

And only after looking at the photos later do I see that I maybe missed the port side area of the transom with the third coat. I was so pleased that I had enough primer for the third coat, too. Maybe because I didn’t actually cover the whole boat with the third coat, hmm?

Third coat complete

And only now have I been thinking about the lee board and rudder, that I’ll want to paint those as well, since they’ll be in the water. (I’ve been thinking of just varnish for the thwart, mast partner, mast, yard, and boom.) Do I have enough primer left for the lee board and rudder?

Took extra care on the hidden sides of the lee board guards

Oh, well. The primer was only $24, and I suppose that’s for a gallon and maybe I’d only need a quart for the lee board and rudder. But, then again, looking online now at the primer at Home Depot, it only comes in 1 and 5 gallon sizes, and the 1 gallon size is out of stock online & isn’t available in store. What to do?

Missed a bit there on the third coat on the transom

Week 48: First coat of primer on outside

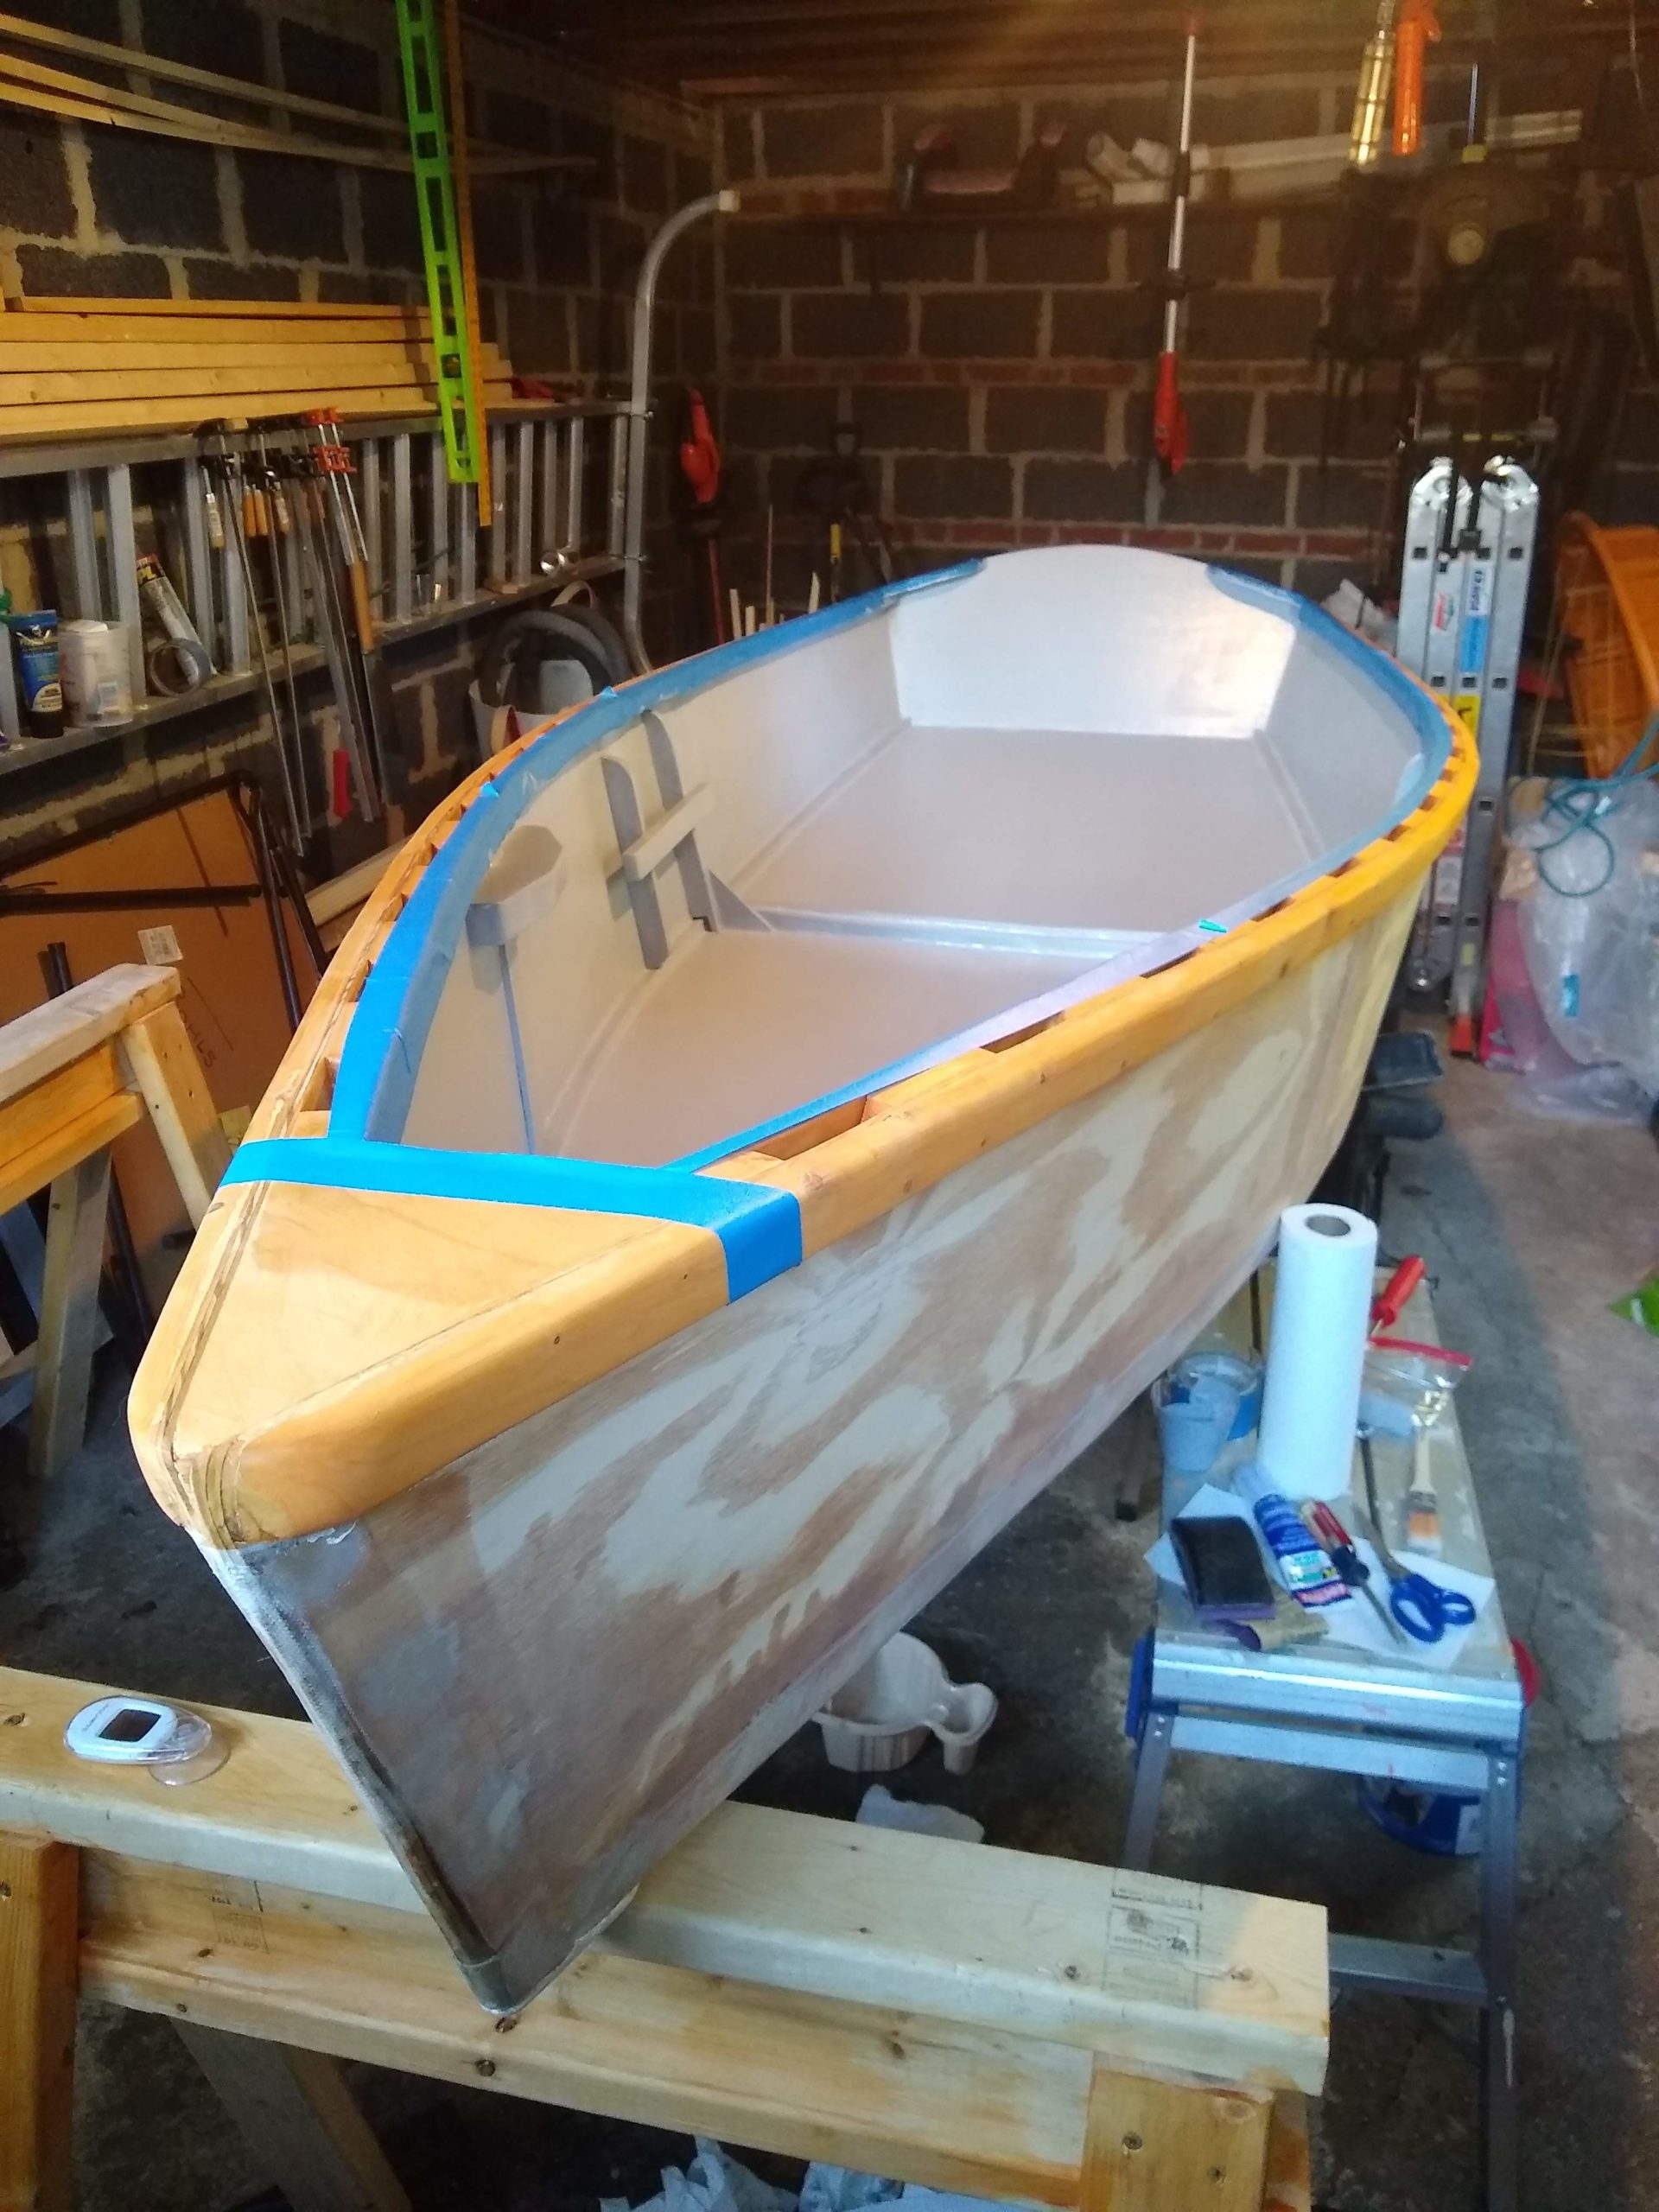
I got the boat taped and got the first coat of primer on the outside.

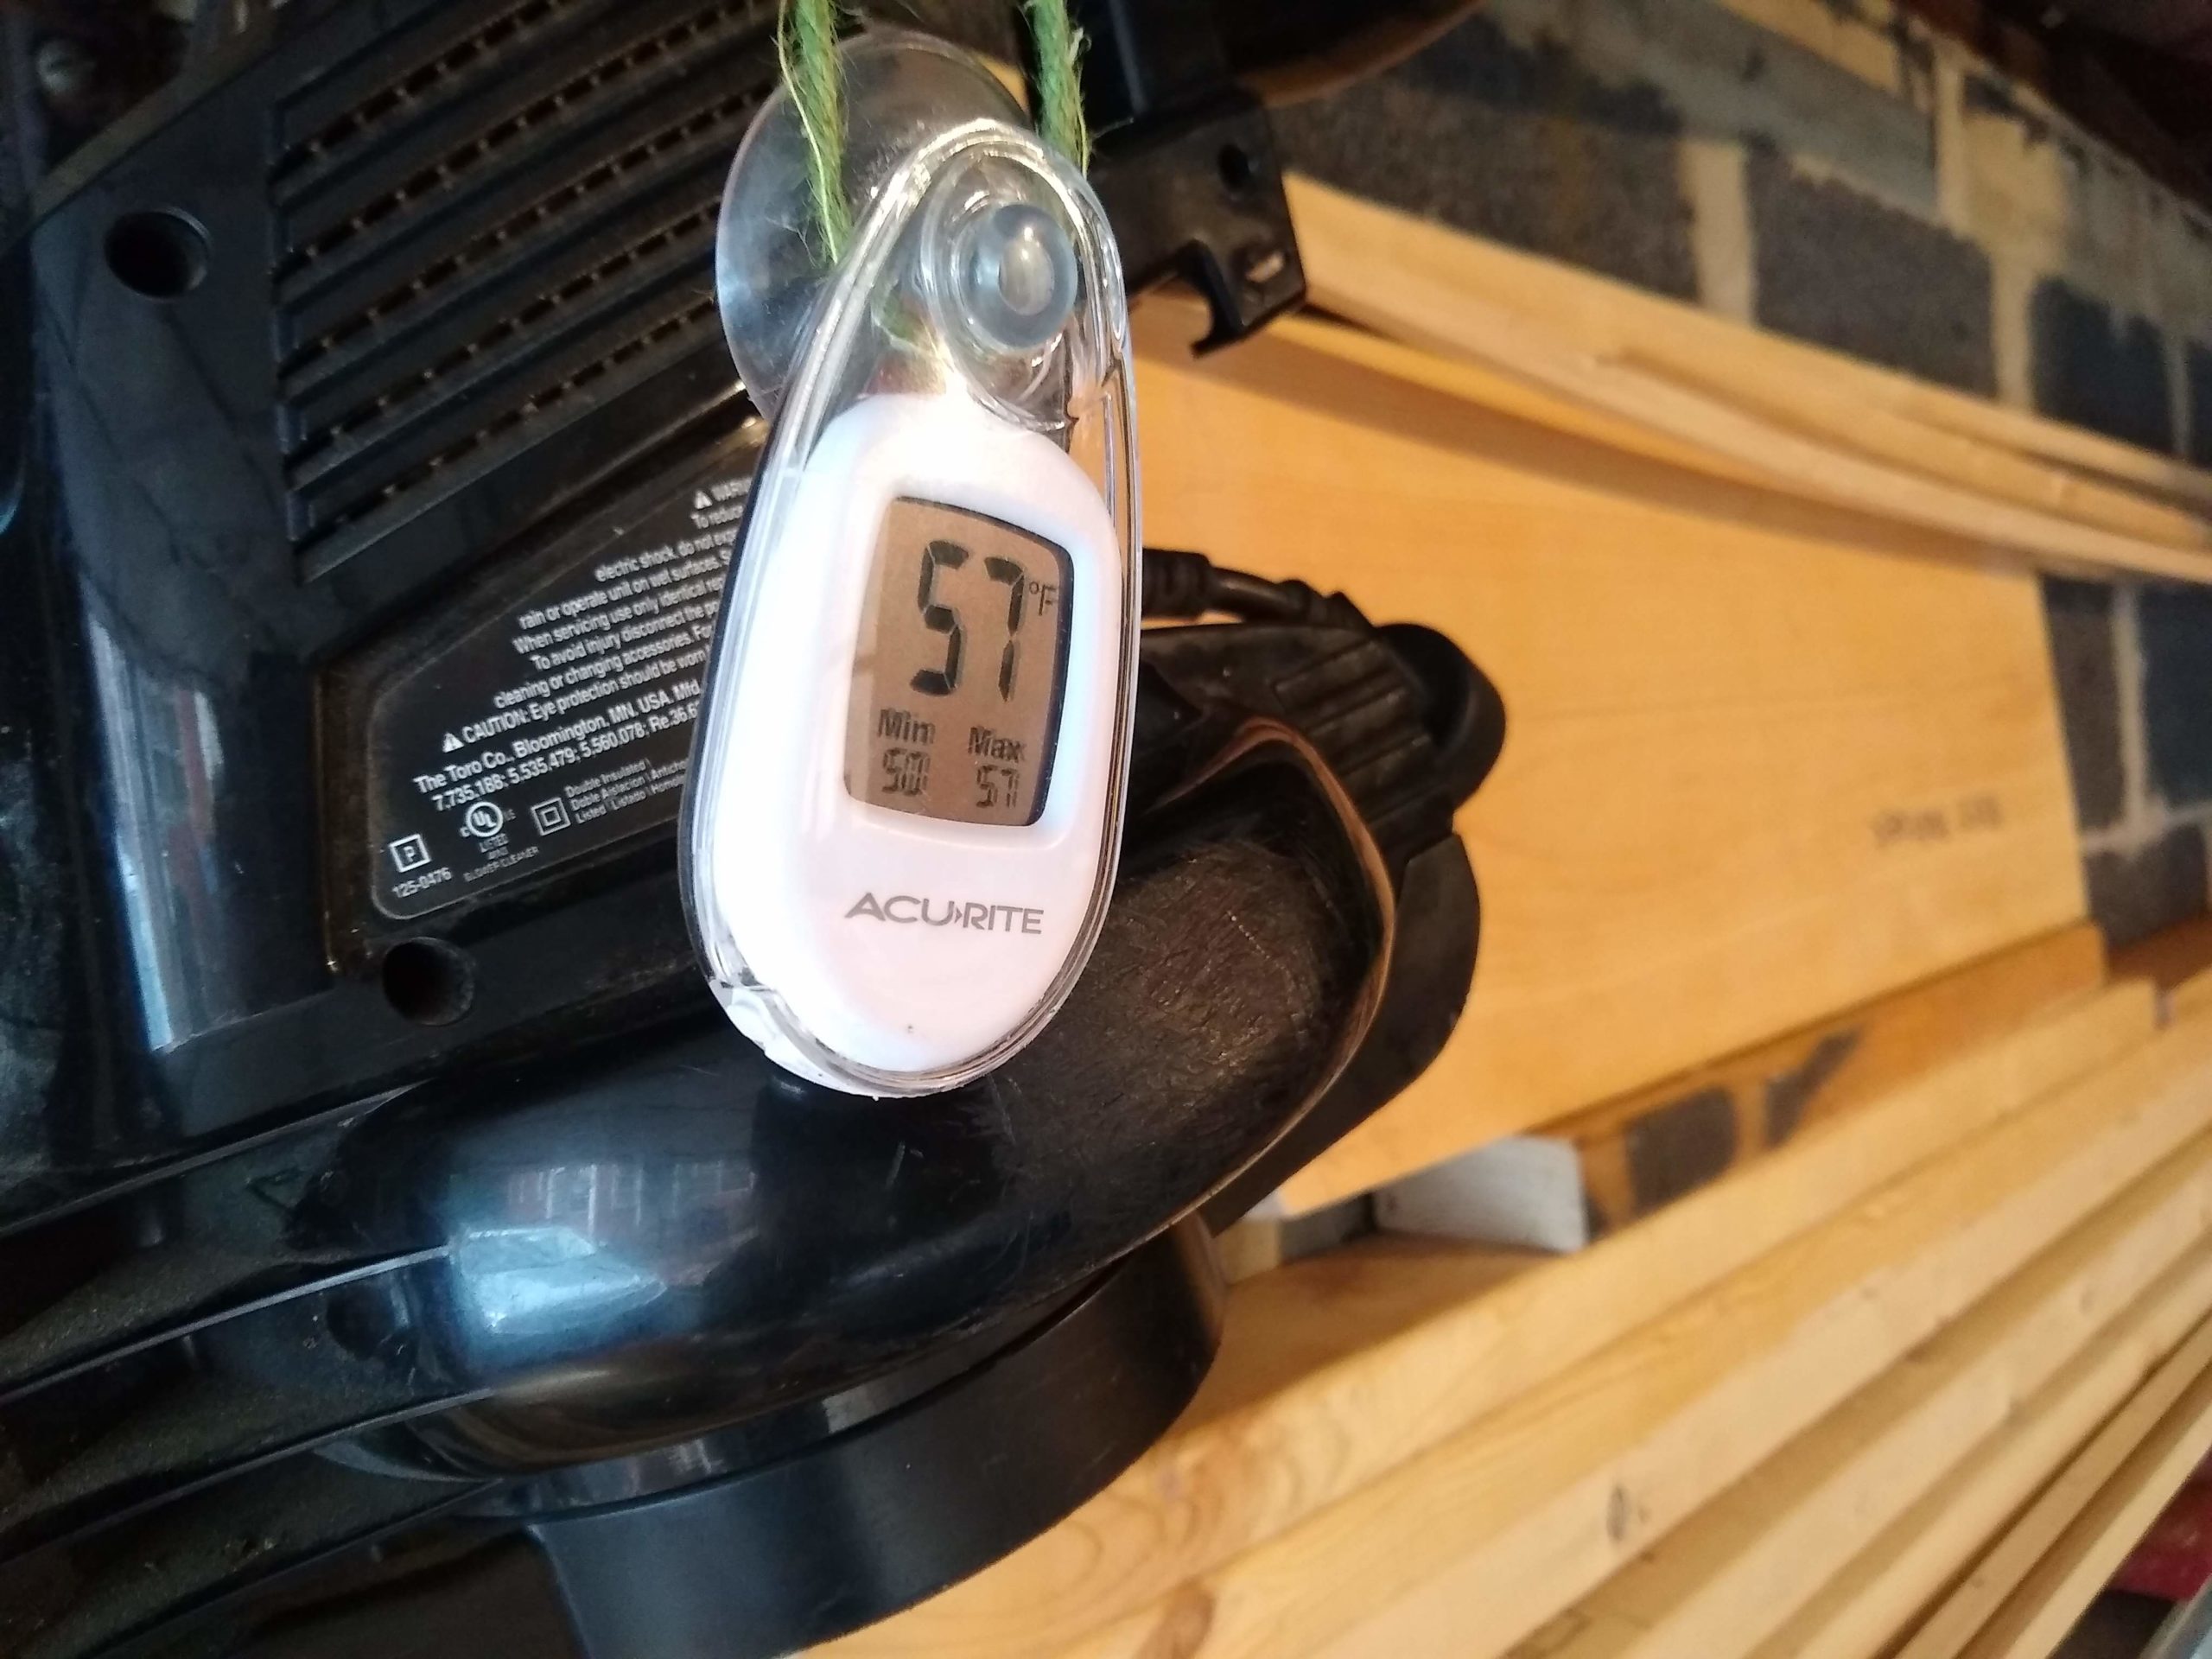
Nice and warm in the garage

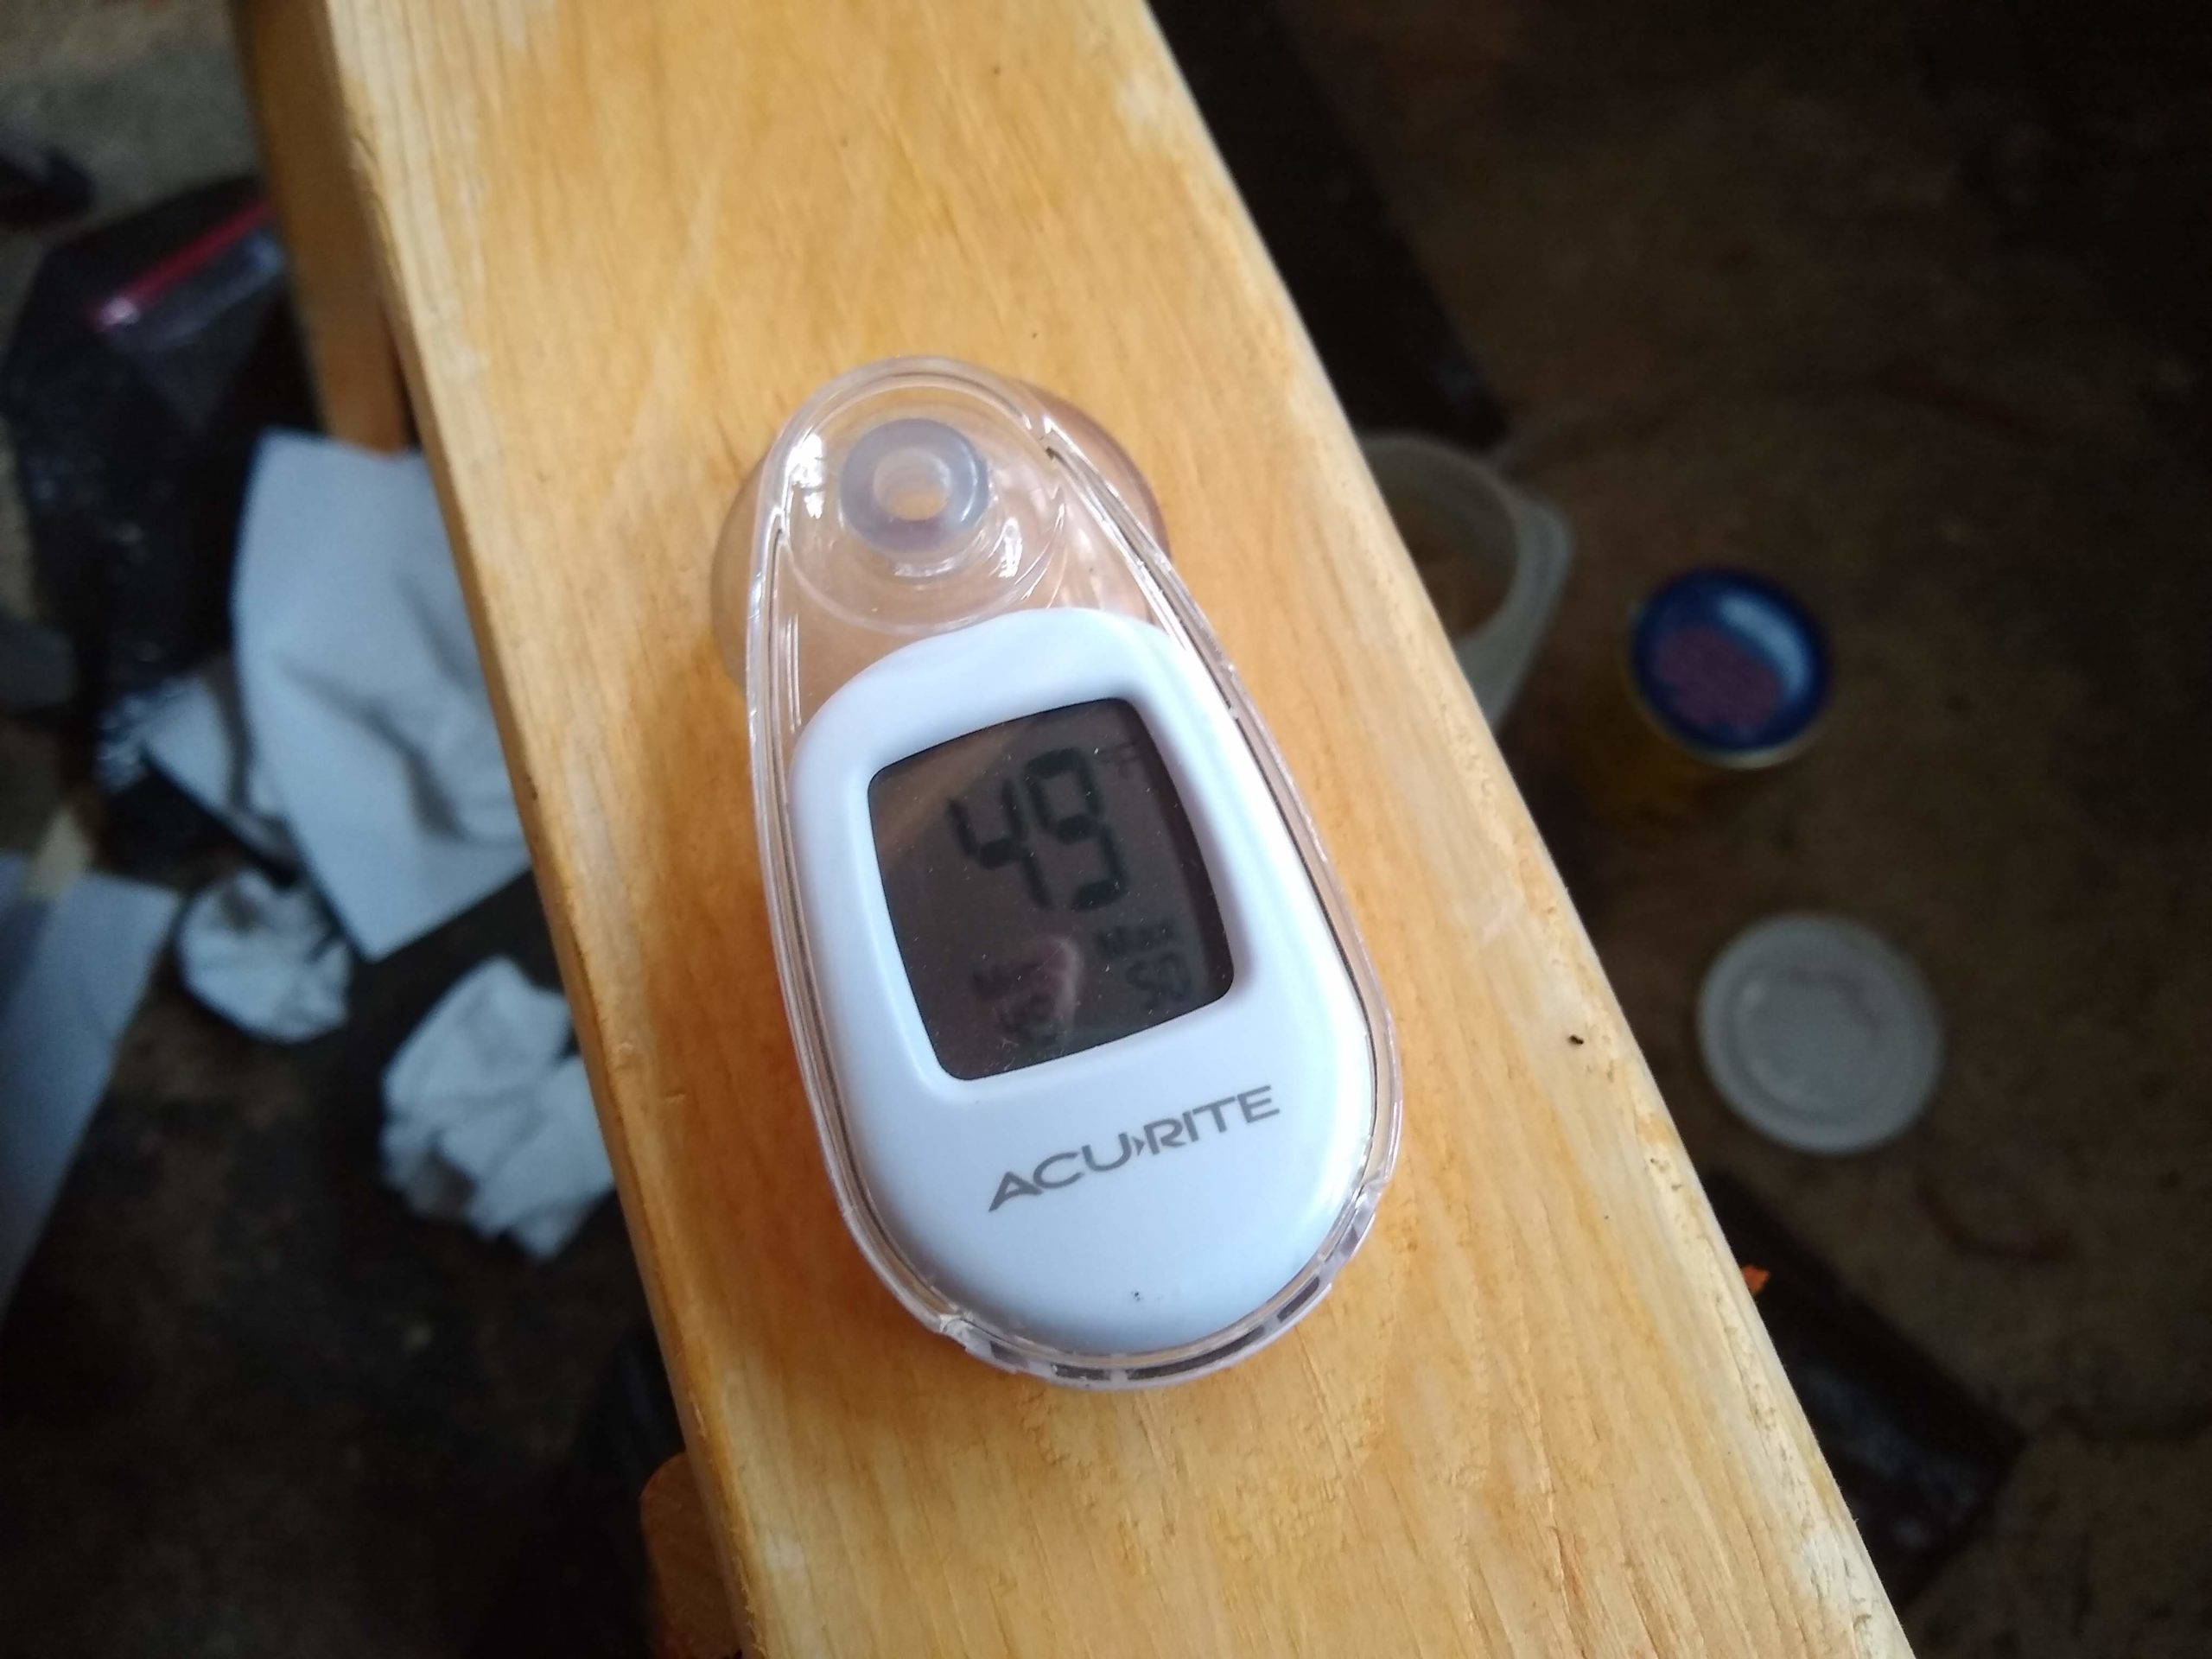
It was an almost sweltering 57° in the garage, perfect for painting. I figure that was because it was going to rain. I always associate warmer temperatures and rain when it’s winter. They go together, right?

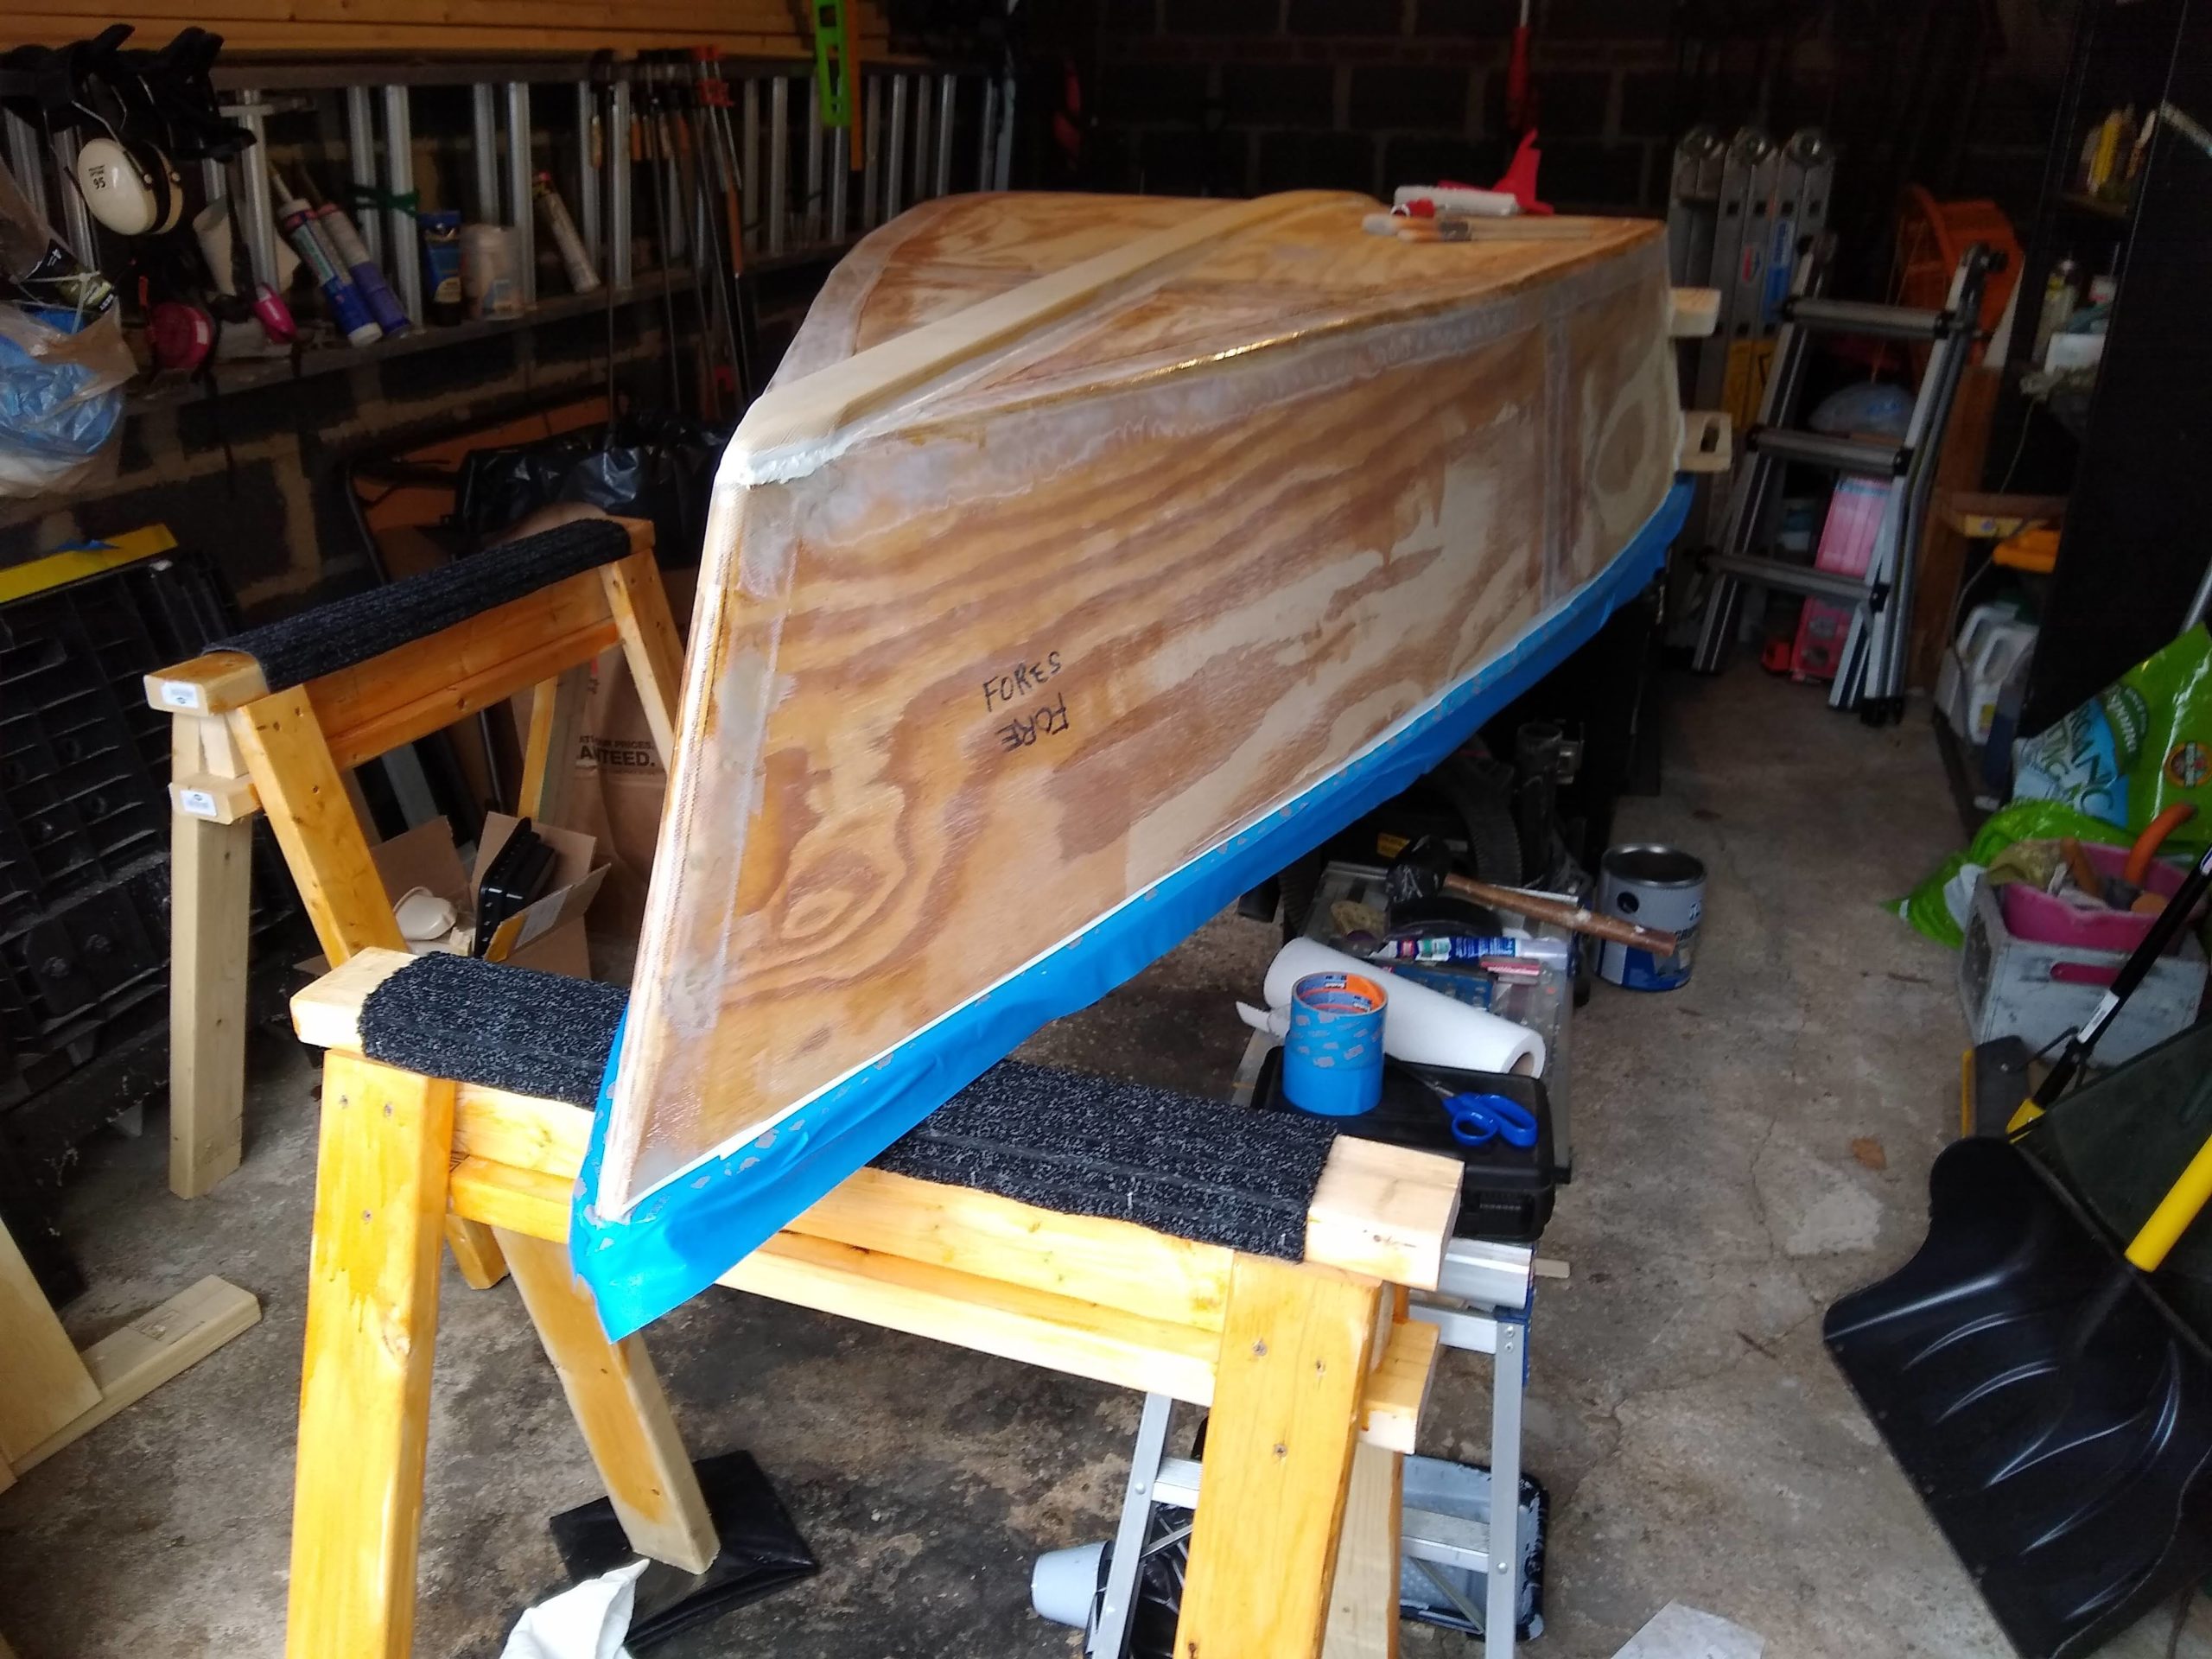
Taped and ready for painting

Taping was quite a bit easier on the outside of the boat versus the inside. All I really had to do was cover up the gunwales. The tape wanted to curl in on itself while I stretched it along the curve of the sheer line, but that was barely a noticeable problem.

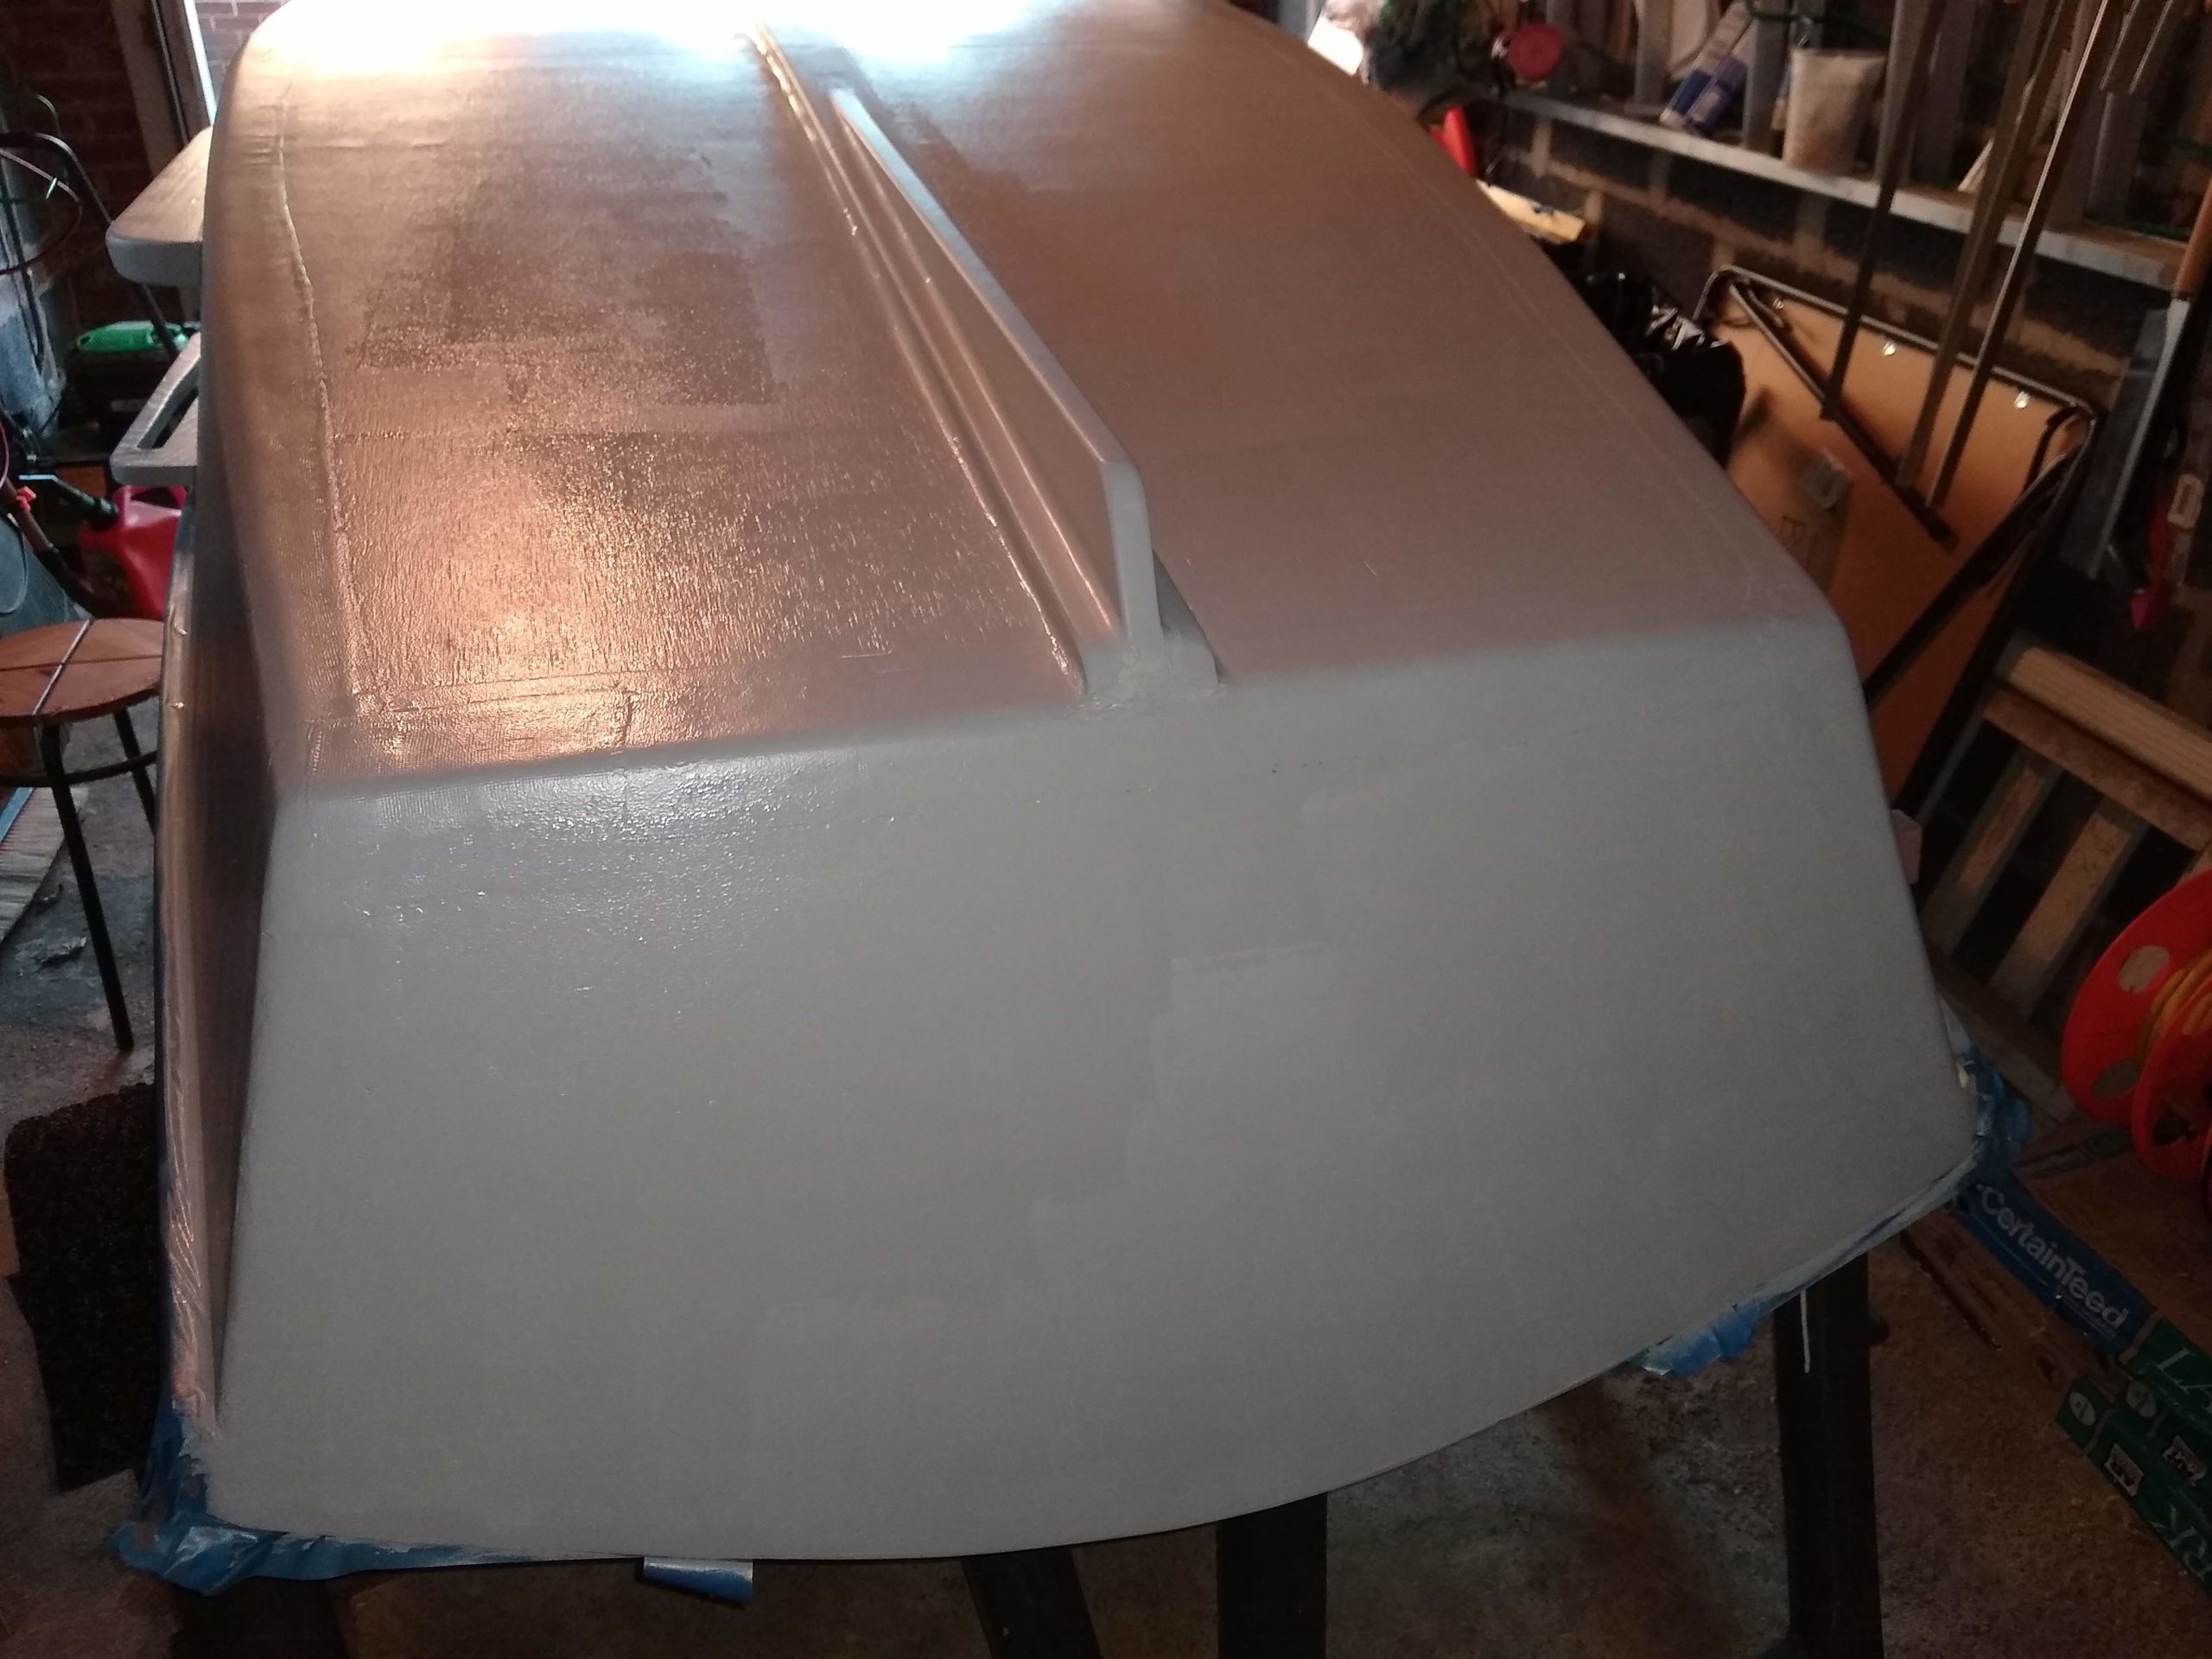
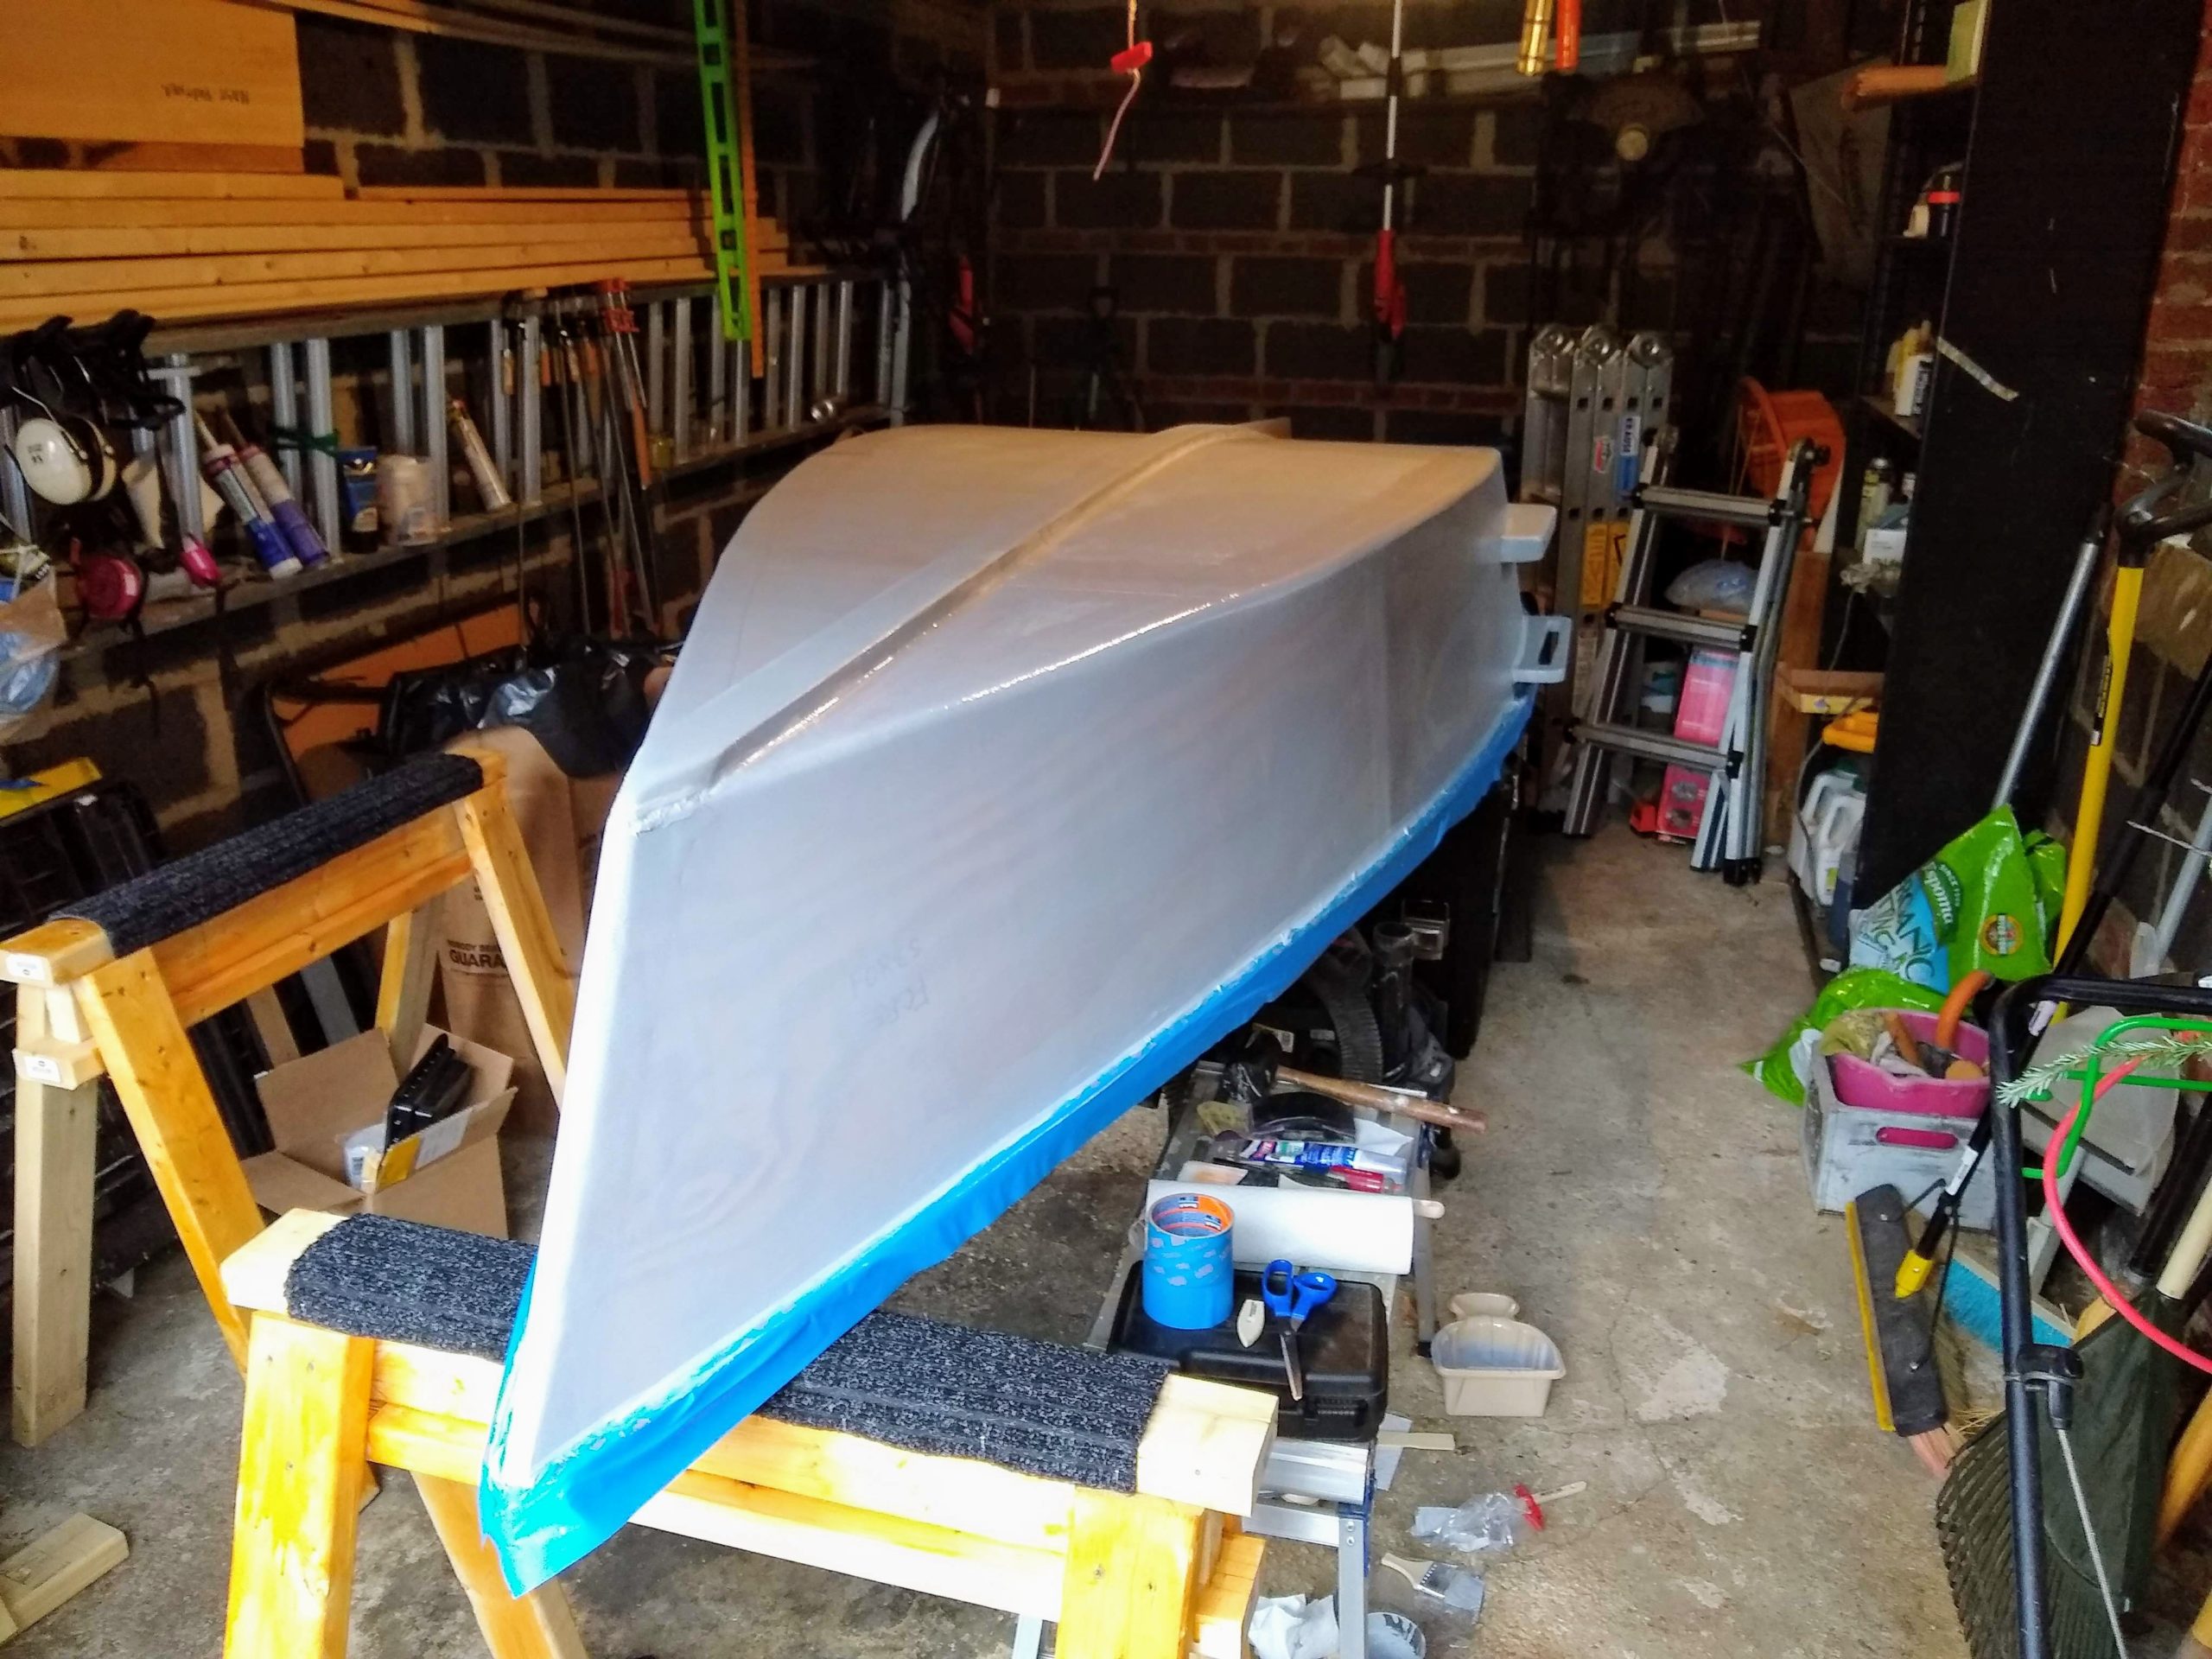
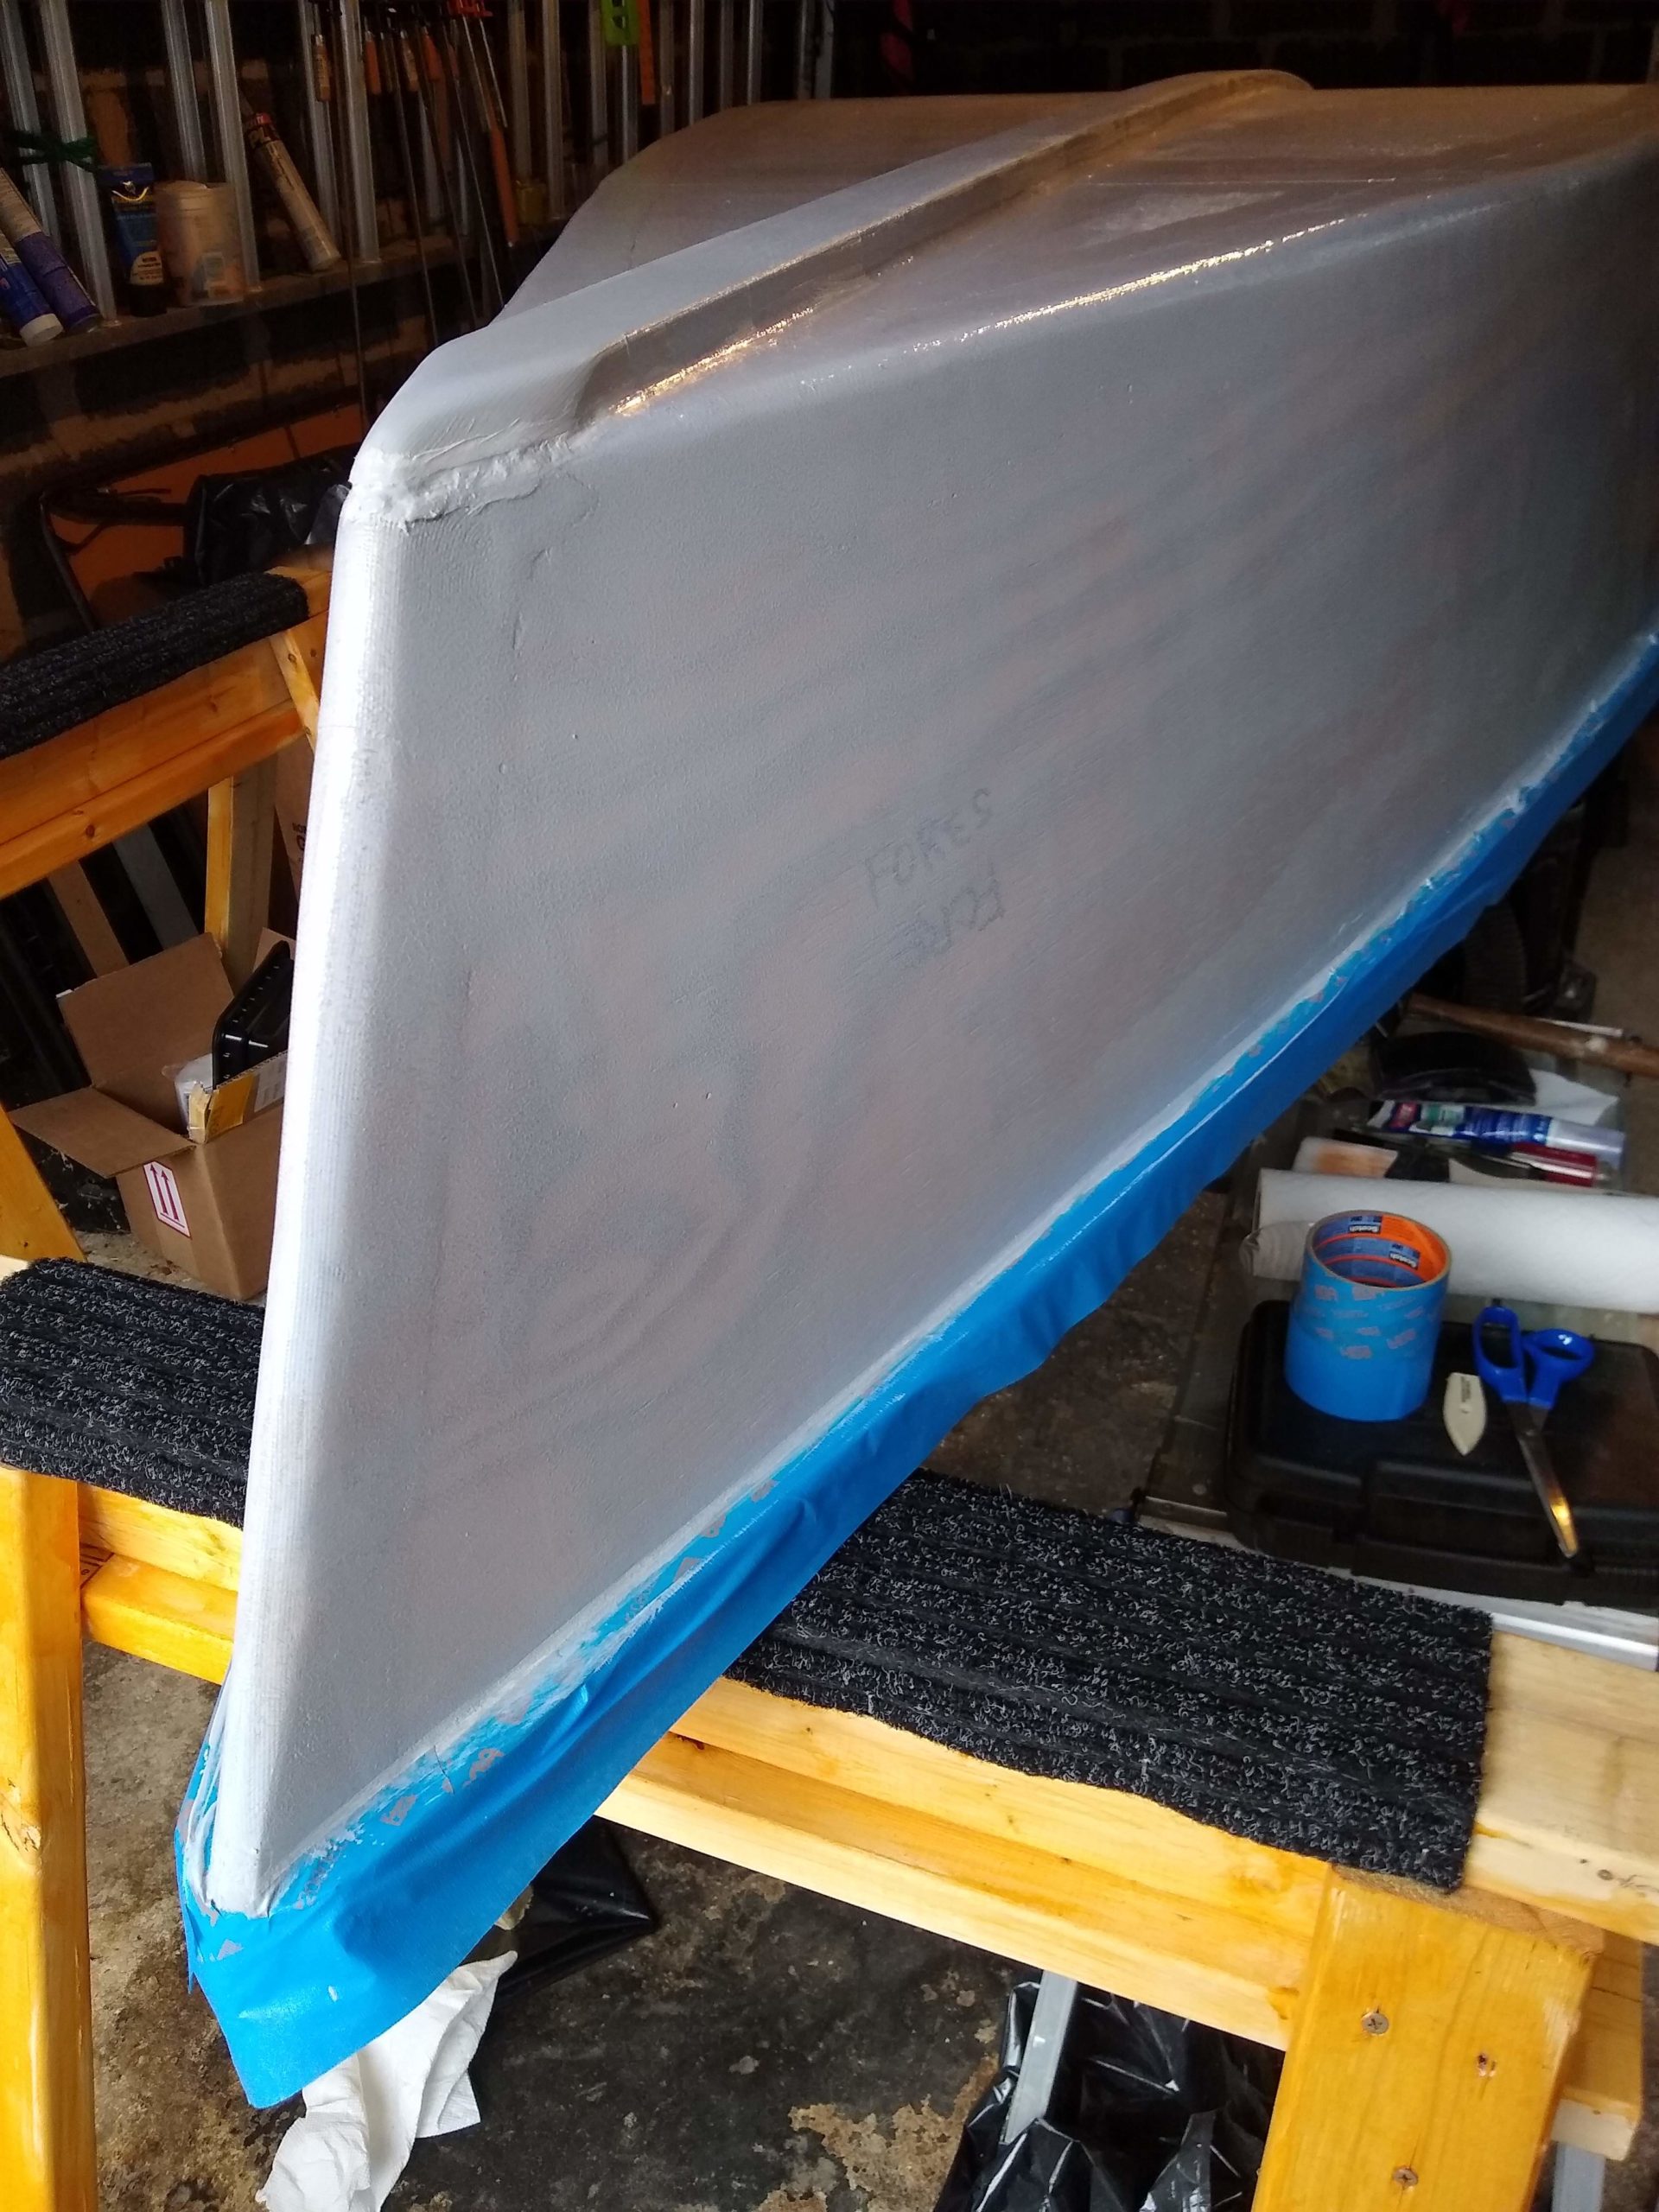
First coat of primer complete

Even after having seen the same issue when priming the inside, I was still a little surprised by how weakly the first coat covered the caulk and the wood grain. But there’s a another coat or two to go. It’ll all get covered.

Sure is a pale first coat, ain’t it?

Week 47: Preparing to prime outside of boat

Finally, finally back to some work on the boat. I’ve really slowed down and, to be honest, I’ve been pretty discouraged. I had hoped to be finished and on the water at some point in 2019. Didn’t happen.

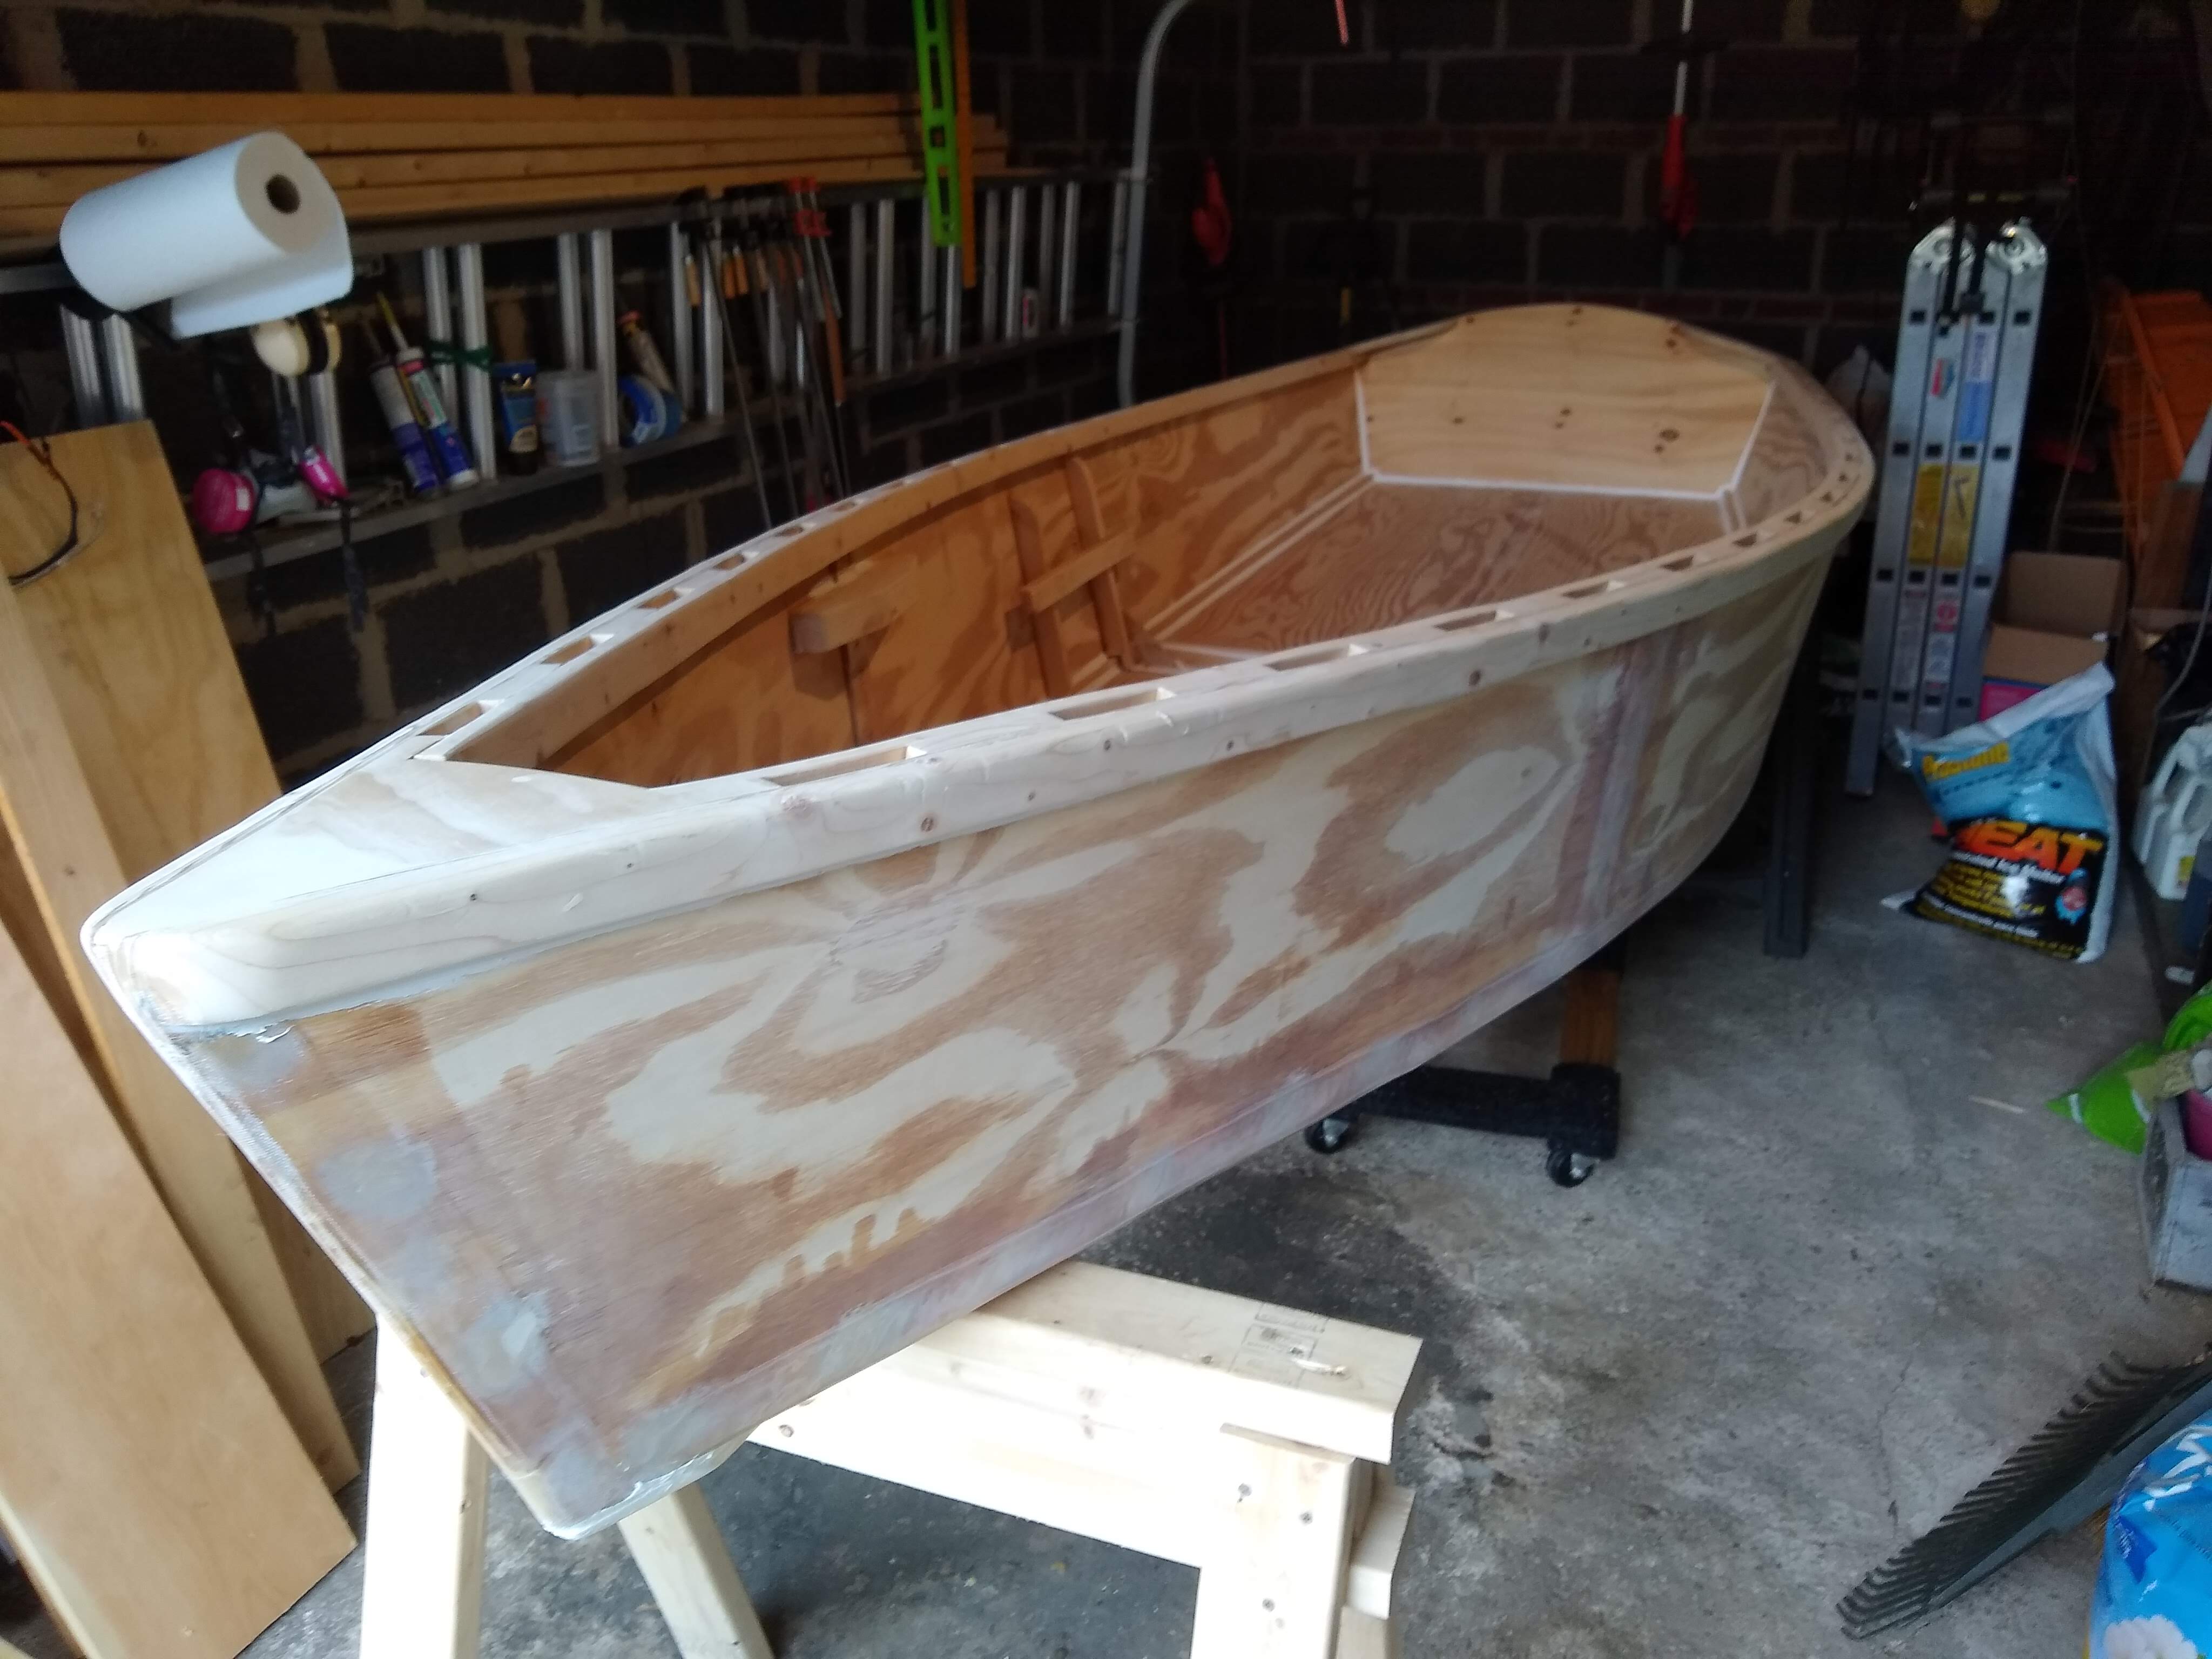
So at least this week, back to work, I got some softer surfaces tacked to the saw horses and got the boat turned over to be ready to paint the outside.

Tacking padding to saw horses

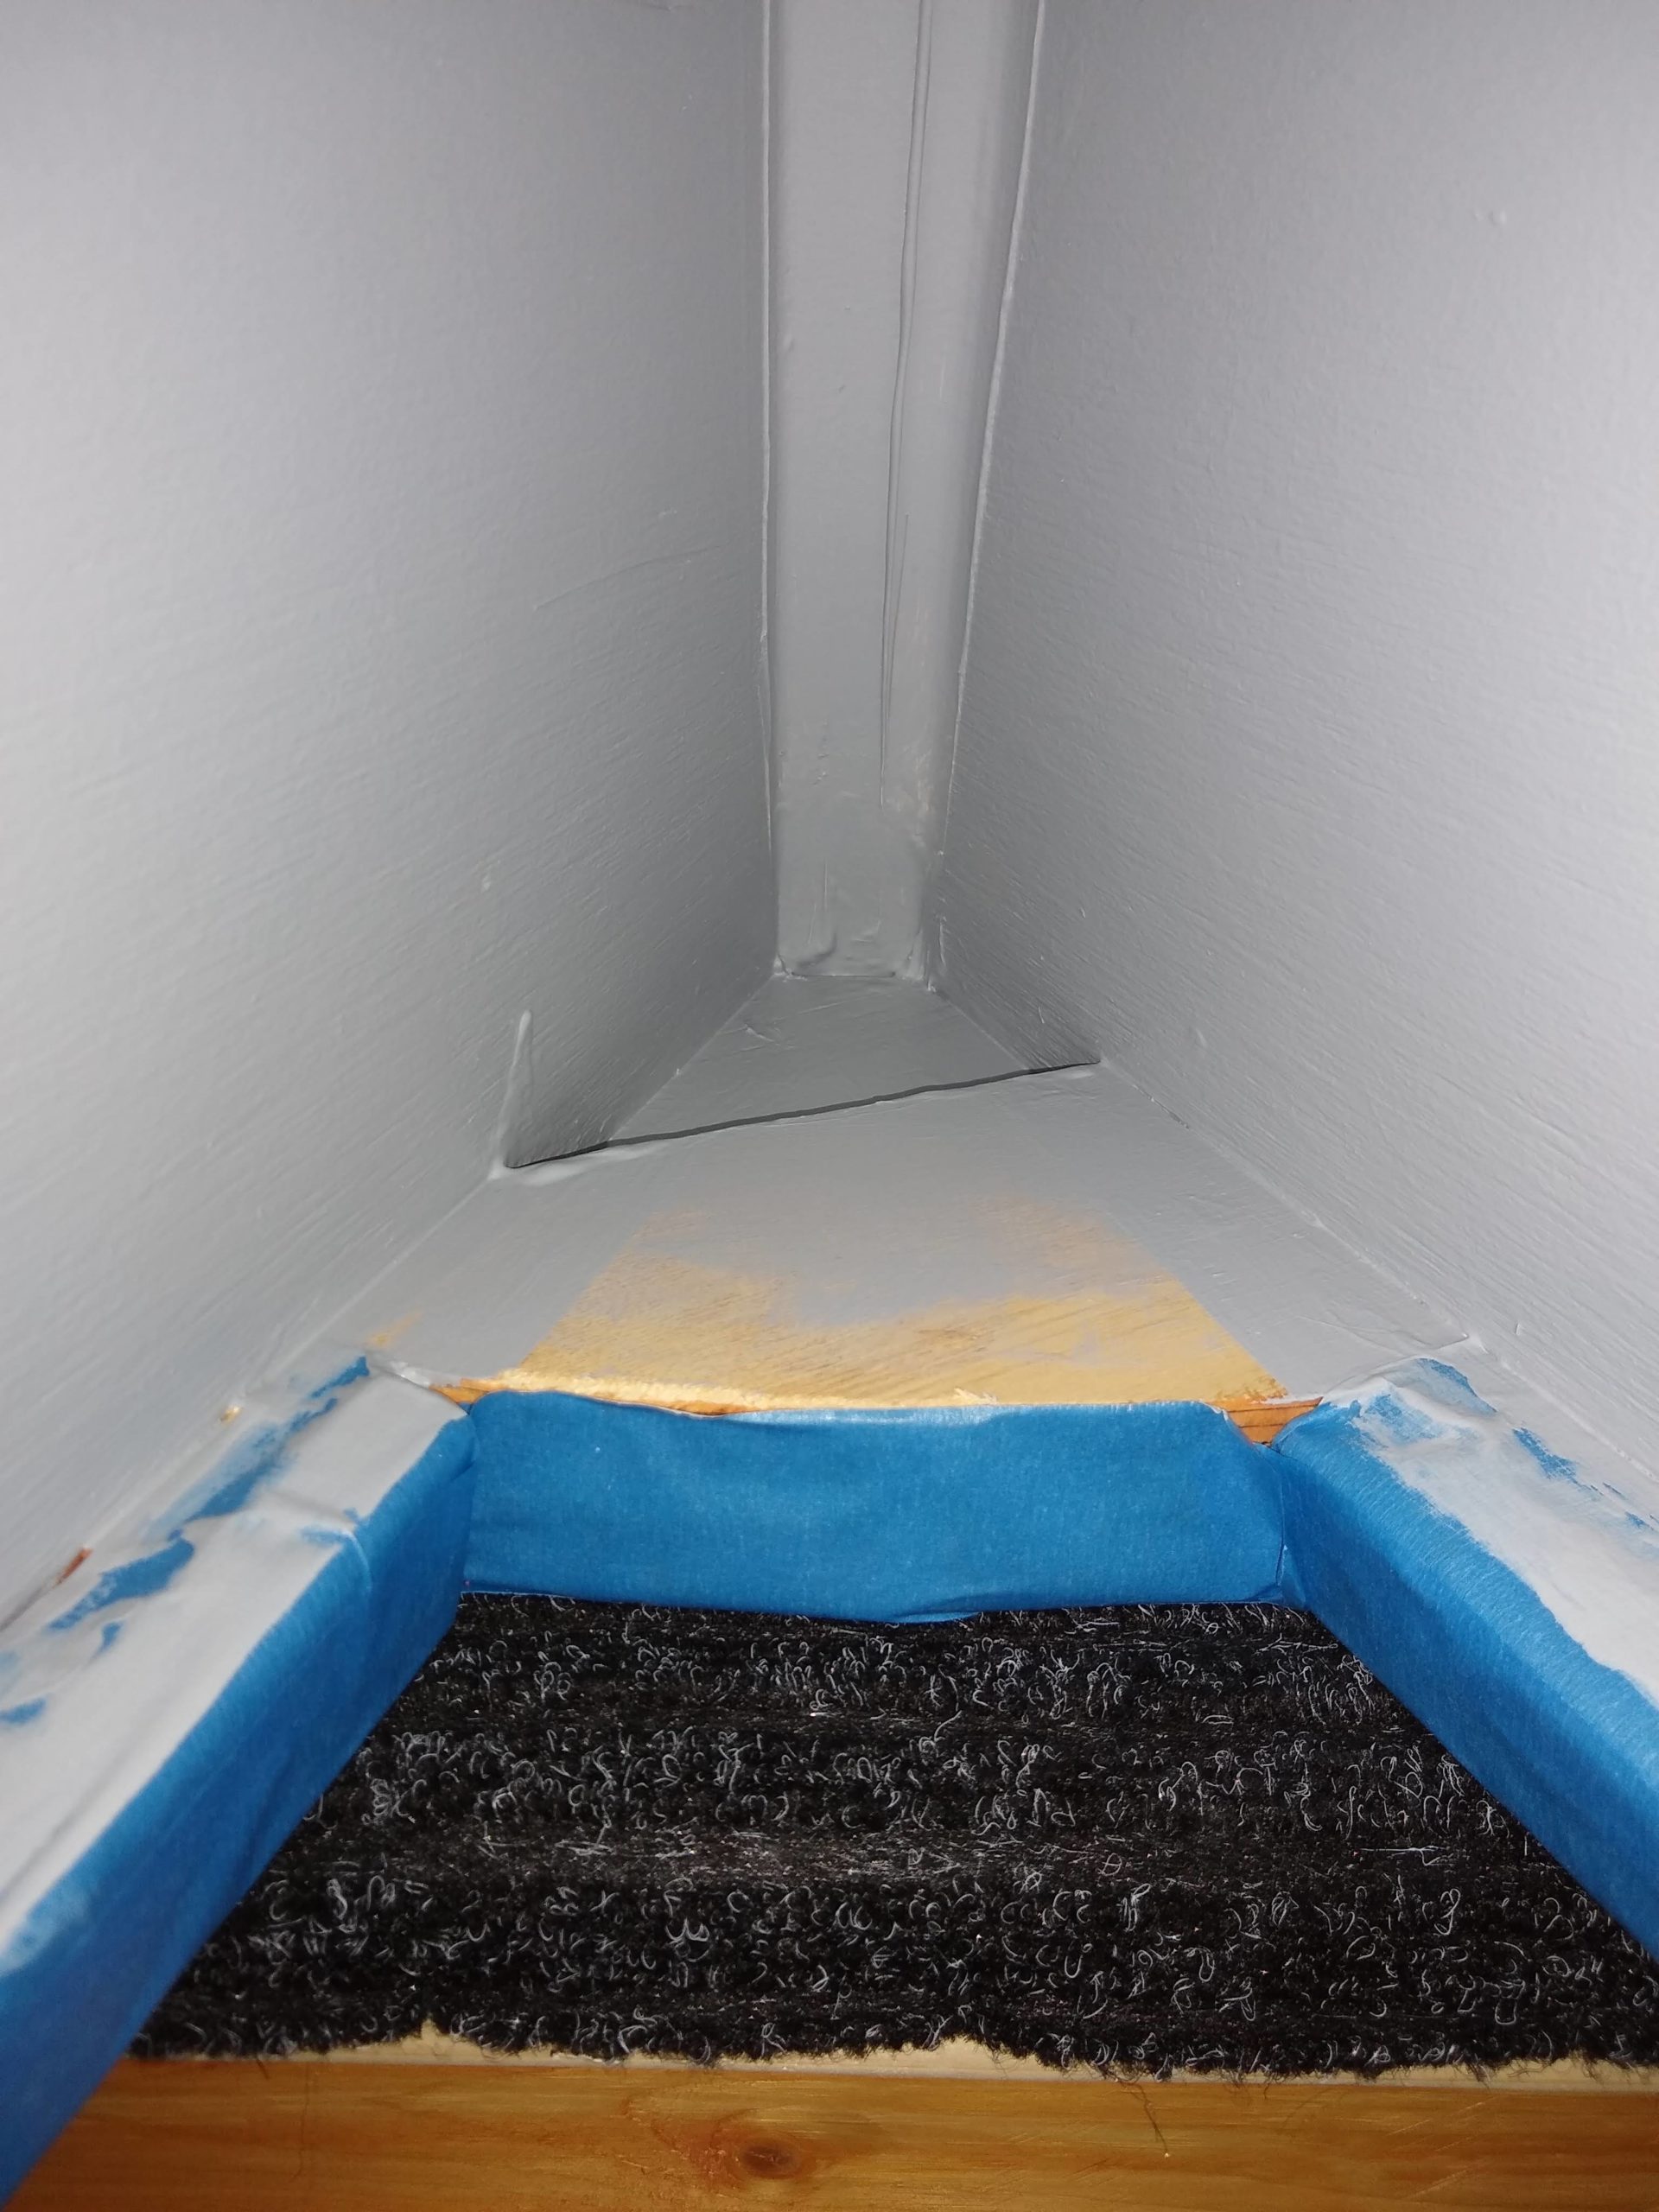
And, while I was at it, I crawled underneath and was able to get my first look at the underside of the breast hook, where I’d been worried that I wasn’t getting enough primer up into the little nook in there.

Bare wood on the bottom of the breast hook cleat clearly visible

Yep, I was right. Some bare spots even after jamming a brush up there for all 3 coats of primer on the inside. Now that it’s turned over, though, I’ll be able to (1) see what I’m doing while painting and (2) get some help with gravity while I’m at it.

Bare wood on the bottom of the breast hook itself, visible to the phone camera after jamming the phone up into the bow as far as I could and taking the picture blindly.

Mid-December Update

Gosh, it’s been a month without any progress.

Three of the weekends away from boat building are because of our Thanksgiving vacation week in Wilmington NC. There was the weekend before, 11/16 & 11/17, filled with preparations for the vacation. Then the vacation itself encompassed the weekends of 11/23 & 11/24 and 11/30 & 12/1.

Then last weekend, the weekend of 12/7 & 12/8, Dawn and I ran in the Prince George’s Running Club’s Wright Stuff 8K. We did very well, by the way. And we also got our Christmas tree and decorated it.

I’ve been busy. And, frankly, I’m not as motivated by the painting as I should be, alas.

I’m determined to do another coat of primer this weekend, although I’ve got choir concerts on Saturday and Sunday. We’ll see.

Week 46: Interior Primer Painting Continues

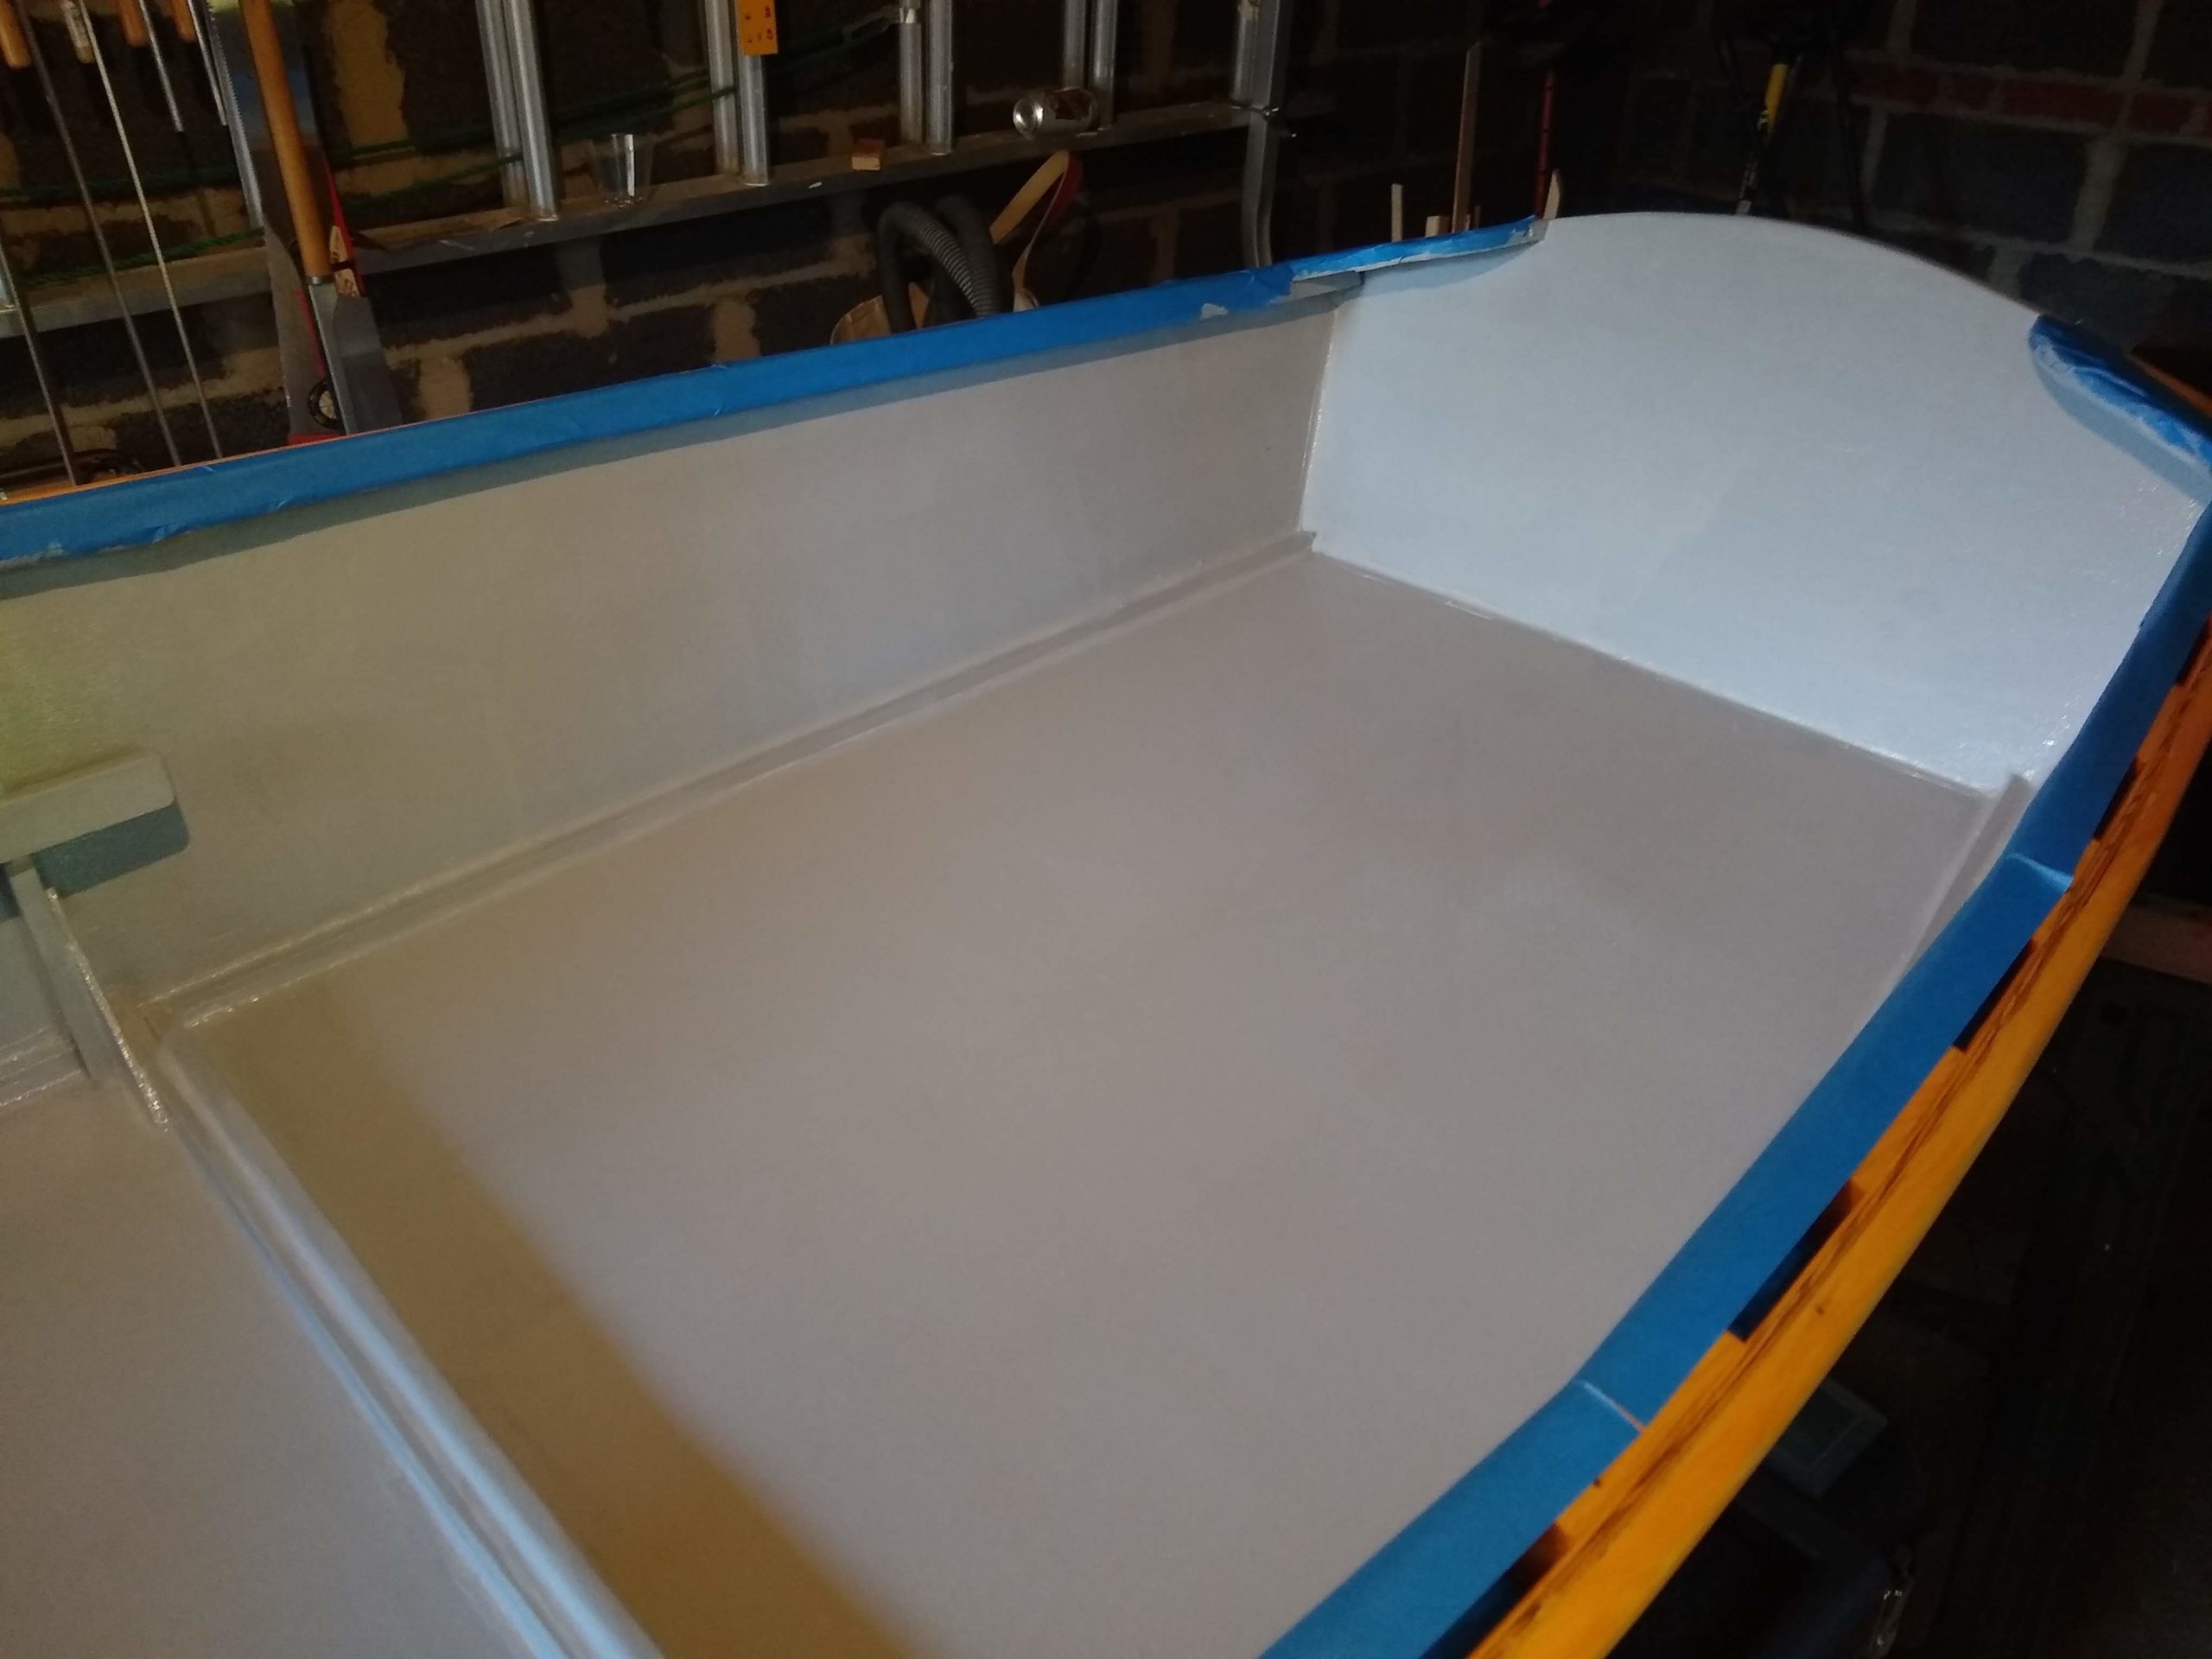
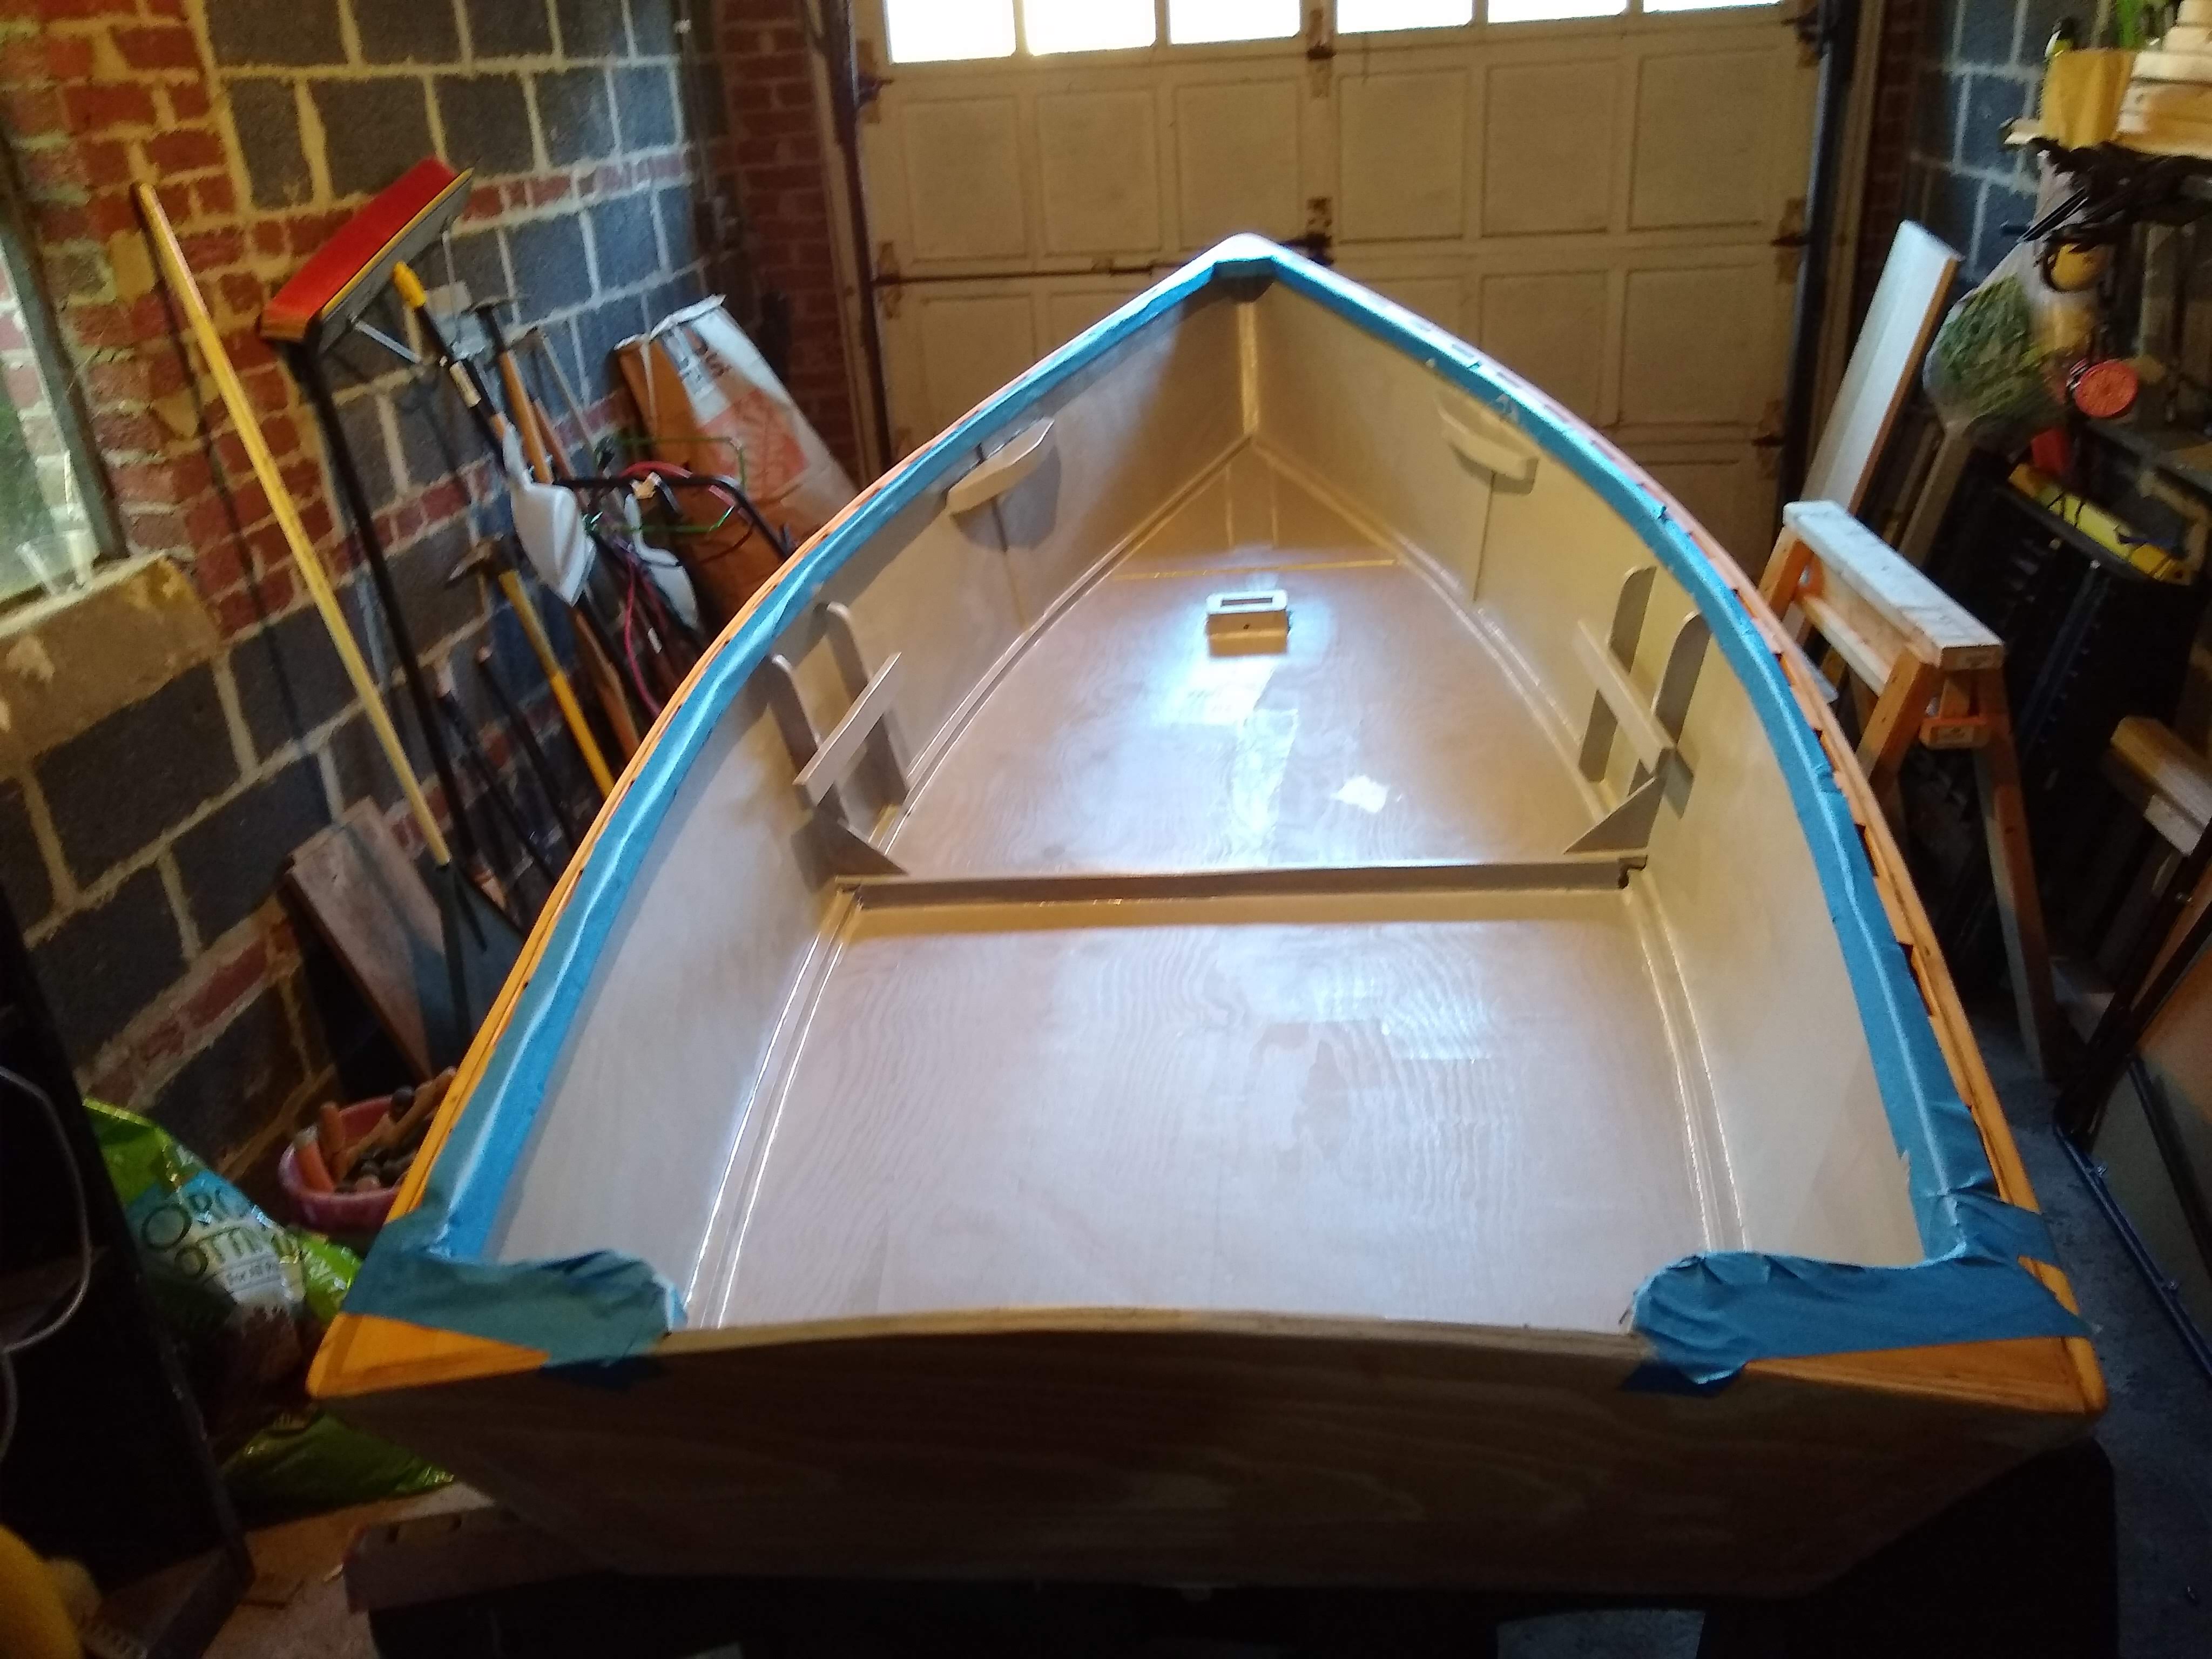
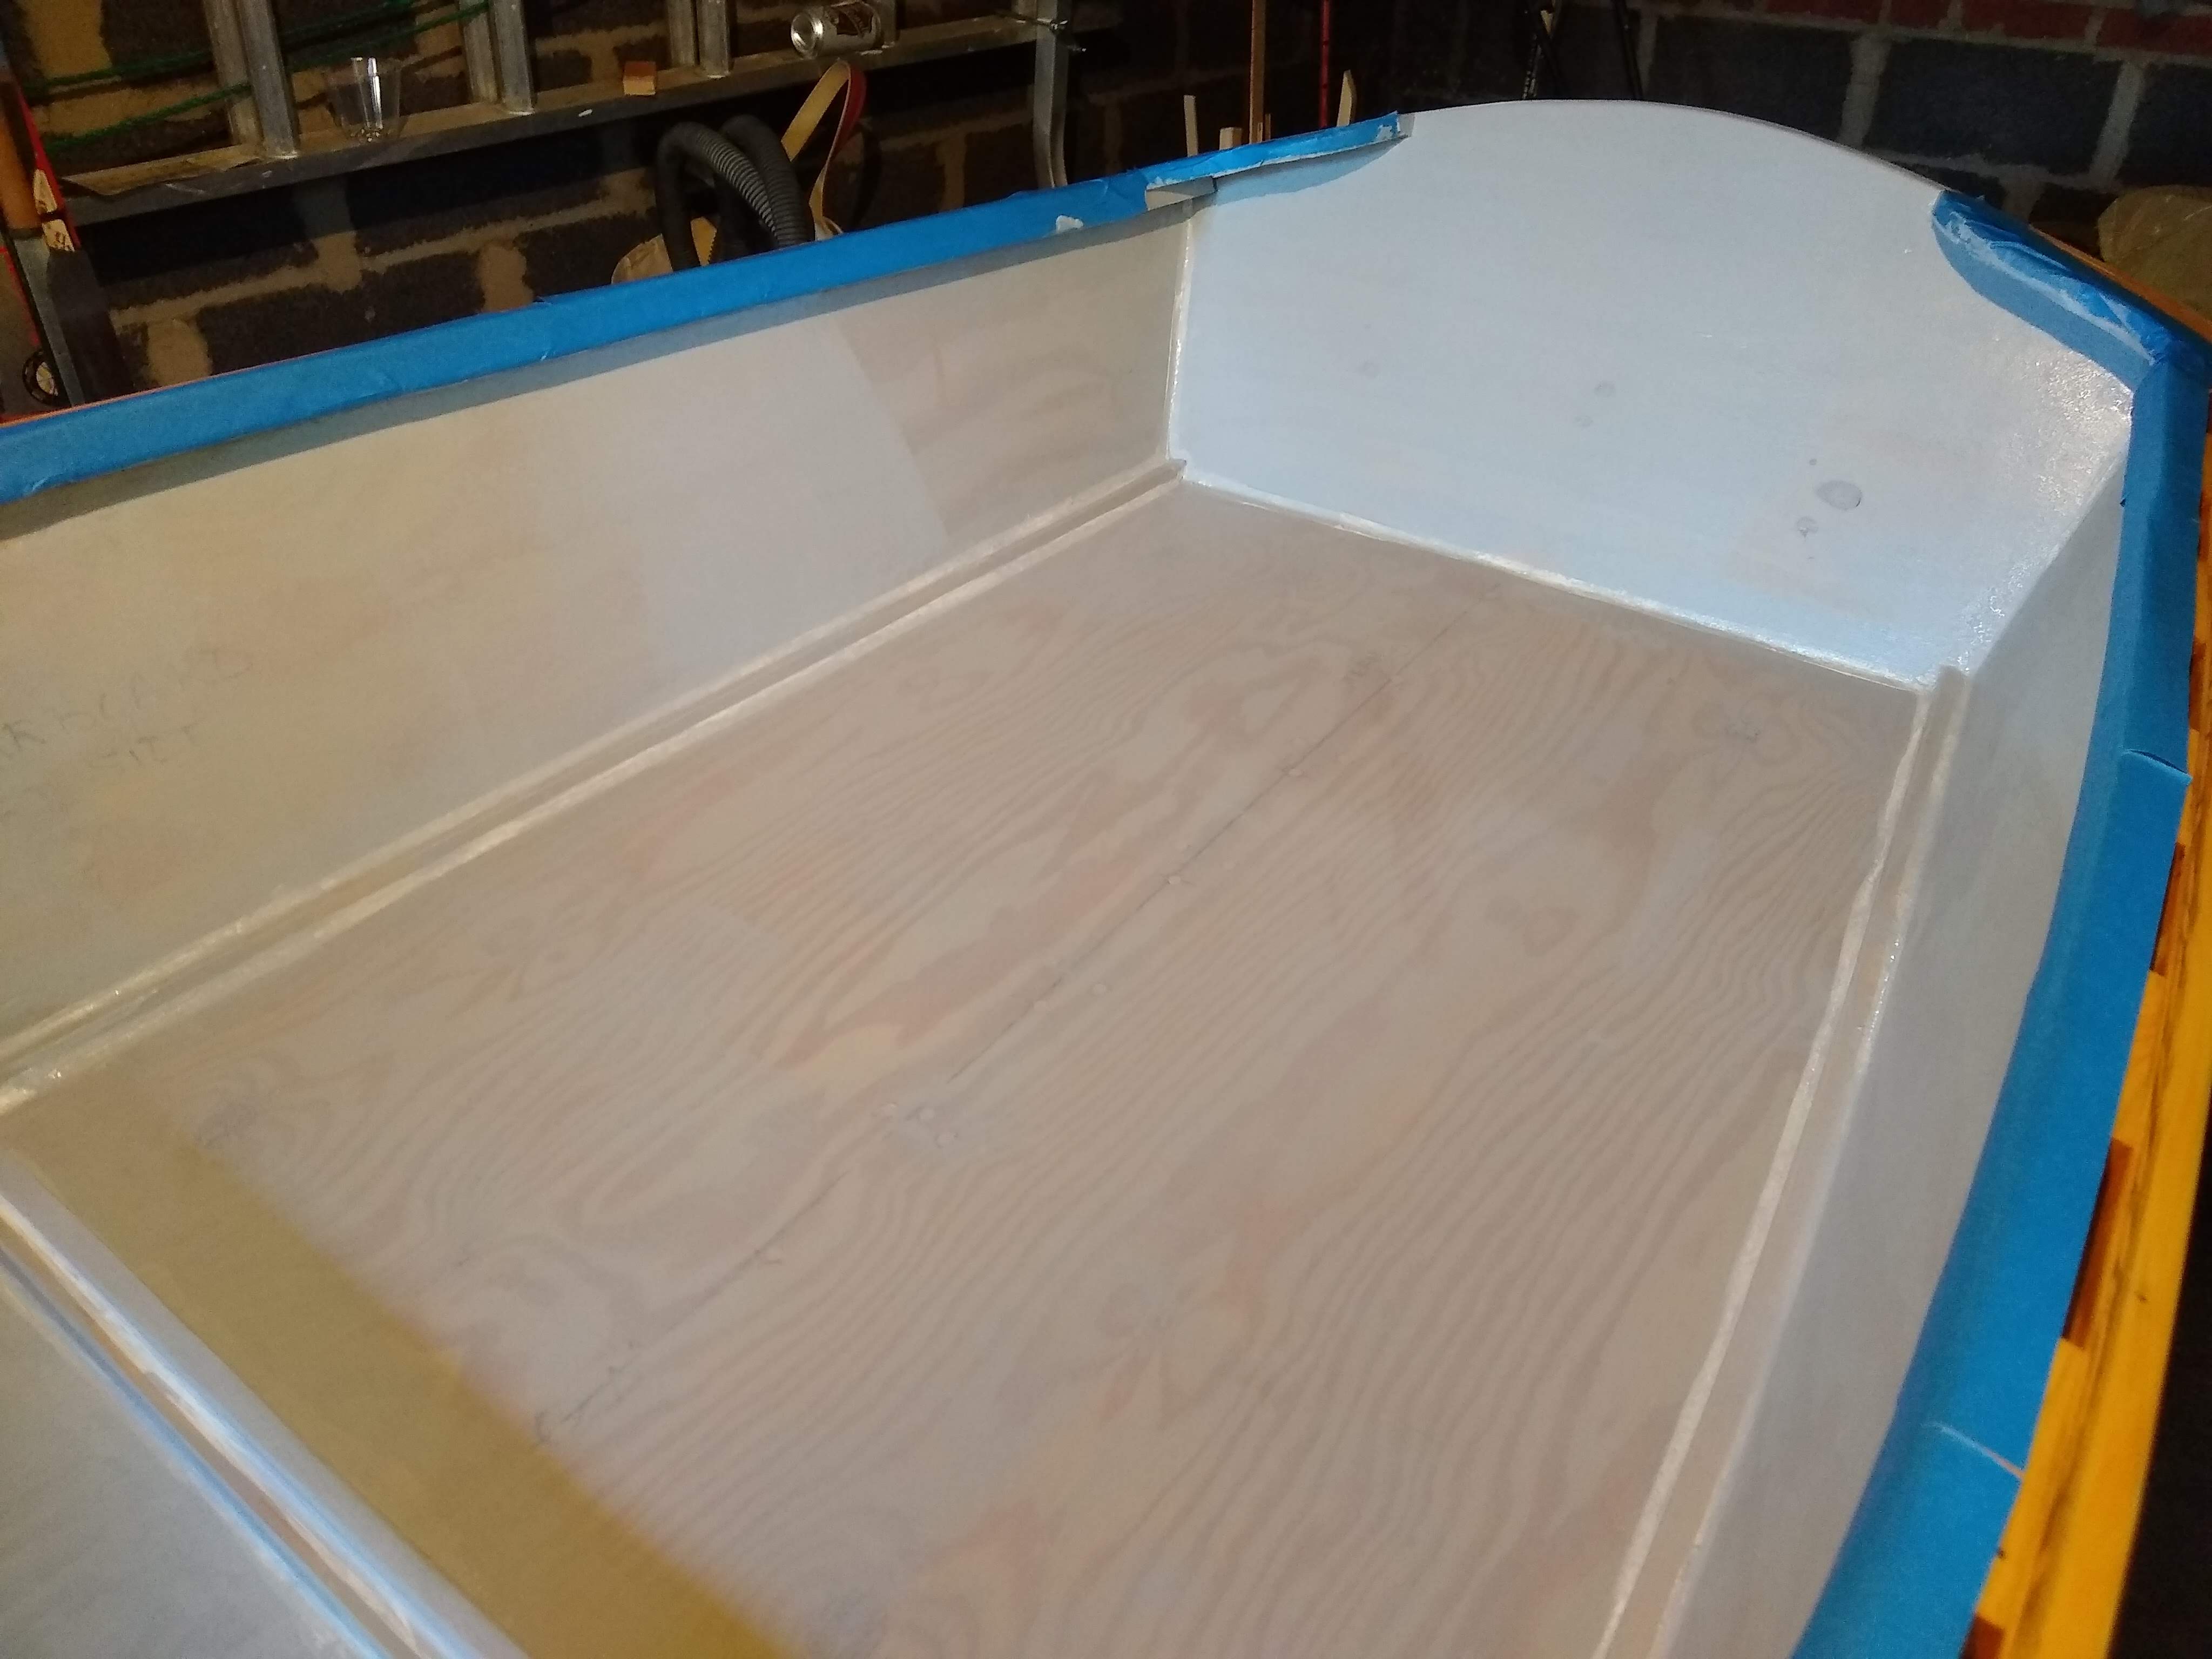
I put the second coat of gray primer on the inside of the boat.

Not too cold to paint

I brought a small space heater out to the garage. It’s a little one that has a fan that blows air over hot electric coils, rather than one that heats oil inside a radiator. I’d tried a radiator one last year that didn’t seem to make much difference in the garage. This little blower guy raised the temperature from 49° to 51° in the time it took to paint, maybe an hour or a little less.

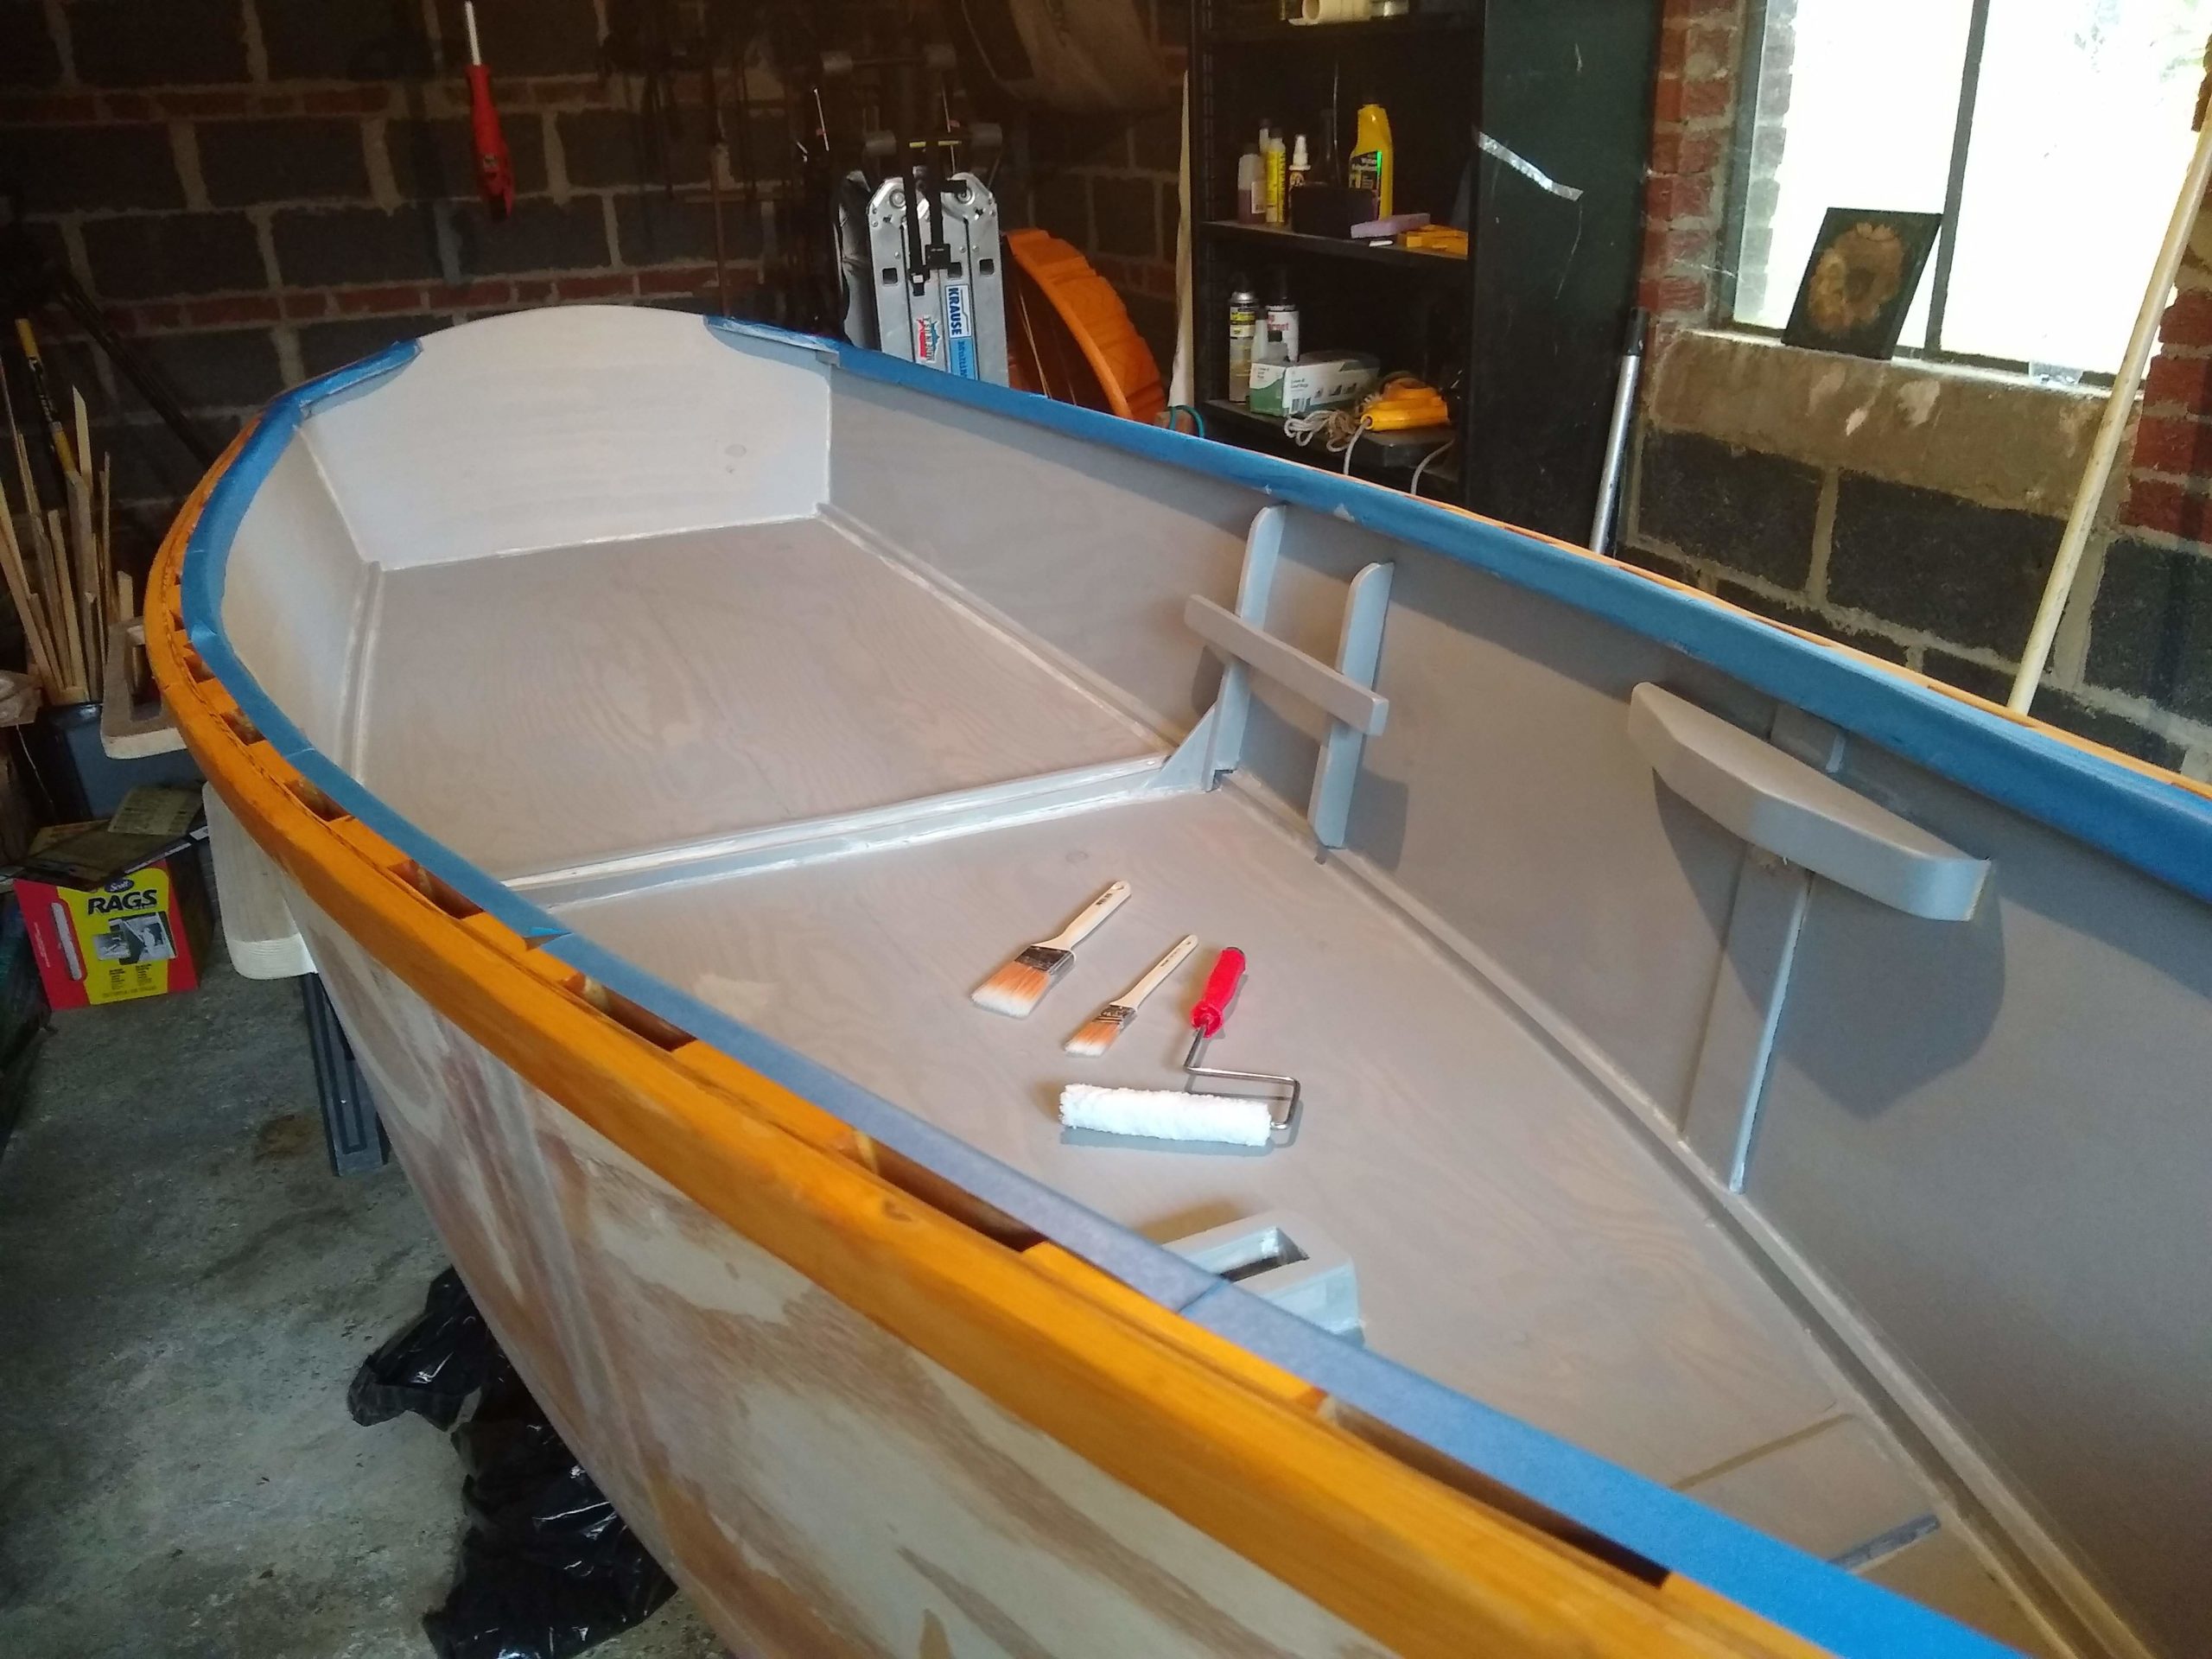
Clean brushes and roller to use again

The second coat worked well to cover the underlying wood grain, I’m happy to report. I figured it would.

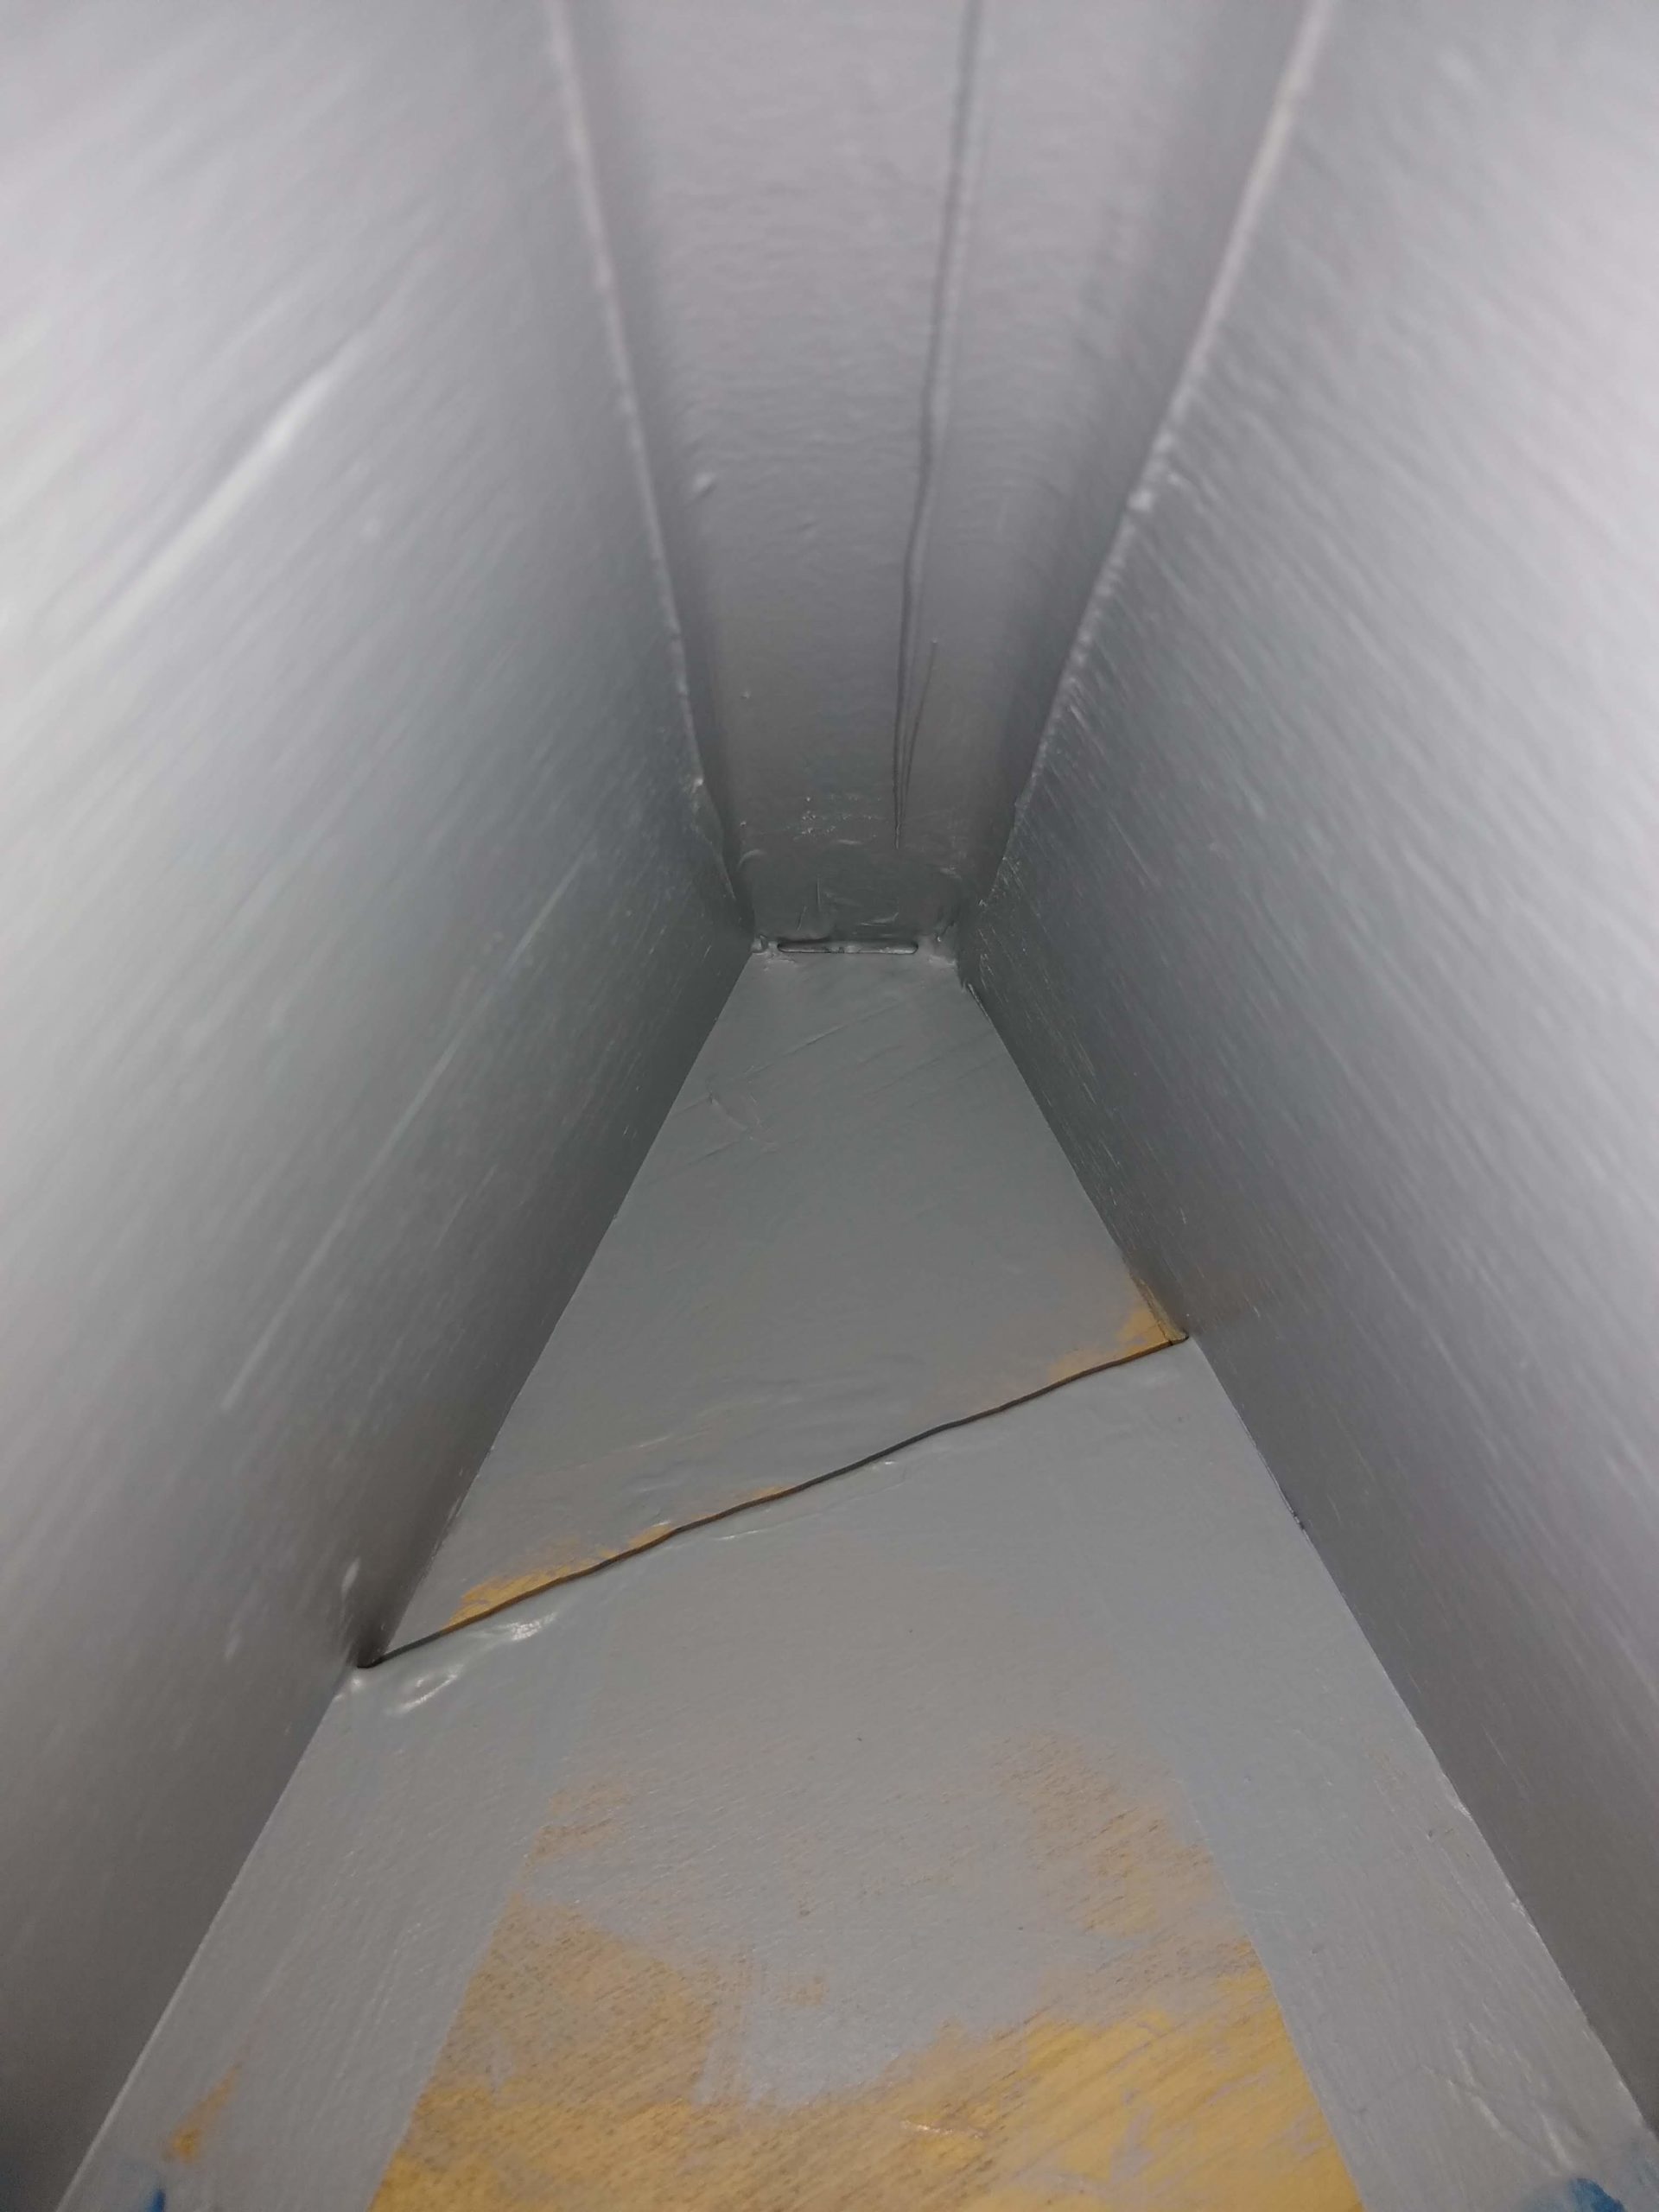
Second interior primer coat finished

I’m definitely doing at least one more coat.

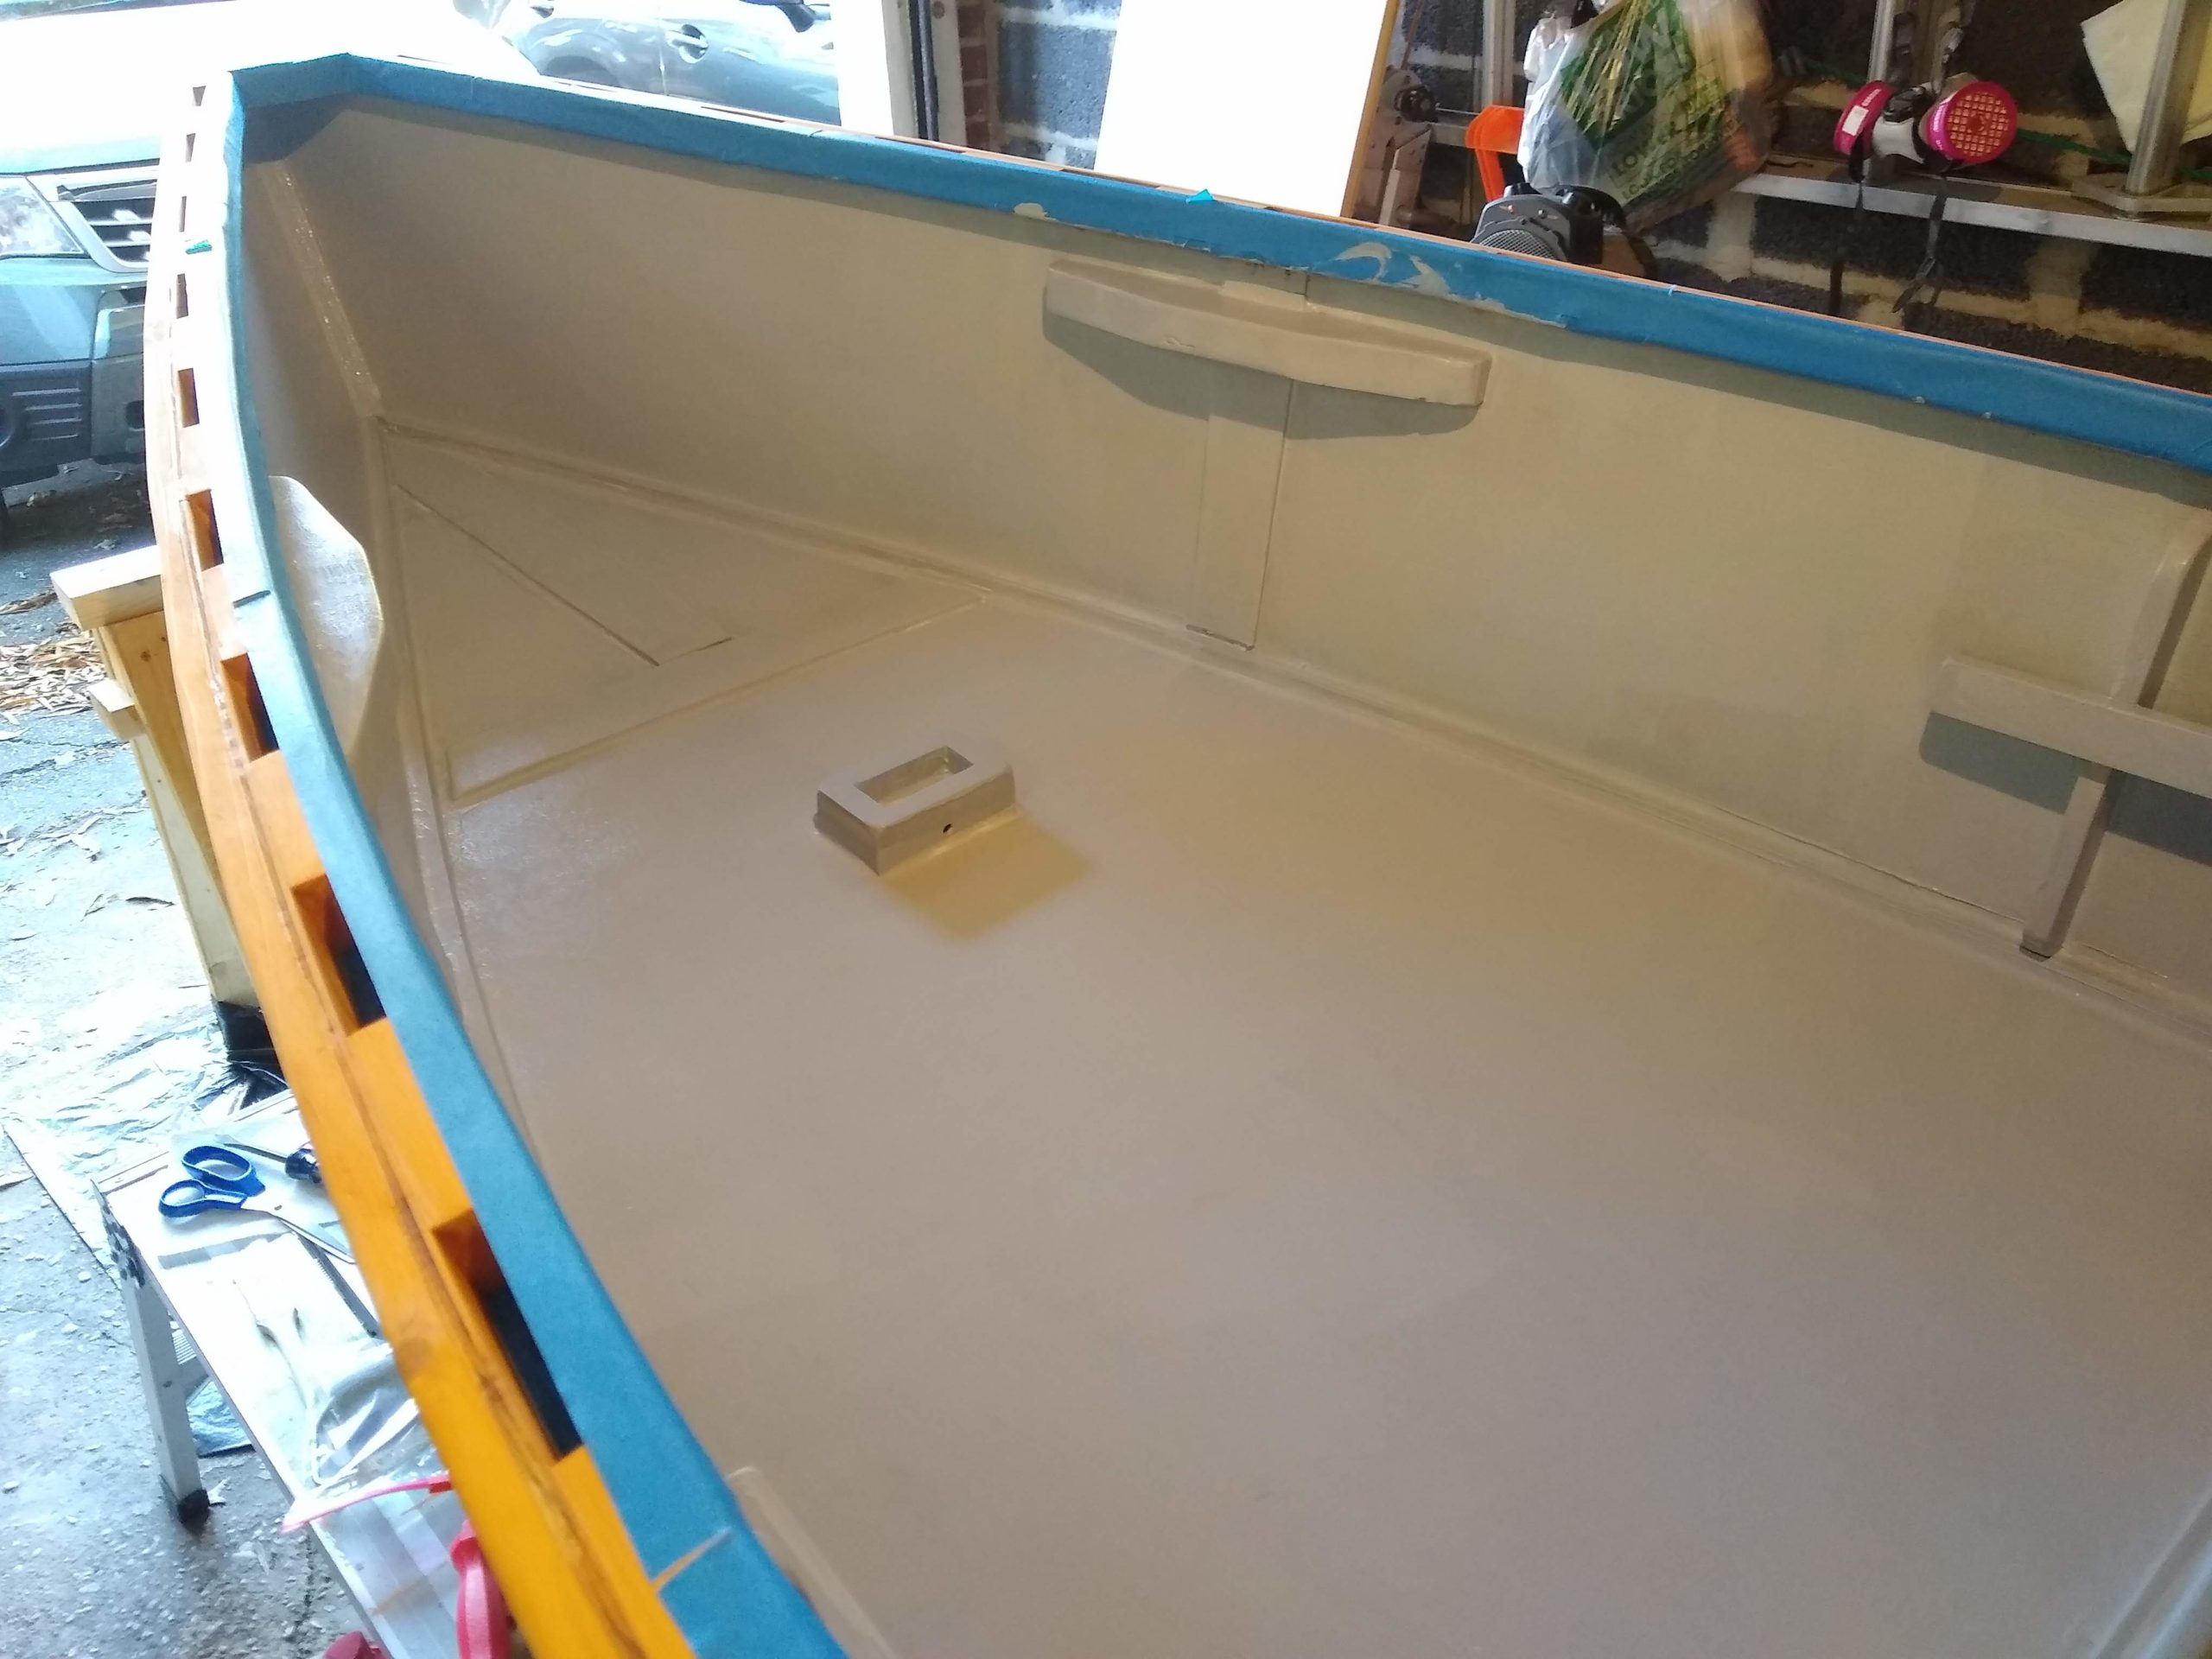
Second interior primer coat bow

Maybe two more.

Second interior primer coat stern

Week 45: Painting Begins

At some point I decided to use a gray primer instead of white. I’m not really sure even now why I decided this. I guess I was thinking that white primer would be better for the yellow that I’m planning to use inside the boat and gray would be better for the red that I’m planning to use on the outside. But no way am I going to buy two different primers, so I figured the gray would be okay for the yellow as well, while I didn’t think the white would be okay with the red. So that’s it. Probably.

Paint and painting supplies

Home Depot did not stock the acrylic exterior gray primer that I wanted, so I ordered it, hoping it would arrive for the weekend before Halloween. It did not arrive for the weekend. As a backup alternative to painting, I thought I would buy the 1× material I’ll be using to make oars, but it was an otherwise busy weekend and I didn’t buy anything. I didn’t do anything for the boat.

First coat

So the next weekend brought a very busy Sunday, but I did have time on Saturday to tape the wales and apply a first coat of primer to the inside of the boat. I was quite surprised by how much wood grain still showed through after the first coat. I’d always planned on applying more than one coat, so it’s not a huge problem, but I really thought the first coat would cover better, especially with the gray primer. Also, the marine caulk didn’t take the paint nearly as well as I expected, despite being labelled as being paintable.

First coat, stern

Unless I can find time on weeknights, it’s going to be like a month of painting. I’m worried about the weather, since I need it to be above freezing for the paint. The garage was in the upper fifties on Saturday. Let’s hope for warm autumn weekends.

First coat, bow

Week 44: Staining Wales

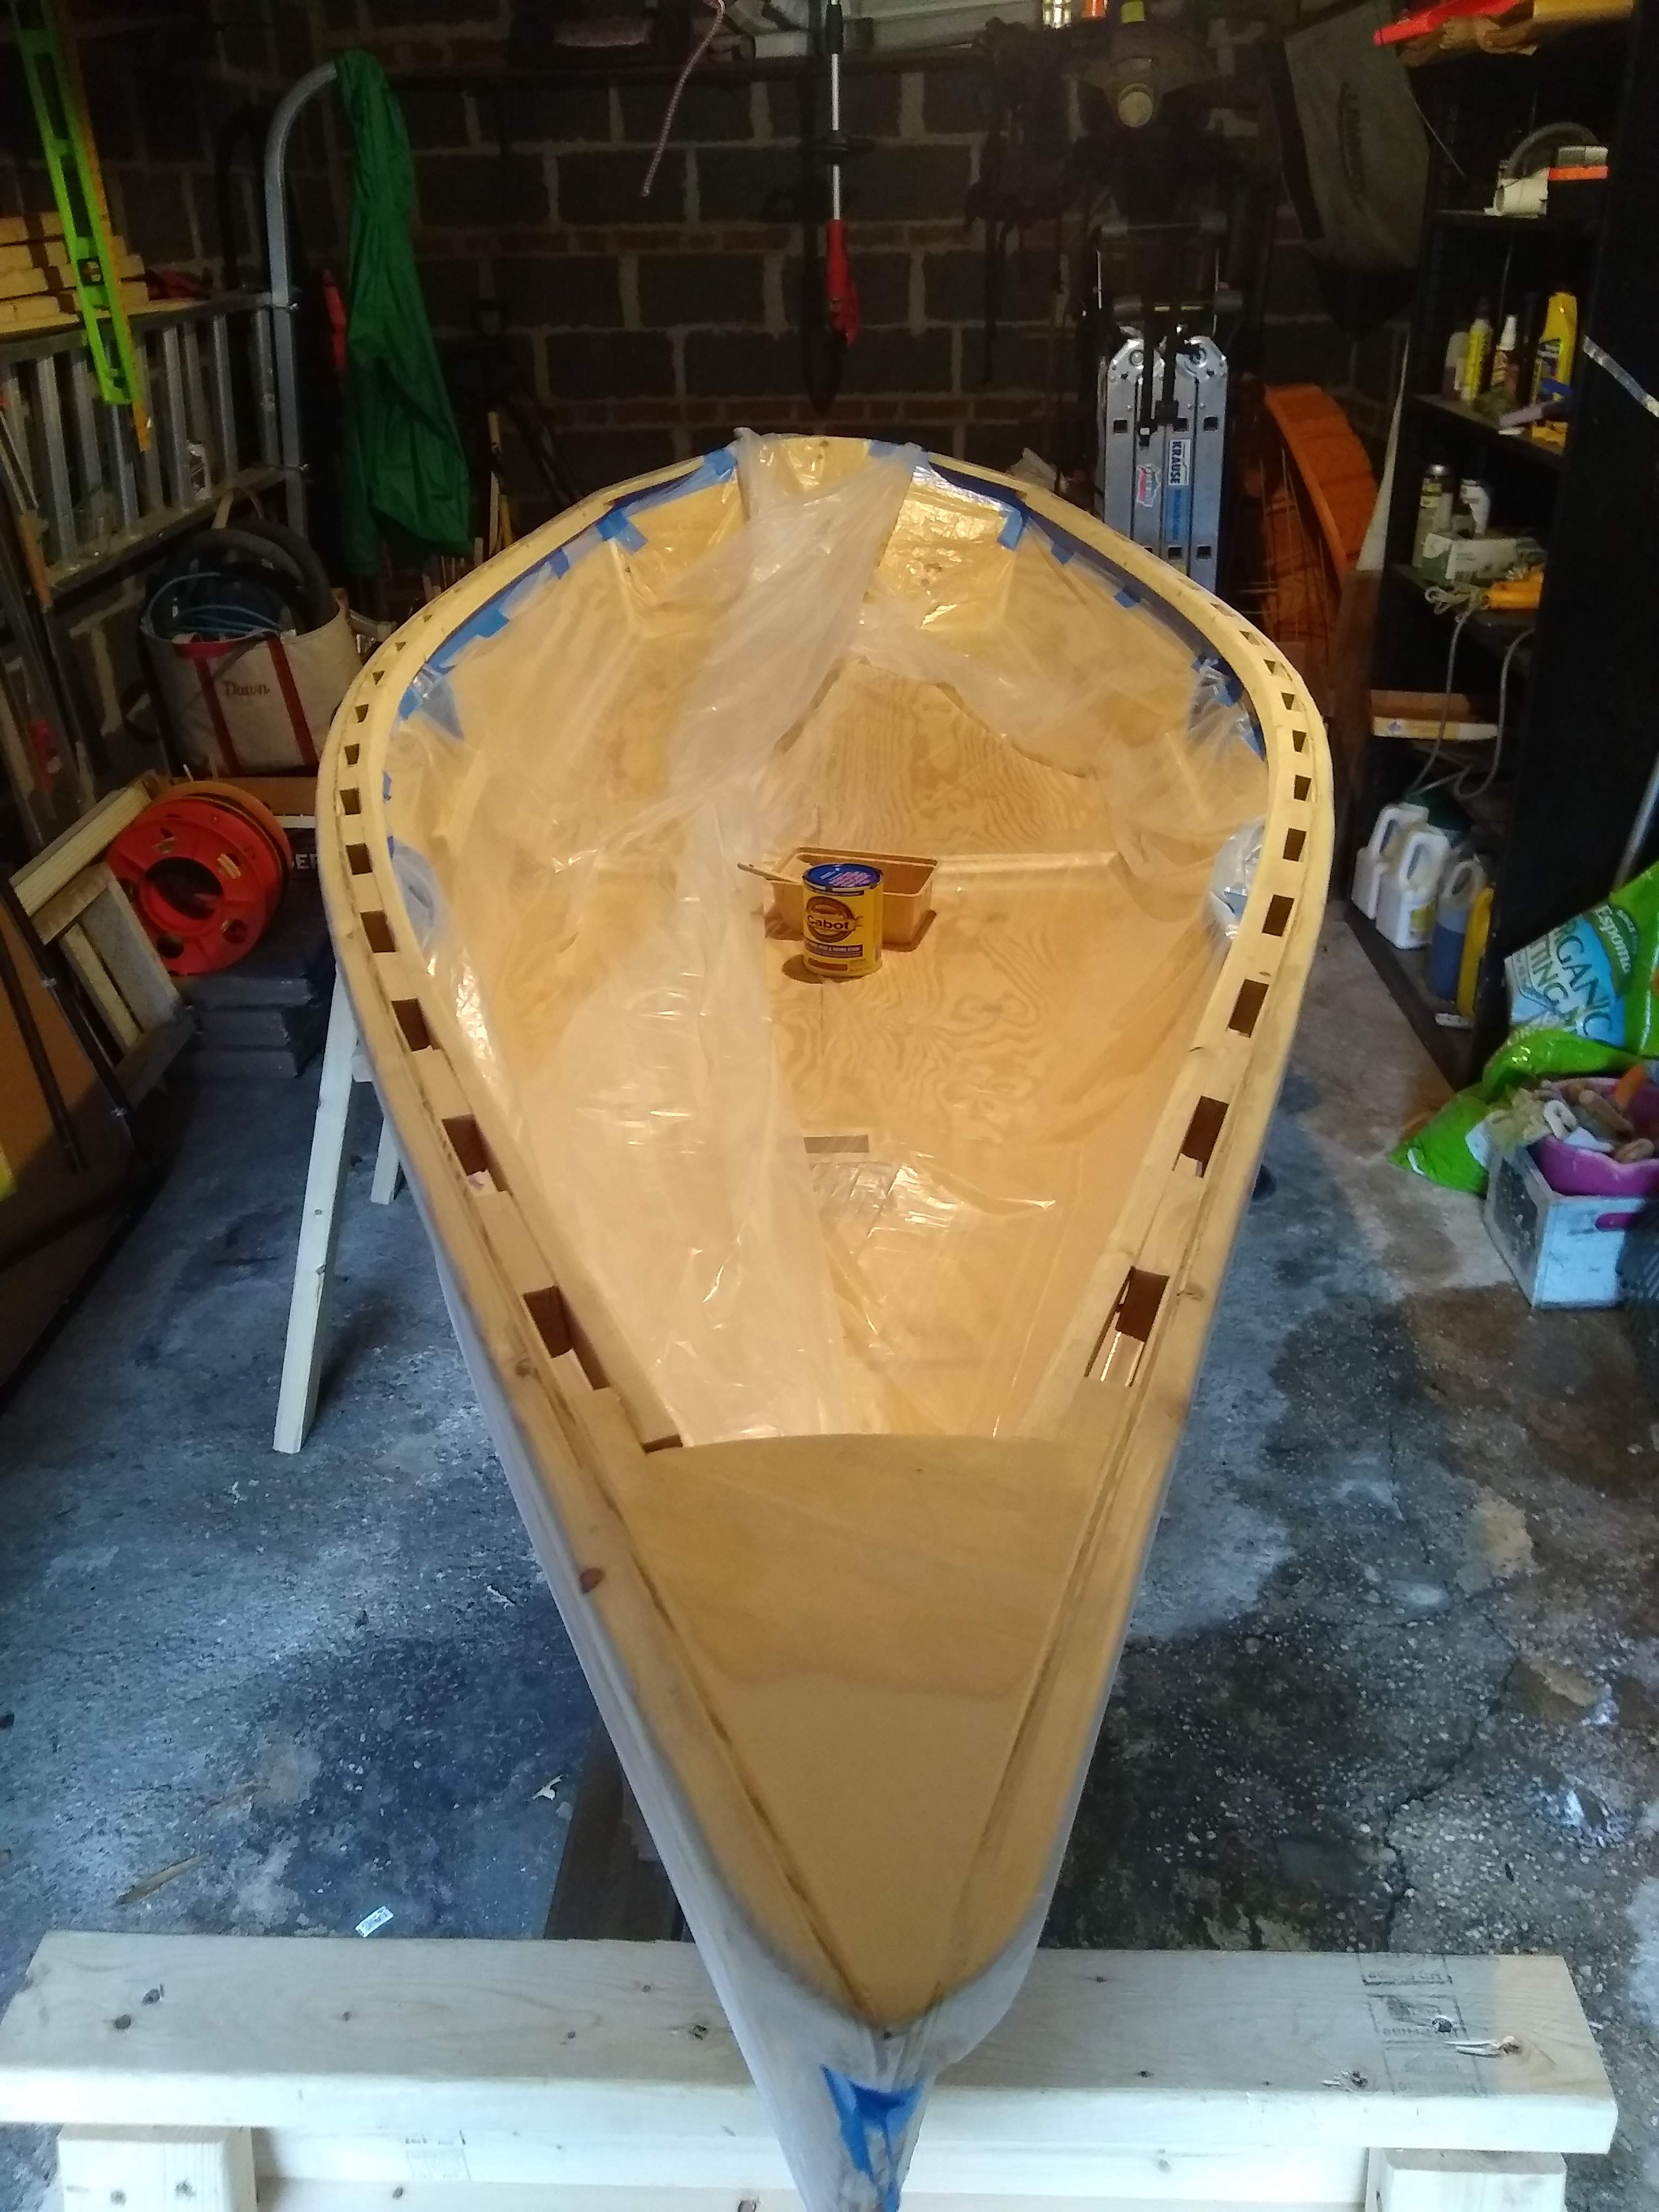
I wanted to get my work done on Saturday, since Sunday was supposed to be rainy. But the more I thought about it, the more it made sense to clean out the garage and rearrange how the boat was stored in there, since the construction of the hull is complete. The next few weeks will be staining and painting, where it makes more sense to apply the messy liquids to the boat in one place rather than try to move her in and out of the garage. I especially don’t want to move her while there’s some stain or paint drying. I don’t want to accidentally grab where there’s wet paint or conk into the side of the garage moving her back inside.

So that took almost all of my time on Saturday, but I got a bunch of tools out the garage and the boat back in the garage upright and facing forward ready for finishing.

Right side up and facing out

First step after that, though, was taping off parts where I didn’t want stain to go. Right now I’m just staining the wales (and breast hook and quarter knees), so that meant a line of tape under the gunwales on the outside and the inwales on the inside. The gunwales were a lot easier, where I could just sit on a stool and scoot along as I applied the masking tape. The inwales were the tough part, since I had to stand outside the boat and couldn’t very well see underneath the wales. I suppose, thinking about it now, that I maybe could have lain inside the boat, underneath the wales, but, no, that wouldn’t do with the boat on sawhorses. I don’t imagine I’ll be getting in the boat until she’s on the water.

I only managed a bit of the interior taping on Saturday, so then I was back at it on Sunday afternoon. It was indeed rainy on Sunday, all day rain, so I was pleased that I had taken the time on Saturday to arrange things so conveniently in the garage. After finally taping off under all the wales, I also taped up a 0.7 mil plastic drop cloth inside the boat to prevent any drips or spills from staining anywhere that’s going to be painted.

Oh, and I did do a little more sanding, using 100 grit to touch up the wales where there were dents from the saw horses from turning the boat over and/or storing it upside down on the sawhorses. From now on I need to use padding when handling the boat on the sawhorses or on the furniture dolly. I don’t want any more unnecessary dings. And I used a single sheet with a block of 220 grit to give a final smoothness to the wales.

Taped and ready

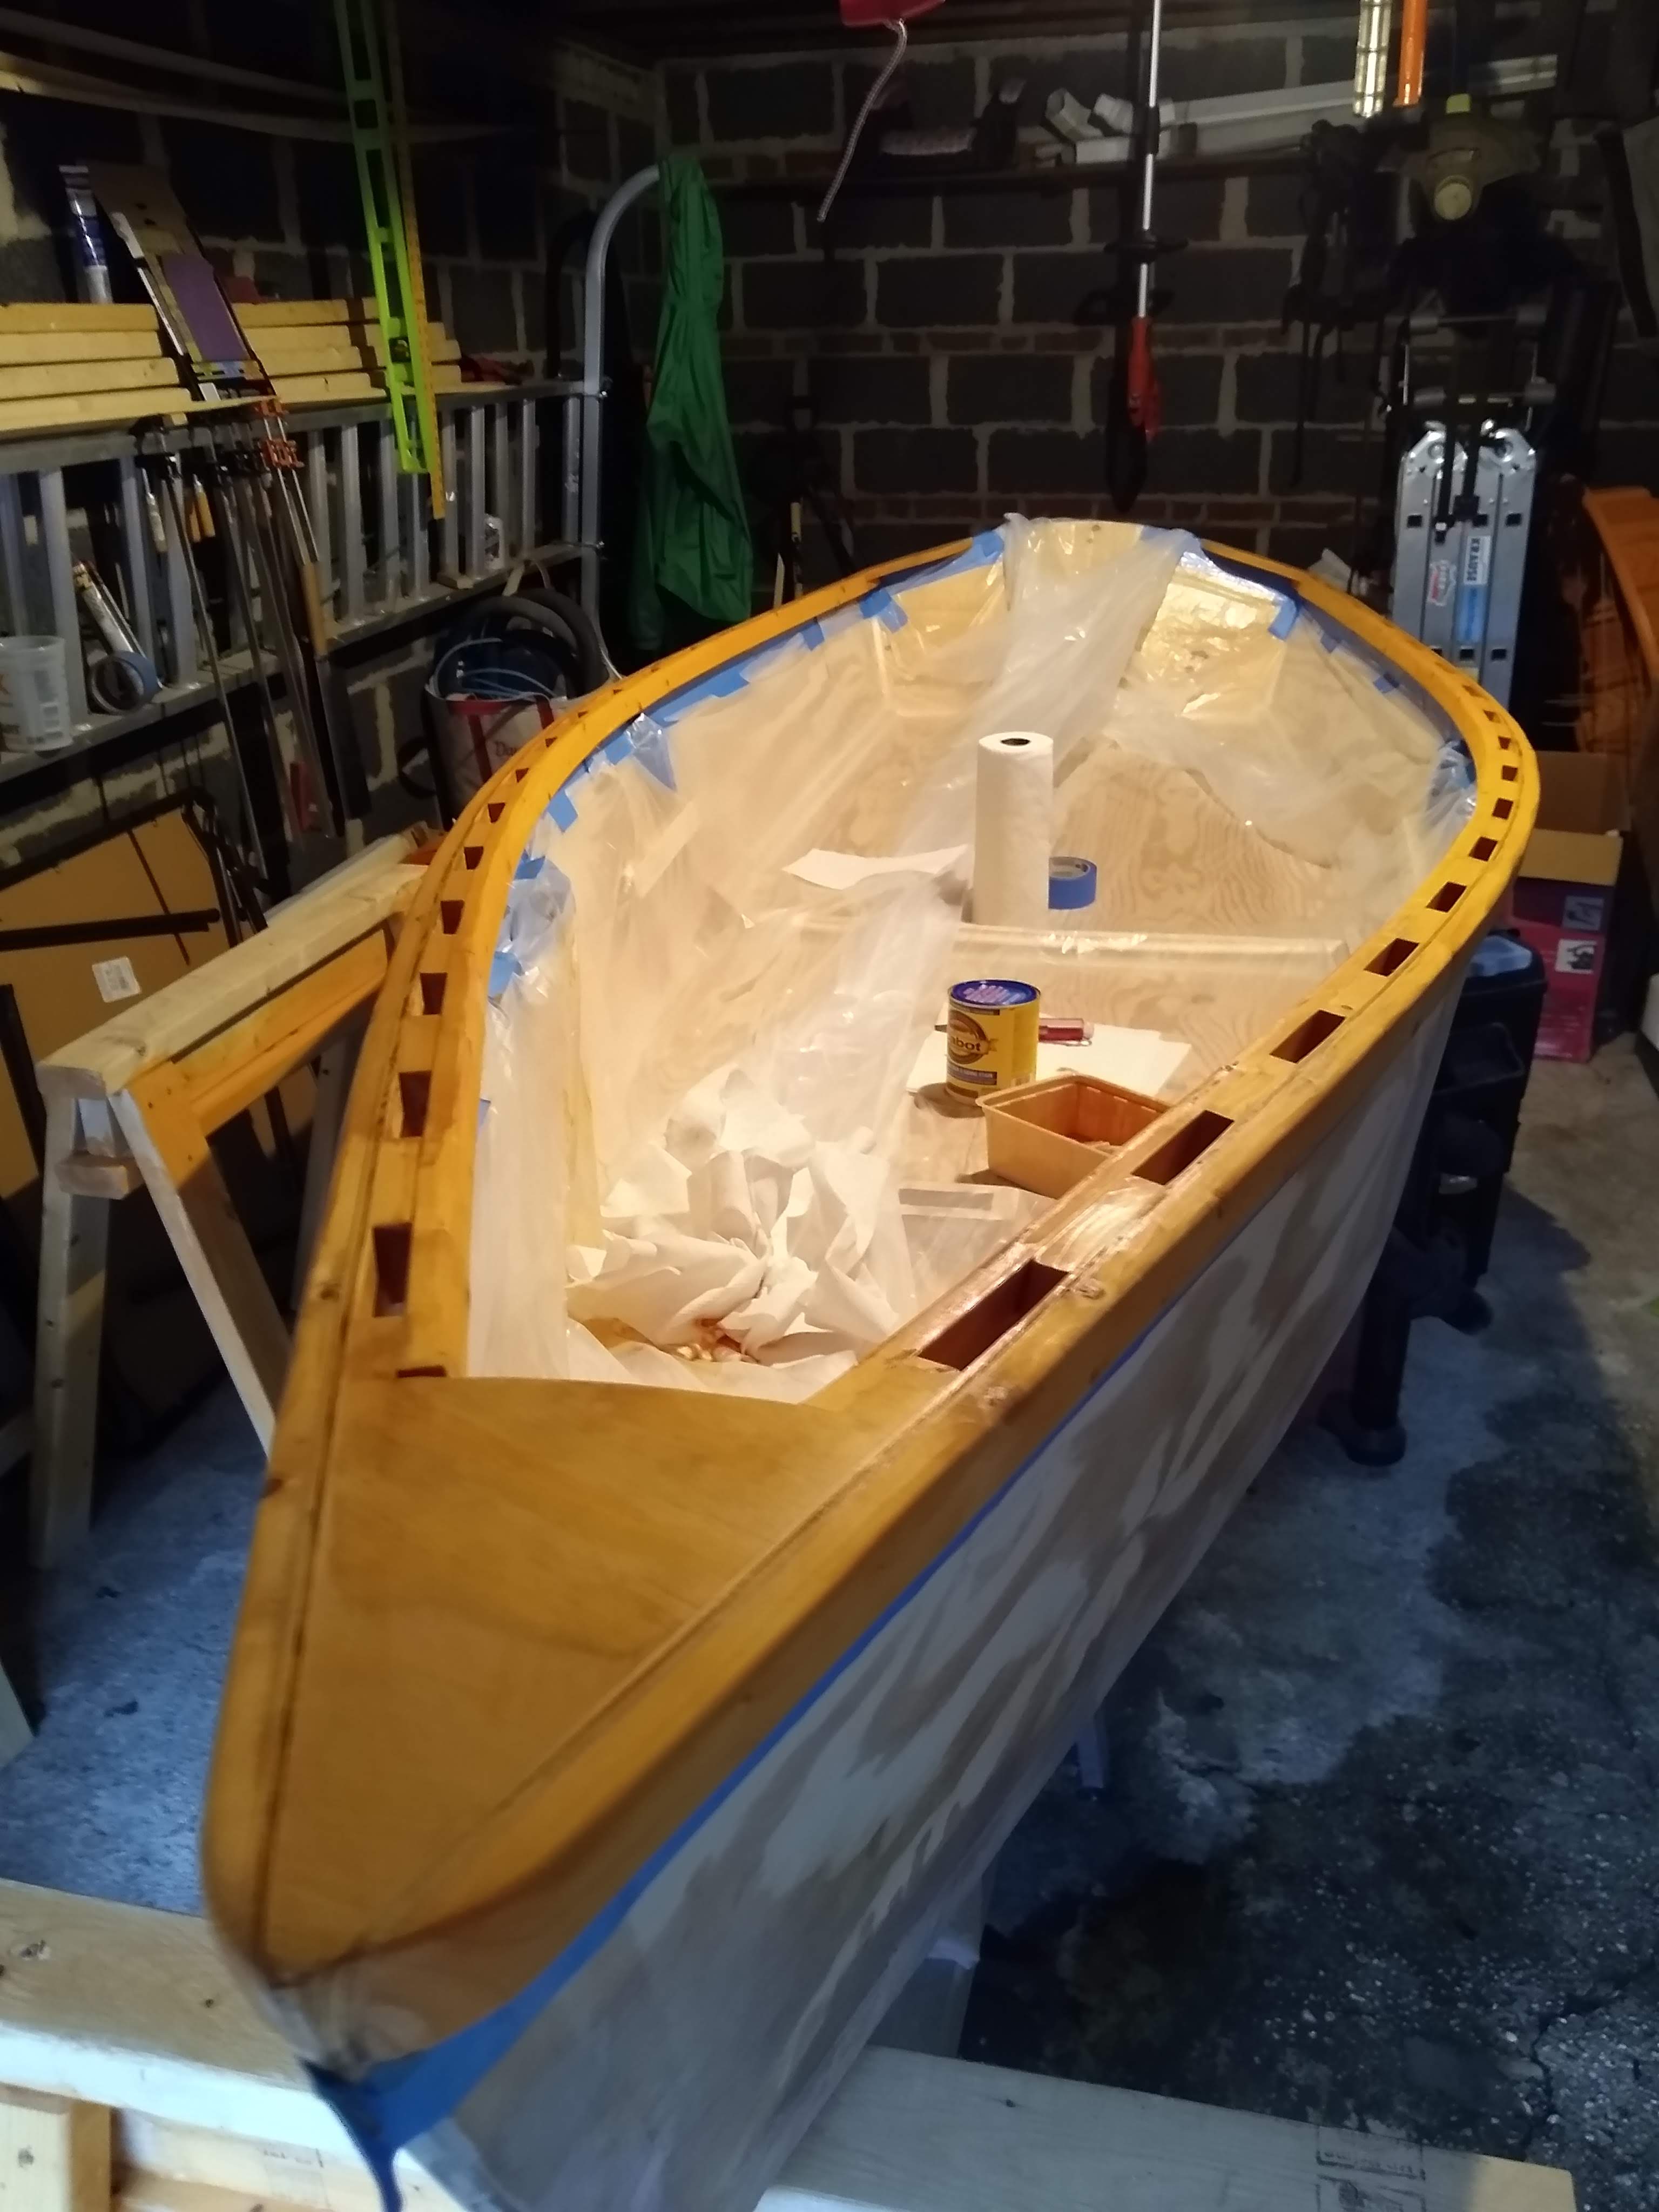
And with that it was ready to stain. I’d vacillated a bit on what color stain I wanted on the wood. I’d originally thought about using an oak stain but then more recently decided that it was too gray. I finally went with a cedar stain.

Putting it on a test piece, though, it looked way, way too orange. I immediately regretted my choice. I cursed my lot in life. I rued the day I was even born.

I’d already spent twenty bucks on the can, though, so I went ahead and put it on the boat anyway.

After a while, after seeing it soaking in and maybe drying a little bit, I decided it didn’t look too bad. But it was dark and rainy outside, and I was only seeing it by the naked bulb in the garage, so maybe I’ll think it’s terrible again when I finally see it in full daylight.

It took a lot longer than I thought it would, brushing it on the wales. I had originally imagined that I’d be applying stain with a cloth, rubbing it on, rather than with a brush. But the instructions on the can were pretty clear about either using a natural bristle brush (which was itself not so easy to find) or spraying it on. So brush it was.

After a while I worked my way into a kind of groove, working about three inwale spacers worth at a time, first cutting under the inwale, then the broad side of the inwale facing inside the boat, then on top of the wales and spacers, then getting it between the spacers on the inside of the inwale and the bit of hull between with the stain left on the brush plus whatever had dripped down from doing the tops, then finally the gunwale.

Wales are stained

All said, I think it took maybe 2 hours. And now it’s really ready for painting.

Week 43: Final Paint Prep

At last, the sanding is finished!

Rain delay

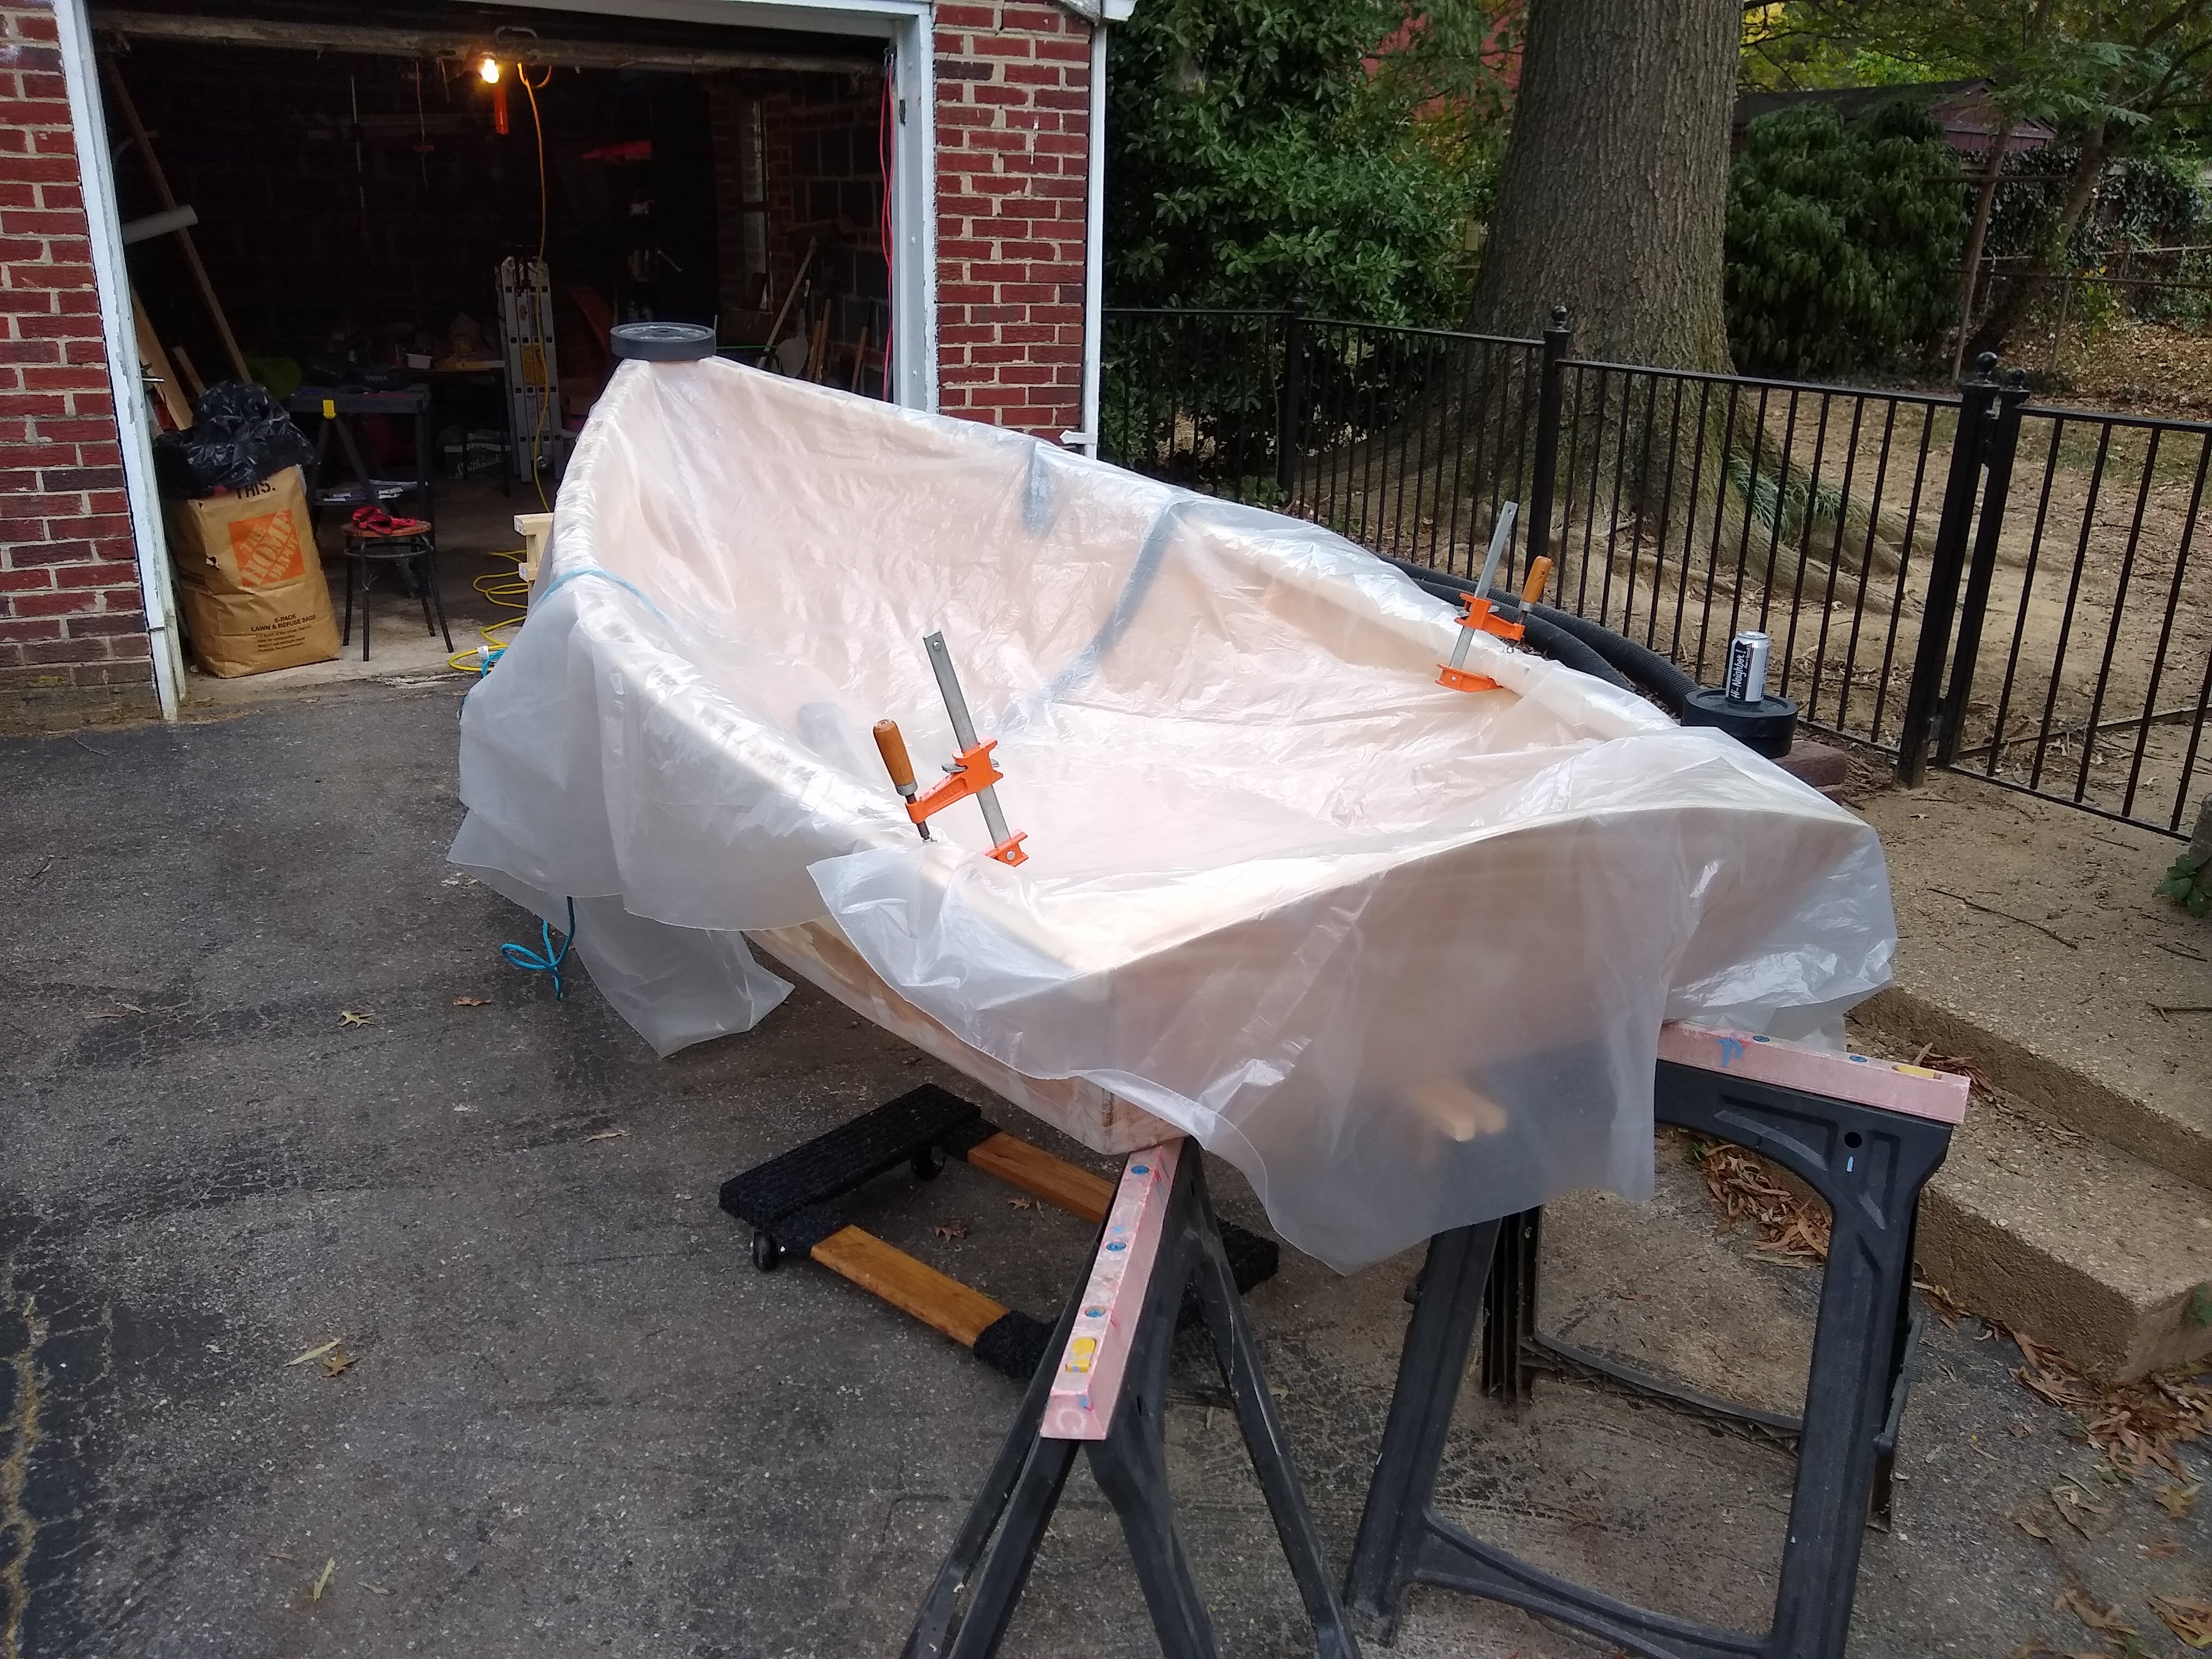
We had a 3-day weekend, what with Monday being Indigenous Peoples Day, where Dawn and I had the day off but Tala didn’t (sorry, kid). We had a busy, busy Saturday so I didn’t get to any boat work until Sunday afternoon, whereupon it promptly started to rain. Just light sprinkling, nothing heavy, but certainly not good for an unpainted plywood boat. I covered her with plastic and waited for the rain to stop. It did stop, then started again. I finally just gave up for the day and put her back in the garage.

Sawing off the bow keel extension

With a bright, sunny day on Monday, I was back to work. First thing I did was saw off the extra lengths of the keel that were sticking out the bow and stern. They’ve been serving as quite useful handholds, but, alas, not permanently. So I finally, finally sawed ’em off.

Sawing off the extra keel and skeg at the stern

The extra bits sticking out the stern end included the skeg, which was harder to cut, given that it was a piece of oak that I’d had laying around and used rather than the dimensional pine or whatever the keel is. I gave up on the little Japanese pull saw and went with the bigger Spear & Jackson bad boy.

Keel and skeg rough cut

Both cuts produced rather rough looking parts, so I rasped and sanded them to a little more pleasing shape.

Keel and skeg finished smooth

The skeg again turned out to be quite a bit more of a challenge to shape and smooth, again because of the hard oak but also because I had to be careful to keep the rasp from marring the fiberglass seam just below it.

Keel bow point finished smooth

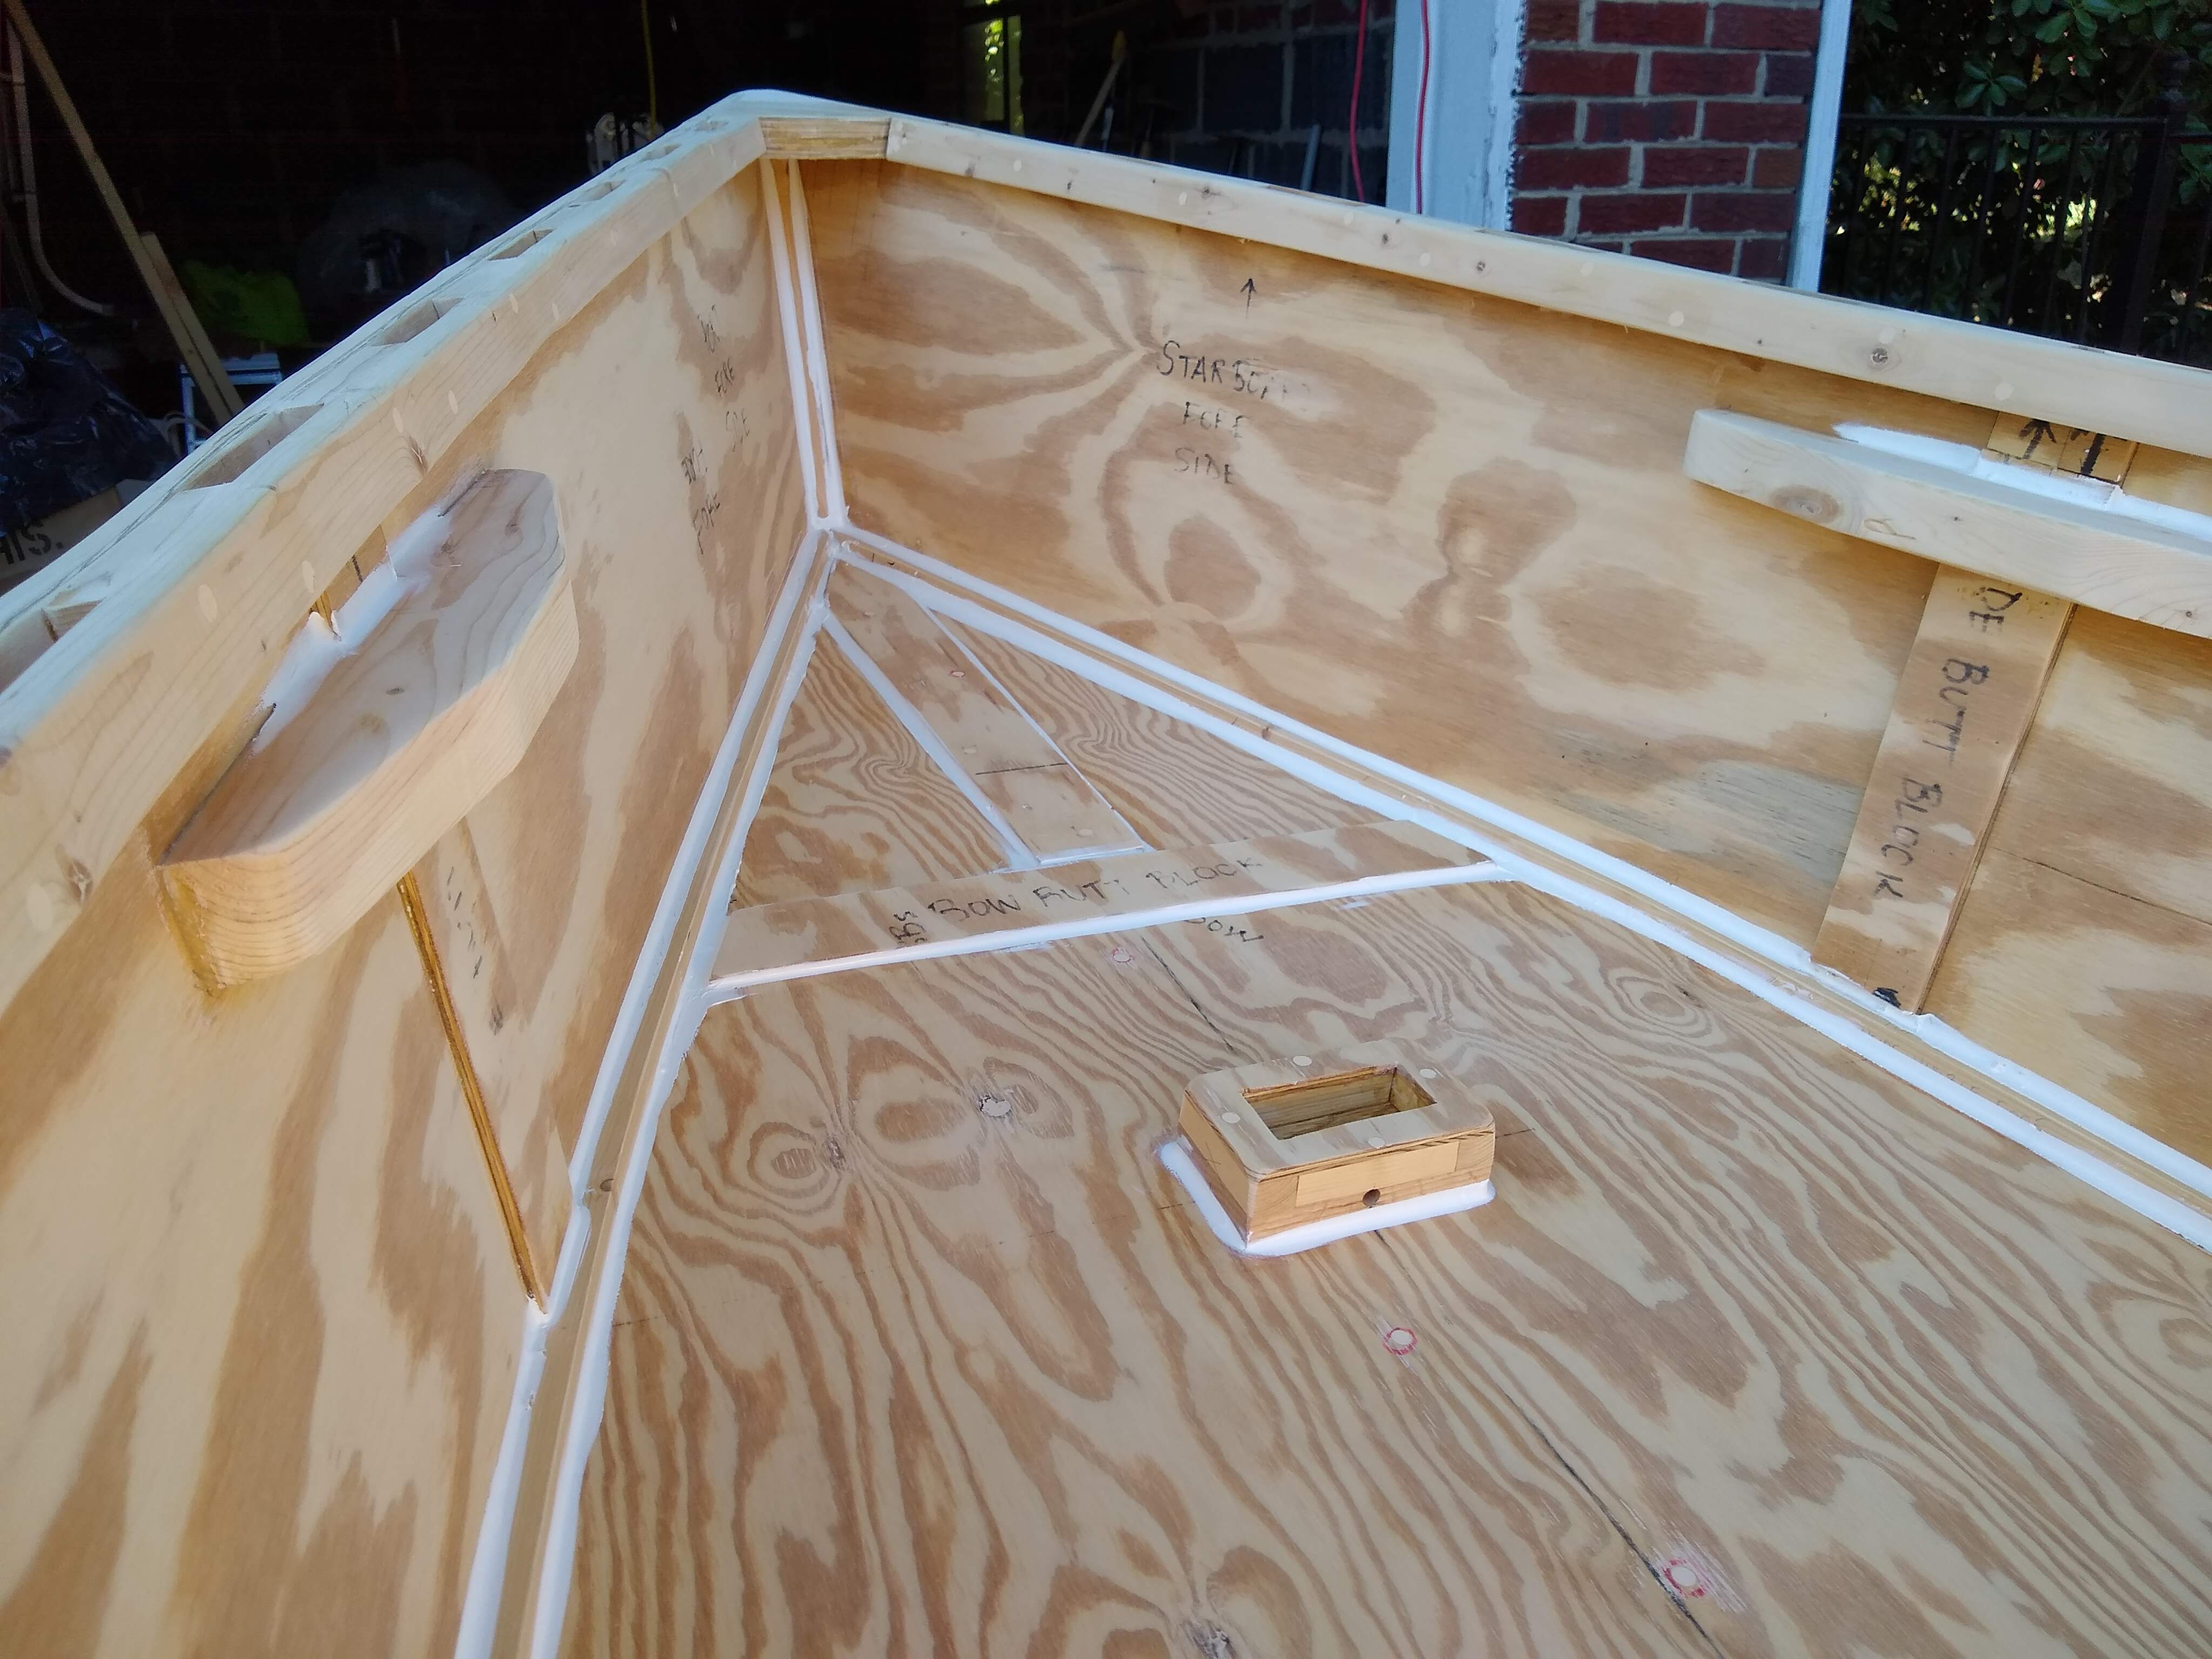
And with the keel in final form, I was finished with shaping and sanding. It was finally time to caulk.

Ready to caulk

I’m hoping that the marine adhesive sealant that I’m using is good enough. Jim Michalak seems rather adamant that thickened epoxy fillets are the way to go on these interior joints, but he compares the epoxy to auto body filler and RTV (silicone), whereas the PL stuff I’m using is polyether, whatever that is. But whatever it is, it’s a lot cheaper than epoxy, and a lot easier to apply since it comes in a tube like caulk.

Interior (almost) finished caulking

But, oh, friends, it’s not like caulk, in that it’s a whole helluva lot thicker. I spent two painful hours squeezing the caulking gun with both hands just to get the stuff to come out. Later research showed me that my little kitchen and bath caulking guns have a thrust ratio of like 6:1 or 8:1, even though they say Heavy Duty on them. Bigger, better, and more expensive guns go up to like 18:1 or 26:1. I’ll surely buy one of those if I ever had to use this stuff again.

Exterior caulk finished

In the end, I finished with the caulking. Whew.

Keel bow point caulked

This boat is ready to paint. At last!

Week 42: Sanding for the 4th Week in a Row

Spent 2 more hours sanding, including quite a bit of time with 100 grit on the outside hull sides. I cut into the fiberglass tape seams a little more, trying to smooth the transitions from wood to fiberglass. I’m hoping the seams will look better when painted.

And we’re up to 150 grit!

I also finished the outside sides to 150 grit. Feels really nice.

I’m hoping next weekend is the last weekend of sanding. Fingers crossed.